First annual Members Choice Awards – what gear do our members use and love as we near the end of 2022?
Introduction
Marketers of gear brands love award badges because it helps them sell gear. Gear that comes with a Backpacker Editor’s Choice or Outside Gear of the Year stamp of approval is almost guaranteed to be a best-seller for the brand. Award badges appear on retailer’s online product listings, product hang tags, and placards adjacent to the product display on the sales floor of brick-and-mortar shops. Publishers of prominent titles like Backpacker and Outside are thus able to exercise significant influence in the sales process.
As a publisher who has given out such awards and worked with gear brands to help them use the award badge to promote their product, I won’t be shy in admitting that there is benefit to the publisher as well. There is a direct relationship that few of us like to admit that the more favorable a gear brand is towards your publication, the more likely they will let you know about product launches, send you gear to review, or purchase advertising. Likewise, publishers who review gear critically sacrifice their ability to solicit advertising from those brands and promote those products to their readership in the hopes of earning affiliate commissions.
Traditional outdoor industry publishing business models, both print and online, rely on the relationship between gear brands paying the publisher for advertising or affiliate marketing. Outdoor recreation publishers that have built their business model on this foundation have thus evolved into de facto influencers for gear brands instead of providing independent journalism that helps consumers make wise choices about whether or not to buy a product.
Backpacking Light was founded on the idea that consumer advocacy would always be the cornerstone value that drove our business decisions. To that end, we knew that a business model where subscriber (member) support was our dominant revenue source (vs. advertising sales or affiliate commissions) was essential for us to remain independent from the influence of gear brands.
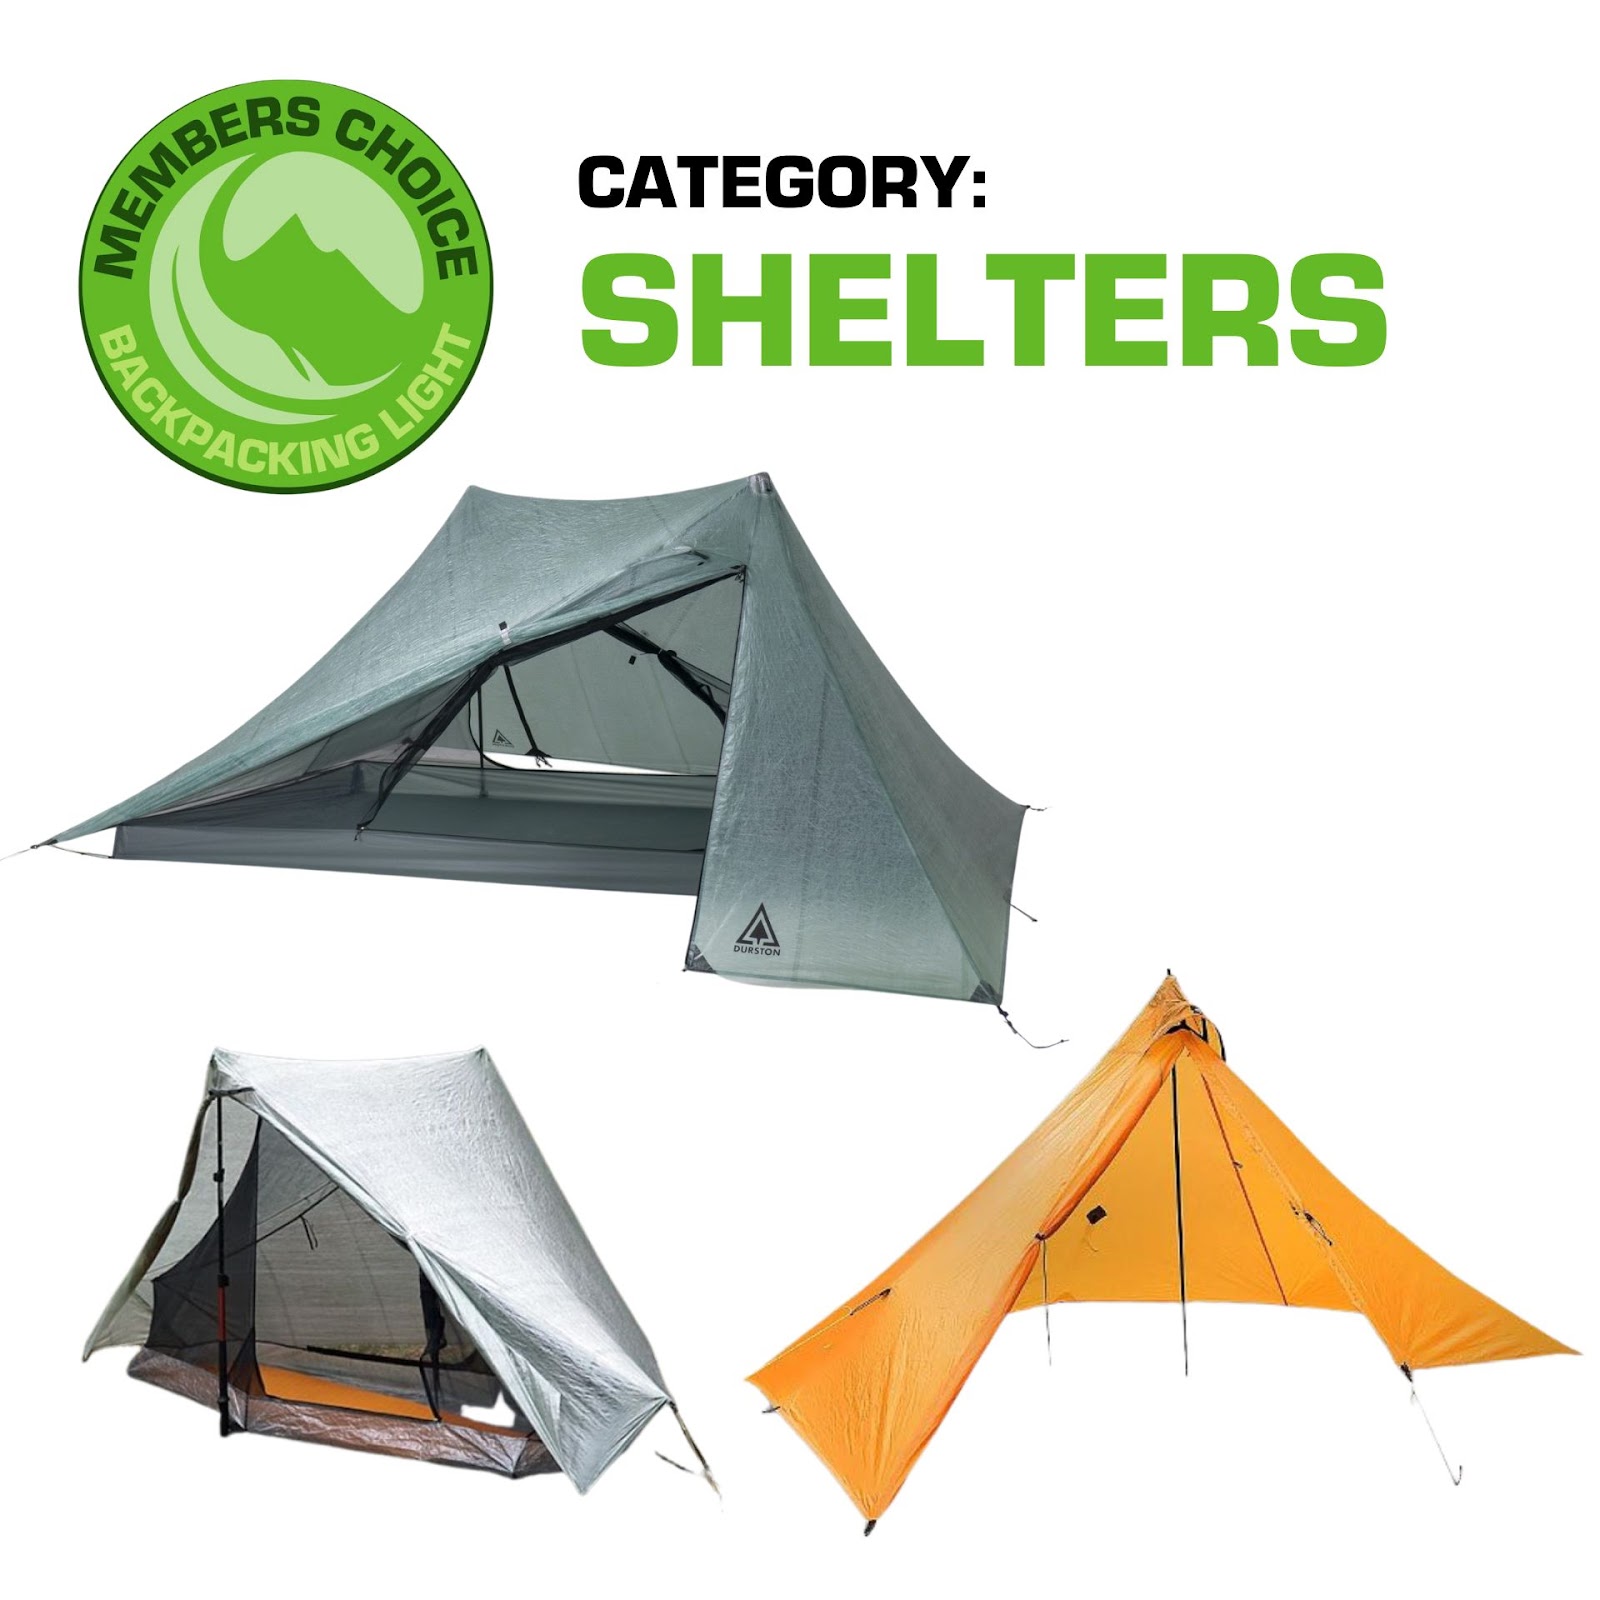
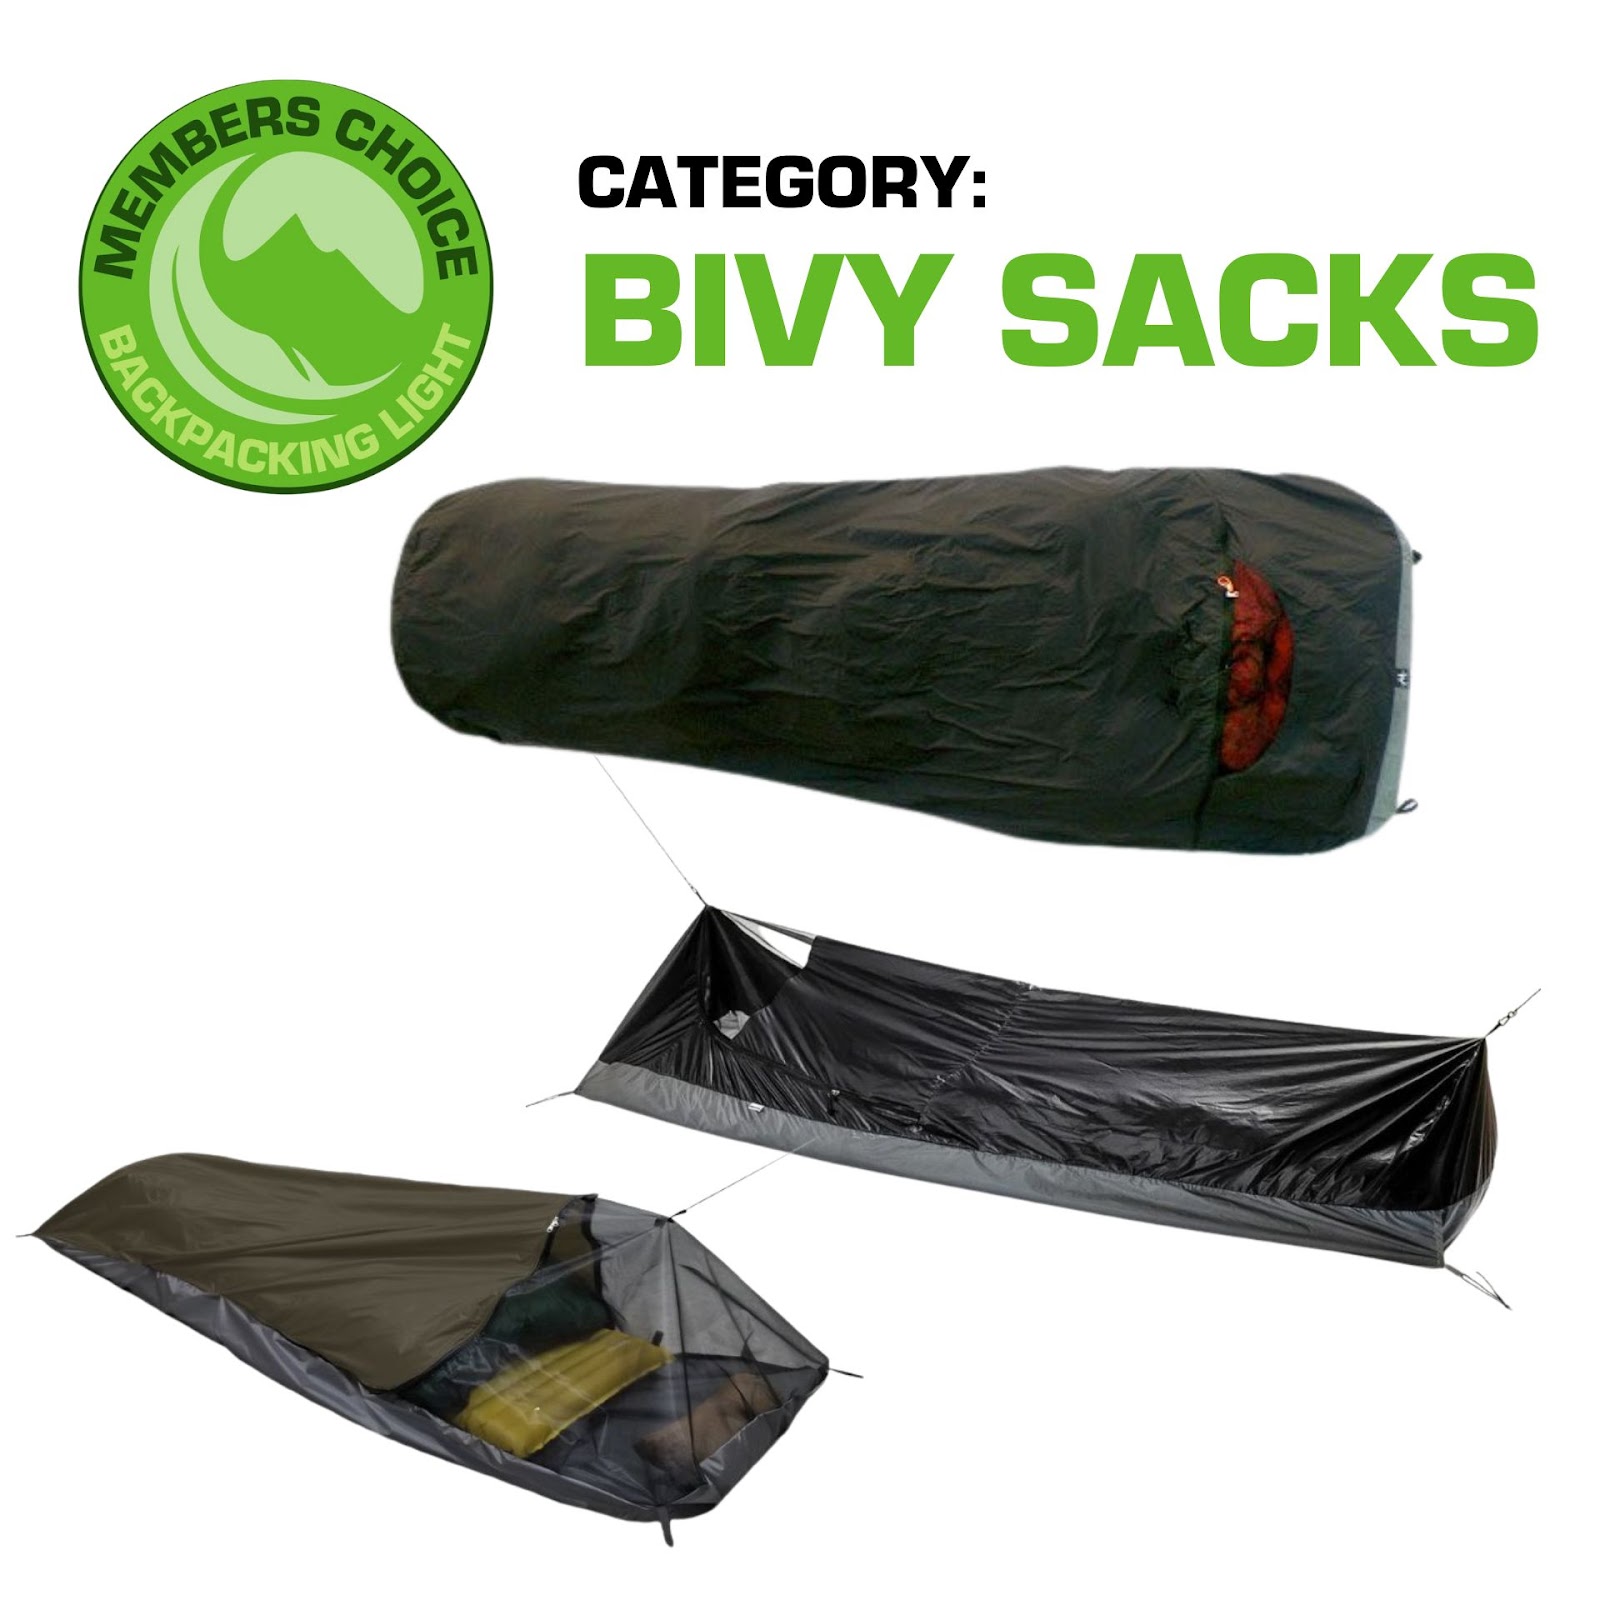
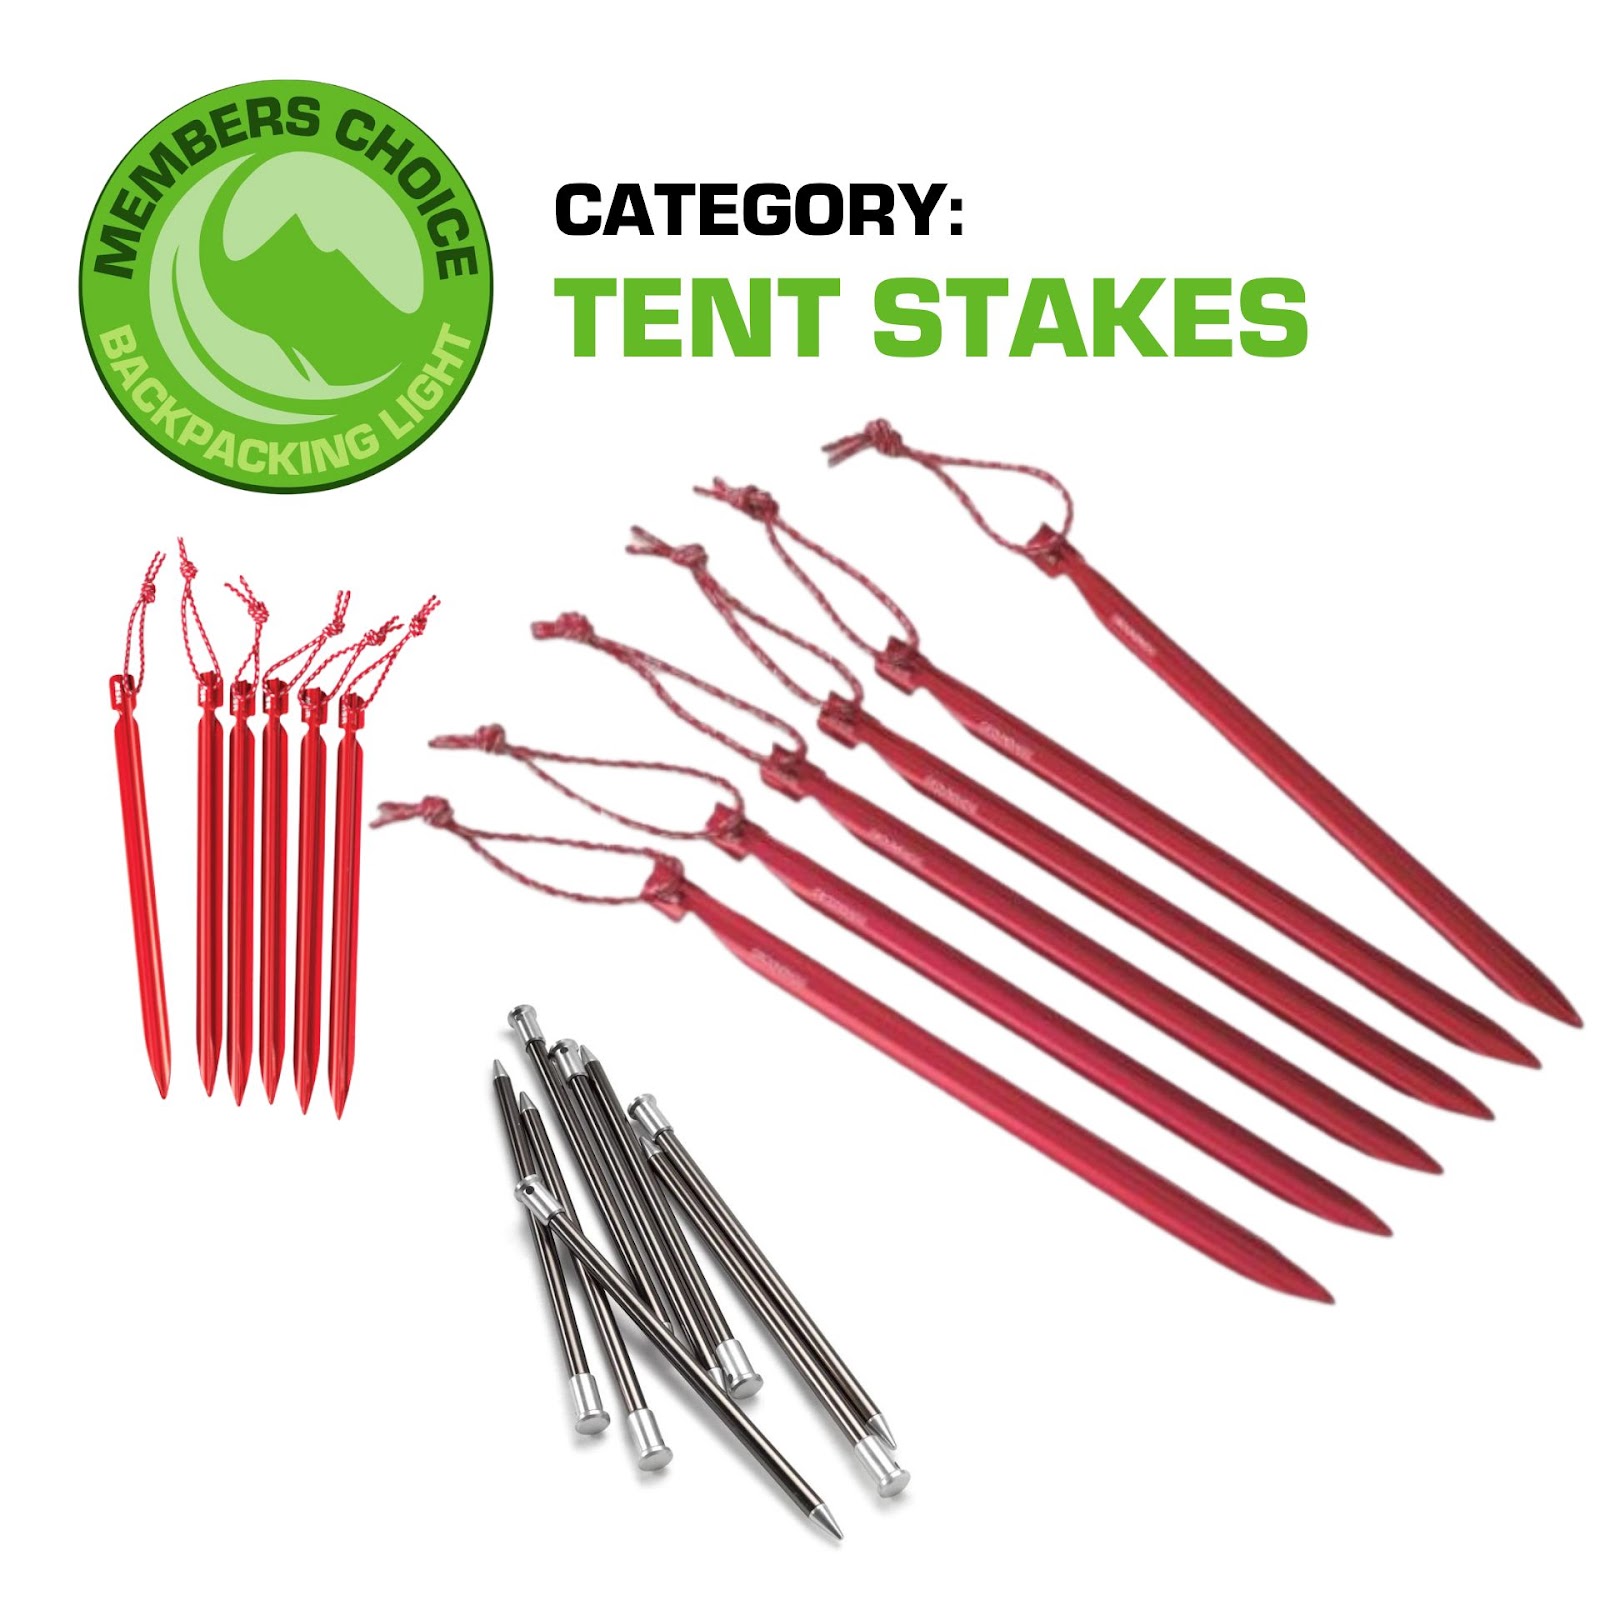
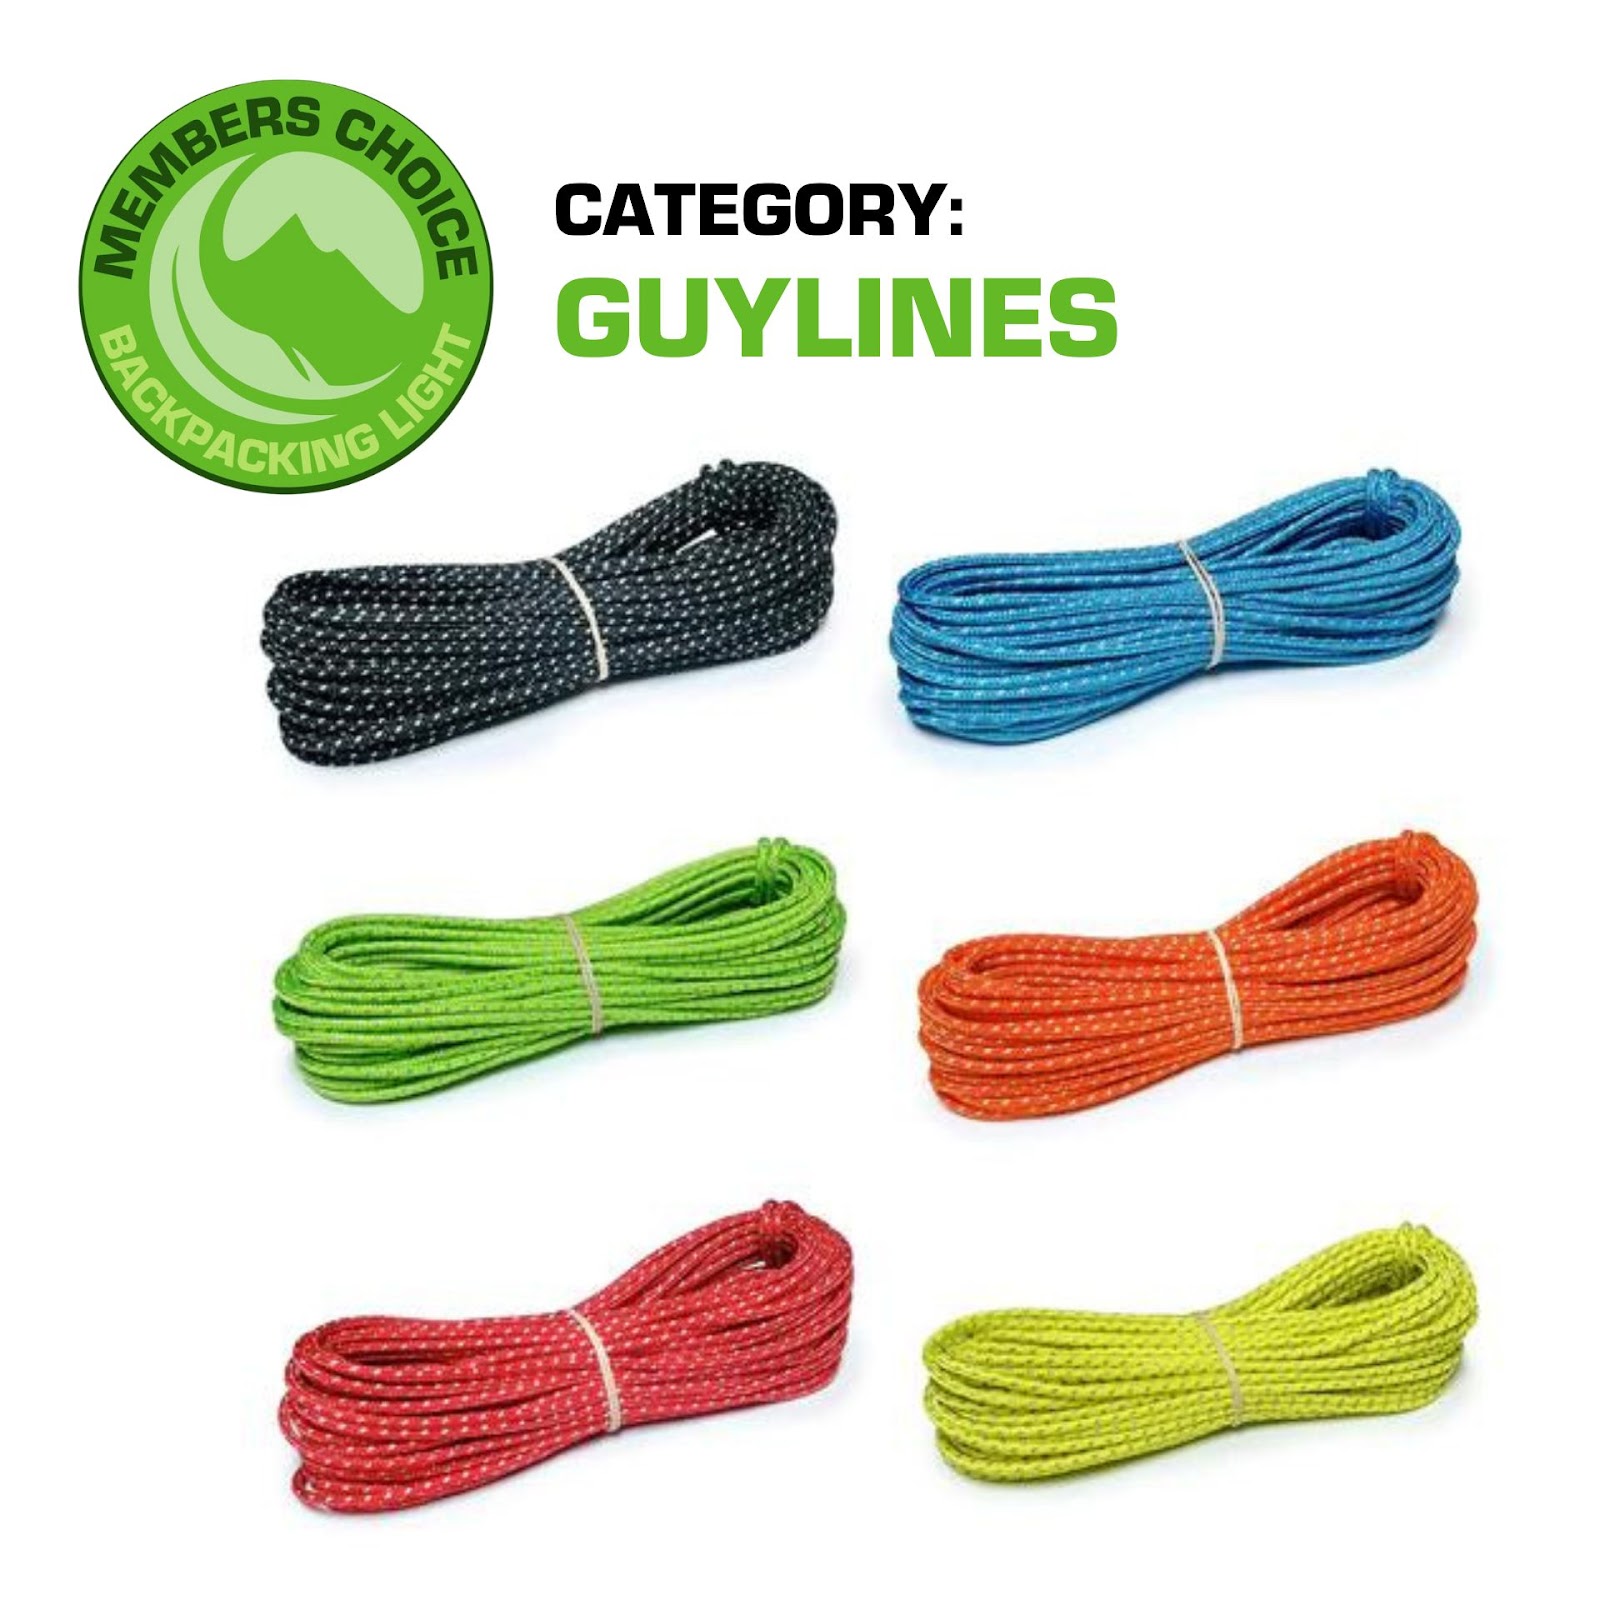
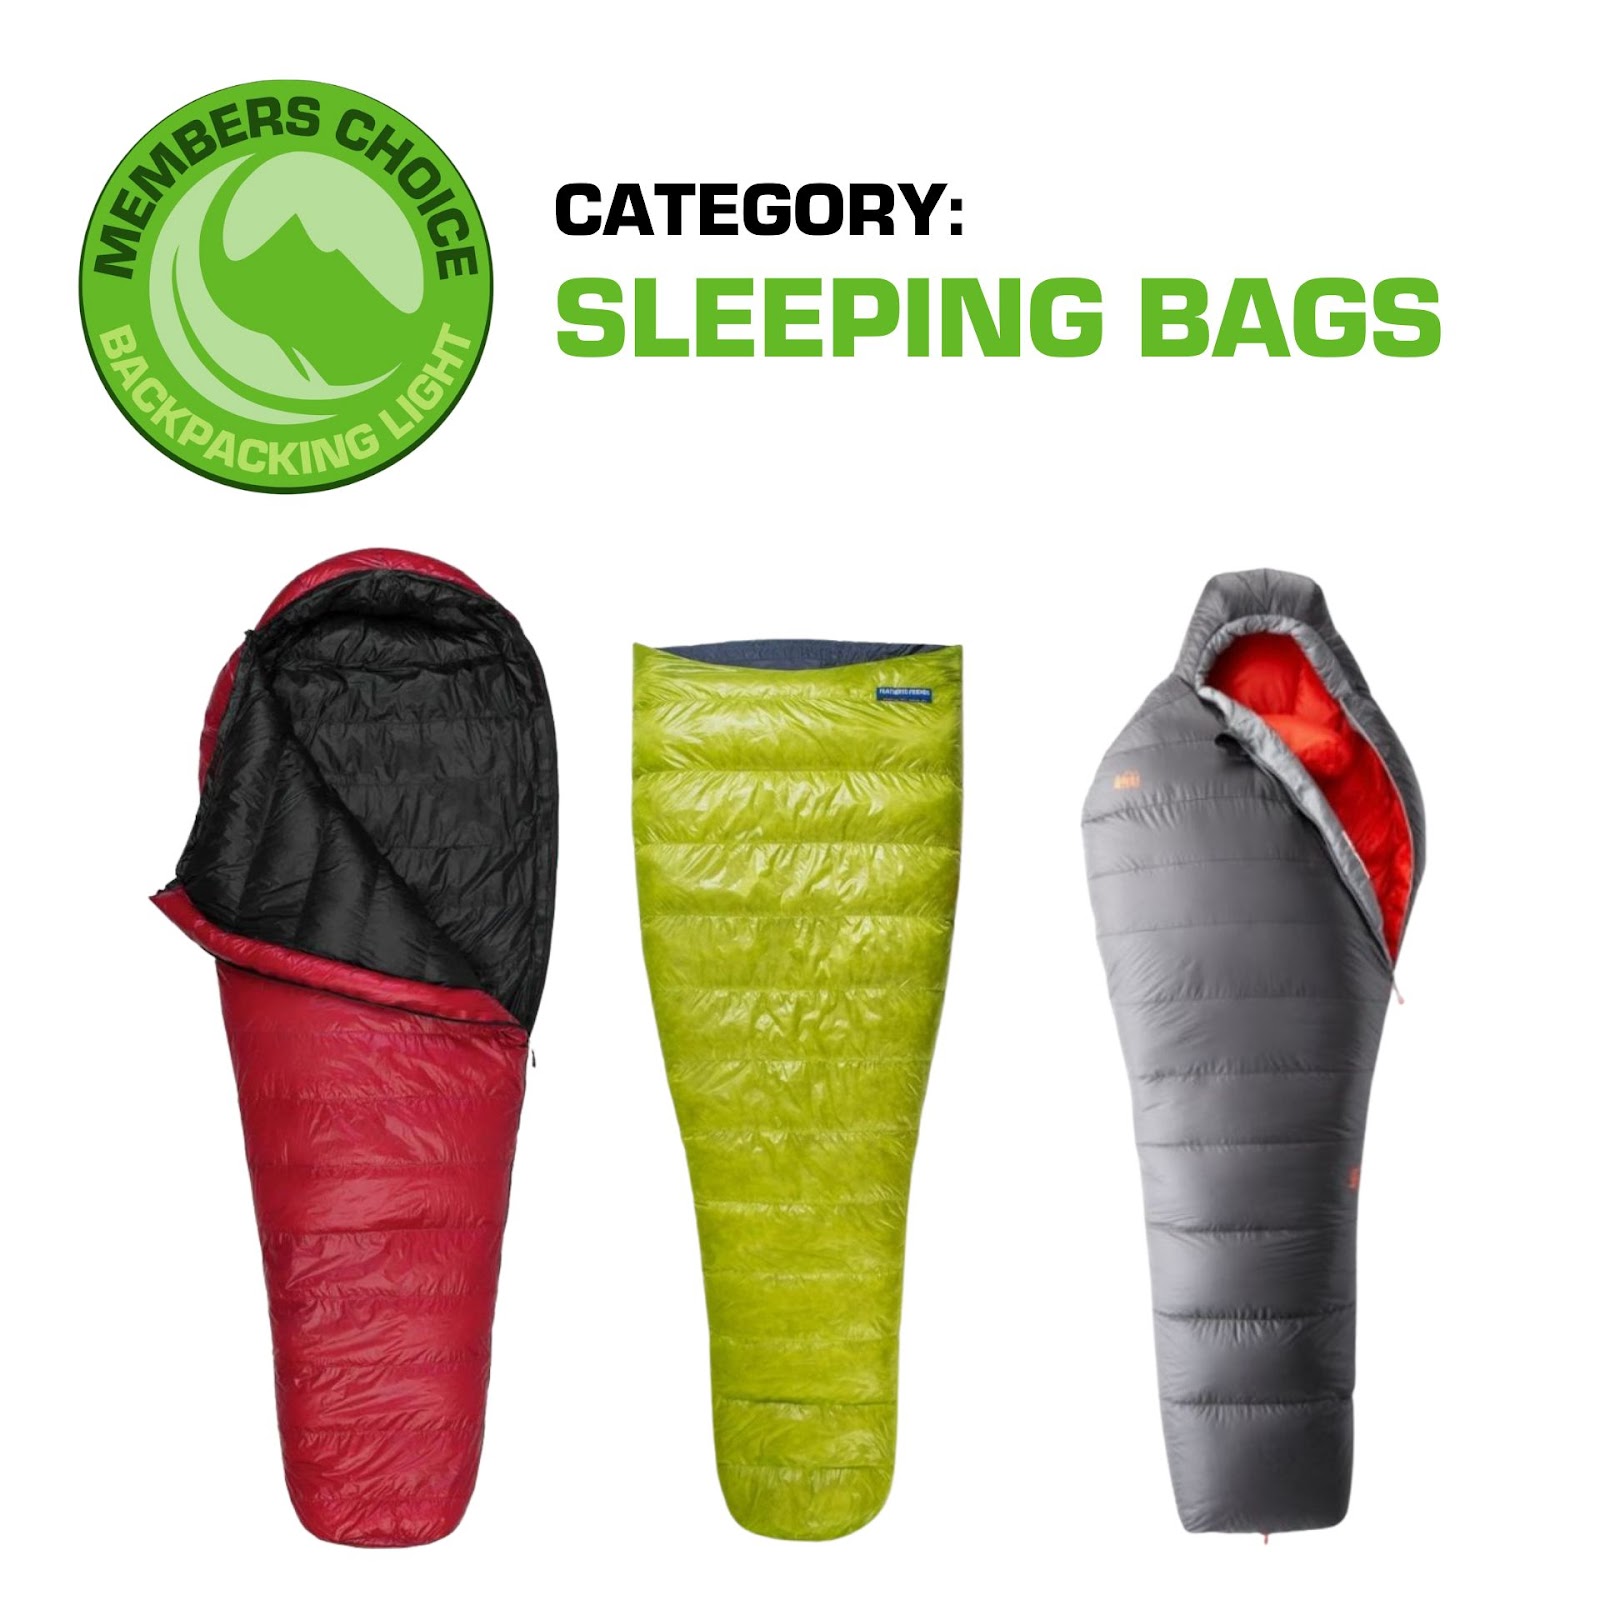
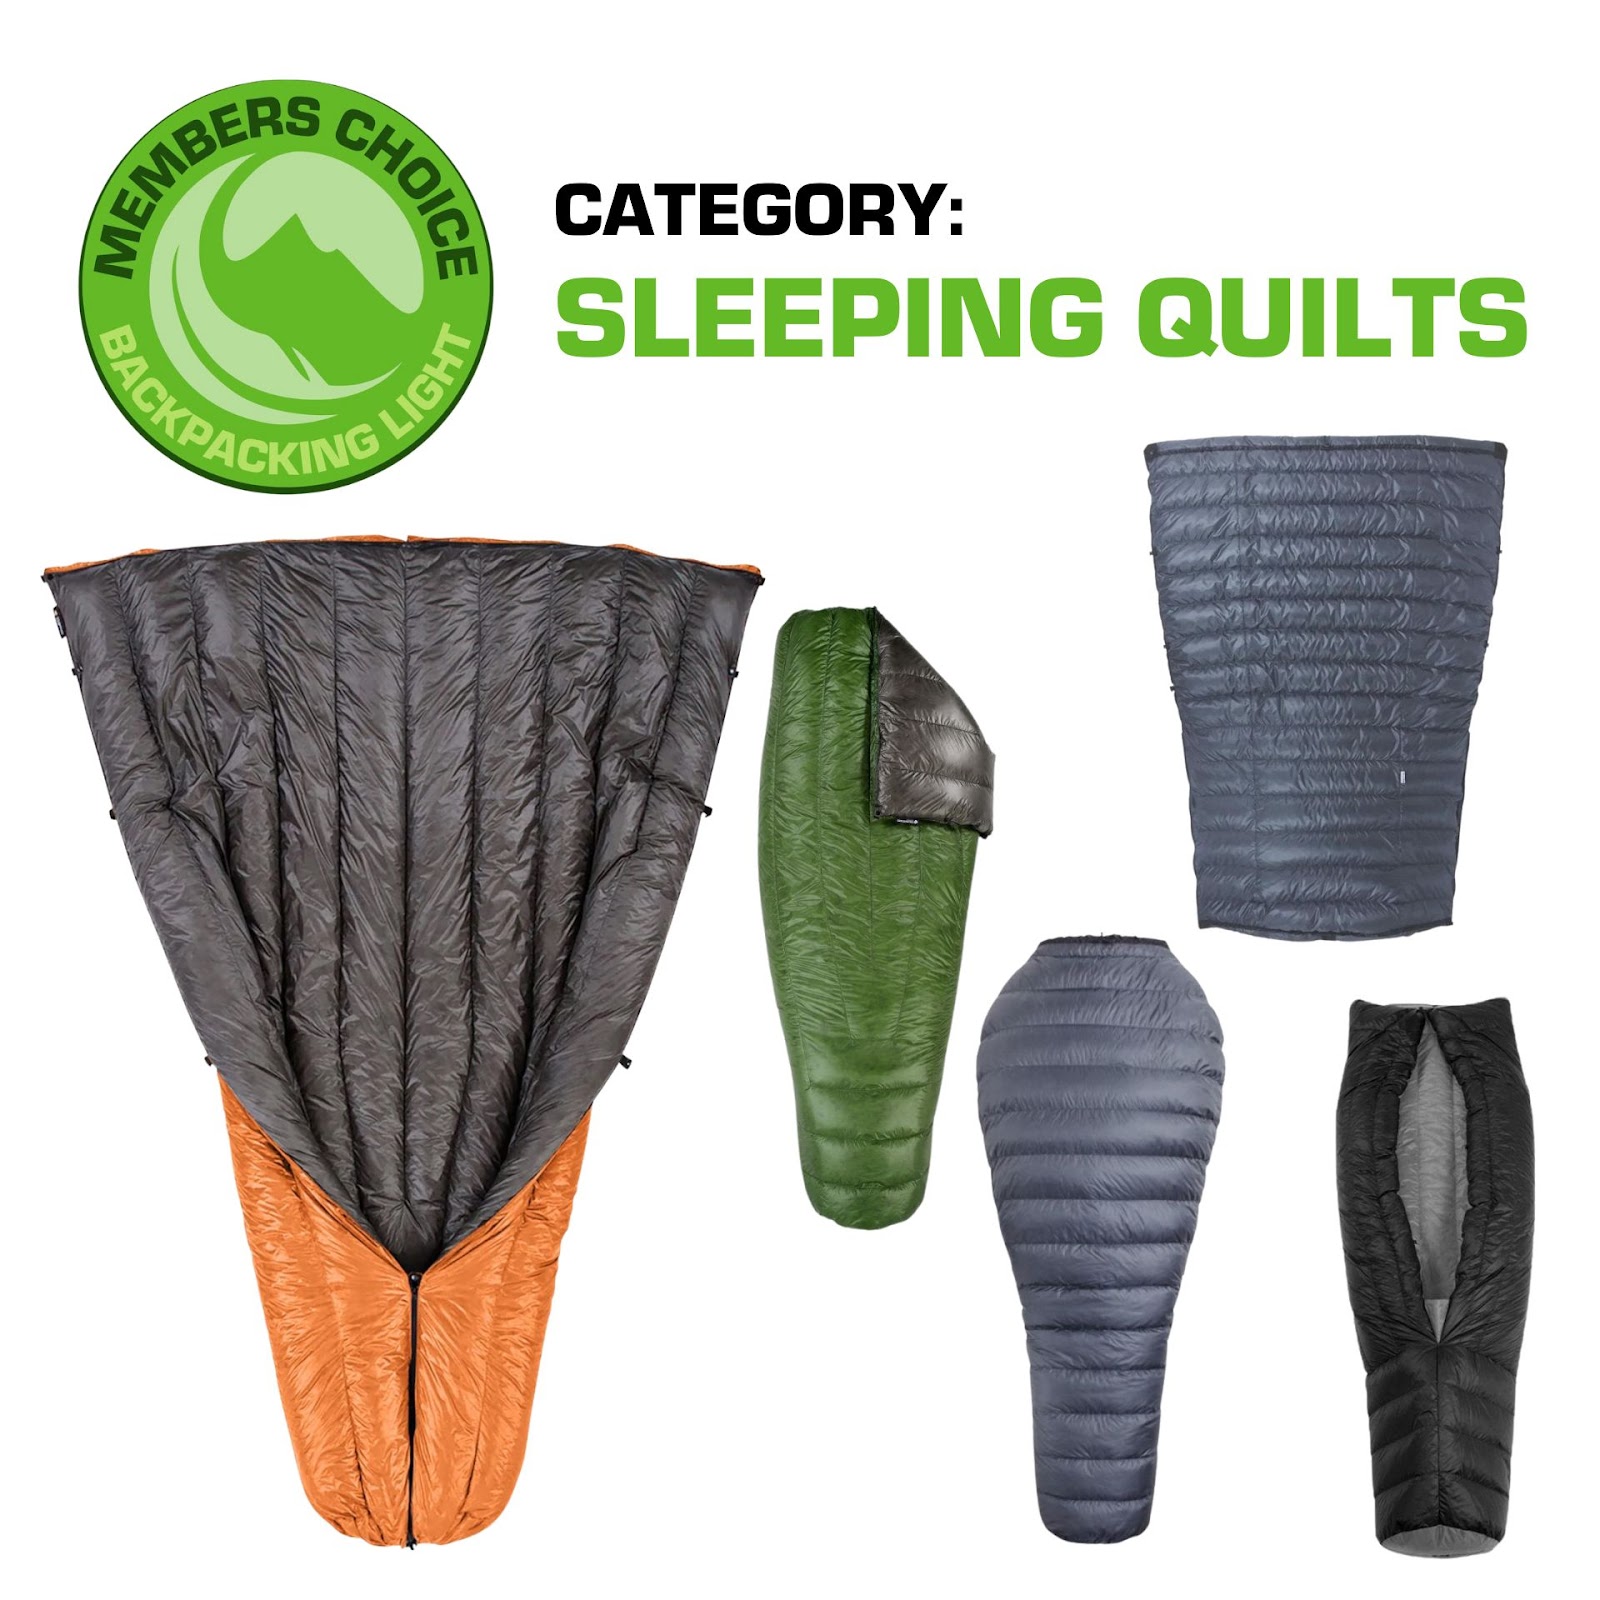
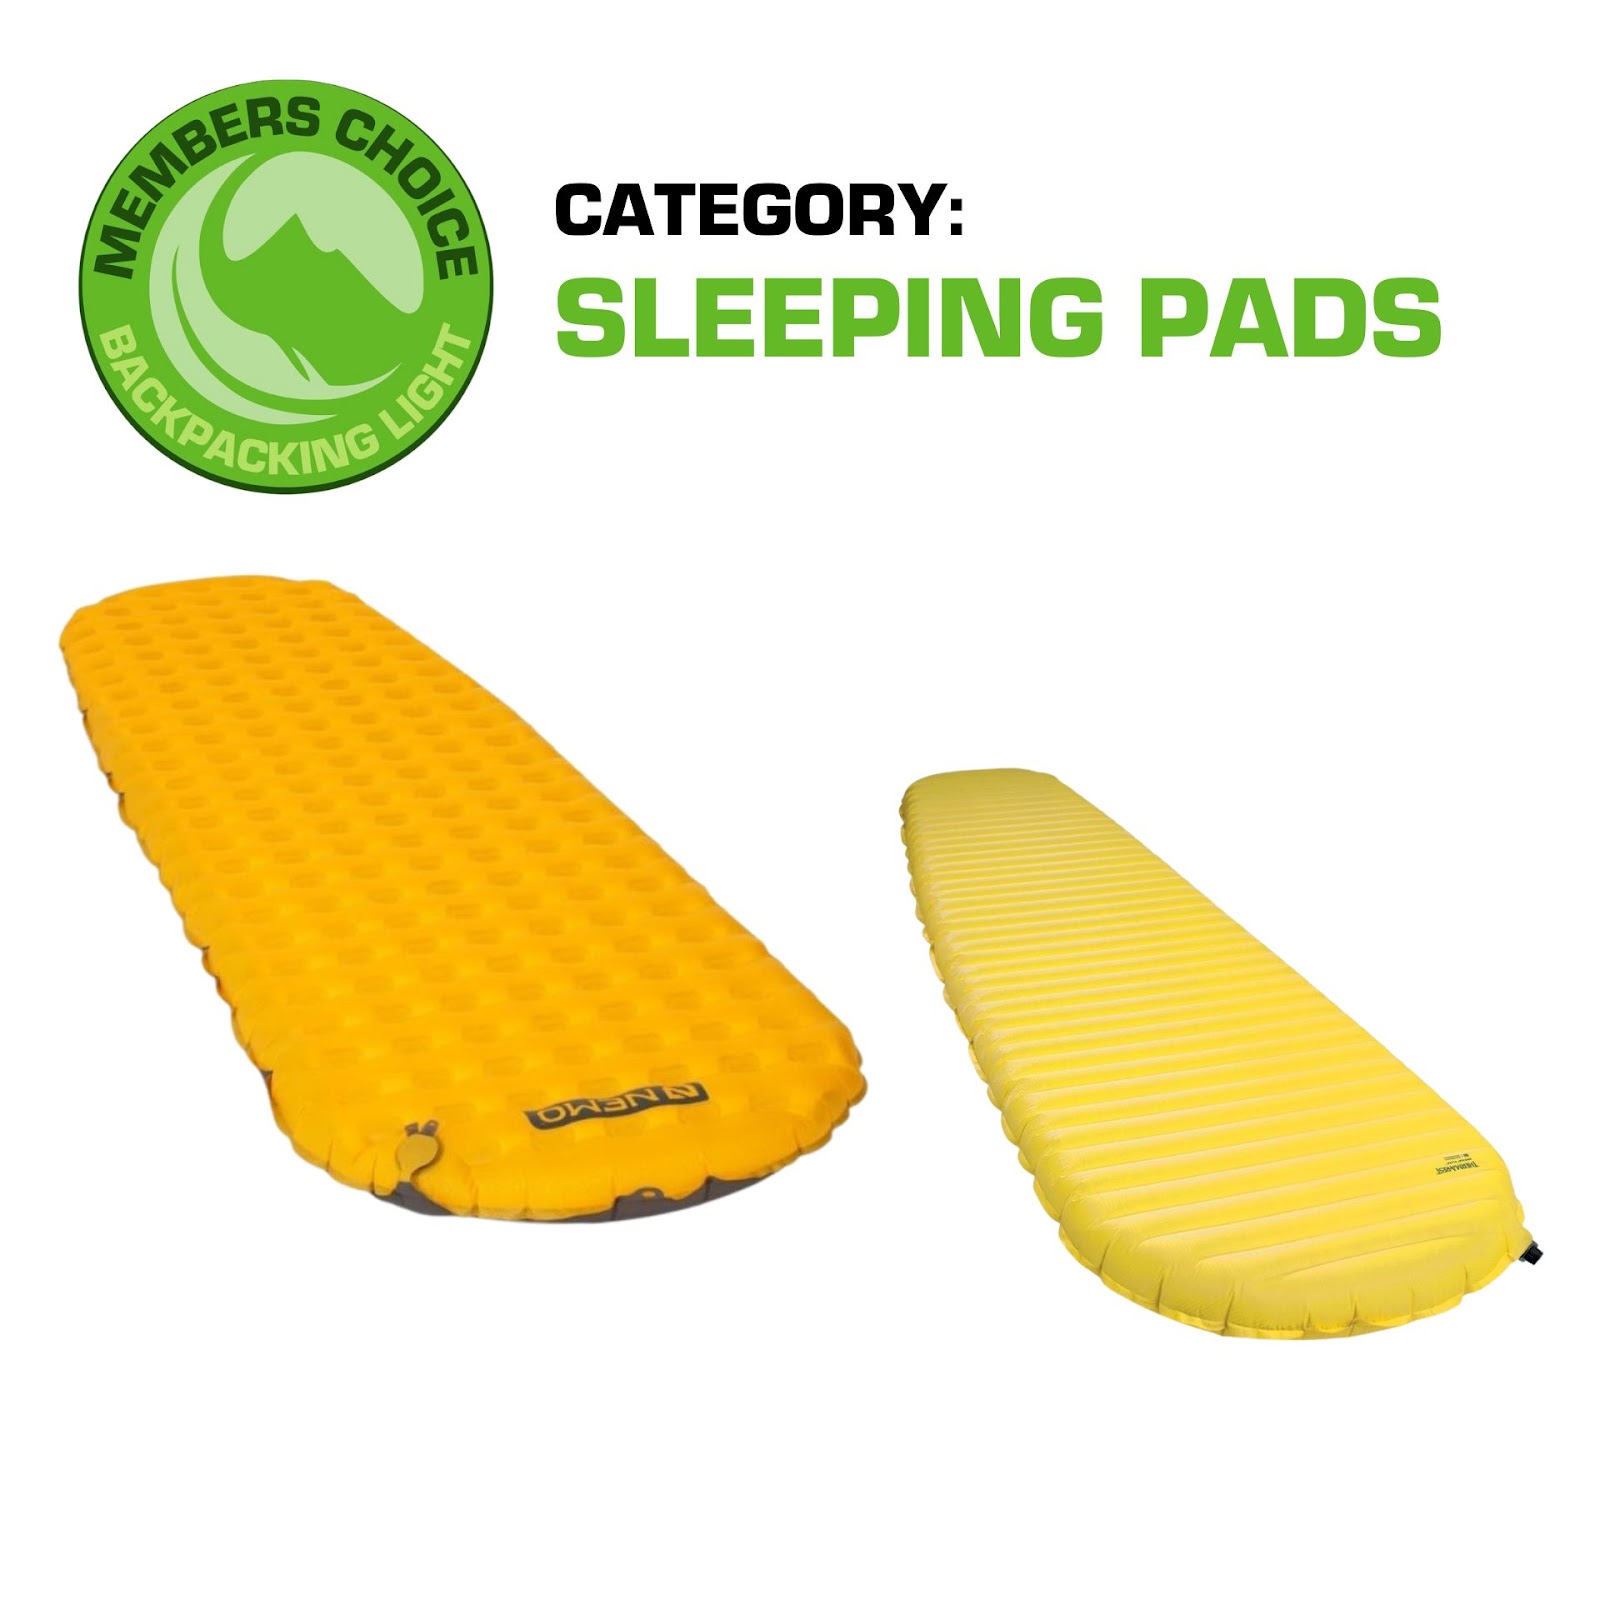
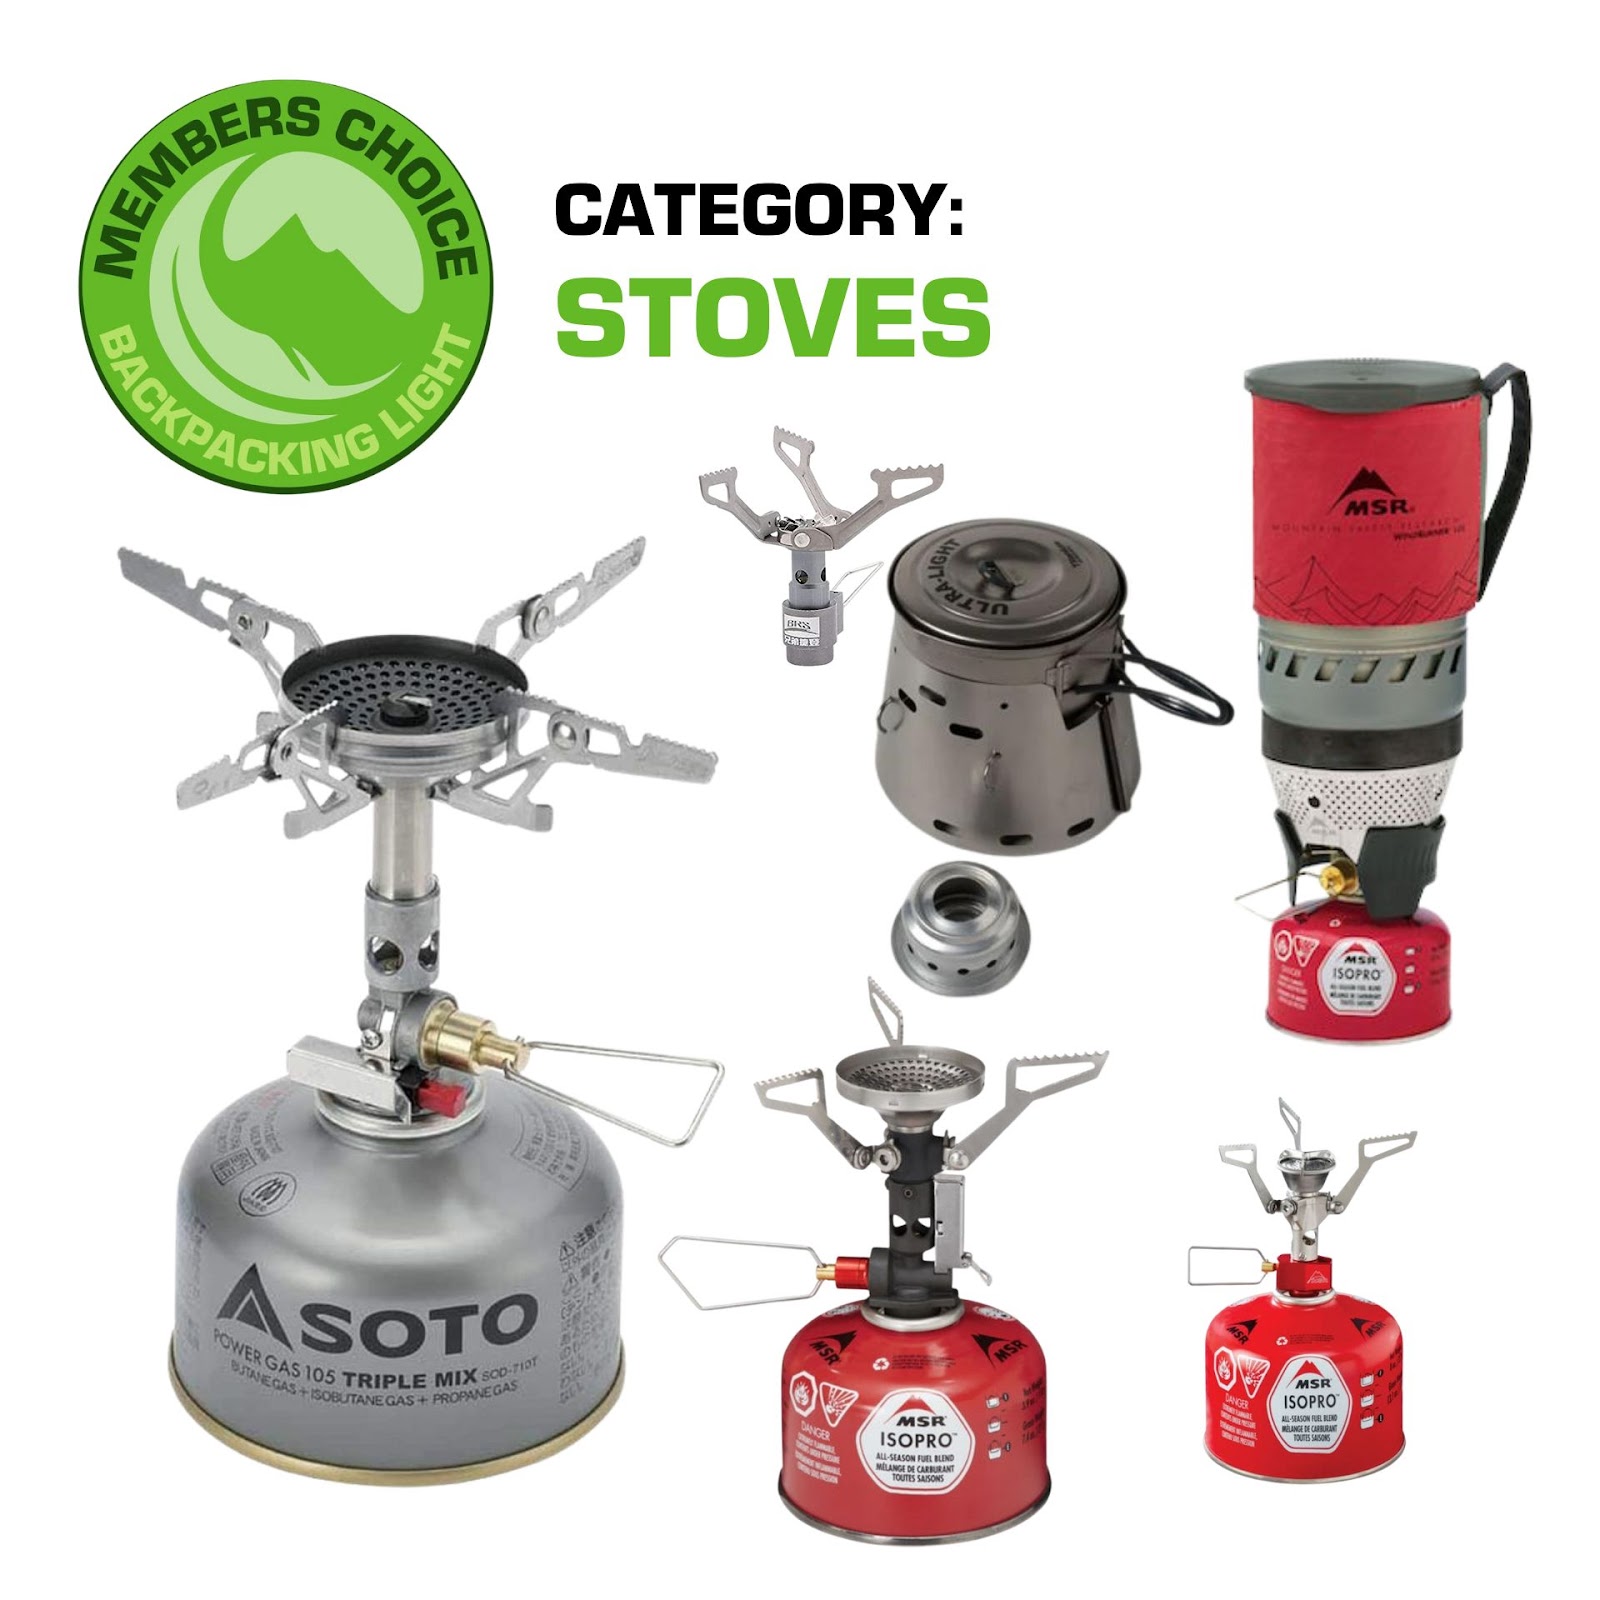
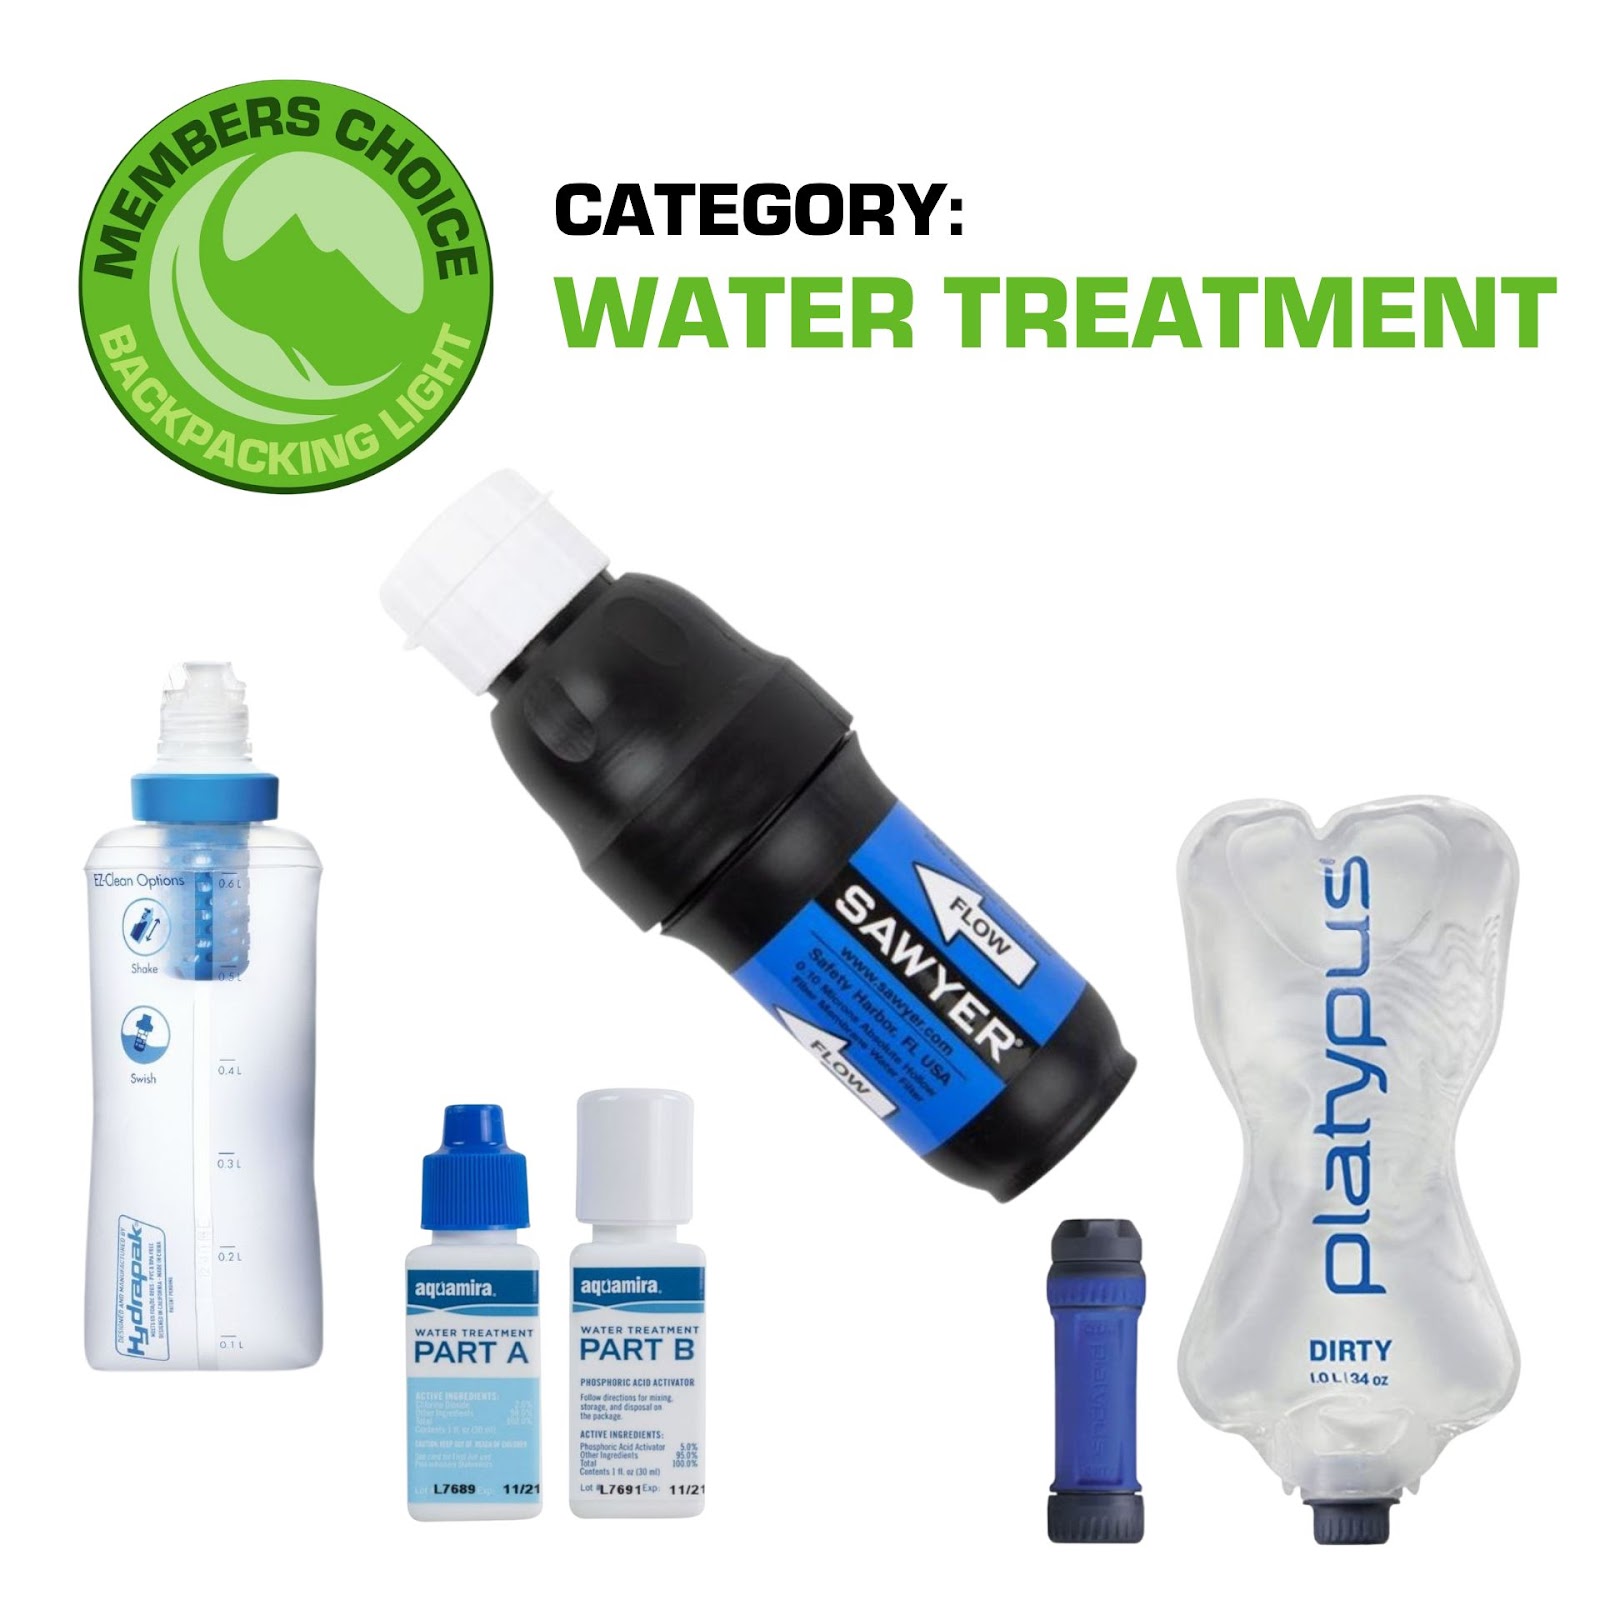
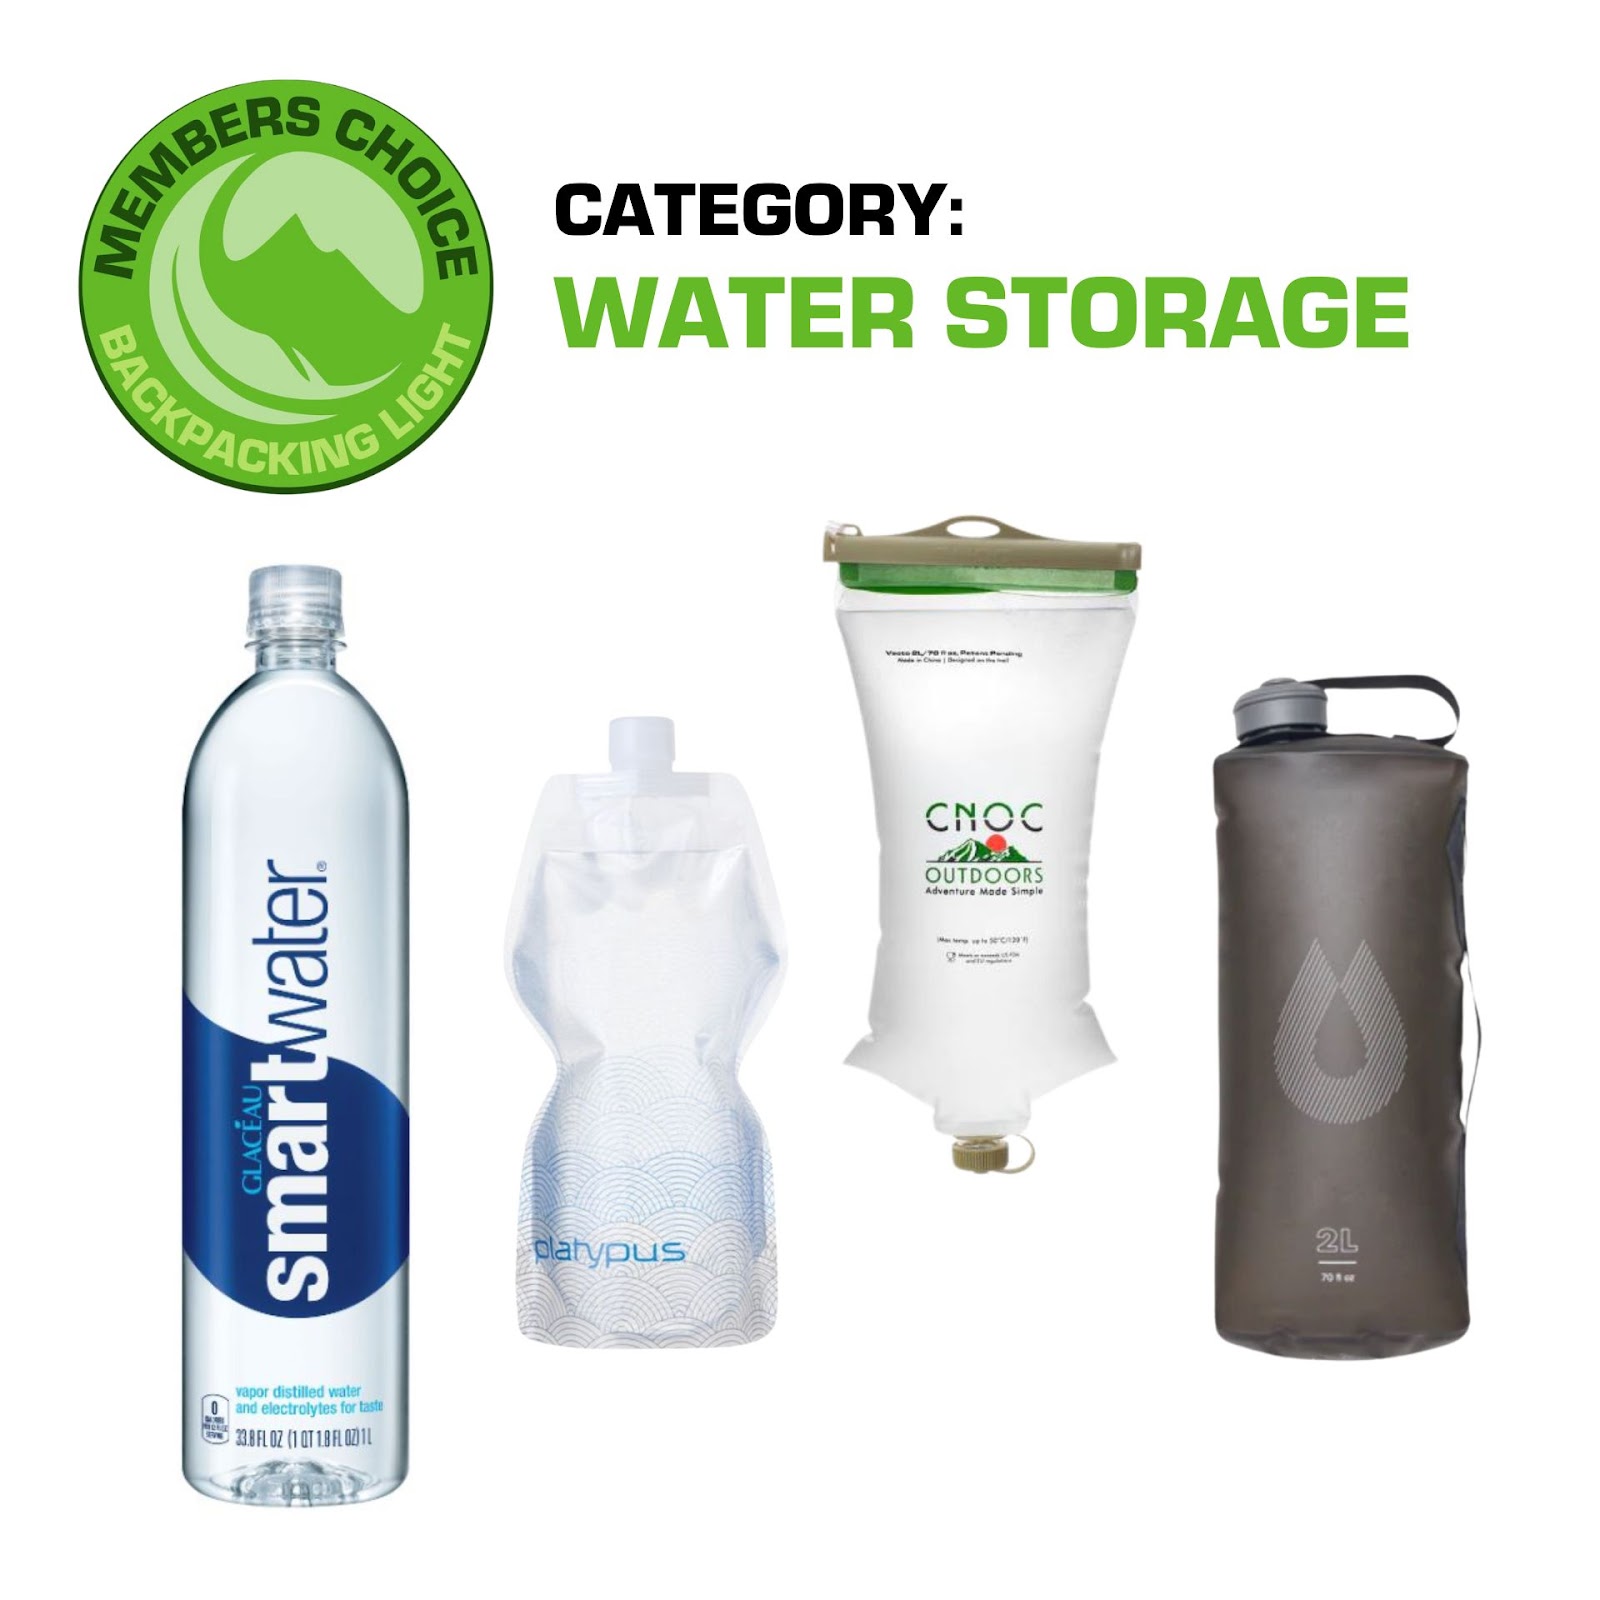
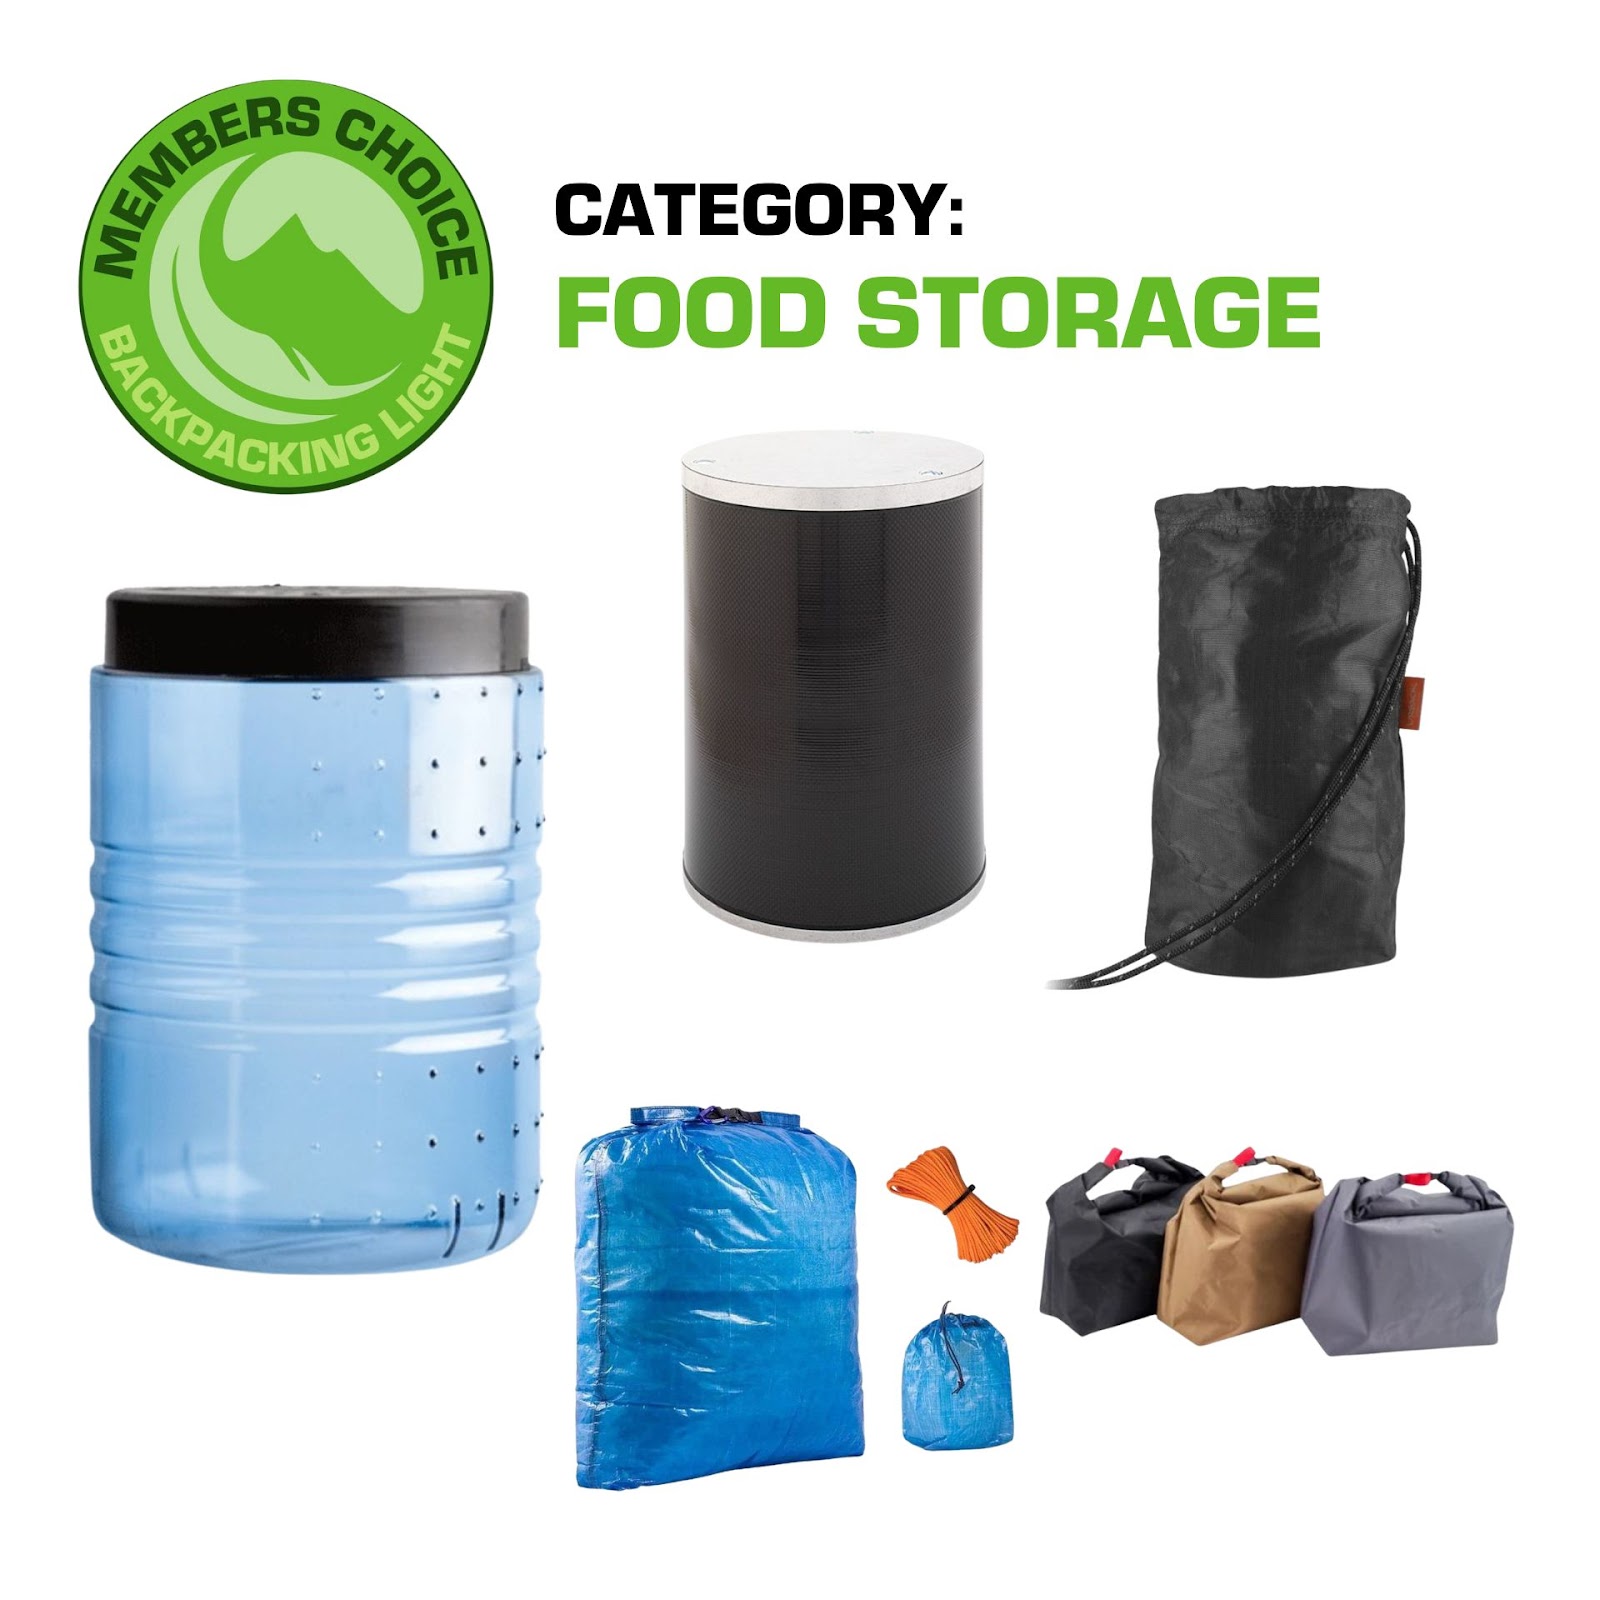
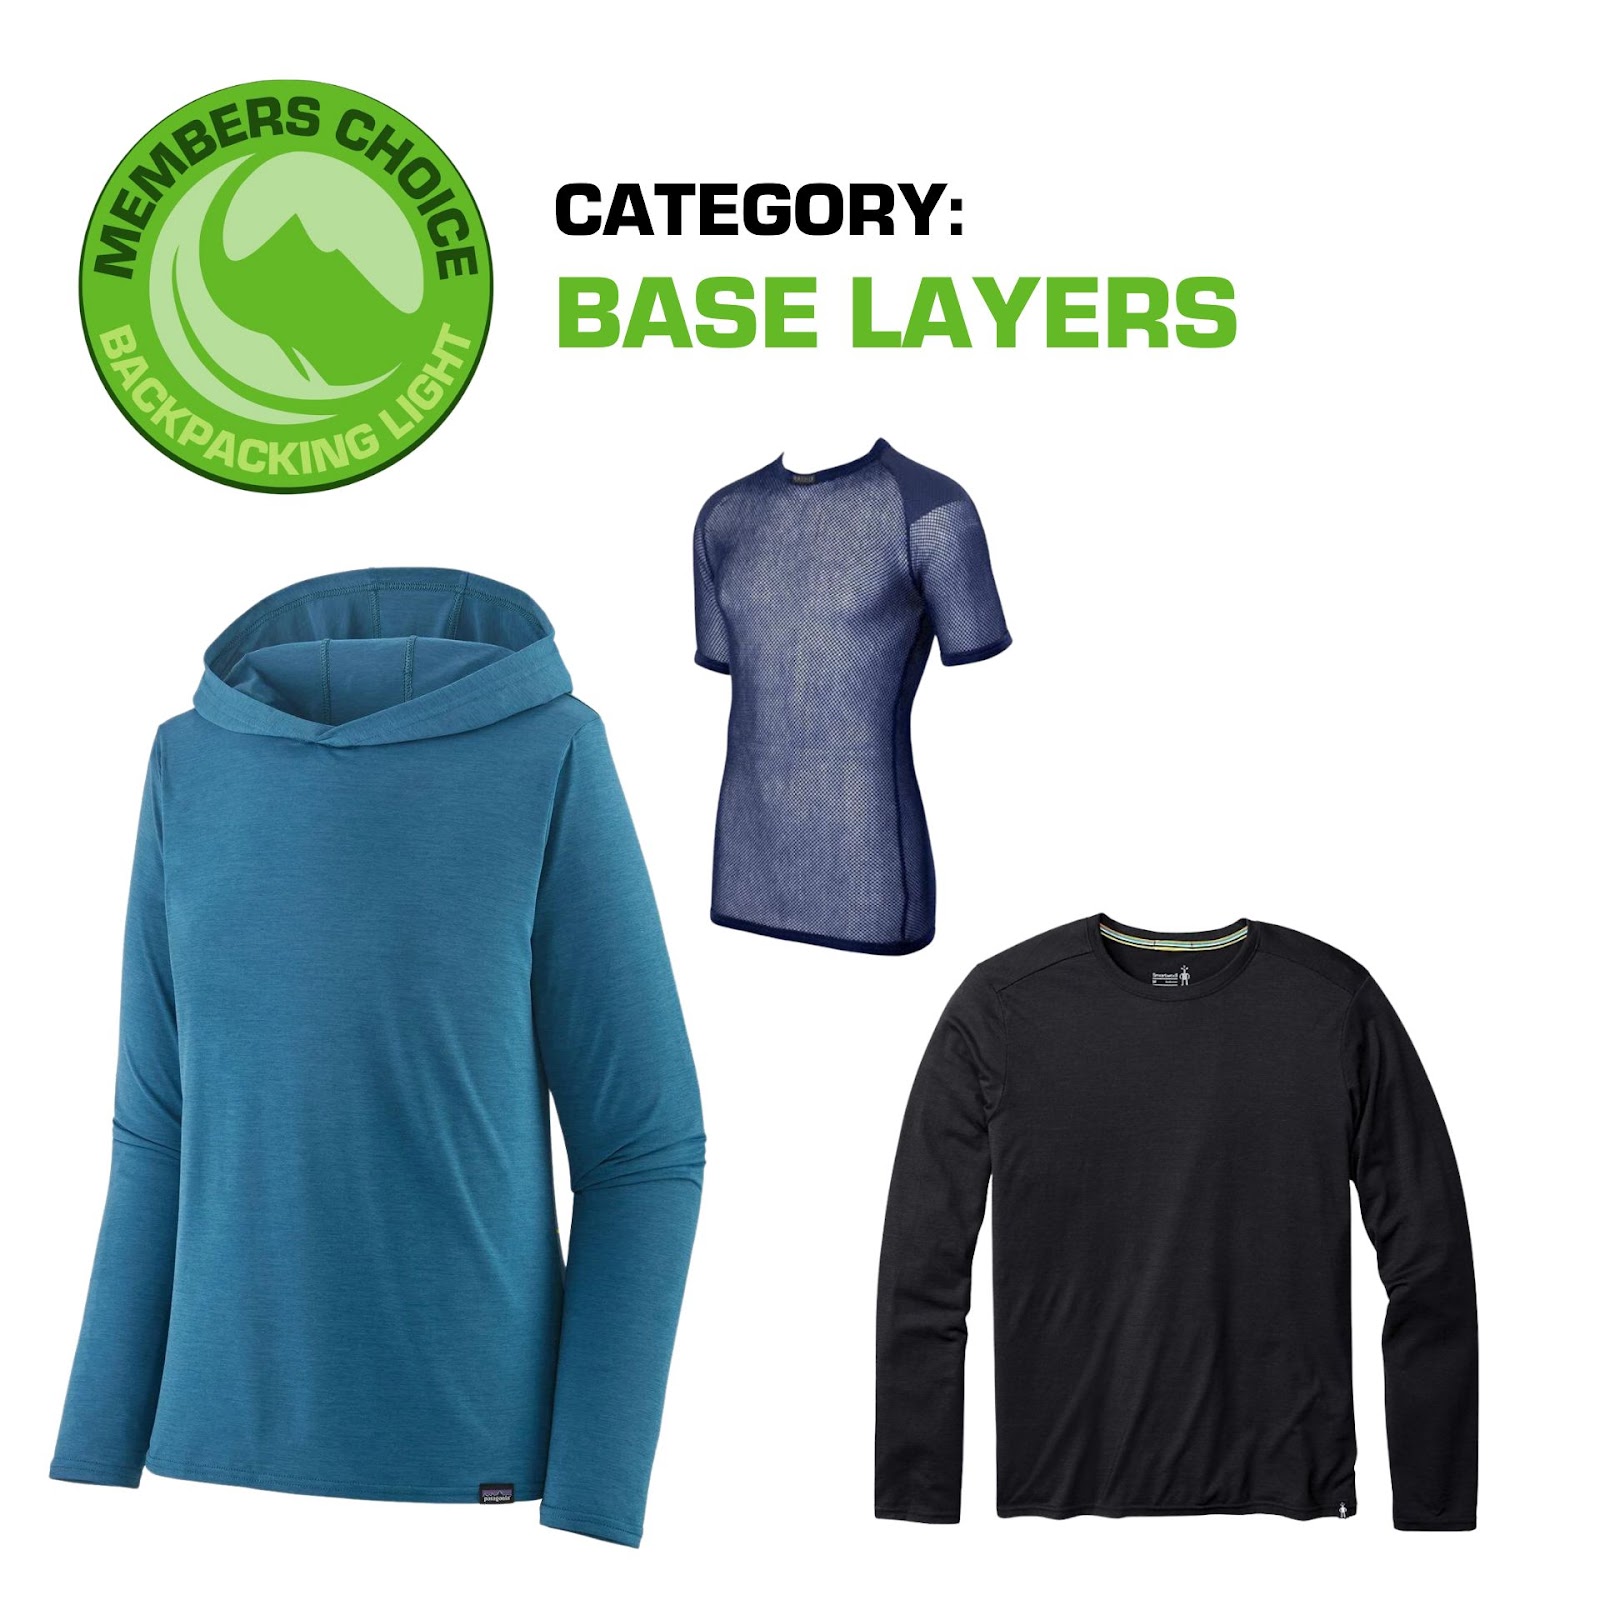
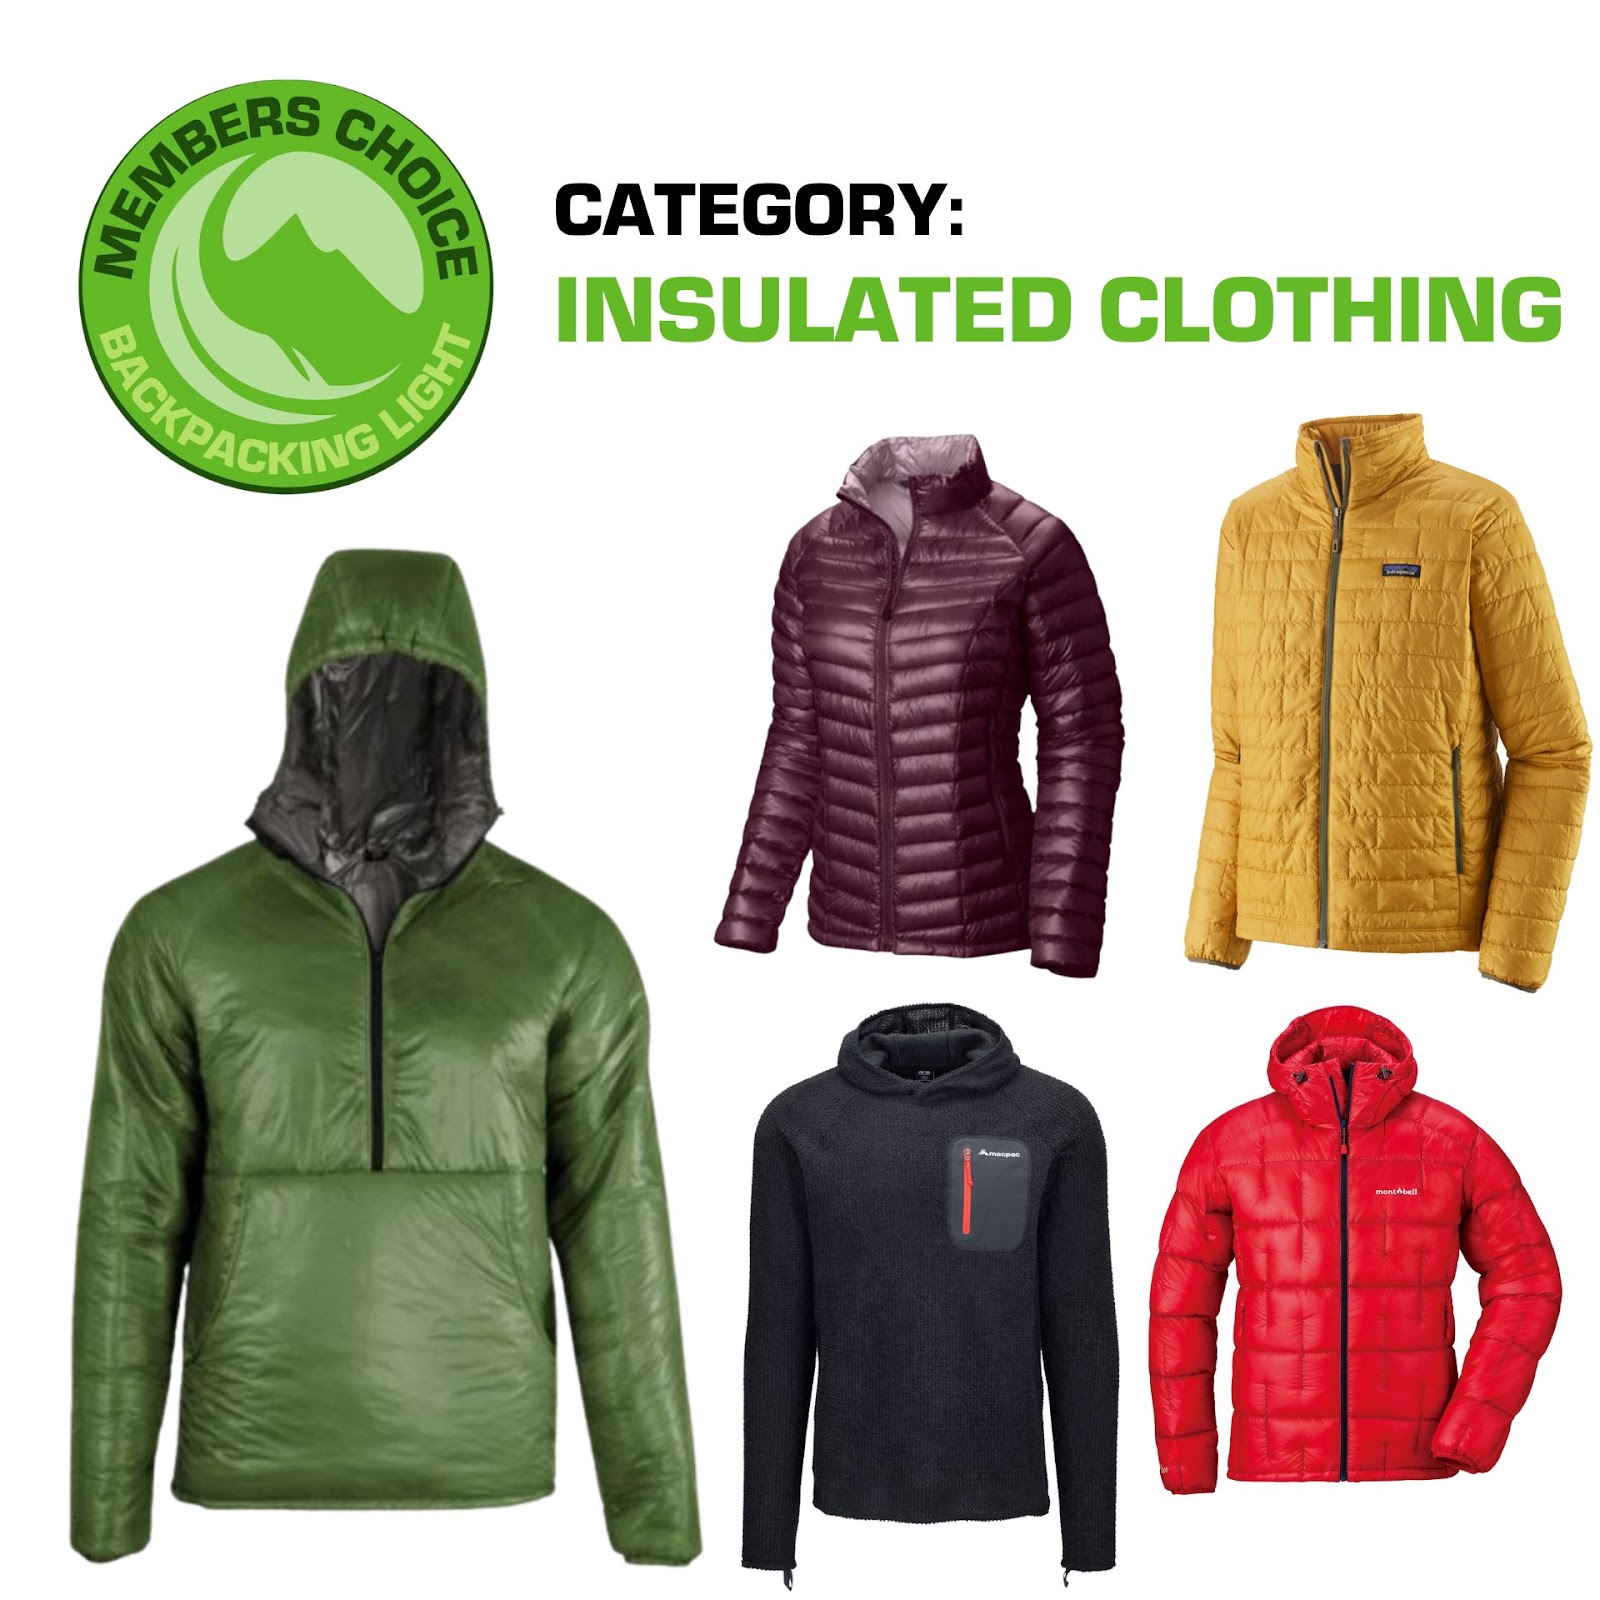
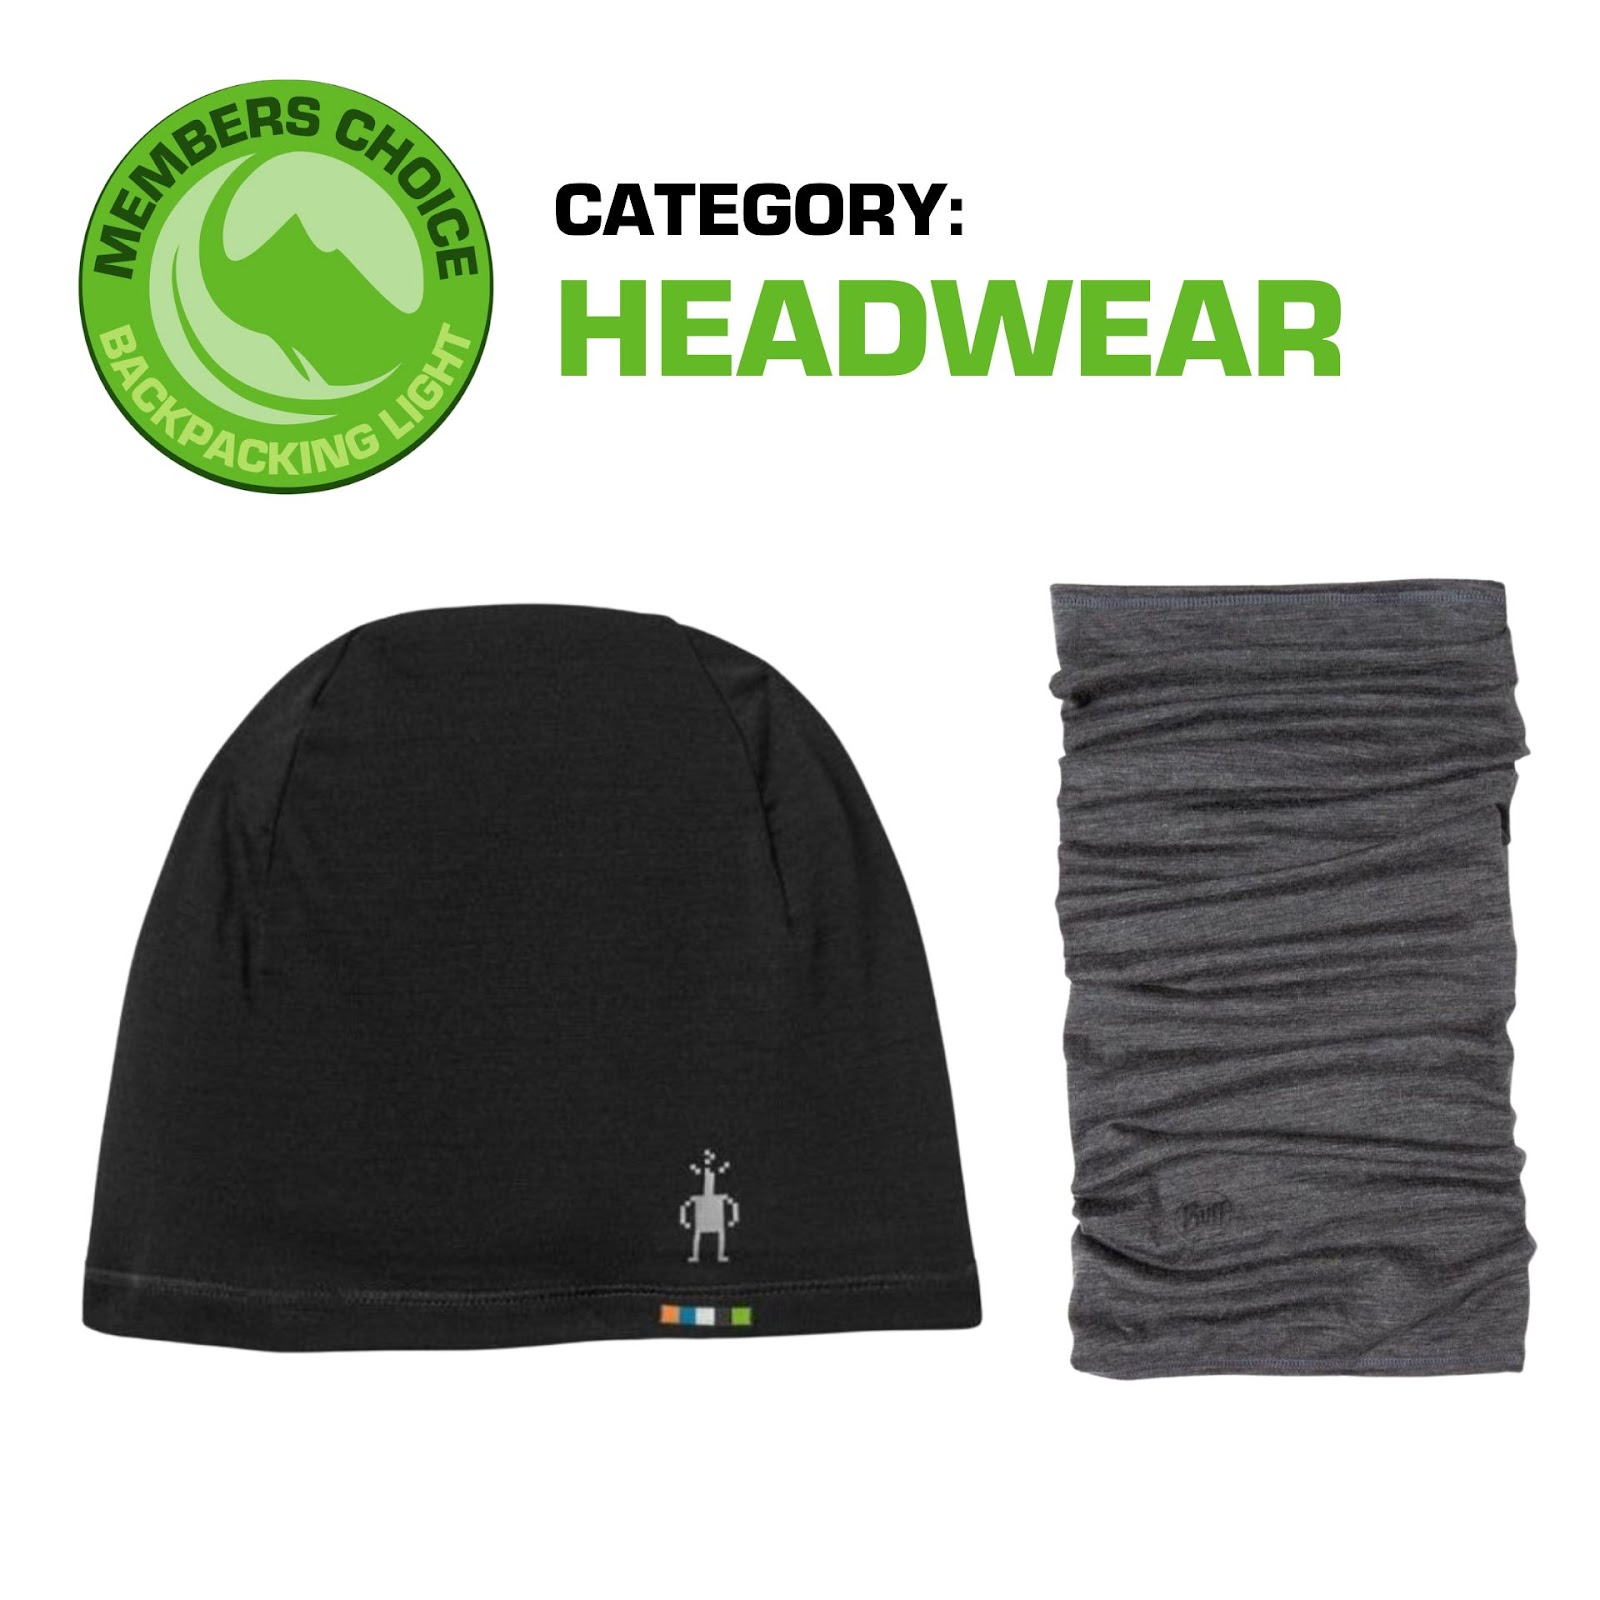
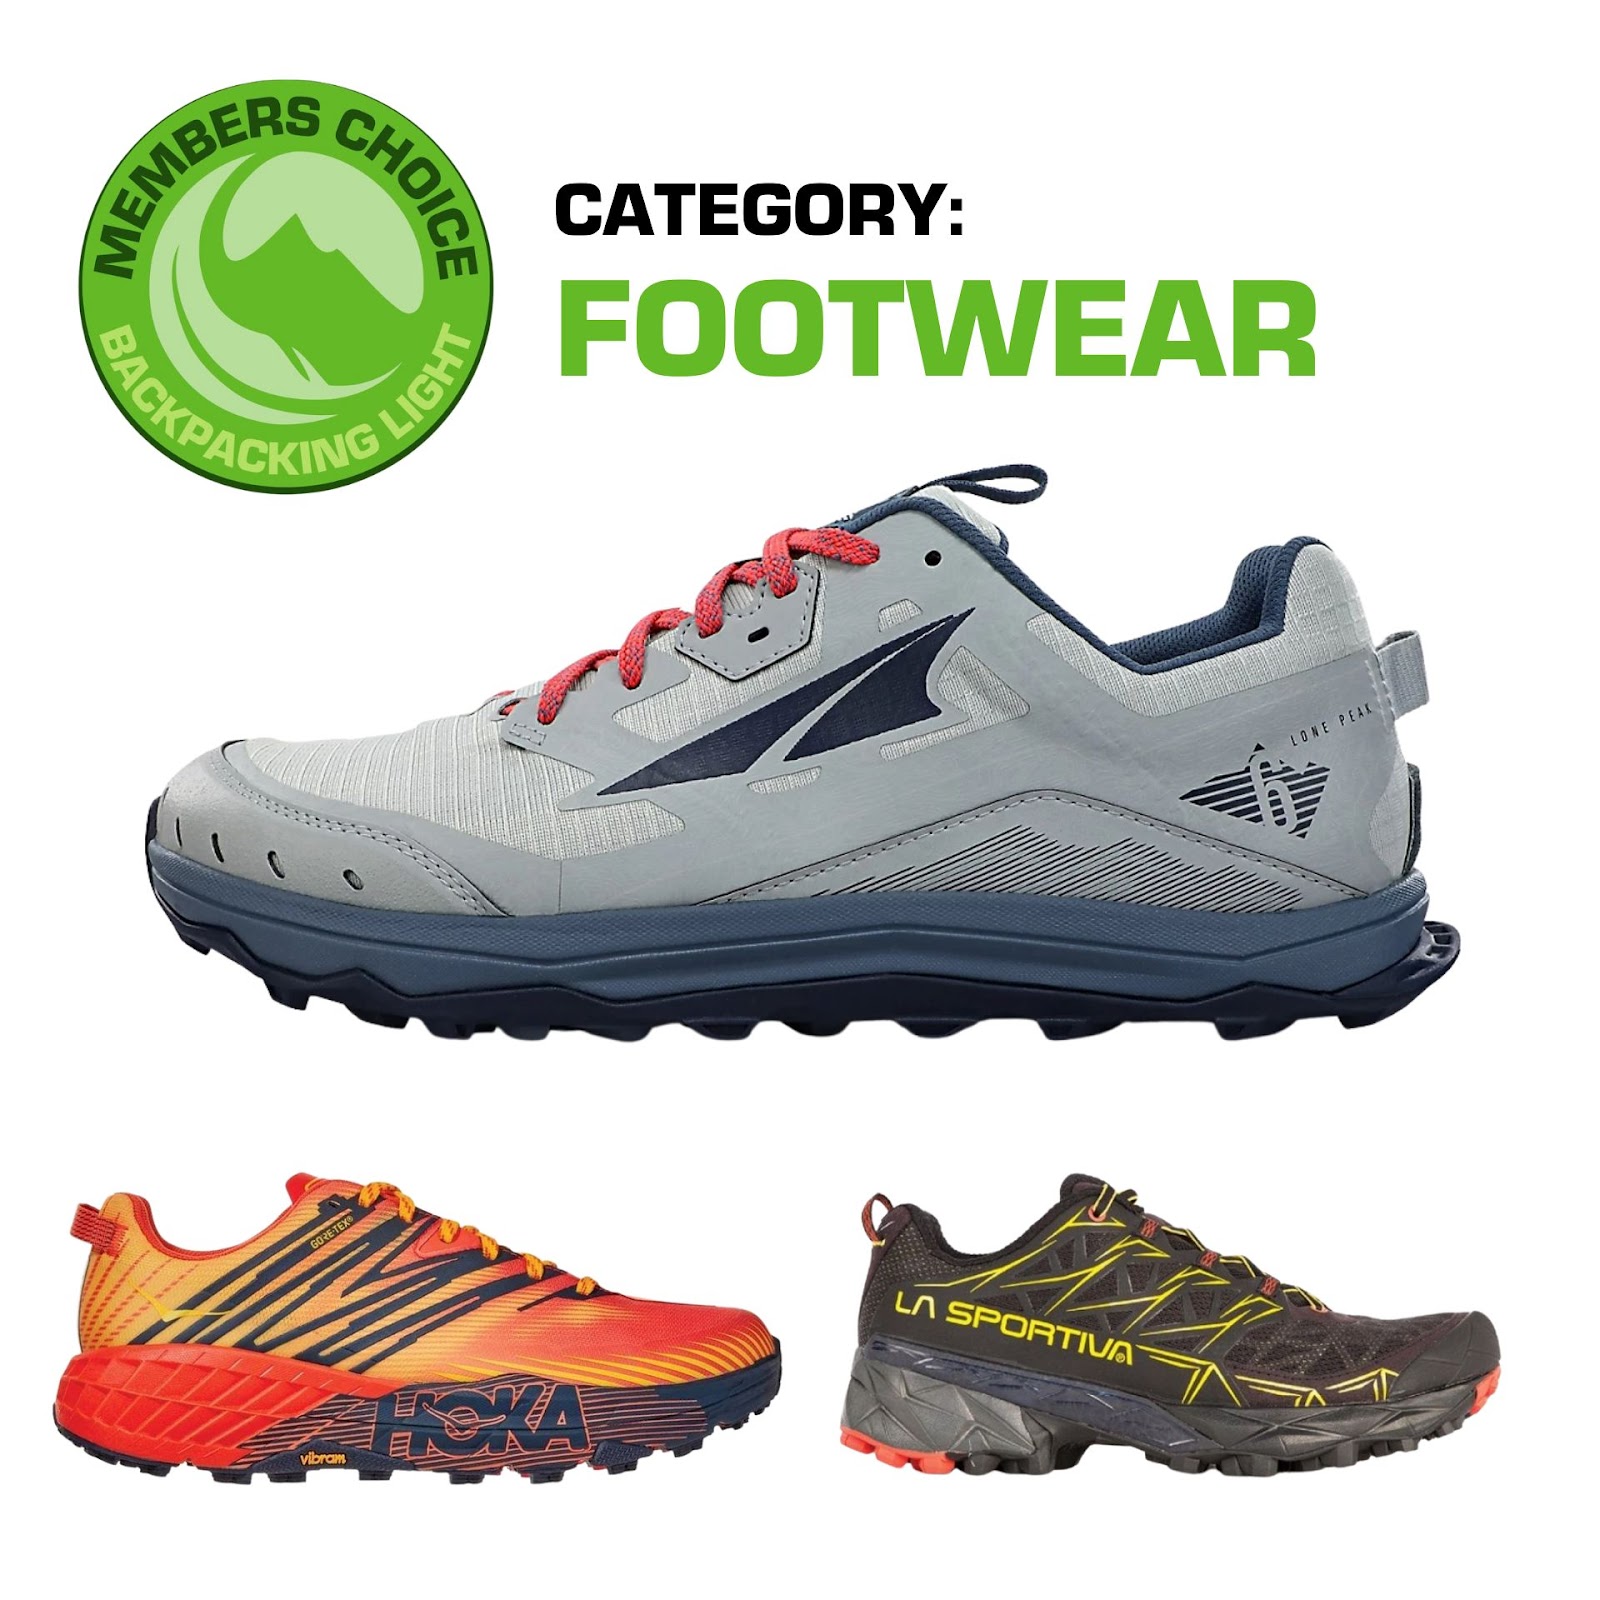
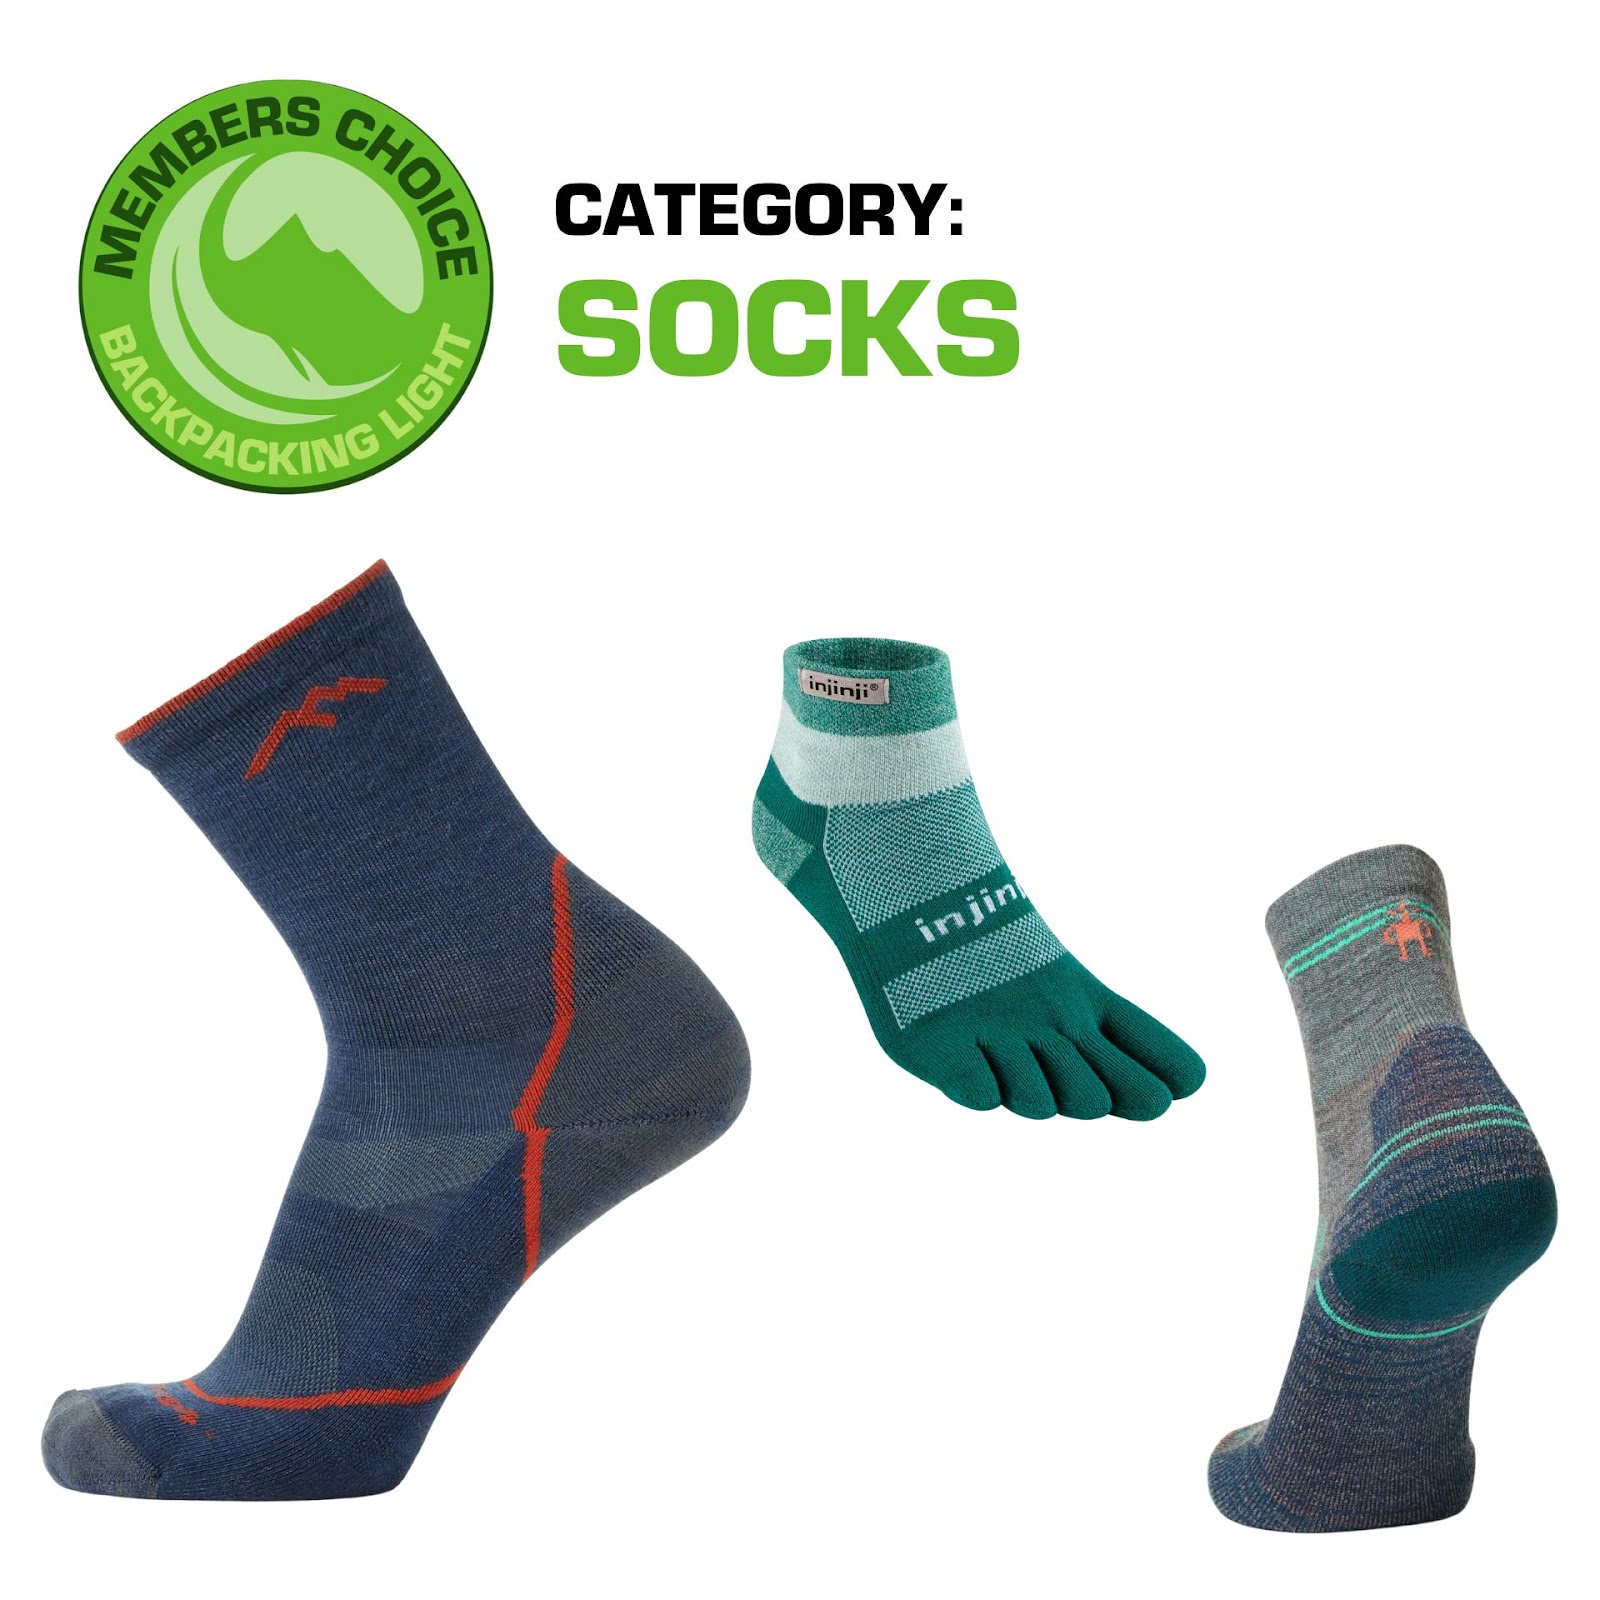
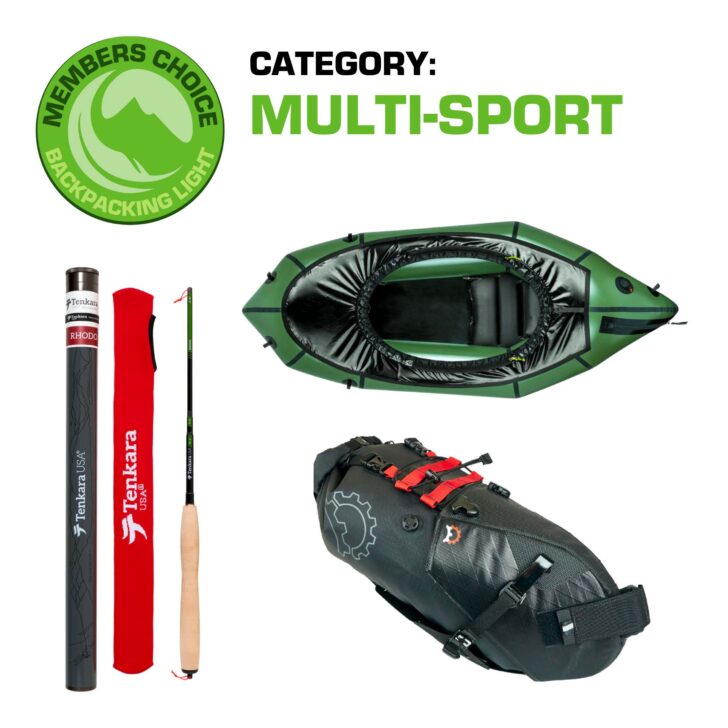
That’s why we are extremely proud to launch the Backpacking Light Members Choice Awards this year. Members Choice Awards represent the gear that Backpacking Light Members use and love. They represent products that are the collective favorites of hundreds to thousands of people submitting their picks in a democratic fashion, rather than the strategic decision made by a tiny group of editors, or worse, just me! – Ryan Jordan, Publisher
Table of Contents
Table of Contents • Note: if this is a members-only article, some sections may only be available to Premium or Unlimited Members.
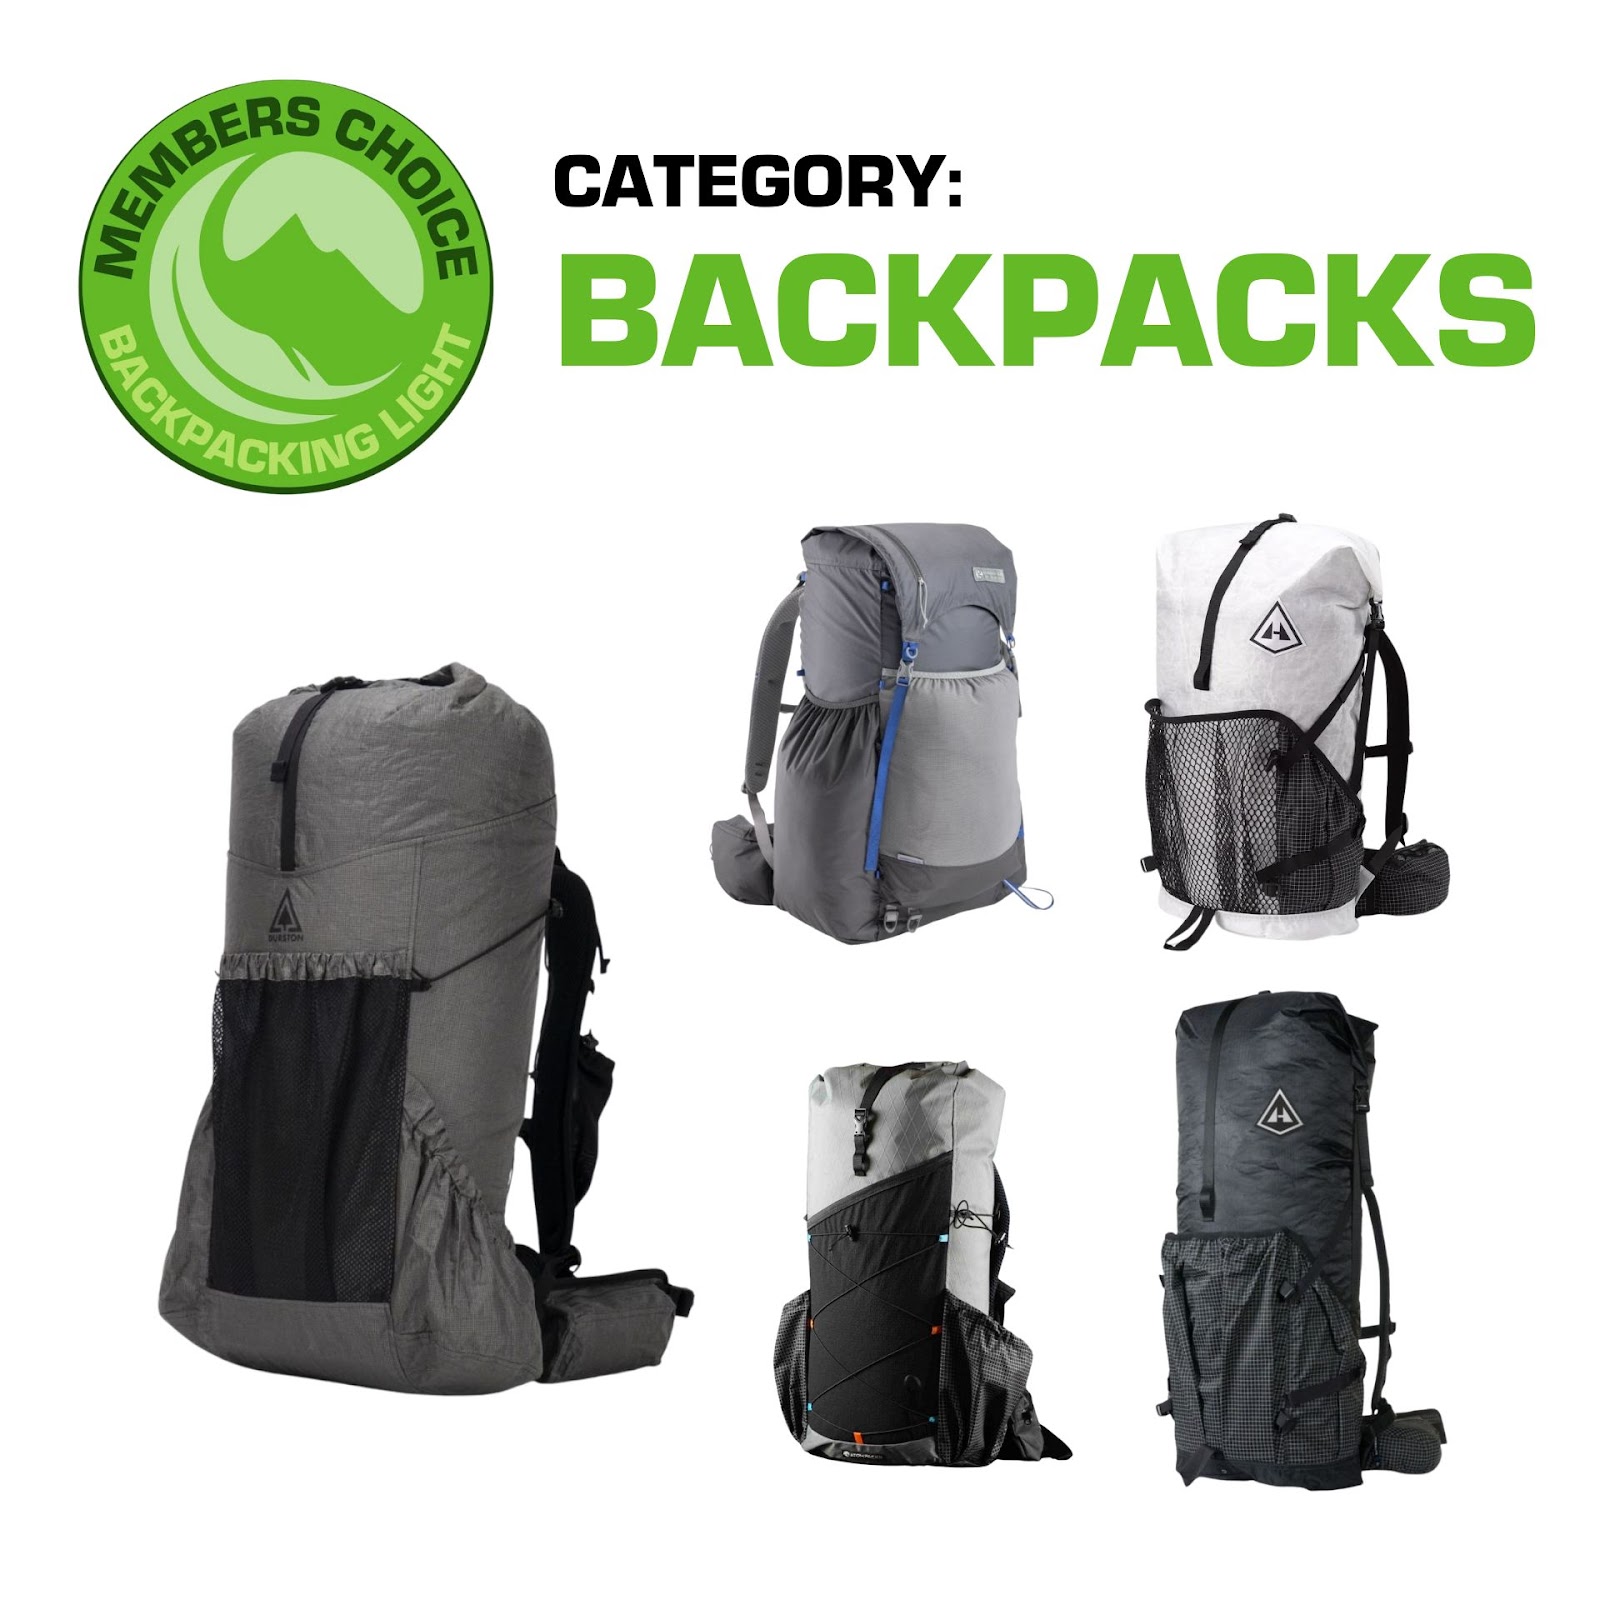
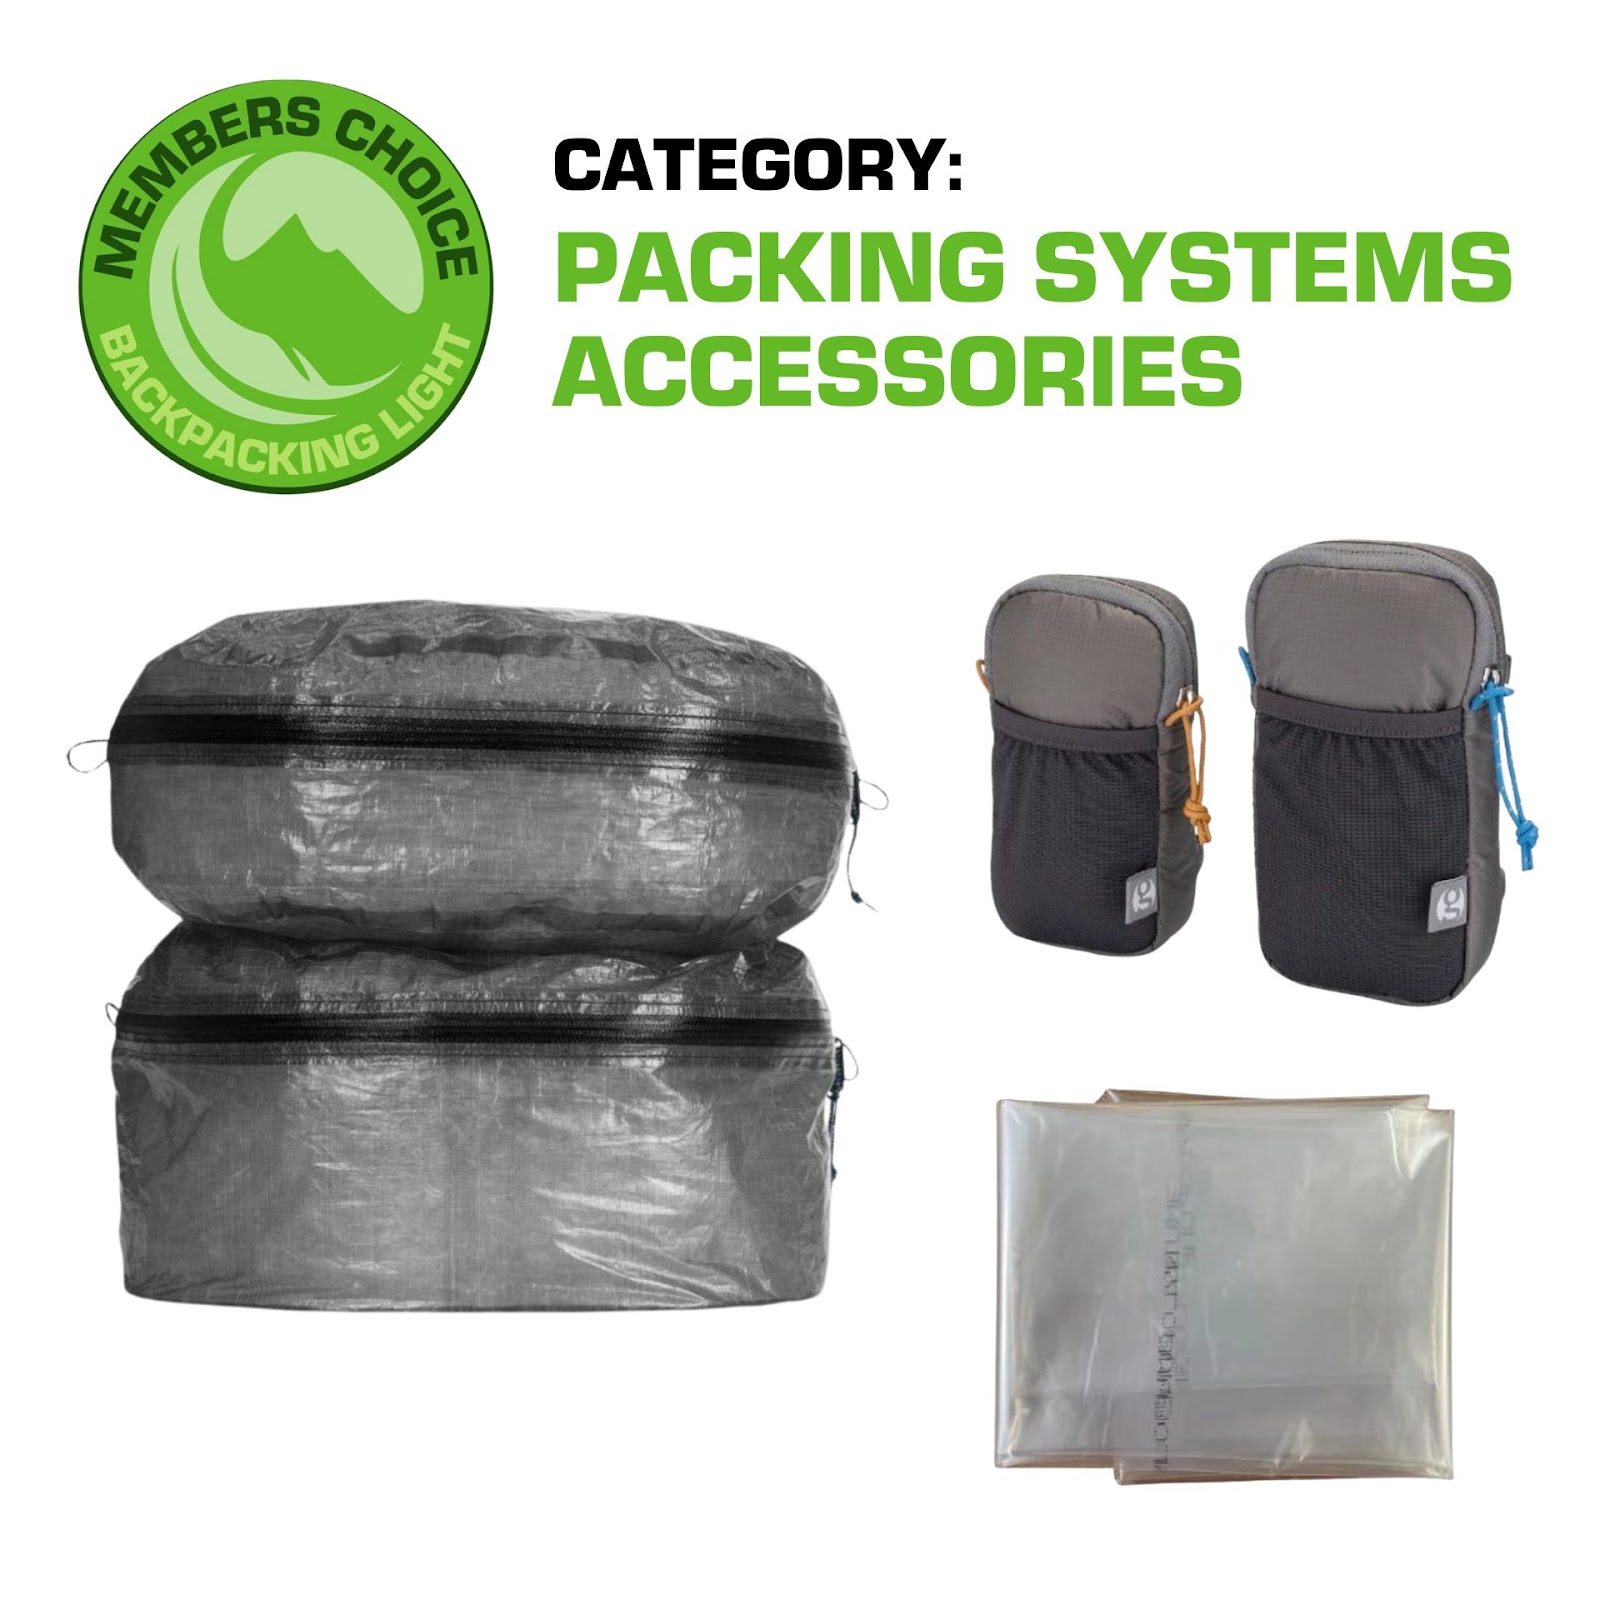
Nominations for 2022 Members Choice Awards were opened on September 14, and closed on October 31. Members were invited to nominate any product across a total of 45 different categories (for final tallying, some categories were consolidated). Each nomination was then tallied. The top product in each category, plus one or more honorable mentions, were selected based solely on the number of times those products were nominated. In most categories, the top products were nominated by 10% or more of Members who submitted nominations in that category.
The Members Choice Award badge is being awarded to the top products and the honorable mentions in each category. For this inaugural award cycle, we make no distinction between the top products and the honorable mentions.
Finding Members Choice Award Winners in the Gear Shop
The Backpacking Light Gear Shop represents a curated collection of backpacking gear recommendations from our staff, contributors, product reviewers, and now, our members. Gear Shop products can be filtered by award type, and you can find all Members Choice Award winners by using that filter:
The Gear Shop is one of the most popular areas of our site, and our members use it primarily to conduct gear research in a particular category and discover new products. In addition, Gear Shop listings provide a gateway into finding used versions on the Gear Swap, related product reviews, and more.
2022 Members Choice Awards
Each product below is linked to the product listing in the Backpacking Light Gear Shop, where you can learn more about these products and content published by Backpacking Light related to them.
Join us for BPL Live! and take a tour of Backpacking Light, find out what’s new, and get answers to your questions about Backpacking Light, using the website, getting the most out of your membership, and more!
Join us for BPL Live! and take a tour of Backpacking Light, find out what’s new, and get answers to your questions about Backpacking Light, using the website, getting the most out of your membership, and more!
Executive Producer - Backpacking Light; Show Director and Host - Ryan Jordan; Producer - Chase Jordan; Theme music: Look for Me in the Mountains written by Chris Cunningham and Ryan Jordan, performed by Chris Cunningham (acoustic guitar, lead and harmony vocals, harmonica), Chad Langford (upright bass), and Tom Murphy (mandolin), produced by Basecamp Studios in Bozeman, Montana.
Sponsorship Policy: Backpacking Light does not accept compensation or donated/discounted products in exchange for product mentions or placements in editorial coverage, including any podcast episode content not excplicitly identified as sponsored content. Some (but not all) of the links in these show notes may be affiliate links. Learn more about affiliate commissions, influencer marketing, and our consumer advocacy work by reading our article Stop wasting money on gear.
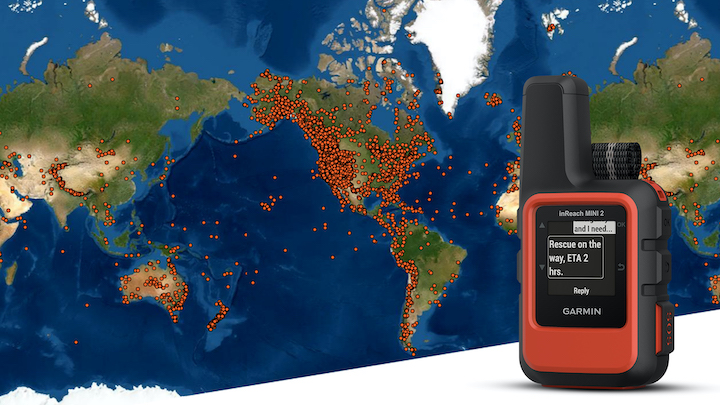
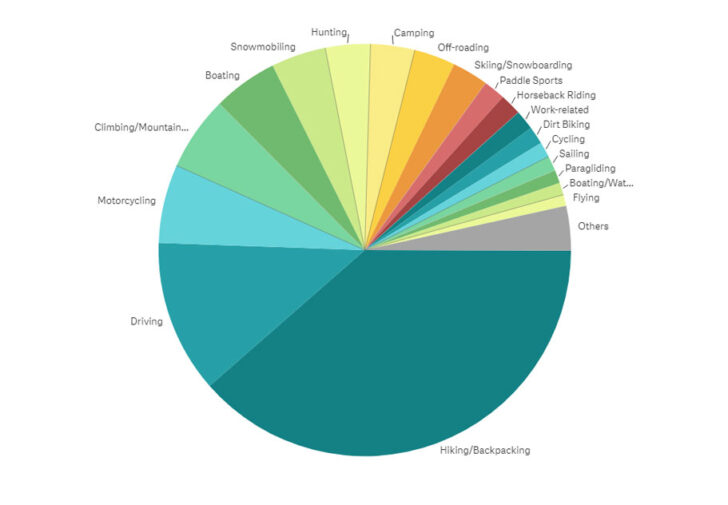
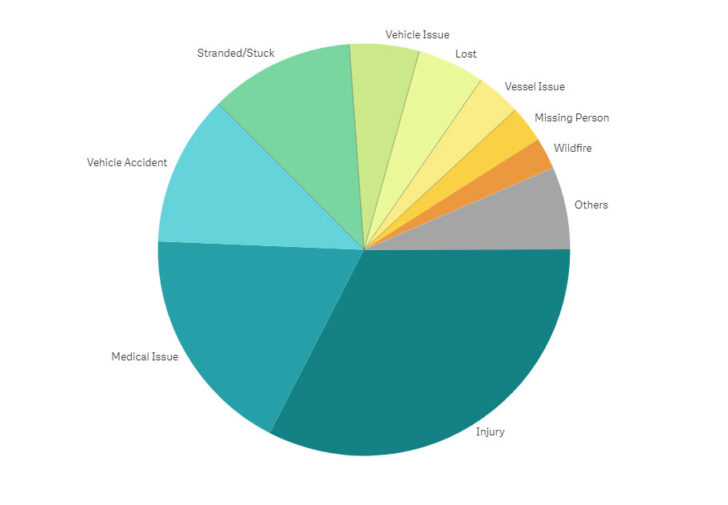
Data from 10,000 inReach SOS incidents show that hikers and backpackers needing emergency assistance for injuries and other medical issues is the predominant inReach use case.
This morning, Garmin announced the milestone of inReach having aided in 10,000 SOS incidents globally.
Hiking and backpacking accounts for 39% of inReach-triggered SOS incidents. Source: Garmin.Injuries and other medical issues (total 47%) make up the overwhelming majority of why people trigger an SOS with their inReach. Source: Garmin.
In our community, it’s probably not surprising that hikers and backpackers needing SOS assistance for injuries and medical issues are the dominant use-cases for inReach SOS triggers. It’s certainly the primary reason why I carry an inReach device – it adds that little bit of insurance for low-probability, high-consequence accidents.
In this paper, I subject base layers in various weights made from merino, merino blends, and alpaca to the suite of tests I have developed to evaluate base layer performance. I then compare the performance of these base layers with those of the polyester base layers I have recently reviewed. We also see if my preconceived notions about merino hold water. Finally, we will see how to choose the fiber for our base layers.
Episode 69 of the Backpacking Light Podcast dives into ultralight shelters and how their structures hold up during inclement weather.
Listen
Summary
In today’s episode of the Backpacking Light podcast, we’re going to talk about gear and skills for pitching ultralight shelters in inclement conditions – rain, snow, wind, and cold.
In this Episode:
What is Inclement Weather?
How the structure of a shelter affects its performance in inclement weather.
Choosing your campsite based on terrain and height above the ground.
Pitching a shelter for stability in inclement weather.
The downsides to shock cord for guyline tie-outs.
Comparing different shapes and materials for tent stakes.
Major issues regarding shelters when used in inclement weather.
Executive Producer - Backpacking Light; Show Director and Host - Ryan Jordan; Producer - Chase Jordan; Theme music: Look for Me in the Mountains written by Chris Cunningham and Ryan Jordan, performed by Chris Cunningham (acoustic guitar, lead and harmony vocals, harmonica), Chad Langford (upright bass), and Tom Murphy (mandolin), produced by Basecamp Studios in Bozeman, Montana.
Sponsorship Policy: Backpacking Light does not accept compensation or donated/discounted products in exchange for product mentions or placements in editorial coverage, including any podcast episode content not excplicitly identified as sponsored content. Some (but not all) of the links in these show notes may be affiliate links. Learn more about affiliate commissions, influencer marketing, and our consumer advocacy work by reading our article Stop wasting money on gear.
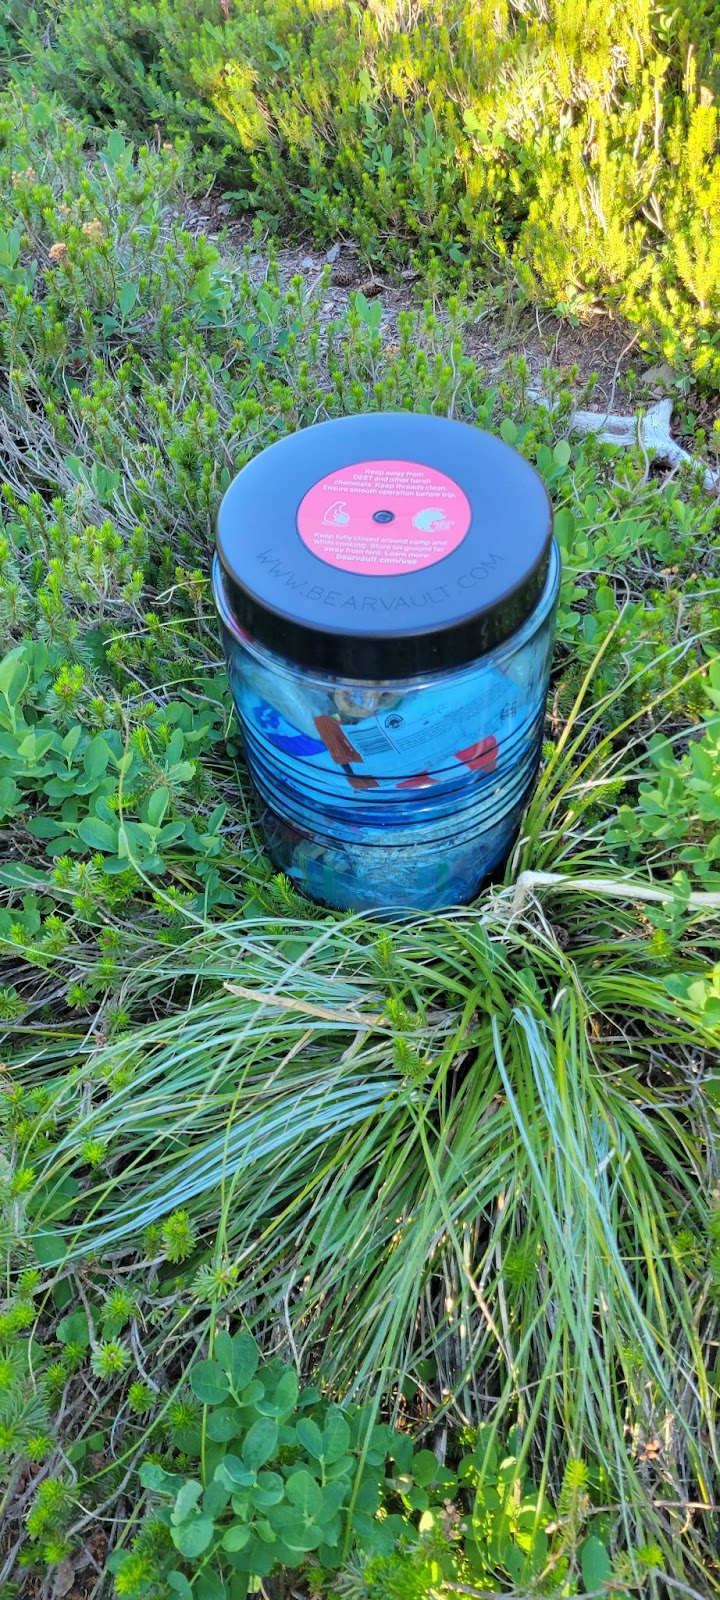
The Bearvault BV500 Journey (41 oz, 700 cubic inches, $88) is an IGBC-certified and SIBBG-approved bear canister. This review focuses on its usability and quality.
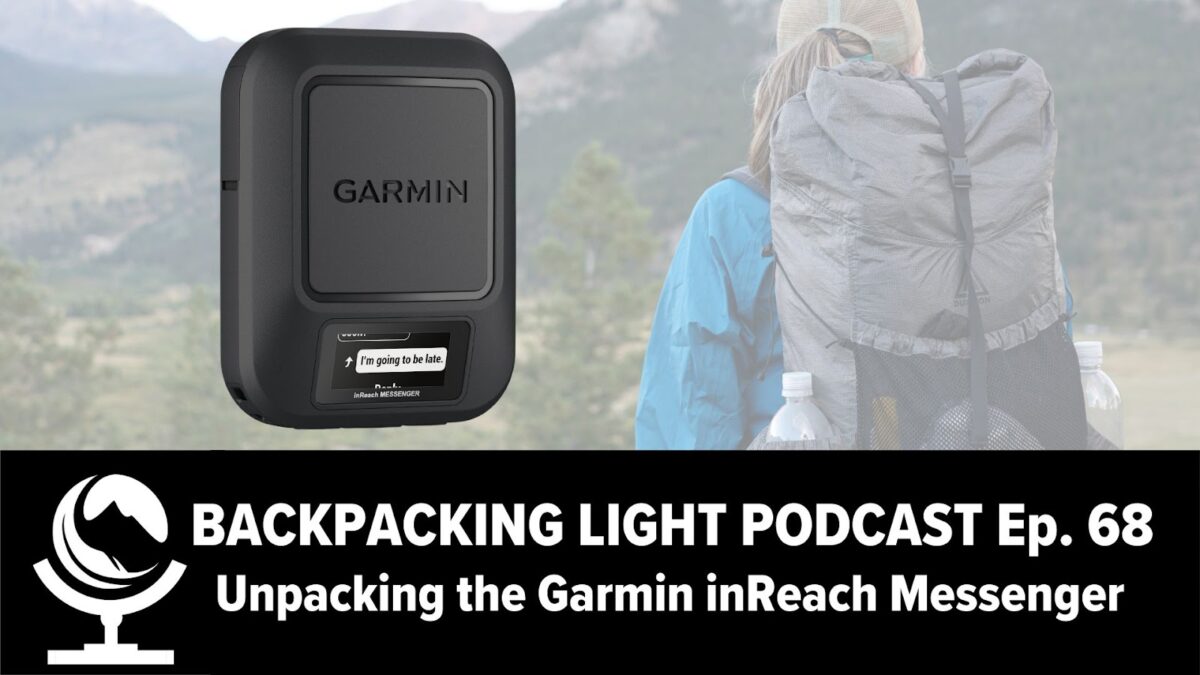
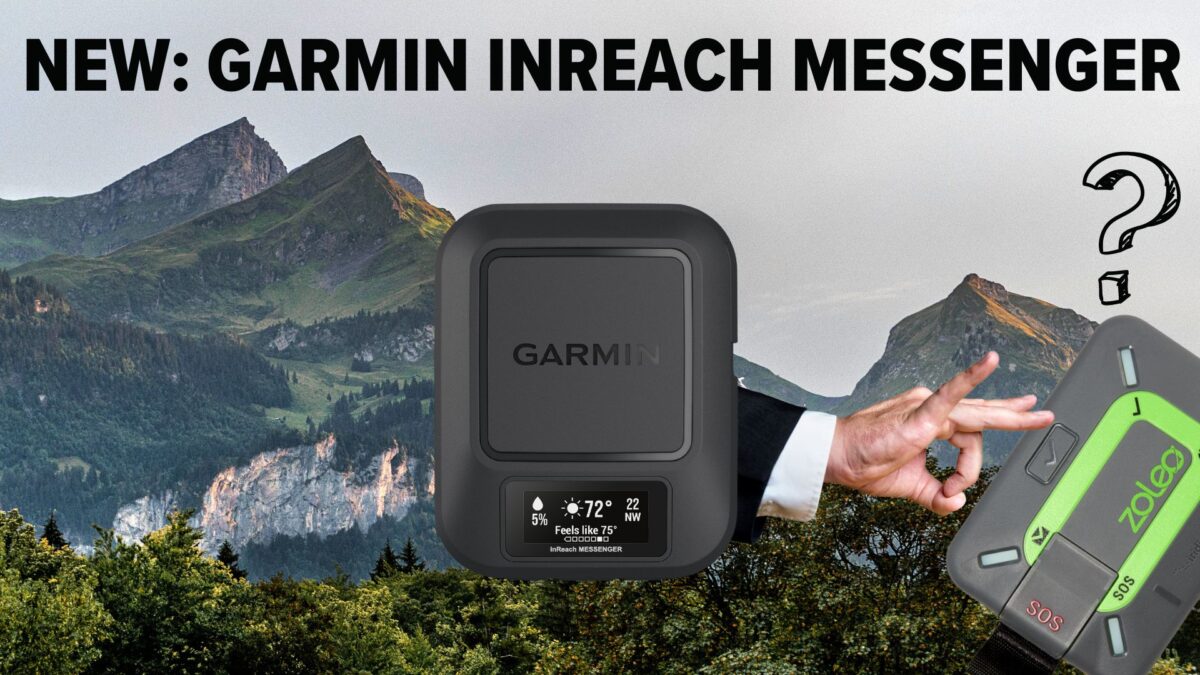
In today’s gear short episode of the Backpacking Light podcast, we’re going to talk about the brand new Garmin inReach Messenger and how it fits into the broader market of satellite communications devices for backcountry users.
Listen
Summary
In today’s gear short episode of the Backpacking Light podcast, we’re going to talk about the brand new Garmin inReach Messenger and how it fits into the broader market of satellite communications devices for backcountry users.
Executive Producer - Backpacking Light; Show Director and Host - Ryan Jordan; Producer - Chase Jordan; Theme music: Look for Me in the Mountains written by Chris Cunningham and Ryan Jordan, performed by Chris Cunningham (acoustic guitar, lead and harmony vocals, harmonica), Chad Langford (upright bass), and Tom Murphy (mandolin), produced by Basecamp Studios in Bozeman, Montana.
Sponsorship Policy: Backpacking Light does not accept compensation or donated/discounted products in exchange for product mentions or placements in editorial coverage, including any podcast episode content not excplicitly identified as sponsored content. Some (but not all) of the links in these show notes may be affiliate links. Learn more about affiliate commissions, influencer marketing, and our consumer advocacy work by reading our article Stop wasting money on gear.
The Garmin inReach Messenger provides seamless messaging across cellular, WiFi, and satellite networks for only 4.0 ounces. It offers some compelling features over its closest competitor, the Zoleo Satellite Communicator, including an on-device display that makes it a viable standalone device when used without a smartphone.
Introduction: Garmin inReach Messenger vs. Zoleo Satellite Communicator
The Garmin inReach Messenger and Garmin inReach Messenger Plus are 2-way global satellite messengers that offers location sharing and SOS capabilities. The Garmin inReach Messenger Plus also provides photo and voice memo sharing capability. Either can be used as a standalone device or paired with your smartphone via the Garmin Messenger app. The inReach Messenger weighs 4.0 ounces and has an MSRP of $300, and the inReach Messenger Plus weighs 4.1 ounce and has an MSRP of $500. This article focuses on the Garmin inReach Messenger. For more information about the Garmin inReach Messenger Plus, see this article.
This article was originally published on September 27, 2022 and updated with new information on September 30, 2022 and September 18, 2024.
Table of Contents
Table of Contents • Note: if this is a members-only article, some sections may only be available to Premium or Unlimited Members.
Like the Zoleo Satellite Communicator and the Somewear Global Hotspot, the Garmin inReach Messenger offers seamless messaging across different types of networks (cellular/WiFi and satellite) and selects the most readily-available network without interrupting message conversations.
Unlike the Zoleo or Somewear products, however, the Garmin inReach Messenger offers the following unique features:
An on-device display allows the user to view incoming messages and send both preset and custom messages (via screen keyboard), along with other alerts and visual cues.
Group messaging conversations are maintained for all sent and received messages.
Weather forecasts can be requested and viewed without a paired smartphone.
TracBack (Garmin’s breadcrumb tracking program) is usable with or without a paired smartphone.
Reverse charging via USB-C to preserve the operation of a low-battery phone.
The Garmin inReach Messenger comes with a price tag that’s $100 higher than its closest apparent competitor – the Zoleo Satellite Communicator. Is the inReach Messenger’s additional feature set worth it?
The unique features of the Garmin inReach Messenger include its on-device display, group messaging conversations, TracBack, and reverse charging.
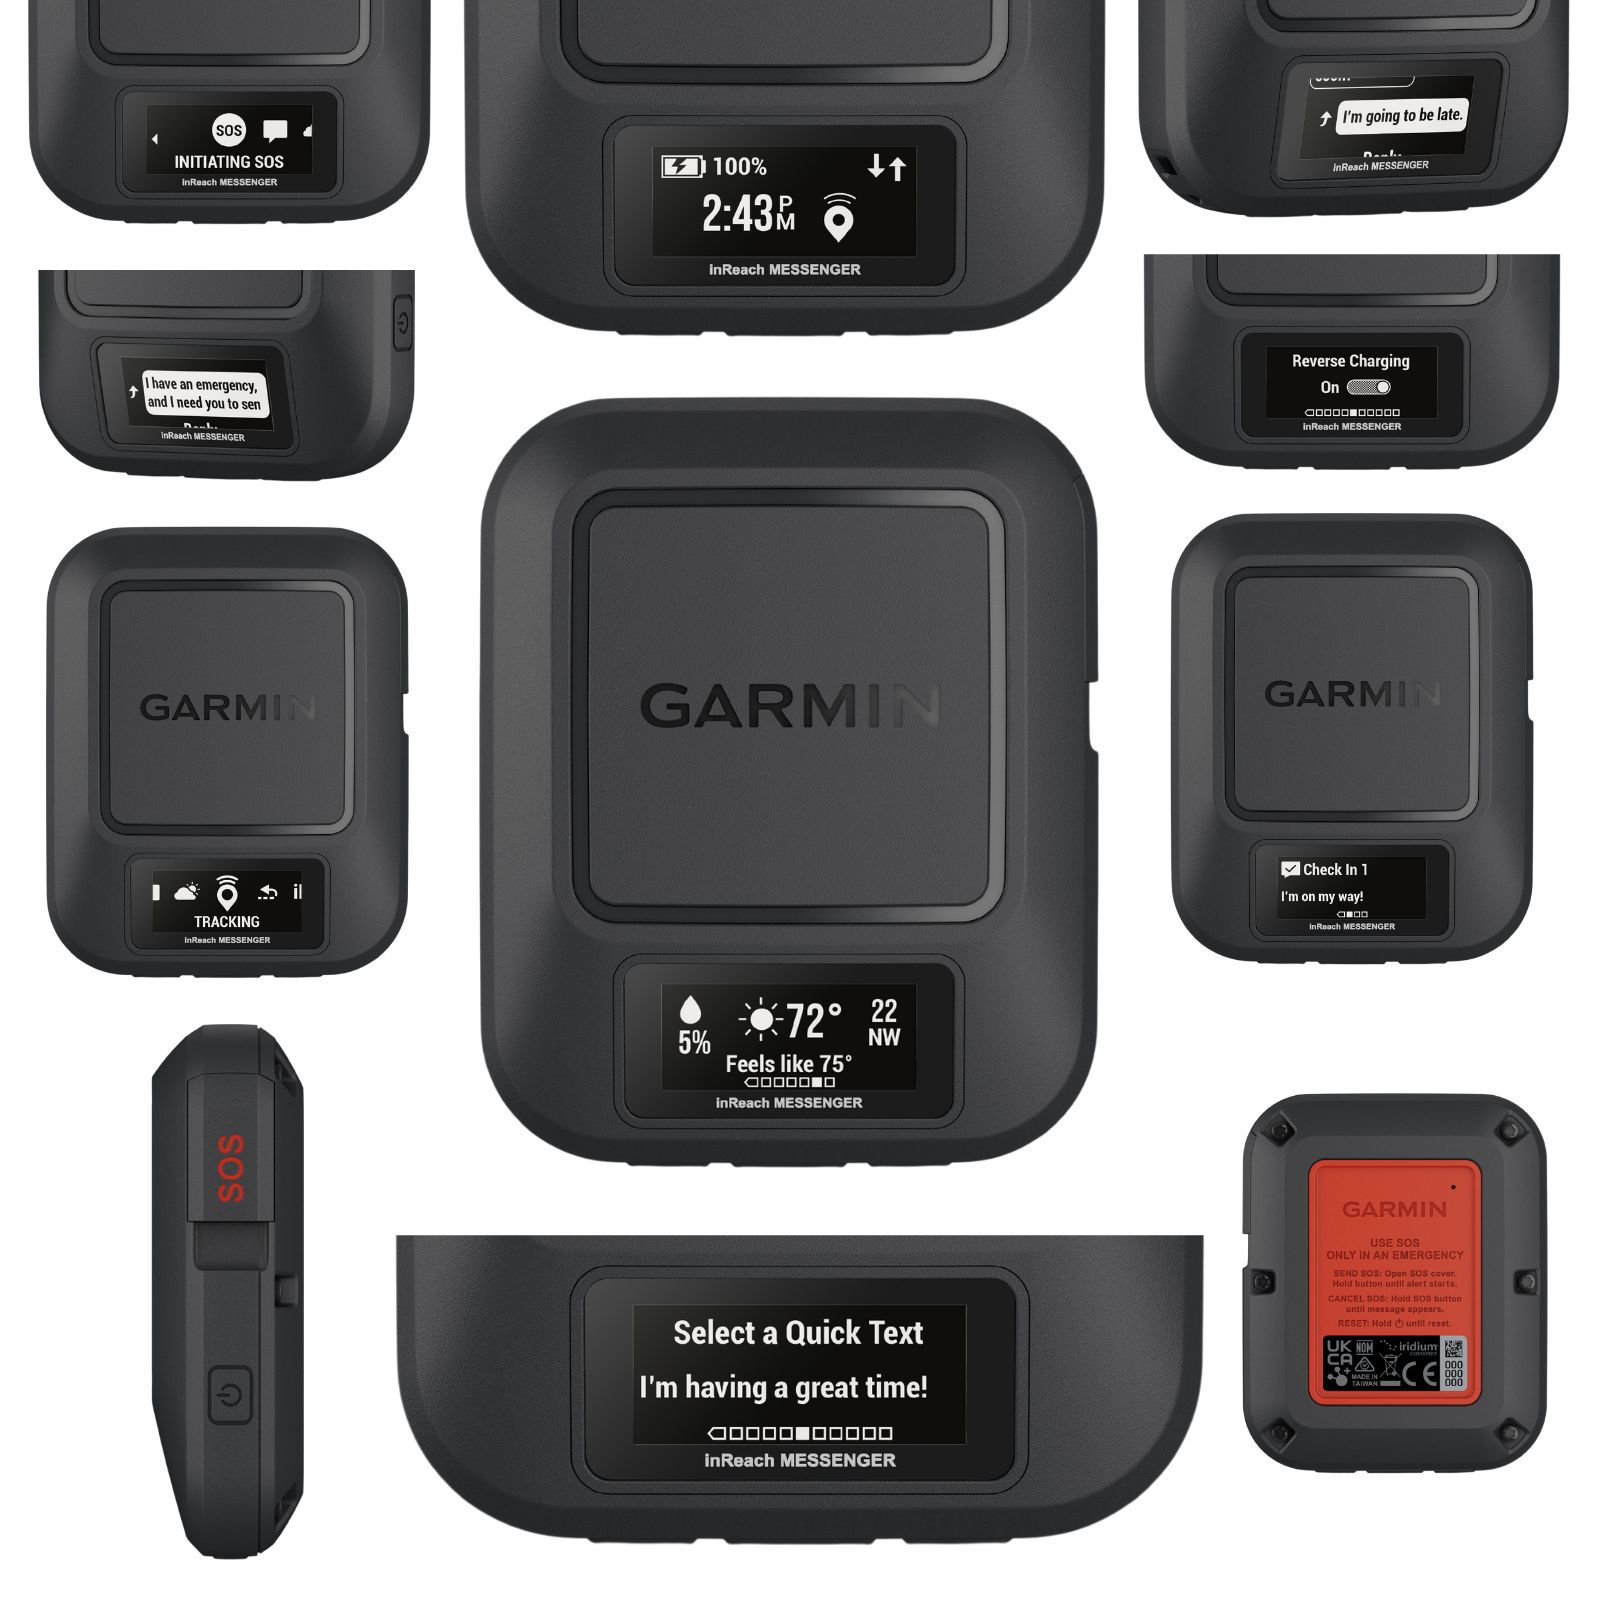
On-device display
The Garmin inReach Messenger features a simple on-device display screen that offers notable feedback and functionality that can’t be accessed on the Zoleo Satellite Communicator or Somewear Global Hotspot without pairing them to a Smartphone:
reading incoming messages;
composing and reading outgoing messages (preset or custom) and monitoring their sending/sent status;
battery capacity remaining and reverse charging status;
time of day;
SOS status and incoming message monitoring;
the ability to select from and send from a variety of different (preset) Quick Text messages;
requesting and reviewing weather forecasts.
Various device screens on the Garmin inReach Messenger show the types of information available when used as a standalone device. Source: Garmin.
Group messaging conversations
Most satellite messaging devices can send messages to groups (“broadcast” messaging), but when one group member replies, the reply is delivered only to the sender.
The Garmin inReach Messenger is the first satellite messaging device that can both send and receive messages among a group of people while maintaining the group during the entire conversation – similar to how group messaging works in most smartphone applications.
TracBack
TracBack is Garmin’s breadcrumb application. If you turn on TracBack on a TracBack-compatible inReach or GPS device, the unit tracks your route via waypoint breadcrumbs that it saves in its memory. Then, if you’d like to follow the exact route backward, you simply activate TracBack’s reversal, and the device will guide you back to your origination point following the same route.
TracBack can be a useful feature for not getting lost during nighttime bathroom forays into the dark woods, mushroom or berry or elk hunters following signs on the ground rather than paying attention to where they’re traveling, or negotiating through (and back) thick vegetation via game trails and brush-free corridors.
It’s not surprising that the Garmin inReach Messenger provides TracBack. That it allows it to be used without a paired smartphone is welcome.
Reverse charging
Even though the Garmin inReach Messenger is a capable device on its own when not paired to a smartphone, the smartphone is still required to access custom on-the-fly messaging. However, as many of us Garmin inReach Mini users will testify, the moment our smartphone dies is the moment that “typing” custom messages on the Mini becomes awkward enough to elicit enormous frustration. This is particularly problematic if you don’t have access to a portable battery charger, or in the case of an accident, your phone charger is inaccessible.
The Garmin inReach Messenger provides reverse-charging capability. That means if your phone dies or the battery is extremely low, you can use the Garmin inReach Messenger in reverse charging mode to keep your phone charged at a low level. This could be of great importance while communicating during an SOS event.
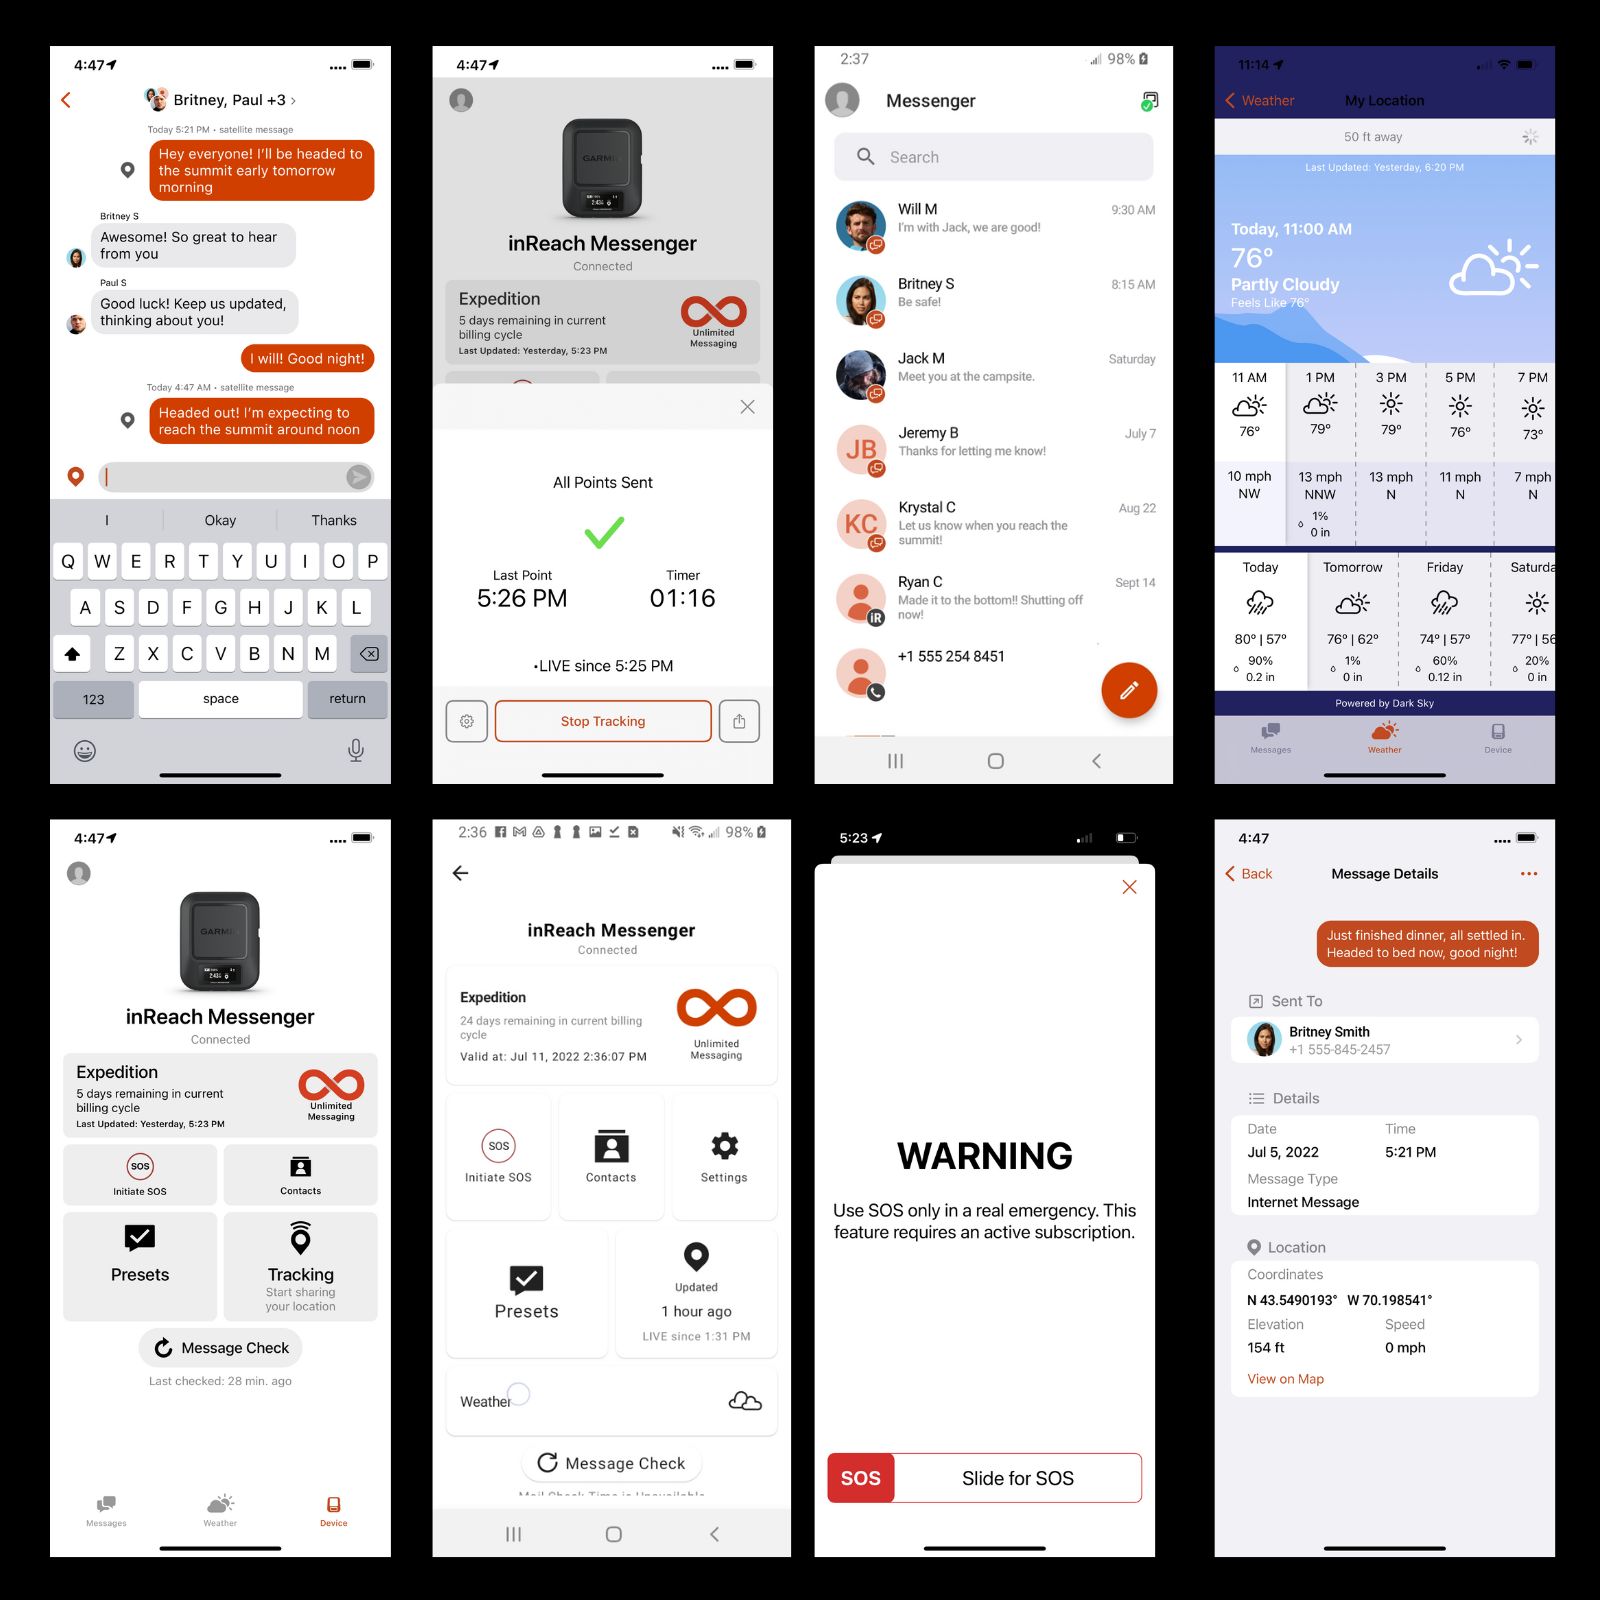
Screenshots from the Garmin Messenger companion app that is installed on a smartphone that is paired to the inReach Messenger. Source: Garmin.
FAQs (Updated 30.Sep.2022)
Does the Garmin inReach Messenger have a dedicated phone number?
A dedicated phone number on a satellite device makes it easier for anyone with a cell phone and SMS capability to send a text message to the device.
The Garmin inReach Messenger does not have a dedicated phone number. Here’s why (response from Garmin):
The inReach Messenger does not have a dedicated phone number. We have found significant challenges with SMS messaging, things like sending a message with a map link or delivering to a country with a restrictive cell carrier. We’ve found that many of our international customers are using internet driven apps like Whatsapp or Facebook Messenger instead of SMS anyway. We chose to focus our efforts on our Garmin Messenger app and delivering a rich messaging experience where participants can see things like delivery confirmation, read/unread state, and even if a friend or family member has joined the Messenger app community. This gives us the freedom to do things like send a message location or create a group message and know that we control the experience from within our own app.
Keep in mind that we do still support the other methods of communicating with someone who doesn’t want to install the Messenger app, you can send them a message using their SMS number or their email address. You can also send them your MapShare link which has the ability for a visitor to send a message to the inReach device owner. We feel that the Garmin Messenger app is a good solution for close friends and family who want the rich messaging experience and we feel that the original SMS/email/MapShare solution is a reasonable solution for those who don’t want the app.
How will the inReach Mini 2 integrate with the Garmin Messenger (when that support is released) and Garmin Explore apps?
Response from Garmin:
Please note that the inReach Mini 2 will be compatible with the Garmin Messenger app when we release our firmware update, however the first generation inReach Mini will not be compatible. The first generation Mini was launched in 2018 and has some hardware limitations that prevent us from bringing it forward to new apps like the Explore app and the Messenger app. The inReach Mini still works as designed with the Earthmate app for messaging, tracking, safety, planning and navigating, it’s just not able to take advantage of the internet messaging features found in the Garmin Messenger app.
As you’ve seen, the inReach Messenger device does not support any planning or navigation features and is not compatible with the Explore app. Our inReach devices like the inReach Mini 2 will use both apps for their different specialties – the Messenger app for messaging, tracking, and safety, the Explore app for planning, navigating, and reviewing activities. The two apps will be seamlessly linked so that the user doesn’t have to exit one app to go to the other, they will just choose the Messages tab in the Explore app to have the Garmin Messenger app open with the Messages tab displayed. The same thing will happen if someone using the Garmin Messenger app views details on a message and chooses to view the location on the map, the Explore app will open to show that detail.
How do people using the inReach Mini (or Mini 2) initiate contact with people using inReach Messengers in the backcountry? How about vice versa?
Response from Garmin:
inReach users will be able to message back and forth between all inReach devices, the same way they can now. Users with an inReach Messenger and Garmin Messenger app will be able to enter the inReach address for an older inReach device owner like an inReach Explorer+ and have it routed correctly. That same user can send their own inReach message to the inReach Messenger user and it will route to that owner’s Garmin Messenger app automatically. We are working very hard to support our new inReach Messenger and Garmin Messenger app users, as well as our existing users who might have older inReach devices. We want to make sure that everyone can communicate with each other and that we are continuing to advance the inReach ecosystem with exciting new features like internet messaging and group messaging.
Is the messenger app required for “friends and family” who don’t have an inReach or can they use their native phone texting app? Or does the messenger app provide added features/functions that one’s native SMS app won’t have?
Response from Garmin:
Messenger app is not required for “friends and family” who don’t have an inReach. A benefit for non-inReach users to use the free Messenger app is participation in group messaging. If an individual (who isn’t using Messenger app) is put in a group chat by the inReach user in the Messenger app, they will only receive responses from the inReach user, not other participants of the group.
Final Comments
Until now, internet debaters have been drawn to the (mostly strawman) discussion of the Garmin inReach Mini vs. the Zoleo Satellite Communicator. However, these two devices have notably different use cases and purposes. One (the Zoleo) is primarily a network-independent messaging device requiring a paired smartphone, and the other (the inReach Mini) is a satellite-only messaging, tracking, and navigation device that doesn’t require a paired smartphone to access its complete feature set.
The Garmin inReach Messenger, however, changes the decision calculus for hikers who are primarily interested in messaging features. With network-independent seamless messaging, the inReach Messenger is a direct answer to the Zoleo Satellite Communicator. With its on-device display, the ability to send custom messages, group messaging conversations, TracBack, reverse charging, and increased battery life, the Garmin inReach Messenger may now be the feature-defining product within the category of seamless satellite/cellular/WiFi messaging devices.
If you are interested in photo and voice memo sharing, see the Garmin inReach Messenger Plus.
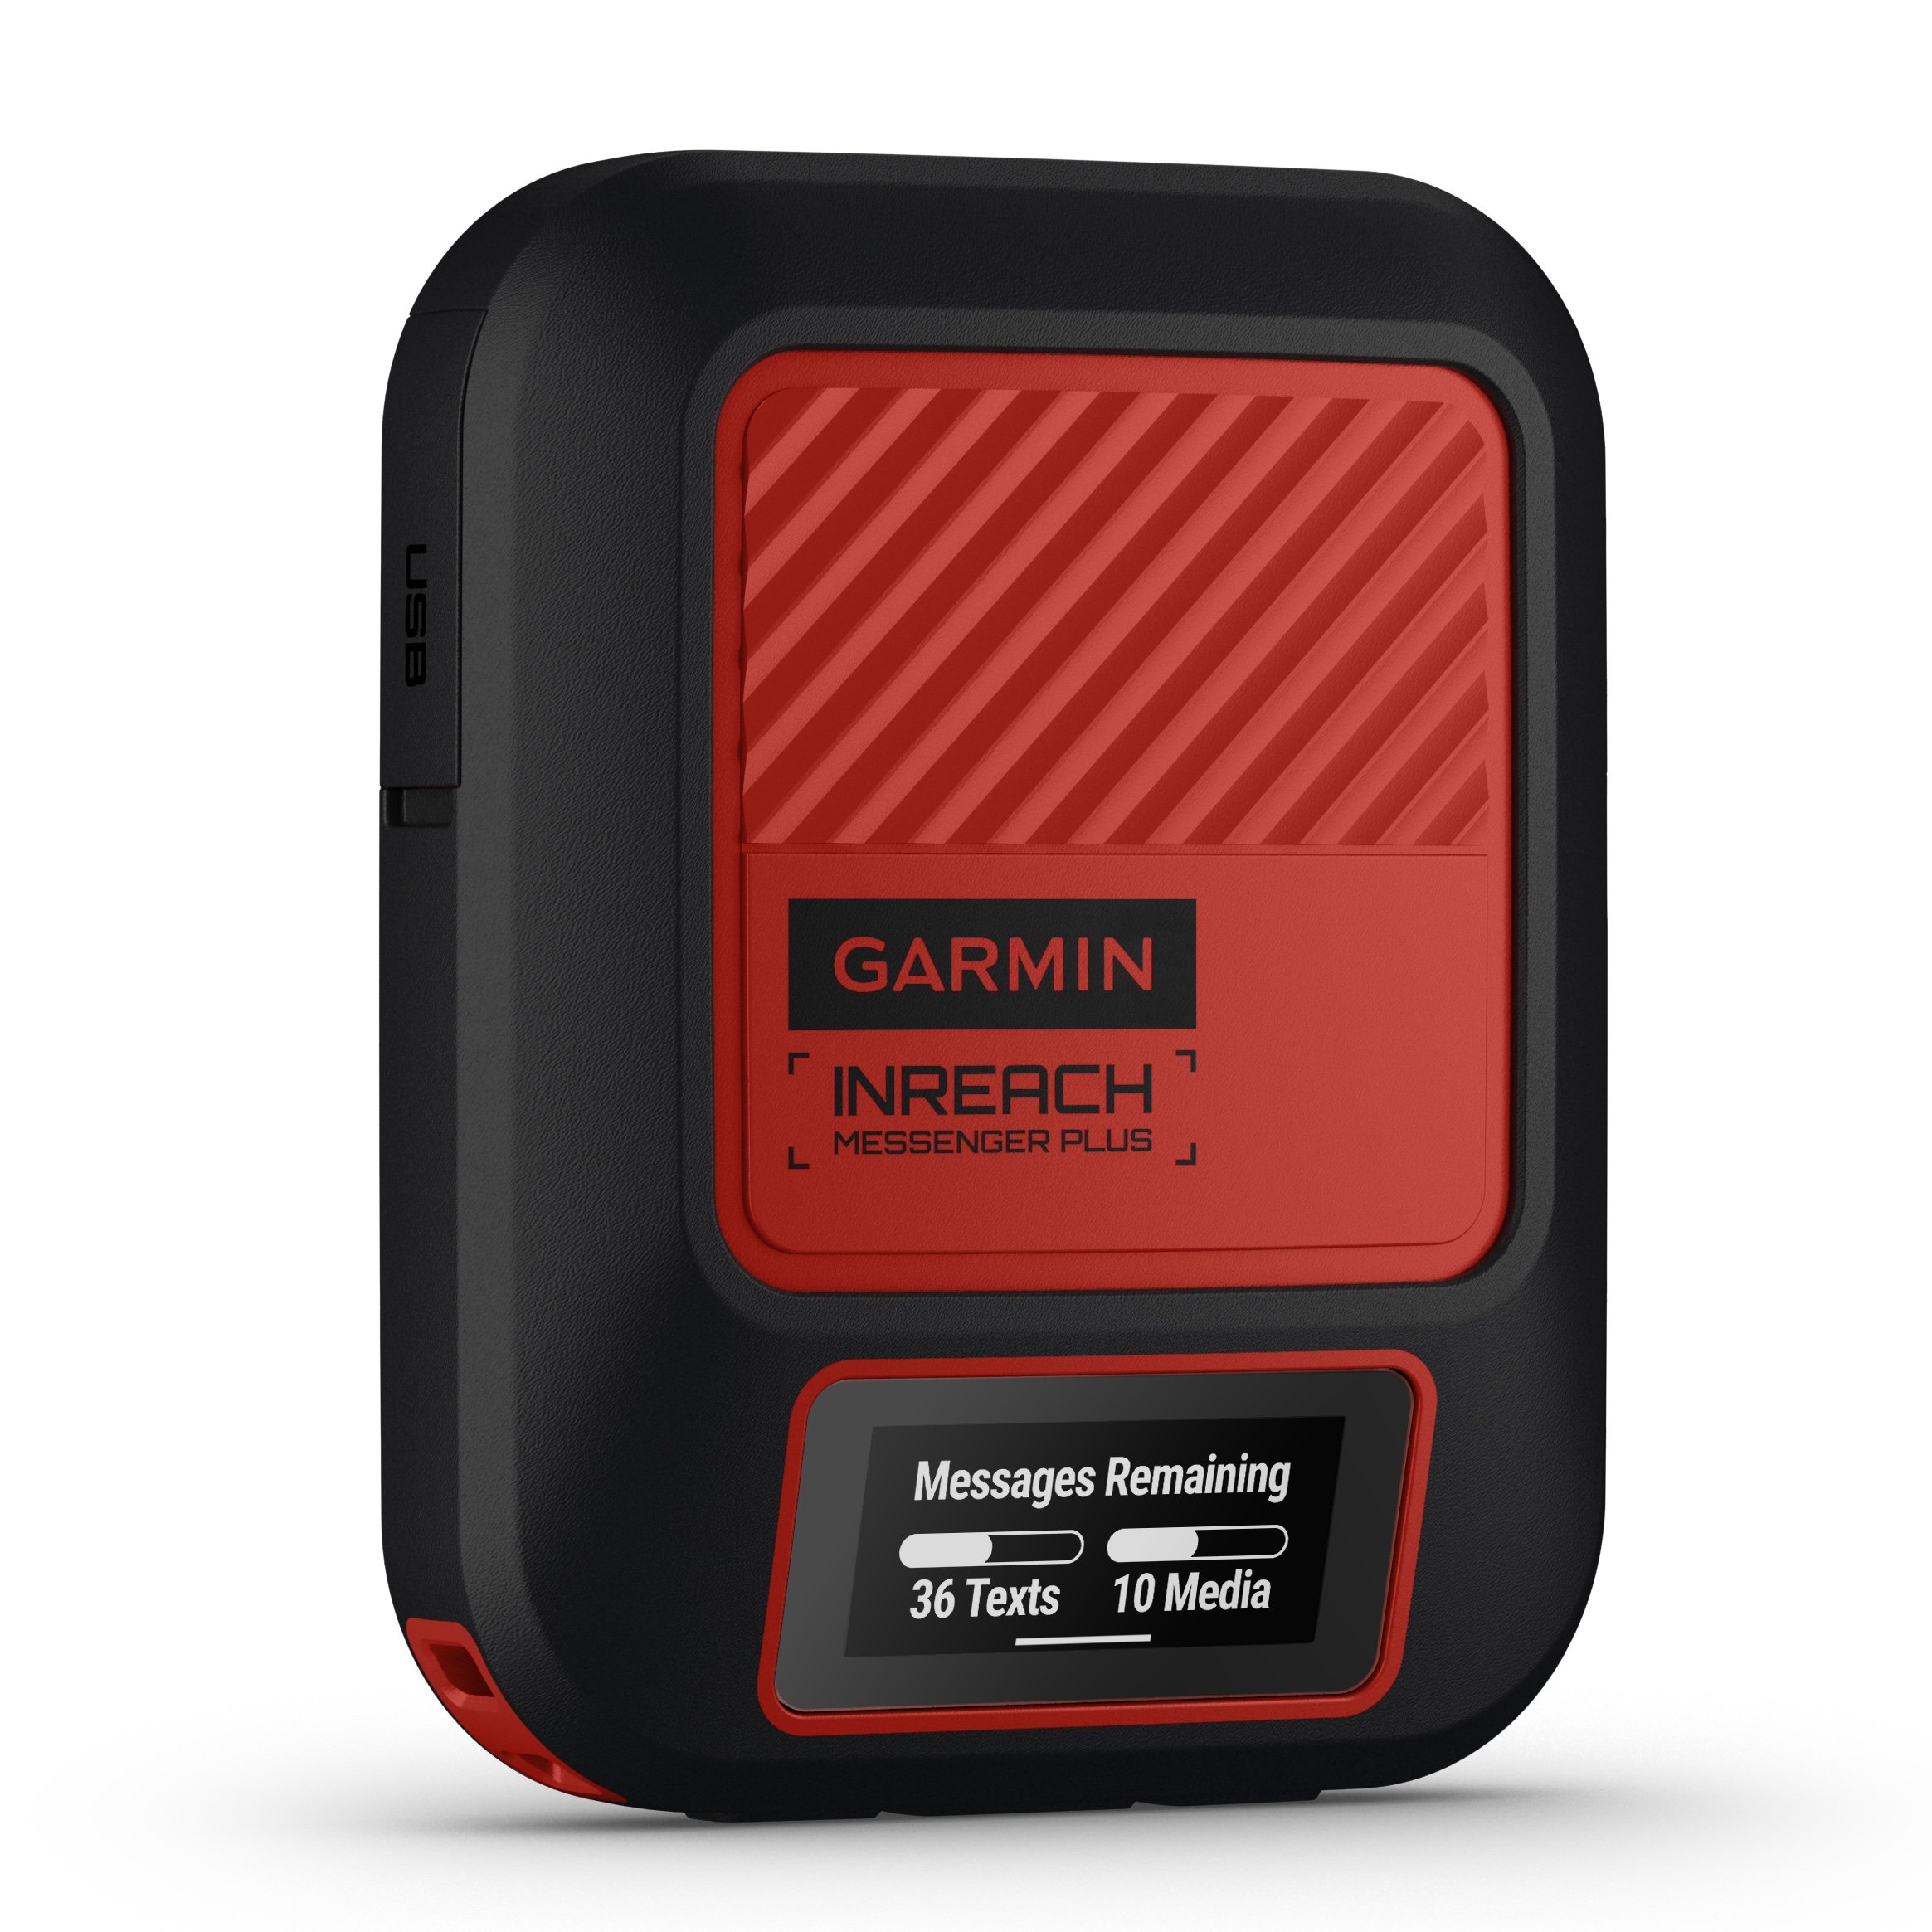
The Garmin inReach Messenger Plus is currently the only satellite messaging device on the market that can transmit photos and audio messages (voice memos) via satellite.
WEIGHT:
4.1 ounces (116 g)
WHAT'S UNIQUE:
can transmit photos and voice memos
reverse-charging capability
integrates with both Garmin Messenger (messaging) and Garmin Explore (navigation) smartphone apps
Product mentions in this article are made by the author with no compensation in return. In addition, Backpacking Light does not accept compensation or donated/discounted products in exchange for product mentions or placements in editorial coverage.
Some (but not all) of the links in this review may be affiliate links. If you click on one of these links and visit one of our affiliate partners (usually a retailer site), and subsequently place an order with that retailer, we receive a commission on your entire order, which varies between 3% and 15% of the purchase price. Affiliate commissions represent less than 15% of Backpacking Light's gross revenue. More than 70% of our revenue comes from Membership Fees. So if you'd really like to support our work, don't buy gear you don't need - support our consumer advocacy work and become a Member instead.
Learn more about affiliate commissions, influencer marketing, and our consumer advocacy work by reading our article Stop wasting money on gear.
Home Freeze-dryers are handy but expensive. Are they worth the cost? We show you how to find out.
Introduction
In previous installments of this series, we’ve talked about the benefits of freeze-drying food for backpacking: flavor, nutrition, convenience, and shelf-life. But every benefit has a cost, and now it’s time to talk about that also.
In this article, I hope to give you the information needed to decide whether to get into home freeze-drying yourself. I’ll break the costs into three components: food, operations, and capital costs.
Every decision requires an alternative, and I will use the most straight-up, obvious one: buying pre-packaged freeze-dried meals. We are all familiar with Mountain House. It is the market leader and a fine product, but there are plenty of alternatives.
With a diversity of suppliers comes a diversity of package sizes and serving definitions, complicating our analysis. We need to straighten that situation out first.
In our Archives: Catch up on the rest of Drew’s freeze-drying articles here:
Over the years, I’ve found that a Mountain House two-serving package is just about right for one dinner for one backpacker (me). They define a serving as 2 ounces (55 g).
I’ve also found that 3.5 to 4.2 ounces (100 to 120 g) of food that I’ve freeze-dried constitutes a good dinner. So that checks out. We’ll call 4 ounces (110 g) a meal and use that as a base unit.
The exact number doesn’t matter so long as we are consistent.
The table below summarizes package sizes and costs from a variety of freeze-dried food suppliers, including a number of cottage outfits:
brand
meal
cost/package
grams/package
cost/4 ounce meal
Mountain House
Classic Beef Stroganoff
$15
165
$10
Mountain House
Pasta Primavera
$9
108
$9.42
Backpacker's Panry
Pad Thai
$10
176
$6.22
Trailtopia
Pesto Chicken Pasta
$11
196
$6.17
Pinnacle
Sticky Teriyaki Chicken
$16
122
$14.43
Good to Go
Mushroom Risotto
$14
180
$8.71
Food for the Sole
Coconut Rice and Beans
$15
146
$11.26
Farm to Summit
Garden Mac and Cheese
$13
170
$8.73
PackitGourmet
Austintacious Tortilla Soup
$13
99
$14.44
Averaged together, costs look like this:
meal type
average amount of food per package
average cost per 4-ounce ( 110 g) meal
omnivore
5.3 ounces (151 g)
$9.93
vegetarian
5.1 ounches (147 g)
$9.80
I’ve broken out the average cost per meal for all meals listed (omnivore) and for just the vegetarian meals. The reason why will soon become apparent. The most surprising pattern in this table is that there is no pattern. The big dog Mountain House is not cheaper than the little guys, and vegetarian meals are not necessarily cheaper than meals containing chicken or beef.
We can also break costs out by calories rather than weight. The FDA recommends a daily intake of 2000-2400 calories/day for active women and 2600-3200 for active men (but see Backpacking Light’s How much food should I pack? article). Let’s call 500 calories a meal, as most backpackers snack several times a day on high-calorie foods like nuts and chocolate, and energy bars. That calorie level gives us these results:
brand
meal
cost/package
calories/package
cost/500 calorie meal
Mountain House
Classic Beef Stroganoff
$15
750
$10
Mountain House
Pasta Primavera
$9
440
$10.51
Backpacker's Panry
Pad Thai
$10
730
$6.82
Trailtopia
Pesto Chicken Pasta
$11
740
$7.43
Pinnacle
Sticky Teriyaki Chicken
$16
700
$11.43
Good to Go
Mushroom Risotto
$14
820
$6.89
Food for the Sole
Coconut Rice and Beans
$15
670
$11.16
Farm to Summit
Garden Mac and Cheese
$13
850
$7.94
PackitGourmet
Austintacious Tortilla Soup
$13
370
$17.57
Averaged together, costs look like this:
meal type
average calories per package
average cost per 500 calorie meal
omnivore
674
$10.17
vegetarian
630
$10.45
These tables set our baseline: it costs about $10 per meal for store-bought freeze-dried food, probably more like $11 if you account for taxes and shipping. But $10 is a nice round number, so we’ll go with that.
To estimate the food portion of the cost of making your own freeze-dried food, I looked up the prices of a number of staples at the local Whole Foods. This gives us an estimate that is at the high end:
food
cost/pound
cost/110 g (dry)
cost/110 g (wet)
beef - top sirlion
$12
$2.91
$8.72
chicken breast
$8
$1.94
$5.81
pasta
$1.39
$0.34
tomato
$2.29
$.0.55
$2.22
beans
$1
$0.24
corn
$1.50
$0.36
$1.45
rice
$1.85
$0.45
potato
$1.19
$0.29
$1.15
Averaged together, costs for dry weight look like this:
meal type
average cost per 100 g of dry food
omnivore
$2.55
vegetarian
$0.98
Most foods lose about 3/4ths of their weight when freeze-dried, so to get the dry weight of the wet foods, I divided by four and converted pounds to grams.
Unlike prepared meals, adding meat incurs a substantial food cost. Because the cost of eating vegetarian is so much lower, I will track omnivore and vegetarian costs separately.
Of course, we don’t eat plain meat and vegetables. There are additional food costs for spices, herbs, sauces, etc. So let’s round up the food costs per meal to $3.00 for omnivores and $1.25 for vegetarians.
An additional conclusion from this analysis is that food costs are a minor component of prepared meal costs. I assume the commercial preparers buy in bulk at a discount, so their food costs will be even lower than what I presented above.
Operational costs
After nearly a year of freeze-drying, I have identified only two operational costs: electricity and pump oil. A quart of pump oil cost me $16 at the local hardware store. I’m still on the first quart as it can be filtered and reused. Its cost is a few pennies per meal at most and not worth including in our calculations.
The other operational cost is electricity. This cost is a good deal less than I expected. I used a Kill A Watt P3 meter to track electric power usage on several runs, summarized below.
Power consumption varies with ambient temperature and load size, but 20 kWh per run seems like a good estimate. The national average cost per kWh is $0.104, giving us a cost of $2.03 per run for electricity.
The nominal max capacity of the HarvestRight Home Freeze-Dryer is 7 to 10 pounds (3.2 -to 4.5 kg). A typical run for me has been more like 6 to 7 lbs (3 kg). The yield of dried food from a 6-7 pound run is about 2 pounds (0.9 kg). At 4 ounces (110 g) per meal, that’s eight meals per run, using the same parameters as we used for packaged food. Electricity costs then work out to just about $0.25 per meal.
For omnivore meal costs, we are thus at $3.00 (food) + $0.25 (operations) = $3.25 per meal.
For vegetarians, it is $1.25 (food) + $0.25 (operations) = $1.50 per meal.
That’s a lot less than prepared meals, but we have not yet addressed the biggest and most problematic cost.
Capital costs
Food is cheap, electricity is cheap, but freeze-dryers are expensive. If they were not expensive, you probably already would have one.
The HarvestRight Home Freeze Dryer model I have been using (the medium one) currently lists for $2900, up about $300 from a year ago. Trays, pump, and shipping are included in this price.
From above, the average cost for food and operation is $3.25 per meal for omnivores and $1.50 for vegetarians. At $10.00/meal to buy, this means the capital costs have to get below $6.75 or $8.50 per meal, respectively, before one starts to save money.
The math is simple then: $2900/$6.75 = 430 omnivore meals, or $2900/$8.75 = 330 vegetarian meals. At eight meals per run, that translates to 54 and 41 runs, respectively.
I don’t think that’s a problem from an equipment lifetime standpoint. I have done about 50 runs in the last year (I seem to have become very popular with my backpacking friends), and the HarvestRight shows no signs of wear or malfunction. I would be surprised if it didn’t last at least a hundred runs and could see its mean time-to-failure being several hundred or even a thousand. Good-quality vacuum pumps and compressors (the only moving parts) will last for over a decade of heavy use.
So the affordability question comes down to your consumption level and time horizon. If you think that you (and the new friends you will acquire) will eat more than 300-400 freeze-dried meals in the next decade or so, then buying your own freeze-dryer is a reasonable choice.
There are plenty of other factors and scenarios that affect the desirability of becoming a freeze-dryer owner. But I hope you find these cost calculations useful in making a decision.
Freeze-dried recipe: posole
Posole is a classic Mexican stew made with hominy in adobo sauce. It is a bit involved to make, but it scales easily, so you don’t have to make it often. It has become one of my trail favorites, especially in cold weather.
For a roughly 2-quart batch, you’ll need about 6 ounces (170 g) of dried peppers and 4 15 oz (425 g) cans of hominy. Both are available at your local carneceria. For peppers, I recommend guajillos and anchos. Throw in some chipotles (smoked anchos) if you want a smoky flavor.
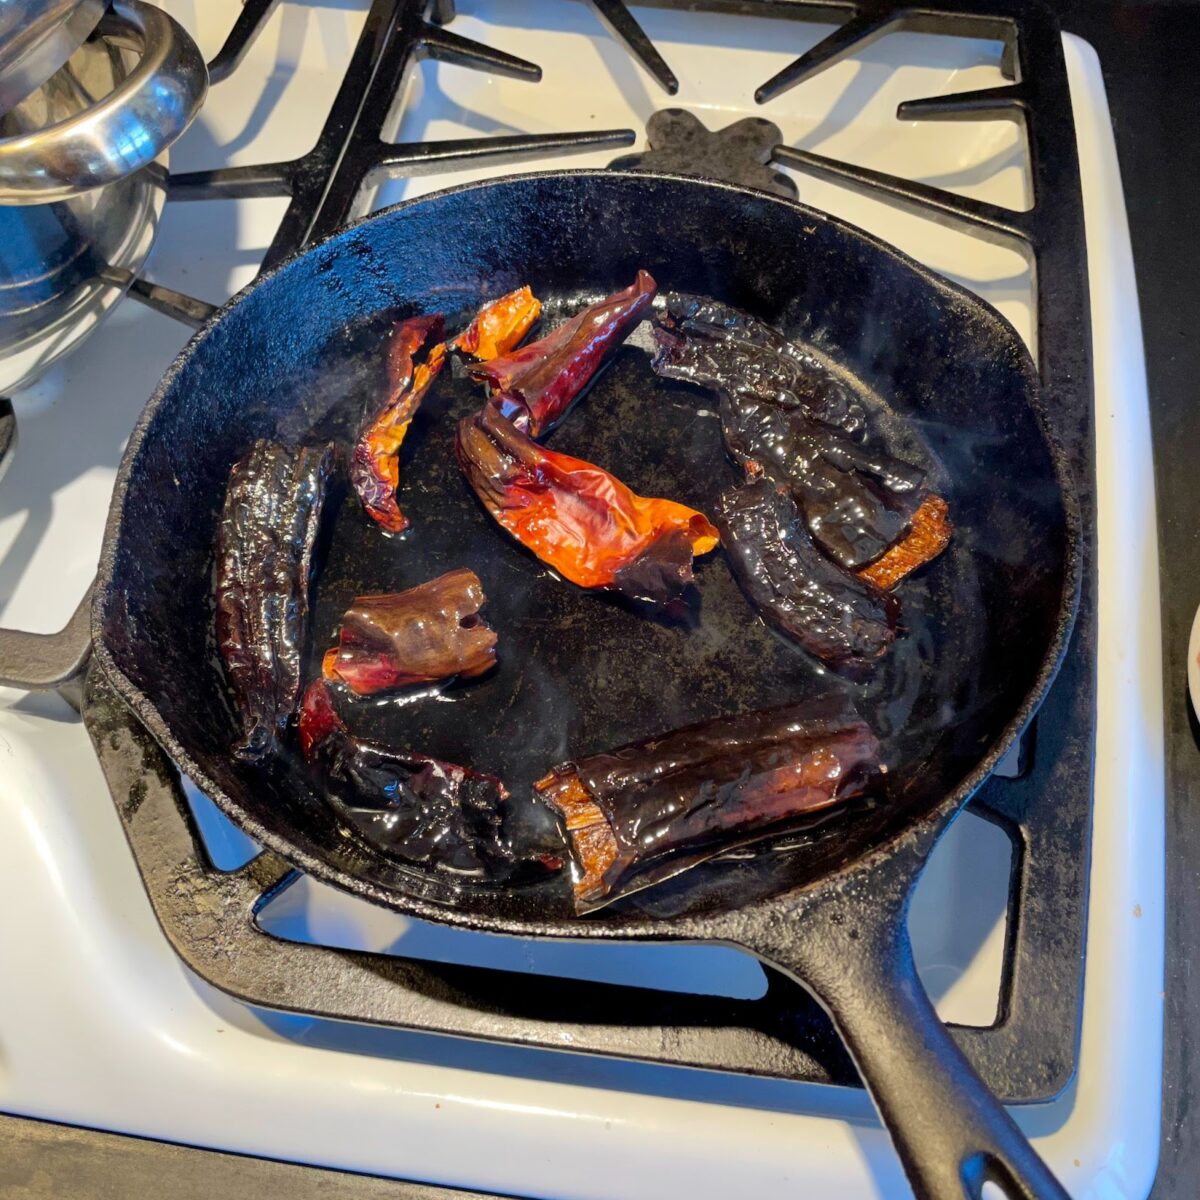
Start by searing the peppers. Cover the bottom of a cast iron skillet with oil, and heat it medium-high until it just begins to smoke. While it’s heating, break or cut off the tops of the peppers, removing the stems and seeds.
These are a little blacker than optimal, resulting in a more bitter flavor.
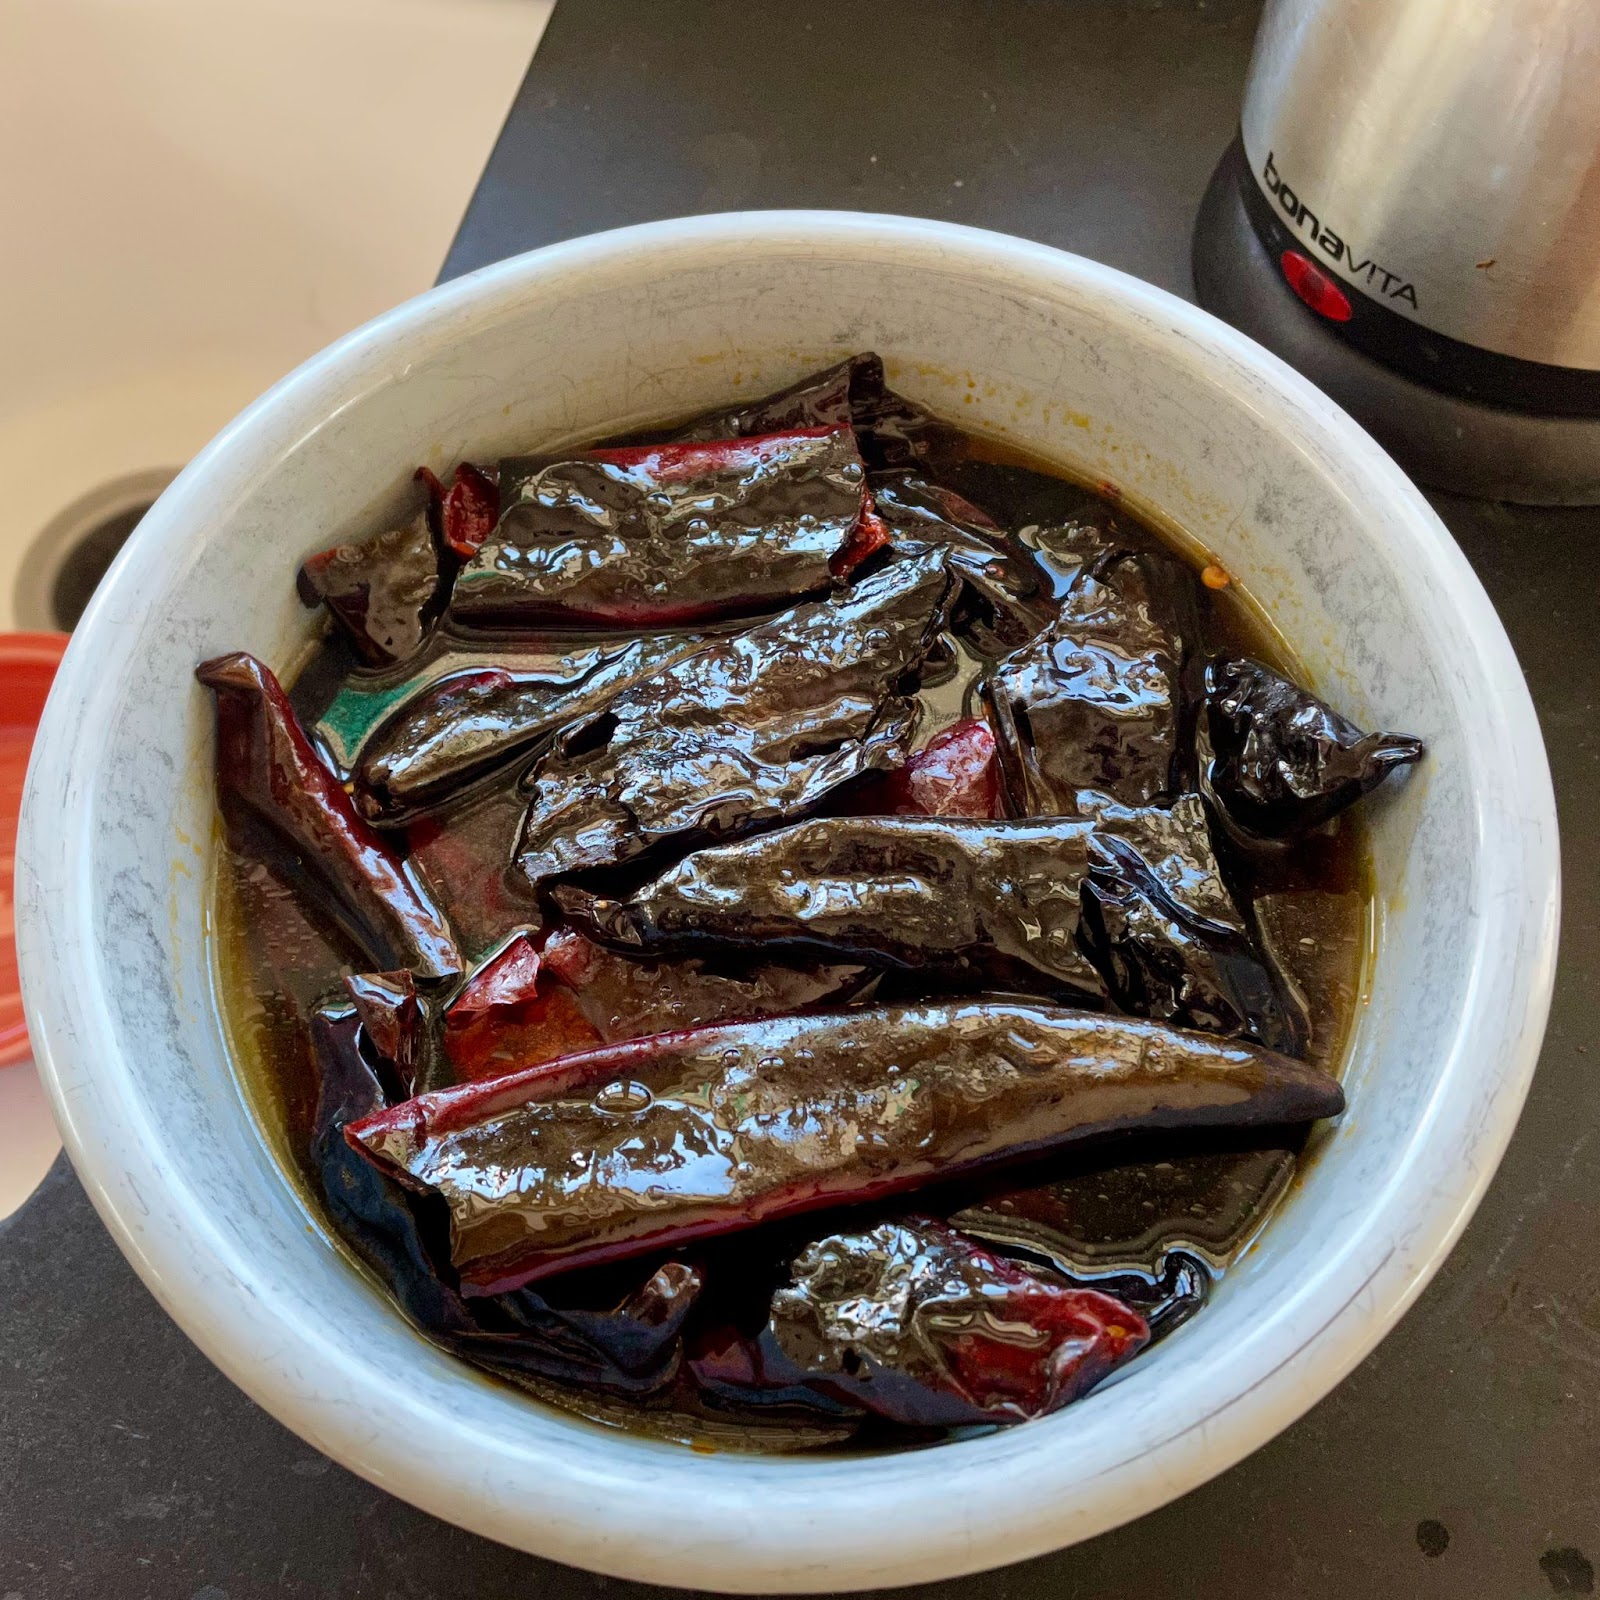
Lay the peppers in the hot oil, searing them until they turn brown (and not too black), about 20 seconds per side. Put them in a mixing bowl of warm water, cover with a dish (to press them under the water), and let them soak for about 20 minutes.
Soaking the peppers.
Pour the peppers and about half the water into a blender and whir it up very fine. Add more water if needed to get a good consistency. Rick Bayless (whose recipe I am adapting here) suggests straining through a cheesecloth, but I prefer a chunkier texture myself.
Cut up some white onion, drain the hominy, and add both ingredients to the adobo sauce. Sprinkle in some Mexican oregano to taste and simmer for a couple of hours.
Add pork or chicken if desired.
Posole simmering on the stove.
Radishes and cabbage are the traditional garnishes, but I usually top with dried flour tortillas strips and some cheese.
You can save some of the adobo sauce to dry separately. It makes an excellent sauce for other meals – adobo mac and cheese is a fantastic trail meal.
This recipe works for both freeze-drying and heat-assisted dehydration. The hominy doesn’t rehydrate as well if dehydrated and remains a bit chewy. It is still pretty darn good. Give posole a try if you are ready to move beyond burritos.
Learn More
Browse our curated recommendations in the Backpacking Light Gear Shop – a product research & discovery tool where you can find Member gear reviews, Gear Swap (used gear) listings, and more info about specific products recommended by our staff and members.
Backpacking Light does not accept compensation or donated/discounted products in exchange for product mentions or placements in editorial coverage.
Some (but not all) of the links in this review may be affiliate links. If you click on one of these links and visit one of our affiliate partners (usually a retailer site), and subsequently place an order with that retailer, we receive a commission on your entire order, which varies between 3% and 15% of the purchase price. Affiliate commissions represent less than 15% of Backpacking Light's gross revenue. More than 70% of our revenue comes from Membership Fees. So if you'd really like to support our work, don't buy gear you don't need - support our consumer advocacy work and become a Member instead.
Learn more about affiliate commissions, influencer marketing, and our consumer advocacy work by reading our article Stop wasting money on gear.
The Alpacka Raft Scout packraft (2022 model) weighs less than four pounds. We review its durability and stability for both flatwater and Class 1 river running.
Will SOS capabilities in the pocket of every hiker lead to more incidents of false alarms/low-danger rescues?
Will the new technology encourage people to venture into areas they aren’t prepared to venture into, leading to an increase in real emergencies?
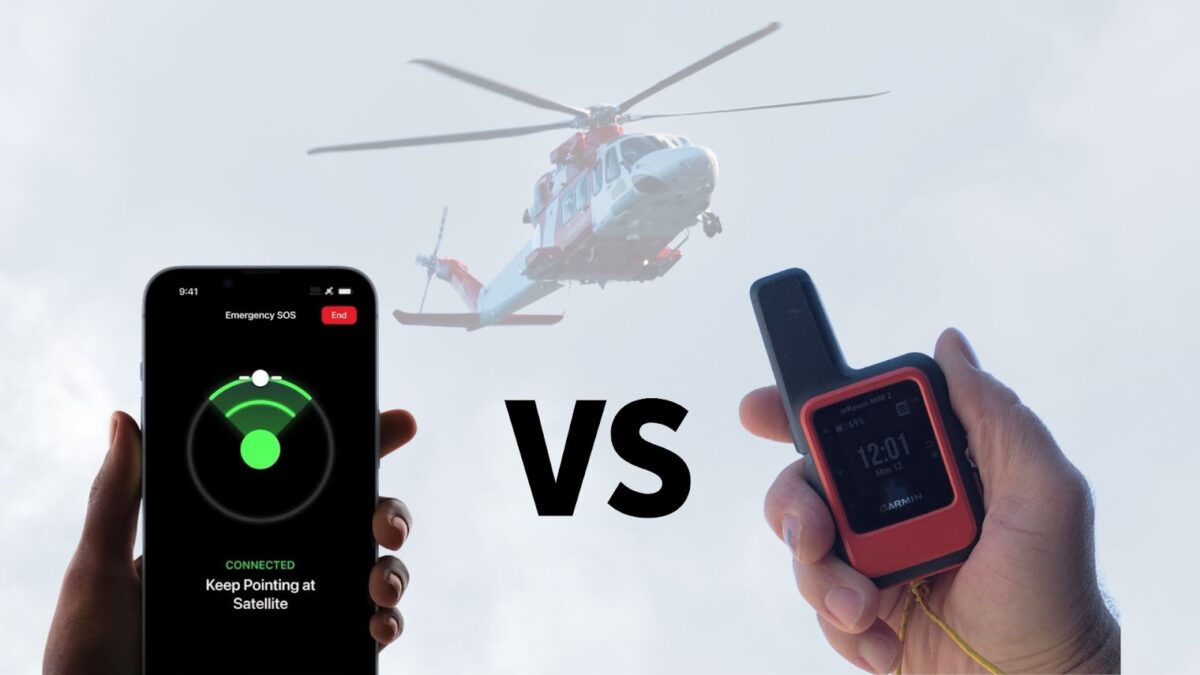
Should/will the iPhone 14 replace my Garmin inReach (or similar satellite messaging devices)?
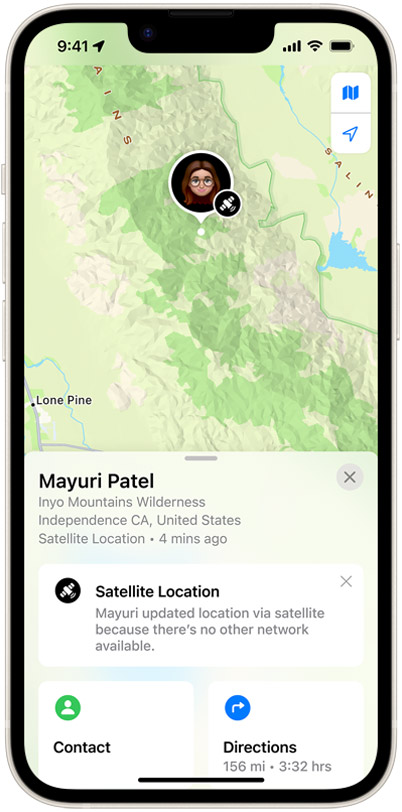
With Apple’s iPhone 14, users outside of cell range will be able to utilize the Find My Phone feature to broadcast their location via satellite to friends and family. Photo: Apple
Will Apple’s new iPhone 14 lead to more work for search and rescue crews?
In Backpacking Light’s forums and elsewhere, I encountered concern over the potential abuse of the iPhone 14’s new SOS feature. The worry seemed centered around stories of hikers and backpackers using Garmin inReach devices to call for help when they could easily self-rescue instead.
One anecdote shared on our forum involved a young woman calling search and rescue (SAR) so she could order a pizza. People are concerned that SOS-enabled phones will magnify the number of unnecessary rescues and increase the overall number of rescues.
These concerns got me wondering – what’s the percentage of satellite–messenger-initiated incidents involving unnecessary rescues vs. satellite-messenger-initiated incidents involving real danger where people cannot self-rescue? I reached out to some search and rescue groups around the heavily trafficked Rocky Mountain National Park and got an interesting answer – it’s hard to say.
“I can tell you right now that data is a problem for us, and we won’t be able to give you much by way of stats. We’re working on funding for a statewide, consistent data collection system, but it has been an uphill battle,” said Anna De Battiste, Public Information Officer (PIO) for the Colorado Search and Rescue Association.
When I asked Drew Hildner, PIO of the Rocky Mountain Rescue Group, the same question, he answered with a simple “don’t know.” What Hildner could tell me for sure was that the percentage of search and rescue actions initiated in the Rockies by satellite messenger devices is in the single digits.
Jay Christianson, PIO for the Colorado Search and Rescue Association, told me the same thing.
“The percentage of people that activate [the SOS features on satellite messengers] is quite low currently,” he said. “Even if the method of activation [shifts to satellite-enabled cell phones over dedicated satellite messengers], I really do not see a shift in the parties that will need rescuing. Realistically most parties that are considering search and rescue are in a position where self-rescue is impossible, be it physically or mentally, and from the SAR team position, early activation is beneficial so we can intervene before things get worse.”
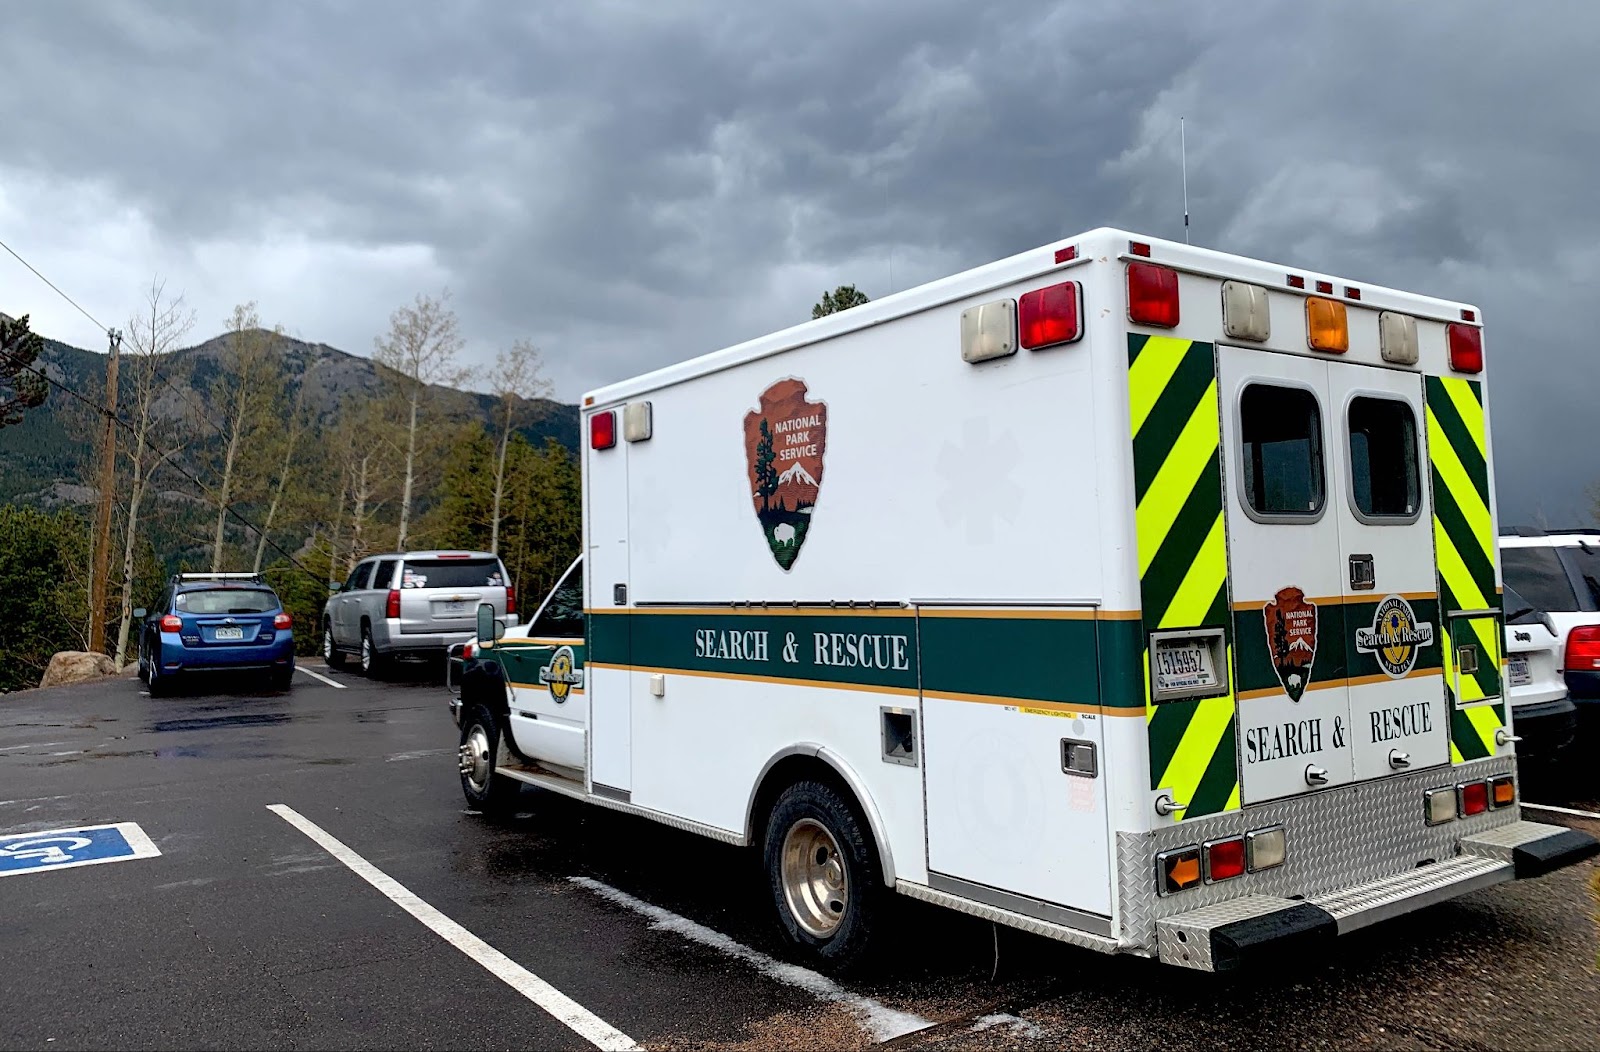
Search and rescue (SAR) operations at the Long’s Peak Trailhead, Rocky Mountain National Park on May 29, 2022. An avalanche on Mt. Meeker that morning caused one death and one serious injury. In addition to Rocky Mountain National Park’s Search and Rescue team, this operation included the Colorado Search and Rescue Association, Flight for Life, Rocky Mountain Rescue Group, Front Range Rescue Dogs, Colorado National Guard, and Med Evac. SAR Ops require significant resources. Will satellite SOS availability on everyday smartphones increase SAR Ops? Photo: Ryan Jordan.
Some takeaways here:
The vast majority of search and rescue actions (at least in the Colorado Rockies) are not initiated by satellite messenger.
Nobody is formally keeping track of what percentage of two-way-satellite-messenger-initiated actions are for people who could, in reality, self-rescue – but the SAR professionals I spoke to indicated it is not the majority of cases.
That percentage is somewhat irrelevant from a rescuer’s point of view because while search and rescue teams certainly don’t want to be allocating resources towards pizza delivery or other unnecessary rescues, they absolutely do want to get to folks before bad situations turn into deadly situations.
This last takeaway is crucial. Every SAR professional I interviewed for this story took care to emphasize they’d rather people be safe than sorry. The vibe I’m getting is that the collective handwringing on behalf of the SAR community’s time and energy is a projection.
In fact, Jay Christianson sees the upcoming proliferation of SOS-enabled cell phones as a positive because it will allow SAR teams to intervene more quickly in a larger percentage of situations – saving both lives and resources.
“Having the ability to actively locate a subject in the field greatly reduces the full mission timeline. Many missions can have a multi-hour access time; if a team does not have a precise location, this can complicate access. This earlier arrival allows for early intervention with the subject to prevent potentially worse issues,” he said.
Remember, most SAR actions are not initiated by satellite messengers, meaning most SAR teams work without precise location data. So the upshot of satellite-messenger-enabled cell phones? More lost/injured hikers with precise data to give to SAR teams means quicker missions and less wasted money and human power, not more.
So what about the idea that Apple’s new SOS technology might encourage more folks to make stupid choices, leading to more SAR actions? None of the professionals I interviewed are worried about it. The logic seems to be that the type of person who’s going to set out for the summit of a 14er at three in the afternoon with half a bottle of water is already doing that. An SOS button in their pocket is not a deciding factor in that decision.
“I do not imagine that this additive resource in cell technology will provide the tipping point for people to push their limits of accessibility and ability,” said Jay Christianson.
Will the Apple iPhone 14 replace my Garmin inReach?
With the pearl-clutching around SAR-team time and energy out of the way, we are left with one question. Should the iPhone 14, with its satellite messaging and location broadcasting capabilities, replace your dedicated satellite messaging device? It’s a tempting proposition – who doesn’t love removing an item from their pack in favor of multi-use gear?
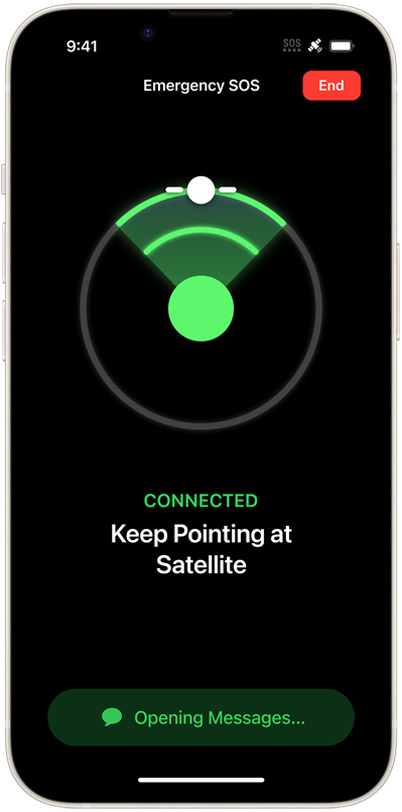
The Apple iPhone 14 will include a user interface that allows hikers to find the best line of sight for a Globalstar satellite.
But the consensus answer on our forum, which I agree with, is no – for now. Most people believe that the iPhones 14’s SOS features are useful as a redundant safety system but not a full replacement for dedicated satellite messengers. Here are the three main reasons, as vocalized by Backpacking Light community members and supported by the search and rescue professionals I interviewed for this story:
Dedicated satellite messengers are more rugged and less easily damaged than cell phones.
Dedicated satellite messengers have longer battery life than cell phones, especially if hikers are using cell phones for navigation, photography/videography, note taking, and entertainment (they are).
Dedicated satellite messengers have two-way functionality, while the iPhone 14’s messaging functionality is limited to one-way communication (for now).
We must expect this last point to change, and soon. In August, T-Mobile announced a partnership with SpaceX to make two-way messaging a reality, and we can assume other providers will attempt to provide the same functionality. Likewise, smartphones will continue to become more rugged and have longer battery life. It’s not outside the realm of possibility that Apple could release an iPhone dedicated to adventure athletes along the same lines as its recently unveiled Apple Watch Ultra.
Conclusion
In the near future, smartphone technology will continue to advance, and Silicon Valley will continue to tap into the outdoor market with new products. As this happens, we may begin to see some ultralight backpackers ditching dedicated satellite messengers completely in favor of smartphones, just as we now see some members of our community ditching dedicated cameras in the same fashion.
Peering further into the future, I can imagine once-silent mountain evenings now clotted with the noise pollution of a dozen hikers all voice chatting to friends and family back home – similar to the current scourge of Bluetooth speakers plaguing our public lands or the Bay Area business people having loud financial phone calls as they conduct “walking meetings” along our local trails. As always, it is not the technology that matters but how we choose to use it – or, to be more precise – how we choose not to.
Backpacking Light does not accept compensation or donated/discounted products in exchange for product mentions or placements in editorial coverage.
Some (but not all) of the links in this review may be affiliate links. If you click on one of these links and visit one of our affiliate partners (usually a retailer site), and subsequently place an order with that retailer, we receive a commission on your entire order, which varies between 3% and 15% of the purchase price. Affiliate commissions represent less than 15% of Backpacking Light's gross revenue. More than 70% of our revenue comes from Membership Fees. So if you'd really like to support our work, don't buy gear you don't need - support our consumer advocacy work and become a Member instead.
Learn more about affiliate commissions, influencer marketing, and our consumer advocacy work by reading our article Stop wasting money on gear.
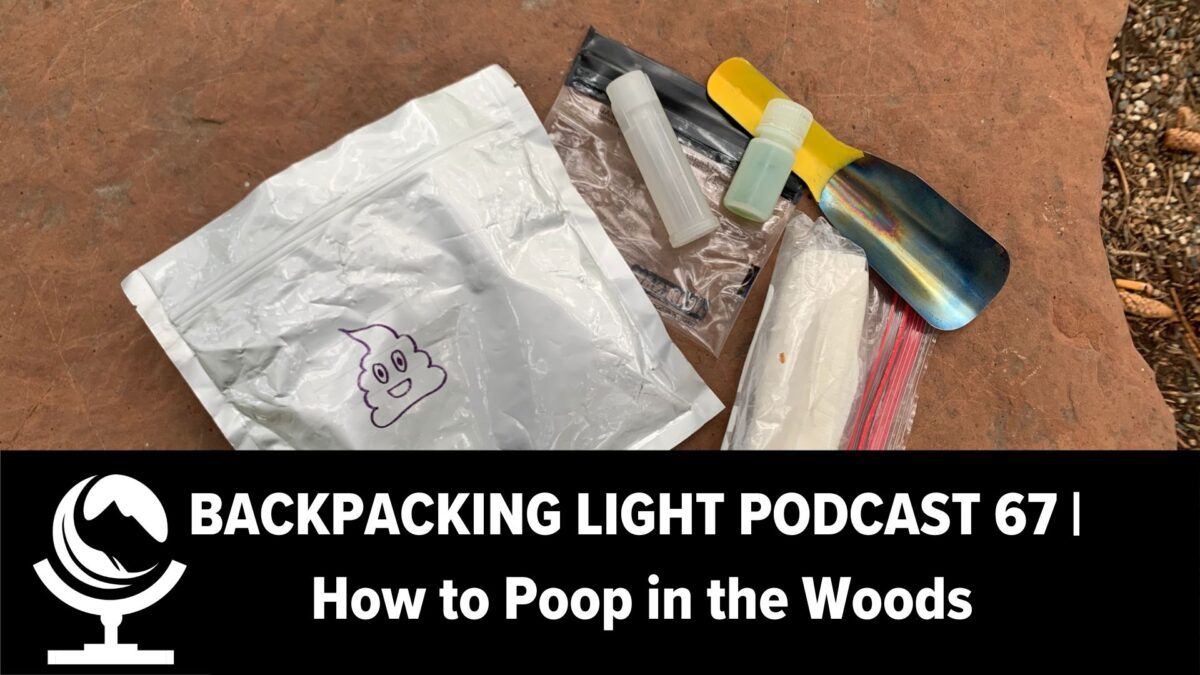
Ryan and Andrew chat about new gear and techniques for the age-old question: how to poop in the woods (safely, cleanly, and responsibly).
Listen
Listen to the podcast on Itunes, Spotify, or wherever you get your podcasts.
Summary
In this skills short episode of the Backpacking Light Podcast, Andrew and Ryan talk sh**, a.k.a, 💩.
How to poop in the woods? It’s an age-old question, particularly as popular backcountry sites become more crowded.
This episode addresses the question of how long poop takes to decompose and suggests alternative LNT-approved methods (beyond catholes) for dealing with human waste.
Outline
0:00:00 – podcast introduction
0:01:14 – the old ways of waste disposal in the backcountry and their issues (does poop decompose?)
0:04:39 – why include a trowel in your kit
0:06:01 – wag bags
0:10:24 – hygiene in the backcountry
0:13:58 – final thoughts: preventing GI distress through hygiene
Mark Wetherington has written several articles recently at Backpacking Light covering Leave No Trace skills, specifically in winter and natural hot spring environments, which include more thoughts on waste disposal and management.
Executive Producer - Backpacking Light; Show Director and Host - Ryan Jordan; Producer - Chase Jordan; Theme music: Look for Me in the Mountains written by Chris Cunningham and Ryan Jordan, performed by Chris Cunningham (acoustic guitar, lead and harmony vocals, harmonica), Chad Langford (upright bass), and Tom Murphy (mandolin), produced by Basecamp Studios in Bozeman, Montana.
Sponsorship Policy: Backpacking Light does not accept compensation or donated/discounted products in exchange for product mentions or placements in editorial coverage, including any podcast episode content not excplicitly identified as sponsored content. Some (but not all) of the links in these show notes may be affiliate links. Learn more about affiliate commissions, influencer marketing, and our consumer advocacy work by reading our article Stop wasting money on gear.
Learn to Packraft was a Kickstarter project sponsored by Backpacking Light and successfully funded in early 2013. Approximately 50% of the proceeds were paid that summer for permits, equipment, a film crew, and a video producer for eleven different film shoots. Shortly thereafter, the video producer, who was the partner on this project, was unable to continue due to personal reasons. Because of the producer’s deep expertise and intimate involvement with the project, we were unable to find a replacement and the project in its original scope has been effectively on hold because of (a) our lack of video production expertise internally to move this project forward and (b) our inability to recruit an effective replacement for the original producer.
We acknowledge that all disruptions to this project, regardless of the unforeseen circumstances that led to these outcomes, are 100% my responsibility as the project manager, and the consequences must be owned by Backpacking Light as the primary funding vehicle for this project.
Here’s what we are doing in response:
In June 2014, all corporate sponsors of Learn to Packraft who helped fund the project prior to the Kickstarter launch were issued full refunds.
All corporate sponsors and backers of the Kickstarter project have been invited to request refunds. Some have taken advantage of the refund, and others have opted to continue their support.
All backers and sponsors are entitled to refunds and will continue to remain entitled to refunds until we close the project.
As of September 2022, this project remains open, and the remaining funds are earmarked in a separate account. They will continue to be set aside for projects related to the original scope of Learn to Packraft, including packrafting safety education, packrafting skills instruction, and the ultralight backpacking video content that was included as part of the stretch goal of Learn to Packraft. As this content is produced, it will remain free to the public.
If you backed this project, and are reading this and find that any of these solutions are unacceptable to you, please contact me directly so we can work out a solution together.
Throughout this humbling and difficult process, I’ve learned a lot. I’ve learned to be grateful to our community, which originally supported the project. I’ve learned that open communication is critical to maintaining long-term relationships.
I’ve also learned that managing complex video production projects and directing video producers is well outside my area of expertise, regardless of what I may have believed when I started this project. For these shortcomings and my inability to recognize them when I asked you to back Learn to Packraft, I apologize for misleading you about what we promised we could accomplish with this project.
Best Regards,
Ryan Jordan
Publisher, Backpacking Light
publisher@backpackinglight.com
Gear Review: the Durston Kakwa 40 backpack utilizes an inverted U-shaped internal frame for stability and comfort at moderate loads. But how does it fare at heavier weights?
Observing a lunar phenomenon in an otherworldly landscape provides a sense of awe distinct from typical backpacking trips
Other than a thin sliver of Yellowstone National Park, Idaho doesn’t have any national parks proper despite having an abundance of outrageously beautiful landscapes. Instead, Idaho’s public lands are state parks, designated Wilderness areas, Wild and Scenic rivers, or vast swaths of National Forest or BLM high desert.
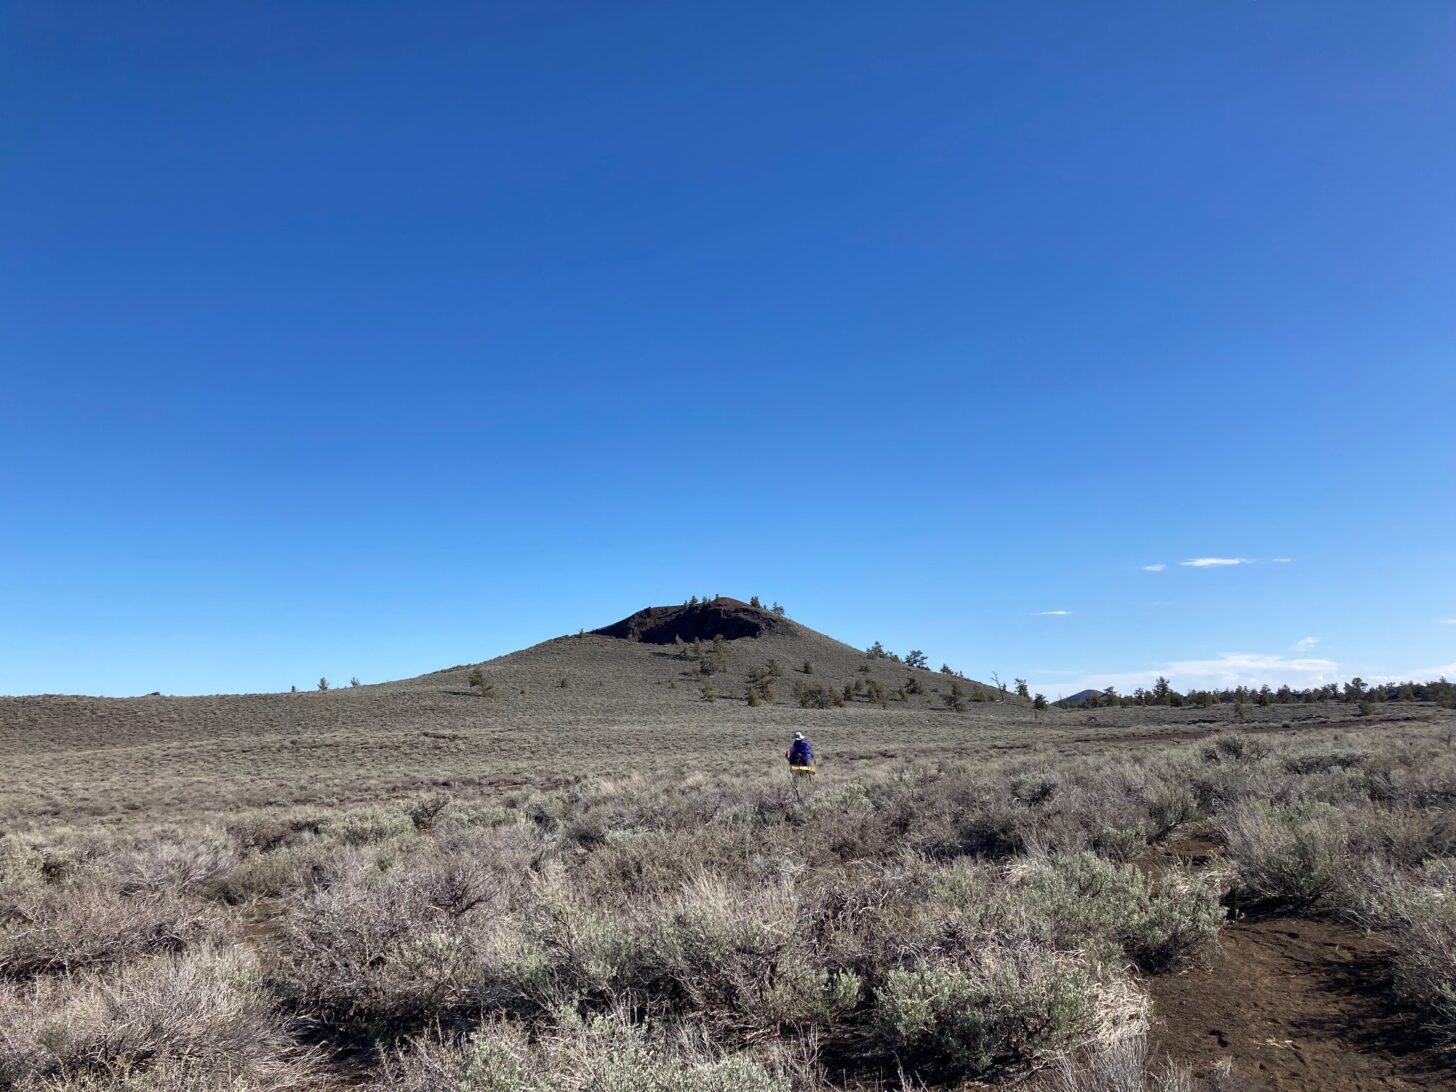
While many of these fall into the usual categories of majestic mountains, whitewater rivers, or dense forests, there is one landscape – Craters of the Moon National Monument – that is unlike anywhere else I’ve ever backpacked. For a short shoulder-season trip, it’s an ideal destination.
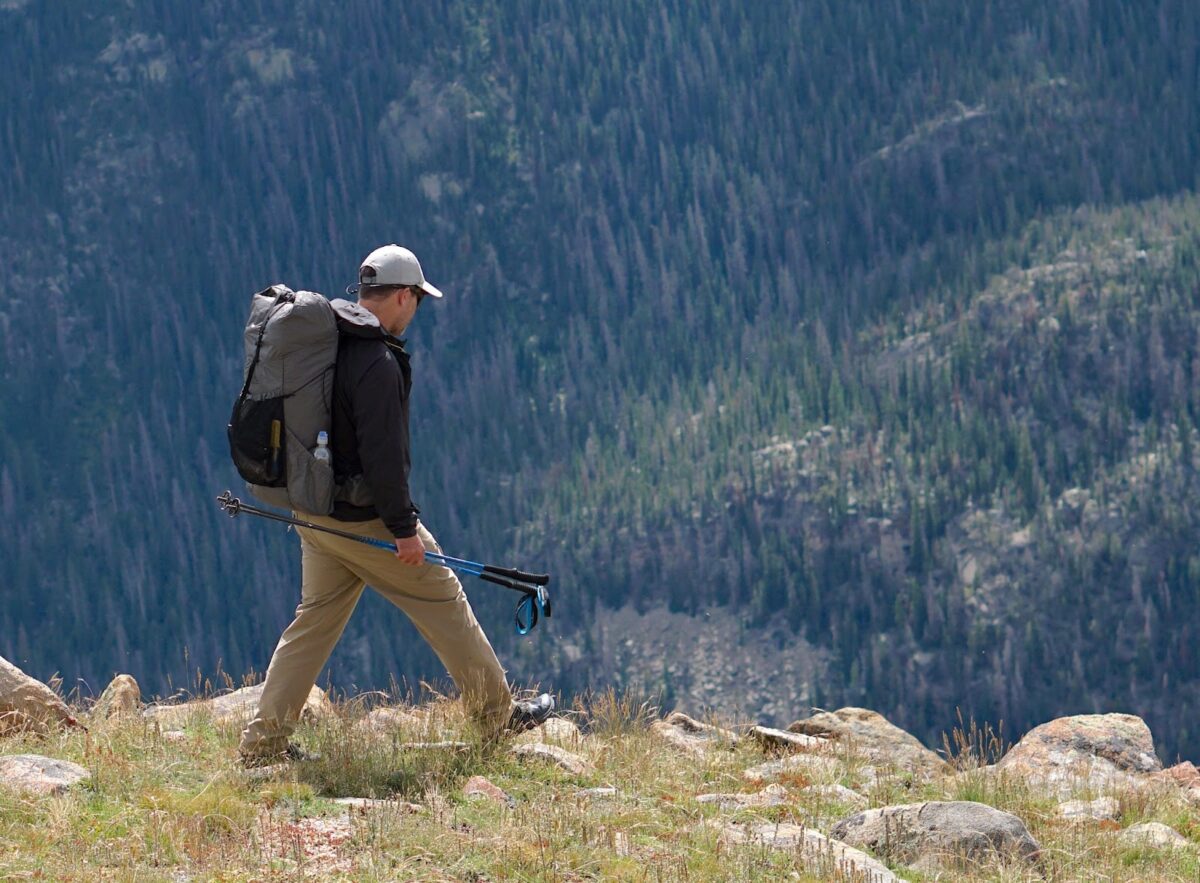
Backpacking in the Craters of the Moon Wilderness starts off with a heavy pack full of water, but is always worth the effort. Clear skies and an otherworldly landscape – which you often have entirely to yourself – more than make up for the lack of water and limited trail infrastructure.
I’ve never felt like I needed an excuse or permission to revisit an area. So when my girlfriend and I realized on our first visit to Craters of the Moon last year that there would be a lunar eclipse the following May (and on her birthday, no less), we knew we had to plan a trip around it.
Idaho also has some of the darkest skies in the continental United States, especially so at Craters of the Moon. The opportunity to experience a lunar eclipse in a designated dark sky park, in a surreal landscape with moon-like features, was just too perfect.
From my house in Montana’s Bitterroot Valley, the 263-mile drive to Craters of the Moon has exactly three stop lights.
The route passes by Idaho’s tallest peak and the stark and intimidating Lost River Range. But more alluringly to a hot springs enthusiast like myself, it passes by several hot springs. One of my favorite of these is a small pool between the highway and the river – a perfect roadside pit stop. I can think of few better ways to break up a drive on a backpacking trip than by a soak in a beautiful river canyon.
A small hot spring is an excellent way to break up the drive.
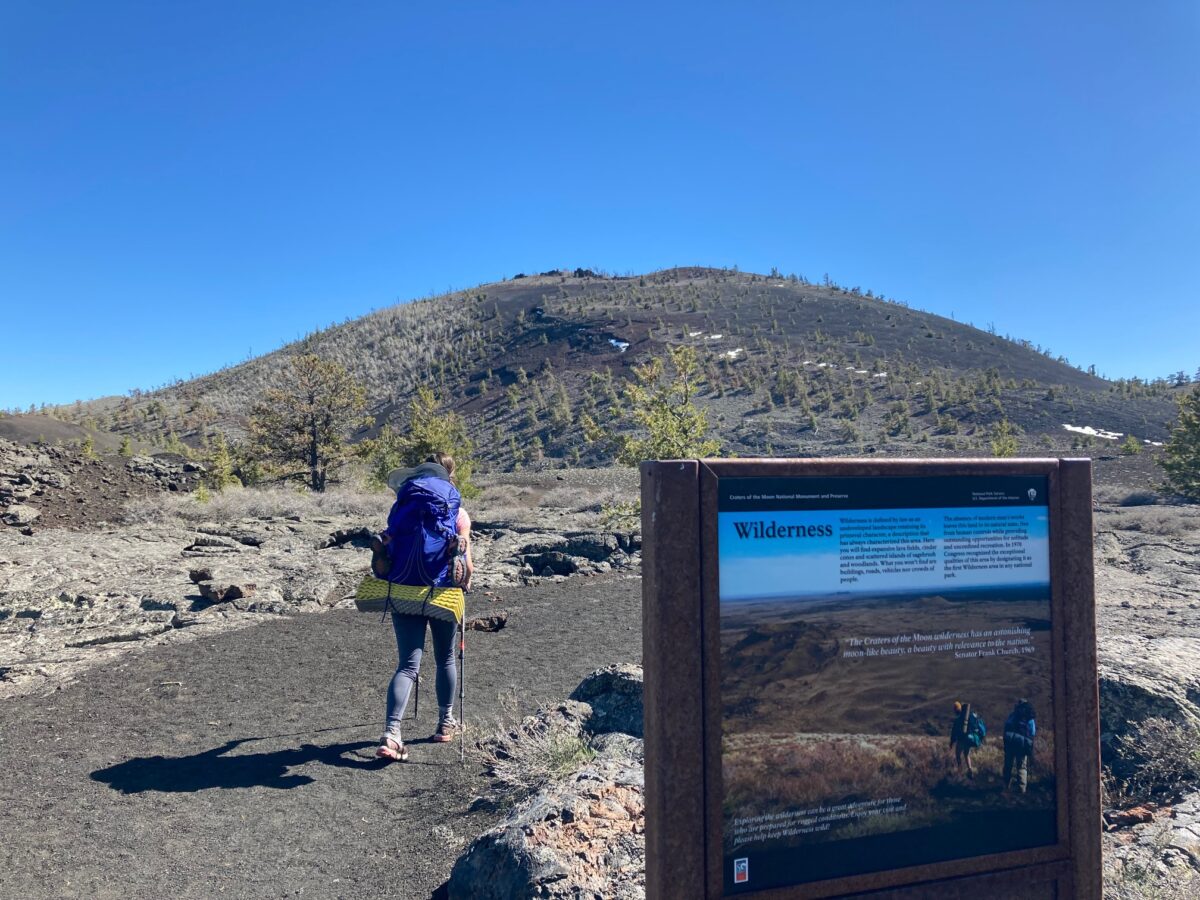
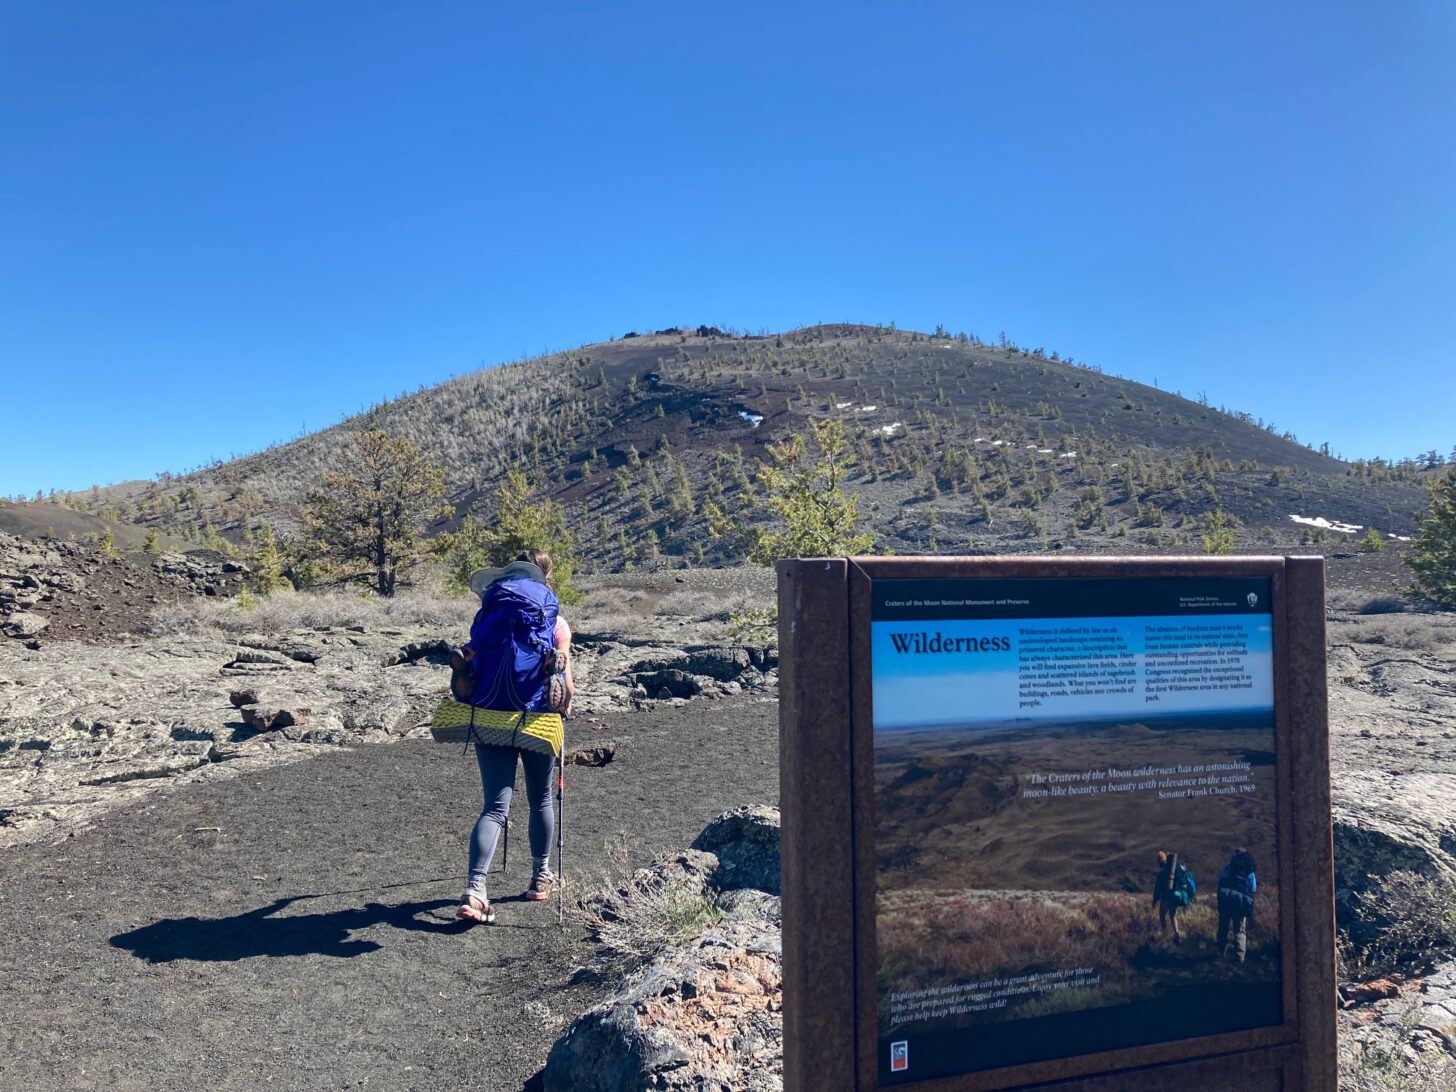
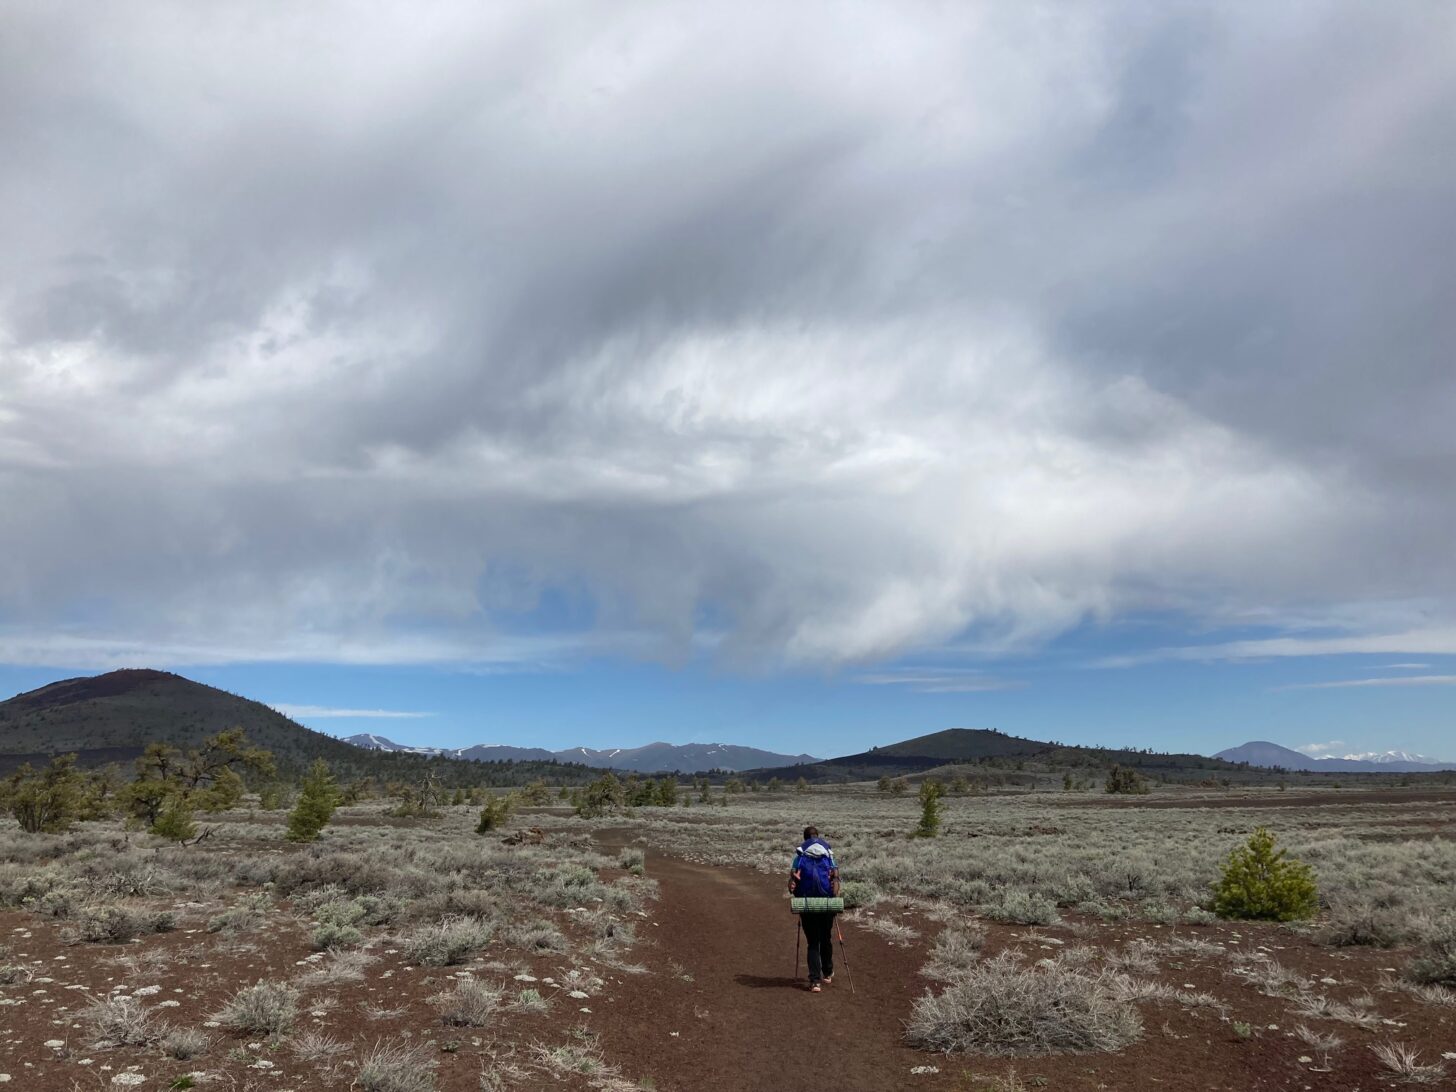
Just as the Lost River Range begins to fade away over the horizon, those wishing to visit Craters of the Moon head west. Before long, what looks to be fairly typical high desert fields turn into lava flats, and the vastness of the landscape becomes visceral. When exploring the trails in the National Monument, that feeling reaches new heights.
The brutal climate of Craters of the Moon – hot, dry, windy summers and bitterly cold and windy winters – means that the window for backpacking there is mostly confined to spring and fall. Given that there is no reliable surface water in the areas of the monument most attractive to backpacking, it’s not surprising that few backpackers visit Craters of the Moon. It’s far from most other attractions in Idaho, and the state has no shortage of world-class backpacking trips.
Lacking the recreation pressure that can only be managed by reservation systems and quotas, Craters of the Moon only requires a free permit that can be picked up at the visitor center by backpackers wishing to spend the night in the 43,243-acre wilderness.
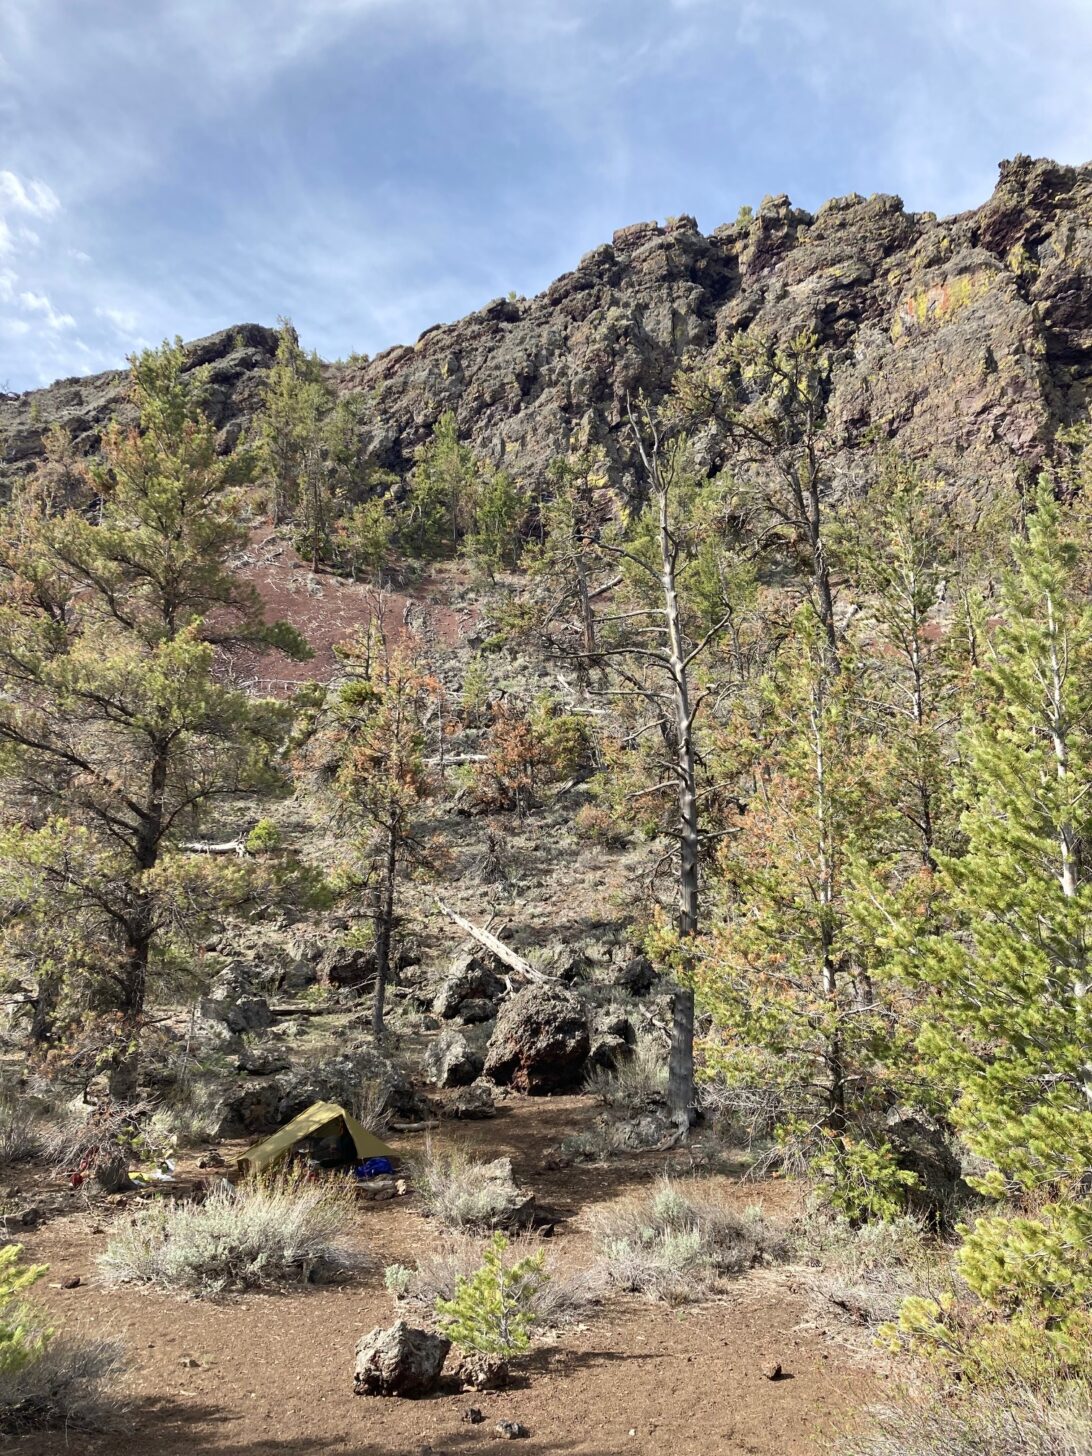
The land managers recommend visitors camp in Echo Crater to limit the impact on the landscape by concentrating use. Reached by an approximately four-mile hike, with the last stretch of that cross-country through sagebrush plains, the crater makes for one of the most incredible campsites I’ve ever stayed at.
This campsite, tucked into a stand of limber pine inside a crater, is one of the most surreal I’ve stayed in over a decade of backpacking. The views from the crater’s rim are spectacular and look out over lava flats and toward distant snowcapped mountains.
After meandering through the sagebrush, you reach the lower rim of the crater and then descend into it to reach two distinct camping areas. You’re mercifully out of the worst of the winds that whip across the lava fields in the craters, and the lowermost campsite is tucked into a charming grove of limber pine.
Cliffs tower above, with colorful lichen contrasting the more drab colors that define the crater’s interior. Exiting the crater provides those camped there with the novel sensation of hiking out of a basement to reach the ground level of the lava fields. But perhaps the most lovely thing about camping at Echo Crater is walking along the rim of the crater, peering down at your campsite and out to distant mountain ranges and the scattered craters and cinder cones and buttes of the monument. You can walk all the way around the rim if you chose (and why wouldn’t you?).
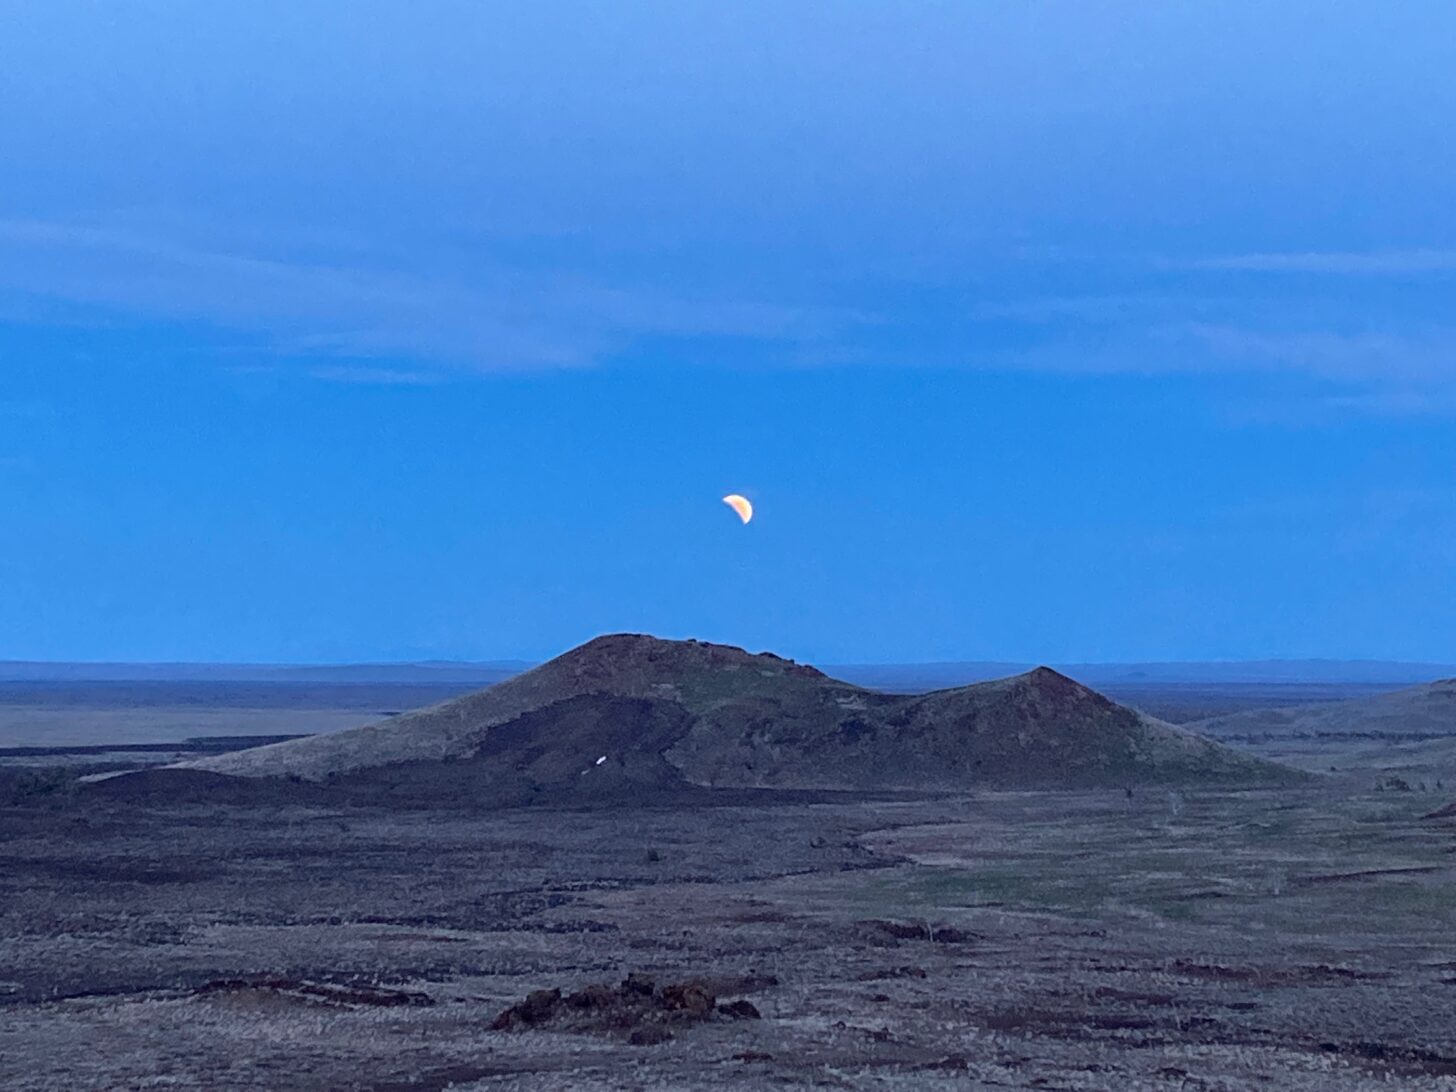
Knowing the terrific view that the crater’s rim afforded, Andrea and I decided that witnessing the lunar eclipse – a Super Flower Blood Moon, to be precise – from that vantage point would be a sublime backcountry experience. And apparently, we were alone in that estimation because on the evening of Sunday, May 15th, we had the crater to ourselves. The ranger who issued our permit told us we were the only backpackers camped in the entire National Monument that night.
Despite being only four miles from the trailhead, the austerity and vastness of the landscape – as well as the cross-country travel required to reach our campsite – gave this overnight trip a much more adventurous feel than might be expected.
Although some cloud cover had drifted into the region, and it would briefly rain on us during the night, our view to the southeast, where the moon would rise, was completely unobstructed. We enjoyed our dinner and brewed up some tea to sip on while we waited for the main event when the moon would pass into the earth’s shadow.
Seeing the lunar eclipse in progress while sitting atop a crater in Craters of the Moon National Monument was one of the most sublime natural wonders I’ve experienced as a backpacker.
Looking out over the lava fields and towards another crater, we saw the moon rise, and then a subtle smudge appear on its bottom. We monitored the progress with binoculars and marveled at the detail we could see on the moon as the eclipse slowly began to take place. The amount of ambient light made the event all the more enjoyable, as the soft green of spring was present in the sparse vegetation, the tiny rocks in the crater had a deep red tint to them, and the blues of the sky added a calming tone to it all.
Once the moon was entirely within the earth’s shadow, we looked at it again with binoculars and were astounded to see just how close the stars appeared to the moon itself. The usual light of the full moon washes these out, but during the eclipse, we could see and appreciate these stars, marveling at the fact that they’re always there but just not visible.
Distant snowcapped mountains provide a contrast to the arid and flat lava plains of Craters of the Moon National Monument.
This experience was one of the most incredible I’ve ever had as a backpacker – a lunar eclipse is amazing enough; pairing it with an otherworldly landscape took it to another level. When planning my trips, I try to target complementary seasons for the landscapes (i.e., not visiting Death Valley in August), but this was my first real foray into planning for celestial events.
Return for another adventure in Craters of the Moon National Monument with this article by David Chenault.
Read another tale of backpacking and lunar eclipse here.
Browse more Places content for tales of adventure and inspiration.
DISCLOSURE (Updated April 9, 2024)
Backpacking Light does not accept compensation or donated/discounted products in exchange for product mentions or placements in editorial coverage.
Some (but not all) of the links in this review may be affiliate links. If you click on one of these links and visit one of our affiliate partners (usually a retailer site), and subsequently place an order with that retailer, we receive a commission on your entire order, which varies between 3% and 15% of the purchase price. Affiliate commissions represent less than 15% of Backpacking Light's gross revenue. More than 70% of our revenue comes from Membership Fees. So if you'd really like to support our work, don't buy gear you don't need - support our consumer advocacy work and become a Member instead.
Learn more about affiliate commissions, influencer marketing, and our consumer advocacy work by reading our article Stop wasting money on gear.
In this episode, Ryan and Andrew discuss some small, pocket-sized cameras for backpacking.
Listen
Listen to the podcast on Itunes, Spotify, or wherever you get your podcasts.
Summary
In this skills short episode of the Backpacking Light podcast, Ryan and Andrew discuss ultralight cameras for backpacking. Today’s episode is very focused and short – just a quick list of a few lightweight cameras for backpacking that we’ve liked and used to get good results with backcountry photography.
Outline
0:00:00 – podcast intro; Categories of small cameras
0:01:56 – latest model smartphones
0:06:02 – mid-sensor compact cameras
0:08:39 – rugged compact cameras
0:11:57 – action Cameras and the GoPro Camera
0:14:43 – final thoughts: “The best camera is the camera you have with you and ready.”
Executive Producer - Backpacking Light; Show Director and Host - Ryan Jordan; Producer - Chase Jordan; Theme music: Look for Me in the Mountains written by Chris Cunningham and Ryan Jordan, performed by Chris Cunningham (acoustic guitar, lead and harmony vocals, harmonica), Chad Langford (upright bass), and Tom Murphy (mandolin), produced by Basecamp Studios in Bozeman, Montana.
Sponsorship Policy: Backpacking Light does not accept compensation or donated/discounted products in exchange for product mentions or placements in editorial coverage, including any podcast episode content not excplicitly identified as sponsored content. Some (but not all) of the links in these show notes may be affiliate links. Learn more about affiliate commissions, influencer marketing, and our consumer advocacy work by reading our article Stop wasting money on gear.
Can an ancient Roman philosophy make you a better backpacker? It all depends upon your application.
This is part two of Andrew Marshall’s ongoing series examining the intersection between backpacking and ancient ways of thinking. Read part one here.
My long-time hiking partner and I have a Stoic-themed running joke that we break out on every backpacking trip. And if you think that’s the nerdiest thing you’ll read on Backpacking Light this week, you haven’t been around this website very long.
The joke normally happens when something particularly miserable is going on – let’s say we’re entering hour ten of a rainstorm, and the temperature drops down into the low forties.
The joke goes like this.
Q: “How would Marcus Aurelius handle this situation?”
A: “He’d probably say, ‘get me out of this rainstorm, you assholes. I’m the most powerful man in the known world!’”
Like all the best jokes, this one requires a detailed explanation, a passing familiarity with western philosophy, and an interest in the history of post-republic Rome.
A brief primer on Richard Harris, I mean, Marcus Aurelius
See, Marcus Aurelius had a lot to say about bearing up under hardship and living a simple, austere existence that revolves around controlling one’s reactions to external circumstances. He is responsible for Meditations – a tome that, along with works by playwright Seneca the Younger and slave-turned-philosopher Epictetus, form the backbone of the Roman philosophy of Stoicism.
What’s funny about that – at least to me, especially if I’m being rained on – is that at the same time that Marcus Aurelius was writing lines like “our life is what our thoughts make it,” he was the Emperor of Rome during one of its high water marks. In his lifetime, he was arguably the most powerful person in all of Europe, Central Asia, and northern Africa. If there was any man alive at the time who could make his world reflect his thoughts, it was Marcus Aurelius.
So it’s inherently humorous to me to read a Marcus tidbit like, “There is never any need to get worked up or to trouble your soul about things you can’t control,” because the list of things the Emperor of Rome couldn’t control at that time was probably vanishingly small, at least compared to most other human beings alive at the time.
To be fair to Marcus, the writings that makes up Meditations were his personal journals and were probably designed to help him remember that even though he was the Emperor of Rome, he shouldn’t necessarily live or act like it.
And by all accounts, it worked. Stoicism didn’t help Marcus avoid the trap of nepotism or raise a decent son – Commodus was famously a nutbar, and yes he really did fight in the Colosseum for fun. But the philosophy did seem to keep Marcus from winding up as a murderous, spoiled lunatic, and that fact alone puts him in the top ten of all absolute monarchs, if not the top three. Quite an accomplishment, really.
All of which is to say – in a roundabout way I can get away with because I’m the editor around here – Stoicism can be a helpful mindset for ultralight backpackers.
This situation has a lot of factors that Stoicism can help parse.
Some things that look great as a refrigerator magnet
Consider this from Epictetus: “The chief task in life is simply this: to identify and separate matters so that I can say clearly to myself which are externals not under my control, and which have to do with the choices I actually control. Where then do I look for good and evil? Not to uncontrollable externals, but within myself to the choices that are my own…”
Okay, so this is pretty basic stuff, right? I mean, really, most philosophy and religion are made up of the same seven good ideas, and this is one of them. I’m sure you’ve heard a variation of it. Stoicism is filled with things like this:
“We are often more frightened than hurt; we suffer more from imagination than from reality.” — Seneca
“You become what you give your attention to… if you yourself don’t choose what thoughts and images you expose yourself to, someone else will.” —Epictetus
“Today, I escaped anxiety. Or no, I discarded it, because it was within me, in my own perceptions, not outside.” — Marcus Aurelius
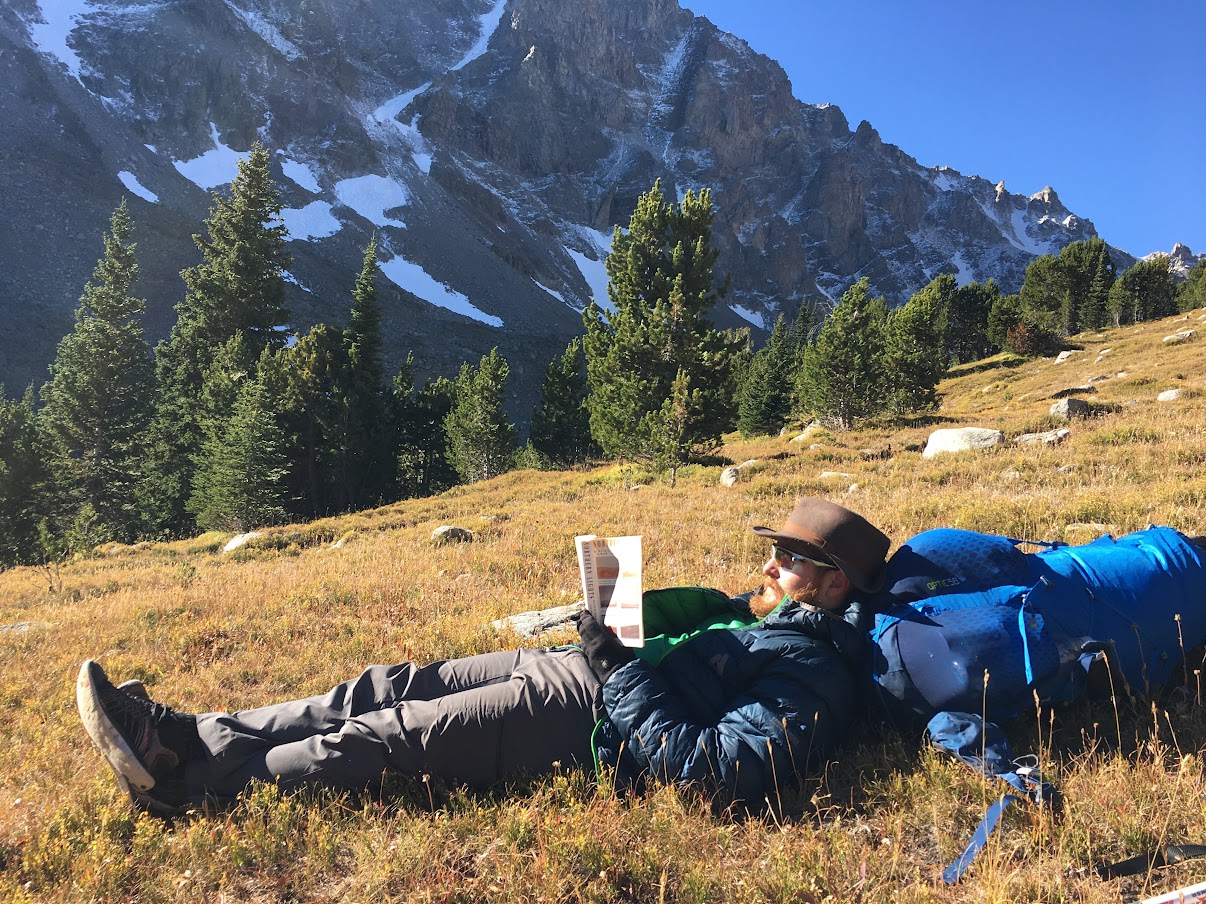
Not every backpacking trip is this idyllic. Applying Stoic exercises to planning, decision-making, and training can be helpful.
I have a lot of love for pithy little sayings like this. It’s one of the things that makes Stoicism such a lasting and accessible mindset and one of the reasons people like Ryan Holiday can make a whole career out of talking about it. It sounds good. It looks good as a tattoo.
But just like the Bible verses from my youth, I have trouble transforming lines like this into a usable mindset. I am, as I’ve written several times in this space, simply too chemically unbalanced to “discard my anxiety” in ultralight backpacking or life in general.
But Stoicism also comes with a few thought exercises – sort of summations or generalizations of all the ideas in the texts distilled into practices – and these I do find handy, especially in the context of outdoor, human-powered adventure. Here are a few I find useful for backpacking. Bonus points – some of them are in Latin, which makes them sound extra cool.
Memento Mori
I’m fascinated by risk assessment, particularly as I now have a 37-year-old, fully functioning pre-frontal cortex and am (I think?) well past my days of doing stupid things to impress pretty girls.
I’m struck by all the times I see people – people who should know better – doing dumb things in the outdoors. Don’t you know people who push over high passes with thunderstorms looming? People who’d rather play the odds against water-born pathogens than spend a few ounces of pack weight and a few minutes of trail time carrying and using a water treatment system? People who walk too close to rattlesnakes, set up shelters in flood zones, or hop casually across precarious Jenga nightmares of talus and scree?
I sure do. Often it’s people who don’t know any better – raw beginners.
And just as often, it’s people who should know better because they have a moderate-to-decent amount of skill and experience. But the problem with people with some skills and experience is that they often overrate those skills and experience – a cognitive bias called the Dunning-Kruger effect.
A related phenomenon is the thinking that “my reckless behavior has so far not caused any harm; therefore, it will continue not causing any harm.” This cognitive bias is called the Normalcy Bias. If you are pretty sure neither of these biases applies to you, they probably apply especially to you.
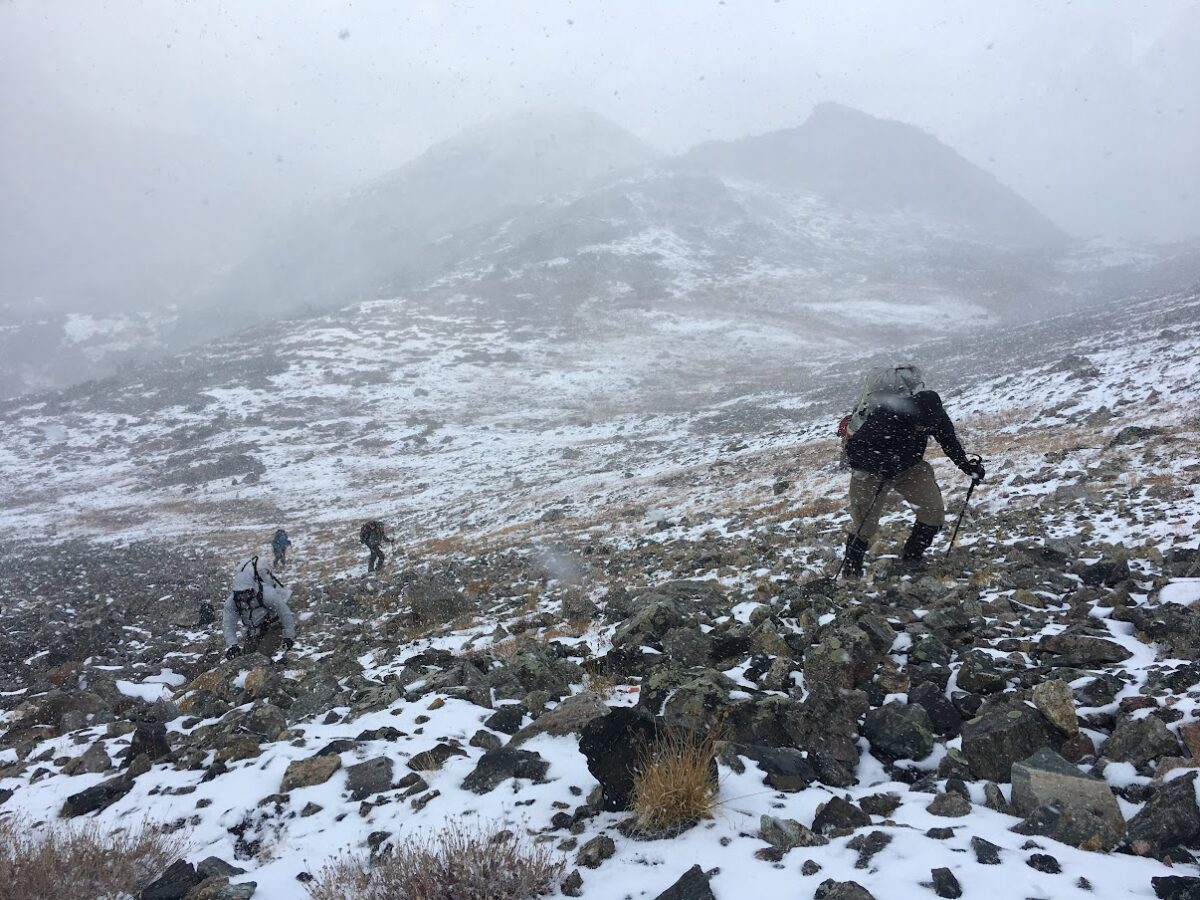
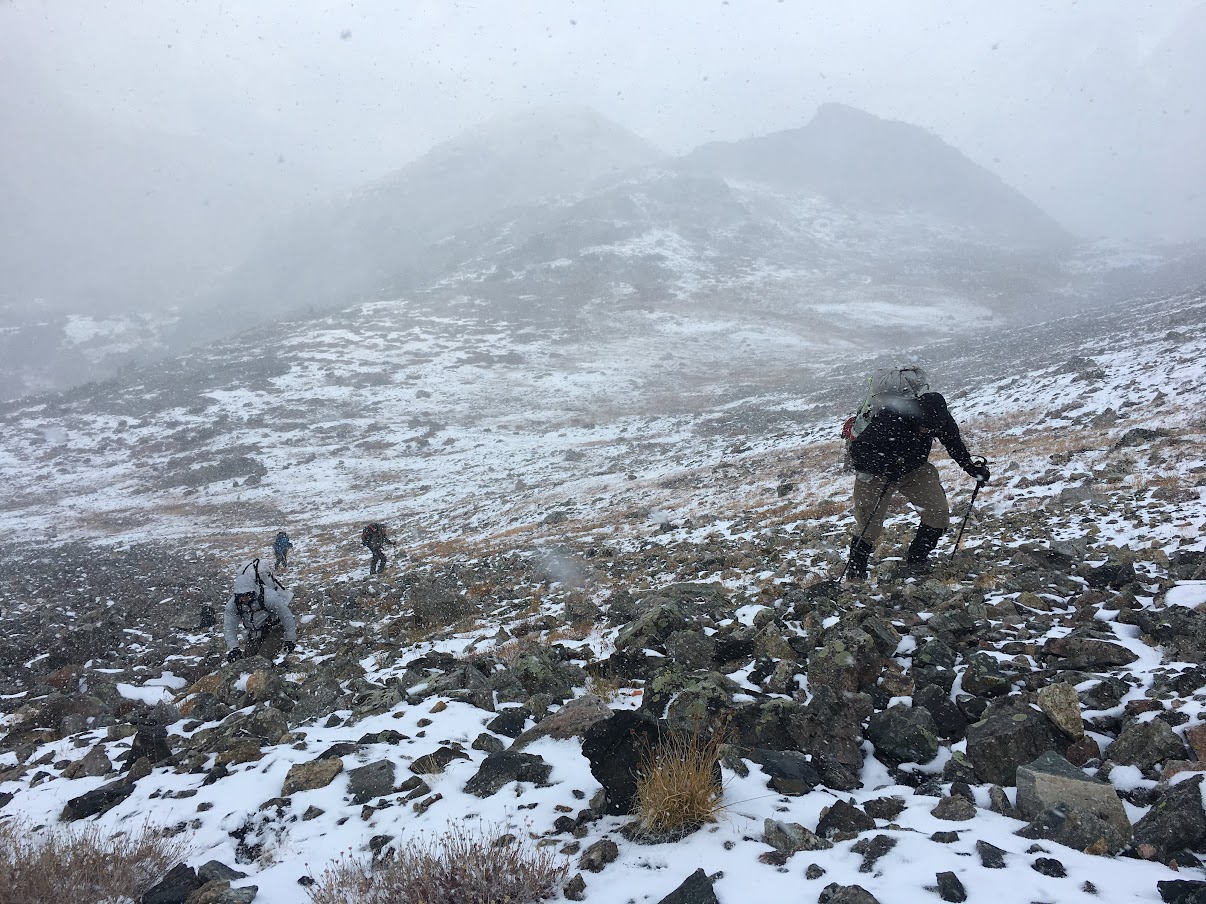
Just around this bend, an out-of-season snowstorm blanketed a steep, exposed ridge with a foot of snow. Lacking microspikes or ice axes, my wife and I turned around, despite having looked forward to this trip for months. Memento Mori.
The city of Rome used to throw triumphs for victorious generals. Imagine a Super Bowl parade where the losing team has to march in chains ahead of the victorious team’s coach. That’s the general vibe.
Triumphs were huge, career-making deals. Once in a lifetime events (well, until Pompey the Great, but that’s a different story). Anyway, triumphs could inflate the ego a bit. That’s why, as the victorious general proceeded through Rome in his bedazzled chariot, a slave would whisper in his ear, over and over again, “Memento mori.”
Remember, you are mortal.
Find a hiking partner who will do the same for you. If you are the type of person who looks at a gathering thunderhead and says, “yeah, we can make it over the pass if we hurry,” you should be backpacking with someone who takes the opposite approach.
Your loved ones will thank you for it.
Premeditatio Malorum
There’s a good Stoic exercise for decision-making. It involves thinking through a scenario and imagining the worst – the very absolute worst – thing that is likely to happen and then imagining what you would do in response to that thing. Often, rather than increase my anxiety about a decision, this process decreases it because, in my head, I have faced the worst-case scenario and determined that I will most likely still be 1) alive and 2) mostly unscathed at the end of it.
Premeditatio Malorum – the pre-meditation of evils – is powerful in day-to-day life, where the worst-case scenarios are somewhere between “I’ll lose my job,” and “my cat will be irritated with me.” By realizing that the worst thing that will happen is usually not all that bad, one can make decisions one might otherwise be too hesitant to make. It’s a way of overcoming uncertainty.
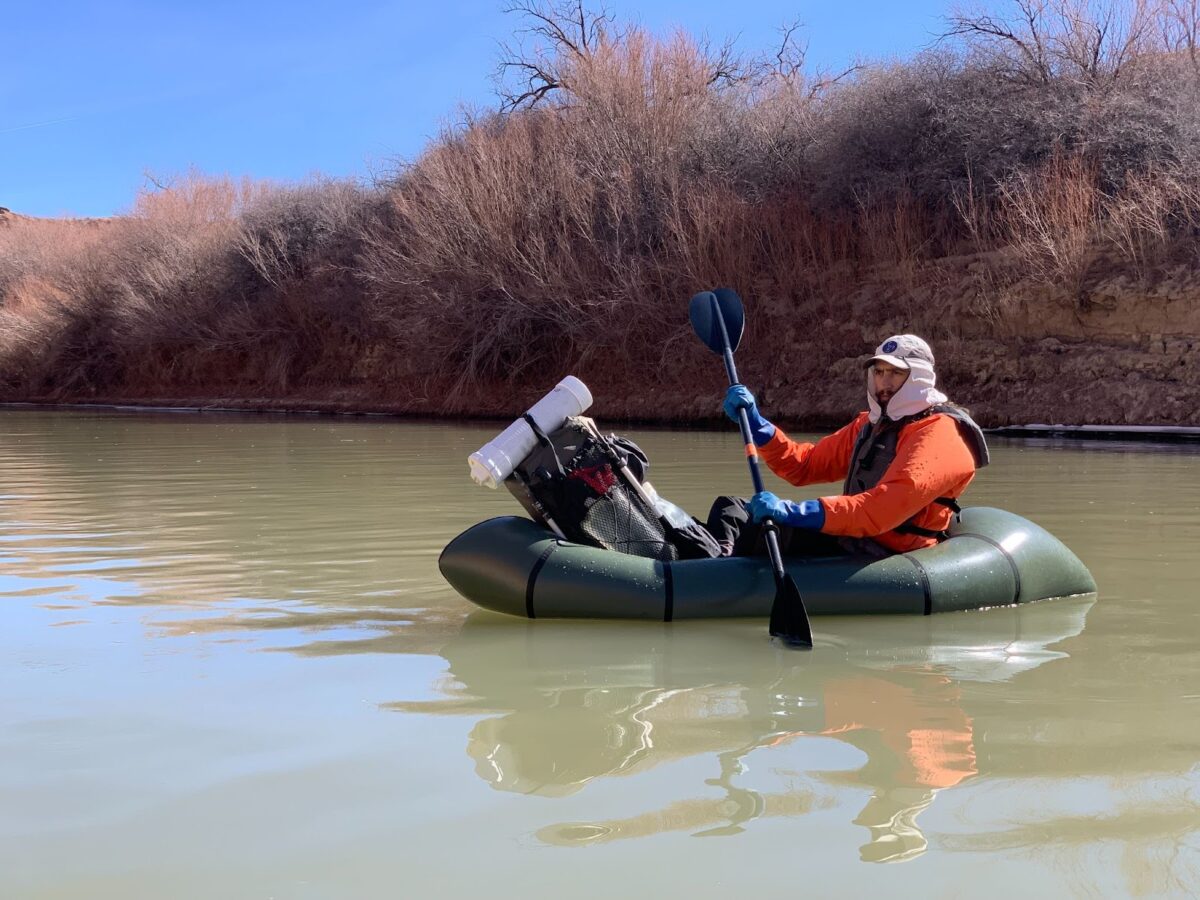
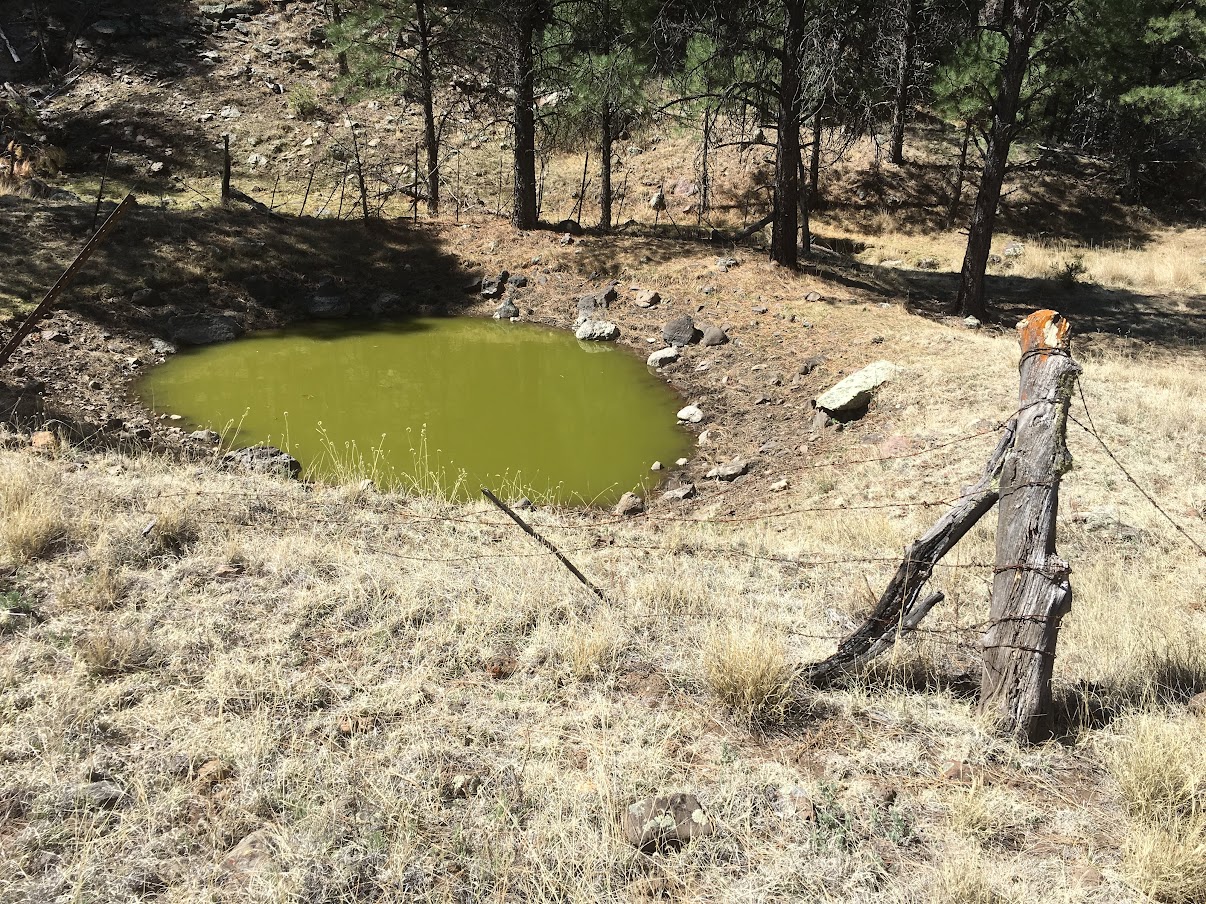
The only water source for 40 miles in any direction on a multi-day backpacking trip in the Gila Wilderness of southern New Mexico. Applying premeditatio malorum helped me think through if it would be better to risk getting water from this source than it would be to travel those 40 miles with only two liters of clean water.
In human-powered adventure, the stakes are often higher, so Premeditatio Malorum must be practiced with care and often serves to discourage, rather than encourage, certain decisions.
In fact, Memento Mori and Premeditatio Malorum should be held in the mind side by side. Remember you are mortal – and do so by realizing that in many backpacking scenarios, the absolute worst decisions can lead to injury or death. Make decisions as if this is the case.
I thought about this concept a lot during the last few years as various phases of the pandemic affected the backpacking-related decisions I made. When the non-profits that manage the big three National Scenic Trails (Appalachian Trail, Continental Divide Trail, and Pacific Crest Trail) recommended postponing or canceling thru-hikes in the spring of 2020, many prospective hikers kicked up a fuss. “Why,” the question went, “would I worry about Covid-19 when I’m going to be hiking in the woods the whole time?”
This mindset reflects a lack of Premeditatio Malorum, which forces the thinker to work through a full set of scenarios to arrive at an outcome. Applying Premeditatio Malorum reveals a worst-case scenario in which a Covid-19 infected hiker might spread the disease through the small trail towns, hostels, and resupply points that form the spine of life on a long-distance trail. Many of these towns have disproportionally elderly populations, and many are hours away from the nearest hospital with a ventilator.
After spending some time imagining how I might react to being the cause of such a disastrous ripple effect, I had no issues changing my plans in 2020.
I find shorter backpacking trips difficult to fully immerse myself in. It takes me a while to unwind, to get used to sleeping on the ground again, to get into the rhythm of things. With a shorter trip, I’m just getting there before it’s time to head home.
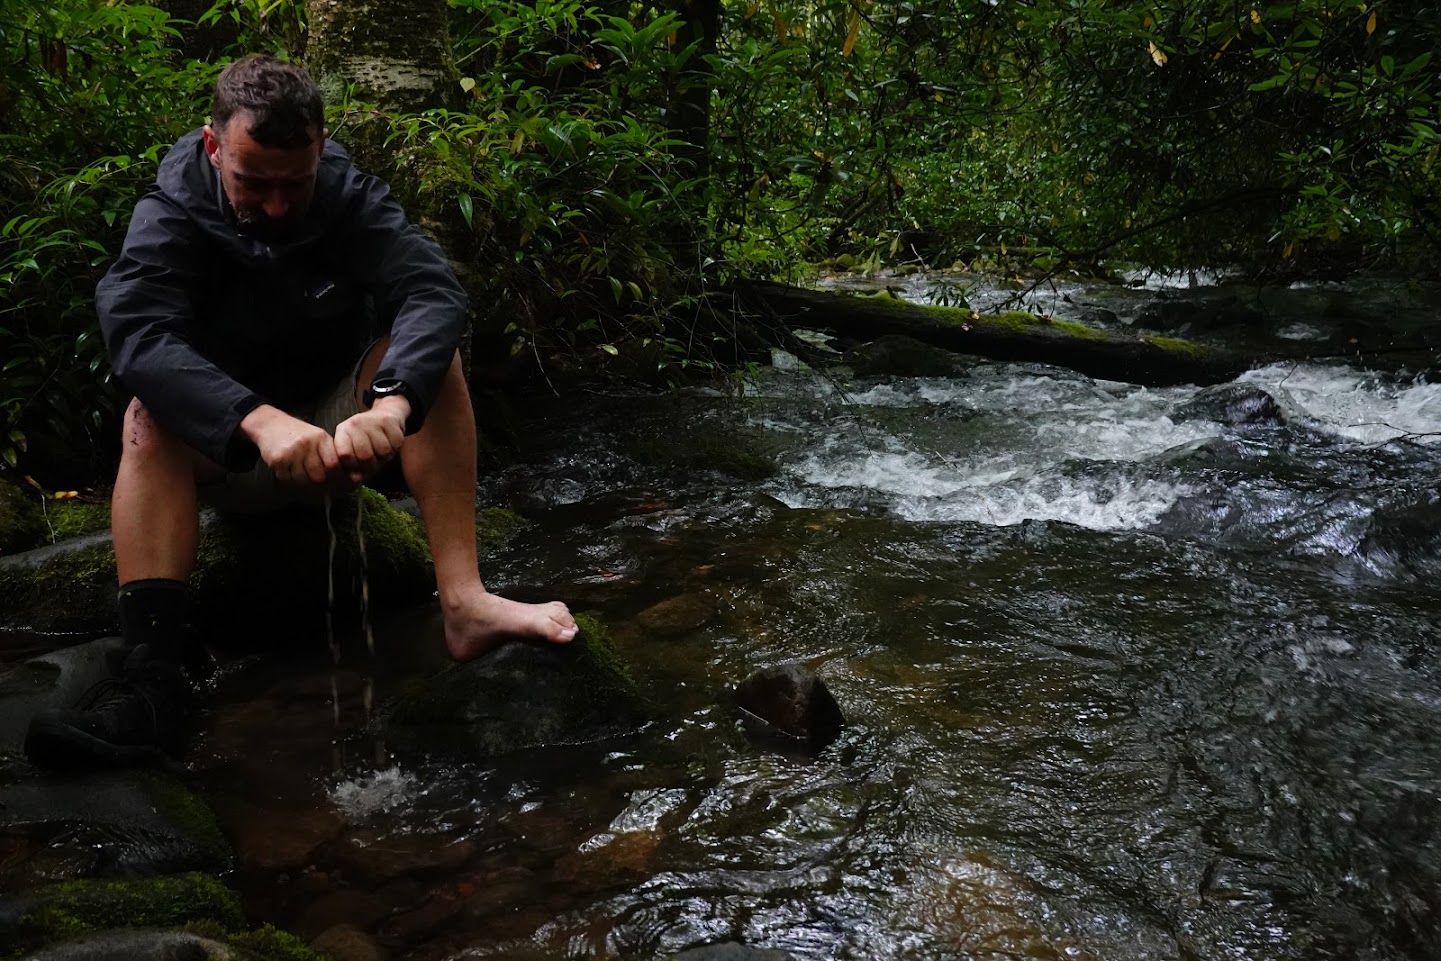
Sometimes you keep your last pair of dry socks dry all day and then step into the water accidentally when crossing a creek. Love Fate.
Longer trips allow me to embrace Amor Fati – love of fate. On short trips, it’s easy to suffer a bit and then question why I’m out there, daydreaming of pizza and a warm bed when I could be eating pizza and sleeping in a warm bed. But on long trips, I can flip my brain into viewing each negative circumstance – too cold, too hot, too tired, blisters, insect bites, poor sleep – into something that is, if not intrinsically good, at least necessary.
Perhaps a backpacker with a stronger will than I can make this flip more quickly or smoothly than I can. But for me, I appreciate that long trips force me to embrace – to love – that wet is wet, cold is cold, hot is hot, and steep is steep.
Practicing misfortune is a concept that comes straight from Seneca and is most useful when it comes to training for backpacking (or anything else really). What it boils down to is this – train outside on crappy days.
Even more so, train harder, for longer, at a greater intensity, on crappy days. Get rained on, or posthole, or get parched in the heat. Sleep on the floor of your bedroom every now and then. Turn your AC off. Don’t eat for a day. Take cold showers. Leave the umbrella at home on a rainy day.
The idea is that when you practice misfortune, normal life difficulties – or difficult circumstances while backpacking – seem easier by comparison.
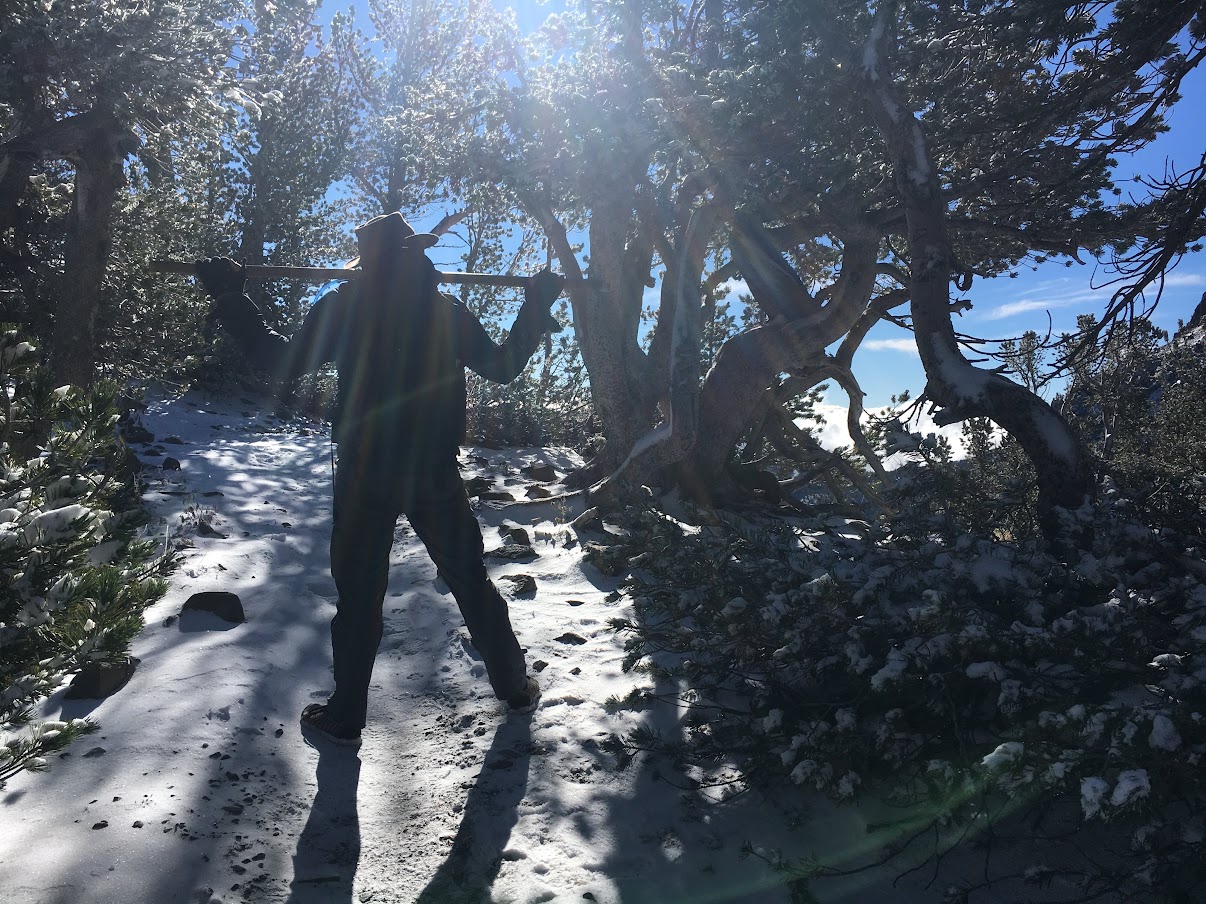
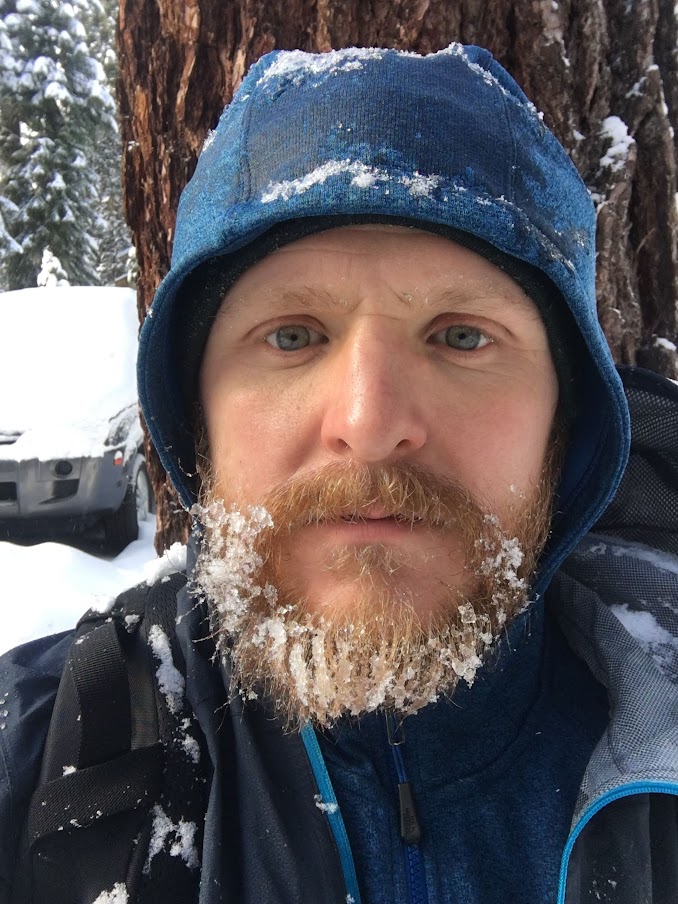
Note the fresh snow on the car in the background. Not ideal conditions for a training hike in summer trail runners. And that was precisely the point. Practice misfortune.
This is a somewhat obvious concept and will likely cause a few eye rolls (duh, right?) but I’d bet that it is difficult for many to put into practice. I know it is for me. I’m pretty good at finding a reason not to go on a run in 40-degree, freezing rain conditions. I can always find an excuse not sleeping on the ground. I do enjoy my comforts.
Practicing Misfortune can be extended beyond training for trips to encompass the trips themselves. The hardest trip I ever took was 170 miles in six days, and 100 miles of that was post-holing, stumbling over suncups, and route-finding over blinding, icy slush. I won’t call this trip fun, but I undertook it because I had a guiding trip coming up later in the year, and I wanted my brain on that trip to be thinking, “hey, this is easy,” even when it wasn’t.
Another way of thinking about all this? Everything is training for something.
Embrace what works, discard the rest
For me, it takes a conscious, sustained effort to Practice Misfortune. In fact, it takes real effort to undertake any of these exercises – which is pretty much the whole point, actually.
Stoicism is about thinking – living – intentionally. Not being carried along and pushed from one thought and emotion to the next and reacting thoughtlessly to each in turn, but instead choosing a response to each circumstance.
That idea as a whole can be applied to ultralight backpacking pretty broadly, as I hope my examples have demonstrated. But there’s no need to embrace the entire philosophy if it doesn’t work for you. I have no interest in pointing you towards either a trendy lifestyle or a set of trendy lifestyle coaches (I am terminally skeptical of both).
Feel free to pick and choose concepts and techniques that seem effective and cheerfully ignore the rest. This, after all, is the beauty of ultralight backpacking as a philosophy. The best aspects of it are the ones that work for you.
Backpacking Light does not accept compensation or donated/discounted products in exchange for product mentions or placements in editorial coverage.
Some (but not all) of the links in this review may be affiliate links. If you click on one of these links and visit one of our affiliate partners (usually a retailer site), and subsequently place an order with that retailer, we receive a commission on your entire order, which varies between 3% and 15% of the purchase price. Affiliate commissions represent less than 15% of Backpacking Light's gross revenue. More than 70% of our revenue comes from Membership Fees. So if you'd really like to support our work, don't buy gear you don't need - support our consumer advocacy work and become a Member instead.
Learn more about affiliate commissions, influencer marketing, and our consumer advocacy work by reading our article Stop wasting money on gear.
A few suggestions for your next out of the ordinary adventure.
You don’t have access to view this content.
Membership Required
This feature requires an active Backpacking Light Membership.
Premium Articles
You're currently viewing a free preview of a member exclusive premium article. Our premium articles include in depth journalism and insights from the Backpacking Light editorial team.
Get full article access by subscribing to a Premium or Unlimited Backpacking Light membership!