Introduction
I’m baffled by a recent backcountry clothing trend: active insulation jackets and hoodies. The best-known examples might be the Patagonia Nano-Air Hoody and the Arc’teryx Proton LT Hoody. Call me old-school, but I don’t see the value of one combined garment over flexibly layering fleece with a wind hoody. But maybe I’m missing something, so I started investigating.

I attempted to compare weight, insulation, air permeability, and retail costs extracted from manufacturer websites. I checked out similar garments from Arc’Teryx, Montbell, Outdoor Research, Patagonia, and REI, mostly sticking to one manufacturer at a time to help level the playing field. My clothing choices might look arbitrary to fans of any company’s products, but I tried to be fair. It wasn’t easy, especially thrashing through thickets of marketing overgrowth. The results were dismal.
I went down this disappointing trail to illustrate the promise and limitations of standards and testing using a consumer-focused example.
Arc’teryx
The following table compares these Arc’teryx garments:
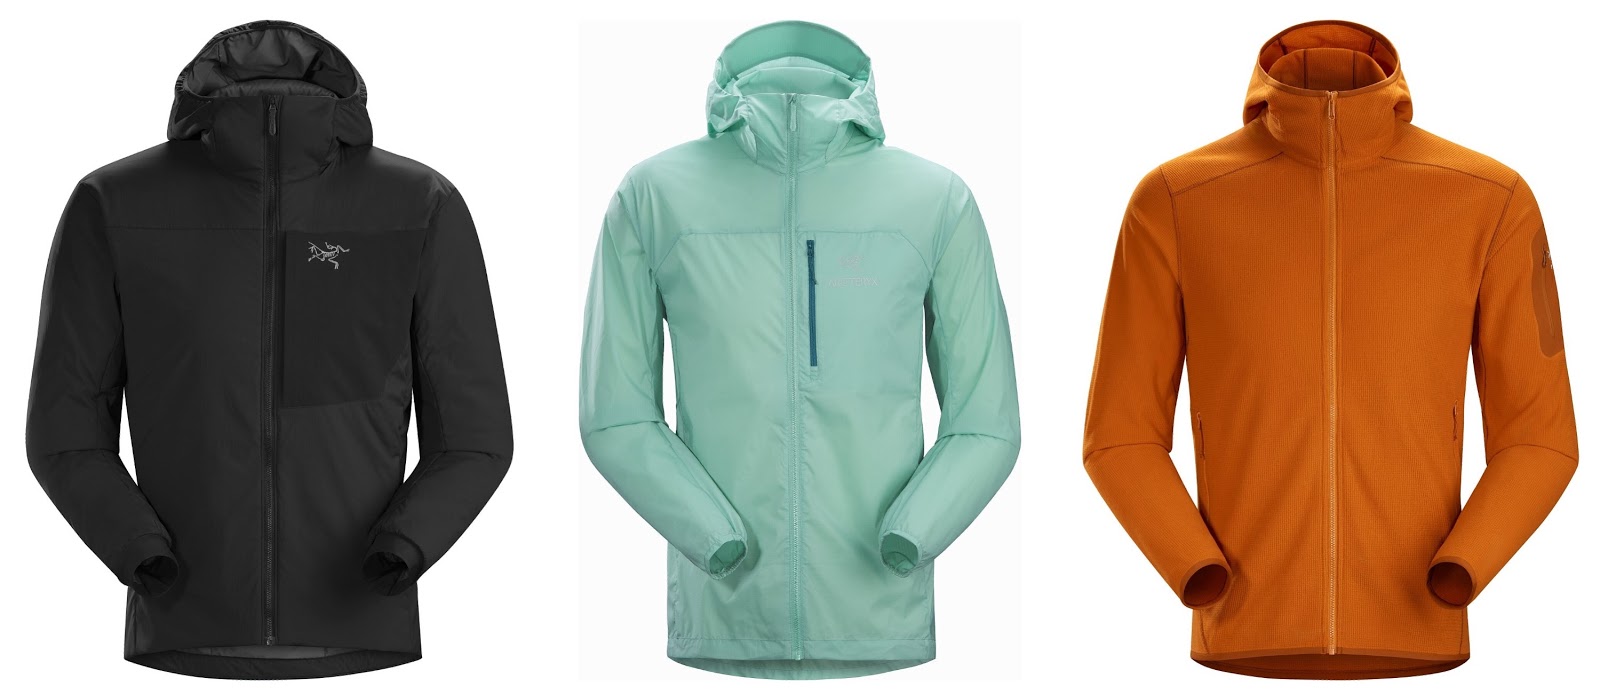
| Proton LT Hoody (active) | Delta LT Hoody (fleece) | Squamish Hoody (wind) | Fleece plus wind layer | Difference | |
|---|---|---|---|---|---|
| Weight | 375 g 13.2 oz | 258 g “10.1 oz” (likely 9.1 oz) | 140 g 4.9 oz | 398 g 14.0 oz | +0.8 oz (23 g) |
| Insulation | “Coreloft Compact 80” body, “Coreloft Compact 60” hood | “Polartec Classic 100 micro velour small grid,” “152 g/m²” | n/a | Probably warmer than fleece alone | Unknown |
| Air permeability | “Air permeable” | “Quick drying, air permeable” | “Breathable Material” | Complicated | Unknown |
| Cost | $299 | $159 | $159 | $318 | +$19 |
The Arc’teryx website tries to make comparisons easier by assigning garments to “layering ranges.” But I clicked and searched for over an hour, looking for a fleece hoody in the same layering range (3) as the Proton LT – and came up empty-handed. Finally, I chose the Delta LT Hoody, in layering range 2. Unfortunately, the websites for the other gear makers were far worse.
Note that the published weight specification for the Delta LT Hoody seems to convert grams to ounces incorrectly. If a Canadian company utilizes the metric system internally, 258 grams should be 9.1 ounces. So in the other columns, I used that lower American weight.
(Dangerously) assuming comparable warmth and breathability, the active insulation Proton LT Hoody comes out slightly ahead on weight and price. Maybe. I hope.
Montbell
The following table compares these Montbell garments:
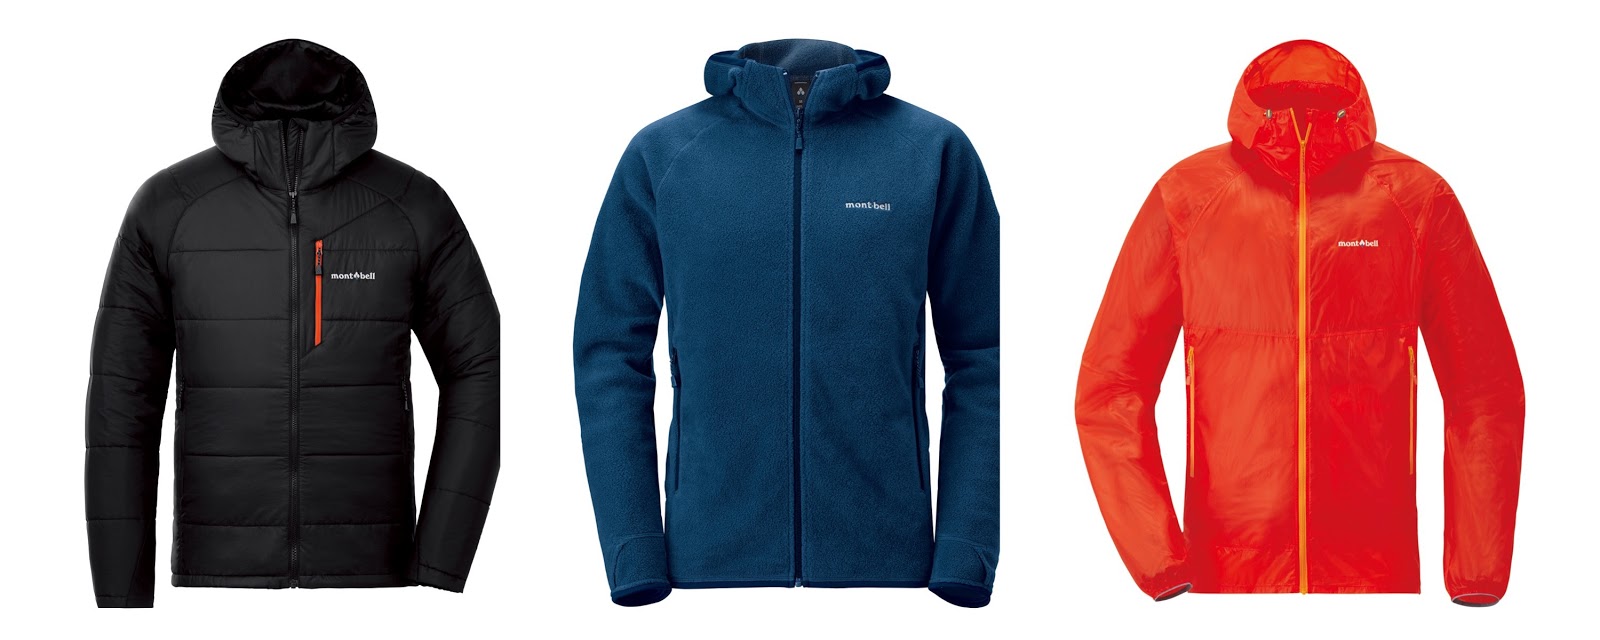
| U.L. Thermawrap Parka | Climaplus 100 Warm Up Parka | Tachyon Parka | Fleece plus wind layer | Difference | |
|---|---|---|---|---|---|
| Weight | 9.3 oz (265 g) | 14.1 oz (400 g) | 2.5 oz (72 g) | 16.6 oz (472 g) | +7.3 oz (207 g) |
| Insulation | “STRETCH EXCELOFT synthetic insulation, 40g/m2” | “CLIMAPLUS 100 (100% polyester)” | n/a | Probably warmer than fleece alone | Unknown |
| Air permeability | “the most stretchable, breathable, quick-drying synthetic insulation we’ve ever created” | “CLIMAPLUS 100 (100% polyester)” | “redesigned to significantly increase breathability” | Complicated | Unknown |
| Cost | $209 | $69 | $99 | $168 | -$41 |
For this face-off, I chose the lightest options from Montbell, a well-respected ultralight garment maker. The Thermawrap and Tachyon are on many lightweight backpacker’s gear lists.
But Montbell doesn’t label the Thermawrap U.L., or any other garment, as active insulation, though the description seems to fit: “purpose-built to reduce layer shedding stops on the trail.” Unfortunately, their website says nothing useful about fleece insulation or air permeability. Montbell’s lightest hooded fleece plus wind jacket is much heavier than their active insulation parka, at a slight cost savings.
Outdoor Research
The following table compares these Outdoor Research garments:

| Refuge Air Hooded Jacket | Trail Mix Hoodie | Ferrosi Hooded Jacket | Fleece plus wind layer | Difference | |
|---|---|---|---|---|---|
| Weight | 16.8 oz (477 g) | 13.6 oz (386 g) | 15 oz (424 g) | 28.6 oz (810 g) | +11.8 oz (333 g) |
| Insulation | “VerticalX Air 100% polyester 75D insulation, 75 g/m2” | “100% polyester ... thermo-regulating ActiveTemp treatment” | n/a | Probably warmer than fleece alone | Unknown |
| Air permeability | “Breathable ... rapidly moves moisture” | “Quick Drying, Breathable” | “Breathable, Quick-Drying” | Complicated | Unknown |
| Cost | $229 | $99 | $129 | $228 | -$1 |
After multiple loops through their website, I couldn’t find a simple, lightweight wind hoody from Outdoor Research. So, I settled for their overweight
The active insulation Refuge Air comes out way ahead on weight at a nearly identical price, while making the rash assumption that breathability and warmth are similar.
Patagonia
The following table compares these Patagonia garments:
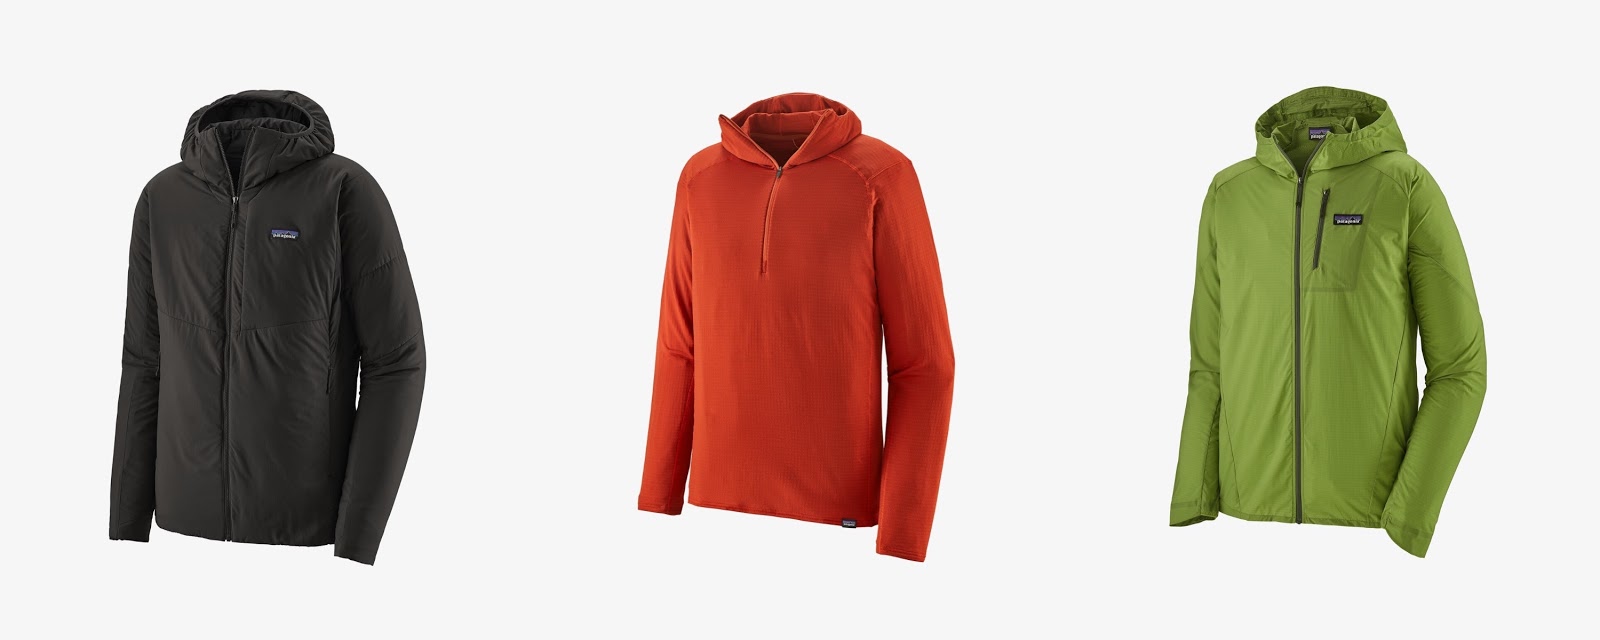
| Nano-Air Hoody | Capilene Thermal Weight Zip-Neck Hoody | Houdini Air Jacket | Fleece plus wind layer | Difference | |
|---|---|---|---|---|---|
| Weight | 12.2 oz (346 g) | 7.7 oz (218 g) | 4.1 oz (116 g) | 11.8 oz (334 g) | minus 0.4 oz (12 g) |
| Insulation | 60-gram polyester | “3.8-oz (129-g) Polartec Power Grid 92% recycled polyester/8% spandex” | n/a | Probably warmer than fleece alone | Unknown |
| Air permeability | “exceptional breathability “ | “breathable, lofted baselayer” | “prevent that hot, sweaty feeling during high-output activities” | Complicated | Unknown |
| Cost | $299 | $119 | $169 | $288 | minus $11 |
In this first example from Patagonia, fleece plus wind layer is almost identical to active insulation. But only if we assume that breathability and warmth are similar.
More Patagonia
The following table compares these Patagonia garments:
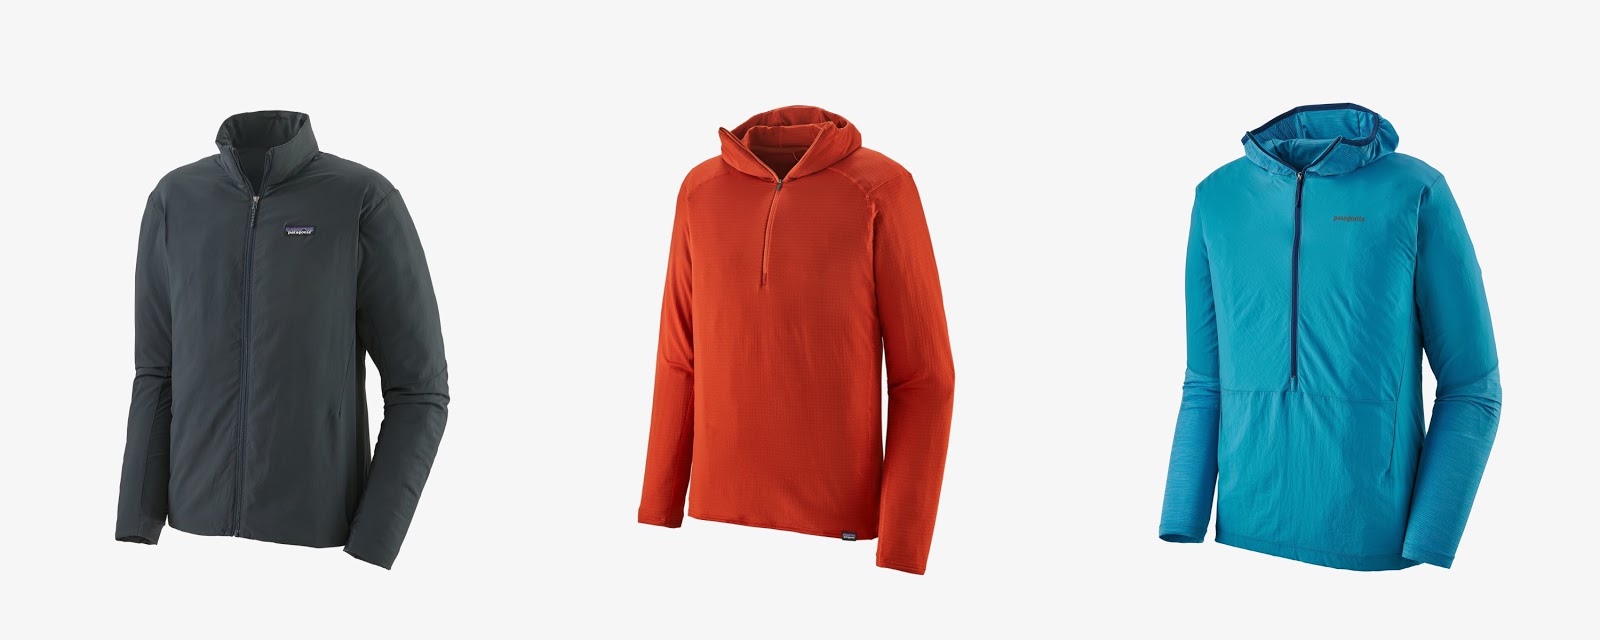
| Thermal Airshed | Capilene Thermal Weight Zip-Neck Hoody | Airshed Pro Pullover | Fleece plus wind layer | Difference | |
|---|---|---|---|---|---|
| Weight | 8.3 oz (235 g) | 7.7 oz (218 g) | 4.0 oz (113 g) | 11.7 oz (331 g) | +3.4 oz (106 g ) |
| Insulation | “100% recycled polyester PlumaFill insulation is hybridized in front panels and arms” | “3.8-oz (129-g) Polartec Power Grid 92% recycled polyester/8% spandex” | n/a | Probably warmer than fleece alone | Unknown |
| Air permeability | “Designed for hybridized warmth and maximum breathability” | “breathable, lofted baselayer” | “fast-drying, breathable” | Complicated | Unknown |
| Cost | $259 | $119 | $129 | $248 | -$11 |
While I was writing this, Max Neale reviewed the Patagonia Thermal Airshed active insulation jacket, which he labeled “not recommended.” But Max considers the combination of Patagonia’s Capilene Thermal Hoody plus Airshed Pro Pullover to be much better. This despite the fleece plus wind layer combination coming in significantly heavier—at least for gram weenies.
REI Co-op
The following table compares these REI Co-op garments:

| Activator Soft-Shell Jacket | Lightweight Base Layer Half-Zip Top | Flash Jacket | Fleece plus wind layer | Difference | |
|---|---|---|---|---|---|
| Weight | 18 oz (510 g) | 7.0 oz (198 g) | 7.4 oz (209 g) | 14.4 oz (407 g) | -3.6 oz (103 g) |
| Insulation | “Soft, fleecy inner face keeps you warm” | “soft polyester blend ... to keep you warm in winter” | n/a | Probably warmer than fleece alone | Unknown |
| Air permeability | “breathes to keep you comfortable when you're hiking hard” | “breathes to keep you comfortable all day” | “the material is breathable” | Complicated | Unknown |
| Cost | $100 | $45 | $100 | $145 | +$45 |
Here we encounter yet another marketing mystery – the difference (if any) between a “soft shell” and “active insulation.” Neither phrase has a consistent, well-accepted marketing definition (though we’ve defined it here at Backpacking Light), and some vendors promote a wide range of garment designs under the same moniker.
REI doesn’t sell their own hooded fleece, so I compared the Activator jacket to hoodless fleece plus a wind hoody, making this a frustrating apples-to-oranges-plus-apples comparison.
And I repeatedly ran into one of my pet peeves about REI’s standard product listings —missing weights. I’ve seen that question asked and answered on their website many times over several years, but they haven’t picked up on that clue yet.
Given those complications and the same unfounded insulation and breathability assumptions as previous comparisons, REI’s hoodless fleece plus wind layer comes out ahead on weight at a slight price increase. But most people would add something like the 0.5 oz (14 g) $20 REI Polartec Fleece Beanie to keep their head warm, negating some of the weight savings advantage (unless you already carry a warm hat).
Rex’s Choice
The following table compares these garments:
- Montbell U.L. Thermawrap Parka
- Patagonia Capilene Thermal Weight Zip-Neck Hoody
- Patagonia Houdini Jacket

| Montbell U.L. Thermawrap Parka | Patagonia Capilene Thermal Weight Zip-Neck Hoody | Patagonia Houdini Jacket | Fleece plus wind layer | Difference | |
|---|---|---|---|---|---|
| Weight | 9.3 oz (265 g) | 7.7 oz (219 g) | 3.7 oz (105 g) | 11.4 oz (324 g) | + 2.1 oz (59 g) |
| Insulation | “STRETCH EXCELOFT synthetic insulation, 40g/m2” | “3.8-oz (129-g) Polartec Power Grid 92% recycled polyester/8% spandex” | n/a | Probably warmer than fleece alone | Unknown |
| Air permeability | “the most stretchable, breathable, quick-drying synthetic insulation we’ve ever created” | “superior warmth, breathability and moisture-wicking” | “weather-resistant protection for high-output endeavors” | Complicated | Unknown |
| Cost | $209 | $119 | $99 | $218 | -$9 |
Here I chose the lightest well-liked active insulation hoody, the Montbell U.L. Thermawrap Parka, to compare with the latest versions of the layers I usually carry from Patagonia. My system is significantly heavier and barely cheaper. But does it have similar breathability and insulation? Your guess is as good as mine.
Messy and Complicated Air Permeability
Why did I mark air permeability for fleece plus wind layer as “Complicated” in these tables? Because it is. According to independent clothing tester and BPL columnist Steve Seeber, adding just a thin layer of dead air inside a garment dramatically decreases moisture vapor transfer rates. MVTR can be closely related to air permeability for garments like these. Wind hoodies definitely trap a layer of air above fleece.
But active insulation garments also have an air gap, except where the layers were sewn together at the wrist, waist, face, etc. Plus, all the active insulation hoodies in this comparison include an interior fabric lining, trapping a second layer of dead air, which is not present in a wind hoody over fleece.
A separate wind hoody that’s loose or open can easily release moist, warm, trapped air, while retaining some insulation and wind resistance. It depends on how you use it.
And to further muddy the picture, many vendors and backpackers believe that air permeability, breathability, and moisture vapor transfer are closely related. For this article, I used the phrases interchangeably and still didn’t get much helpful information.
So, air permeability is both messy and complicated.
Marketing, Reviews, and Complex Choices
Too bad most outdoor clothing makers don’t publish important, standards-based values like insulation and total air permeability (versus just one layer of a multilayer garment) in comparable units—or even any units. That makes objectively choosing between jackets like these almost impossible.
Instead, backpackers could use comparative reviews from reliable authors and outlets, like this one that Max Neale wrote for BPL. Except Max focused on test conditions that don’t match my settings. And many reviewers do not describe their test conditions very well, or sometimes at all.
In the before times, most of us could easily walk into retail stores and try on clothing. At least we got a sense of fit, finish, quality, and weight. And we could use our experience and informal on-the-spot tests to judge warmth and breathability.
Now we can buy a bunch of jackets over the internet, try them on at home, return the obvious rejects, and wear selected models in a variety of conditions. Which might take several years, probably well past most retailer’s return windows. This quickly becomes an expensive and time-consuming practice.
Or we might buy something based on reputation, personal experience, marketing spin, online reviews of mixed quality, and recommendations from friends, and hope it meets our needs. At least a few retailers have generous return policies.
Choosing and Using Good Standards
Good standards, consistently used, with results published by gear makers, would help tremendously. Even if one of these active insulation jackets was perfect for me, how would I know without buying and trying several?
If you are the maker of a clearly superior garment, but the rest of the industry claims the same poorly-defined benefits, how do you stand out? If the only parameter consumers can objectively compare with some reliability is weight, then the industry races to the bottom, reaching for lower and lower masses at the expense of performance and longevity. At different times we’ve seen that with tents, backpacks, sleeping bags, and other products.
For this exercise, where I wanted to reliably compare the warmth and breathability of these clothing systems, some standards are better than others. A good place to start might be with this Steve Seeber interview.
In an ideal world, we would have standards-based testing by manufacturers, plus high-quality independent reviews that cover a wide range of conditions, plus independent testing of many clothing combinations.
And, as long as we’re fantasizing, real live flying sparkly unicorns.
Conclusion
It’s impossible to objectively compare jackets like these based on the manufacturer’s web pages. Since I have years of experience with my current fleece plus wind-hoody combination, I’m not likely to buy and try active insulation soon.
Too bad for gear sellers. Maybe, someday, they’ll see the value of standards, testing, and clear communication. Given how they’ve screwed up promising efforts like sleeping bag temperature rating standards and sleeping pad R-value standards, I’m not hopeful.
In short, standards and testing are necessary, but not sufficient, for backpackers to make well-informed purchasing decisions.
More Information
- On his personal blog, Max critiques Patagonia’s replacement for the well-loved Nano Air Light Hybrid Hoody, and suggests an alternative two-layer system. He also clearly describes his test conditions.
Related Content
- Andrew Marshall and Ryan Jordan gave the latest version of the Arc’teryx Proton LT Hoody our “Highly Recommended” rating, after using the jacket in a variety of well-characterized settings, and drawing on the experiences of many others.
- As part of this massive, multi-part review from 2018, Max Neale explains many of the factors that you should consider before choosing active insulation and other insulated jackets.
- In this extended interview, Steve Seeber describes the challenges of independent garment testing and the limitations of many standards used in those tests.
DISCLOSURE (Updated April 9, 2024)
- Backpacking Light does not accept compensation or donated/discounted products in exchange for product mentions or placements in editorial coverage. Some (but not all) of the links in this review may be affiliate links. If you click on one of these links and visit one of our affiliate partners (usually a retailer site), and subsequently place an order with that retailer, we receive a commission on your entire order, which varies between 3% and 15% of the purchase price. Affiliate commissions represent less than 15% of Backpacking Light's gross revenue. More than 70% of our revenue comes from Membership Fees. So if you'd really like to support our work, don't buy gear you don't need - support our consumer advocacy work and become a Member instead. Learn more about affiliate commissions, influencer marketing, and our consumer advocacy work by reading our article Stop wasting money on gear.