Introduction
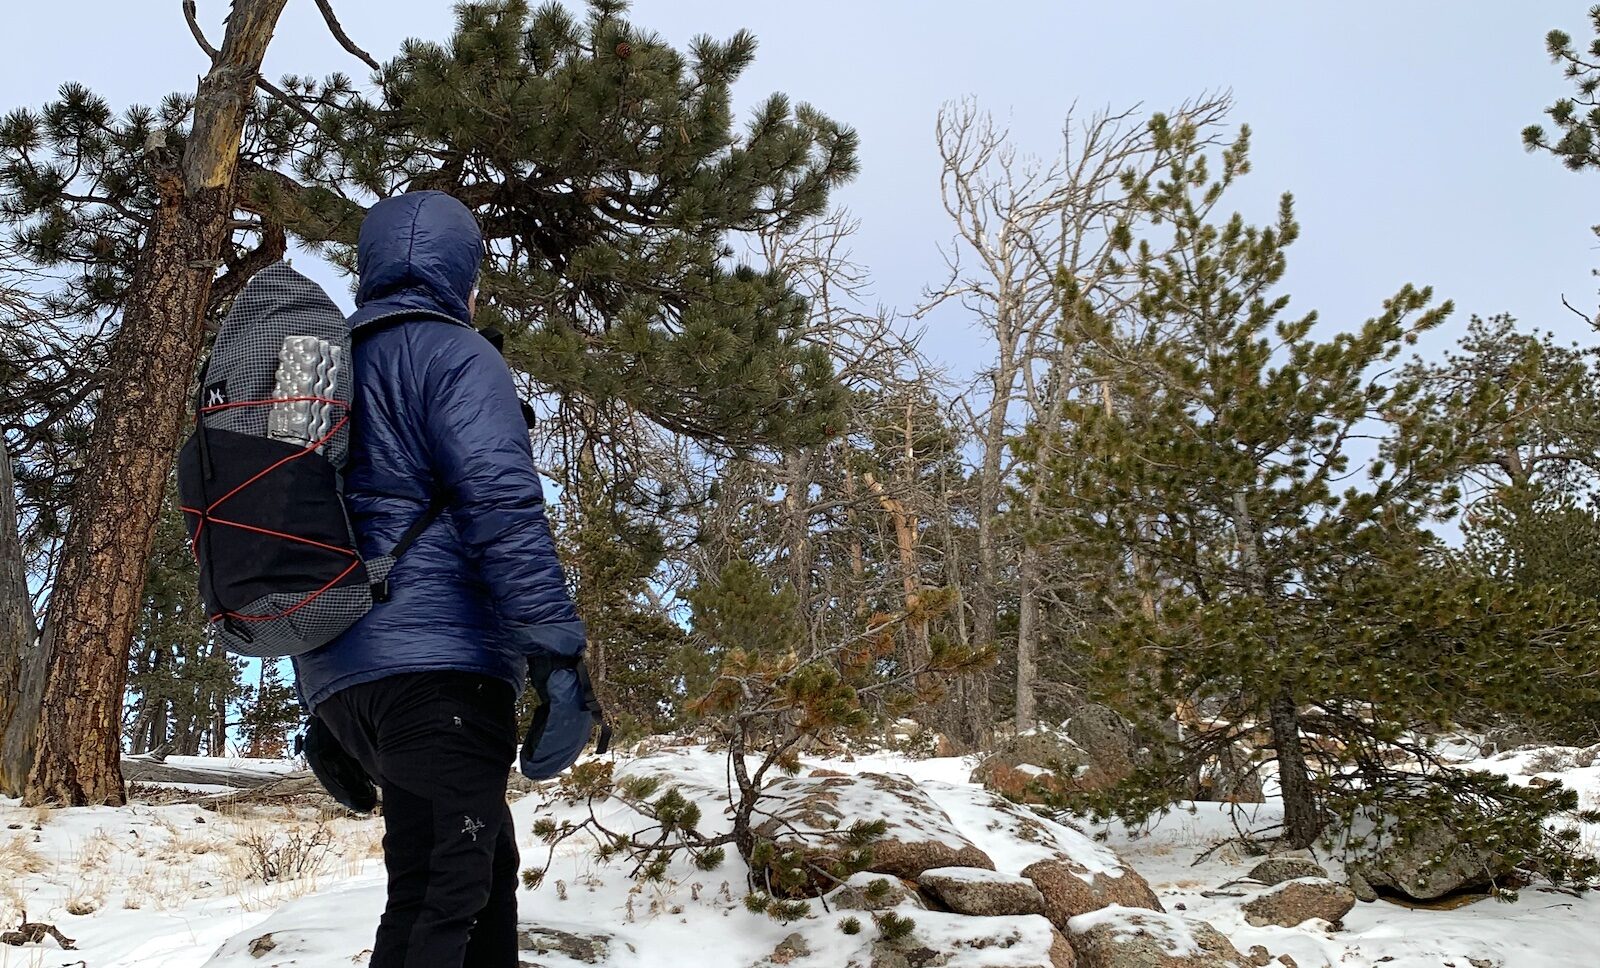
The Red Paw Packs Flatiron Pack 28 L (13 – 19 ounces / 368 – 538 g, MSRP from $220) is a customizable cottage-industry low-volume overnight pack that doubles nicely as a daypack or peak-bagger.

The Flatiron Pack 28 L is available in a variety of X-Pac and DCFH (Dyneema Composite Fabric Hybrid) colors and weights. It features a unique front entry zipper, Spandura outer pockets, vest-style straps or J-straps depending on customer preference, a range of optional hipbelts, and other customizable features.
About this Review
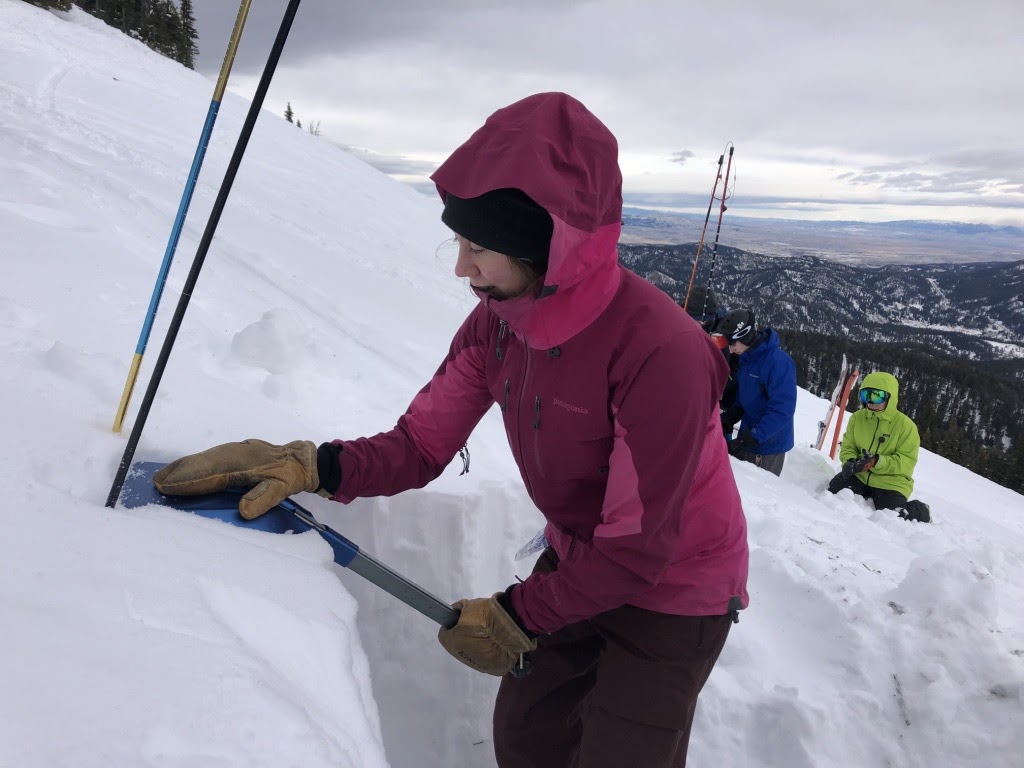
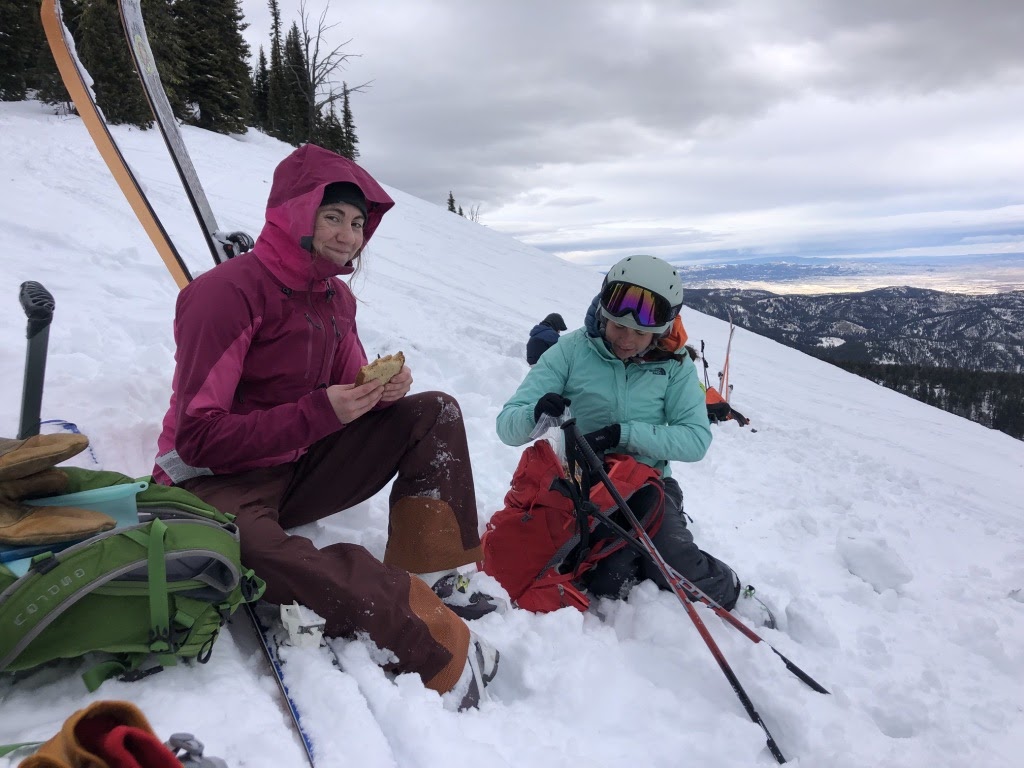
This Limited Review is based on my experience with a Flatiron Pack 28 L over the course of more than 20 days of winter/spring hiking, snowshoeing, skiing, and backpacking around the Tahoe basin of eastern California/western Nevada.
Features and Specifications
As I mentioned above, The Red Paw Packs Flatiron Pack 28 L is highly customizable. This Features and Specifications list reflects the testing pack that Red Paw Packs sent me.
- weight: 16.5 oz (454 g)
- claimed main compartment capacity: 28 L
- claimed pocket capacity: 7 L
- body fabric: 5.0 oz/yd2 DCFH (2.15 oz/yd2 Dyneema Composite Fabric inner layer laminated to a 150 denier polyester face fabric)
- pocket fabric: Spandura (Cordura nylon/Spandex knit blend)
- shoulder strap style: vest-style with pockets
- shoulder strap material: 6.5 oz/yd2 woven Melange with Dyneema Composite Fabric
- shoulder strap padding: 3/8 in (1 cm) closed cell foam with 1/8 in (.3 cm) 3D spacer foam
- shoulder strap width (at shoulders): 3 in (7 cm)
- roll-top entry with ladderloc G-hook webbing buckle
- YKK Aquaguard #5 zipper on primary pack compartment
Description of Field Experience
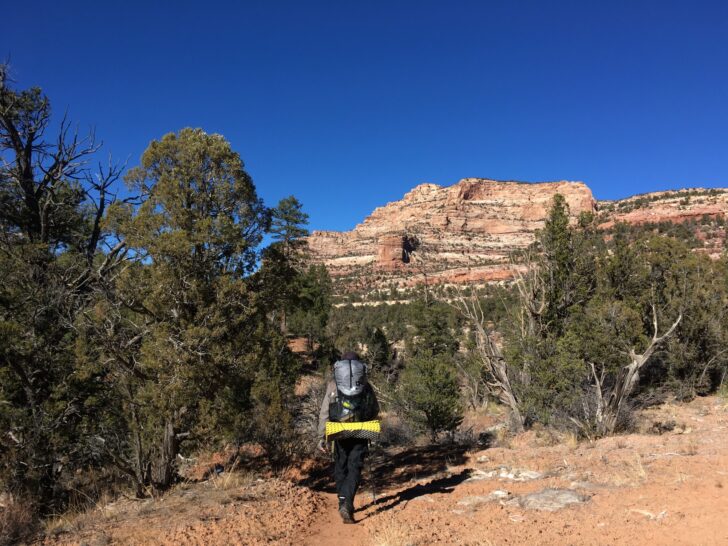
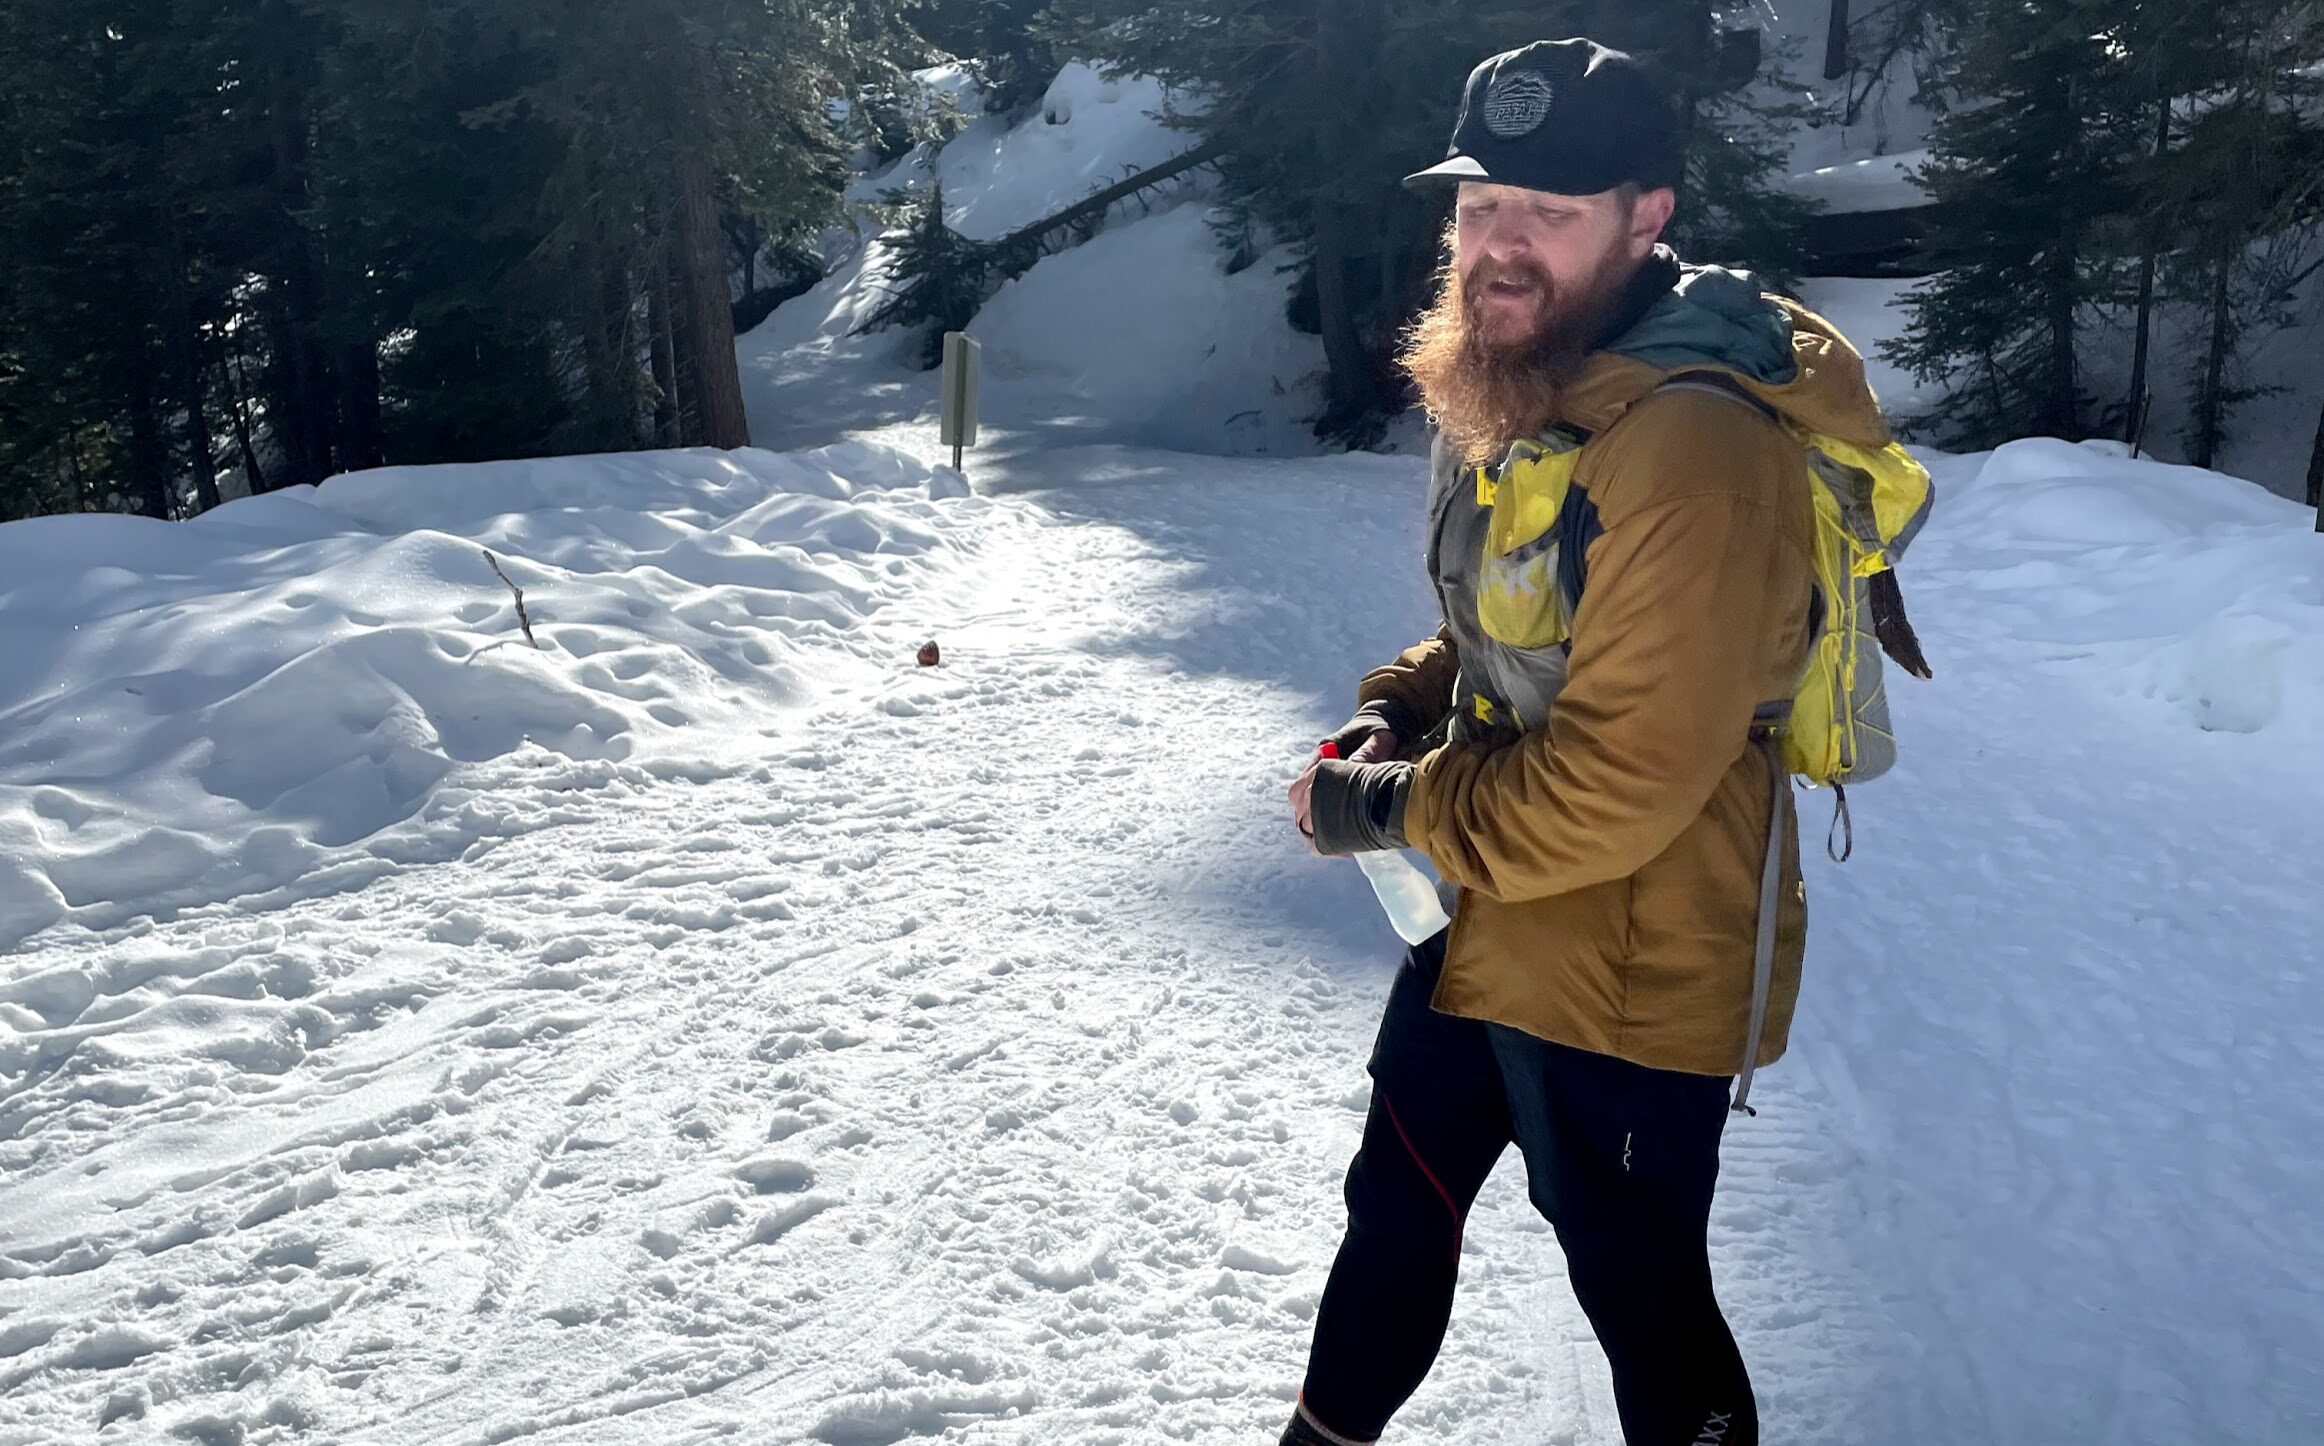
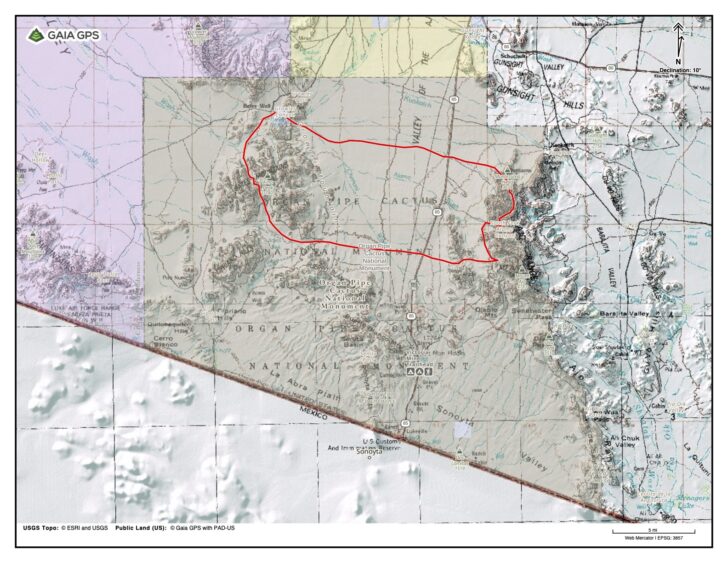
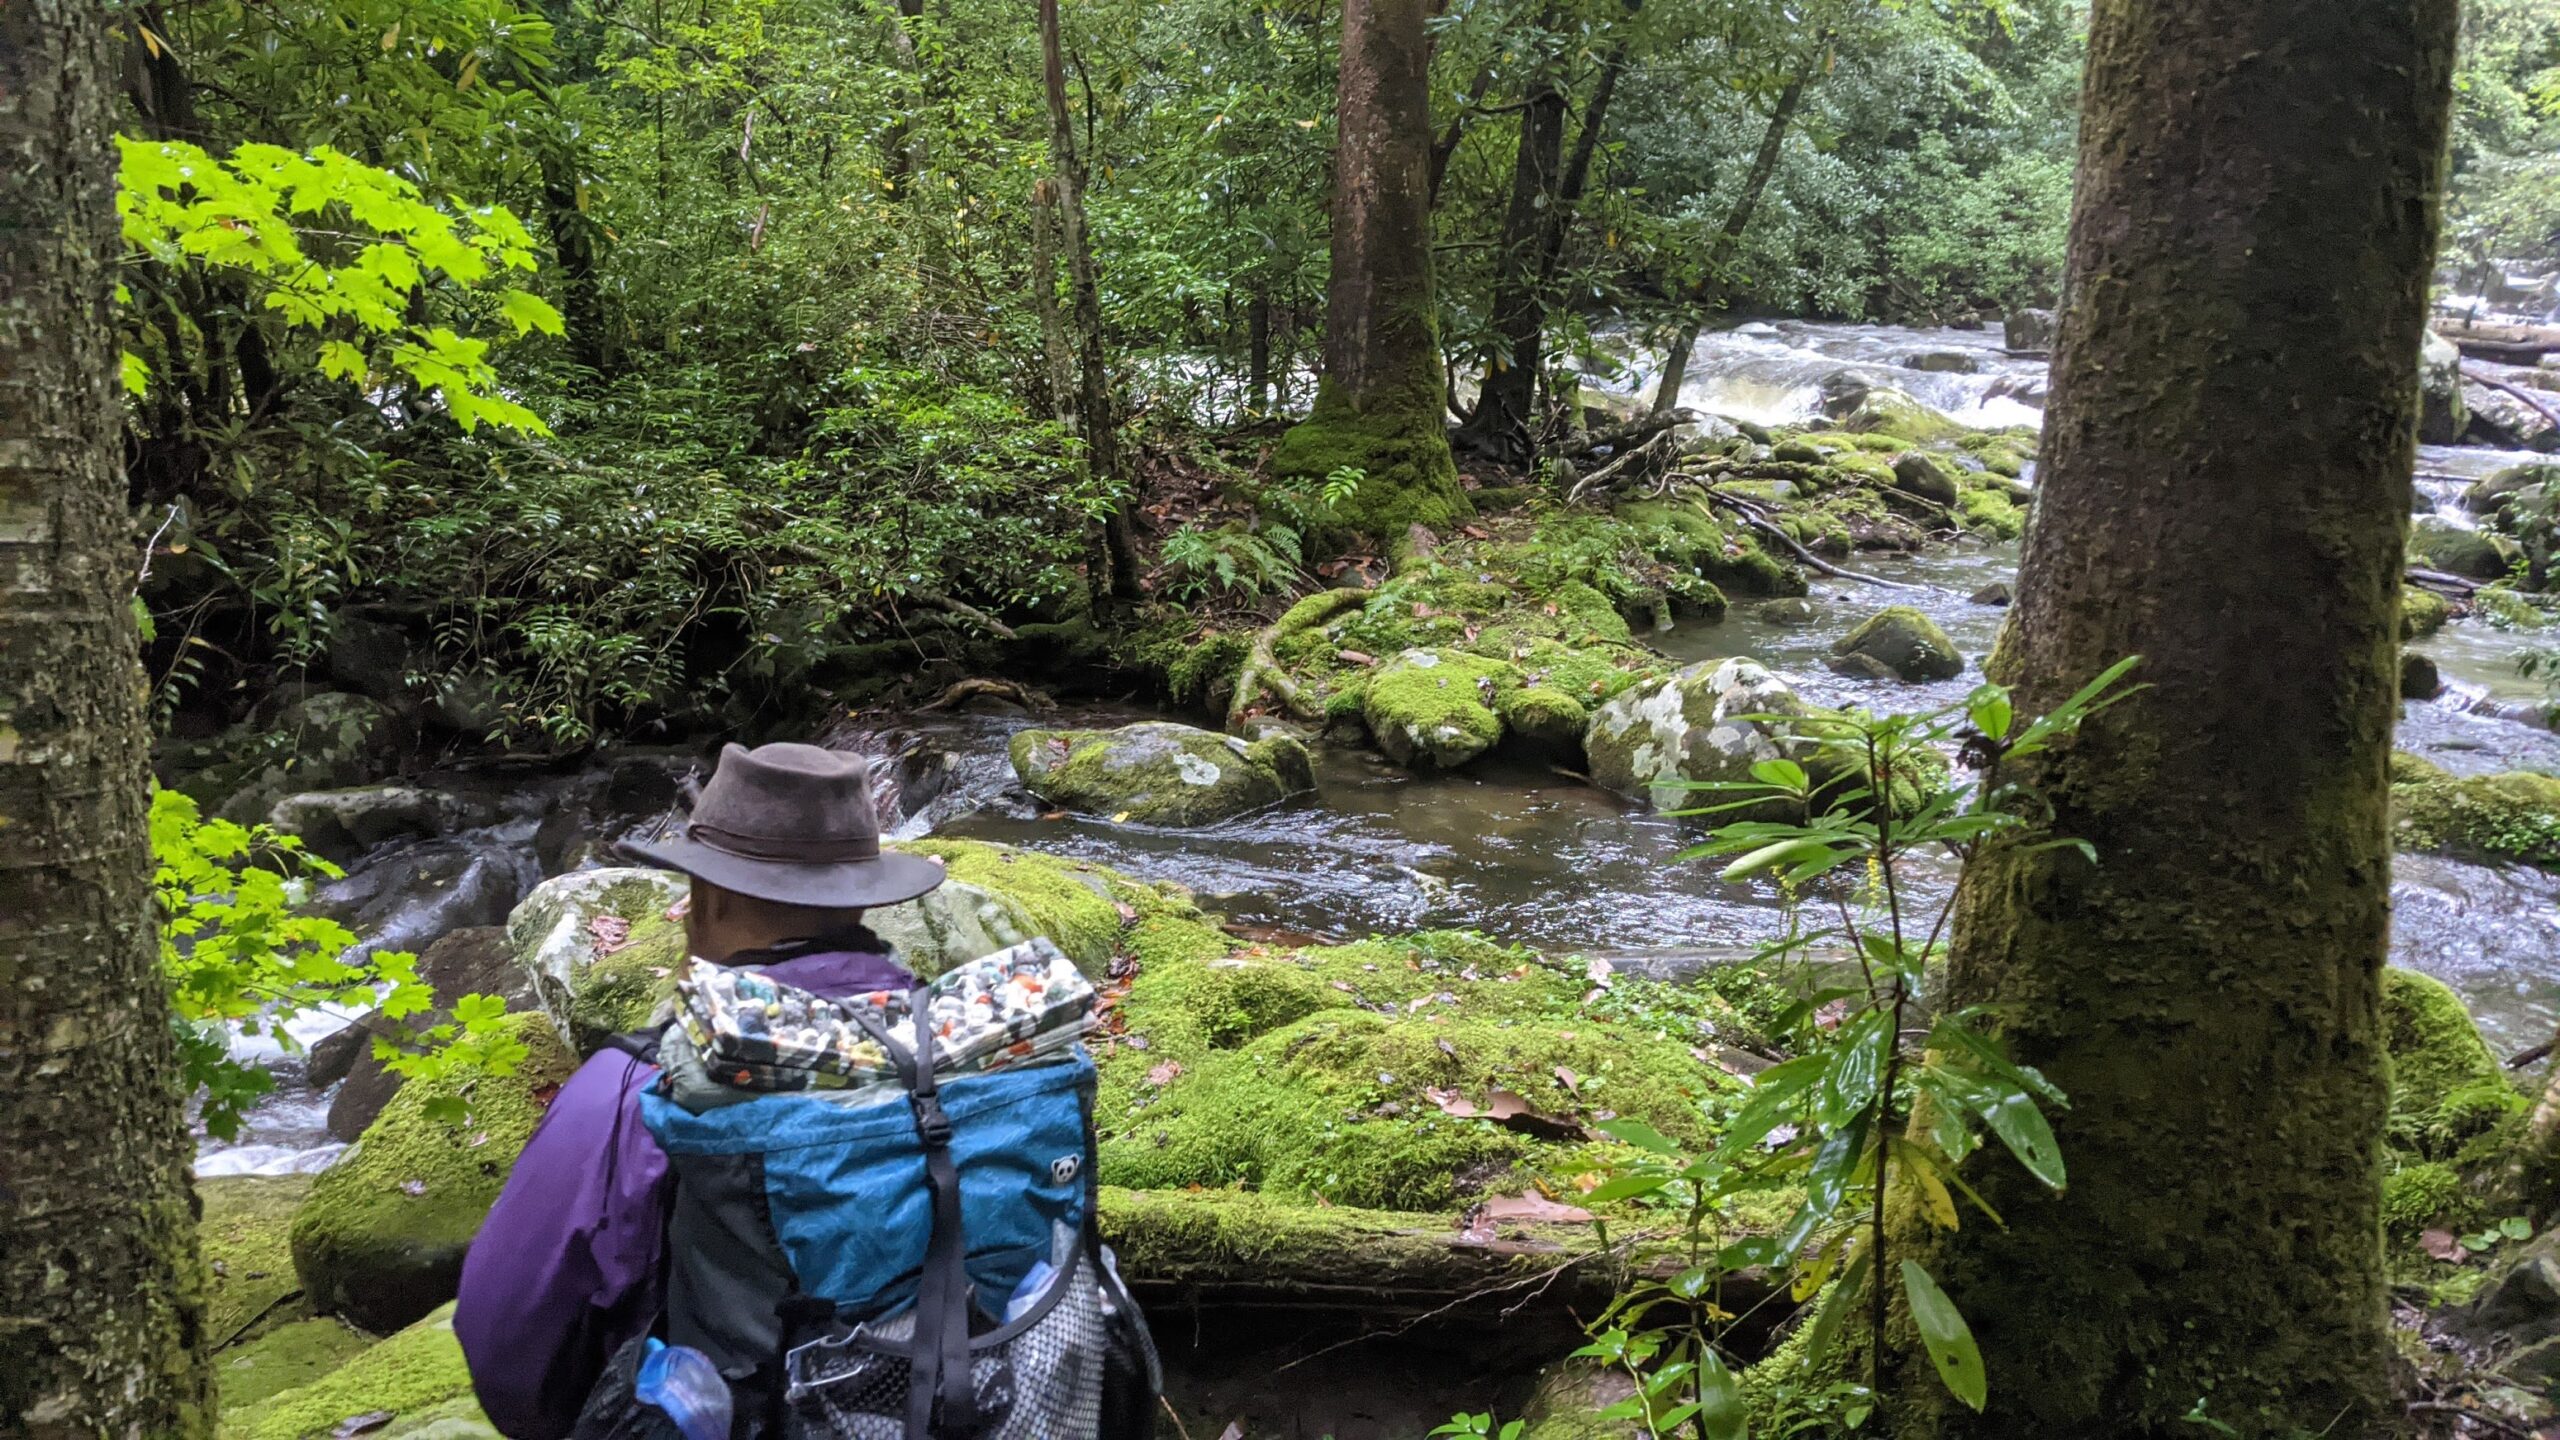
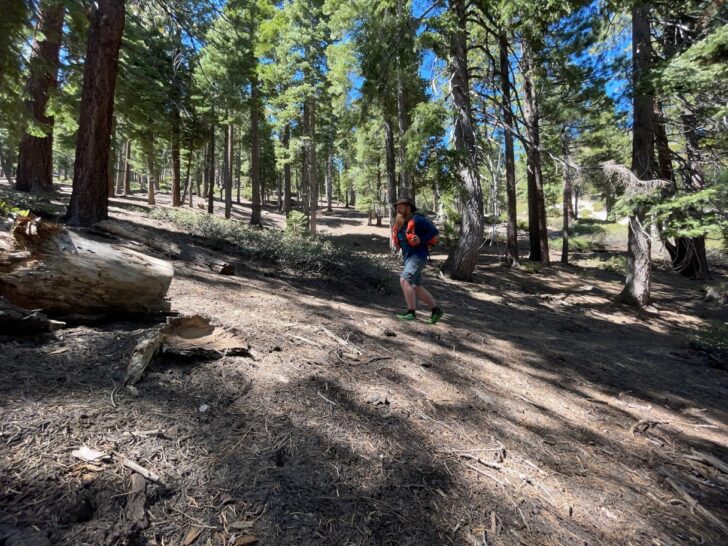
As you’d expect with a pack of this size, my primary use case with the Red Paw Packs Flatiron Pack 28 L was as a day pack for all-day (longer than six hours) hikes, snowshoe trips, and cross-country skiing excursions. But I also took the Flatiron Pack 28 L on half a dozen single-night backpacking trips in the late winter/spring. These trips occurred in the Tahoe basin in eastern California/western Nevada.
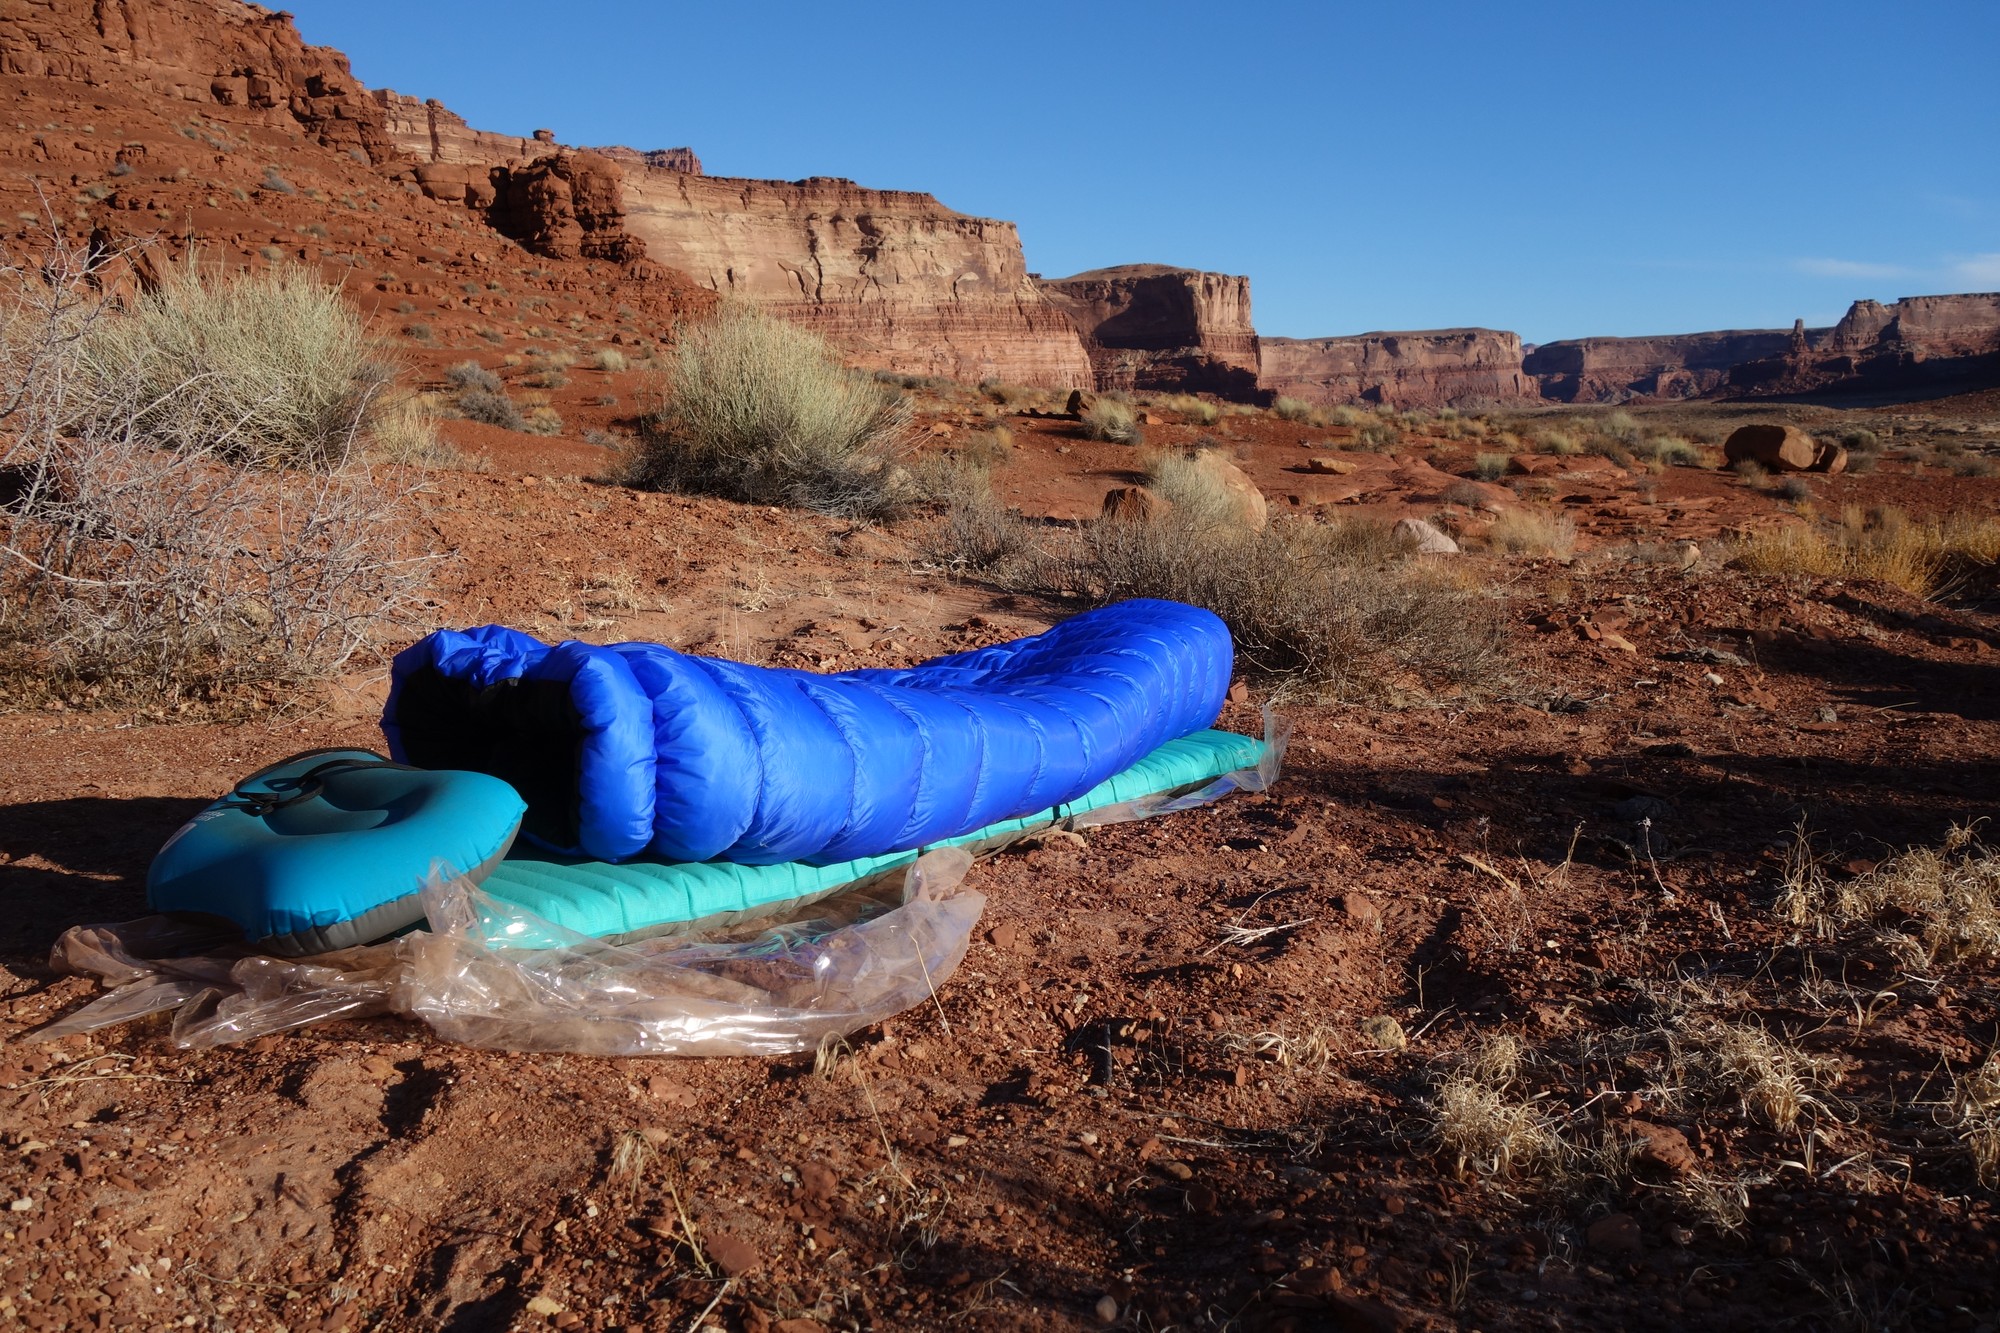
Altitude was ~8000 ft (2438 m), with daytime temperatures ranging from 65 °F to 15 °F (18 °C to −9 °C). Precipitation was mostly negligible, with the exception of a few light snow flurries. I pushed well past the recommended weight capacity of the Flatiron Pack 28 L (~20 to 25 lb / 9 kg to 11 kg) on a few of my overnights, especially when I brought my winter hammock-camping setup.
Performance Analysis
Comfort
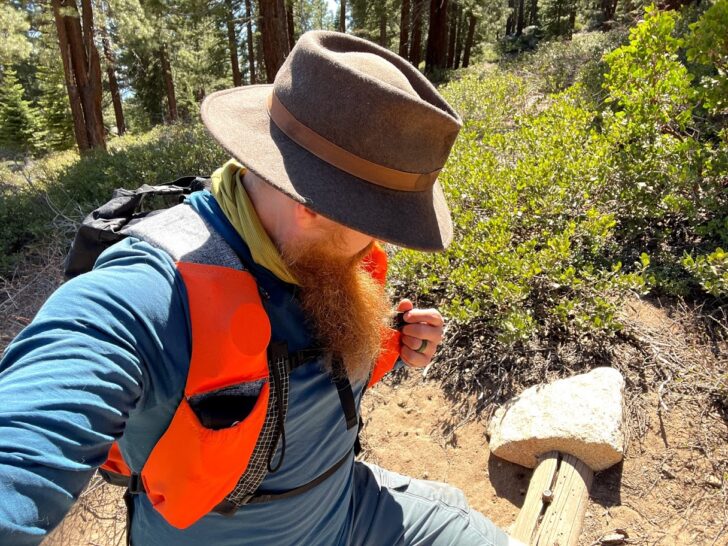
I’m a fan of thick, running-vest style straps. I find them comfortable and handy (see Ease of Use, below), and the vest-style straps on the Flatiron Pack 28 L are no exception. They are a full 3 in (7 cm) wide at the shoulders and padded with 0.5 in (1 cm) of foam (when you combine the closed-cell foam and spacer foam used in the construction). The result is a set of shoulder straps that remain comfortable up to and beyond the Flatiron Pack 28 L’s ~20 lb (9 kg) recommended load capacity.
This pack has no frame sheet, stays, or back cushioning of any kind, so proper packing is essential for it to remain comfortable. Red Paw Packs offers a range of hip belt options if backpackers want to extend the weight capacity a little, but without padding or stays, I’d be hesitant to go much heavier than 25 lb (11 kg) on multi-day trips even with the added support of a hip belt. But those thick, wide shoulder straps help distribute weight if you need to load the Flatiron Pack 28 L down.
Storage Capacity
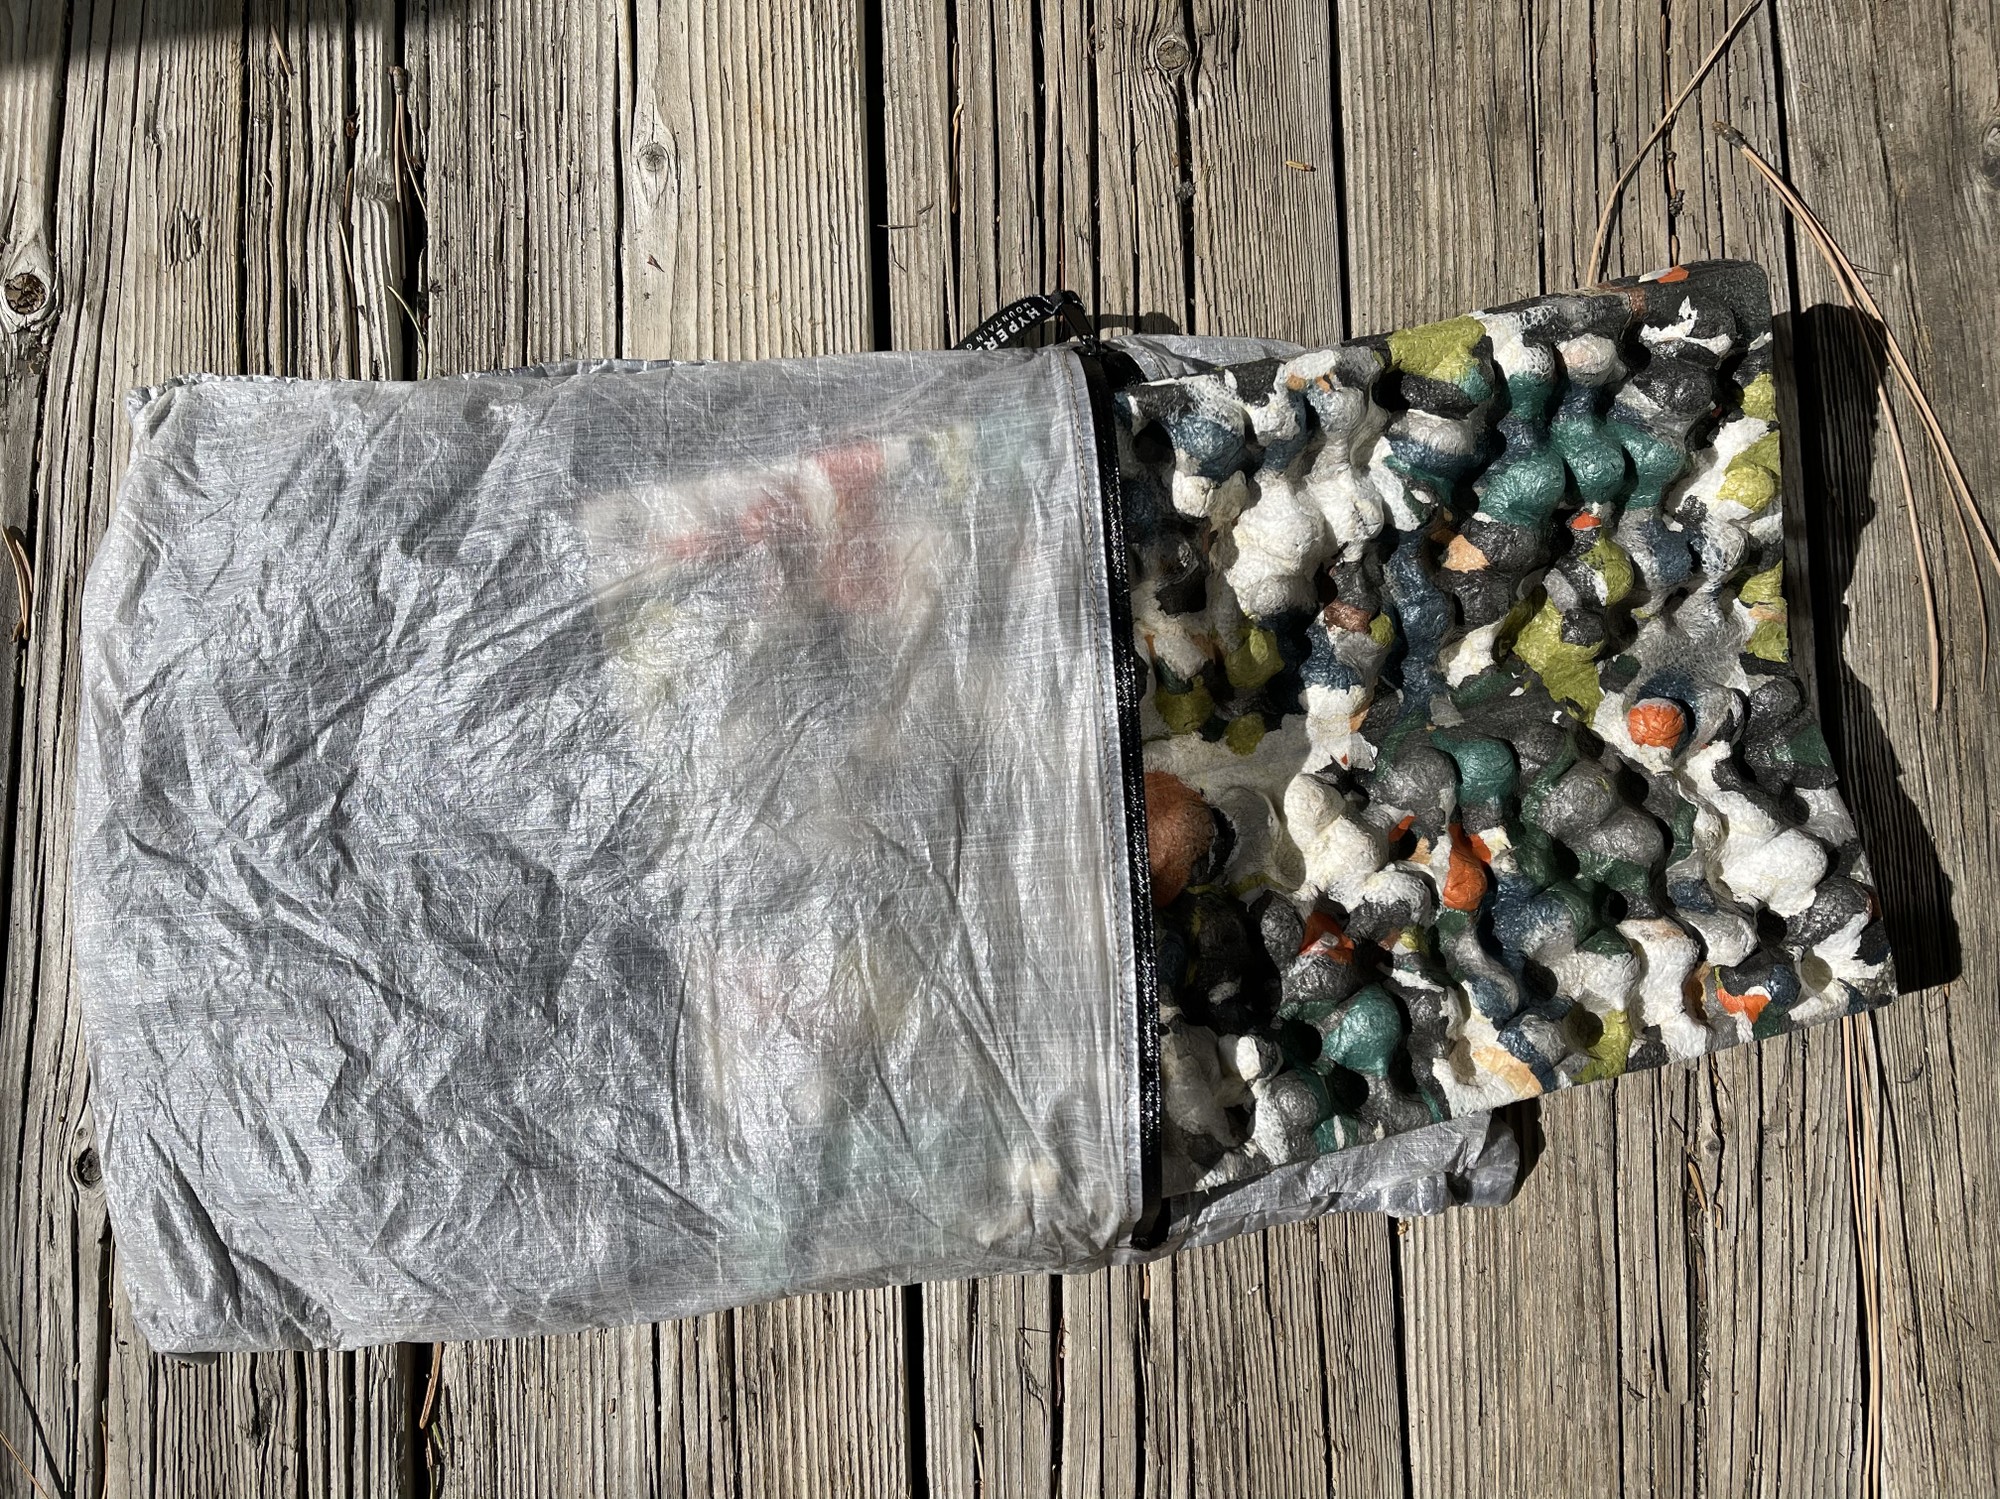
Twenty-eight liters isn’t much, which is why the Red Paw Pack Flatiron 28 L Pack’s best use is as a one-or-two-night overnight pack, supported or semi-supported fastpacking pack, and daypack. The interior volume is configured in a long-and-skinny layout, with a roll-top closure that can extend roughly 9 in (23 cm) above the shoulders if necessary. For context, I got four Hyperlight Mountain Gear Pods (two small and two large in 2400 and 3400 sizes) into the main compartment with a little room to spare for sundries on top.
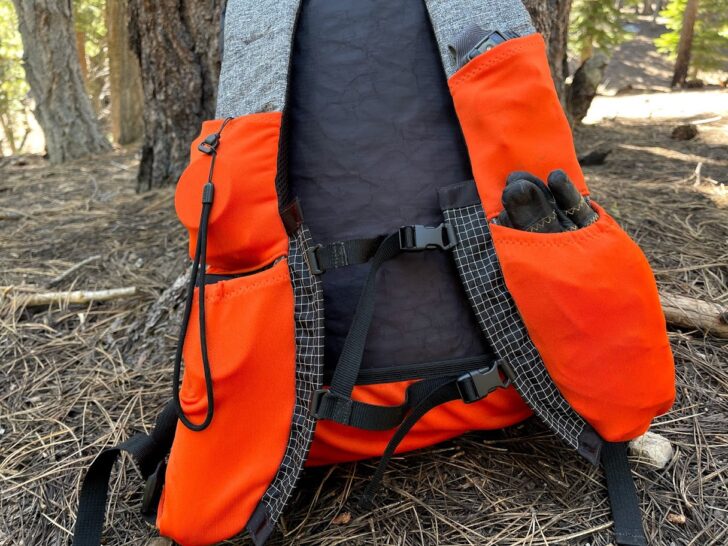
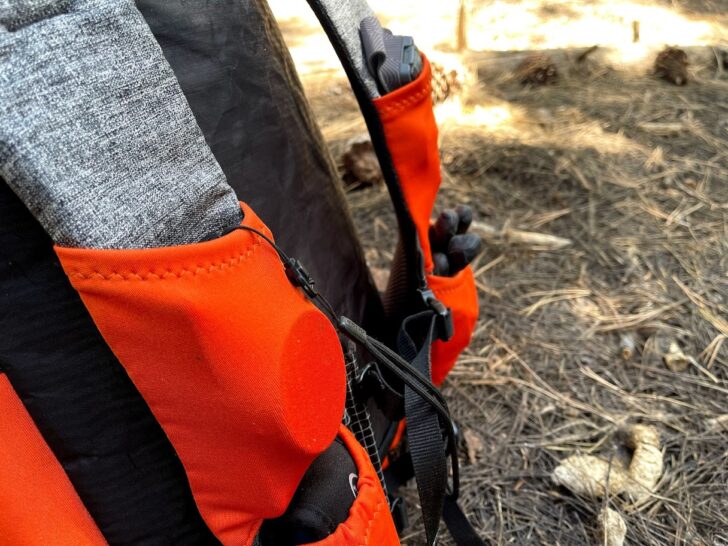
The shoulder-strap pockets are voluminous and stretchy. There are four total, with the upper two measuring 5 x 3.5 in (13 x 9 cm) and the bottom two measuring 7 x 4 in (18 x 10 cm). The top pockets can accommodate my gigantic iPhone 12 Pro Max (it pokes out a little at the top), a point-and-shoot camera (I have a Sony RX100 and it fits a little snuggly), or a GPS unit. The bottom pockets are designed as water bottle pockets and are probably most at home cradling a 750 ml bottle as opposed to a 1 L bottle. I favor 1 L bottles, so I mostly used the bottom two pockets for snacks, gloves, neck gaiters, and other bulky-ish objects I wanted close at hand.
The Flatiron Pack 28 L has a 14 in (36 cm) zipper that accesses the central compartment and runs vertically along the center of the pack. I’ll talk more about this zipper in the Commentary section, but for now, what’s important about it is that it splits the rear external storage compartment into two separate pockets. These pockets are 9 in (23 cm) along the bottom seam. They are diagonally cut at the top – 14 in (36 cm) high at the peak of the diagonal and 8 in (20 cm) at the lower end.
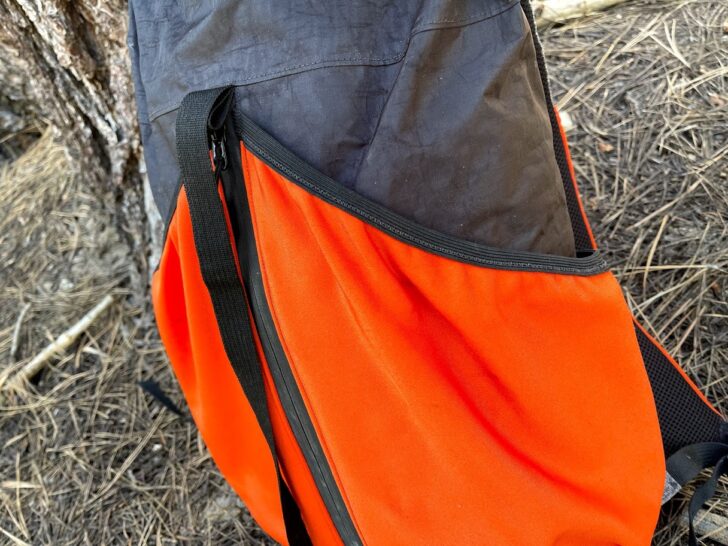
While splitting the large back pocket into two sections may be annoying for some (i.e., hikers who like to store their shelters back there) I actually enjoyed the system. I found that it helped with my organization.
There’s also a stash pocket sewn into the bottom panel of the pack, with the opening facing the lower back when wearing the pack. These types of pockets are commonly used for trash while on the go, but I tend not to use them.
Ease of Use
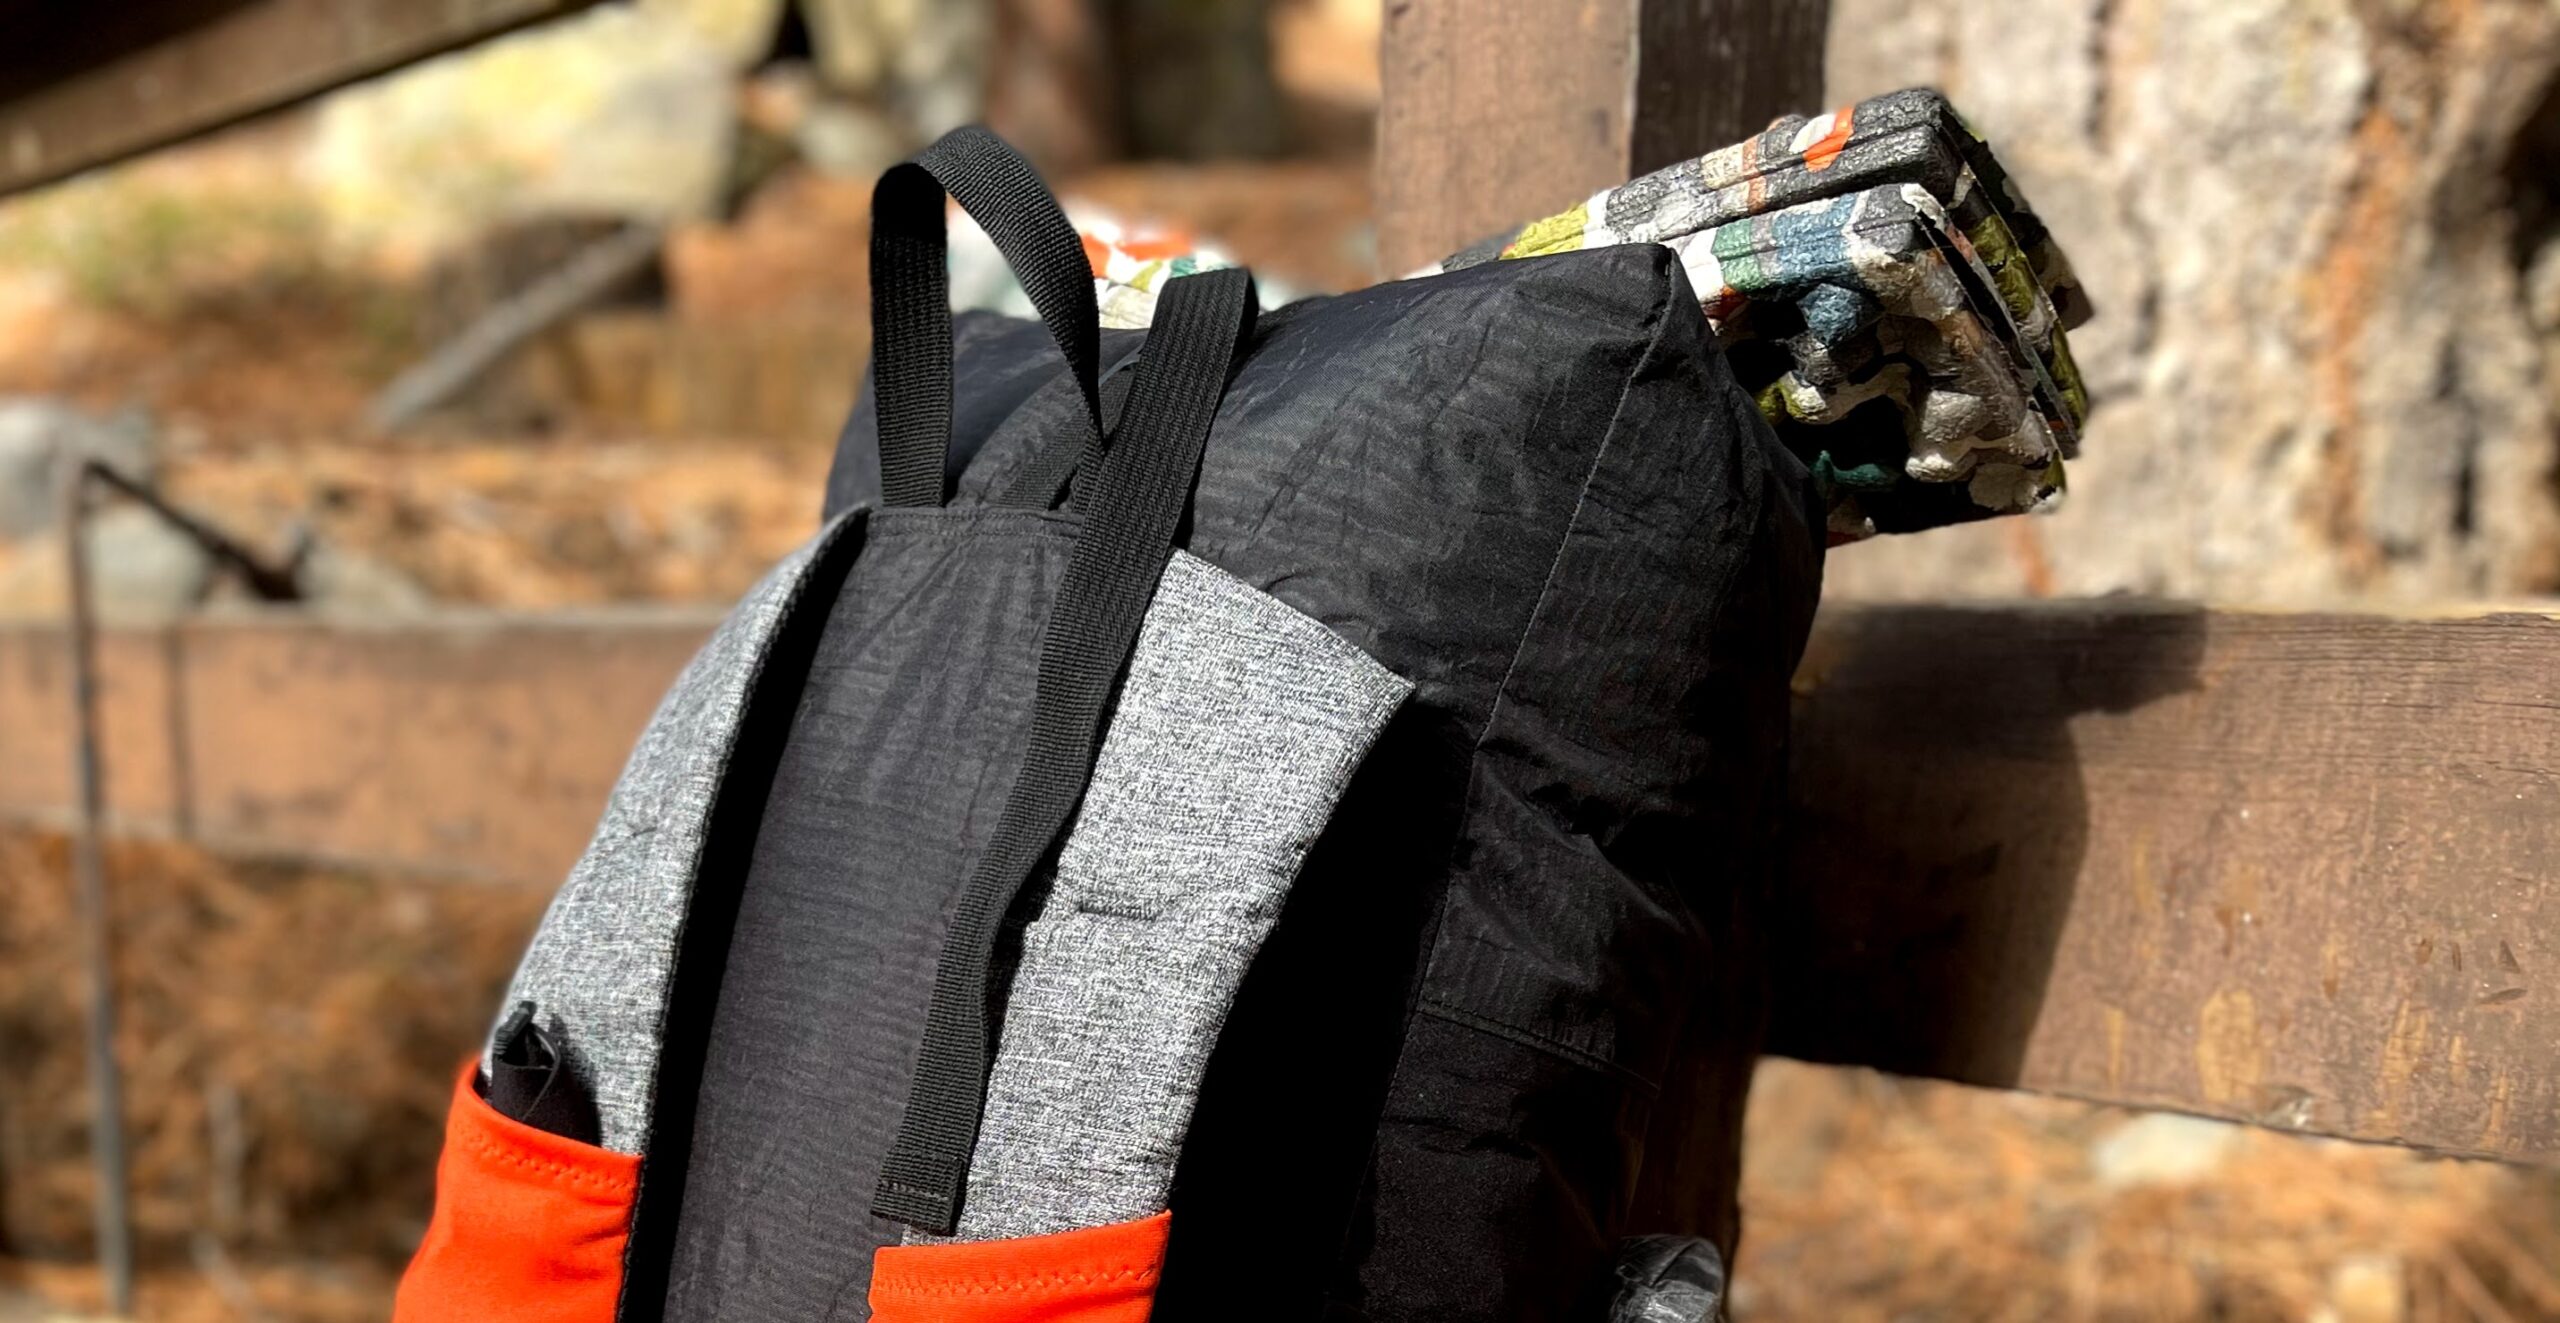
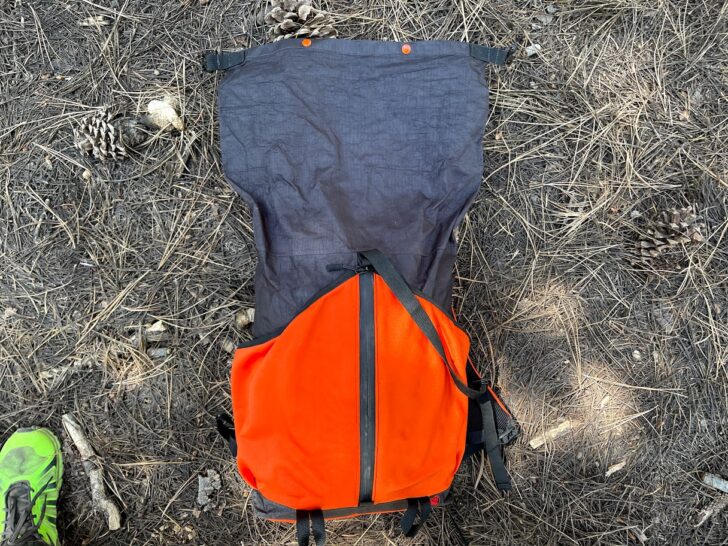
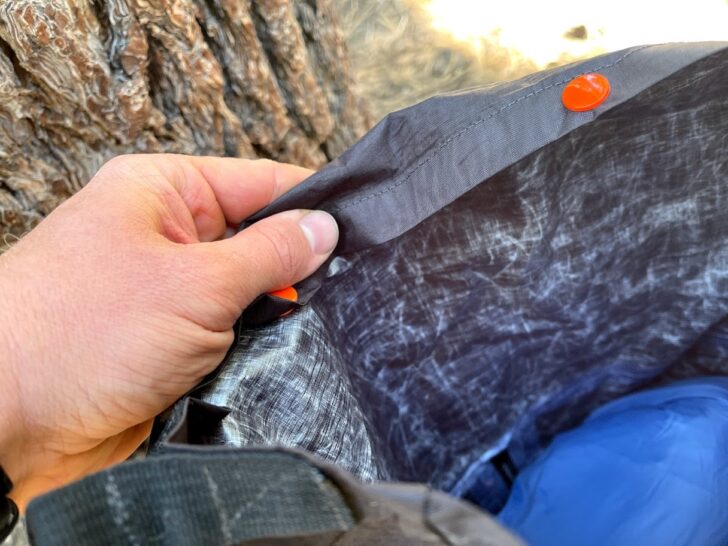
The Red Paw Packs Flatiron Pack 28 L uses a roll-top closure system. There are two snaps across the top hem of the pack to assist in getting a clean roll, a little touch I quite liked, especially when I had the pack fairly full. A ladderloc G-hook webbing buckle attached to a generous length of nylon webbing assists in getting things cinched down nice and tight.
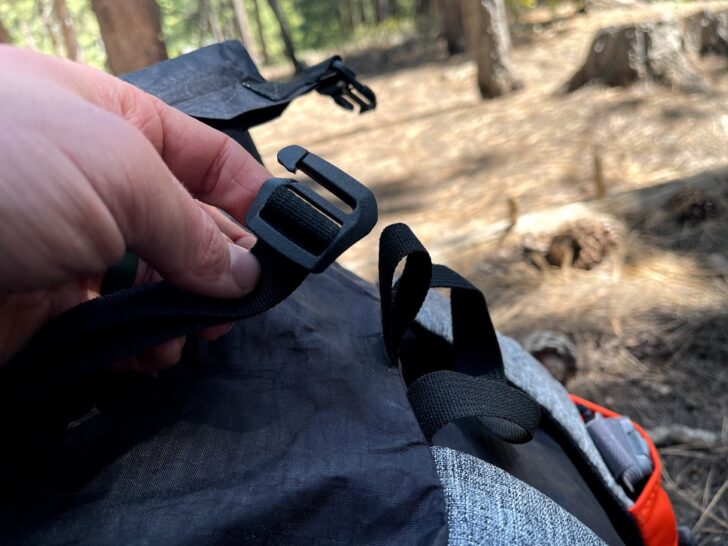
I feel that ladderloc G-hook webbing buckles can be a little fiddly, especially in the cold or while wearing gloves, so I don’t love that hardware choice (it’s a clean look though). But any gripes I have about quick-and-easy access are mitigated by the central zipper that accesses the main compartment. I’ll talk more about that in the Commentary.
I mentioned in the Storage Capacity section that the lower pockets are designed to hold 750 ml water bottles, and that I didn’t use them for that purpose because I favor 1 L bottles. This preference caused a problem for me when testing the Flatiron Pack 28 L, because I had nowhere to store my water that I could easily reach (there are no side pockets on this pack). In my experience, gear designers implement diagonally cut rear pockets to make reaching water bottles (theoretically) possible without removing the pack. I can rarely actually perform this maneuver, and couldn’t make it work with the Flatiron Pack 28 L on a regular basis either.
A final addition that would add to the usability of this pack would be daisy chains or webbing loops directly above the upper shoulder-strap pockets (or somewhere on the shoulder straps). I like to clip gloves or other small items to my shoulder straps, especially when I’m moving quickly and wearing a pack this small and light.
The double-chest strap system tends to slide around while I’m walking, a drawback I’m not the first to notice. In fact, Red Paw Packs has changed its design slightly (it gave a greater curve to the fabric to which the sliding buckles are attached, creating more friction) since sending me this pack, and claim it is no longer an issue. In my research, I haven’t found anyone to contradict that claim.
Durability
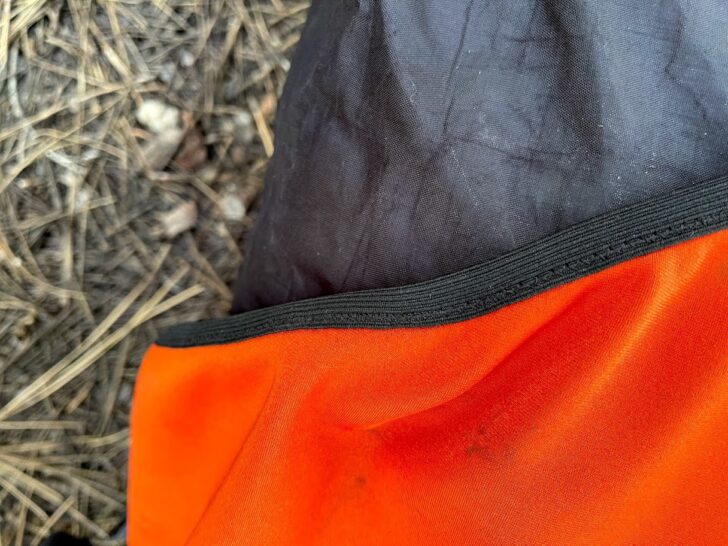
Red Paw Packs utilizes three materials that are new to me – Spandura (a Cordura nylon/Spandex blend), 5.0 oz/yd2 DCFH (a Dyneema Composite Fabric laminated to a 150 denier polyester face fabric), and 6.5 oz Woven Melange with Dyneema (a woven textile that is 55% polyester and 45% Dyneema Composite Fabric.)
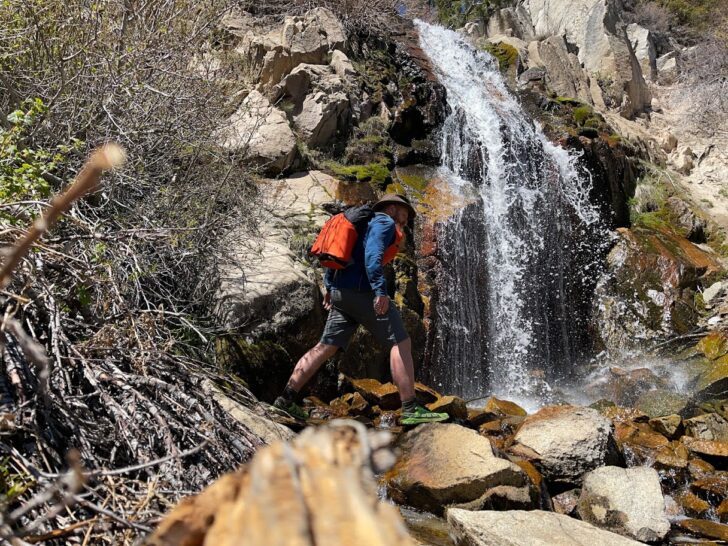
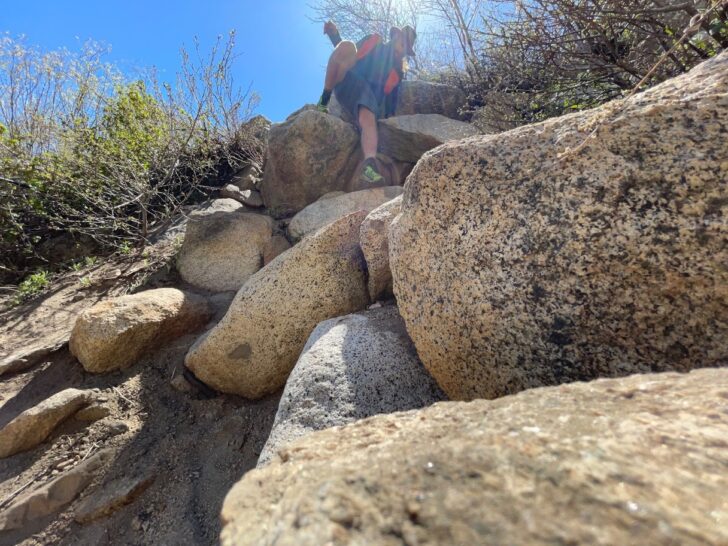
I didn’t use the Red Paw Packs Flatiron Pack 28 L long enough, or subject it to enough abrasion, to accurately judge its long-term durability. But the materials boast impressive specs and have a hand-feel that speaks of toughness. The pack shrugged off the light bushwhacking and scrambling that I subjected it to during my twenty days of use. Spandura certainly seems likely to stand up to abrasion and errant sticks more than the lighter stretchy mesh fabrics that I’ve seen on other light packs I’ve used.
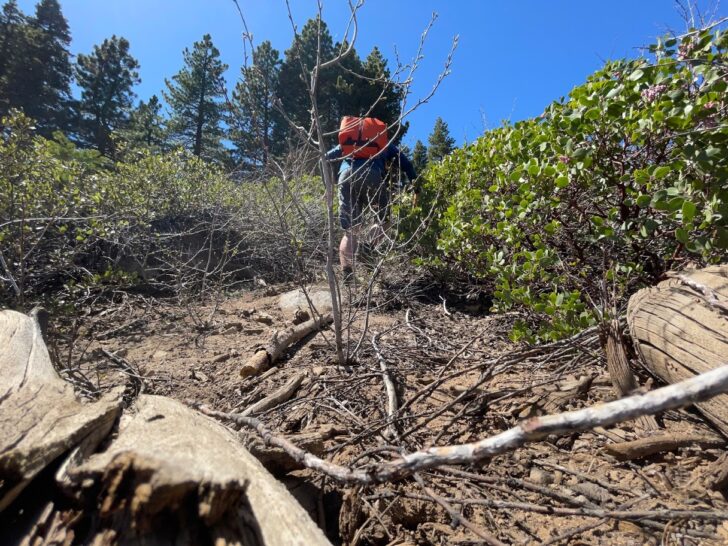
I didn’t take particular care with it when tossing this pack down on either ice or the sharp rocks on my home trails, and I didn’t worry as I pushed through dense pine forests or clumps of manzanita. At the end of my testing period, I had a few small dirt stains on the Spandura pockets, and that’s about it.
Weather Resistance
The DCFH fabric used in the Red Paw Packs Flatiron Pack 28 L is waterproof with taped seams. The zipper is water-resistant as well. That was certainly enough for the Flatiron Pack 28 L to deny access to the light snow I encountered during testing. Would it hold out days and days of a torrential downpour? I wouldn’t bet my quilt on it, but when combined with my DCF stuff sacks, I’d trust the Flatiron Pack 28 L to keep my gear dry in moderate showers.
Finish Quality
The Red Paw Packs Flatiron Pack 28 L is finished with apparent care. Red Paw Packs is “just one guy in a shop,” as founder Matt Evans pointed out to me when I interviewed him for this review. That doesn’t automatically equate to high finish quality, but in this case, it seems to have. There are no loose or popped seams, and everything is cut and assembled with precision.
Commentary
What makes this pack unique? This is the question I always ask myself when reviewing new packs – especially cottage industry packs. In the case of the Red Paw Packs Flatiron Pack 28 L, it boils down to this:
- primary-compartment access via zipper
So What’s With That Zipper?
In an earlier section of this article, I talked about how I fiddled with the ladderloc G-hook hardware on the Flatiron’s central cinch-down strap. Well, the truth is I stopped using this entry-point altogether in favor of the long vertical zipper on the rear of the pack. This method of entry into the main compartment became my go-to for reaching gear quickly. I even used this method to pack the Flatiron 28 L in the mornings sometimes (this only works if the pack isn’t filled to capacity).
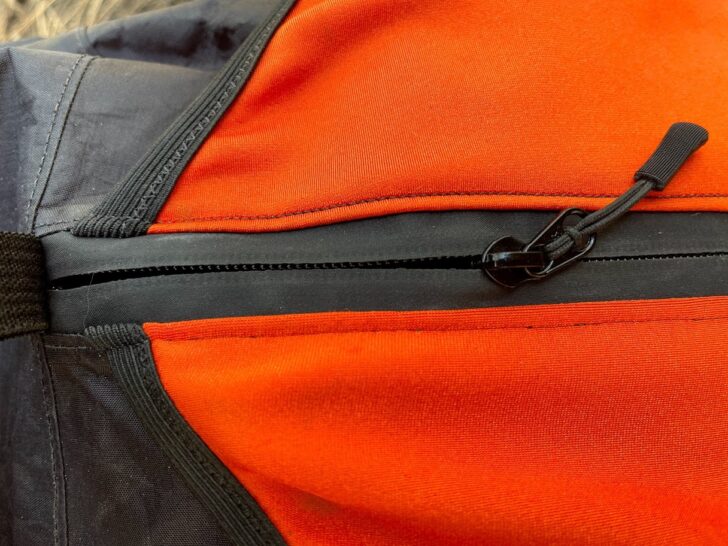
Red Paw Packs founder Matt Evans is aware that many gear designers consider zippers to be a common failure point on outdoor gear. He’s confident that the large YKK Aquaguard #5 is beefy enough to last the lifetime of the pack. My guess is this will be true provided users don’t form a habit of overstuffing this pack from the front and then trying to get the zipper closed, or using the pack in extremely sandy or dirty environments.
In any case, the zipper, and the easy access it provides, is a feature I don’t see on cottage packs very much, if at all. I’ve found the design useful given my tendency to use the Flatiron Pack 28 L as a grab-and-go pack for fast-and-light overnights and long day trips. On top of all that, I think it looks pretty cool!
Compared To
I chose to compare the Red Paw Packs Flatiron Pack 28 L to the Atom Packs Atom 30 L.
Base Price
The customizable Atom 30L’s base price is $261 vs. The Flatiron Pack 28 L’s base price of $220.
Edge: Flatiron Pack 28 L
Level of Customization
Both packs have a similar level of customization, with a range of materials and features available. These materials and features differ slightly because of design choice differences, but all told both companies offer a highly customizable pack.
Edge: Tie
Volume
This may not be a fair comparison, because Atom Packs also offers a 25 L version of the Atom. If I had compared the Atom 25 L to the Flatiron Pack 28 L, the latter would take the victory. But I didn’t, so here the Atom 30 L edges out the Flatiron, which only comes in 28 L.
Edge: Atom 30 L
Gear Access
The Flatiron 28 L’s primary-compartment zippered access is a unique feature that isn’t shared by the Atom 30 L. Both packs have wide shoulder straps that support a double-set of voluminous shoulder-strap pockets. But the Atom 30 L has side pockets and a daisy chain system hidden under the strap pockets. So I’ll call it a tie.
Edge: Tie
Strengths and Limitations
Strengths
- central primary-compartment zipper for quick gear access
- comfortable vest-style shoulder straps
- durable, premium materials
Limitations
- nowhere to store 1 L water bottles with easy access
- chest straps slide around (presumably fixed in current production models)
- no daisy chains on the shoulder straps for even more versatile storage/attachment options
Where to Buy
Related Content
- Read Dan Durston’s review of the Atom Packs Atom 30 L
- Read Andrew’s review of the Mountainsmith Zerk 40 – another low-volume pack with running vest-inspired shoulder straps
DISCLOSURE (Updated April 9, 2024)
- Product mentions in this article are made by the author with no compensation in return. In addition, Backpacking Light does not accept compensation or donated/discounted products in exchange for product mentions or placements in editorial coverage.
- Some (but not all) of the links in this review may be affiliate links. If you click on one of these links and visit one of our affiliate partners (usually a retailer site), and subsequently place an order with that retailer, we receive a commission on your entire order, which varies between 3% and 15% of the purchase price. Affiliate commissions represent less than 15% of Backpacking Light's gross revenue. More than 70% of our revenue comes from Membership Fees. So if you'd really like to support our work, don't buy gear you don't need - support our consumer advocacy work and become a Member instead.
- Learn more about affiliate commissions, influencer marketing, and our consumer advocacy work by reading our article Stop wasting money on gear.