Introduction
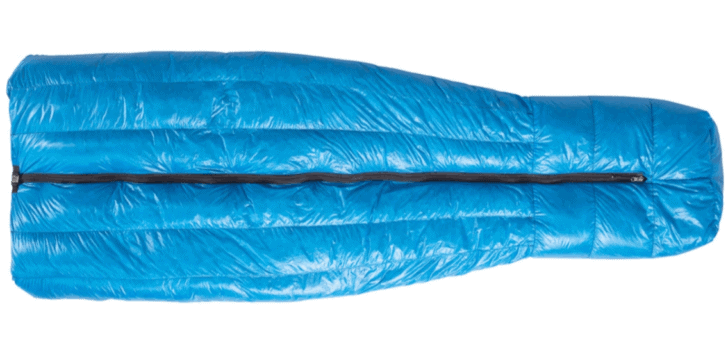
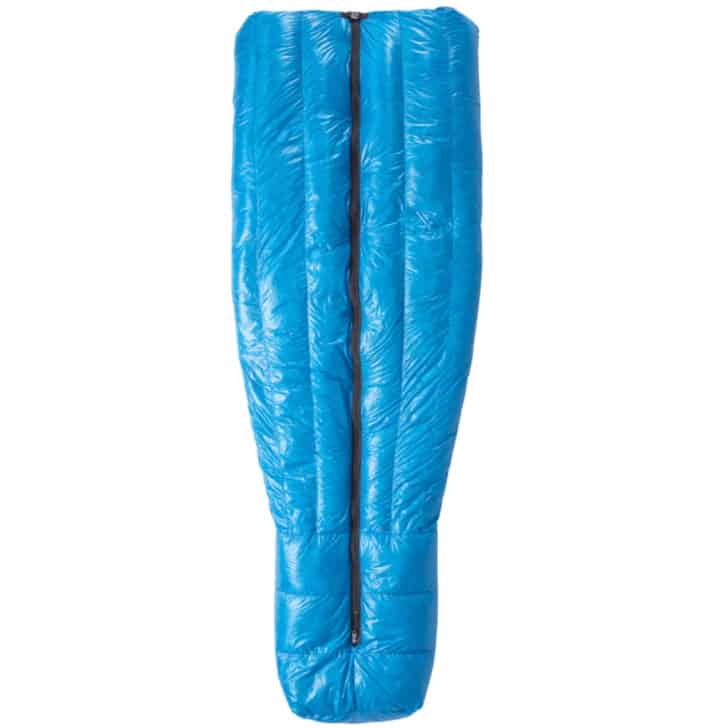
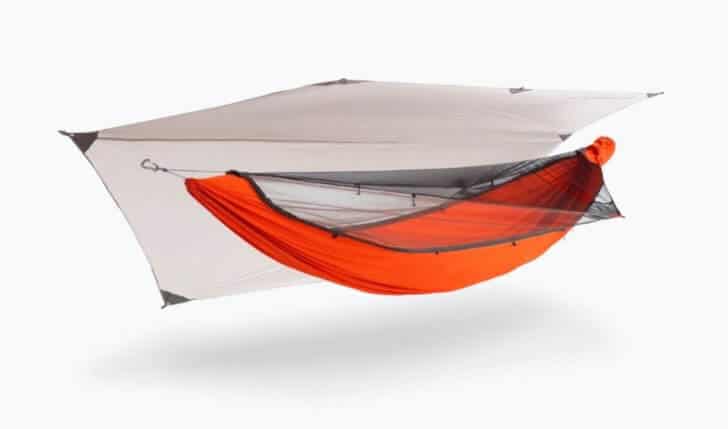
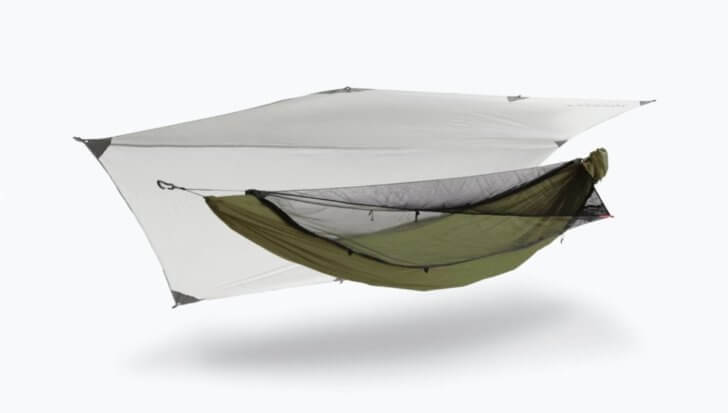
The Kammok Mantis (44 oz / 1247 g and $229) and Kammok Mantis UL (35 oz / 992 g and $259) are all-in-one hammock shelters. By this, I mean they come with (almost) everything you need for a successful hammock shelter system – hammock, stuff sack, removable bug-net, tarp, stakes, lines, knotless attachment clips, integrated line-locs, and suspension. The systems do not include insulation (top-quilt and under-quilt) or optional storage accessories.
This review is written from the standpoint of an enlightened beginner. I’ve completed multiple thru-hikes (Appalachian Trail, Colorado Trail, Tahoe Rim Trail, among others) but never with a hammock system. I chose to review the Kammok Mantis and Mantis UL because the “all-in-one” nature of the system is likely to appeal to hammock beginners such as myself – people who want to experiment with hammocks but are intimidated by the cost and knowledge barriers of assembling a system from à la carte components.

The weight difference in the two Kammok Mantis models is primarily a function of material choice in the hammock body and suspension straps. Otherwise, the designs are (mostly) identical. In this review, I’ll point out differences when applicable; otherwise, you can assume the features I discuss apply to both models.
Features
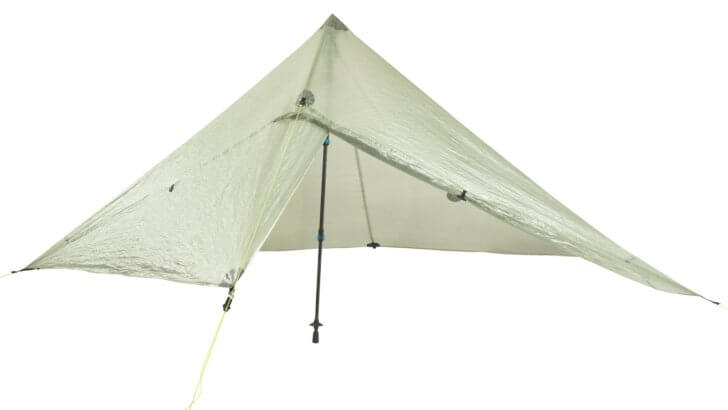
- shaped silnylon tarp with catenary ridgeline
- removable zip-out bug net (zip-in winter barrier available separately)
- two pockets (in bug net)
- knotless set-up
- roll-top stuff sack with exterior stake-storage
- integrated structural ridgeline
- volumizing guy-out points (four on the Mantis, three on the Mantis UL)
Specifications
| Kammok Mantis | Kammok Mantis UL | |
|---|---|---|
| weight (includes all components + stuff sack) | 44 oz (1247 g) | 35 oz (992 g) |
| hammock fabric | 40D nylon diamond ripstop with DWR | 20D nylon diamond ripstop DWR |
| canopy fabric | noseeum mesh | noseeum mesh |
| fly fabric | 15D nylon diamond ripstop nylon (1,500 mm PU/Silicone/DWR) | 15D nylon diamond ripstop nylon (1,500 mm PU/Silicone/DWR) |
| ridgeline length | 115 in (292 cm) | 115 in (292 cm) |
| stakes required | 6 | 6 |
| max weight capacity | 500 lb (227 kg) | 300 lb (136 kg) |
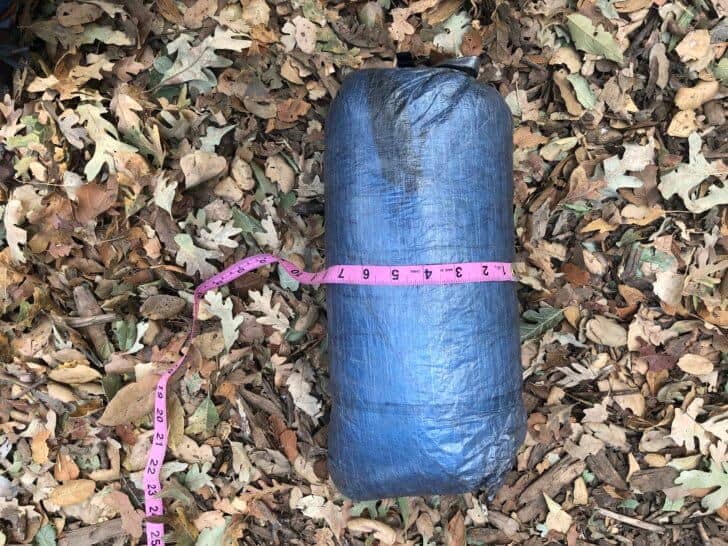
| packed dimensions | 8 x 6 x 6 in (20 x 15 x 15 cm) | 6 x 6 x 6 in (15 x 15 x 15 cm) |
| MSRP | $229 | $259 |
Performance
Description of Field Testing
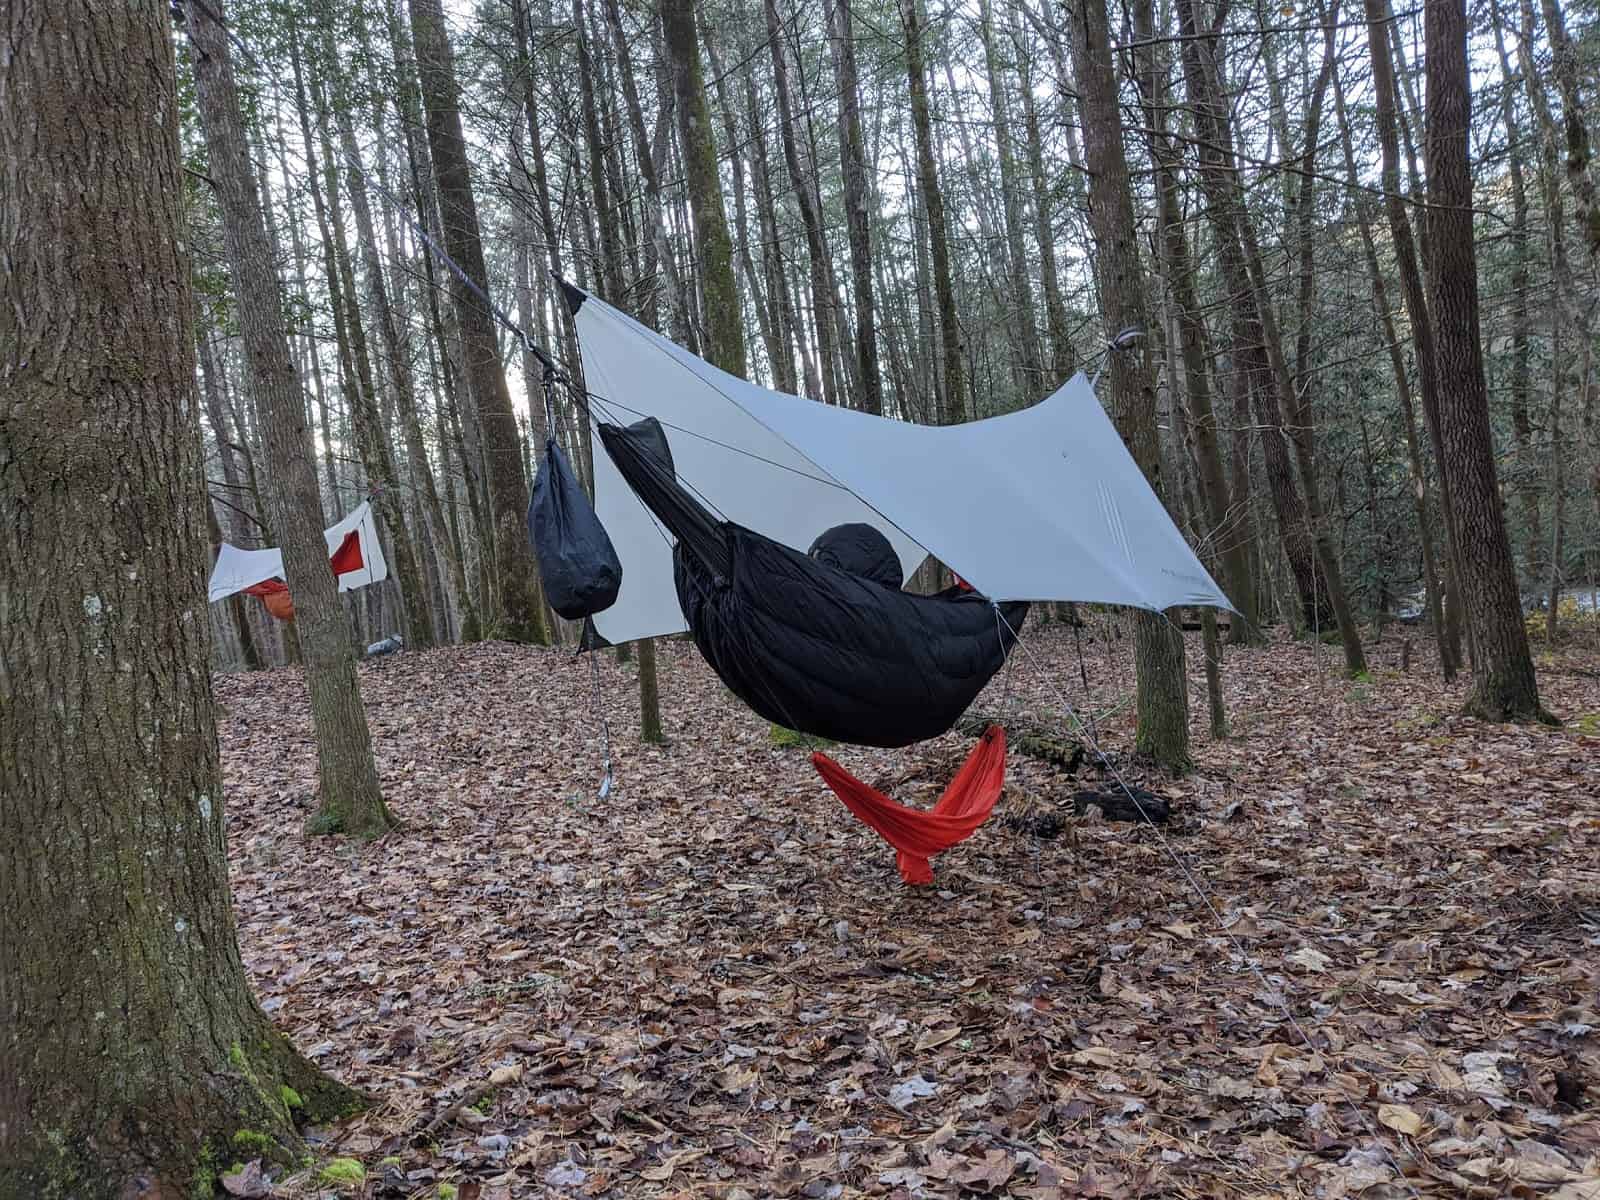
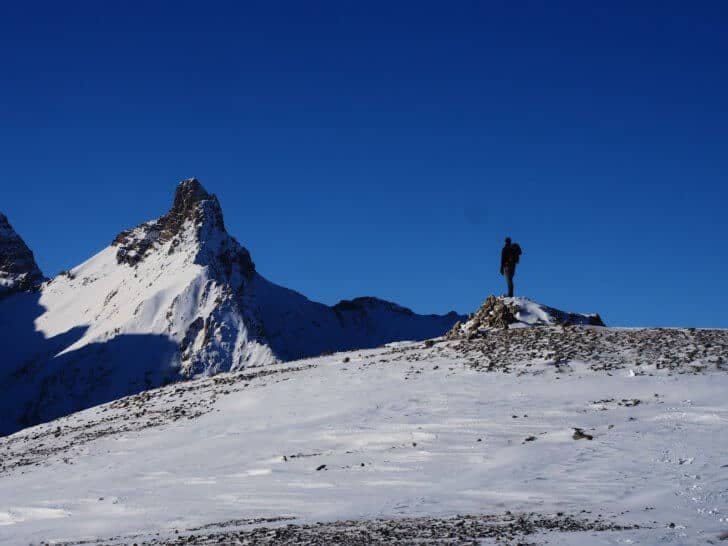
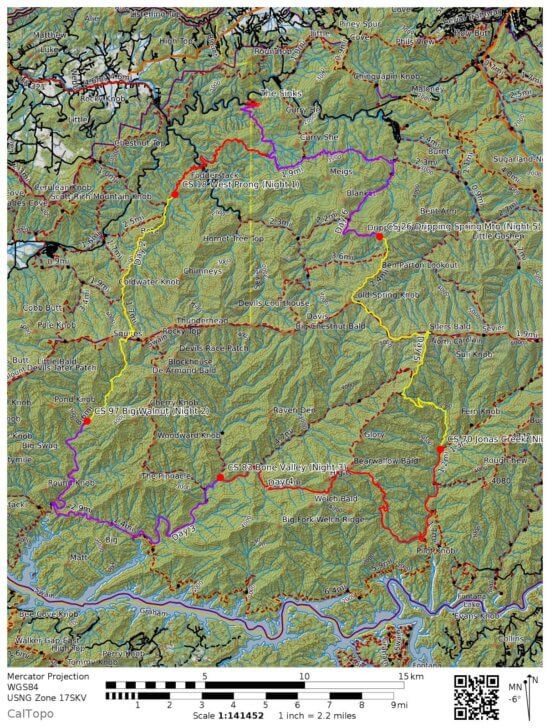
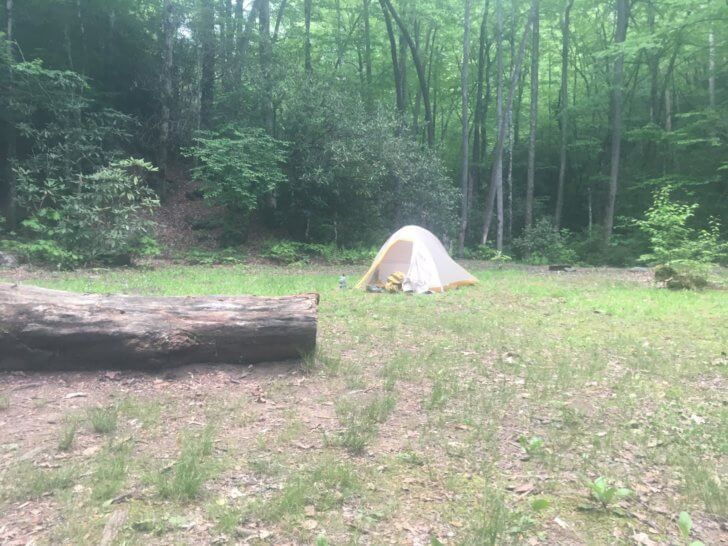
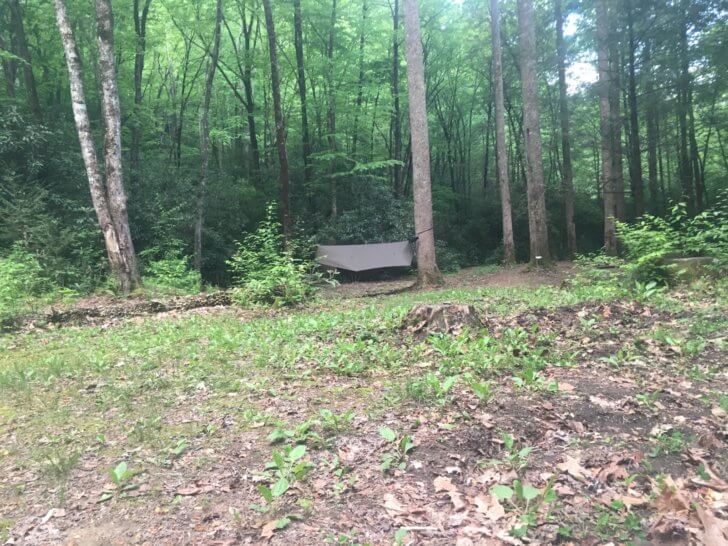
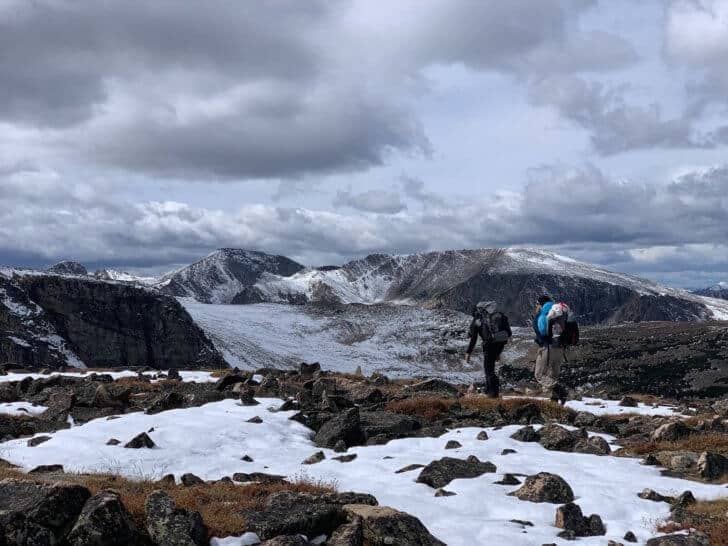
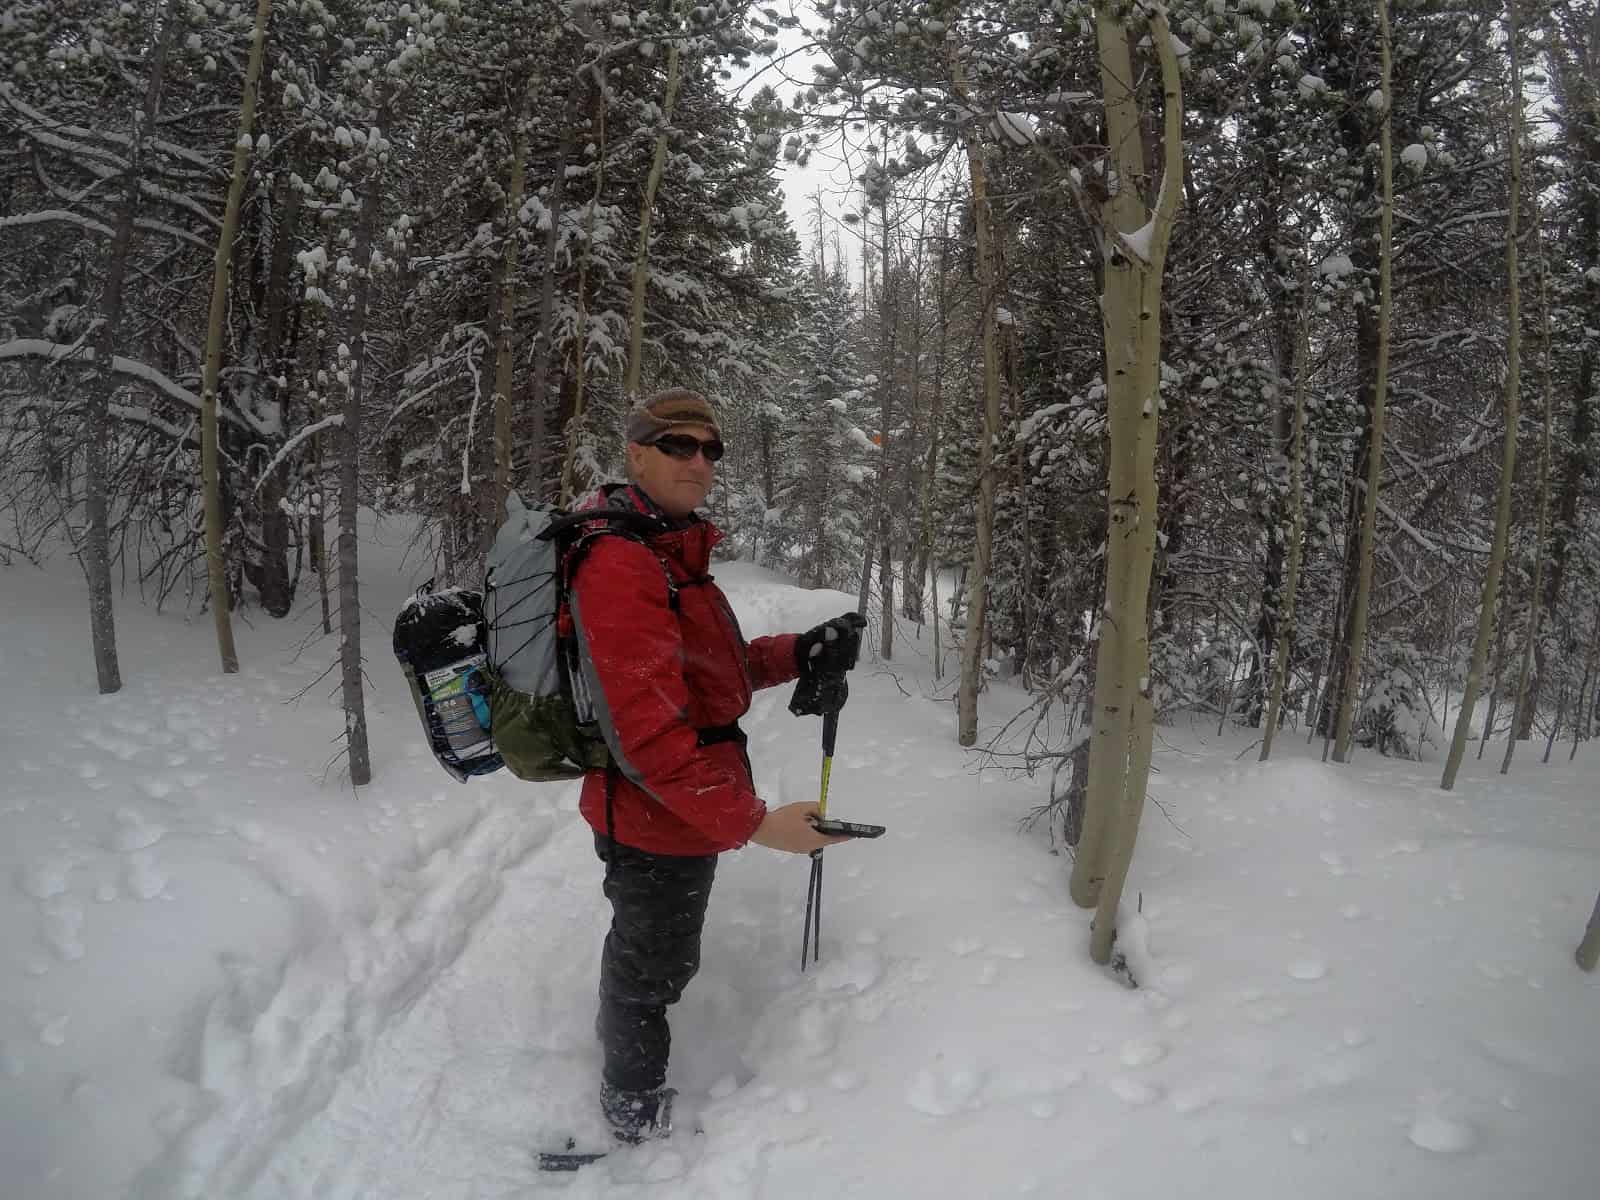
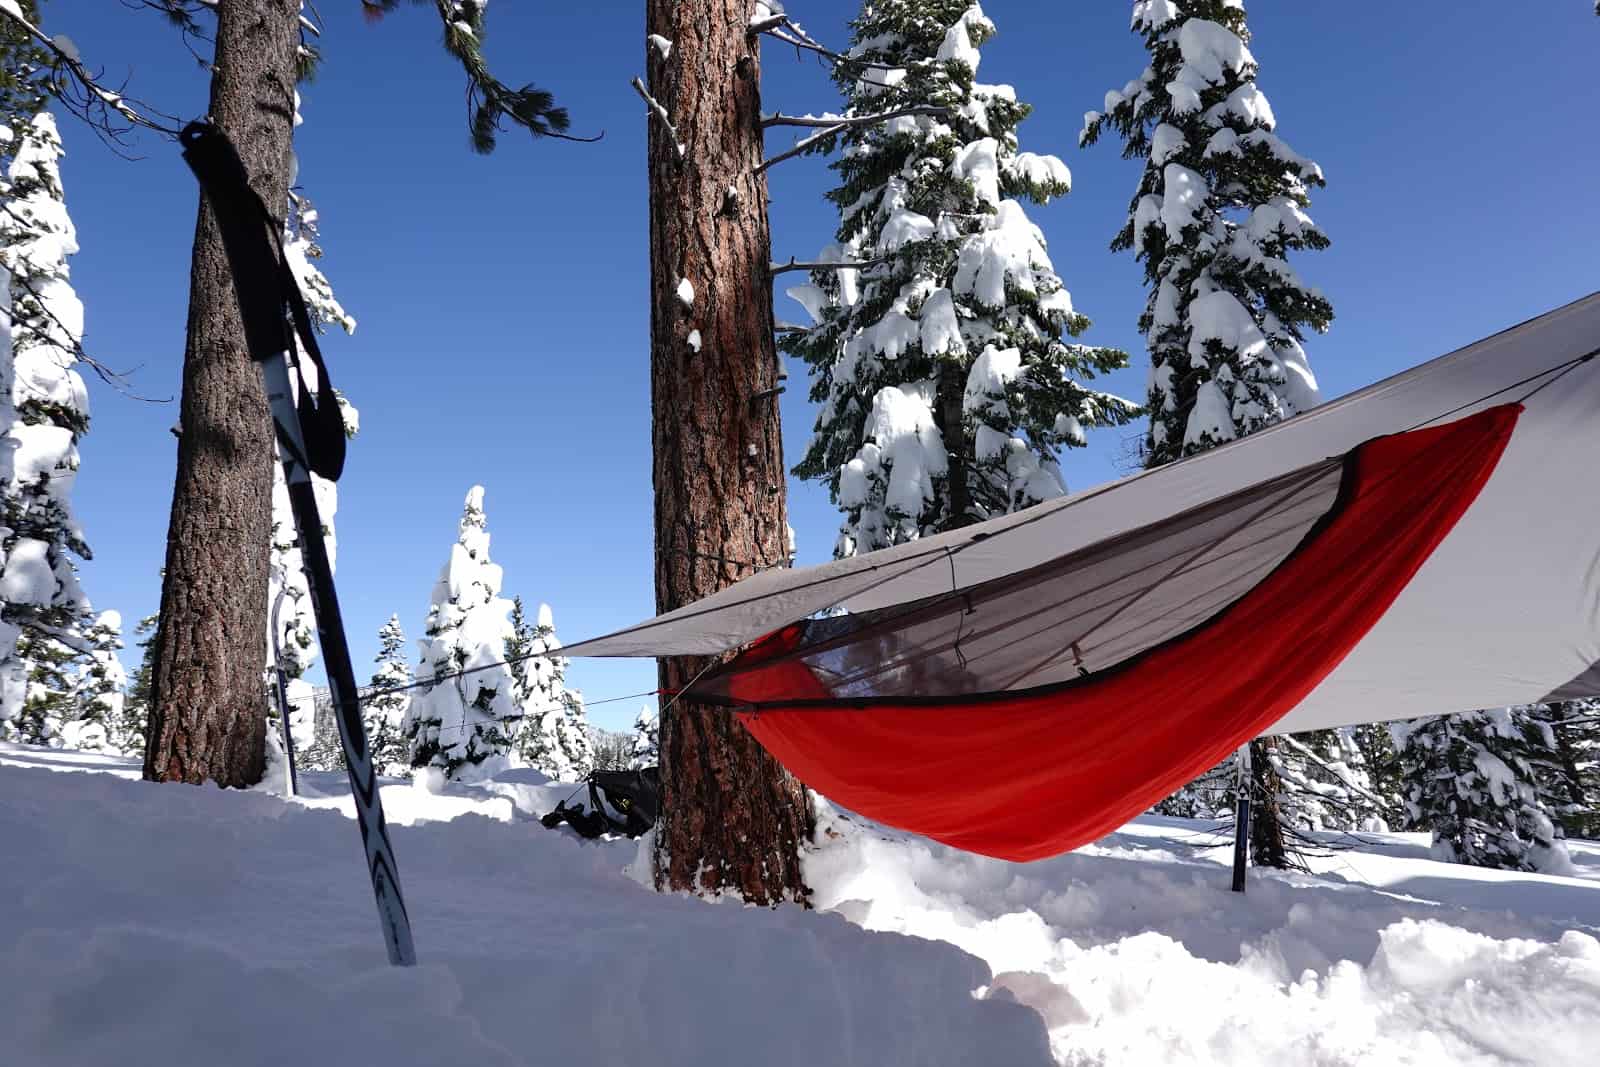
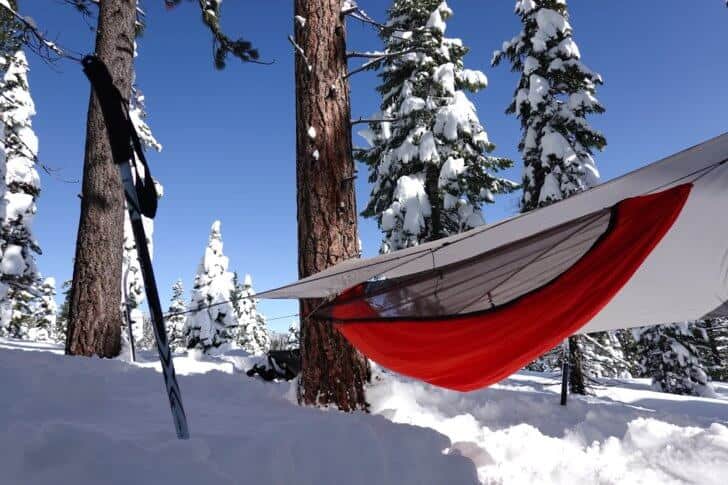
I experimented with the Kammok Mantis UL and Kammok Mantis in two very different climates – the cold, dry, snowy eastern Sierra Nevada in the early winter, and the chilly, humid, rainy mountain southeast in the late fall.
All-told I spent 10+ nights in the shelters. On some trips I used the system as a “base-camp”, and on others, I assembled and disassembled the shelter in the evenings and mornings. I experienced precipitation in the form of heavy snow, heavy rain, and light rain. Overnight temperatures ranged from 55 F (13 C) to 20 F (-7 C). Wind in all scenarios was minimal.
Disclaimer: Since I’m not an experienced hammock camper, and this review is limited to only 10+ days of backcountry experience, the reader should consider these limitations when evaluating the authority of my review. In addition, for reference, I weigh 170 lb (77 kg) and am 5 ft 6 in (168 cm) tall.
In judging the initial performance of the Kammok Mantis and Mantis UL hammock systems, I looked at:
- sleep quality
- features and ease of use
- pockets and gear storage
- weight and packability
Sleep Quality
I’ll admit – I’m tired of sleeping on the ground. Over the years, I’ve moved from cheap, light, and indestructible closed-cell-foam pads to expensive, not-so-light, and definitely destructible inflatable options. But I’m still struggling. So sleep quality was the big reason I wanted to give the Kammok Mantis and Mantis UL hammock systems a try.
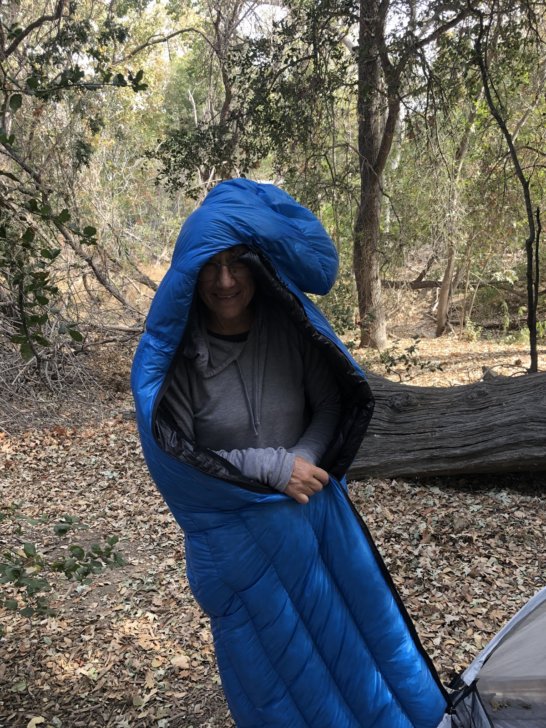
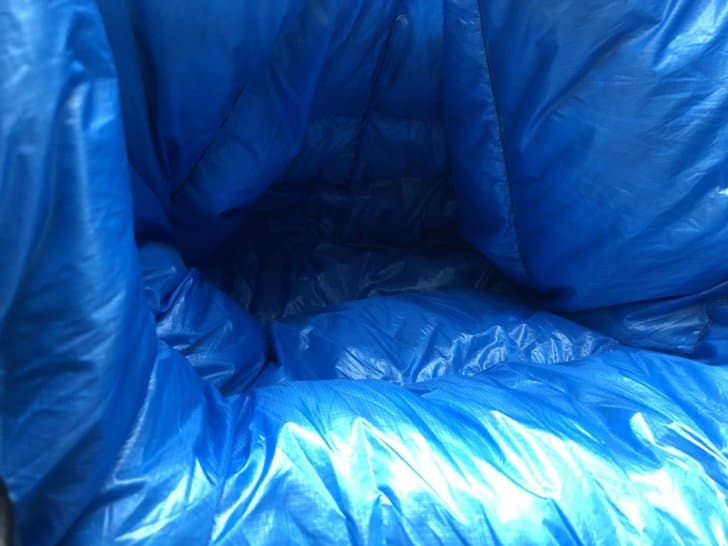
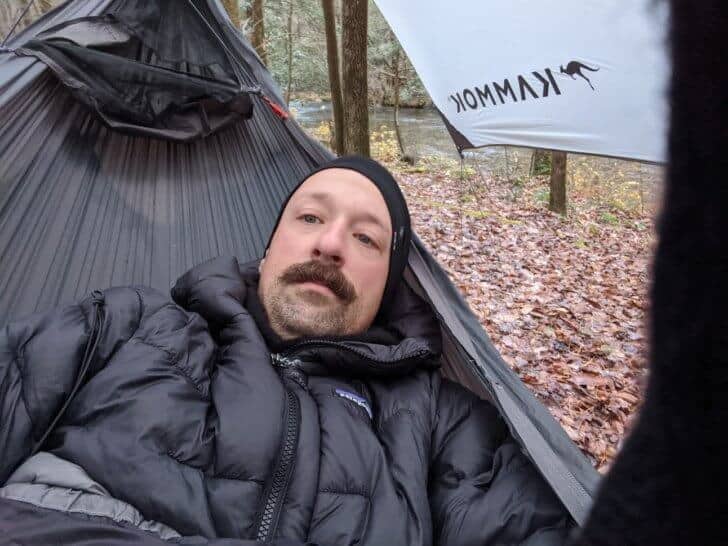
The Kammok Mantis’ cut gave me a slightly curved shape once I was in it and properly (slightly diagonally) positioned. I pulled out my book, flipped my headlamp to its red-mode, and promptly fell asleep. The next thing I knew, it was 2:00 AM, and I’d been sleeping with a paperback on my face for five hours.
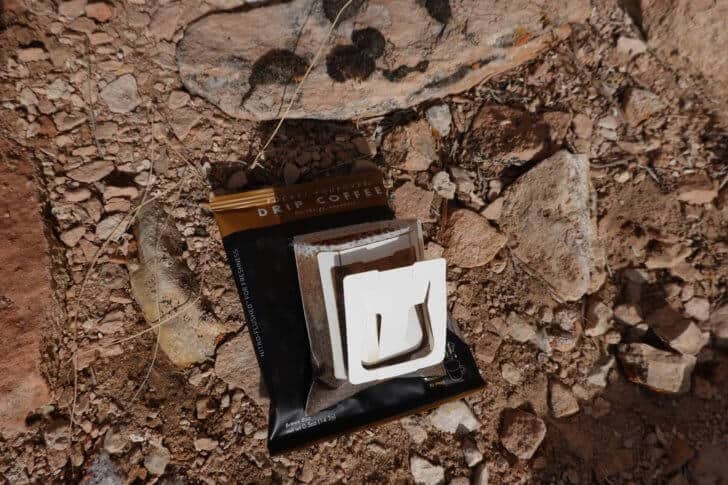
I can’t overstate this. I always toss-and-turn for at least forty-five minutes before falling asleep when ground sleeping, even after big-mile days. I always have lower back pain and heel pain when back-sleeping. I always have pain in my hips, shoulders, and ankles when side-sleeping. I always wake up stiff and sore. I’ve learned to judge my ground-sleeping quality in terms of small successes. Did I sleep for more than an hour without waking up to change positions? Success. Am I functional enough in the morning to make coffee? Success.
In the Kammok Mantis and Mantis UL, however, I only woke up once (that inevitable 2:00 AM call of nature). I had no stiffness or pain the next morning, no lower-back pain, and no pressure points. It’s not my practice to set alarms when backpacking because I usually sleep so poorly that my eyes pop open as soon as light hits my shelter. In the Kammok Mantis Hammock systems, I routinely slept for 11, 12, even 13 hours.
Of course, any time we talk about sleep quality, we have to remember that it is one of the more subjective standards in the backpacking world. It’s also worth noting that unlike many popular hammock designs, the Mantis and Mantis UL are not cut asymmetrically. The Mantis’ symmetrical design means you can’t lay entirely diagonally for flat sleeping. This style didn’t bother me at all, but it might irritate committed side sleepers or those with lower-back problems. Three nights was the longest I ever slept consecutively in the systems. It has to be considered that for long-term consecutive usage, the extent of cut asymmetry might come into play. At the moment I have loose plans to use the Mantis system on a thru-hike in the late spring – I’ll update this article accordingly if I gather any new data.
But for now, I can say that the Kammok Mantis gave me my best night’s sleep in the backcountry thus-far in my career as a backpacker.
Features and Ease of Use
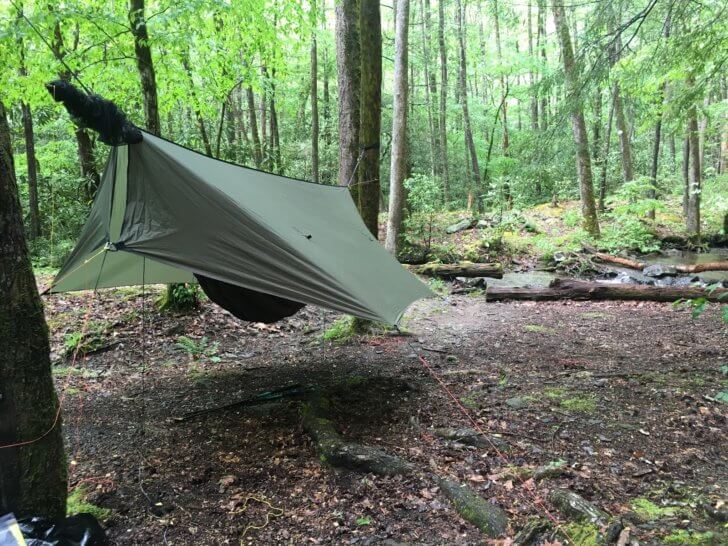
Because of my hammock inexperience and initial fumblings in set-up and take-down, I came to appreciate the Kammok Mantis’ thoughtful design features, e.g., how its fly is integrated and pitched.
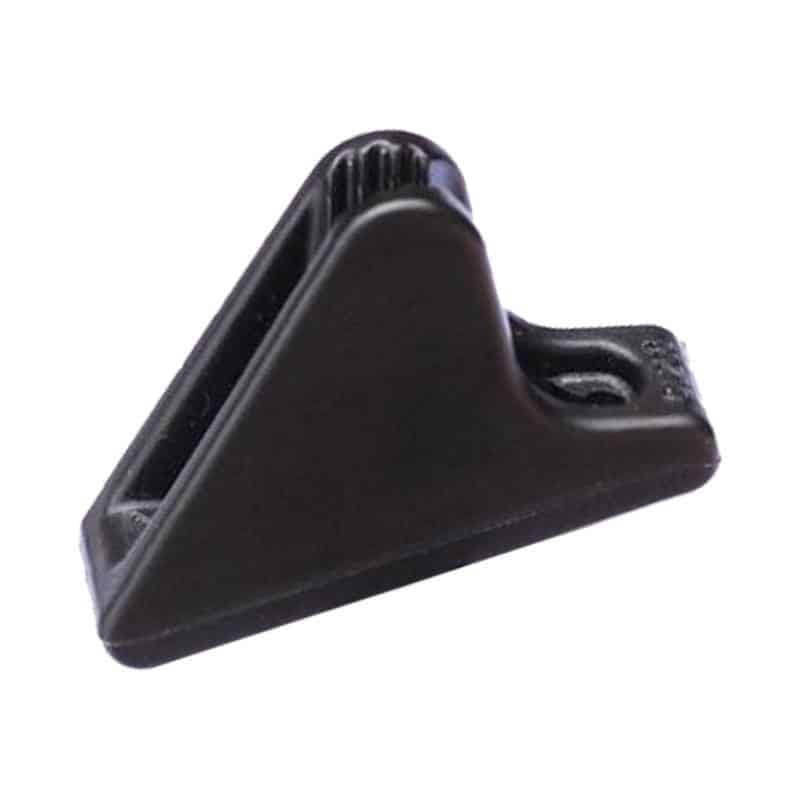
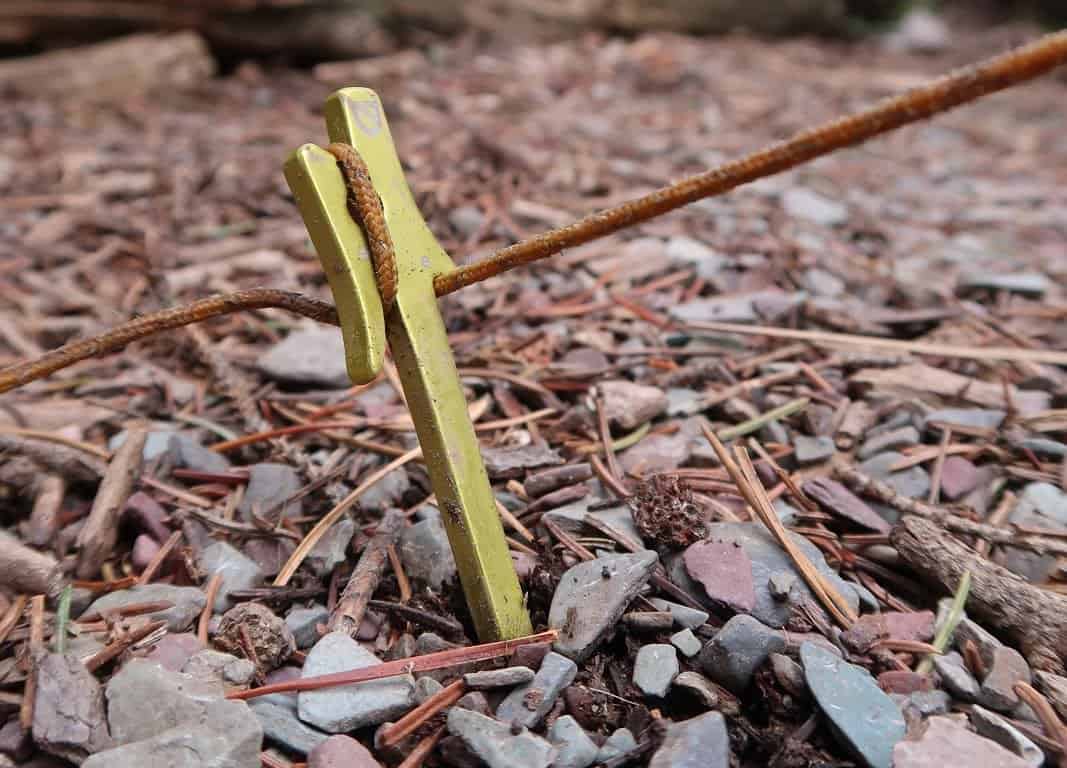
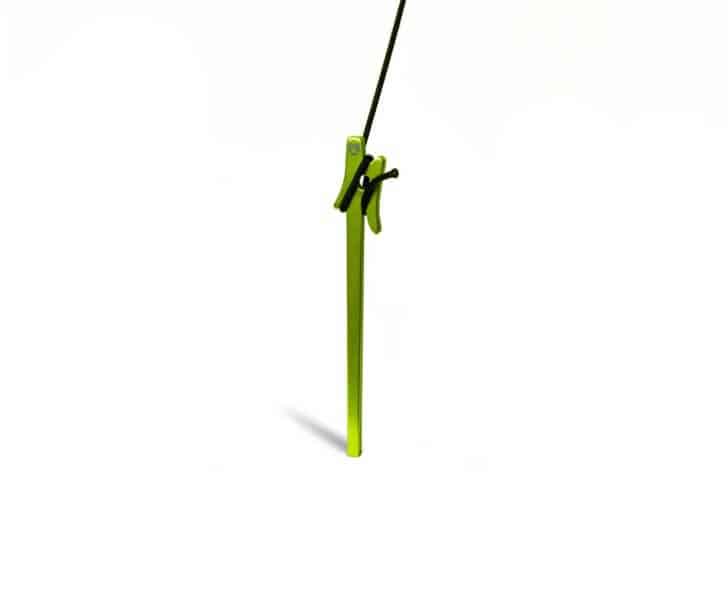
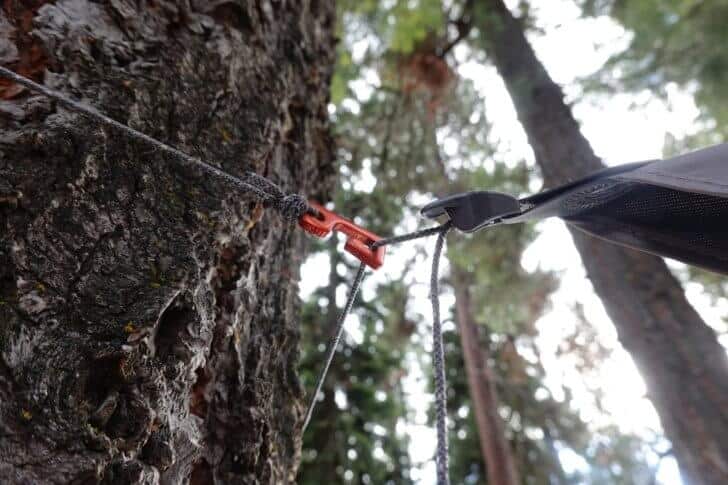
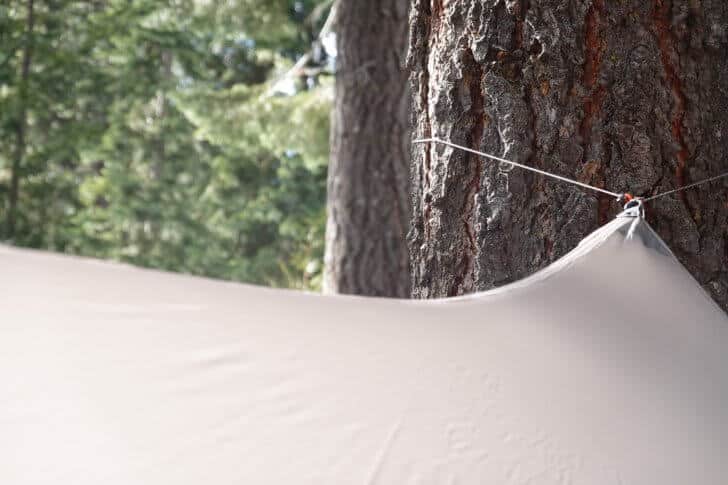
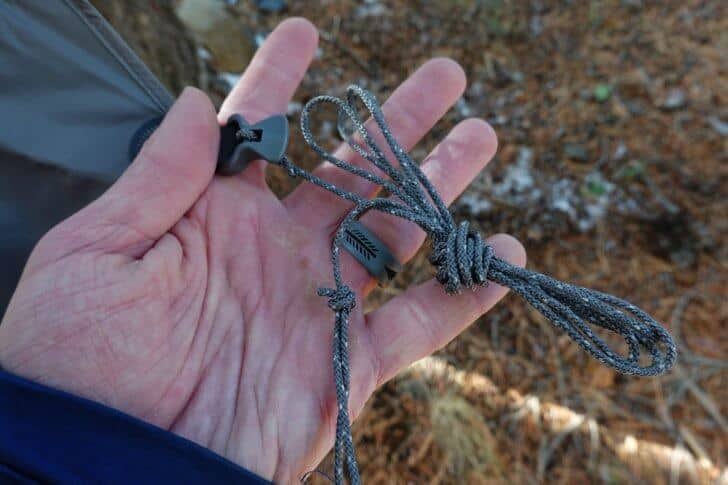
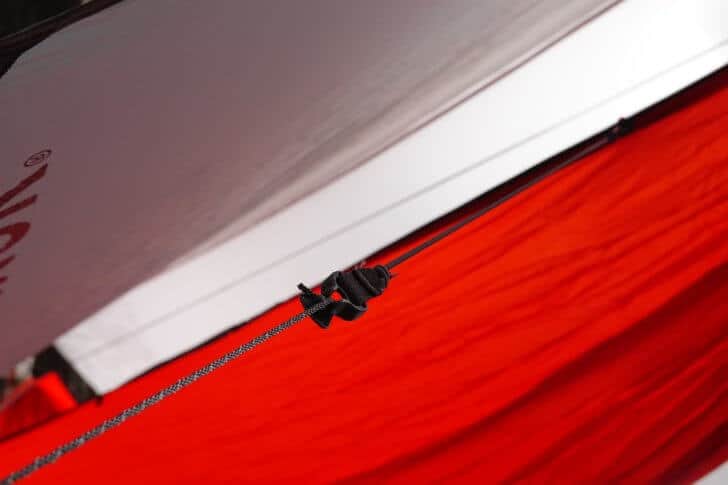
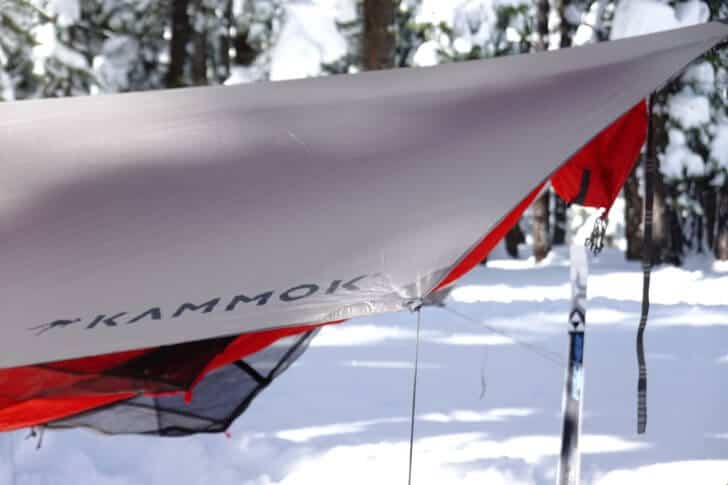
The fly attaches to trees with a knotless aluminum hook. Integrated line locks then take up the slack for a taut pitch. The tarp has six guy-out points (one at each corner and two in the middle), each with fixed-line and integrated line-locs. Because the included tarp is silnylon, it stretched a bit under snow-loading and during particularly humid evenings. In my testing where snow was likely, I made sure to pitch the tarp at a steep angle to compensate. A catenary ridgeline assisted in taut pitching.
The copious amount of line needed to guy out a tarp high off the ground is one of the things that initially slowed me down when unpacking, setting up, and repacking the Mantis. Being-accustomed to tarp-based systems, I quickly made a mess of these lines when stowing and unstowing my shelter. Soon enough, I learned to gather the excess line on each guy-out into a neat bundle before storage, and that improved my set-up speed a bit – though it added to my take-down time. The stretchable nature of the silnylon tarp meant I had to do a couple of circumnavigations adjusting tension once I had everything staked out.
Overall, I’d say setting up the tarp is the most time-intensive element of the Mantis system. I wouldn’t mind seeing Kammok add some sort of clever, integrated system for line-management – especially since everything else on the shelter is approached from a thoughtful, time-saving standpoint. Hey, why not?
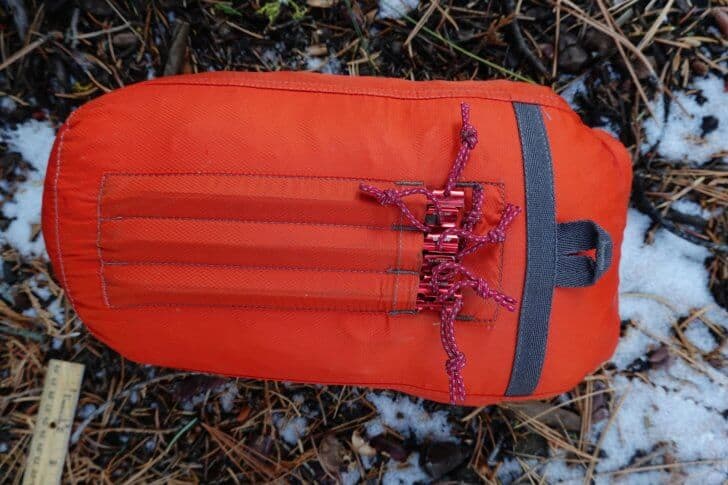
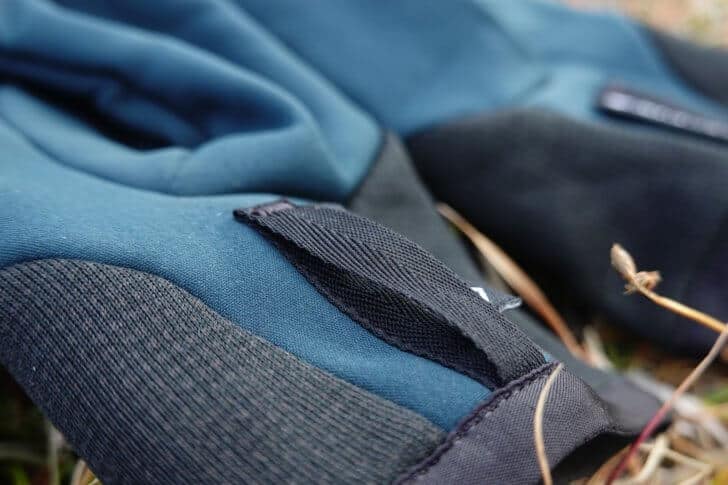
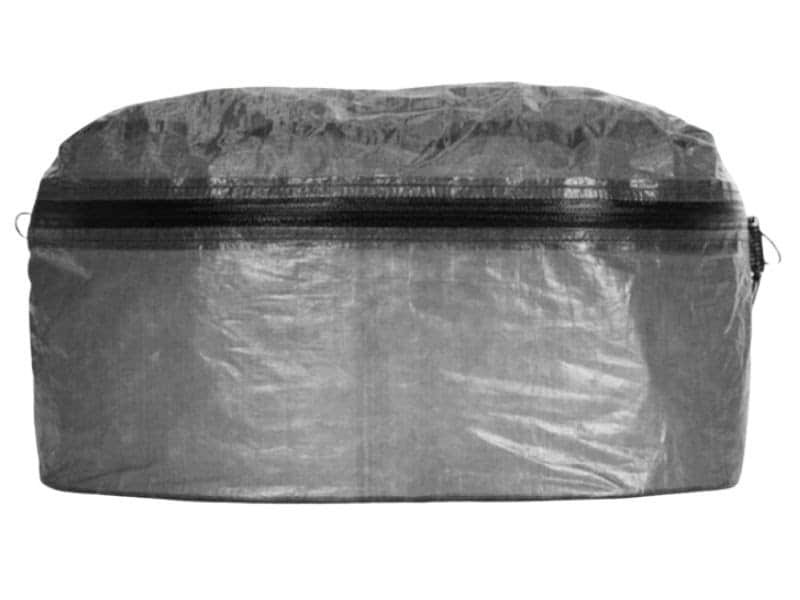
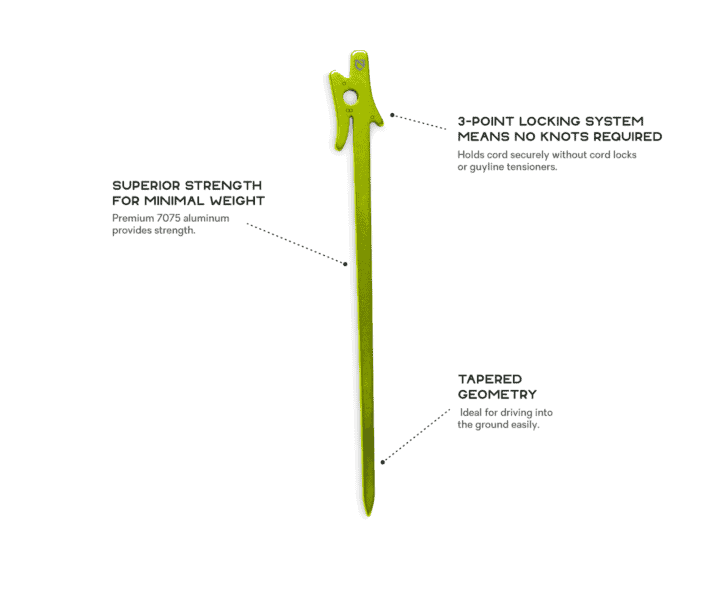
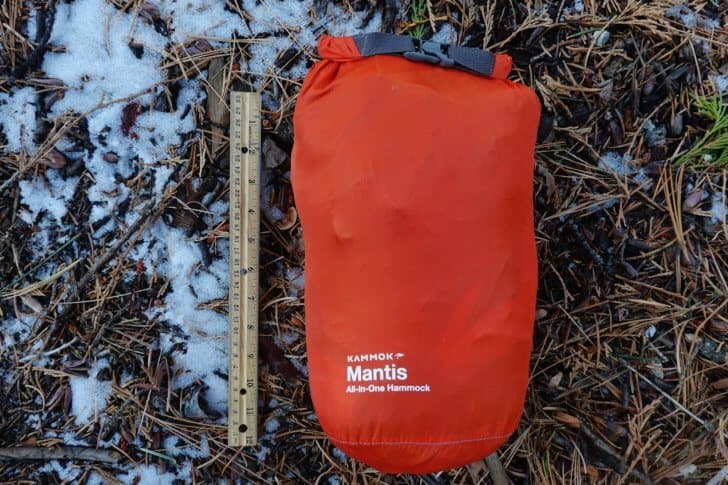
The stuff sack is a DWR treated silnylon roll-top bag with plenty of space to hold all the components (I hate a too-small stuff sack). The stuff sack has slots for external stake storage – a super-cool idea that I haven’t come across elsewhere. Not only does this help you keep track of your stakes (you can see at a glance that you have them all), but it gives you one less sack to lose. I replaced the Kammok stakes with MSR Groundhog Minis, and they fit the stake slots just fine.

The hammock itself unfurls from the stuff sack, which remains attached to the integrated structural ridgeline. The stuff sack then hangs between the attachment carabiner and the hammock body. I love this touch. Again, one less thing to lose in the dark or the wind. Folks who like to switch out stuff sacks with their preferred brand and style are going to be irritated by this feature, though. The stuff sack is constructed with 15D nylon diamond ripstop nylon with a 1,500mm PU/Silicone/DWR treatment. The material seemed to absorb a lot of moisture during my testing. Based on its performance, I wouldn’t trust it to keep the contents totally dry. This failure of waterproofing was my one gripe with the stuff sack.
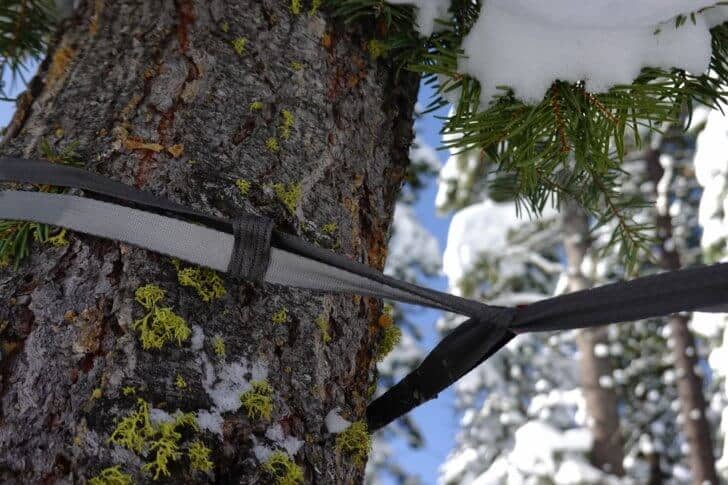
The Mantis comes with Kammok’s Python 10 tree strap system (7.7 oz / 218 g), while the Mantis UL comes with the much lighter Python 10 UL straps ( 2.9 oz / 85 g). Each strap offers 20 connection loops, 10 ft (3 m) of length, and secures to trees with a girth hitch. I found this system not-at-all prone to slippage and extremely easy to use.
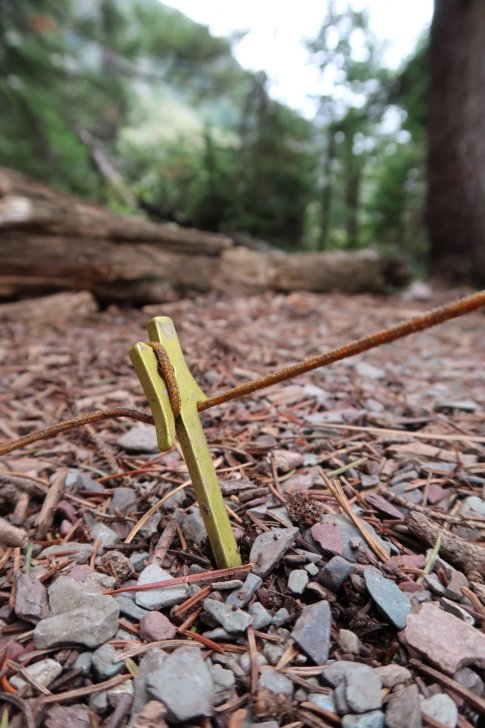
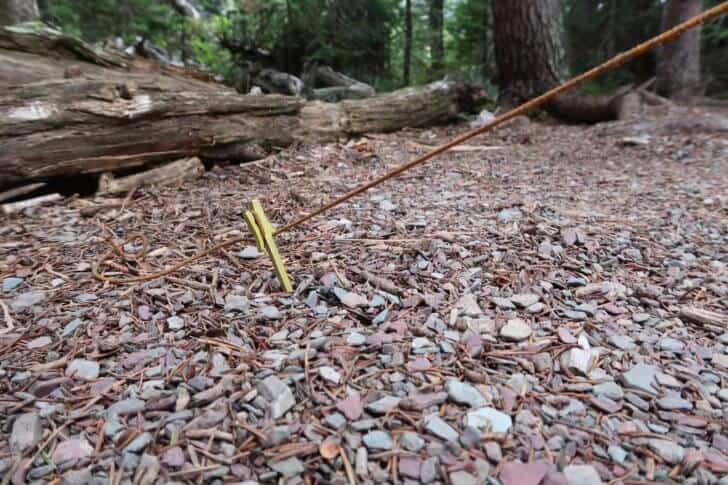
Each version of the Mantis comes with guy-out points on the hammock body to increase interior volume a bit. The lines clip into the attachment points with aluminum hooks and run to corner stakes (the same ones used by the tarp). These lines have a bit of elastic at the end closest to the hammock – a useful design that allows the hammock to sway as you get in and move around without putting tension on the stakes, but retain volume after you’ve become still. The Mantis has four of these points (two each at the head and foot) while the Mantis UL has three (two at the head, one at the foot). The bug nets on each version also have two attachment points for volumizing.
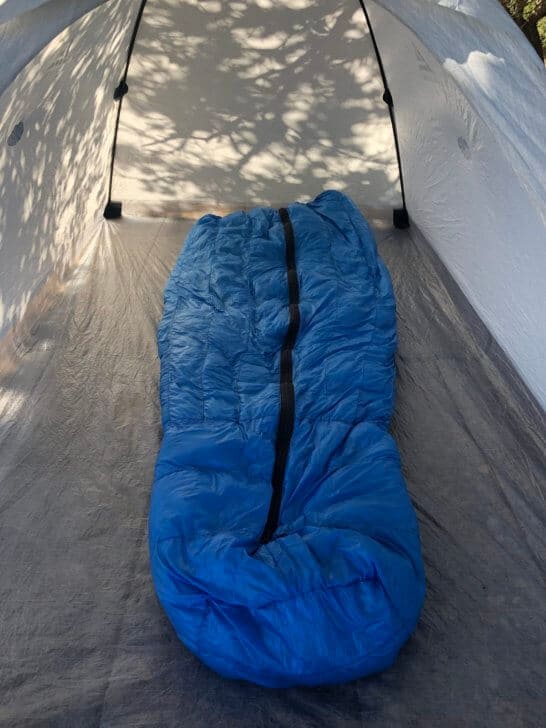
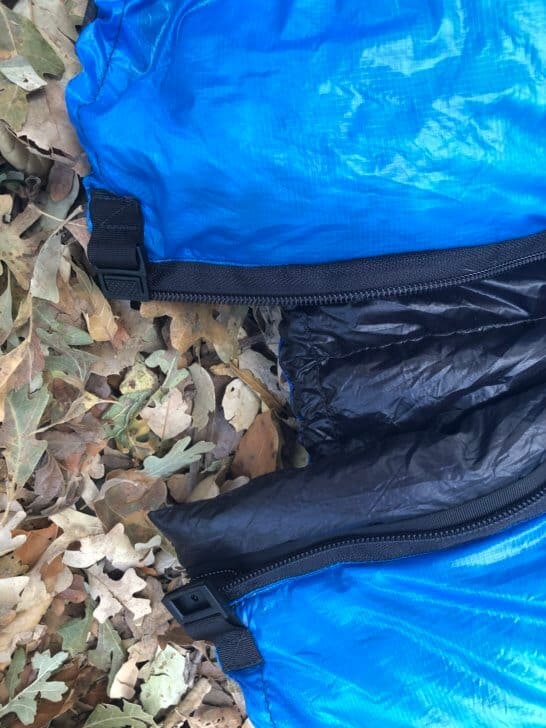
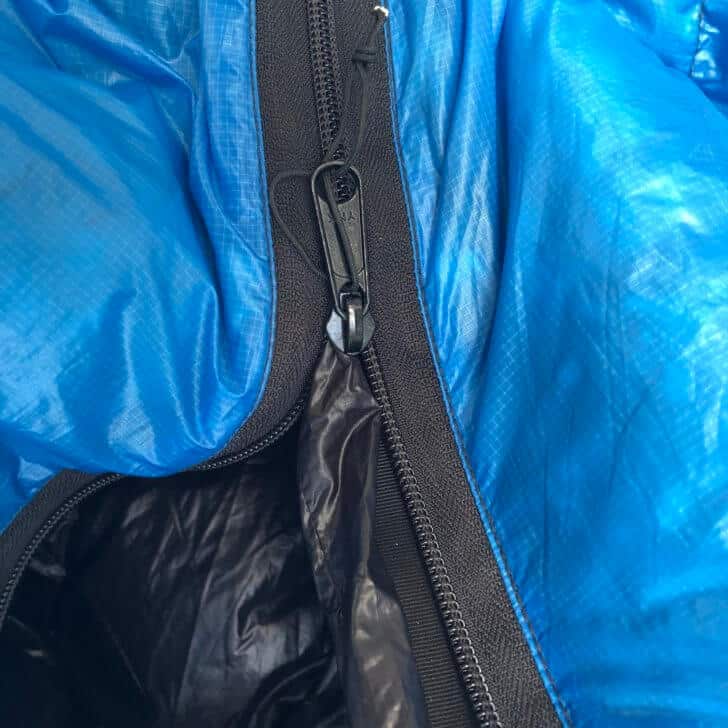
The bug net zips out easily for reduced weight in the correct season. However, it takes a little more work to zip it back in. You can zip in the Kammok Mantis (solid nylon) Winter Barrier (sold separately) to add some warmth to the system, but it feels a bit like sleeping in a floating coffin and comes with some risk for condensation as you might imagine. One user I interviewed didn’t enjoy the winter barrier for all of the above reasons and will leave it behind on future trips. I didn’t find the winter barrier necessary when utilizing proper sleeping gear and insulation. Overnight lows on my various testing trips ranged from 55 F (13 C) to 20 F (-7 C). There was one night I wish I’d had the weird-looking but useful Timmermade Waterbear Hood to keep the cold off my face.

Pockets and Gear Storage
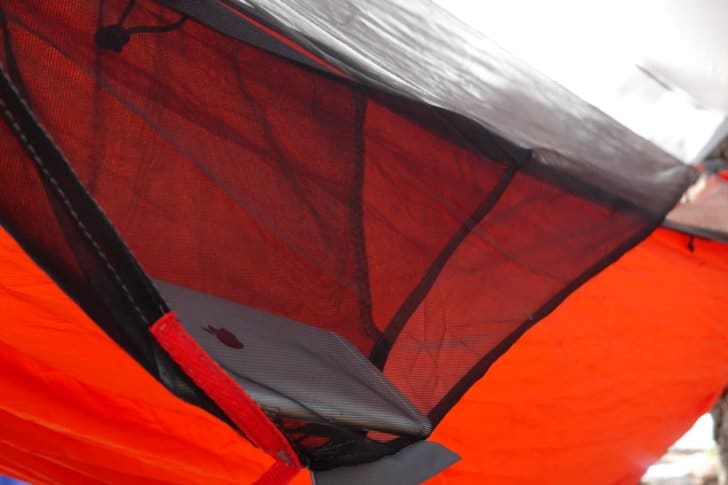
The Kammok Mantis and Mantis UL only have two included pockets – and those pockets are on the removable bug-netting. Though they are sizable – and I like that because it seems like shelter pockets have been shrinking lately – they are useless if you aren’t using the bug net. Kammok has a range of storage accessories like the Mantis Gear Loft that are both inexpensive and light – but I wish the shelter came with some more built-in storage options.
Weight and Packability
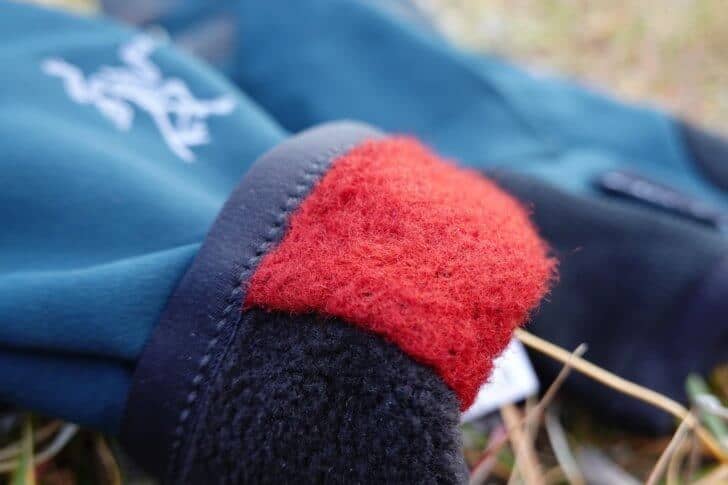
There’s a significant weight difference between the Kammok Mantis (44 oz / 1257 g) and the Mantis UL (35 oz / 992 g). As near as I can tell, this difference comes from the straps (see above) and the hammock material used in each model. The Mantis uses 40D nylon diamond ripstop, while the Mantis UL is made from 20D nylon diamond ripstop. In my testing and interviews, I found both materials to be sturdy enough for their purpose and breathable to boot – though each version of the hammock has a different max weight capacity (see Conclusion, below).
Although the integrated nature of the Kammok Mantis hammock system makes some components unchangeable, there is room for weight savings here and there. The included silnylon tarp is functional but not extraordinary (I do like that catenary ridgeline though, and that it has six guy-out points instead of four). It could easily be switched out for a DCF tarp of the user’s choice. Similarly, hammock aficionados might have aftermarket tree strap systems that they prefer over Kammok’s Python straps.
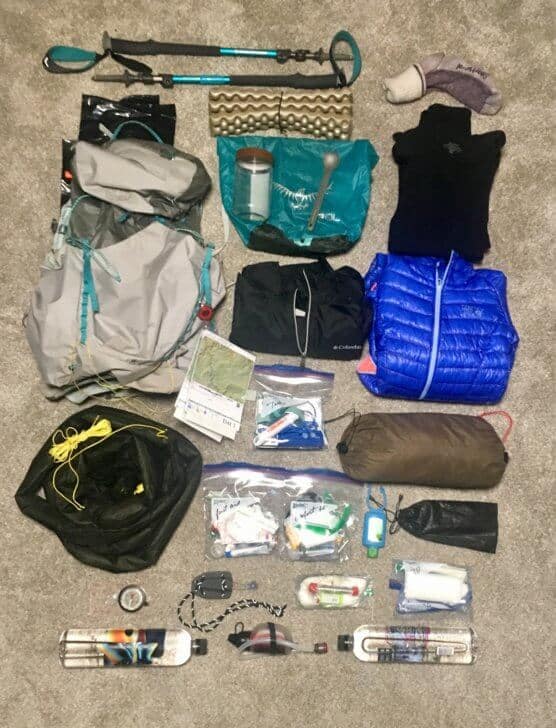
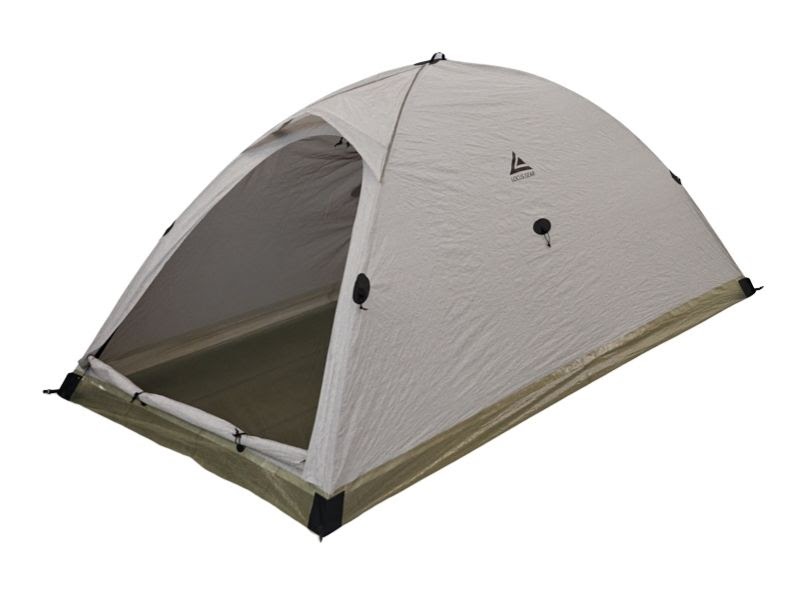
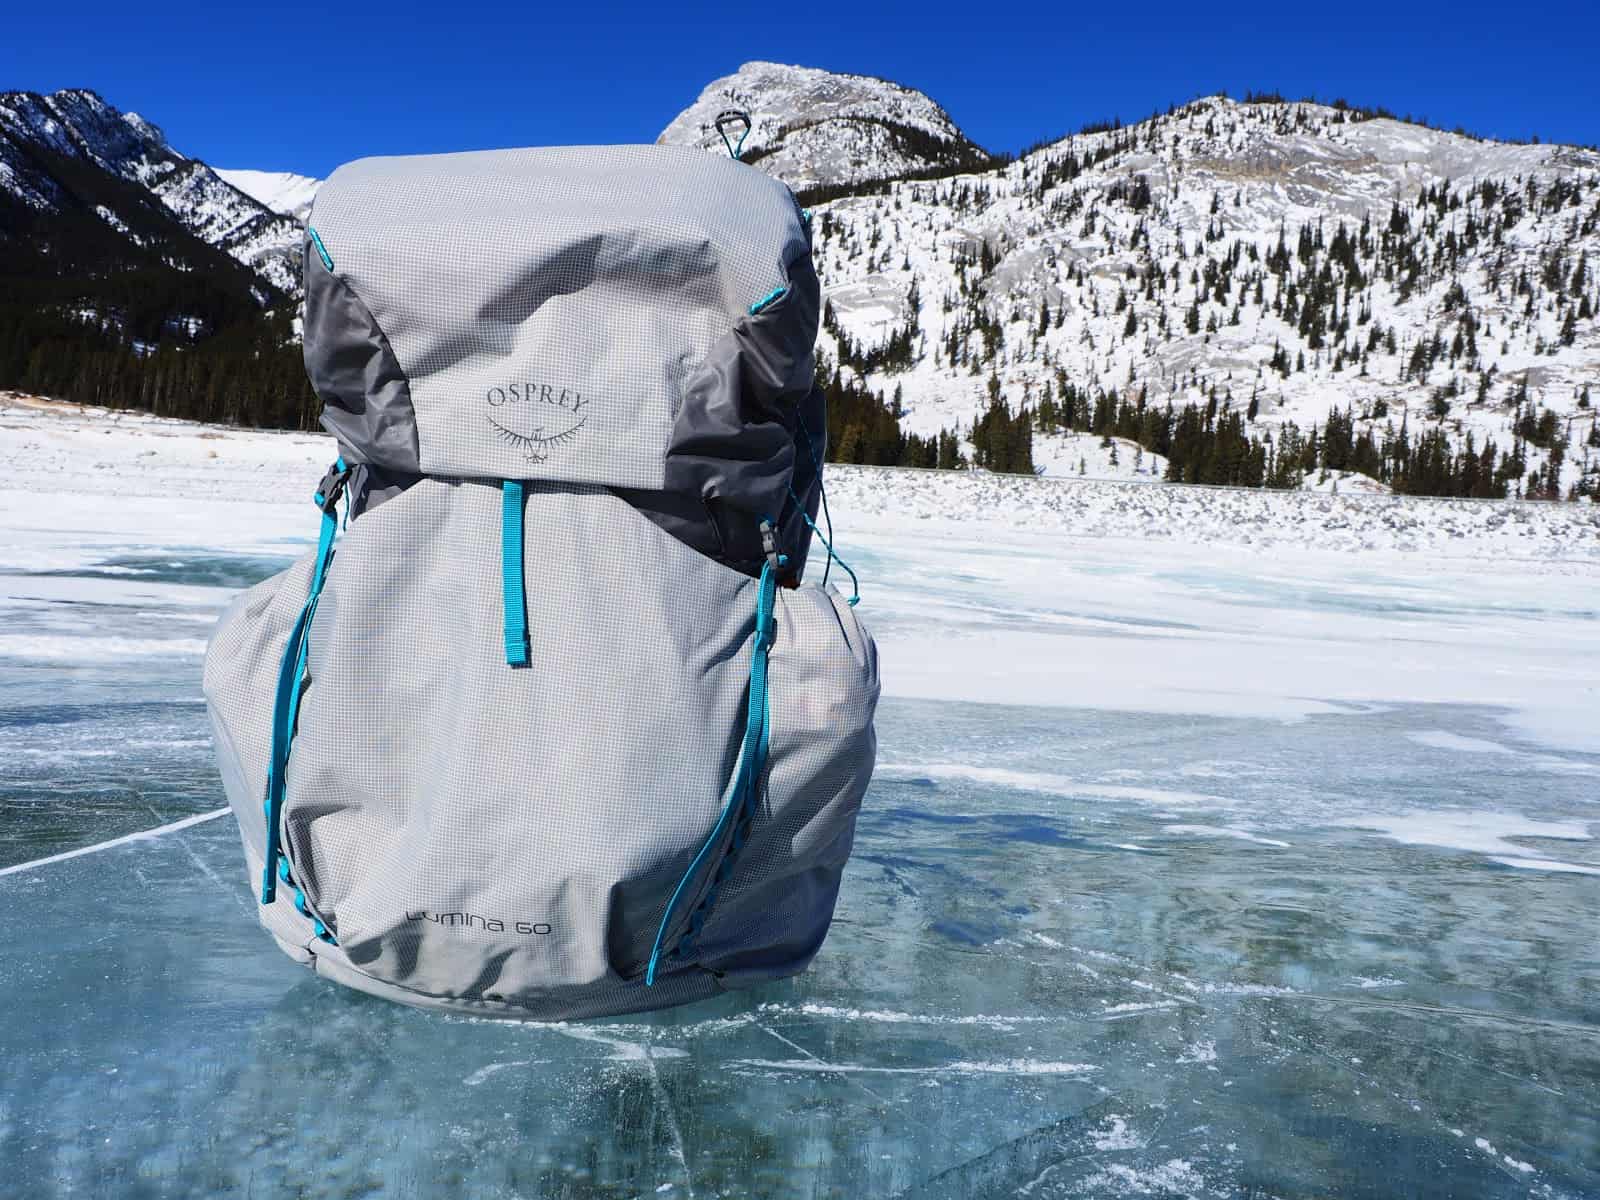
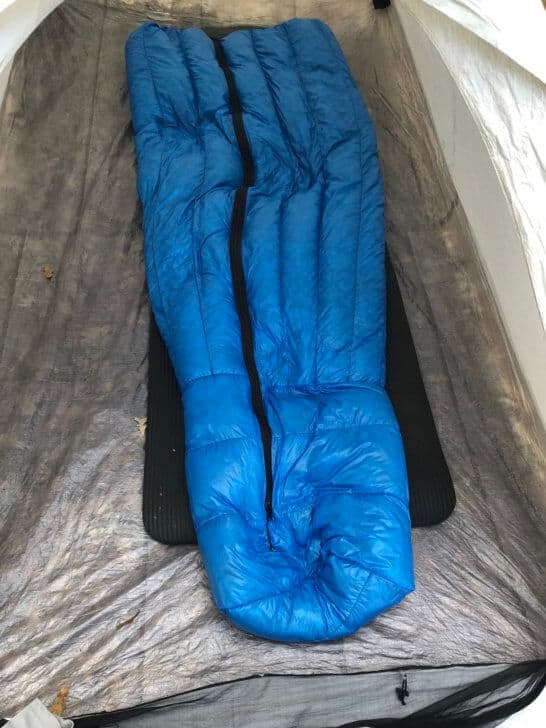
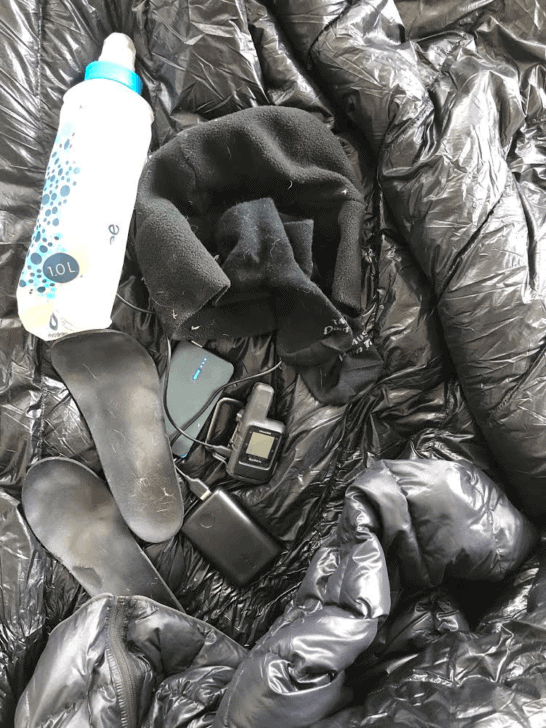
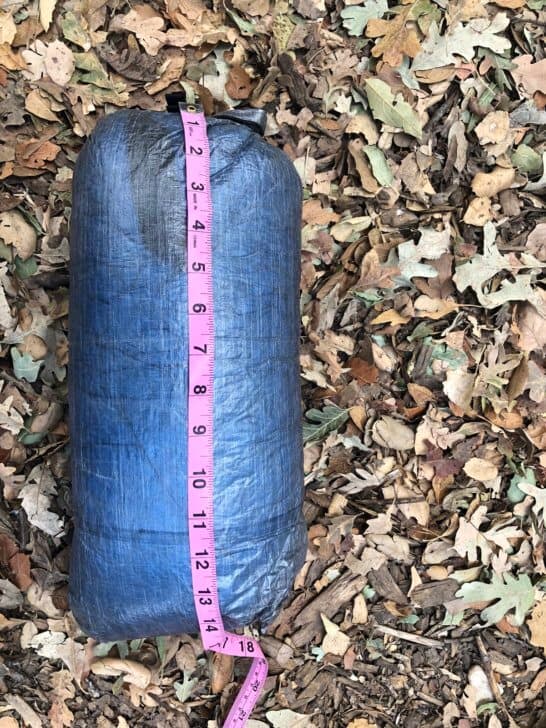
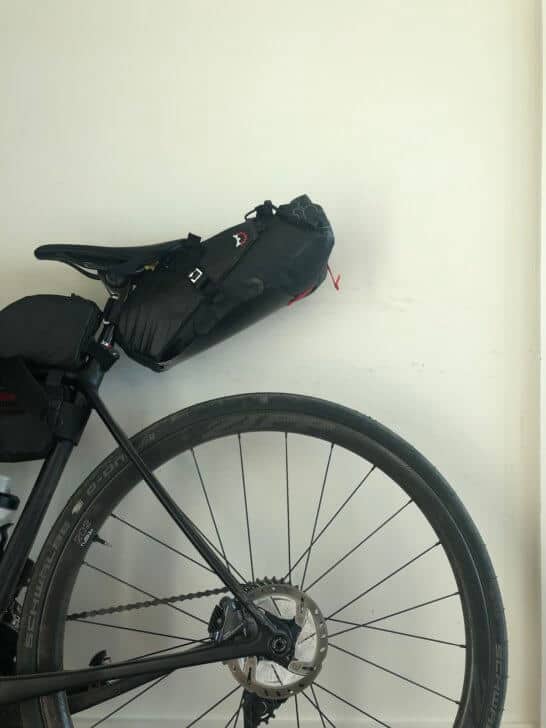
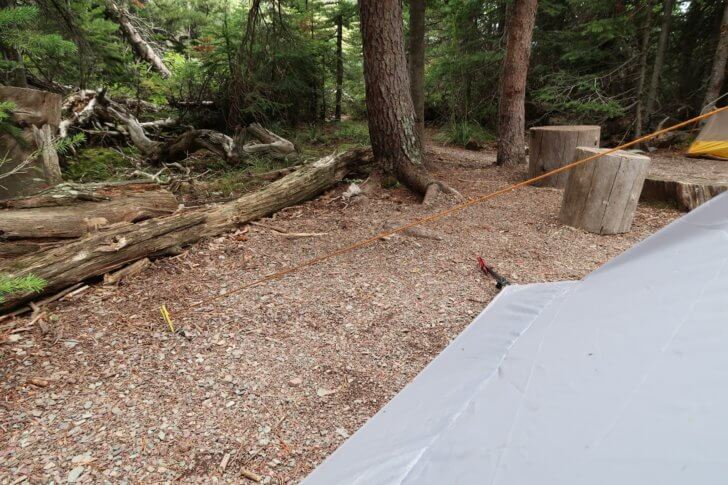
Both the Kammok Mantis packs down into a tiny package roughly 8 x 6 x 6 in (20 x 15 x 15 cm). The Mantis UL system is about 15% smaller. The package expands beyond those specs a bit when you haven’t carefully packed the tarp and straps (as seen below), but it’s still a small and packable shelter. Don’t forget some extra space in your pack for your underquilt.
Commentary
The lighter fabric and suspension of the Kammok Mantus UL hammock mean that its maximum recommended load is 300 lbs (136 kg) as opposed to the burlier weight rating of 500 lbs (227 kg) for the Mantis. That’s the only apparent difference in functionality, other than one less volumizing guy out on the Mantis UL. So if you and the gear you stow inside your hammock are on the lighter side, you can save 11 oz (312 g) by choosing the Mantis UL over the Mantis for an extra $30.
This choice was such a no brainer that I wasn’t even planning on testing the Mantis (I weigh 170 lbs / 77 kg) – I was going to go straight for the Mantis UL. The only reason I ended up testing both is that the manufacturer sent me the Mantis by mistake, and I didn’t notice until I was out in the field. (Luckily one of my friends was using the Mantis UL, so I was able to test both.)
Given how much some hammock campers enjoy building a system from the ground up, the Mantis systems are unlikely to appeal to everyone. Committed hammock campers may want to spec their own well-dialed system. But for beginners and those wanting to break into hammocking without the barrier of researching and assembling a system, it’s hard to go wrong with the Mantis UL. The knotless set-up, all-in-one-system, and thoughtful features are all winners. Most of the shelter is integrated with itself, but a few of the features are modular – including the tarp, which can easily be swapped out as desired for a lighter, less-stretchy DCF version.
Issues of Note
There are a few issues common to most hammock systems, including the Mantis and Mantis UL:
- Beginners are likely to find the set-up and take-down more time-and-energy-intensive than some of the better designed pole-supported shelters.
- Line management will be an issue if you aren’t intentional about it at every step.
These problems can be overcome with practice and familiarity.
In addition, I found a few issues unique to the Kammok Mantis system:
- The design isn’t an asymmetrical cut, so you can’t lay totally flat. This didn’t bother me at all, but if you have back problems, it could be an issue.
- The shelter’s only two pockets are on the removable bug net, and you have to pay extra for additional storage.
- The stuff sack is cleverly designed in almost every way – but I’m not a fan of the fabric or the DWR treatment. It seemed to soak up moisture after just a few minutes on wet ground. I’d love to see the same stuff sack in Dyneema Composite Fabric. I know it will probably never happen, but I can dream.
In spite of these issues, the Mantis hammocks are reasonably priced, reasonably light, extremely thoughtfully designed shelters. From my enlightened beginner standpoint, I wouldn’t hesitate to recommend them – particularly the Mantis UL – as an entry-point to the backpacking hammock world. They’ve certainly fulfilled that function for me.
Compared To…
For this comparison, I wanted to include “all-in-one” hammock systems – packages you could buy and get right out into the woods with. This included:
- Kammok Mantis
- Kammok Mantis UL
- REI Flash Air Hammock
- Hennessy Hammock Ultralite Backpacker Asym Zip Hammock
- ENO SubLink Hammock Shelter System
In terms of design and features, the Kammok Mantis and Mantis UL are probably most similar to the ENO SubLink Hammock Shelter System – symmetrical cut, knotless set-up, integrated ridgeline, and an unfortunate shortage of storage. They differ in a few ways – the two Mantis systems suspend with webbing and a carabiner, while the ENO suspends with webbing and whoopie straps.
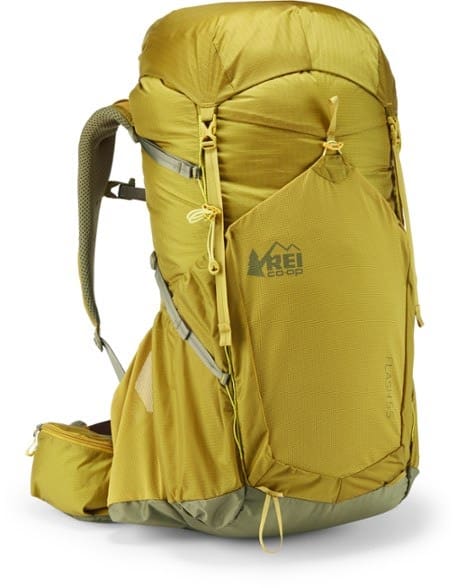
In the pocket department, the REI Flash Air Hammock seems to take the cake – it has four interior pockets and an included under-sling for shoes and other gear. All the other hammocks in my table have far less storage than this.
Another interesting feature of the REI Flash Air Hammock is the spreader bar at the hammock’s head. Our review for the Flash Air Hammock is forthcoming, but I can tell you that our primary reviewer, David Hosmer, appreciated the spreader bar feature. David also appreciated the Flash Air Hammock’s integrated pad straps, which kept his pad secure through a night of tossing and turning. Like the ENO, the Flash Air Hammock suspends with webbing and whoopie straps. The Flash Air Hammock has the longest tarp ridgeline of any hammock in my table.
The two lightest hammocks in my table are the Kammok Mantis UL (35 oz / 992 g) and the Hennessy Hammock Ultralite Backpacker Asym Zip Hammock (34 oz 964 g). The Hennessy’s relative weight is impressive, given that its fabrics are heavier than what the Mantis UL utilizes. The Hennessy also features an asymmetrical cut and ships with a ridgeline pocket but maxes out at a 200 lb (91 kg) capacity vs. the Mantis UL’s 300 lbs (136 kg).
The Hennessy Hammock Ultralite Backpacker Asym Zip Hammock also has the least amount of tarp coverage (due to size and shape) of any hammock in my table – though, like all my compared hammocks, the tarp could easily be switched out for weight savings or penalties depending on which direction you went (i.e., a smaller or larger tarp). The Hennessy is also $30 cheaper than the Kammok Mantis UL.
The final thing to note about the Hennessy Hammock Ultralite Backpacker Asym Zip is that it seems to require the most experience (or time, or both) to set up. This was my takeaway after watching set-up videos for all the hammocks in my table and researching reviews by others about these hammocks. At the very least, the Hennessy requires the most knots or lashing to set-up. While all the other hammocks in my table set-up with whoopie straps, hooks, or carabiners, the Hennessy requires some knowledge of rope-craft. Whether you consider this a good or bad thing likely depends on your larger outdoor philosophy. Are you the kind of person to sniff at integrated line locks? Then the Hennessy Hammock Ultralite Backpacker Asym Zip might catch your eye over the Kammok Mantis UL.
Comparison Table
| Kammok Mantis | Kammok Mantis UL | REI Flash Air Hammock | Hennessy Hammock Ultralite Backpacker Asym Zip Hammock | ENO SubLink Hammock Shelter System | |
|---|---|---|---|---|---|
| Weight (including all elements) | 44 oz (1247 g) | 35 oz (992 g) | 45 oz (1276 g) | 34 oz (964 g) | 39 oz (1106 g) |
| Maximum Weight Capacity | 500 lbs (227 kg) | 300 lbs (136 kg) | 250 lbs (113 kg) | 200 lbs (91 kg) | 250 lbs (113 kg) |
| Packed Dimensions | 8 x 6 x 6 in (20 x 15 x 15 cm) | 6 x 6 x 6 in (15 x 15 x 15 cm) | 16 x 5 x 5 in (41 x 12 x12 cm) | 4 x 6 x 9 in (10 x 15 x 23 cm) | 10 x 9 x 4.5 in (25 x 23 x 11 cm) |
| Hammock Cut | symmetrical | symmetrical | symmetrical with volumizing pole at head | asymmetrical | symmetrical |
| Tarp Material | Patagium 15D nylon diamond ripstop with 1,500 PU/Silicone/DWR | Patagium 15D nylon diamond ripstop with 1,500 PU/Silicone/DWR | 15D nylon PU Nylon | 30D PU / Silicone coated Silnylon ripstop | 30D Silicone Impregnated Nylon with 1000mm PU Coating |
| Tarp Shape | Diamond, catenary ridgeline | Diamond, catenary ridgeline | Diamond, catenary ridgeline | Parallelogram, catenary ridgeline | Diamond |
| Tarp Ridgeline Length | 115 in (292 cm) | 115 in (292 cm) | 132 in (335 cm) | 99 in (251 cm) | 76 in (193 cm) |
| Hammock Material | Gravitas 40D nylon diamond ripstop with DWR | Levitas 20D nylon diamond ripstop DWR | Ripstop nylon (further information unavailable) | 70D nylon, 160 x 90 high count taffeta | 30D ripstop nylon |
| Suspension System | Python 10 straps (girth hitch) with carabiner | Python 10 UL straps (girth hitch) with carabiner | Whoopie sling (45 in / 114.3 cm) with webbing (58.5 in / 148.59 cm) and aluminum hooks | 1 in (2.5 cm) wide black polyester free webbing straps (closed with ridgeline cordage) | Whoopie sling (45 in / 114.3 cm) with webbing (51 in / 129.54 cm) |
| Stakes Needed | 6 | 6 | 4 | 4 | 4 |
| Storage | 2 pockets (in removable bug-net) | 2 pockets (in removable bug-net) | 4 pockets and exterior gear sling | Included ridgeline pocket, ridgeline glove hooks | Integrated stuff sack doubles as small exterior storage |
| Bug-net | zip-in | zip-in | Zip-in but not completely removable | zip-in | sleeve |
| Special Features | Knotless set-up, integrated ridgeline | Knotless set-up, integrated ridgeline | Knotless set-up, integrated pad straps, spreader bar at head | Fly clips to ridgeline (with adjustable knot) for easy set-up, volumizer lines clip to rainfly | Knotless set-up, integrated ridgeline |
| MSRP (USD) | $229 | $259 | $179.95 | $229.95 | $249.95 |
Strengths
- a great entry-point for backpackers looking to explore hammock systems
- made for an extremely comfortable night’s sleep
- knotless, easy setup
- clever, well-considered features
- price is affordable for a decent shelter
- well-designed stuff sack
Limitations
- not asymmetrically cut for totally flat sleeping (but can be volumized with guy-outs
- some components (like the stuff sack) can’t be switched out
- waterproofing on the stuff sack seems ineffective
- needs additional accessories for organized gear storage – the only pockets are on the removable bug net
- likely won’t appeal to hammock backpackers who enjoy assembling their systems from à la carte components
Where to Buy
Related Content
- Butt-in-a-Sling (BIAS) Hammock Review
- Hummingbird Hammocks Review
- Backpacking Light Hammock Camping Forum
Disclosure
Updated November 7, 2019
- Product(s) discussed in this article may have been purchased by the author(s) from a retailer or direct from a manufacturer, or by Backpacking Light for the author. The purchase price may have been discounted as a result of our industry professional status with the seller. However, these discounts came with no obligation to provide media coverage or a product review. Backpacking Light does not accept compensation or donated/discounted products in exchange for guaranteed media placement or product review coverage.
- Some (but not all) of the links in this article may be “affiliate” links. If you click on one of these links and visit one of our affiliate partners (usually a retailer site), and subsequently place an order with that retailer, we receive a small commission. These commissions help us provide authors with honoraria, fund our editorial projects, podcasts, instructional webinars, and more, and we appreciate it a lot! Thank you for supporting Backpacking Light!
- Read about our approach to journalistic integrity, product reviews, and affiliate marketing here.