Introduction
My purpose with this gear guide is to share about the gear that I’m currently using on my own backpacking trips and other outdoor adventures. Some of the products I discuss are those that have been in my kit for several years. Others are new to my kit this season.
Because this gear is the gear I choose myself (and often, represents the gear that I’ve actually purchased with my own money), the selections here represent my personal recommendations of sorts.
I live and primarily hike in the northern US Rocky Mountains and intermountain and high desert regions of Idaho, Montana, Wyoming, Utah, and Northern Colorado. This year, my focus has been on the Bighorn, Snowy, and Laramie Ranges in Wyoming, and in the Rocky Mountains of northern Colorado. In addition, the majority of my trail miles are hiked in the fall, winter, and spring. These environments, compared to other locations in the US, are characterized as dryer, windier, snowier, and colder. Keep that context in mind, it may provide some insight and value into why I prefer certain types of gear over others.
Consumer Disclaimer: This gear guide is intended to expand your awareness of what’s available in the backpacking gear marketplace. More importantly, I hope you’ll learn from my experience in a way that motivates you to be a more disciplined consumer. There is no single piece of gear that can transform your backcountry experience. Transformation comes from spending time in nature. Don’t replace time in the backcountry with compulsory consumption. Here are some of the basic consumption guidelines I strive to live by: use what I have; don’t buy what I don’t need; don’t go into debt to buy gear; buy used gear when I can; donate or repurpose gear I’m not using to others who need it; try to allocate more money on backcountry experiences and learning new skills, and less money on gear. That said, some of the items in this gear guide require an initial (and sometimes expensive) investment. I’m very cautious about recommending any item that costs a lot of money, and only include those expensive items here if – and only if – they have stood the test of time with respect to both versatility (being able to use them in a variety of environments) and durability (longevity). Expensive and durable items are denoted with a target symbol (🎯). In addition, some of the items here are fragile and require very intentional care. I’ve marked these items with a lightning symbol (⚡) – use at your own risk.
Packing Systems
McHale Backpacks
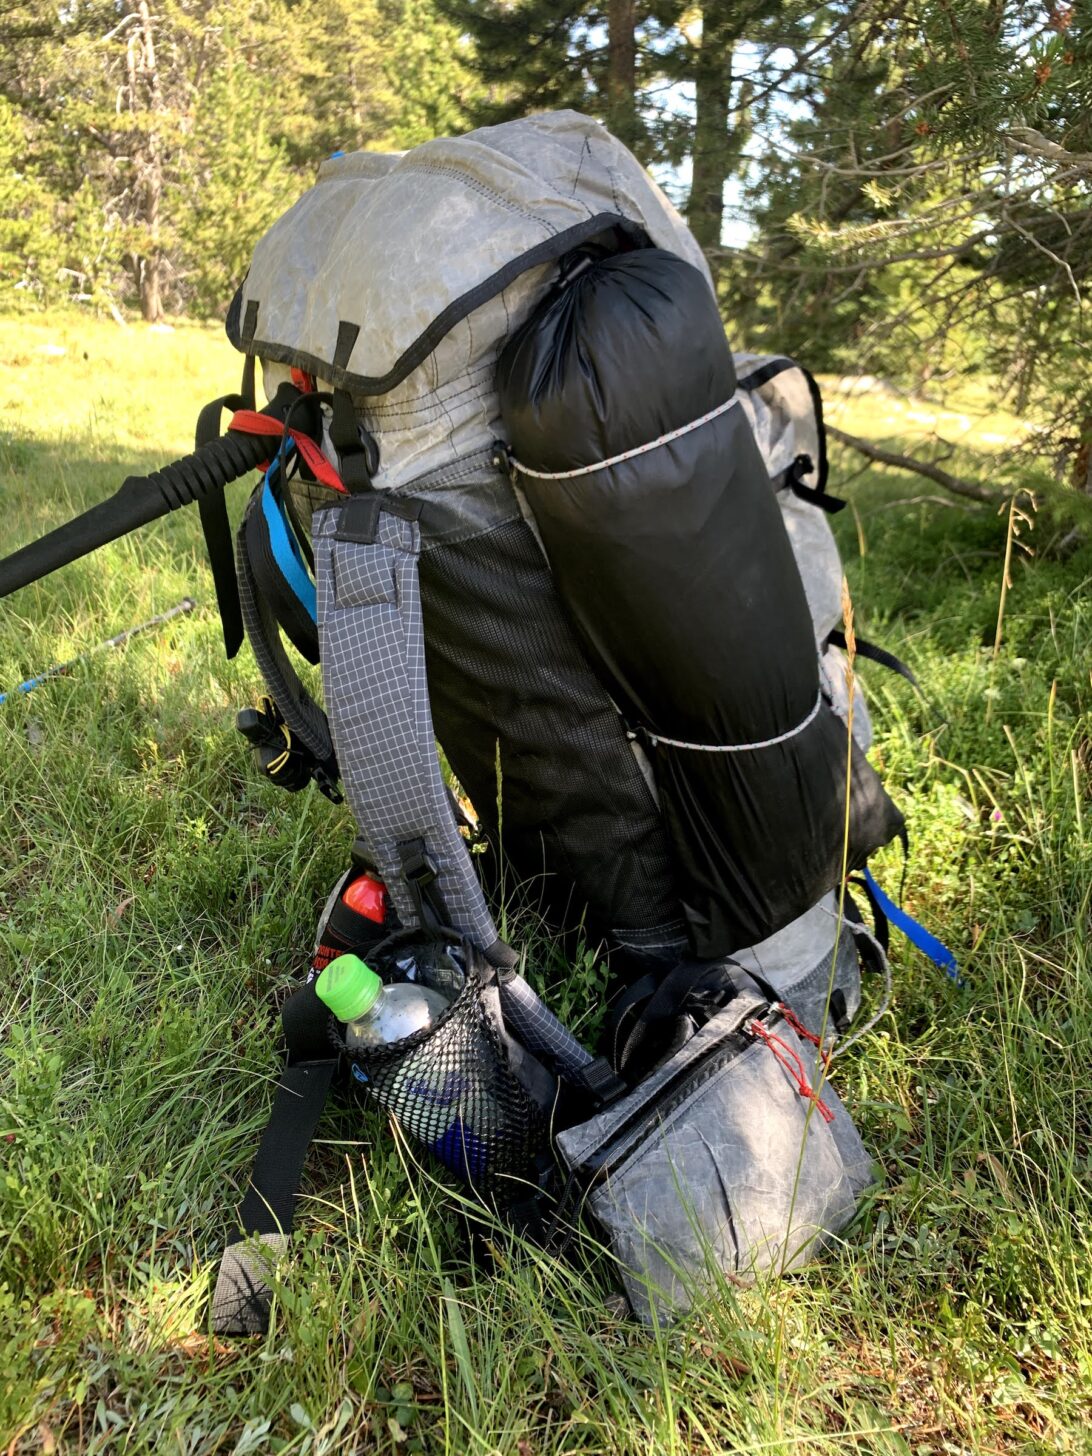
I’ve used McHale backpacks since the early 2000s and I currently own and use two different models. One is a durable, high-volume SARC (🎯) (with a Bypass harness) that I use for winter backpacking and expeditions. The other is a small-volume (45 L) Windsauk and has been the backpack I’ve used the most on trips of up to 8 days or so over the past three years. McHale backpacks are built to custom-fit measurements, have simple but effective suspensions, and terrific hip belts. Mine are modular in nature; both of them can be stripped down to a single packbag or kitted out with any configuration of top, side, rear, shoulder strap, and hip belt pockets for more organization options.
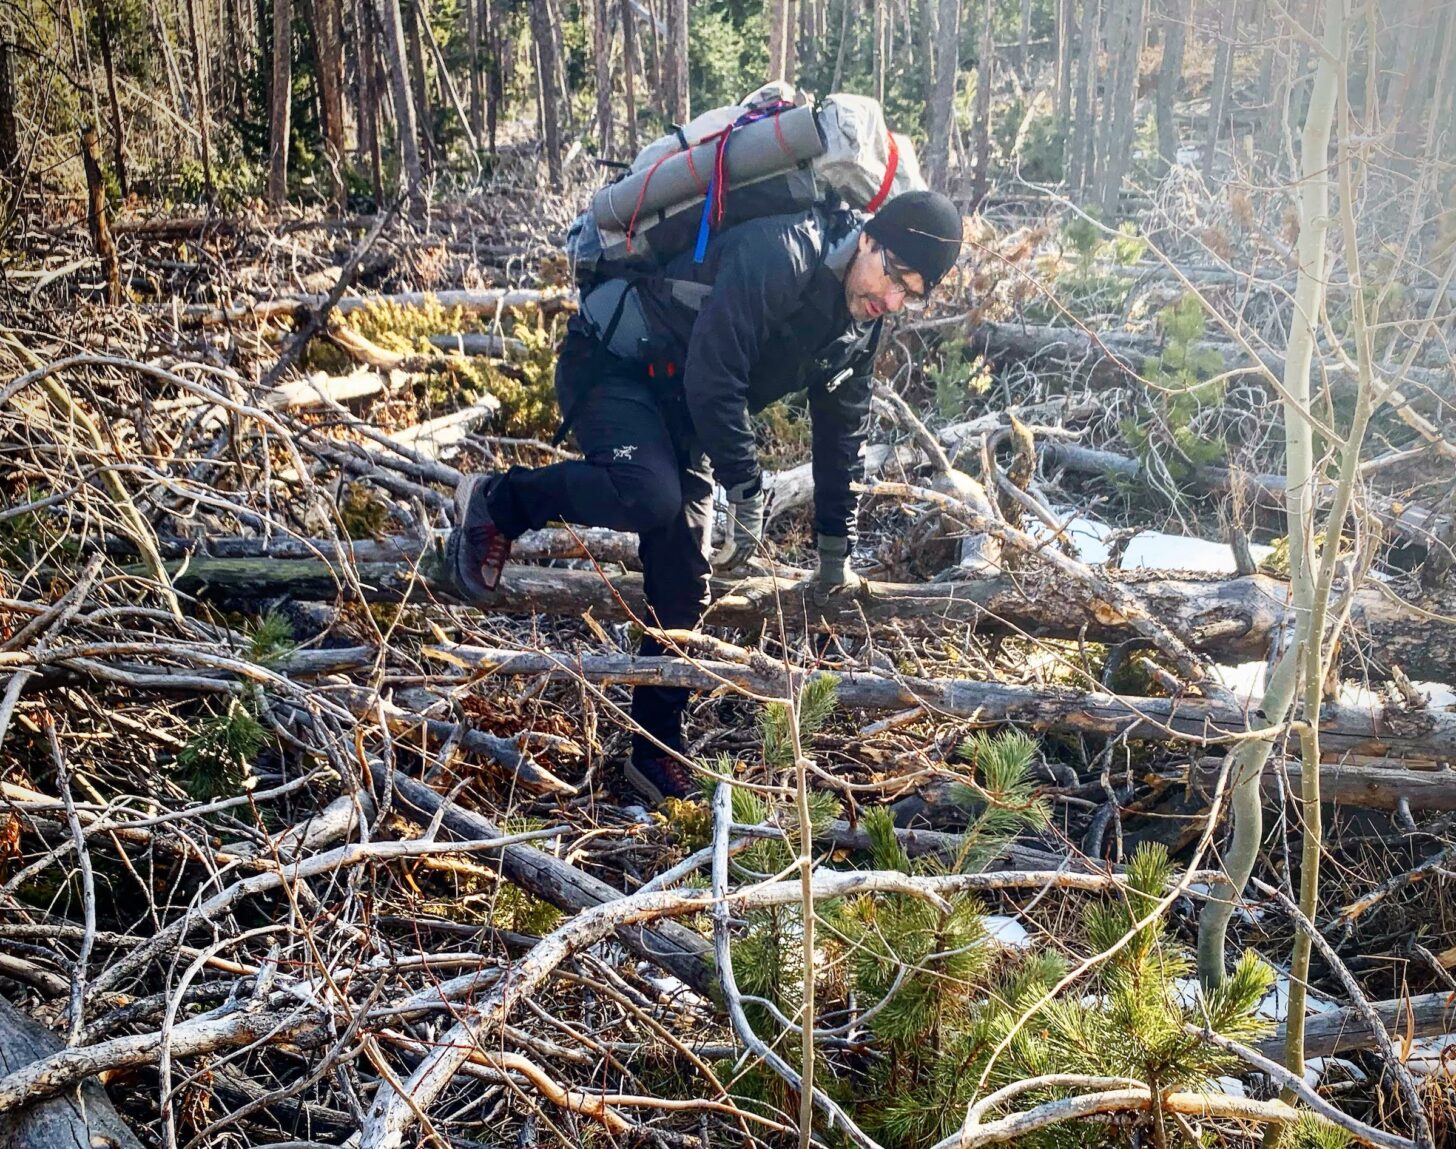
One of the most unique features of my SARC is the unique Bypass Harness system. It solves the basic problem faced by packs with traditional load-lifters: the need to decouple shoulder strap positioning from weight transfer distribution (between shoulders and hips) for optimizing load-carrying comfort. Brilliant, simple, and patented: you’ll find this feature only on a McHale pack.
Hyperlite Mountain Gear North Rim Backpack
The Hyperlite Mountain Gear North Rim Backpack (🎯) is one backpack model I recommend for the specific use case where you need a backpack that’s durable enough for alpine or desert rock scrambling and heavy bushwhacking, and waterproof enough for extremely wet environments, swimming and wading through river corridors, or packrafting.
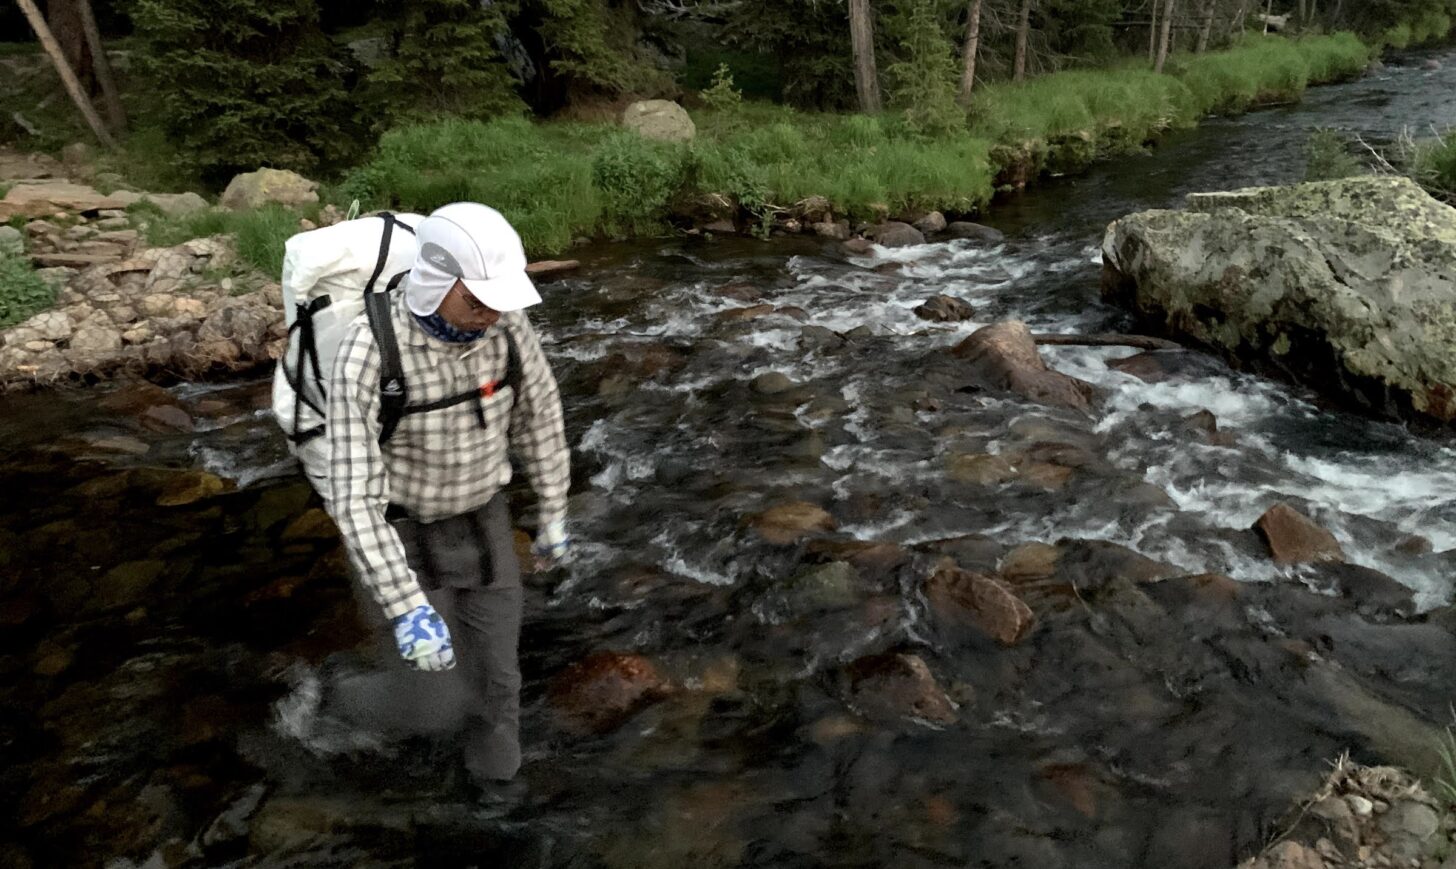
It has sealed seams, a secure roll-top closure, and highly abrasion-resistant (woven Dyneema) outer fabrics. Normally, I’d prefer a woven Dyneema pack with no outside pockets for these conditions. However, the woven Dyneema outside pockets of the North Rim add immense functionality to the pack without adding the problematic mesh or stretch fabrics that are prone to long-term failure when bushwhacking and scrambling.
Osprey Straightjacket Compression Sack
I’ve had a 20-liter Osprey Straightjacket Compression Sack (🎯) in my kit for more than five years, and it goes with me on almost every backcountry trip. Unlike a traditional compression sack, which compresses gear from the ends of the sack, creating a short cylinder, the Straightjacket compresses the sack in the transverse direction, which makes it thinner without affecting its length. That way it fills out the bottom of my pack nicely without having to pack gear around the ends of it. In my typically 3-season kit, the Straightjacket houses a 20-degree down sleeping bag, an inflatable insulated sleeping pad, pillow, down jacket, extra socks, and long underwear – my entire camp bedroom in one spot.
Hyperlite Mountain Gear Pods
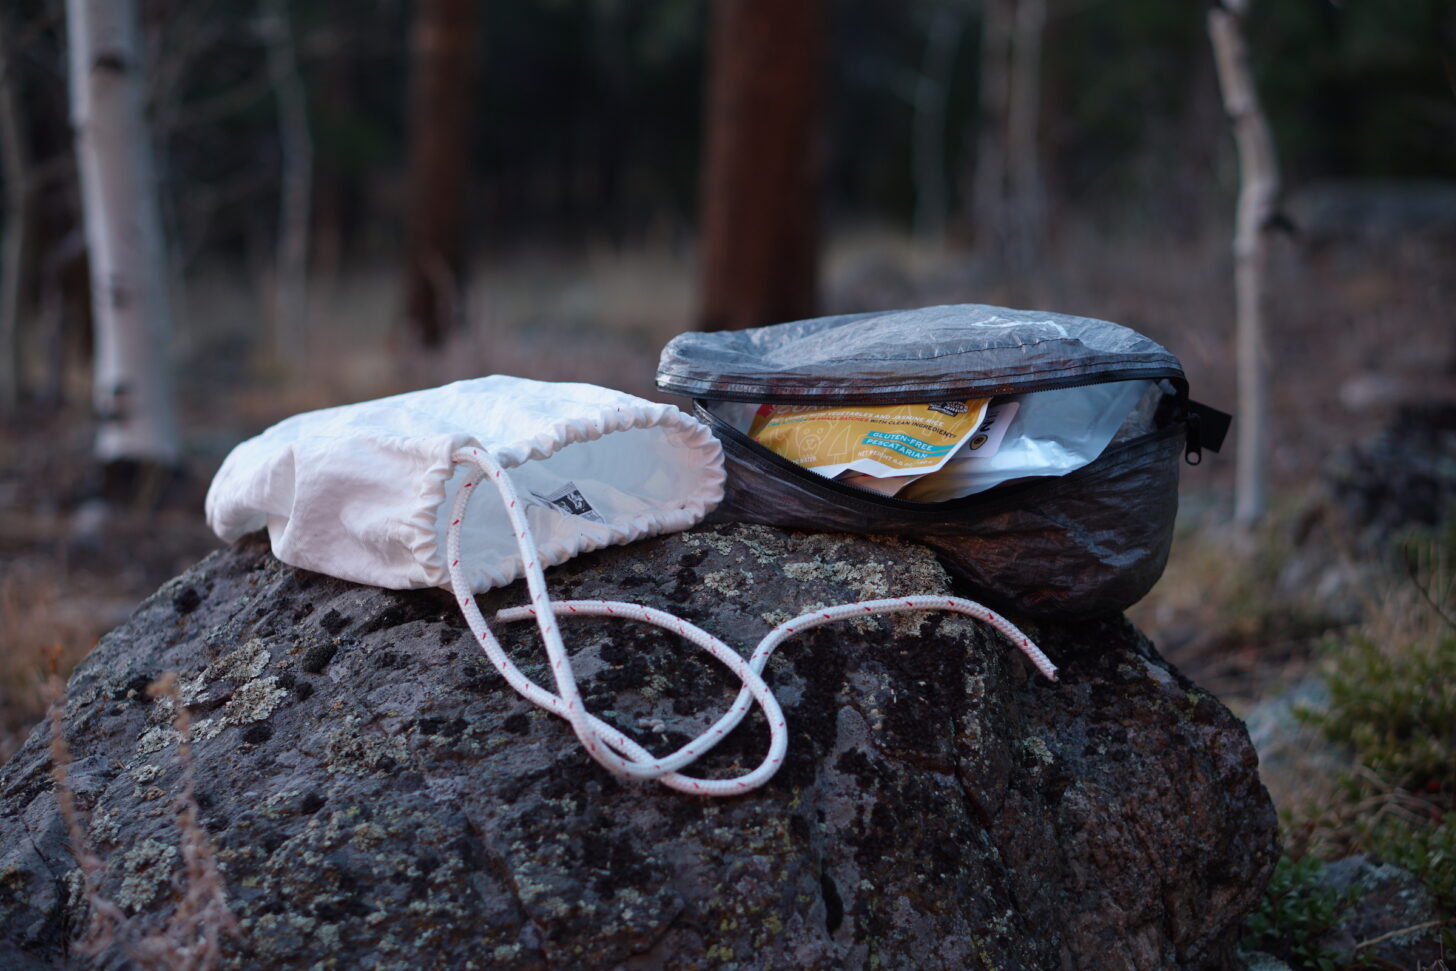
I was a bit resistant to the idea of Hyperlite Mountain Gear Pods (🎯) initially. Why would I add more tenths of ounces to my stuff sack kit, which was already perfectly functional (so I thought)? And stuff sacks with failure-prone zippers? No thanks. I’m singing a different song today. I’ve used these for the past three years and now can’t live without them. The ability to organize my pack using Pods has simply made my life easier. A zippered-access stow bag means I can access anything in a Pod without unpacking or digging around for it. Because they are shaped like the cross-section of a backpack, they nest neatly inside and allow me to more easily pack my pack without the dead air spaces caused by cylindrical stuff sacks. I use one for storm clothing, one for my cooking gear, and one to three for packing food (I leave my Ursacks unpacked and stuff those loosely to fill dead air spaces in my pack). I own five Pods and all of them are regularly used. I’ve yet to experience a seam or zipper failure.
Hyperlite Mountain Gear Versa Pouch
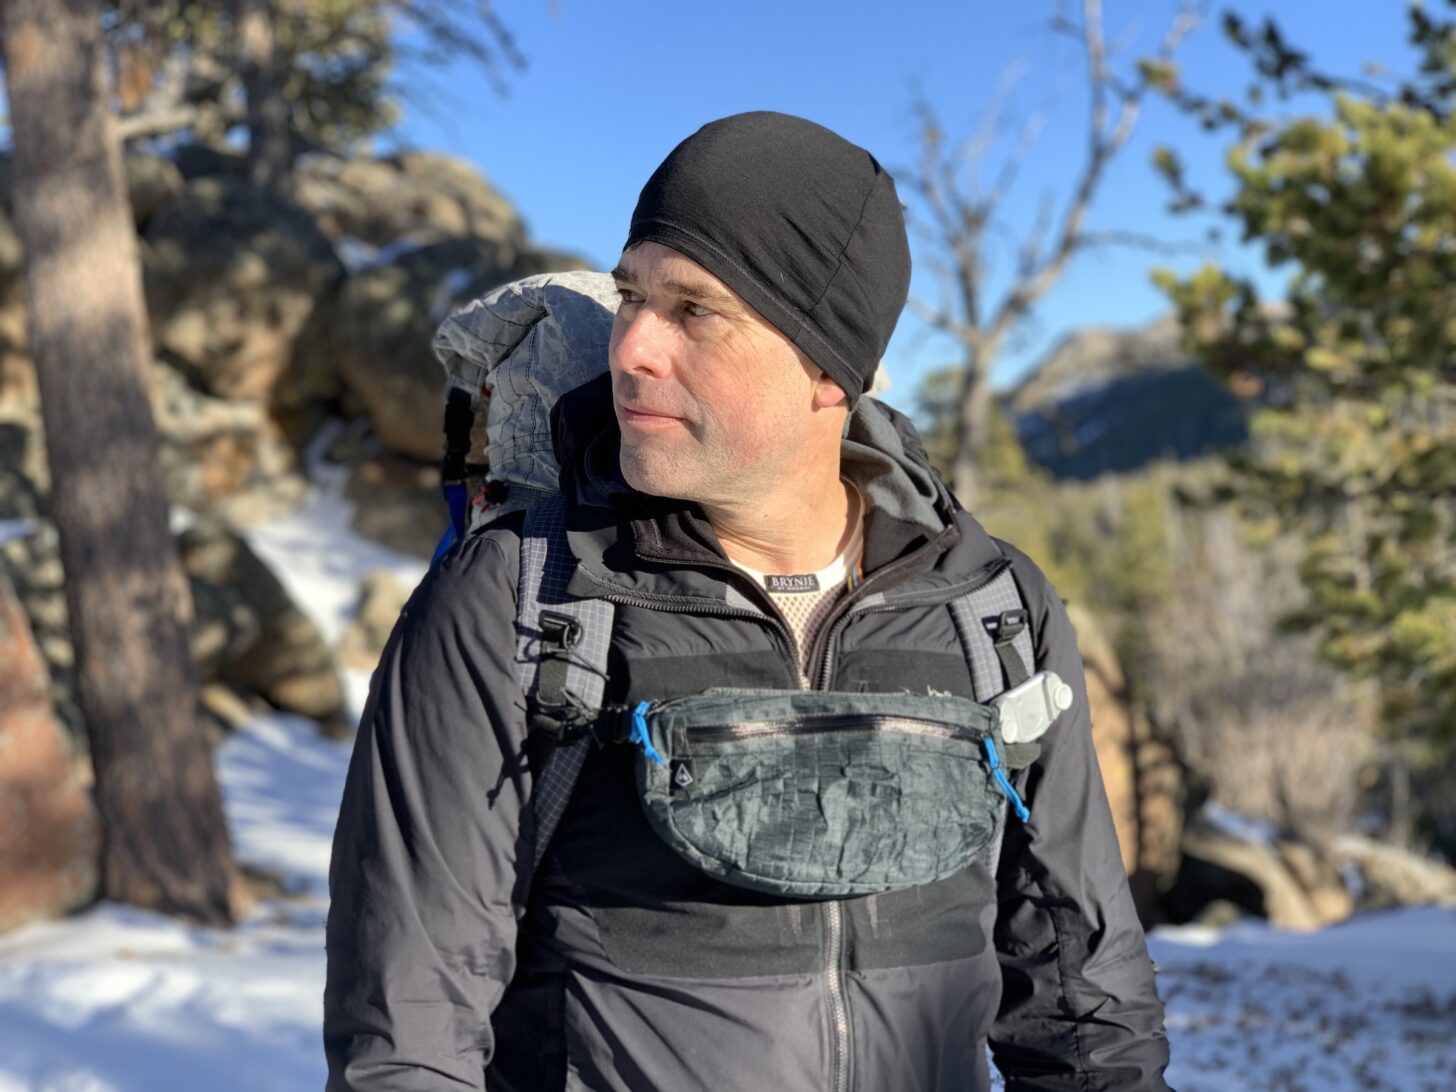
I spent most of the last decade studying the art of keeping gear accessible while on the trail, and tested so many varieties of pack-attached and standalone accessory pockets and pouches that my 40-liter storage bin containing these accessories was at one point overflowing. I finally settled on a Hyperlite Mountain Gear Versa Pouch (🎯). For me, it’s just the right size, has just the right amount of internal partitioning and organization options, is waterproof enough for my needs, and is light enough. I use mine to house the supplies I need regularly on the trail, as well as enough emergency gear to allow me to survive if I get separated from my backpack on a river crossing. I wrote extensively about how I use this in my recent article on the subject of accessory pouches.
ZPacks Water Bottle Holder
I’m not a fan of hydration bladders, drinking through a squeeze filter, dislocating a shoulder to access a water bottle pocket on the side of my pack, or stopping just to take a drink of water from my bottle. Shoulder-strap attached water bottle pockets that hold a smartwater bottle are perfect for me. I usually only use one (the other shoulder strap is usually reserved for my bear spray). I prefer a pocket with cylindrical structure (rather than a stretch pocket) to make access easier. The ZPacks Water Bottle Holder is light and perfectly sized for my favorite on-trail bottle – a 20-ounce smartwater bottle.
Other Packing Systems
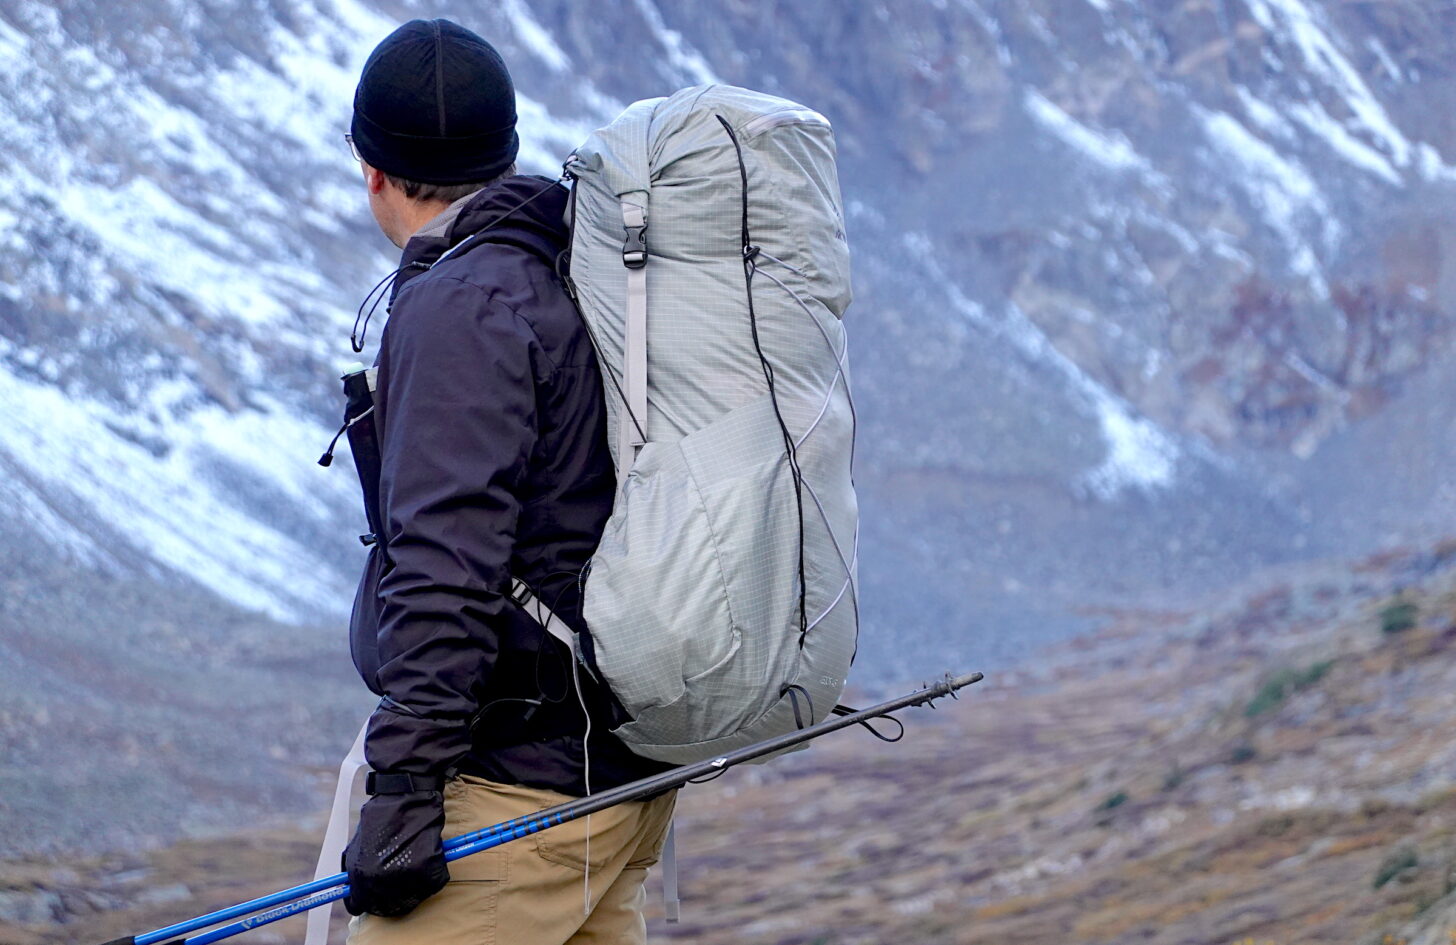
I’ve also been testing an Arc’teryx Aerios 45 Backpack this year. I’m intrigued, but I’m not a fan of the shape – it’s a little bulbous when packed to the hilt. That may be something that just comes out when someone takes a photo of me wearing the pack. I don’t actually notice it when the load is less than 30 pounds or so. I love the body access zipper, thin daisy chains, roll-top closure, cord storage on the rear panel, shoulder strap config (running-style harness with great stretch pockets), and sort-of-easily-accessible side pockets. Not a fan of the hip belt buckle (it slips), but that’s solvable with a third-party upgrade.
Shelter Systems
Locus Gear Khufu DCF-B
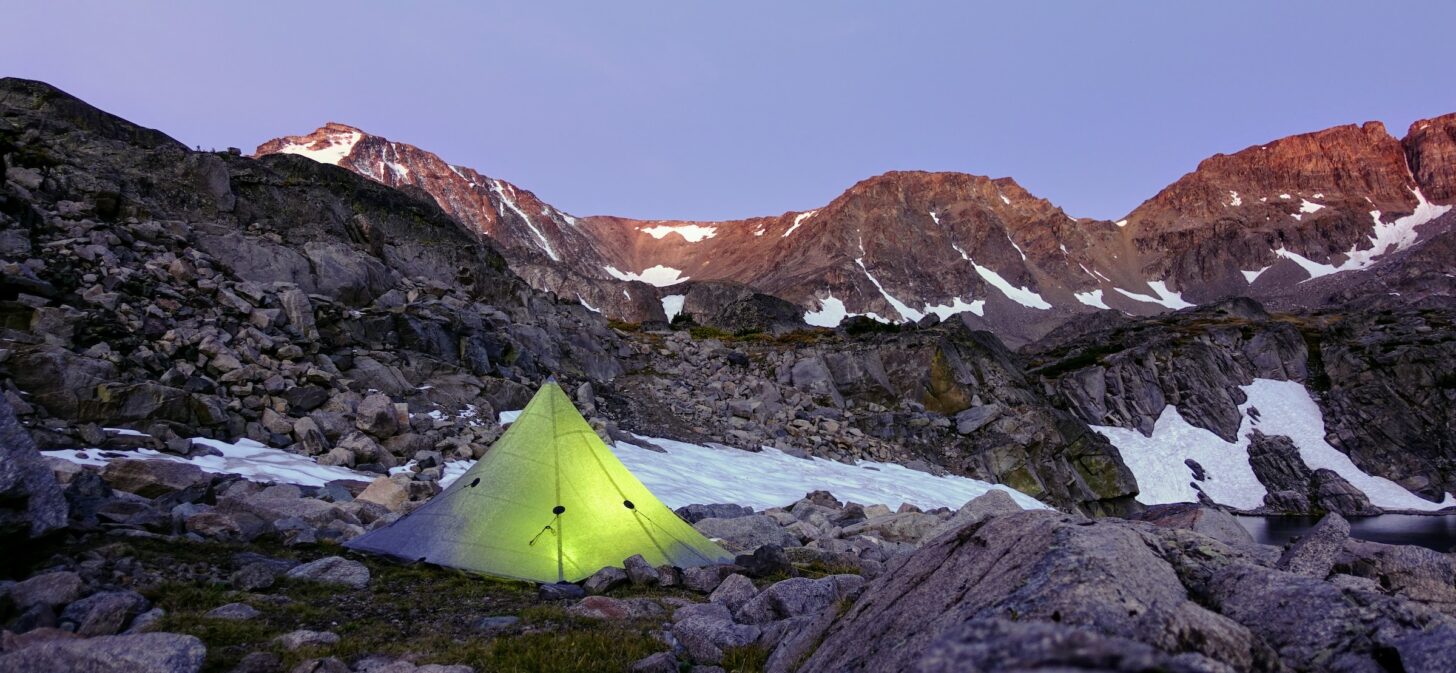
I’ve used Locus Gear shelters for more than twelve years, and this is my second. The Locus Gear Khufu DCF-B (🎯) has impeccable cut-and-(seam bonding) quality. Mine has no wrinkles whatsoever and is the most precisely-cut DCF shelter I own. For me, this is both a four-season shelter and an above-the-treeline shelter in all but winter blizzard conditions.
Tarptent Notch Li
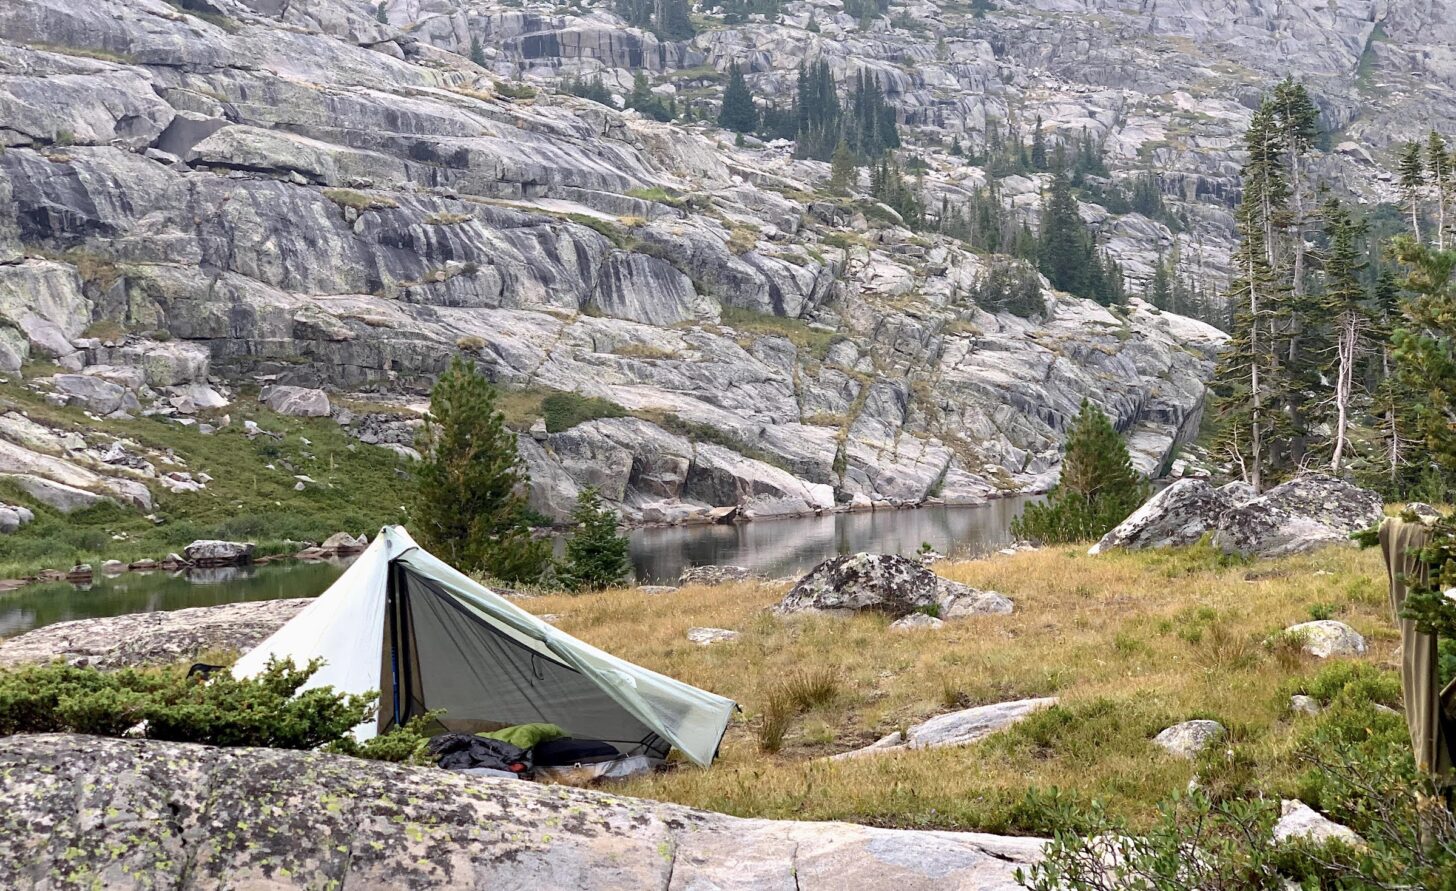
When I’m willing to accept a small weight penalty and need protection from bugs or better livability in rainy weather, I’ll opt for the Tarptent Notch Li (🎯). Dual vestibules and a mesh inner tent, a very easy pitch, and enough storm resistance for most 3-season conditions make this an extremely versatile shelter.
Hyperlight Mountain Gear Flat Tarp
I’m an avid tarp user. Using a tarp provides me with a creative outlet for seeking a more primal connection with nature. Pitching a tarp requires more time, skill, and energy than pitching either my Locus Khufu or Tarptent Notch. However, having open air around me with some overhead protection completely changes my wilderness experience. My tarp of choice is the Hyperlite Mountain Gear DCF Flat Tarp. I prefer flat tarps over shaped (e.g., catenary curve) tarps because they can be pitched in different configurations. I usually pitch my flat tarp in an A-frame, a hybrid A/lean-to, or prow configuration.
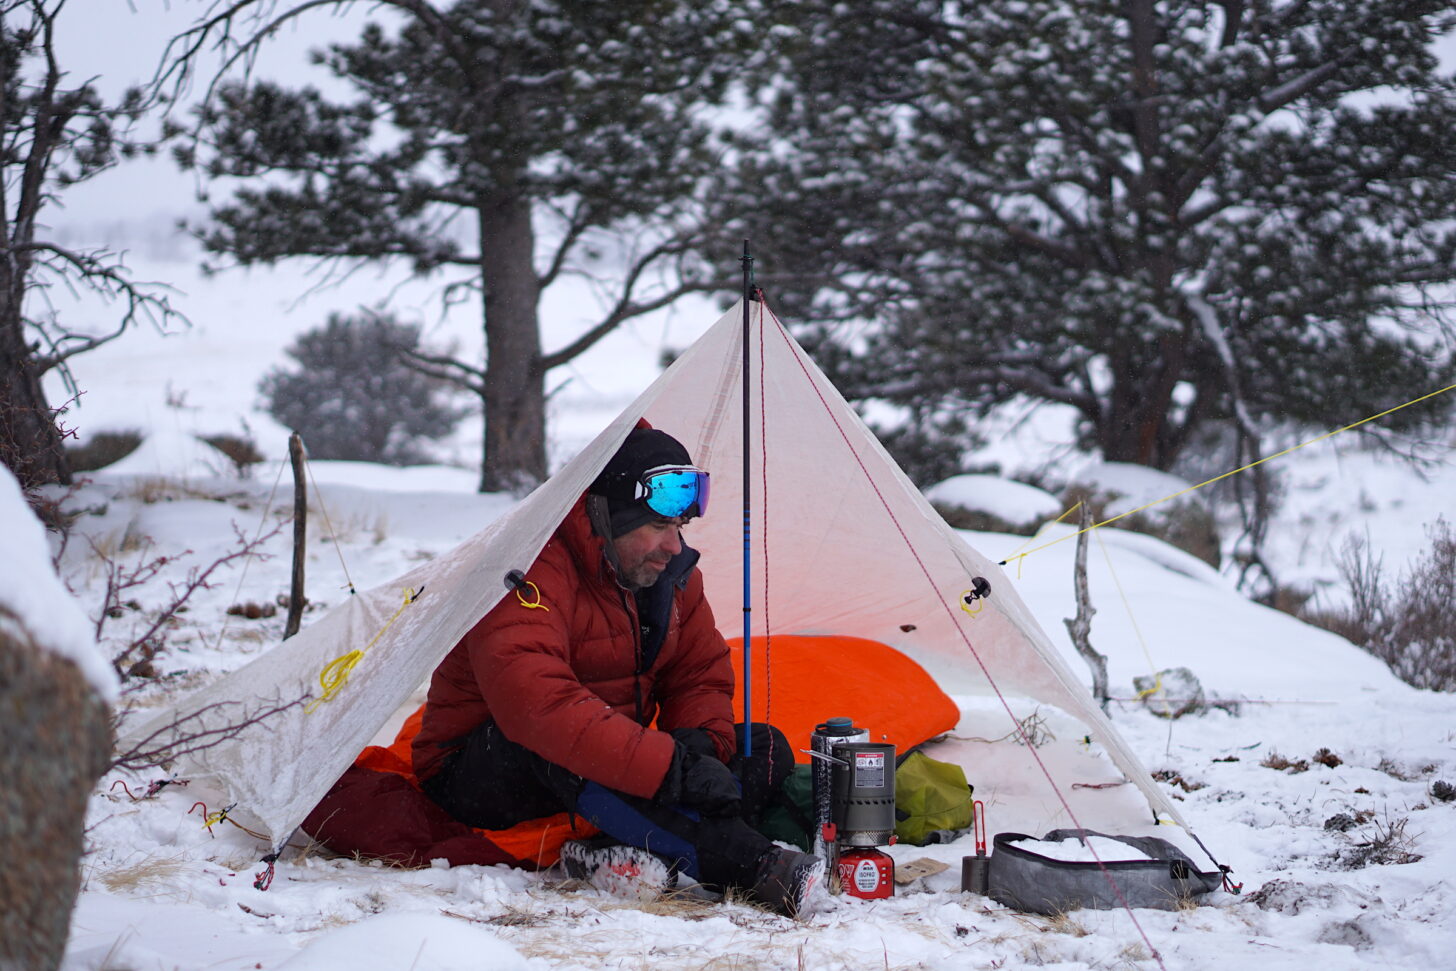
Other Shelter System Gear
On fastpacking trips when I’m trying to go as light as possible but still need an overhead shelter, I use a ZPacks Hexamid Pocket Tarp (⚡) for its lightweight and ease of pitch.
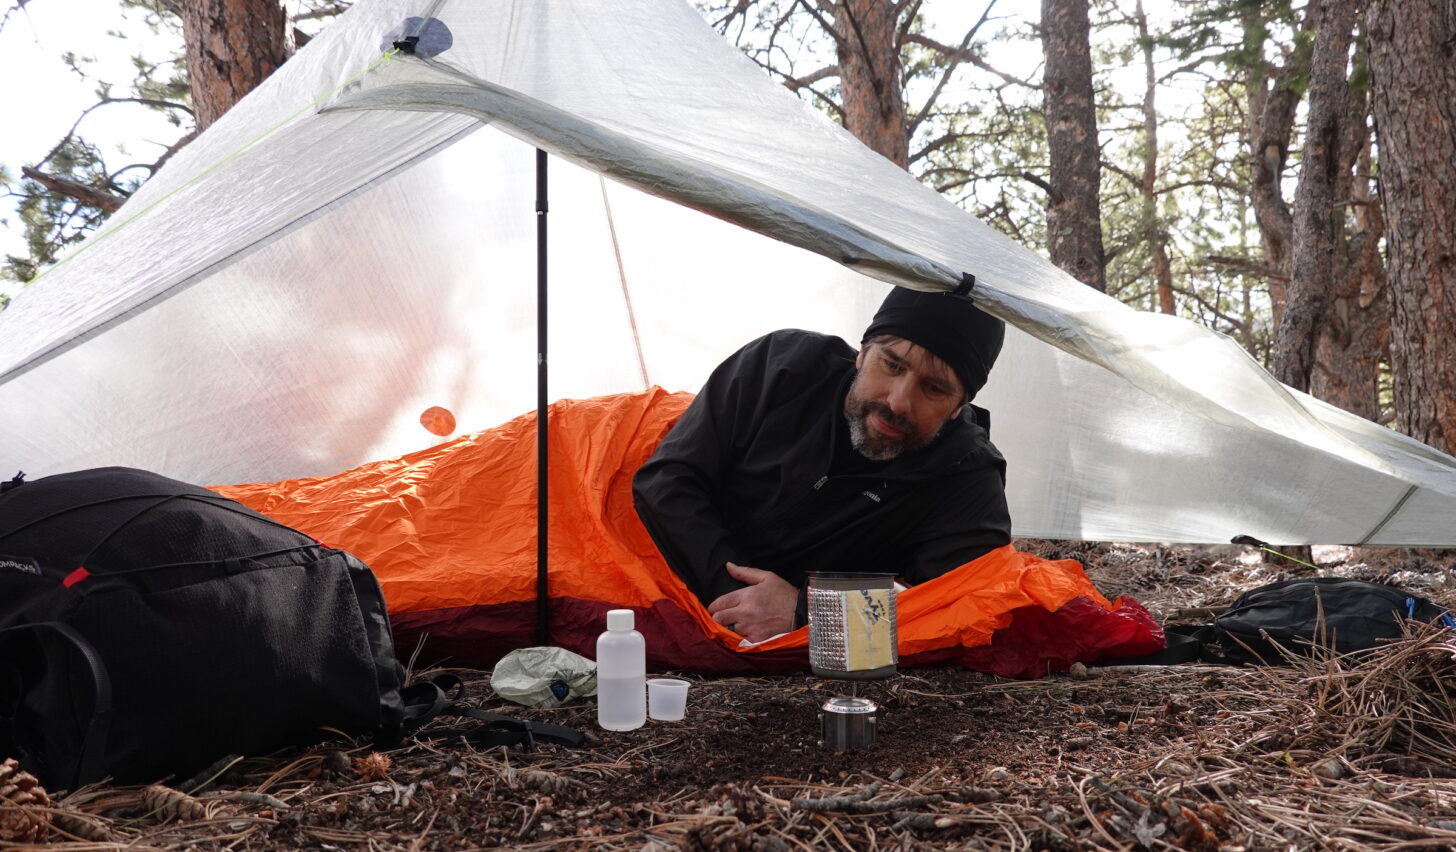
I use a variety of different stakes, including MSR Groundhog Tent Stakes (🎯) when I need absolute security, especially for larger shelters; titanium skewer stakes for incidental guylines that don’t bear high loads; MSR Carbon Core Tent Stakes (⚡)for most conditions I face with small shelters, and Vargo Titanium Nail Stakes (🎯) and an MSR Stake Hammer for frozen ground. I wrote about that frozen-ground use case earlier this year.
For other shelters, I use a Hyperlite Mountain Gear Ultamid 4 when I need to share a shelter with a fellow hiking pal; a Nemo Dagger 3P with my wife and dog; a Locus Gear Djedi (⚡) for alpine (above the treeline) mountaineering, or when I need a roomy shelter to hole up in during extended rain; and an MSR Advance Pro Bivy Sack when minimalism is on the menu.
Sleeping Systems
The Feathered Friends Tanager 20 CFL is my favorite 3-season sleeping bag. It’s a simple hoodless, zipperless tube with an even distribution of down throughout its horizontal baffling. I can cinch up the collar, roll around, and not have to worry about cold spots. I’ll combine it with an Enlightened Equipment Enigma Apex Quilt (⚡). Otherwise, my summer bag is the now-discontinued Katabatic Gear Chisos 40 Quilt. I’ve owned this for several years and appreciate the quality of construction and attention to detail. My son Chase uses the slightly more insulated Palisade 30, which is probably a better choice for the mountains during the summer.
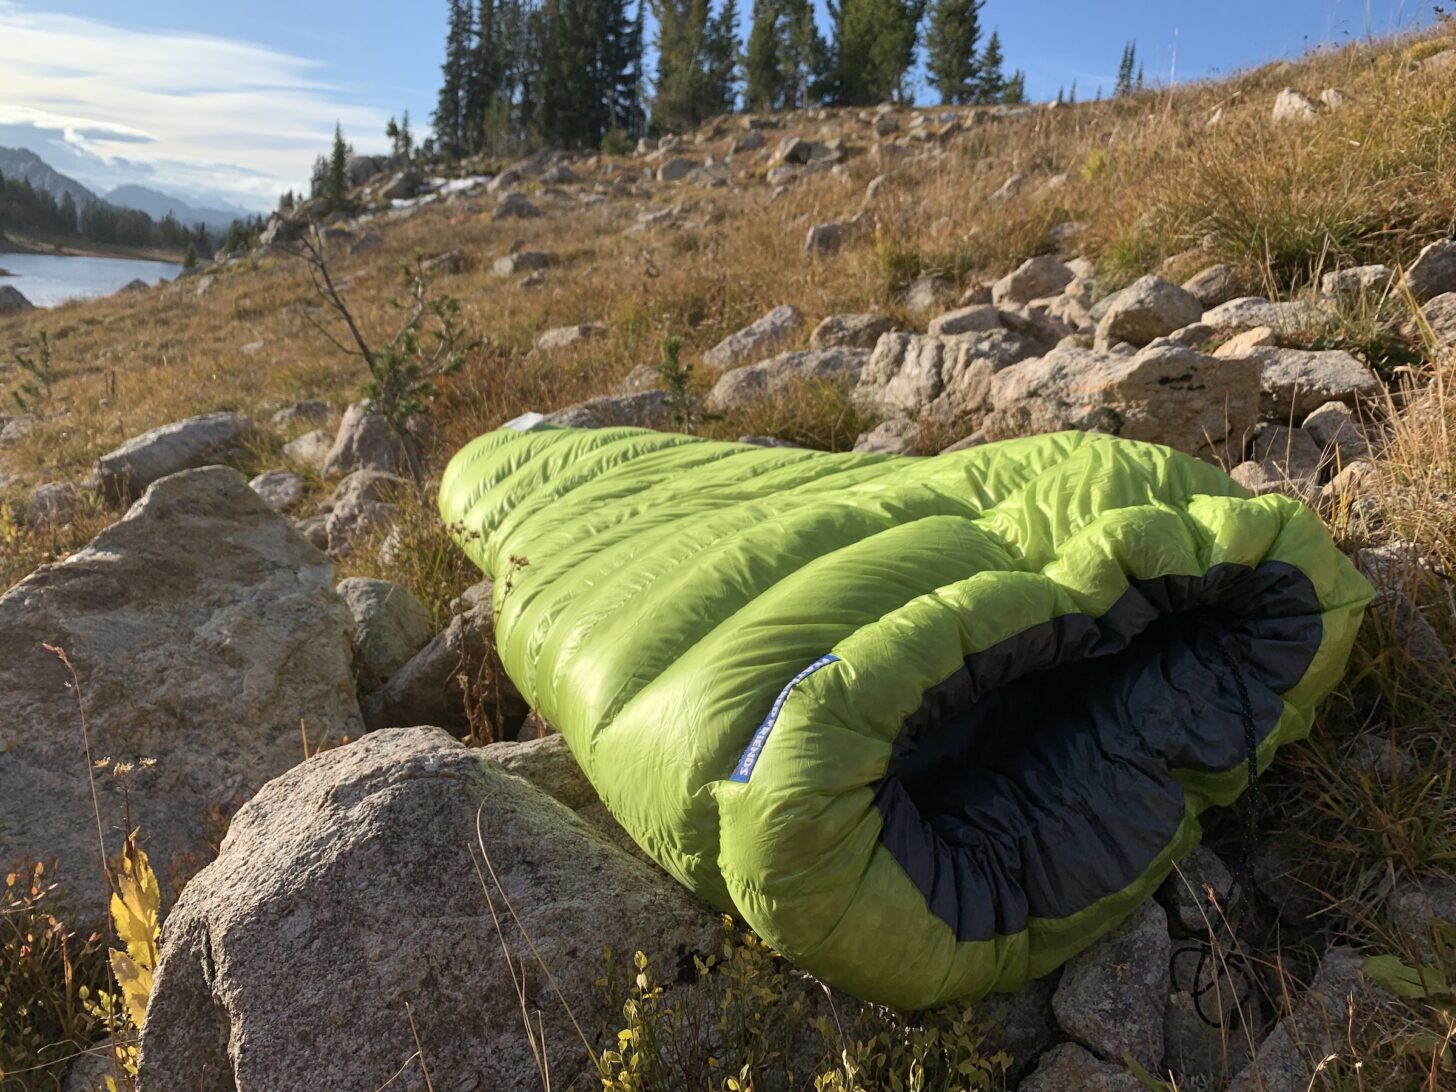
For comfort, I use a Nemo Equipment Tensor Insulated Pad. I’m not a big guy, but I opt for the wide version of the pad so I can lie on my back and keep my arms on the pad, or lie on my side and scissor my legs without having them hang off the pad. The wide pad adds so much to my comfort! My favorite feature of this pad is its stability, a result of a high density of welded baffles arranged in a grid – much better than either horizontal or vertical tubes.
I’ll add a Gossamer Gear Thinlight pad underneath the Tensor for sleeping on snow. For alpine mountaineering when I need a failsafe (non-puncturable) solution, I still opt for a 1.5-cm thick Zotefoams Evazote pad (🎯), which for several years, has maintained its thickness, easily outlasting a Therm-a-Rest Z-Rest.
Rainwear
I recently wrote about rain jackets here, where I advocated for replacing ultralight, minimally-featured jackets with options that have better ventilation when you are expecting sustained rain. In that context, the jacket I’ve used the most is the Enlightened Equipment Visp (⚡). For mountaineering, heavy bushwhacking, or routes with lots of Class 3+ scrambling, I’ll opt for a more durable jacket (Arc’teryx Beta LT 🎯), the latter of which I’ve used for more than five years with heavy abuse in the mountains. Caveat: I take very good care of my rainwear, laundering them and restoring their DWR regularly.
If I don’t need either ventilation or durability, and the jacket is a just-in-case item that spends most of its time in my pack, my favorite option is the now-discontinued Montane Minimus 777 Pull-On but the Rab Phantom Pull-On Jacket (⚡) has served just fine for intermittent use.
For sub-freezing temperatures where the precipitation isn’t as wet, the Paramo Velez Smock is hard to beat for all-around comfort, because of its cozy lining and terrific ventilation.
I own two sets of rain pants: a pull-on model (ZPacks Vertice Pants) and a 3/4-length-side-zip model (Arc’teryx Zeta SL Pants). I pack and rarely wear the ultralight Vertice for most conditions that offer good weather forecasts, and the Zeta SL the rest of the time.
In deep winter, I rarely wear rain pants, and instead opt for a highly-breathable softshell pant (Arc’teryx Sigma FL Pants).
I’ve shredded more gaiters than I care to admit. I rarely wear gaiters in the summer and find them unnecessary outside of the desert. The only gaiters I own and use regularly anymore are the Outdoor Research Rocky Mountain High Gaiters, which I find to be the lightest high gaiter that’s durable enough for light mountaineering and bushwhacking. Combined with a mid-height waterproof-breathable trail running boot, they are indispensable for cold, wet conditions. Learn more in my Lightweight Footwear and Traction Systems for Snow Travel Webinar.

Insulated Clothing
My winter parka is still a Feathered Friends Helios Down Jacket. My ultralight down jacket is a Goosefeet Gear Custom Down Pullover (⚡) and is the jacket I pack for fastpacking trips when I know I’m not going to be spending much time hanging around camp outside of my sleeping bag at night.
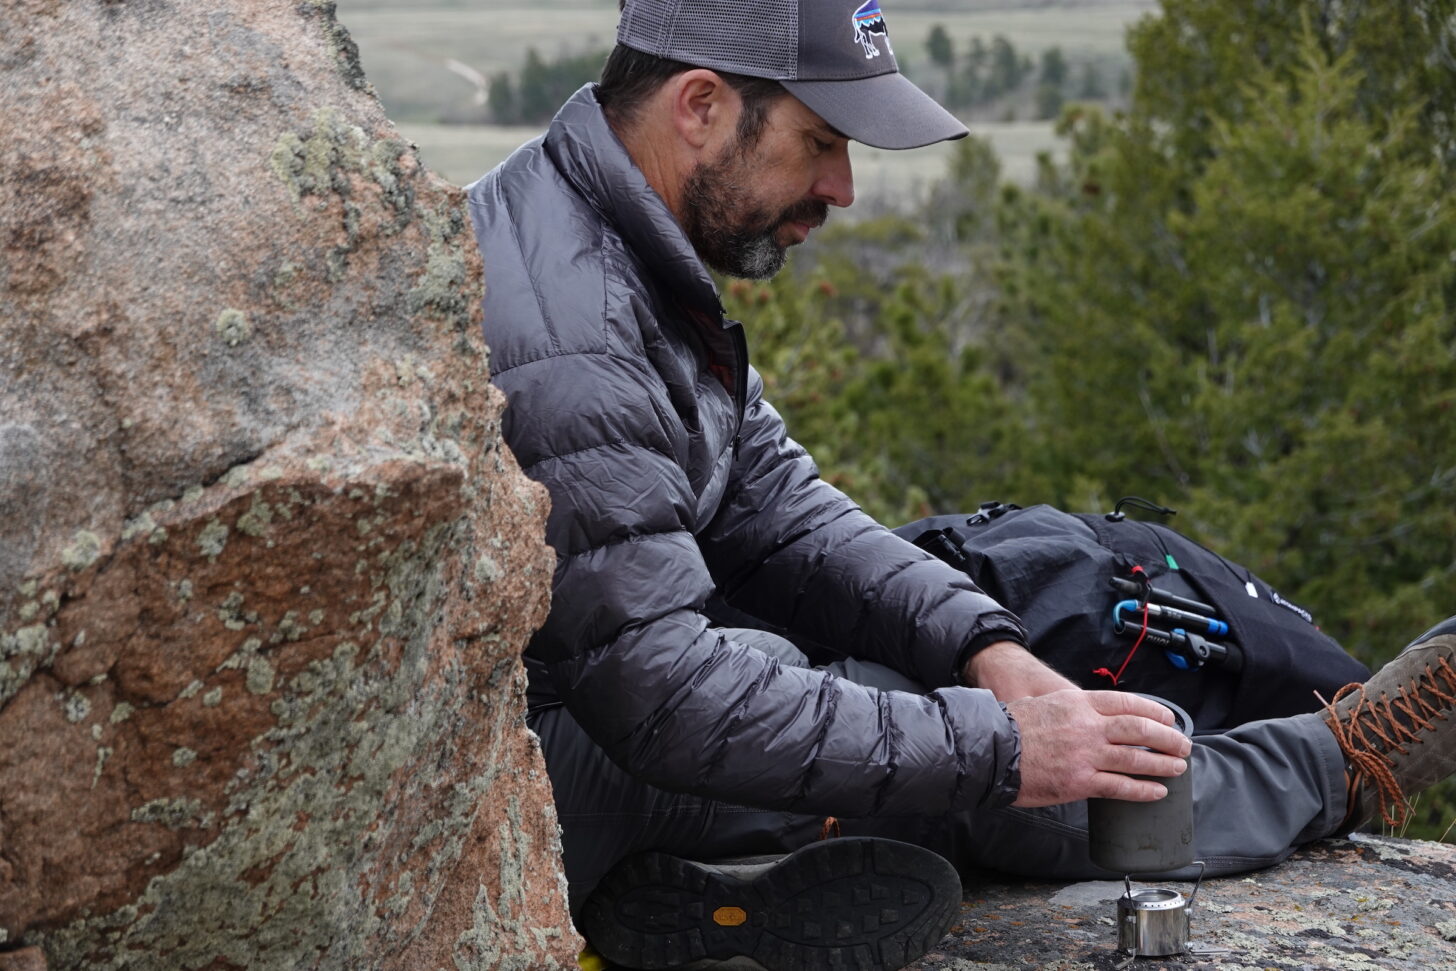
However, the two jackets I’ve used the most this year are the Enlightened Equipment Torrid Apex Pullover (⚡) and the PHD Yukon K Hoody.
I’ve been so impressed with the Enlightened Equipment Torrid Apex Pullover (there’s a full-zip jacket version as well). It’s warm, has a boxy enough fit to layer well over other clothing, and has a cozy hood and kangaroo pocket. This is the jacket I would design if I were a designer of ultralight gear. I’ve worn this jacket more than any other insulating piece this year, and the insulation has held up well – it’s retained more than 90% of its loft after more than 80 days of use this year.
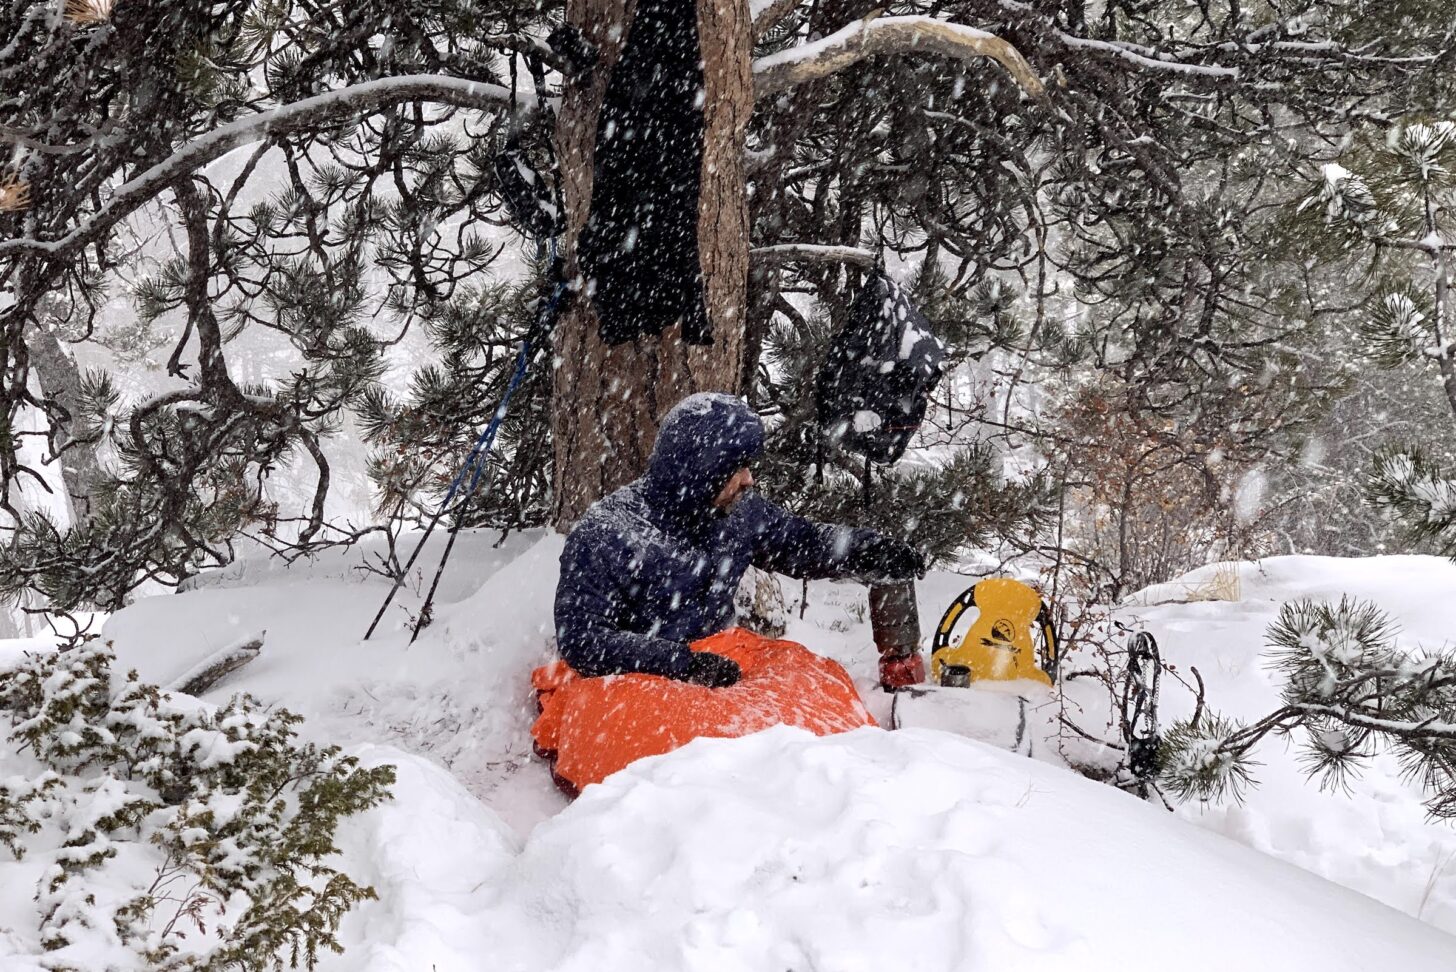
The PHD Yukon K Hoody is my preferred insulation when I’m trying to save as much weight as possible and I’m expecting temperatures below freezing. The warmth-to-weight ratio of the Yukon K is astounding, and I’ve never found a jacket as warm as the Yukon K at this weight. In many cases, it has replaced my Helios, which is getting dustier in my gear closet.
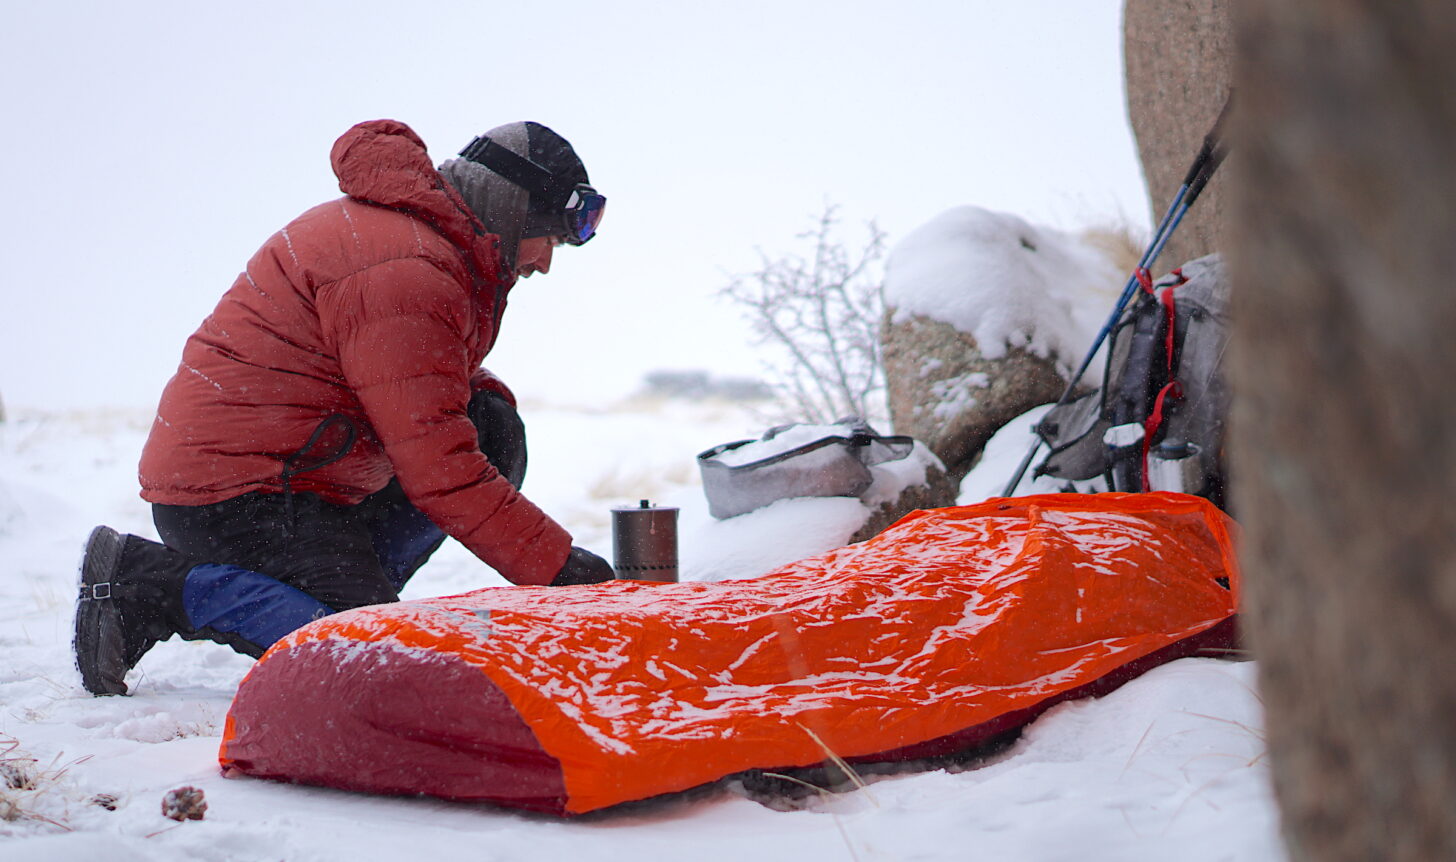
Base and Active Layers
My Brynje Super Merino Mesh T-Shirt is still my favorite winter base layer. It’s the only base layer I’ve ever worn that won’t get saturated regardless of my exertion level. I usually combine it with my favorite softshell, the Arc’teryx Proton FL Hoody, or the Smartwool 150 Hoody.
The Smartwool 150 Hoody is my primary base layer outside of bug season when it’s too warm to wear the Brynje shirt – which means I’ve worn the Smartwool 150 Hoody more than any other base layer this year. I was worried about the lack of zipper and loose hoody, but I’ve become quite fond of this simple design. This was one of my Staff Picks this year.
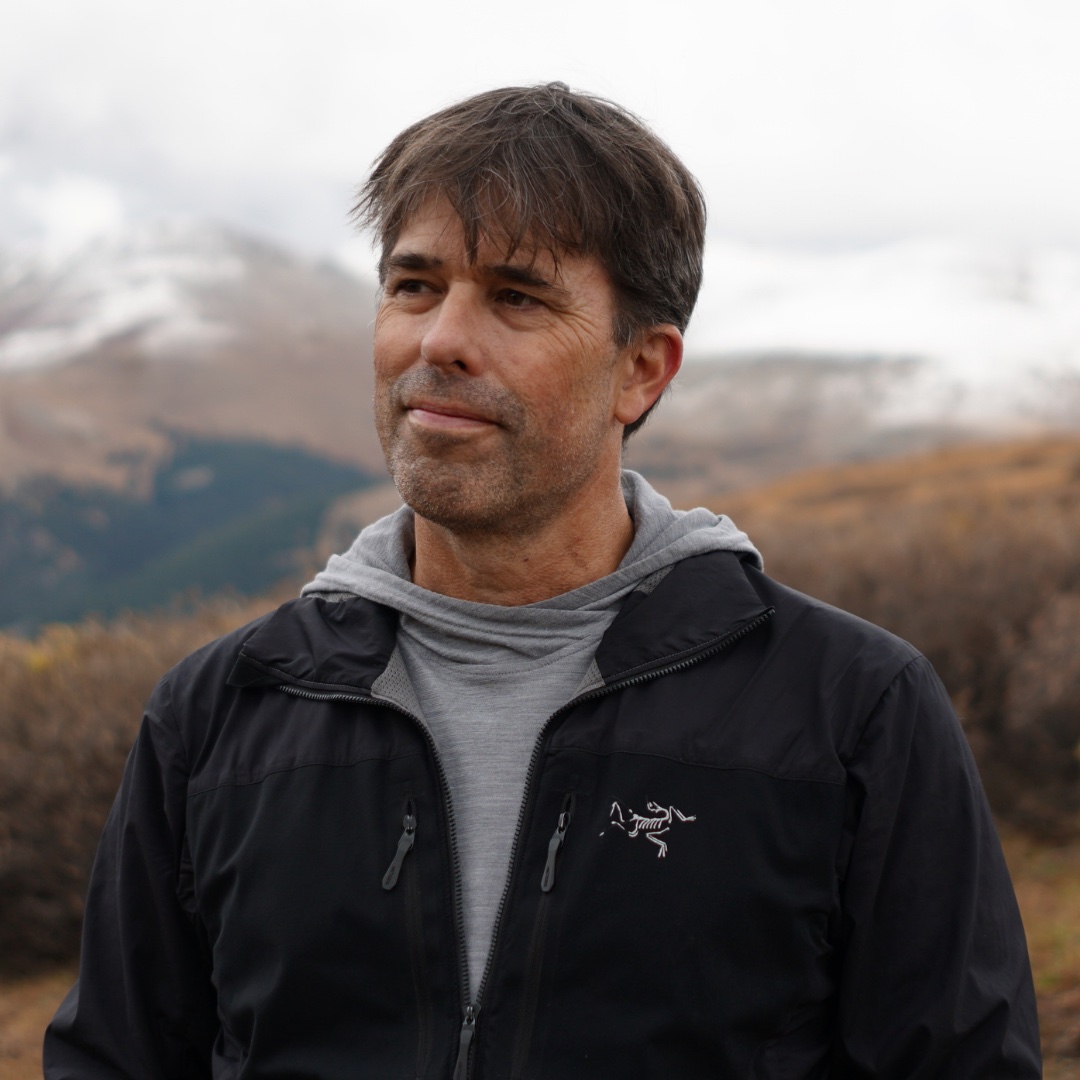
A new layer for me this year is the Senchi Designs Wren Hoodie (⚡). It’s made of the lightest version of Polartec Alpha Direct. Combined with a rain shell, this two-layer system is my favorite for hiking in cold rain, and is more comfortable than any other wet-weather system I’ve tried.
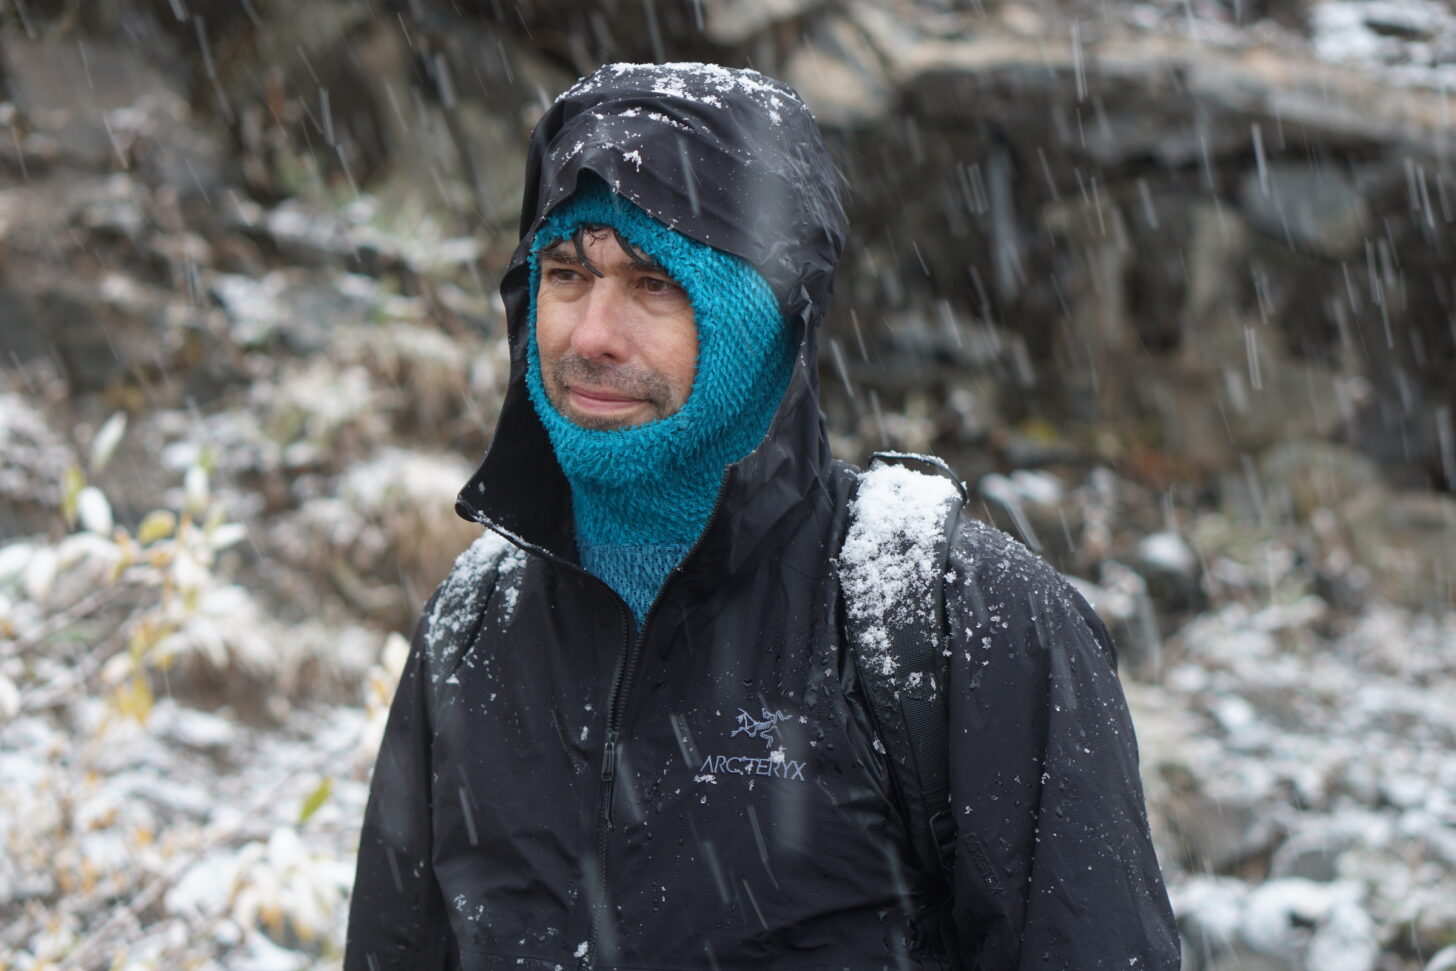
My now-discontinued Patagonia Lightweight Capilene long john bottoms finally blew the crotch early this year, so I dug out a pair of Montbell Super Merino LW Tights from the closet. These are my primary bottom base layer, and are a good reminder why I love wool. Even if Patagonia brings back their old design, I probably won’t find the one-ounce weight savings worth the loss in comfort.
As for wind shirts, in spite of all that we’ve published suggesting that there’s not a lot of difference between the MVTR of wind shirts and rain jackets, I’m still a fan. My favorite wind shirt is the Patagonia Houdini Air (full-zip, hooded), and it goes with me on most trips. The primary benefit for me is purely tactile – it just feels less restrictive than a rain jacket, and worn over a soft base layer like my Smartwool 150 Merino Hoody or the Senchi Designs Wren, makes for an astoundingly comfortable 2-layer system for the cold, dry, windy weather that’s the dominant theme where I hike.
Learn more about layering systems in our recent Layering Q&A Livestream (recorded video included).
Handwear
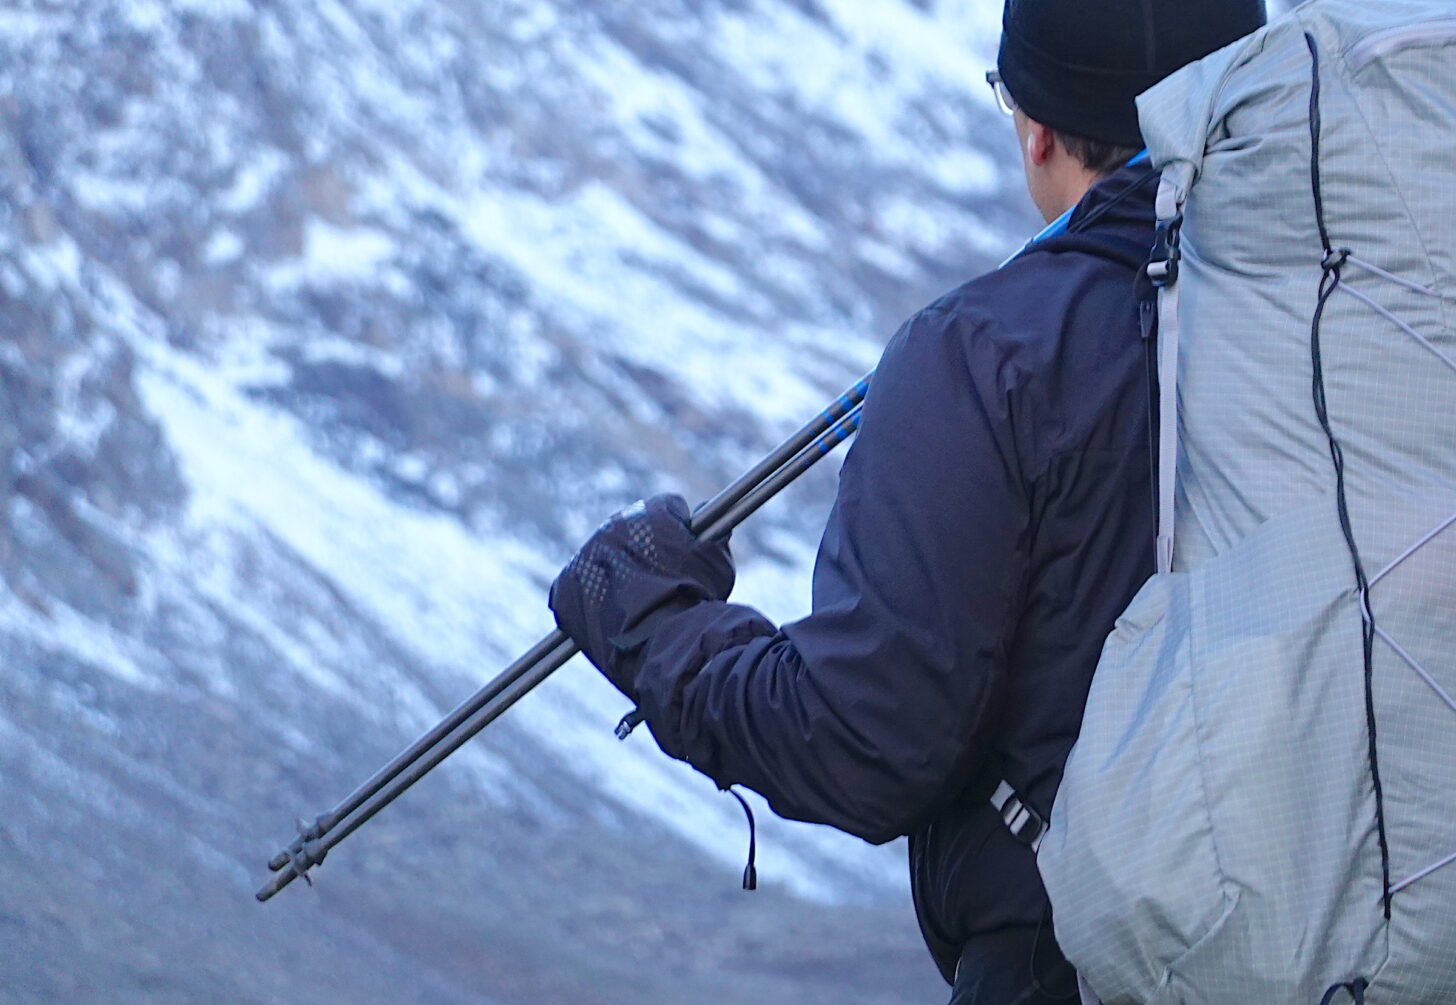
Last year I reviewed the Outdoor Research Flurry Sensor Glove and the same pair has accompanied me on most of my mountain trips this year as well. They are showing very little signs of wear outside of a few fingertips, but this hasn’t impacted their function at all (yet). Their hallmark features are warmth-to-weight ratio, hydrophobicity (resistance to wetting out from precipitation), and bicomponent construction that makes them soft and comfortable against the skin – and wind-resistant.
I outlined the rain mitt market in a recent gear guide, and the ones I found myself grabbing the most often this year include the Outdoor Research Revel Shell Mitts (for most 3-season trips in very wet weather), the REI Minimalist GTX 2.0 (my just-in-case mitten shell), and the Black Diamond Waterproof Overmitts (for backcountry skiing and snowshoeing in the winter).
Footwear & Traction Systems
Footwear and traction systems have been a huge focus of my research and study the past two years, resulting in the development of our Lightweight Footwear and Traction Systems Webinar, launching a new Minimalist Footwear Module in the Ultralight Backpacking Boot Camp online course, and the curation of footwear resources at Backpacking Light in our new Minimalist Footwear Trailhead.
The biggest change I made to my footwear system this year was in my choice of trail spikes. After testing both Kahtoola Microspikes and Hillsound Trail Crampon Pro traction devices side-by-side with the Black Diamond Distance Spikes last year, I made the switch full-time to the BD’s this year. They are lighter, have shorter spikes that don’t interfere with walking on bare ground, and a terrific soft-shell toe cover that keeps my shoelaces from icing up in very cold temperatures.
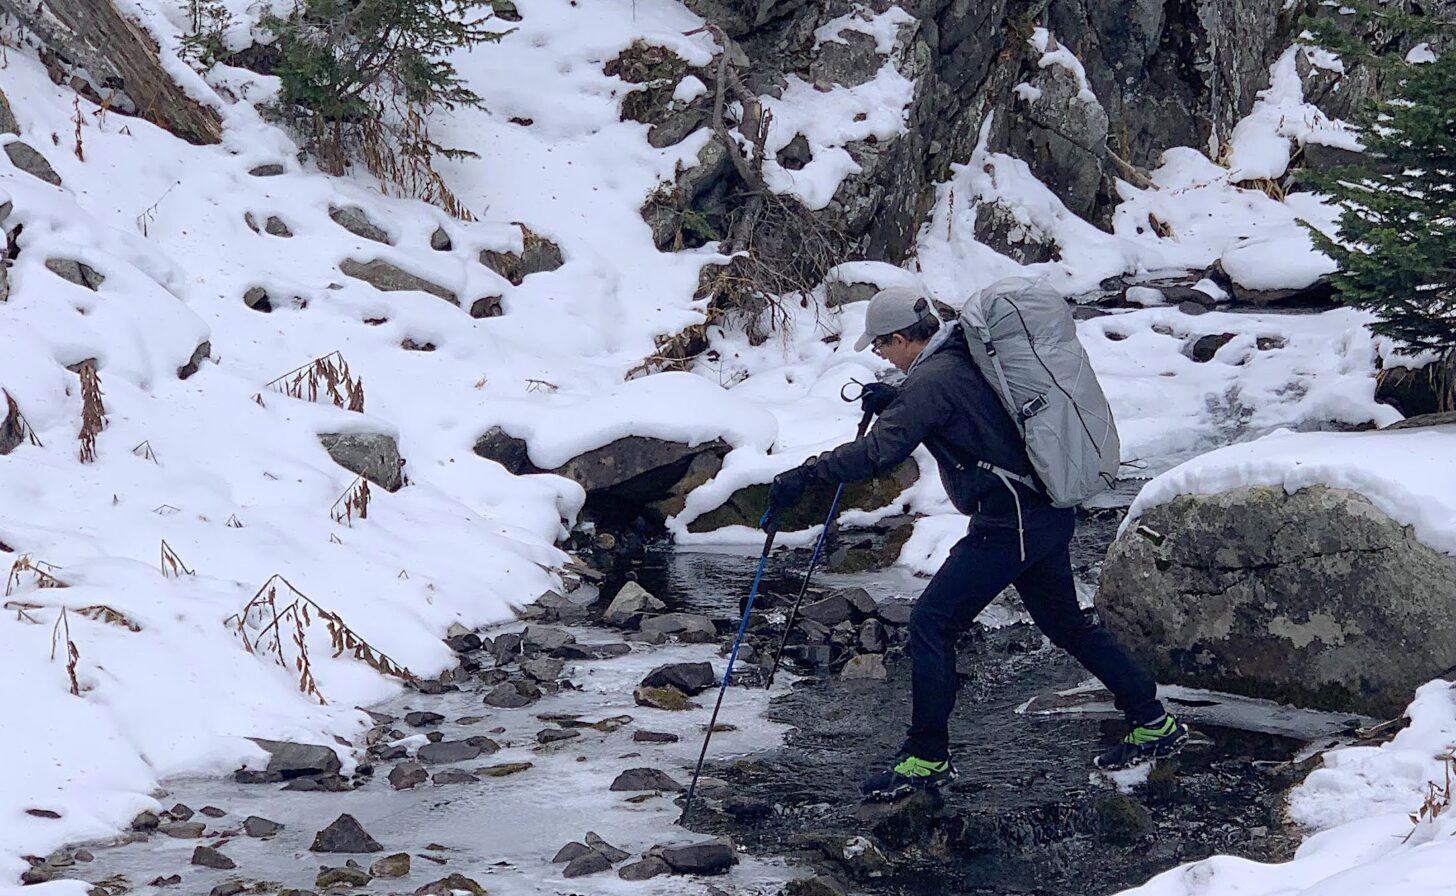
Otherwise, the La Sportiva Akyra continues to be my go-to shoe for most off-trail trekking, and the Scarpa Zen Pro (🎯) stays in my quiver for mountain travel requiring substantial amounts of Class 3-4 terrain.
Few things have changed for me with respect to keeping my feet warm and dry in very cold and wet conditions, and the staples of my system still include Hoka Speedgoat GTX Mids (🎯), Outdoor Research Rocky Mountain High Gaiters, and Rocky Gore-Tex Socks. I add Forty Below Light Energy TR Overboots for snowshoeing when the temperature is in the teens (F) or colder.
The most notable change to my traction systems this year is in the area of trekking poles. After having broken so many pairs of ultralight carbon fiber poles through the years, I got fed up and switched to Black Diamond Alpine Carbon Cork poles, which have served me well for several years without damage. This year, I stumbled across the Black Diamond Distance Trail Running Poles (🎯), which are thin, stiff, and strong. I’ve abused them on nearly every non-winter trip this year, and they’ve held up great. They are light and balanced and swing better than any trekking pole I’ve ever used. Another Staff Pick for me this year.
Cooking Systems
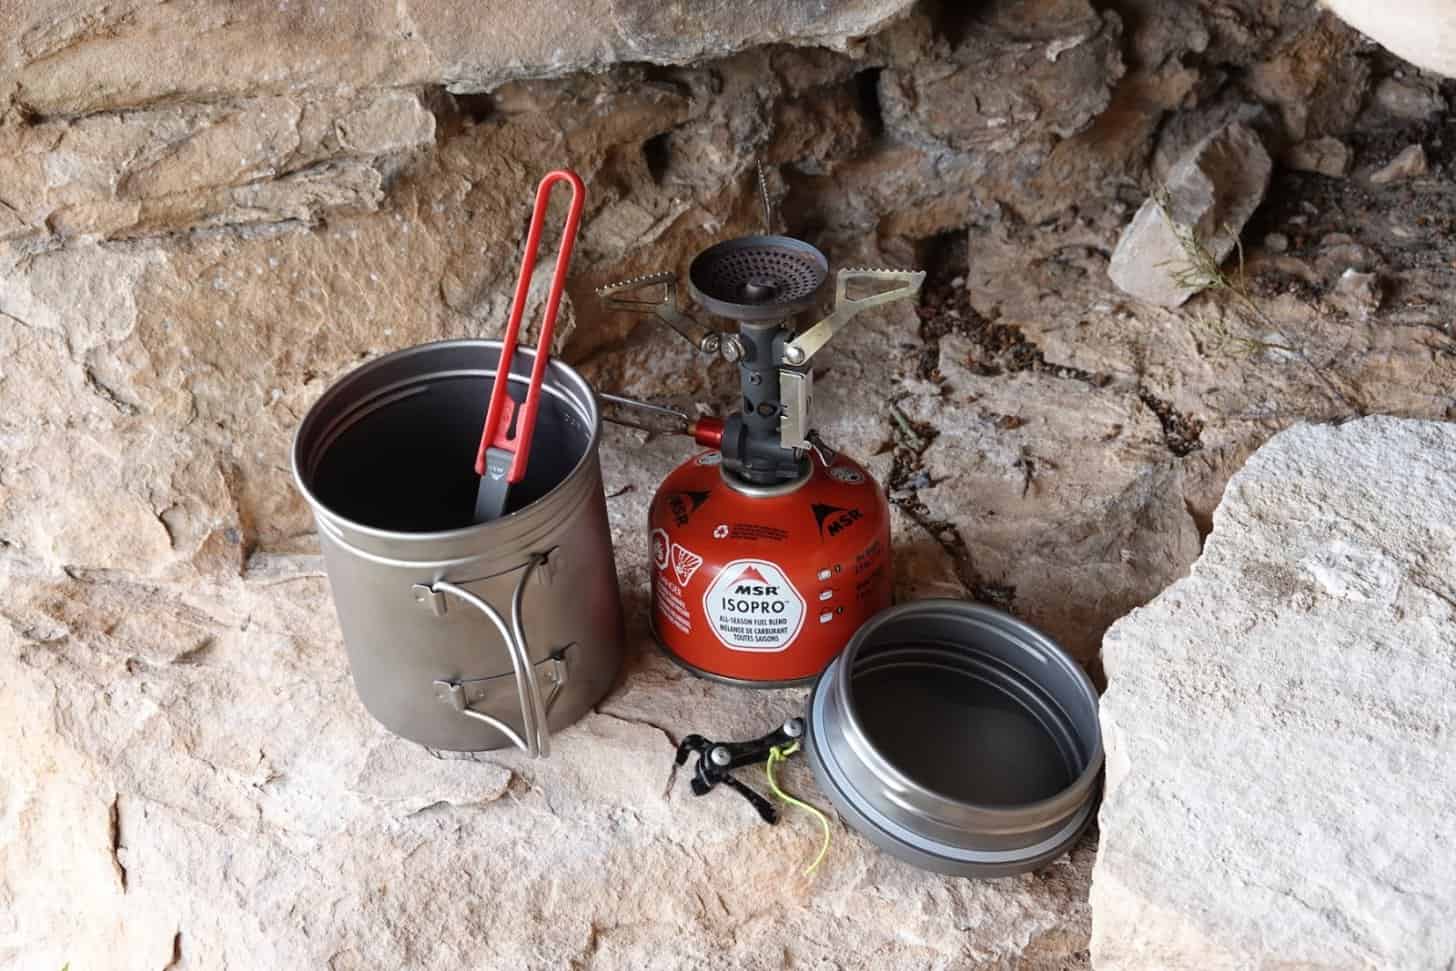
My primary cooking system consists of an MSR Pocket Rocket Deluxe (🎯), a Vargo Titanium Bot 700 (🎯), an MSR Folding Spoon, and a Snowpeak HL 200 Double-Walled Titanium Mug (🎯). This is the same system I’ve been using for a few years. It’s built around my primary cooking practice for summertime use – some cold-soaking, some cooking, and lots of coffee.
The MSR Reactor Stove (🎯) is my primary winter stove and has been for several years. Its hallmark features are its reliability, fast boil times, and ease of use while wearing mittens.
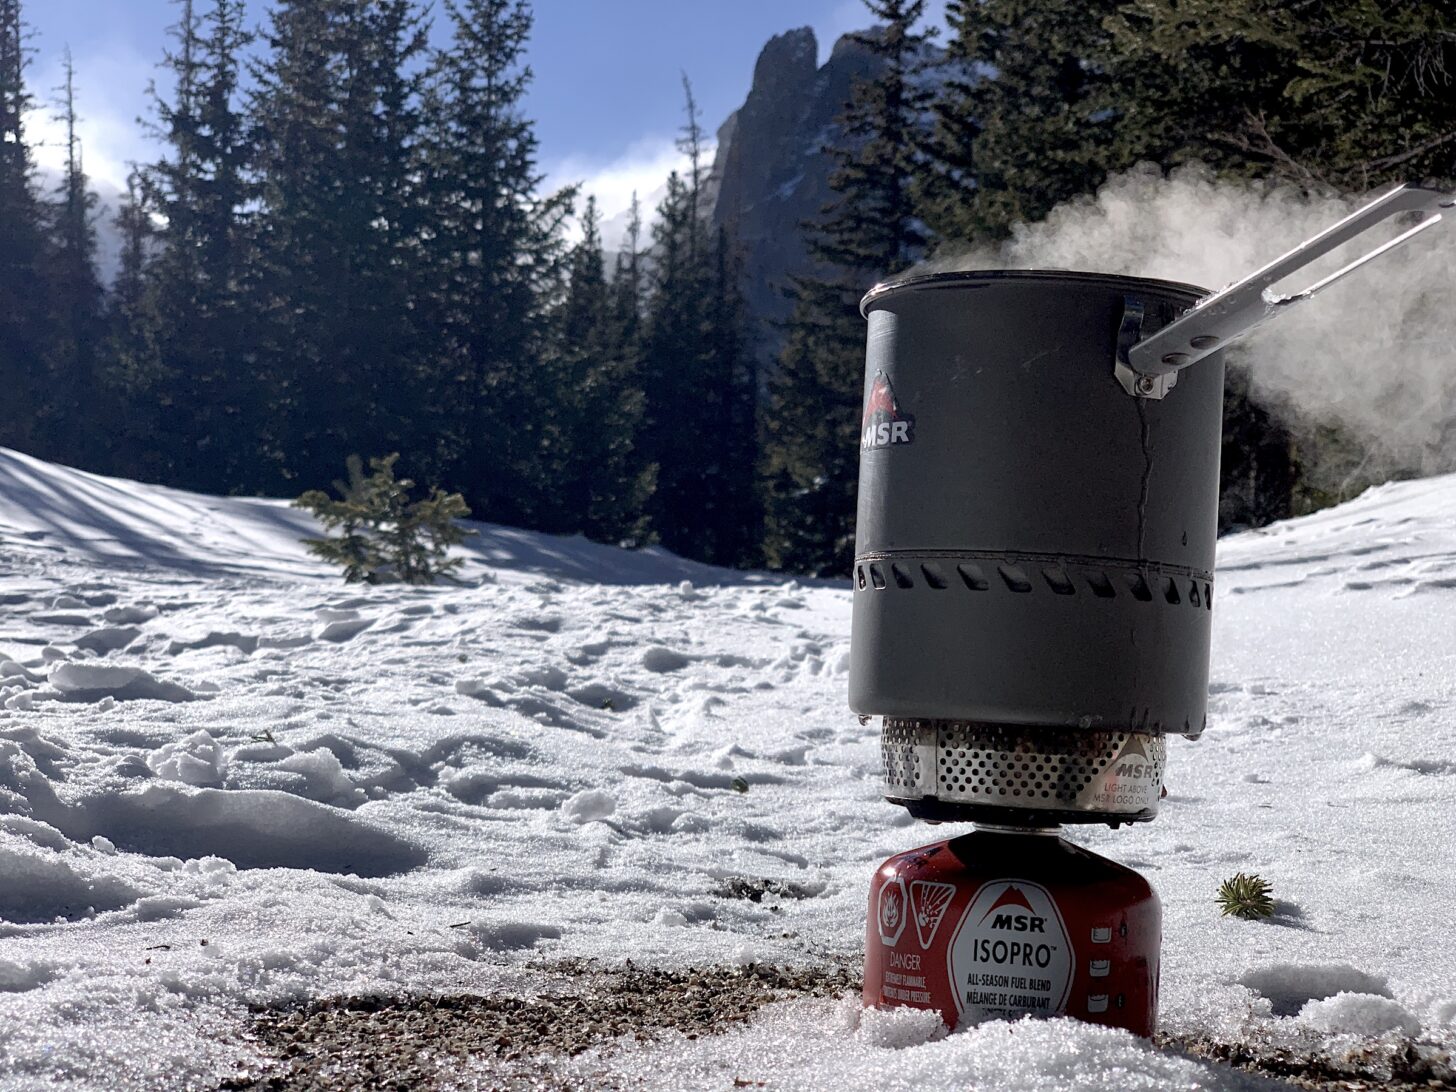
New in my stove quiver this year is the Bushbuddy Mini (⚡). Due to wildfire restrictions, I found myself cooking with wood less frequently this year, but the Bushbuddy Mini Kit has been a joy to use when the opportunity has presented itself.
Hydration Systems
I spent quite a lot of time over the past two years performing side-by-side testing with hollow-fiber membrane squeeze filters, including the Katadyn Befree Filter, the Platypus Quickdraw Filter (new this year), the Sawyer Squeeze, the Lifestraw Flex, and the Hydroblu Versa. Some of what I learned about their performance was published recently in this test report about backflushing and storage practices for squeeze filters. Long-time readers here know that I’ve had good success with the Befree. The Platypus Quickdraw has also earned my respect, mainly for its ergonomics. It hasn’t yet unseated the Befree in the quest to become my main squeeze, so I plan to continue using both next year until something bad happens with one of them.
As for gravity filters with groups, I started using Lifestraw, Platypus, and Befree gravity systems last year to see if they’d trump my long-time favorite – the Rapidpure Trailblazer Gravity System (🎯). I’m still collecting data, but my observations are that the Rapidpure remains the best gravity system available with respect to maintaining flow rate in response to poor quality water and sub-freezing temperatures.
Otherwise, Aquamira (🎯) is still my first choice when I’m trying to save weight and bulk, and Aquatabs (🎯) are always in my emergency kit for supplemental treatment when I’m hiking in areas where stock grazing is allowed. This includes the sheepy areas of the Uintas, Wind Rivers, and Sawtooths.
I still own and use a Steripen Ultra, and it goes with me when I’m bringing a pot, but not a water bottle. Yep, that’s still a thing for me for trips where minimalism and simplicity, and flowing with nature, are the main goals.
For food storage, I use a Wild Ideas Expedition Bearikade (🎯) where a bear canister is required, and Ursack S29 Food Storage Bags (🎯) everywhere else. My Bearikade gets packed vertically in my SARC, but I’m becoming more tempted by backpacks that are intentionally designed with bear canisters in mind.
When I take an Ursack (most trips), I pack my food in Hyperlite Mountain Gear Pods and stuff the empty Ursacks into the dead air space in my backpack to fill it out a bit. Then, when I get to camp, the food (inside the pods) goes into the Ursacks, which of course, get tied to trees or chocked in talus.
Navigation, Electronics, and Software
I’ve made no major changes to my navigation, electronics, or software systems this year. To be honest, this was one of the most boring years on record when it came to innovation in these areas.
My iPhone remains my primary camera for the purpose of journaling, and the Sony RX100 still produces the most beautiful photographs of landscapes of any camera I’ve ever used in this weight class. I did upgrade to a GoPro Hero 10 Black (from v9) this year (for improved battery life), and that’s the camera I use when I’m shooting some types of educational videos or vlogging.
I keep close tabs on the satellite communicator market, and in spite of the introduction of Zoleo, the bizarre trajectory of the Bivy Stick, and the promise of an Apple phone with satellite capabilities, I still can’t make an argument for recommending any device other than the Garmin inReach Mini (🎯). In spite of its faults (which include complex software and systems integration that we try to help you with), it remains the most reliable and capable satellite communicator on the market. This year, it helped me keep tabs on the Seattle Mariners’ unexpected playoff run with family back home. Read my Garmin inReach Mini Review or learn how to become a power user in my Garmin inReach Masterclass.
The trek planning software I use the most includes Gaia GPS and Fatmap. In addition, I discovered The Dyrt this year, which helps me find unique and wild places to sleep without spending any money. I discuss how I use Gaia and Fatmap extensively in my trek planning masterclass.
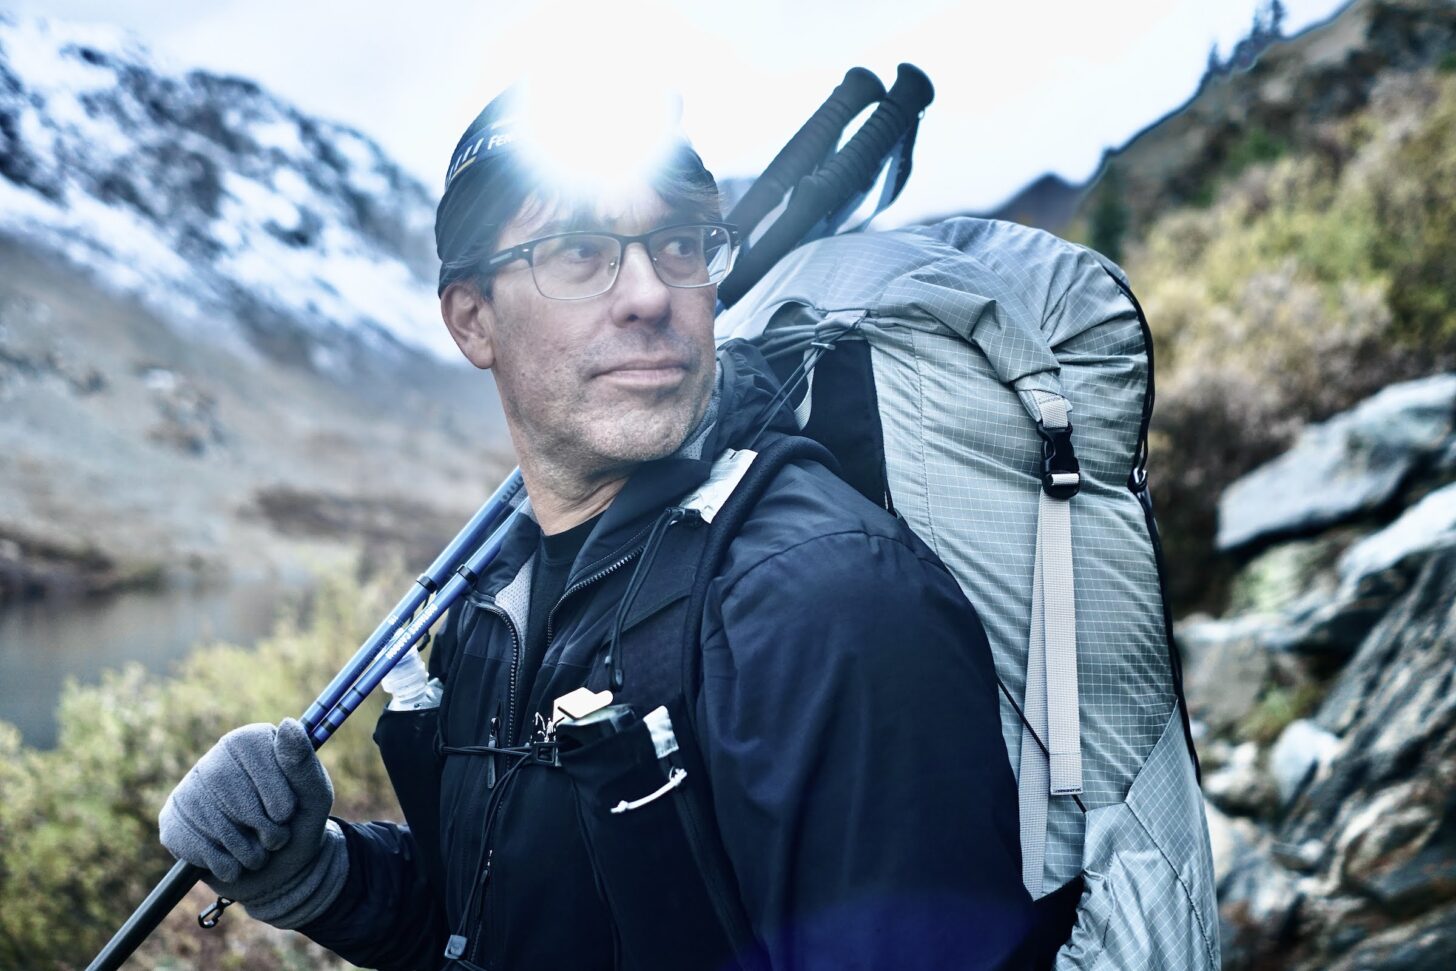
No changes to my headlamps. My favorites are the Fenix HM50 Headlamp (🎯) (most trips) and the Petzl Actik Core Headlamp (trips where I need a lot of bright light for nighttime navigation). I’ve experimented with other new headlamps introduced this year and have remained unimpressed by the (lack of) innovation in this category.
I’m a training data junkie, so the Garmin Fenix Watch, the Garmin Run Pro HRM, and Training Peaks Software are critical components of monitoring my training. I’m currently using a Garmin Fenix 5X Plus, which has since seen upgrades to versions costing nearly a thousand dollars (e.g., the Garmin Fenix 6X Pro Solar). I picked one up at REI, tested it, and returned it. The upgrades are minor and made little difference to the quality of the data I collected, battery life, or field usability. Maybe next year.
New to my training quiver is Whoop. Adding sleep quality tracking and additional recovery metrics has been fascinating, insightful, and helpful to me. Continuous tracking of HRV has transformed my training this year and helped me focus on the practices that improve my recovery after hard workouts, including more and better sleep, meditation, drinking less alcohol, and eating better. I can measure the impacts of all of these things quite predictably with Whoop, and it blows my mind.
Accessories
I don’t pack a camp chair on every trip, but I almost always wish I did. When I do pack a chair, it’s the REI Flexlite Air Chair (🎯), which I wrote about extensively in this review and was featured in this gear guide. I broke my back in 2005, and the chair is absolutely critical to my rest and recovery if I have to spend any length of time in camp in the evenings or mornings.
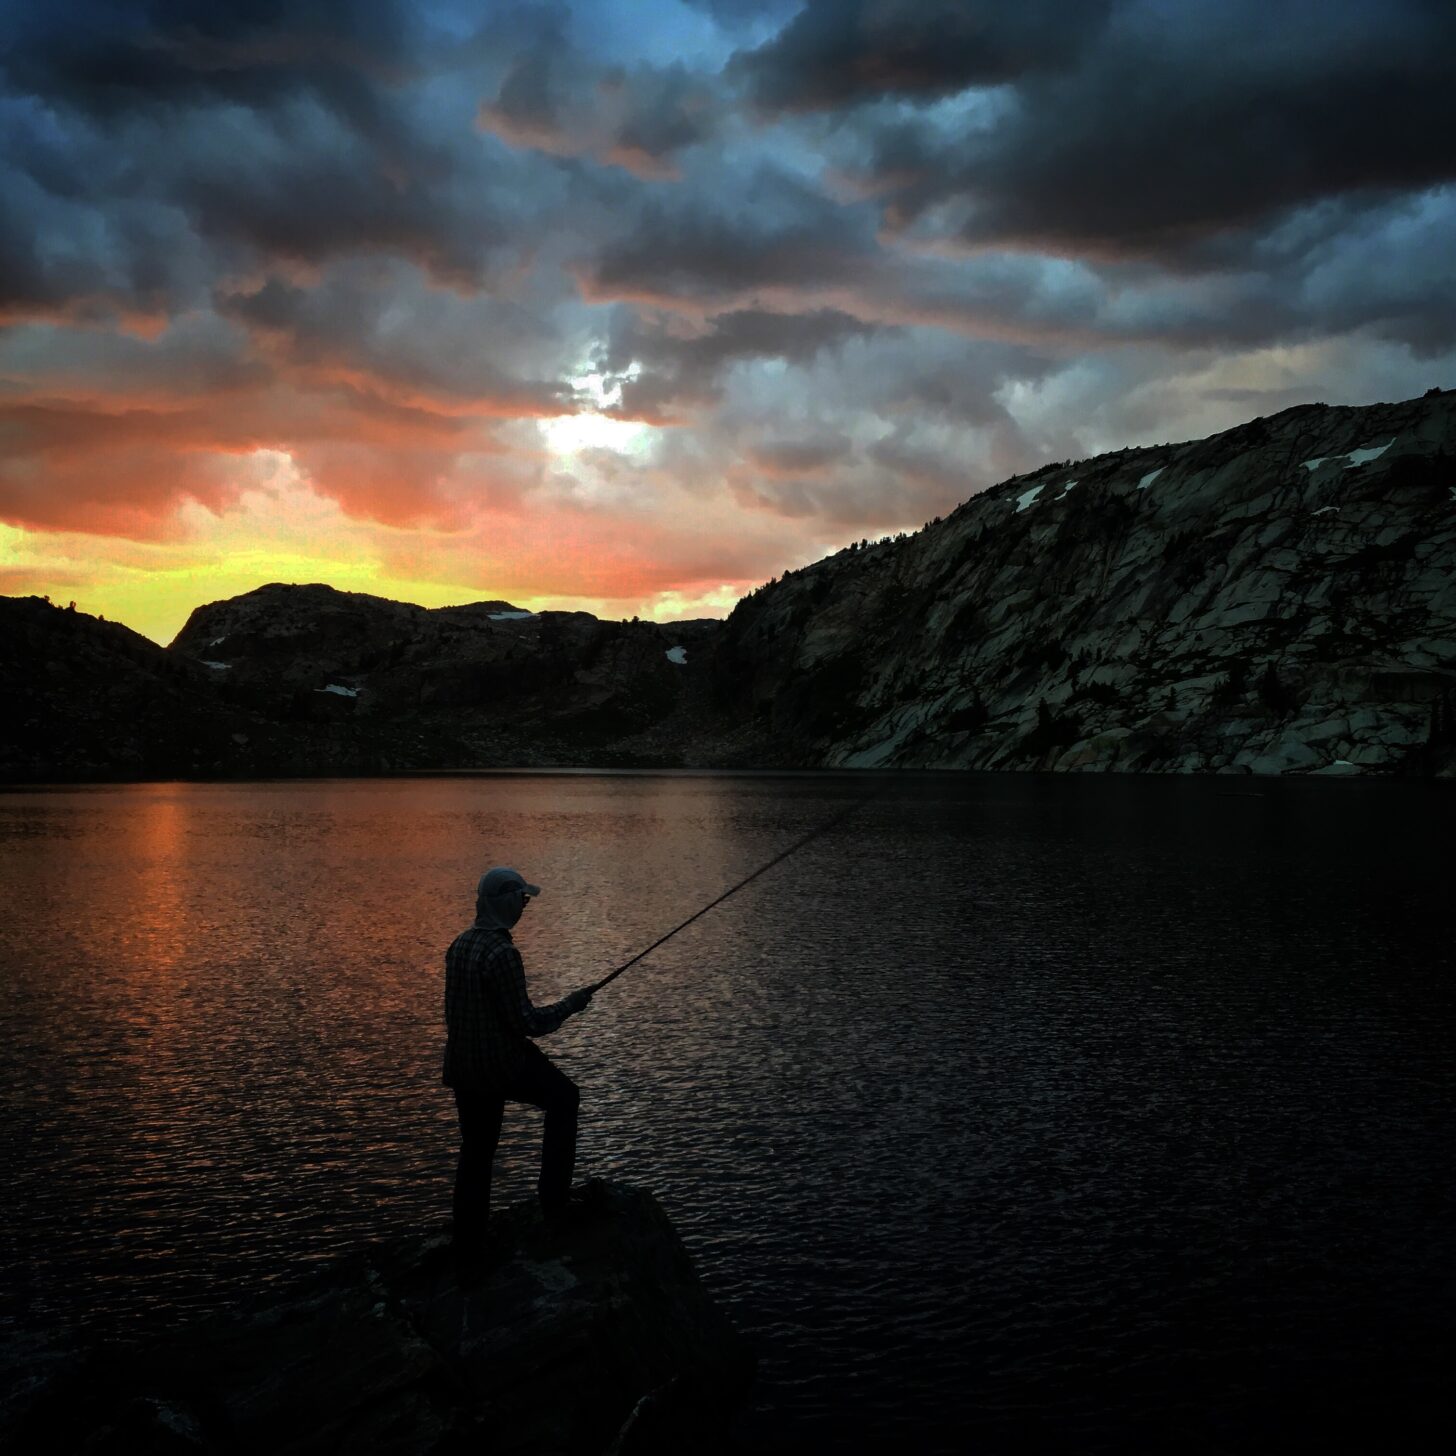
One of the raison d’être for backpacking for me is fishing, and the tenkara style is my modus operandi. I have a long history of using rods from Tenkara USA, Tenkara Rod Company, Tenryu, Daiwa, and others. I’ve caught panfish, bass, trout, steelhead, and salmon with tenkara rods. In the mountains, of course, my focus is trout, and the primary rods I use are from Tenryu and Tenkara USA. This year, I focused more on rods with a longer reach for alpine lake fishing, including the Tenryu Furaibo TF39TA (⚡) and the Tenkara USA Ito. I can’t recommend the former for general use – it’s a wonderfully responsive fly rod, but is too expensive and difficult to repair for the casual fisher. The Tenkara USA Ito, on the other hand, may be the most understated rod on the market for the backcountry angler. I still prefer the Tenkara USA Hane (🎯) for general backpacking use including small stream fishing, but the Ito is a more capable performer when it comes to delicately casting tiny flies like midges to wary trout using long leaders on calm alpine lakes.
I’m a journaler, note-taker, and sketcher in the backcountry. I used to use Moleskine and Rite in the Rain Notebooks but became a little frustrated by the weight of Moleskine pads and the poor tactile feel of writing on Rite in the Rain paper. Early this year, I discovered Traveler’s Notebooks, which are light and have terrific paper quality. Combined with my favorite writing instrument – Staedler Pencils – they’ve brought joy back to my backcountry notetaking.
Conclusion
My gear kit is in a constant state of flux. I yearn to downsize it and just keep those items that are durable and versatile across a wide range of conditions. I’m not always successful. I have too many shelters, jackets, stoves, water filters, shoes, sleeping bags, and backpacks.
When I started this article and offered my guidelines for consumption, I meant it. They are ideals that I’m working towards, not standards that define where I’m at today. Being an outdoor industry professional, a lot of new gear passes over my desk each week. I do my best to stay on top of current trends, and I certainly enjoy testing new gear in the field. But I don’t like owning it, storing it, cleaning it, repairing it, or figuring out how to sell it or donate it when I no longer want it.
If I have one piece of advice to leave you with today, it’s this:
Study this gear guide in the context of adding gear to your kit only if it’s capable of dramatically improving your outdoor experience, and resist the temptation to buy gear for the quick fix of dopamine that comes with getting new stuff. It will wear off, and then you’ll be left paying the bill.
Pack less, be more, and happy trails. – RJ
DISCLOSURE (Updated April 9, 2024)
- Backpacking Light does not accept compensation or donated/discounted products in exchange for product mentions or placements in editorial coverage. Some (but not all) of the links in this review may be affiliate links. If you click on one of these links and visit one of our affiliate partners (usually a retailer site), and subsequently place an order with that retailer, we receive a commission on your entire order, which varies between 3% and 15% of the purchase price. Affiliate commissions represent less than 15% of Backpacking Light's gross revenue. More than 70% of our revenue comes from Membership Fees. So if you'd really like to support our work, don't buy gear you don't need - support our consumer advocacy work and become a Member instead. Learn more about affiliate commissions, influencer marketing, and our consumer advocacy work by reading our article Stop wasting money on gear.



Home › Forums › Publisher’s Gear Guide