Hi,
Warning, long post. First of all, I would like to thank Jerry and all others for great information provided here. It is my first bigger project and without experience shared here, I would not start with MYOG.
I wanted to post the outcome due to several modifications to basic design I made and would like to share my impressions. Mostly to help others in the same situation, thankful for all the info as I was.
Basic information:
- Size: 275 x 220 x 160 cm (108 x 86 x 65 inch), “ultamidish” design
- Materials: fly – 40D silnylon from Extremtextil, Inner tent: 20D mosquito netting, 20D inner tent fabric, 70D PU coated nylon
- Weight: fly – 750g (26,4 oz), inner tent – 450g (15,9 oz), additional lines + stuff sack – 50g (1,7 oz), comprehensive set of stakes, trekking pole connector + stuff sack – 170 g (6 oz)
Modifications to basic design:
- Non-square dimensions: The goal was to decrease footprint size. It brought a bit more complexity to the design by 2 different sizes of basic triangles. I made a paper model with numbers of basic triangles. That helped with orientation. I also made full scale model (pattern) of each triangle from old drawings at work, taped together. I used these to ensure all sides to be sewn together would match lengthwise. It required some extra work at pattern making (1/2 hour each I guess). But I found cutting silnylon to appropriate dimensions in such sizes quite hard and this way led to good results – no disproportion at either long seam.
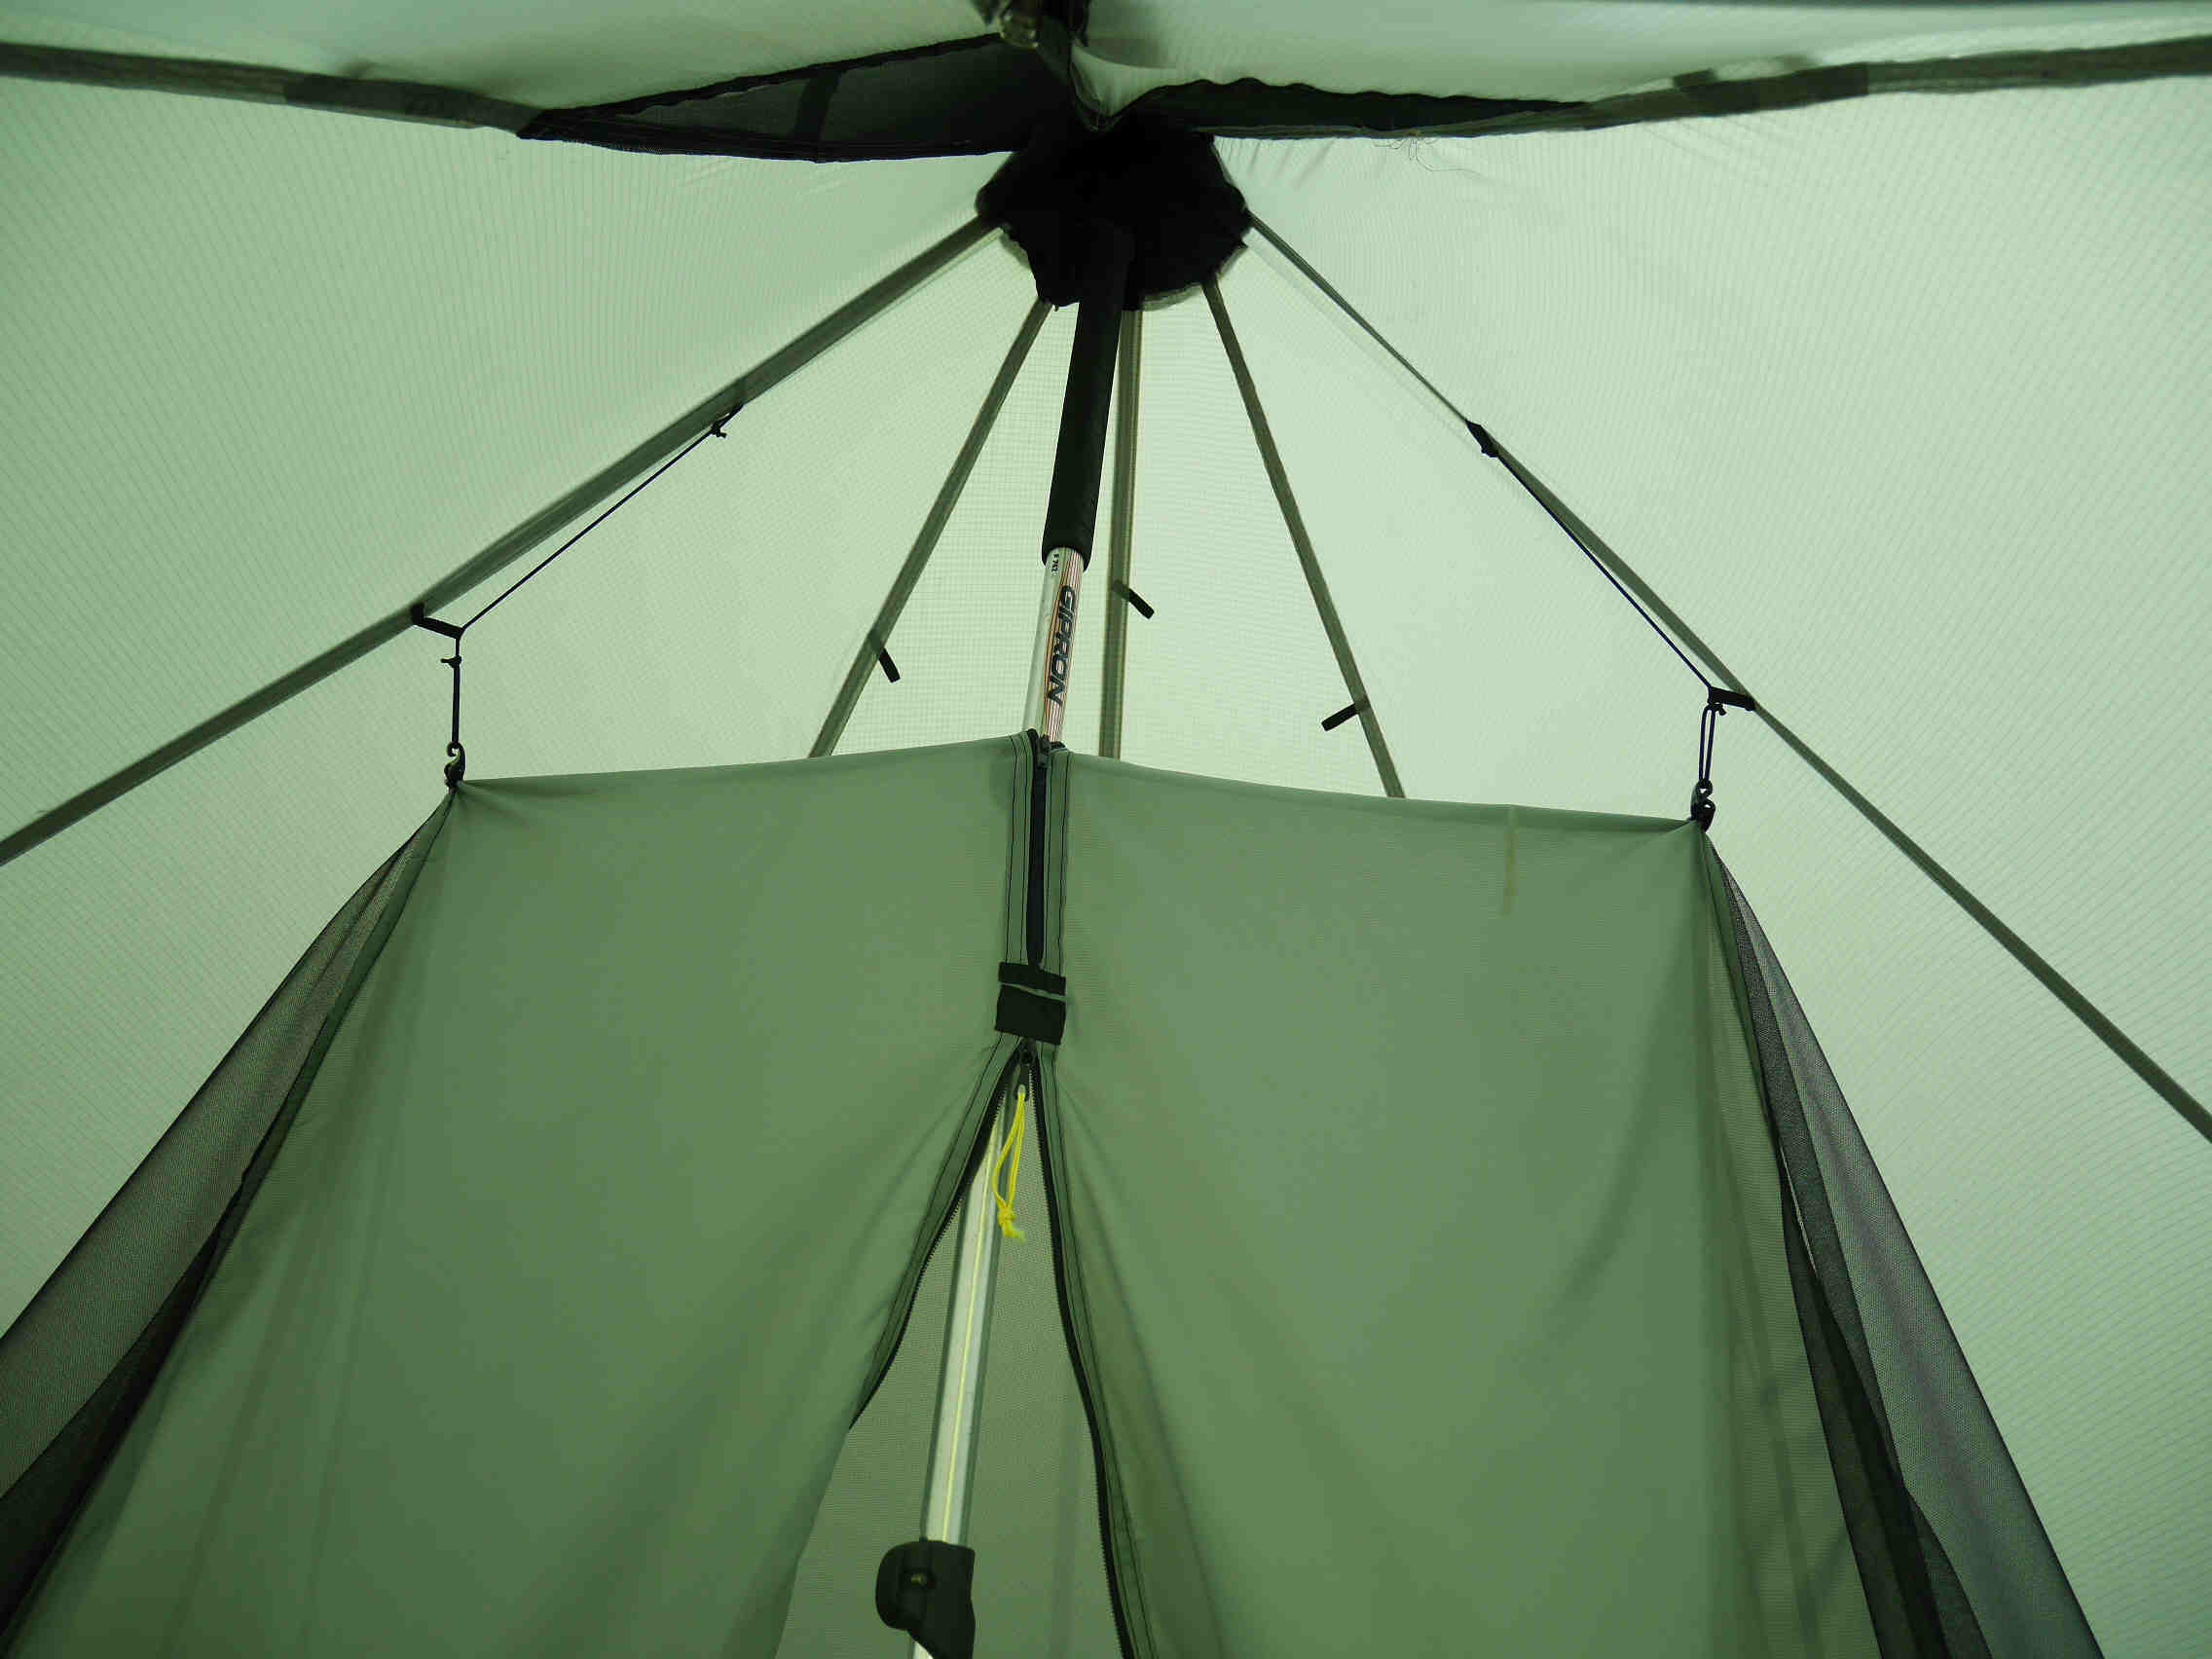
- Large vent: It added a lot of work compared to vent-less sides. I found that it does not terminate condensation issues, but helps. I noticed much more moisture buildup inside the vent than inside the tent, most likely caused by up flow of warm air at night and condensation there. It also added some weight.
- Flat felled seams: after some research, I decided to try to make flat felled seams instead of “faux felled seams” with one row od stiches trough 2 layers of fabric only. The only way to do that was to pre-fold Silnylon into wanted structure and pin a lot. The result is not perfect. Silnylon slips a lot and in a lot of places I can see that stitches are trough 3 instead of 4 layers. It was also a lot of work, probably increased time spent on the project by 25-30%. I would not recommend this. Next time, I will go with “faux felled seam” with 3<sup>rd</sup> row of stitching.
- 3<sup>rd</sup> line of stitches: As suggested by Roger to enhance strength. I believe it does as advertised and does not take much time. I will use it again.
- Non-right angle basic panels: I wanted to prevent raised centers of the sides, therefore I added 5 cm (2 inch) of length at side center seams, creating non-right angle basic triangles. It only increased the time in pattern making stage and I believe it does what was intended. The difference in gap at corners and side centers is much less apparent. I am quite happy with the result. On the other hand, it may lead to more slack pitch of some side, especially on uneven ground.
- Cat cut deflection 5 cm (2 inch): You can see the results from the photos. I researched thoroughly and found differences in recommendation (2-3,5 inch). If I would be to replicate this mid design, I would probably use a bit more (2,5-3 inch). The outcome is OK for me, but I prefer more taught pitch and possibly quieter shelter in higher winds over more interior room. My feeling is that it also depends on particular silnylon and its stretch.
- Zipper storm flap: I know, most of you say not needed. I was a bit skeptical so decided for it. It adds a little bit of weight and complexity. But I like the looks and have more confidence in the shelter.
- Tie downs at centers of each side (ground level): I included those despite Jerry stating he got rid of his eventually. So far I see them good if you need to batter down when it is windy.
- Tie downs at side panels and corners: I included tie down at each side at 1/3<sup>rd</sup> of each seam length and at the same distance in corners. I have tested my shelter a bit in windy conditions and my observation is that for corners, it is rather low. Since then, I added one more tie down at ½ of the corner seam. This seems to reinforce the corner much better and I would use this location on next mid project. Now I use both (2 points connected with line and then anchored).
- Laminated reinforcements: at the corners tie downs, at tie down location in front panel and at mid peak, I reinforced the places with second layer of silnylon, laminated by standard undiluted silicon. The places seem robust. It nevertheless has certain weight penalty.
I understand that for many of you, this project is far from UL. True. The reason for higher weight are additional features, more heavy duty fabrics (40D fly and 70D PU coated floor of inner tent) and the inner tent which I made due to my signifficant other (not willing to sleep in open shelter).
I have spent about 15-20 nights in the shelter so far (Fagaras Range in Romnia; Altaj Range in Russia, Siberia). Some of which in quite demanding conditions. Some nights the wind gusts were pushing the limits of this shelter in my perspective.The tent survived. Trekking pole connector I made from unknown piece of aluminum not. Severe wind gusts snapped it in half. The forces a center pole has to endure in such situation, especially with wind gusts coming from different directions, are incredible. I emergency repaired it and used 2 more trekking poles to reinforce the center pole + had to stay in more sheltered spots. I use much stronger pole connector since. Only strapping 2 poles together for such conditions would be a joke.
Overall, I expected there to be deflection of sides in winds, which there is. I gained some confidence in the shelter, but can see its limits. It can cope with harsher conditions, but is not ideal for above tree line use when high winds can be expected. For exposed terrain, I have already started to build another more sturdy tent and plan on updating this one with perimeter netting and using it in less demanding conditions.
A couple of pictures: first pitch + some from the field


Milan

