Topic
Anyone try attaching Al heatsinks to a Ti pot for DIY heat exchanger?
Forum Posting
A Membership is required to post in the forums. Login or become a member to post in the member forums!
Home › Forums › Gear Forums › Make Your Own Gear › Anyone try attaching Al heatsinks to a Ti pot for DIY heat exchanger?
- This topic has 12 replies, 6 voices, and was last updated 4 years, 5 months ago by
 Roger Caffin.
-
AuthorPosts
-
Jul 23, 2020 at 11:47 pm #3666067
I recently read thru several long forum discussions about heat exchanger pots and Roger Caffin’s recent HE article.
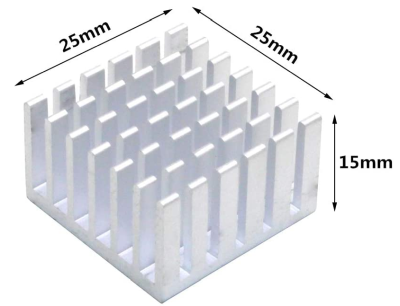
I’m wondering if attaching a ring of heat sinks to the bottom of a titanium pot would add enough efficiency to be worth it? I think this would be less weight difference than most commercial HE pots. Even if it doesn’t actually make heating significantly better, would the pot cook better because the heat is more evenly spread?
Thoughts?
 Jul 24, 2020 at 1:04 am #3666069
An interesting idea, but with a few problems.
The first is the extra weight. Sure, you would use a few grams less fuel per op, but at the cost of maybe 100 g extra heat exchanger.
The second problem is how do you fasten the aluminium to the titanium? Jetboil thought they had solved it, but it turned out they were a little deluded. You need VERY high-tech welding facilities to make the weld properly, and doing it over that sort of large area would be even more difficult.
Yeah, I had a go too, and failed. I could not even get reliable Ti to Ti welds, just rather doubtful ones. Sad.
Sorry to be negative, but it has been attempted many times already.
Cheers
Jul 24, 2020 at 3:21 am #3666076I’ve used JB-Weld to attach aluminum angle (1/2″ x 3/4″ angle, cut into 1″ lengths) to the bottom of a decent kitchen pot (aluminum disk insert on the bottom of an otherwise SS pot). It definitely helped the HX. Probably as much by stirring the hot air around, like the vortex generators on an airplane wing, as by conducting heat through to the pot. They stayed on for some scores of uses but fell over time with usage and bumps.
The best mod, effect-per-weight would be to dimple the pot. Any time you mix up the air flow, disturb the cooled boundary layer nearest the pot, or generate turbulence; you’ll increase the heat exchange. And dimpling the pot or pressing ridges into it adds no weight – just makes it harder to clean if you’ve cooked food in it.
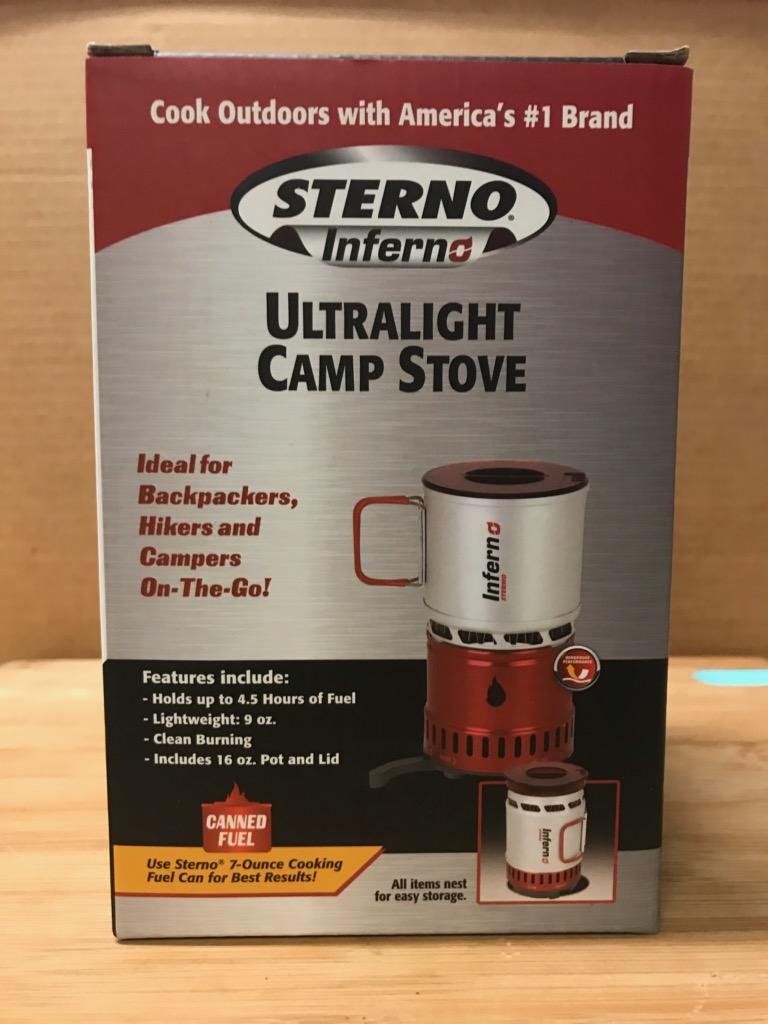
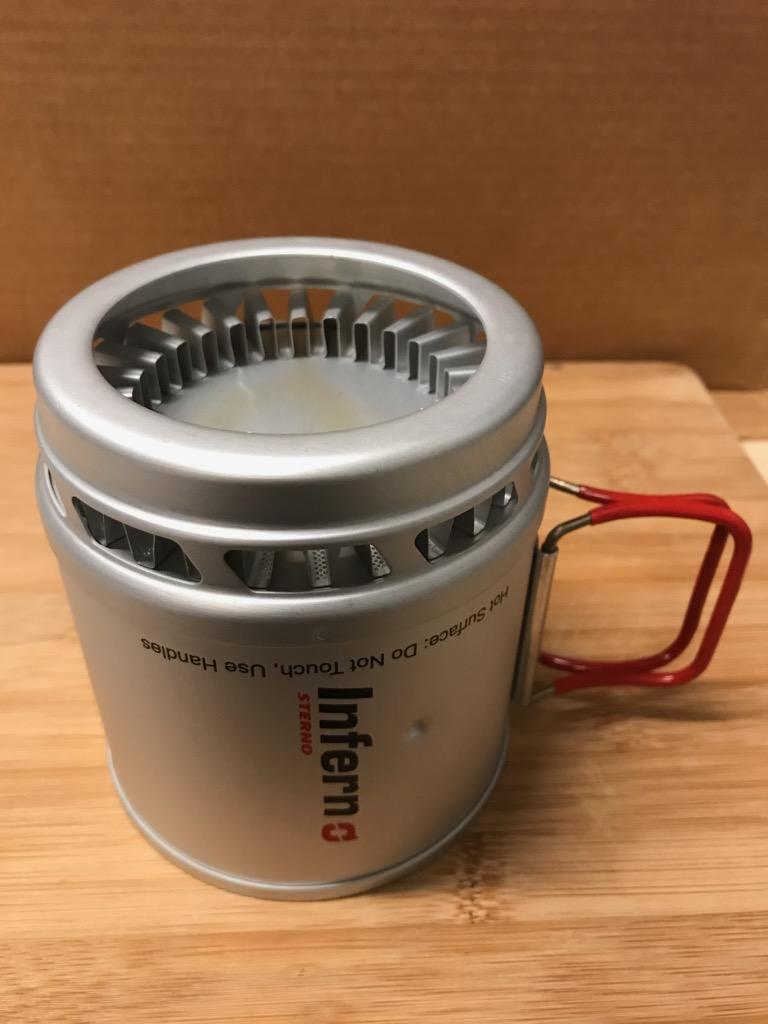
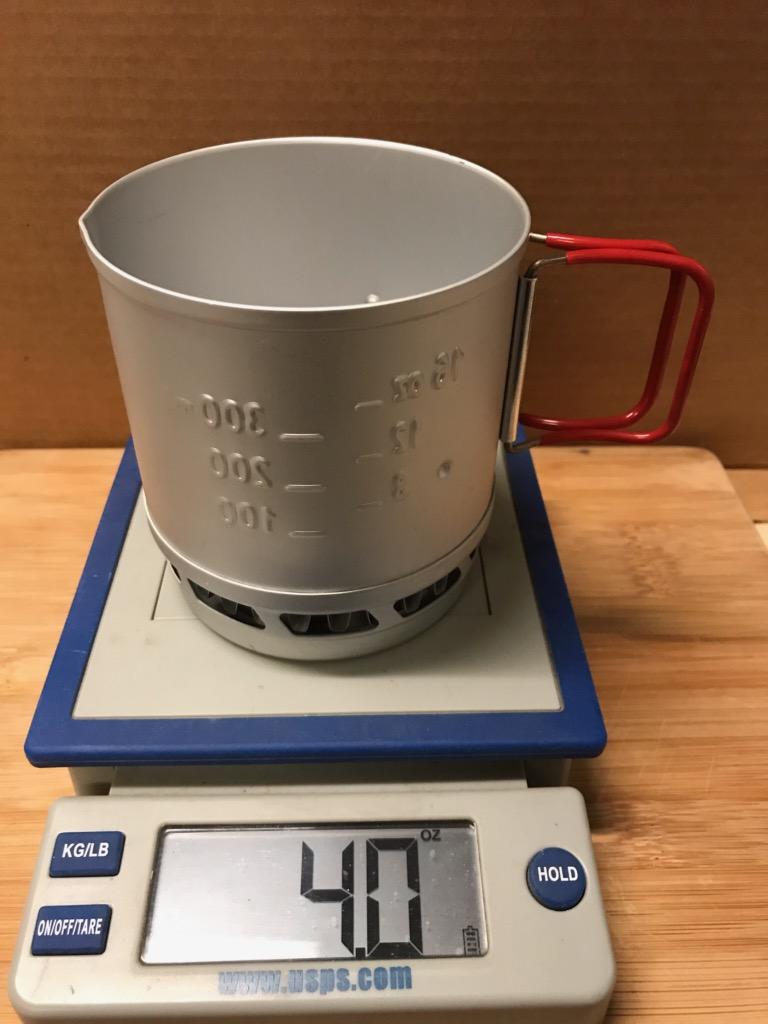
Jul 24, 2020 at 4:26 pm #3666151Have you seen this? $23 on Amazon. Aluminum, which conducts heat better than Ti.
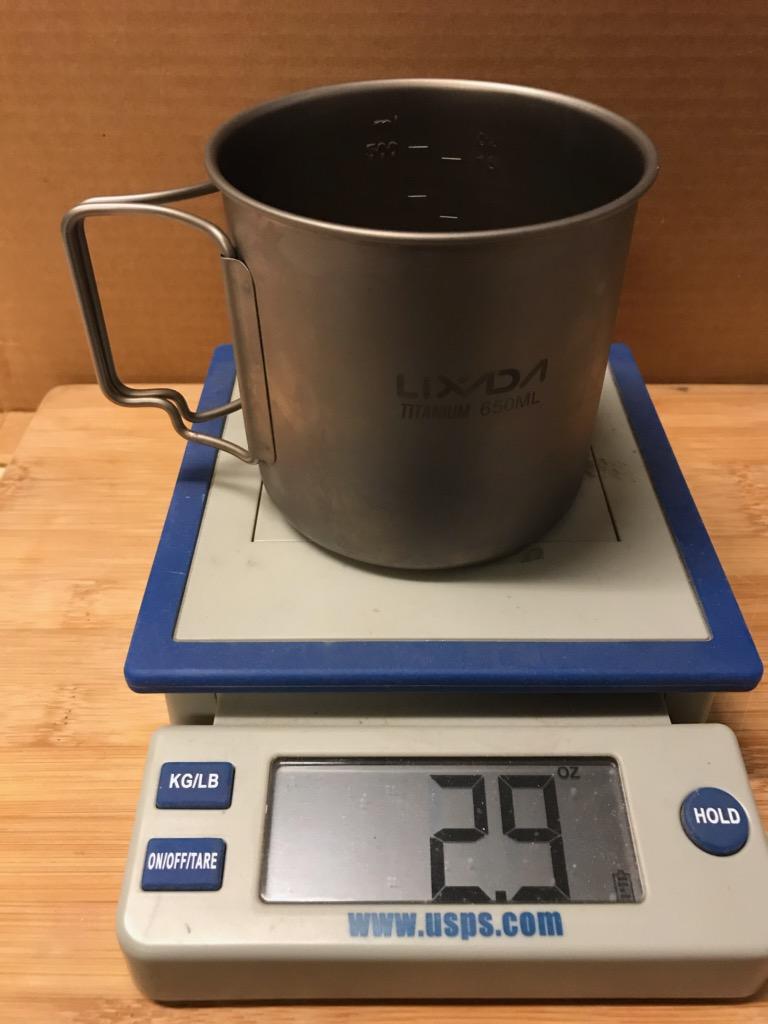
4.o oz for about 650 ml cup vs. 2.9 for my 550 ml titanium mug (not counting the lids), so an “extra” 31 grams. Works with esbit, alcohol, and with a wee bit of trimming of the pot supports also works with a BRS 3000T.


 Jul 24, 2020 at 4:44 pm #3666157
Jetboil having died, you can now get the same thing from a Chinese factory, but at a MUCH lower price.
But note the results of testing of similar pots posted here:
https://backpackinglight.com/heat-exchanger-pot-test-hx-haa-caffin/The whole retail scene is changing. Buy shares in the Post Office!
Cheers
Jul 24, 2020 at 5:18 pm #3666162David G – That’s certainly a good price. I’ve only cooked with gas canisters. Never tried solid fuel or alcohol stoves. I do like to be able to cook, not just boil. They seem like they’d be more difficult, I’ve never really looked around or asked.
Roger and David T – Thanks for sharing your experience. I might experiment on some cheap(er) aluminum pots. All your testing inspires me to concoct ideas. If I wasn’t stuck at home so much, I’d probably ignore them. But 2020 seems to be the time to figure out how to spend time.
Oh, I think it was Roger’s musings either in his article or the followup thread about cutting off the base but leaving fins that made me think it would look like a heat sink.
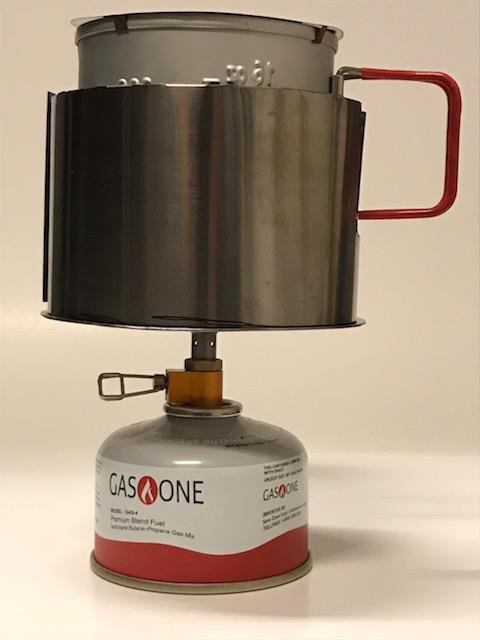
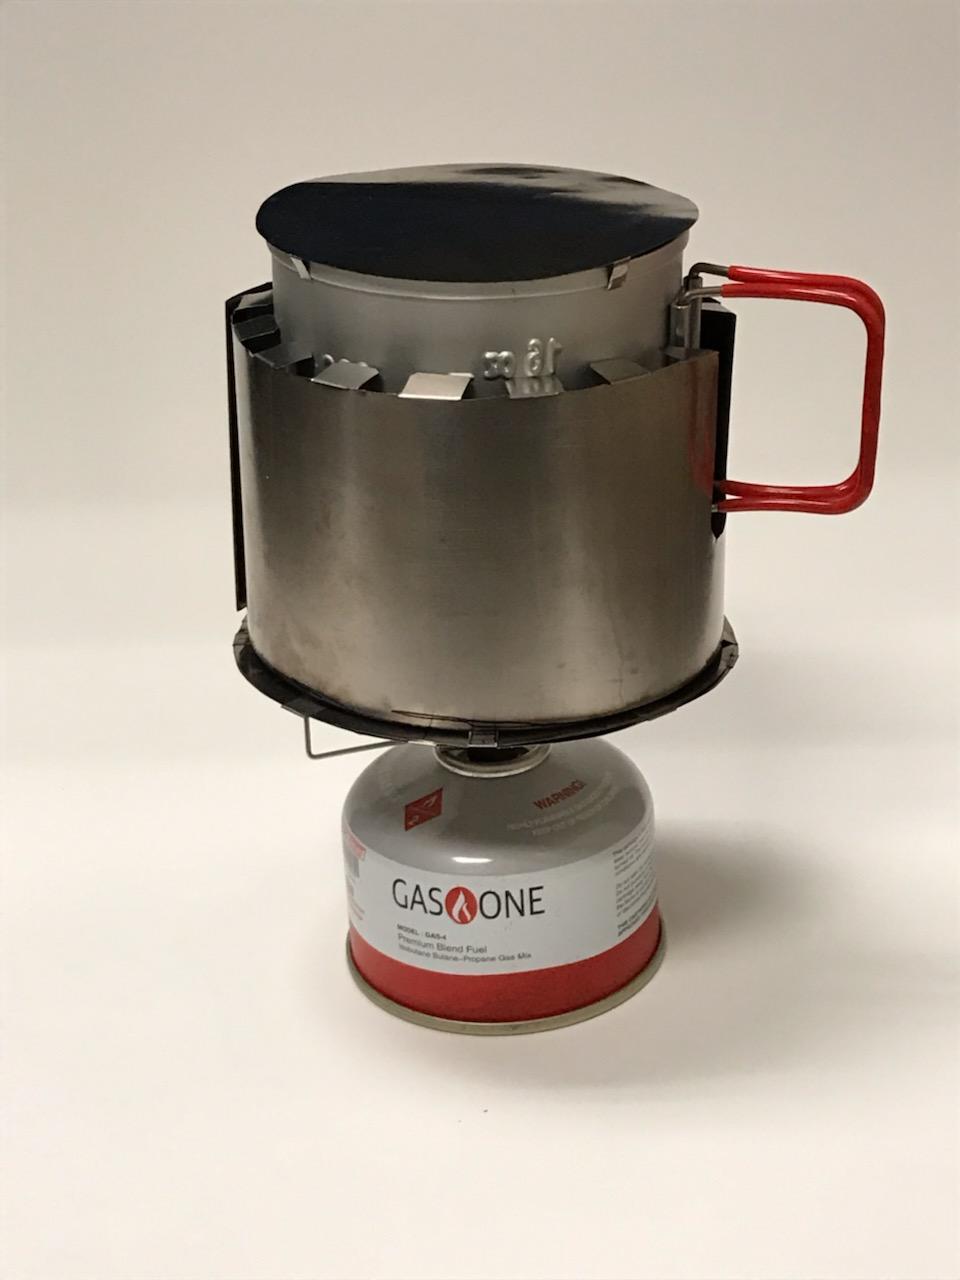
Aug 11, 2020 at 1:55 pm #3670398I’ve been working on a Windburner-inspired system using the Fire Maple Wasp/Hornet and BRS-3000T stoves. Haven’t had a chance to test them in windy conditions yet but I’m going on a 6-day trip next week in the high Sierras with my brother, who uses a Jetboil, so planning on some side-by-side comparisons in real world conditions.
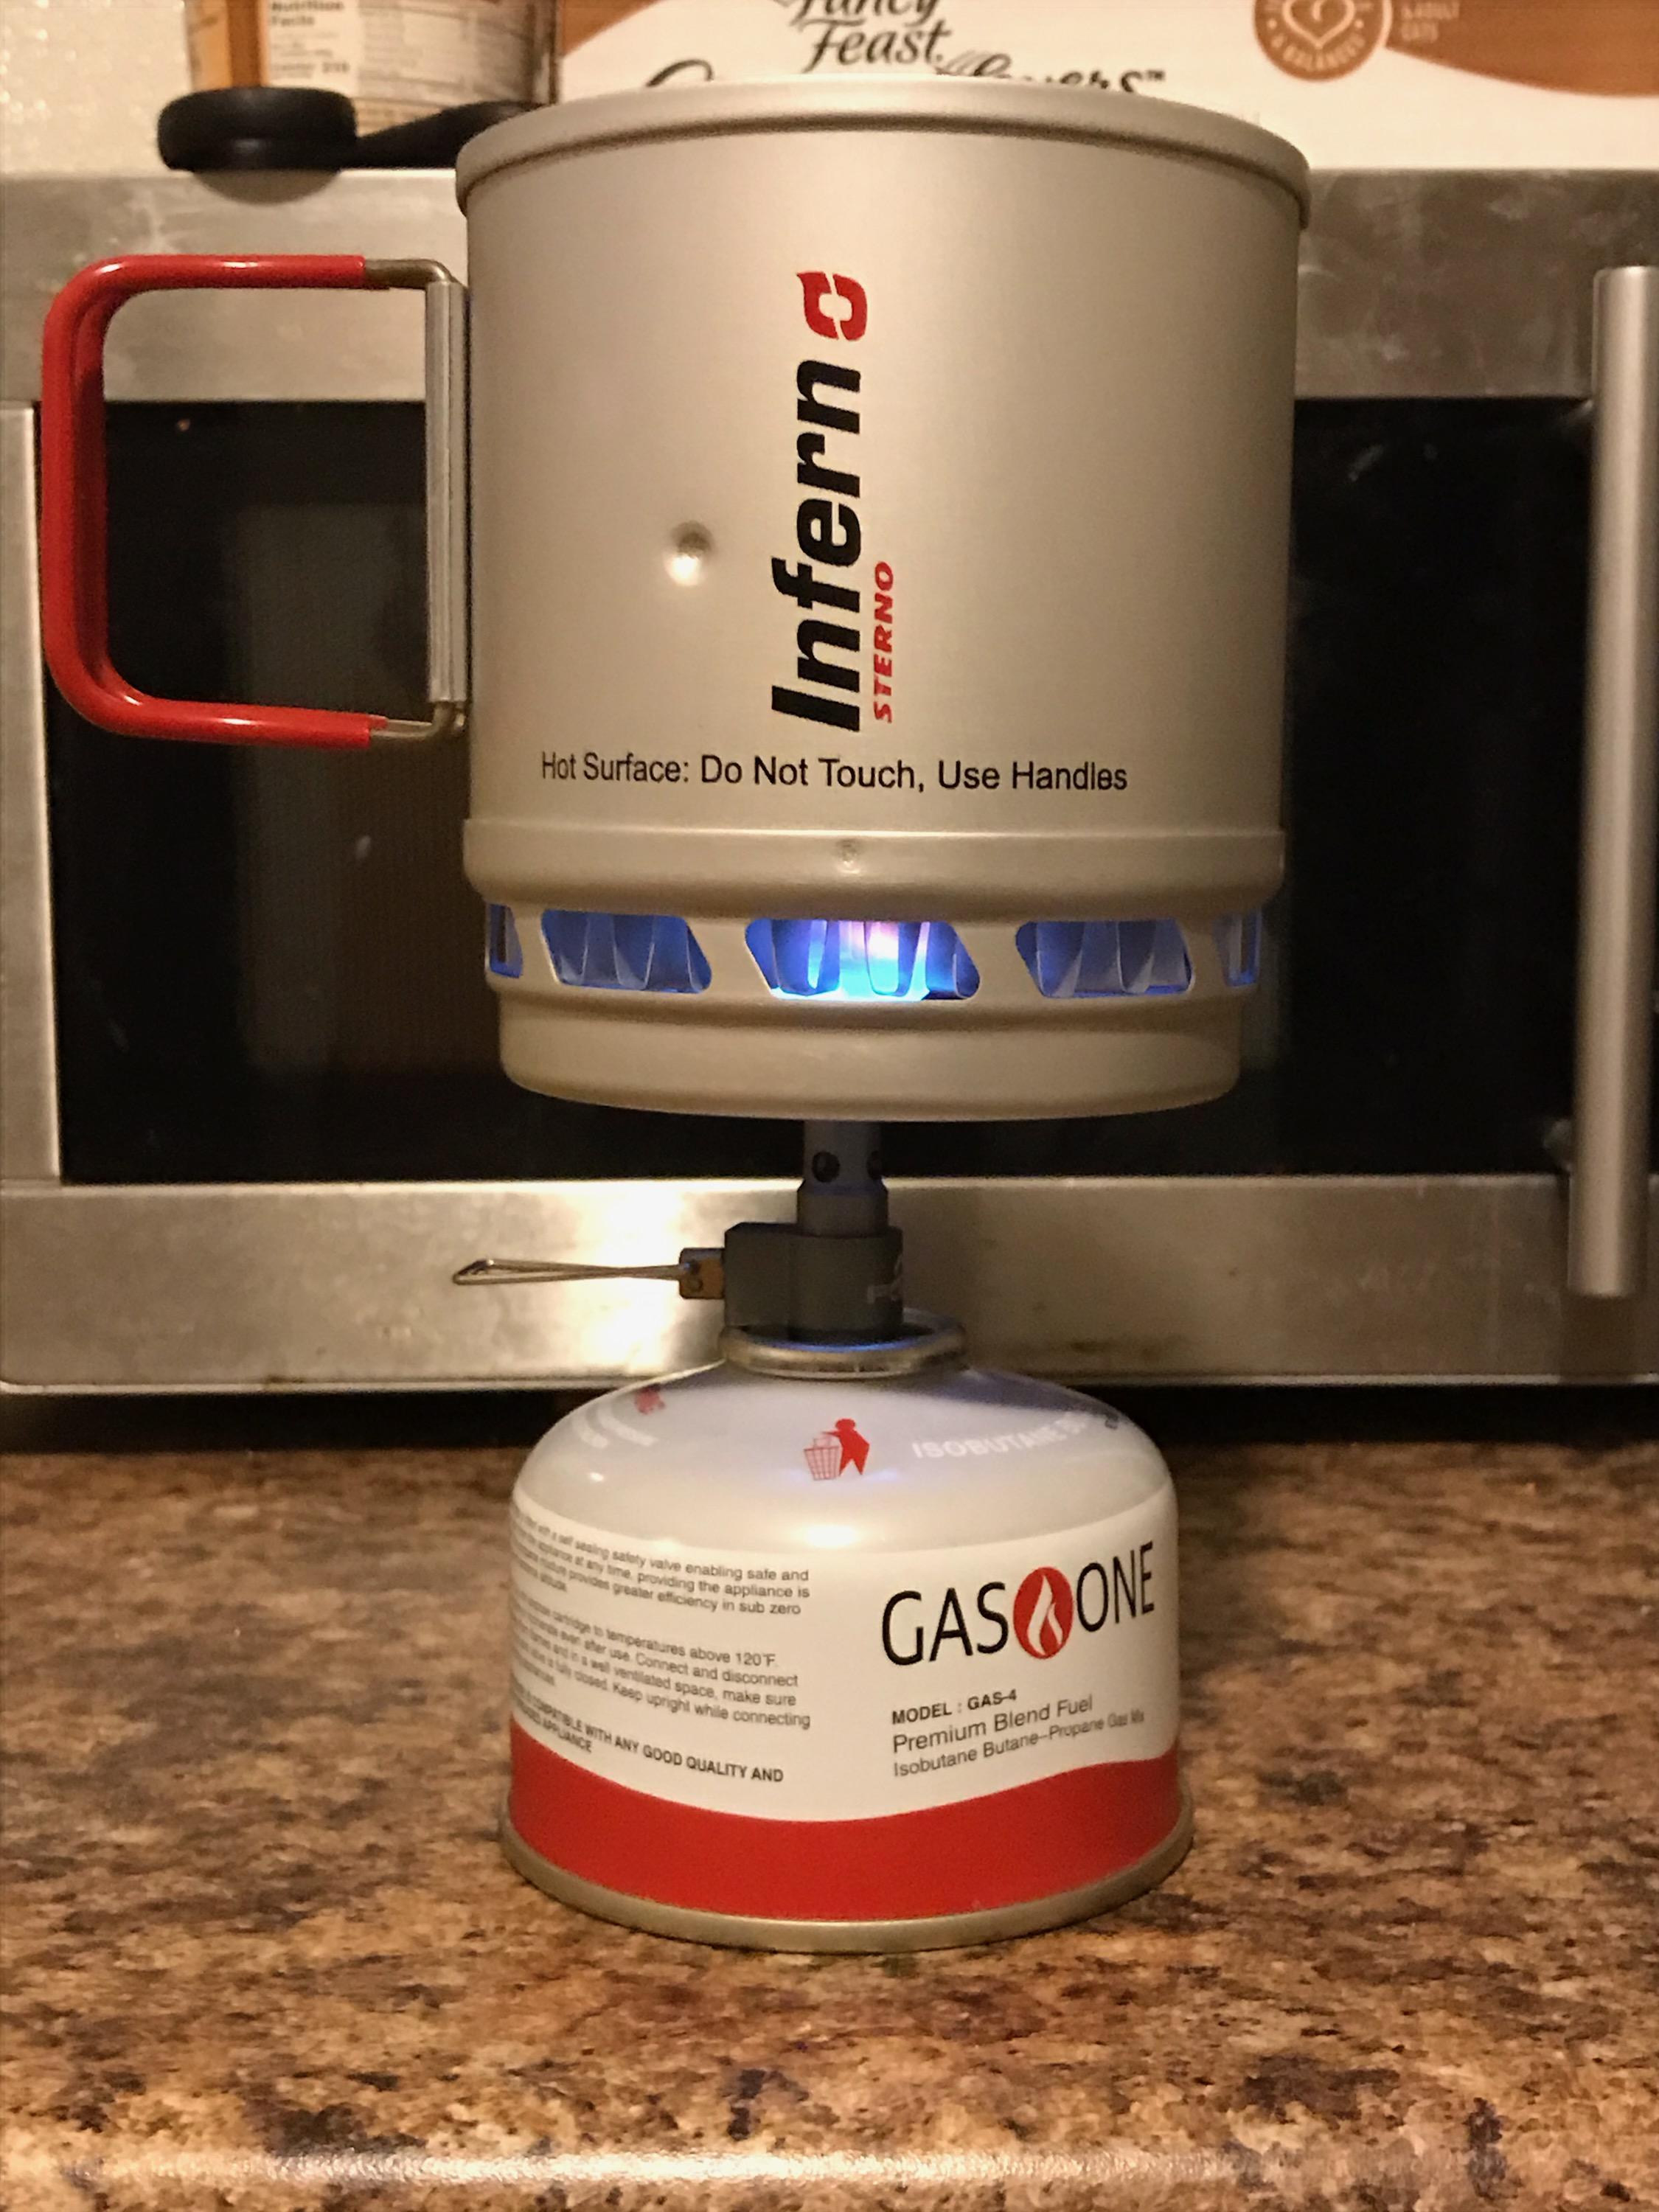
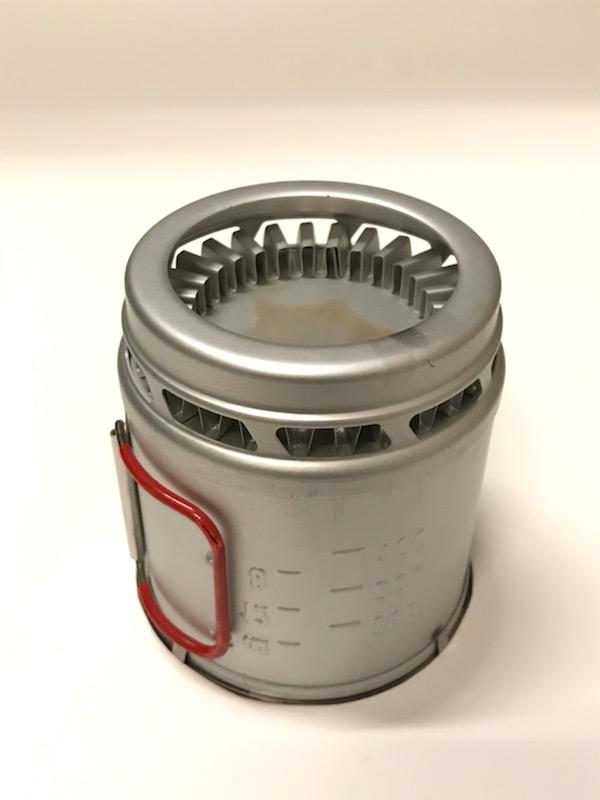
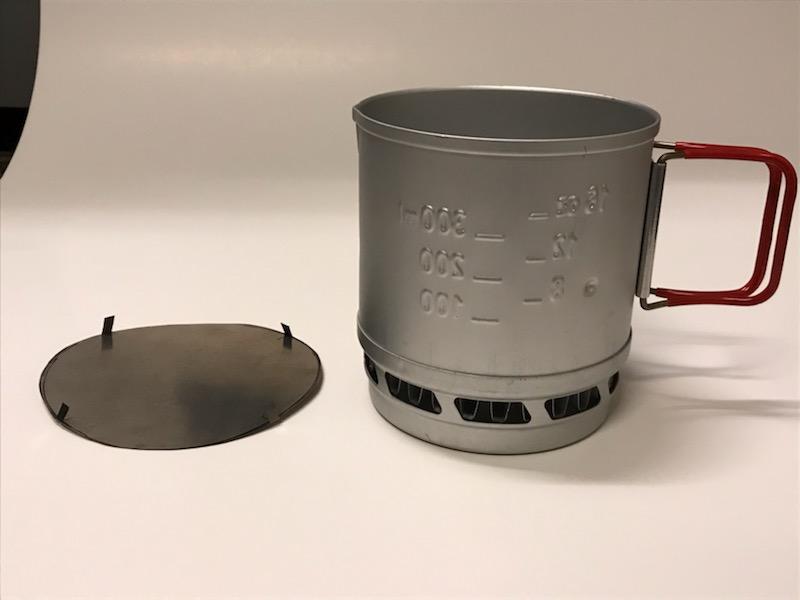
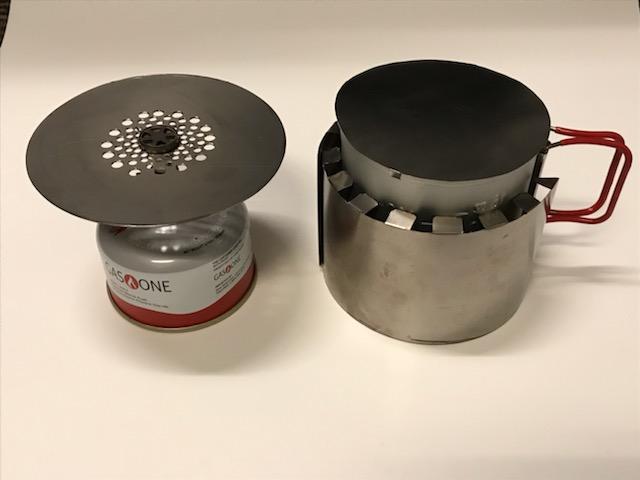
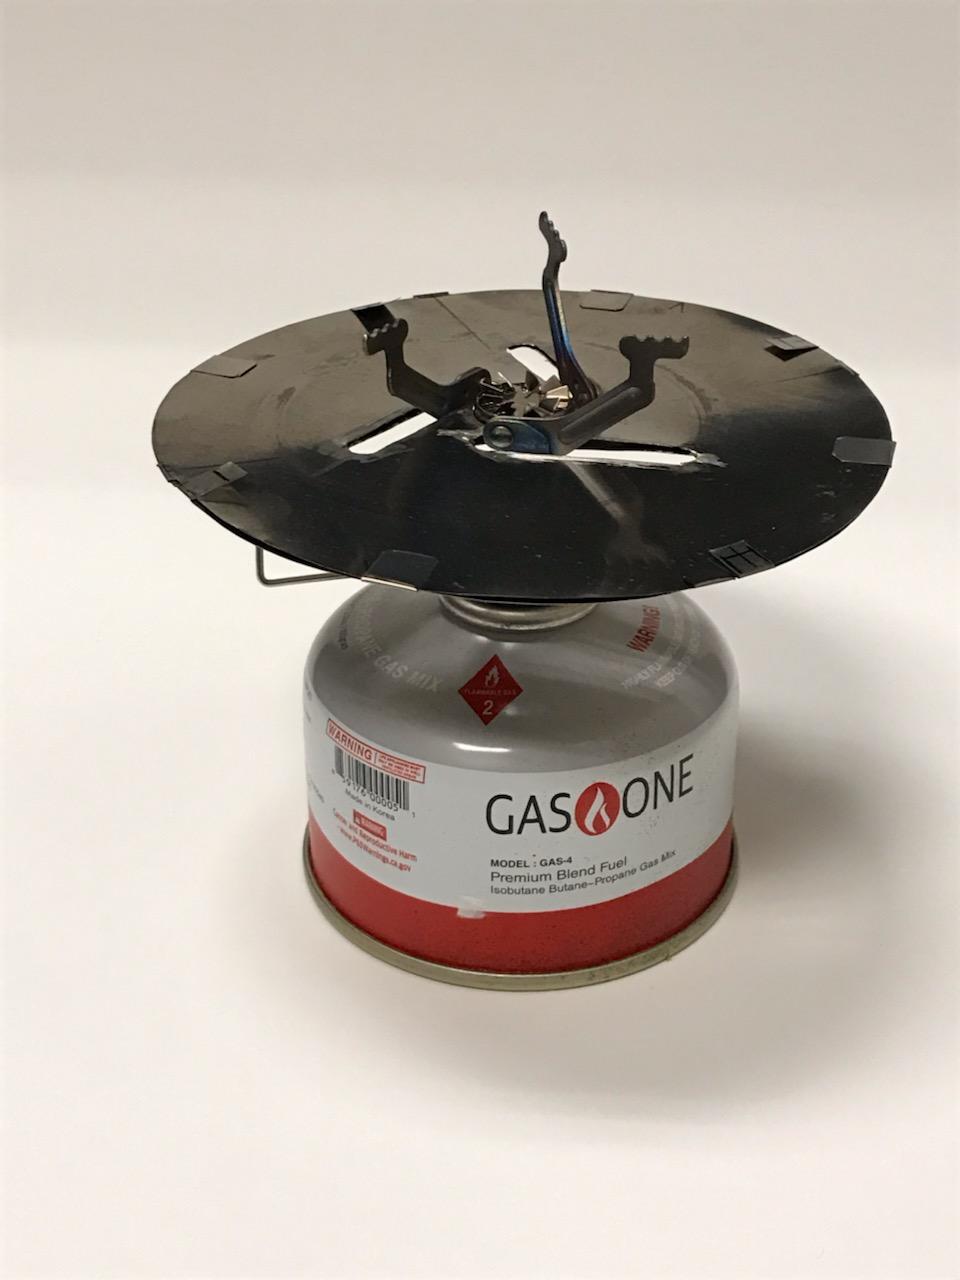
This is the Fire Maple set up. I like the Fire Maple for its reliable quality and that fact that it is held together with what appear to be two brass nuts, so I was able to remove the support legs and let the pot and windscreen sit directly on the base plate. Minus the support legs it weighs 29.4 gm though, about 4 gm more than the BRS-3000T. :-(


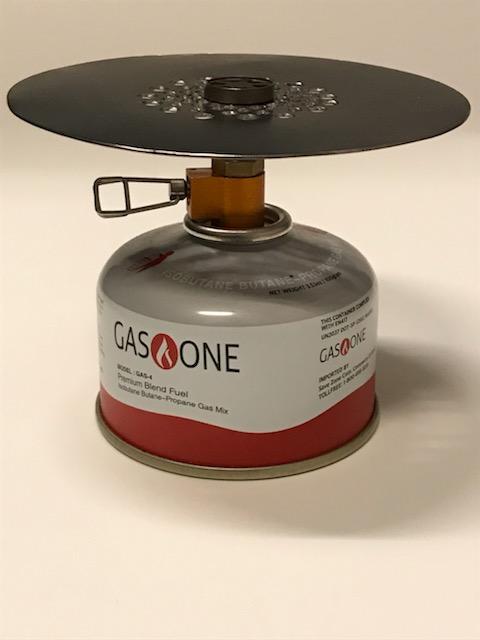
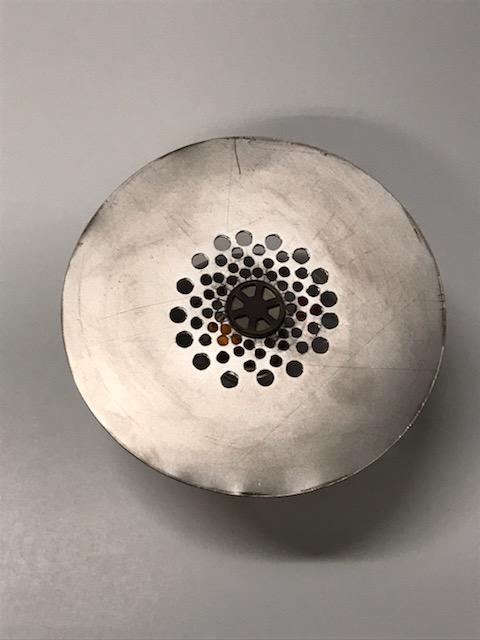
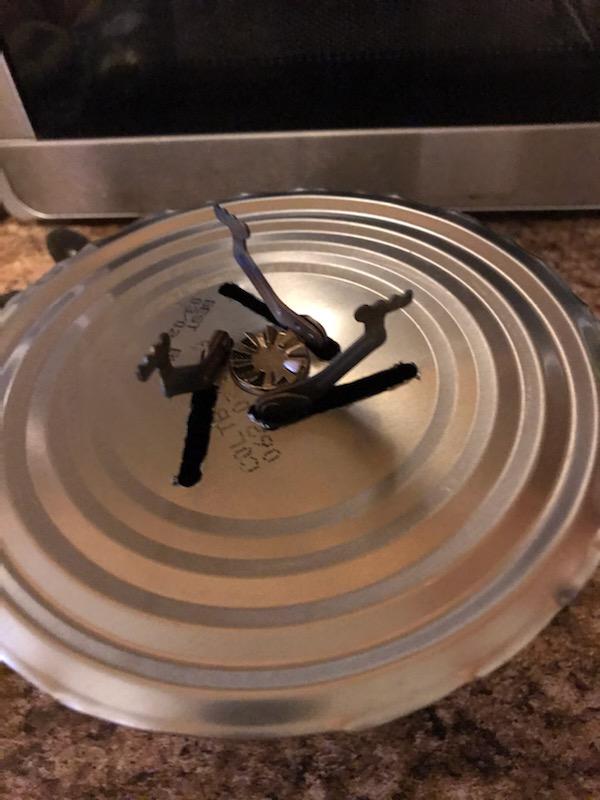
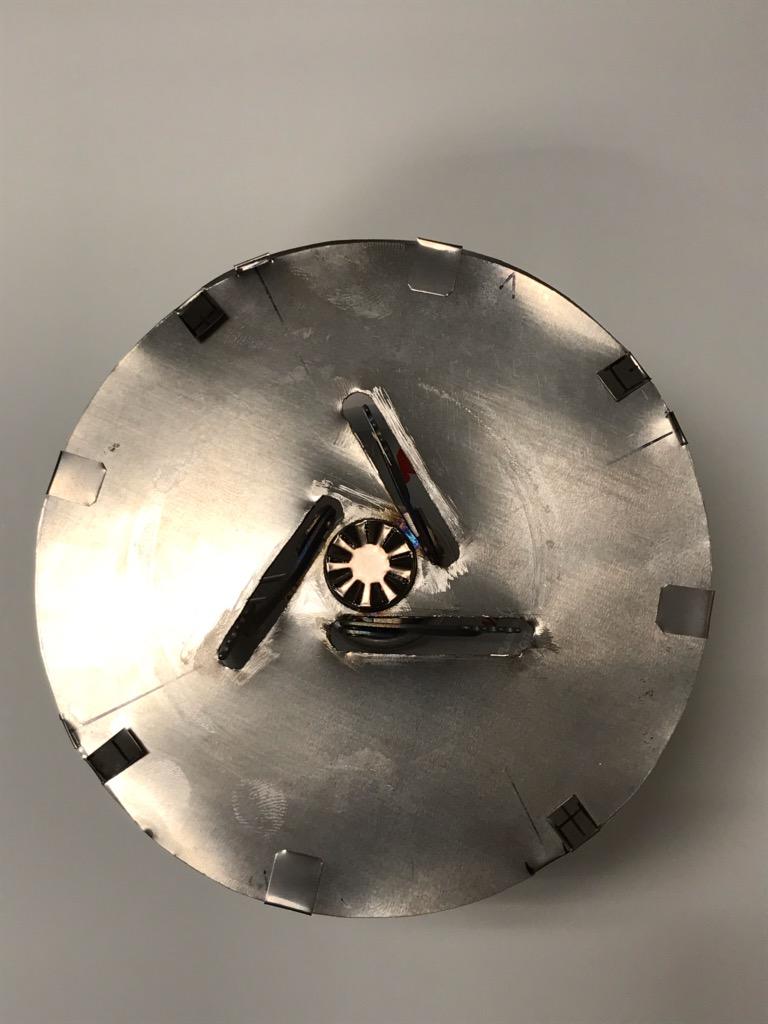
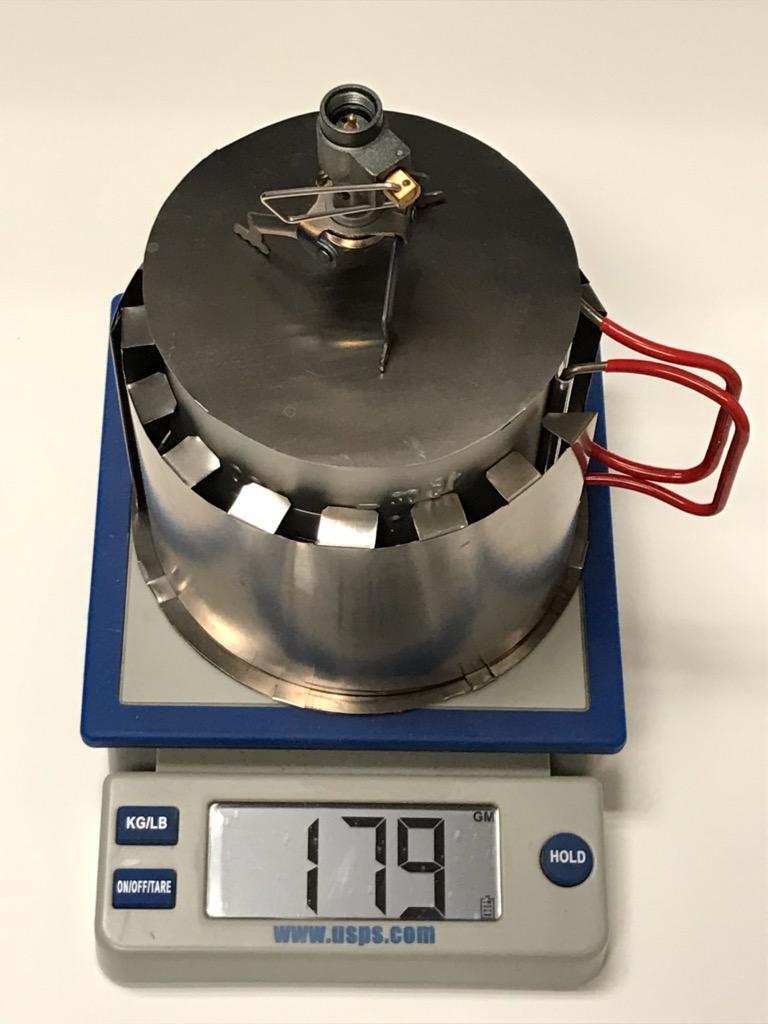
The BRS-3000T set up will be identical except for the base plate, which will be configured so that it drops onto the stove. I prototyped it for testing using the bottom of a huge hominy can (last picture), and am now cutting up some .005″ Ti foil for the real thing. The system with a Ti base plate will weigh a bit less than 179 gm/6.3 oz.
 Aug 11, 2020 at 3:57 pm #3670419
David,
Looks a lot like the SimmerShield. They came out of the gate fast and them seemed to have utterly stopped. At $99, they were pretty overpriced (IMHO).
I am glad that you selected the FireMaple, it’s a nice stove. THe basic concepot looks pretty spot on. Best wishes on the testing: looking forward to seeing your reuslts!
Aug 11, 2020 at 4:35 pm #3670437Roger did some extensive testing. His findings: fins can add 30% fuel efficiency. Read it here how his testing began:
https://backpackinglight.com/forums/topic/pots-with-heat-exchangers/page/12/#comments
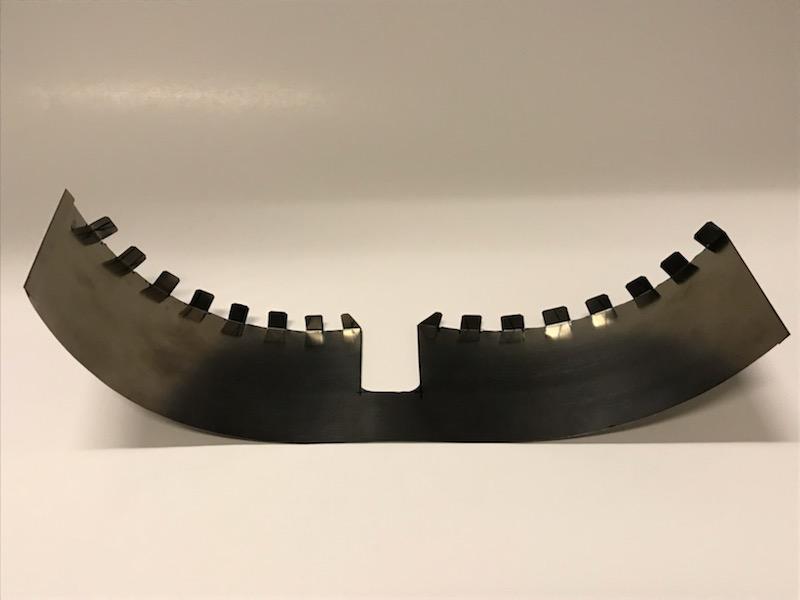
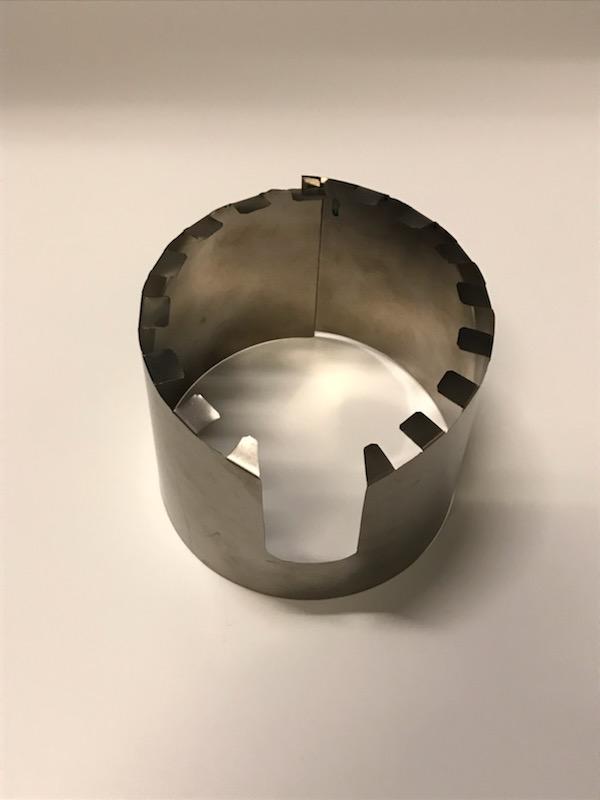
Aug 11, 2020 at 5:54 pm #3670446Jon: I took some inspiration from the SimmerShield too, after seeing it in another thread. The goal is to completely isolate the burner from wind in an enclosed space like the Windburner does and get similar performance in windy conditions, although the Windburner’s radiant burner has a significant advantage in that IR radiant heat is unaffected by wind.
Dan: Combining aluminum fins on an aluminum pot with a Windburner/SimmerShield-style windscreen I’m hoping for more than 30% increase in fuel efficiency in lab conditions.
What I am MOST interested in is comparing performance in wind: no windscreen vs. Caffin-style windscreen vs. this system. We’ll see.
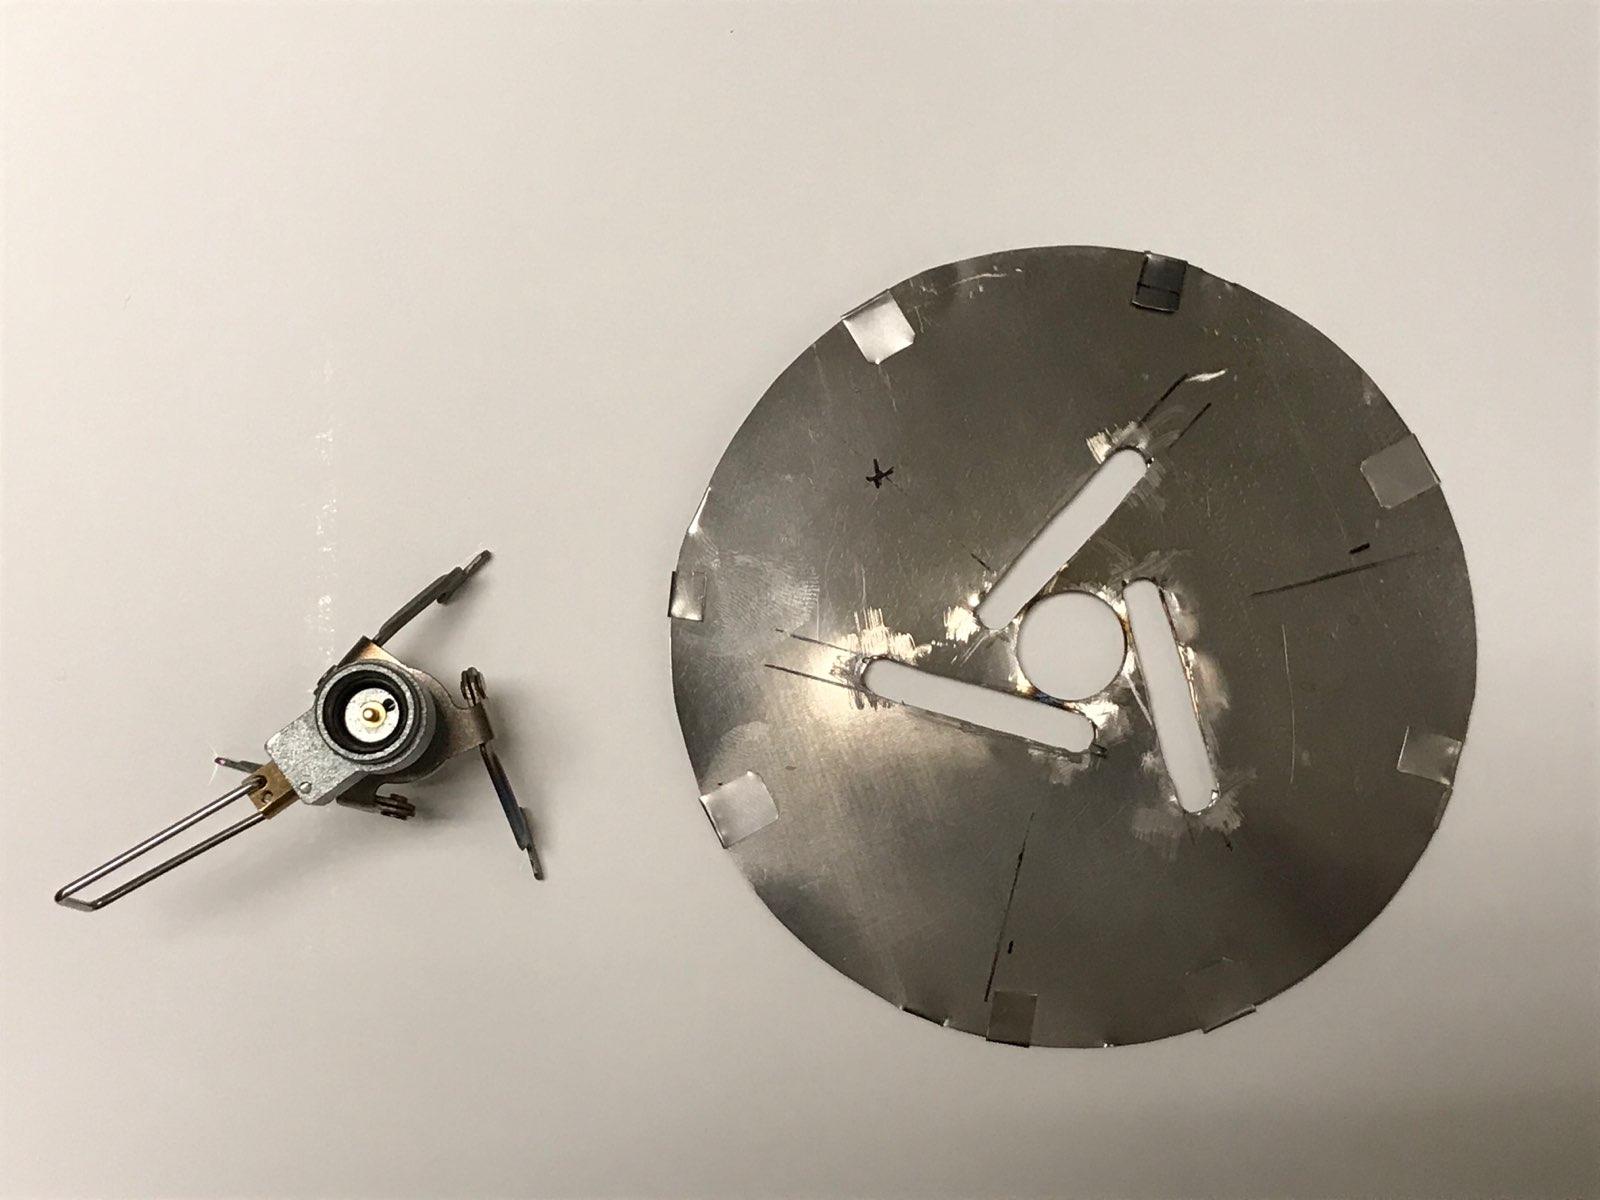
Aug 12, 2020 at 12:31 am #3670474Cut the Ti foil base sheet/plate. Two layers of .005″. The Ti foil comes on a roll, and I just have never been able to get the slight bend out of it, so circular pieces come out like potato chips. To neutralize that I used two layers and arranged them so that when the edges are joined (here by little clips, since I don’t presently have access to my spot welder) the curves cancel each other. This is the system I’ll be taking with me on the way to Matterhorn Peak next week. 179 gm/6.3 oz


Did two quick & dirty burns in an open second story window with a cool, mildly gusty breeze from the northwest, one with no windscreen and one with this one, at half throttle. 9 min. to boil vs. 6 = 33% improvement, as predicted. To make the comparison as close as possible I did not touch the stove and left it burning at the same setting while I dumped the boiling water and refilled with cold, but this prevented me from weighing fuel usage. When I have a shop again I’ll be interested to run more controlled, repeated tests with a fan, and plot a curve of drop in boil speed/efficiency vs. windspeed.
Aug 25, 2020 at 2:10 pm #3672960Some real world results to report. I took this rig with me on a trip to climb Matterhorn Peak last week.
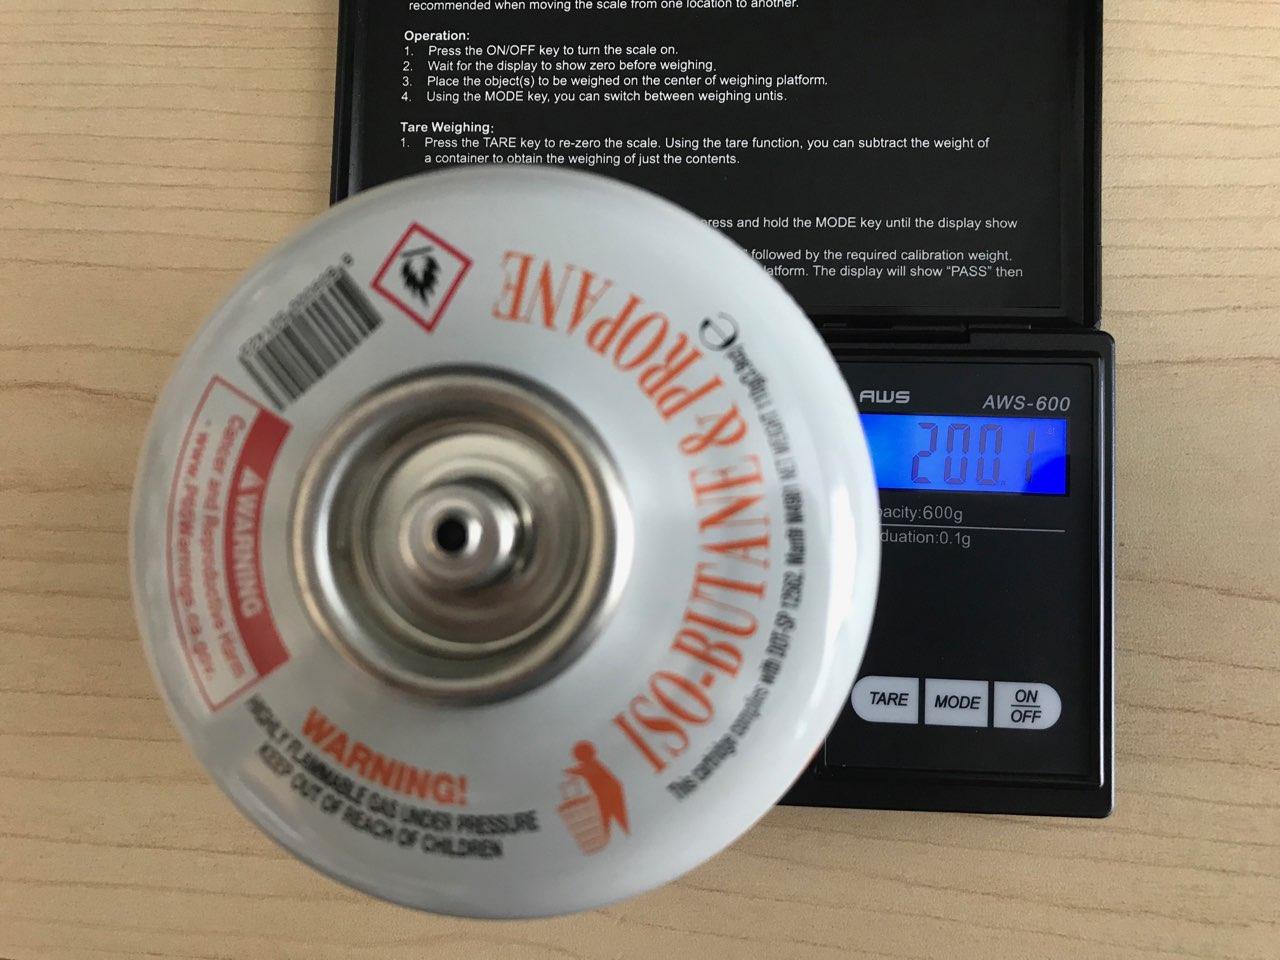
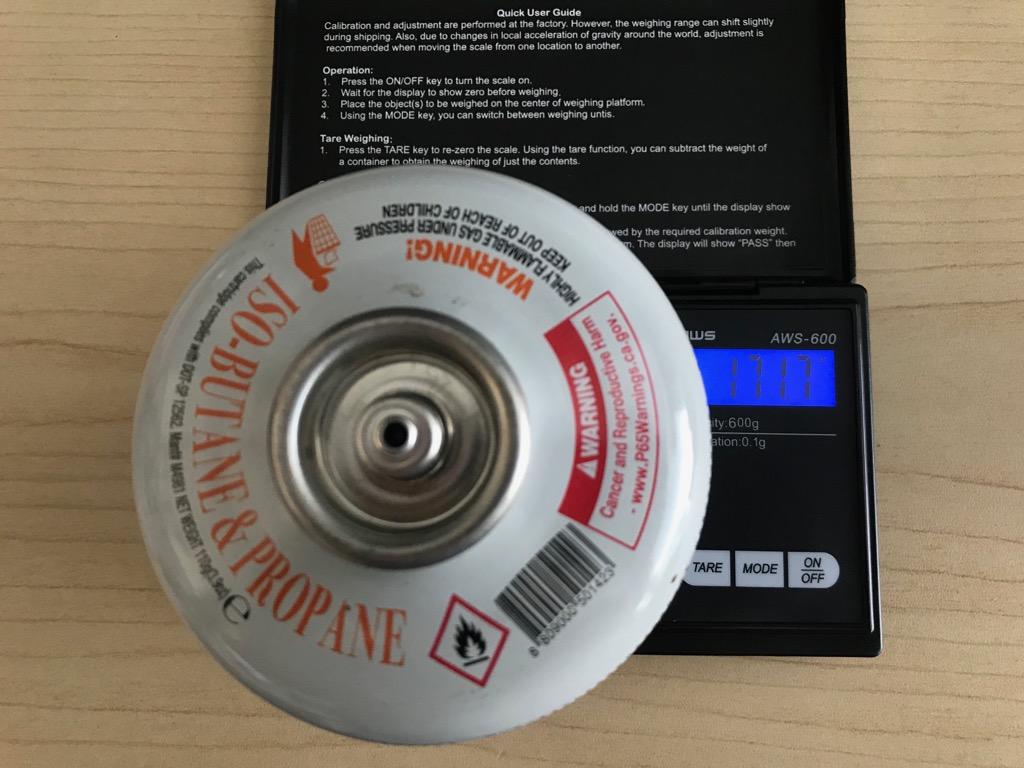
Didn’t get to do exactly the comparative testing vs. a Jetboil that I’d hoped for since I forgot to pack my digital scale when transferring gear to my brother’s car for the drive to the trailhead. But I did weigh my fuel canister before and after so I was able to get an average of fuel use for the 5-day trip.
Before:

After:

200.1 gm – 171.7 gm = 28.4 total grams of fuel used.
I boiled 500 ml for dinner every day for five days. The first boil was at about 9,200′ and the other four were at about 10,600′ just over the pass into Yosemite. Conditions were close to still for the first boil deep in a protected canyon, and very breezy for the next four near the pass. For my first boil I attempted a full-throttle run to compare the time against full-throttle runs at my almost-sea-level home, which average a little over 2.5 minutes. Discovered that the number of air inlet holes I had drilled in the base plate, which were fine at home, were insufficient in the thin are at altitude and the stove kept flaming out as soon as I put the pot down on top. So I went with 50% or less throttle and it worked fine. I’ll add another ring of inlet holes before my next trip to see if that resolves the issue.
Total fuel use 28.4 gm/5 = 5.68 gm/boil
Aug 25, 2020 at 4:08 pm #3672986Good figures. Fairly efficient.
Cheers
-
AuthorPosts
- You must be logged in to reply to this topic.
Forum Posting
A Membership is required to post in the forums. Login or become a member to post in the member forums!
HAPPENING RIGHT NOW (February 11-21, 2025) - Shop Hyperlite Mountain Gear's Biggest Sale of the Year:
Our Community Posts are Moderated
Backpacking Light community posts are moderated and here to foster helpful and positive discussions about lightweight backpacking. Please be mindful of our values and boundaries and review our Community Guidelines prior to posting.
Get the Newsletter
Gear Research & Discovery Tools
- Browse our curated Gear Shop
- See the latest Gear Deals and Sales
- Our Recommendations
- Search for Gear on Sale with the Gear Finder
- Used Gear Swap
- Member Gear Reviews and BPL Gear Review Articles
- Browse by Gear Type or Brand.

