The Evernew 7 Foo Bo titanium windscreen Product EBY246 unboxed – and corrected! Part 1 of 2.
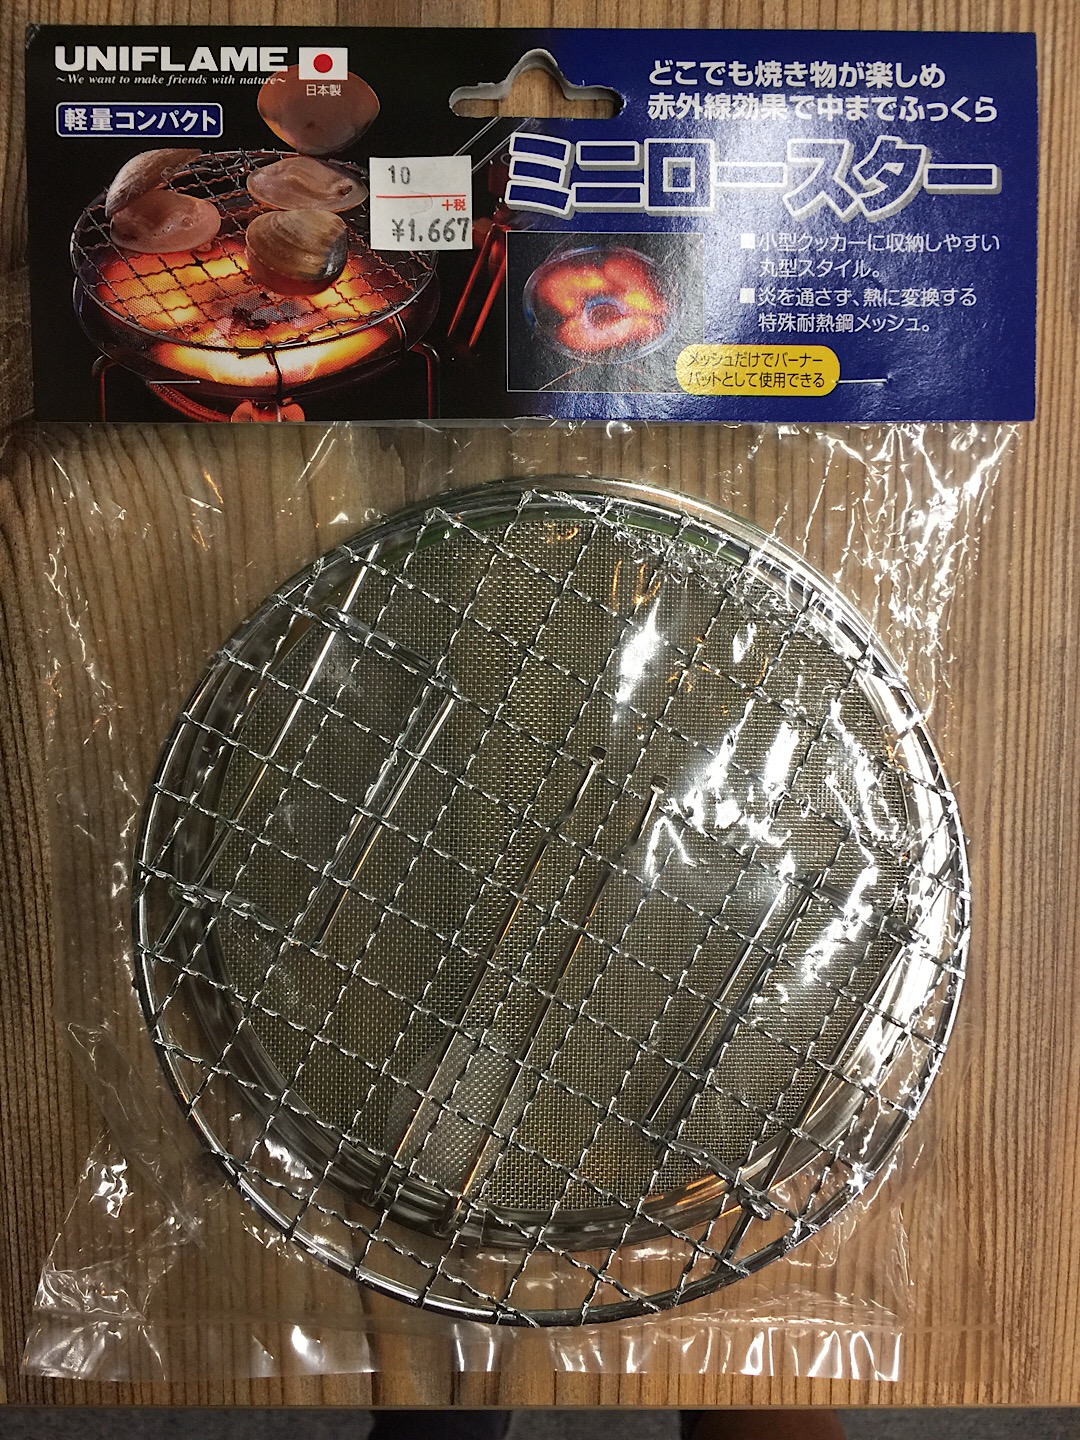
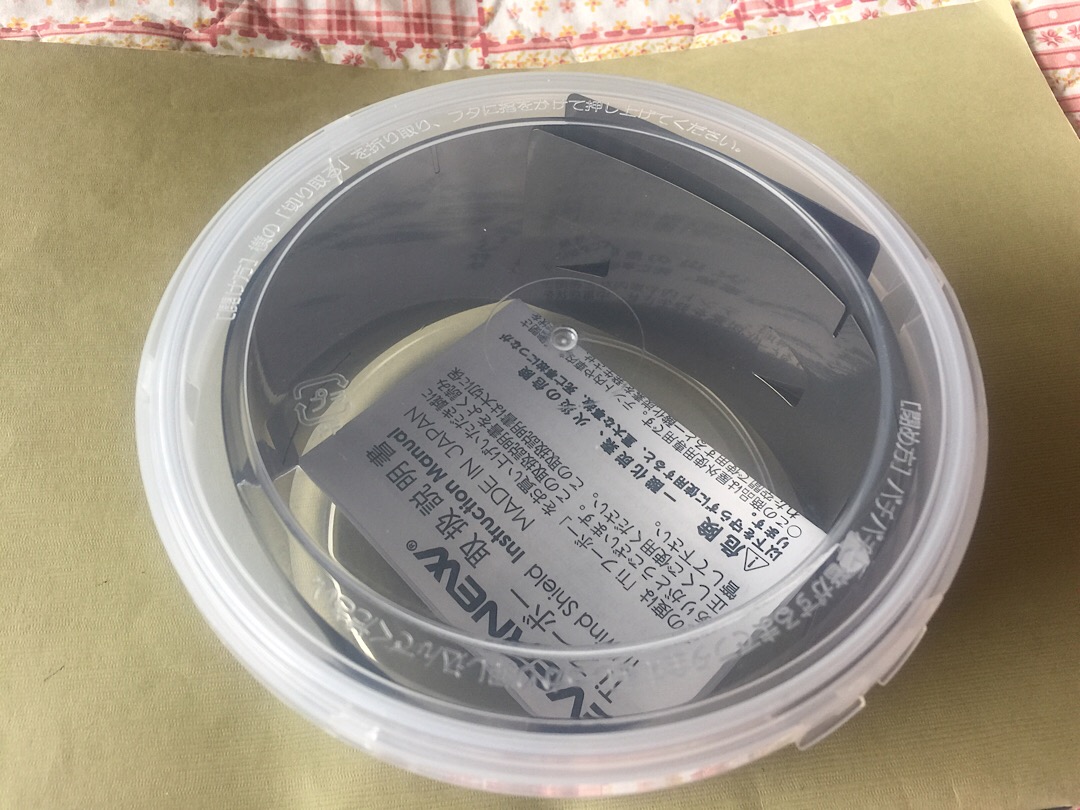
Forgive these TWO long posts, but if you are considering purchasing one of these, this discussion might be informative. I selected an unopened product – as far as I could tell – as the seal flap (on the plastic bowl rim) was unbroken.

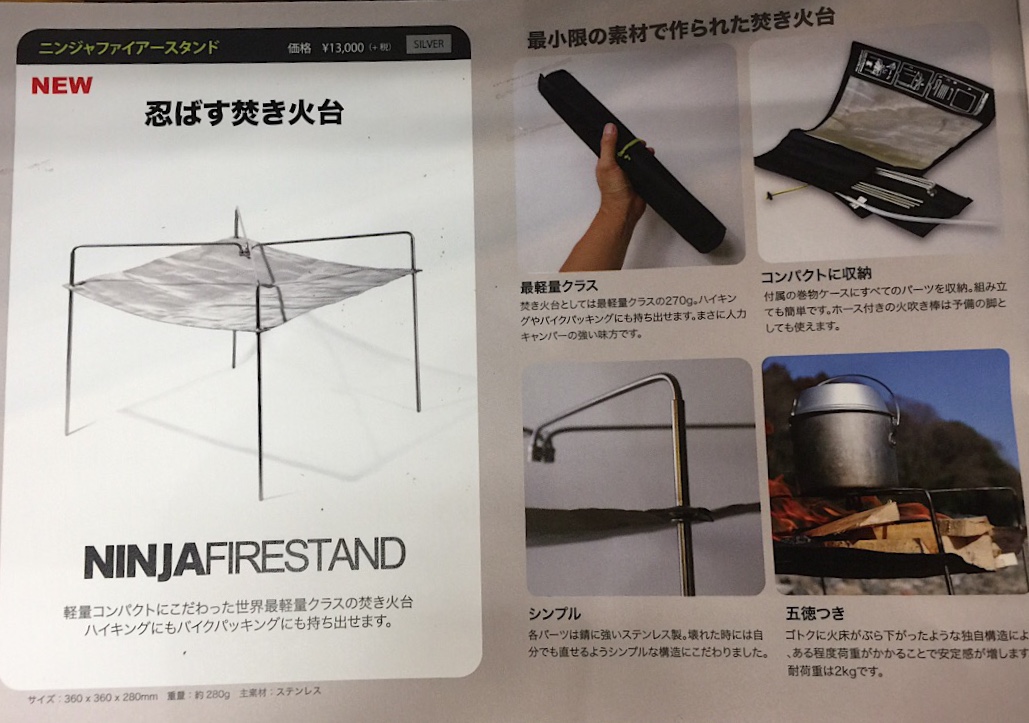
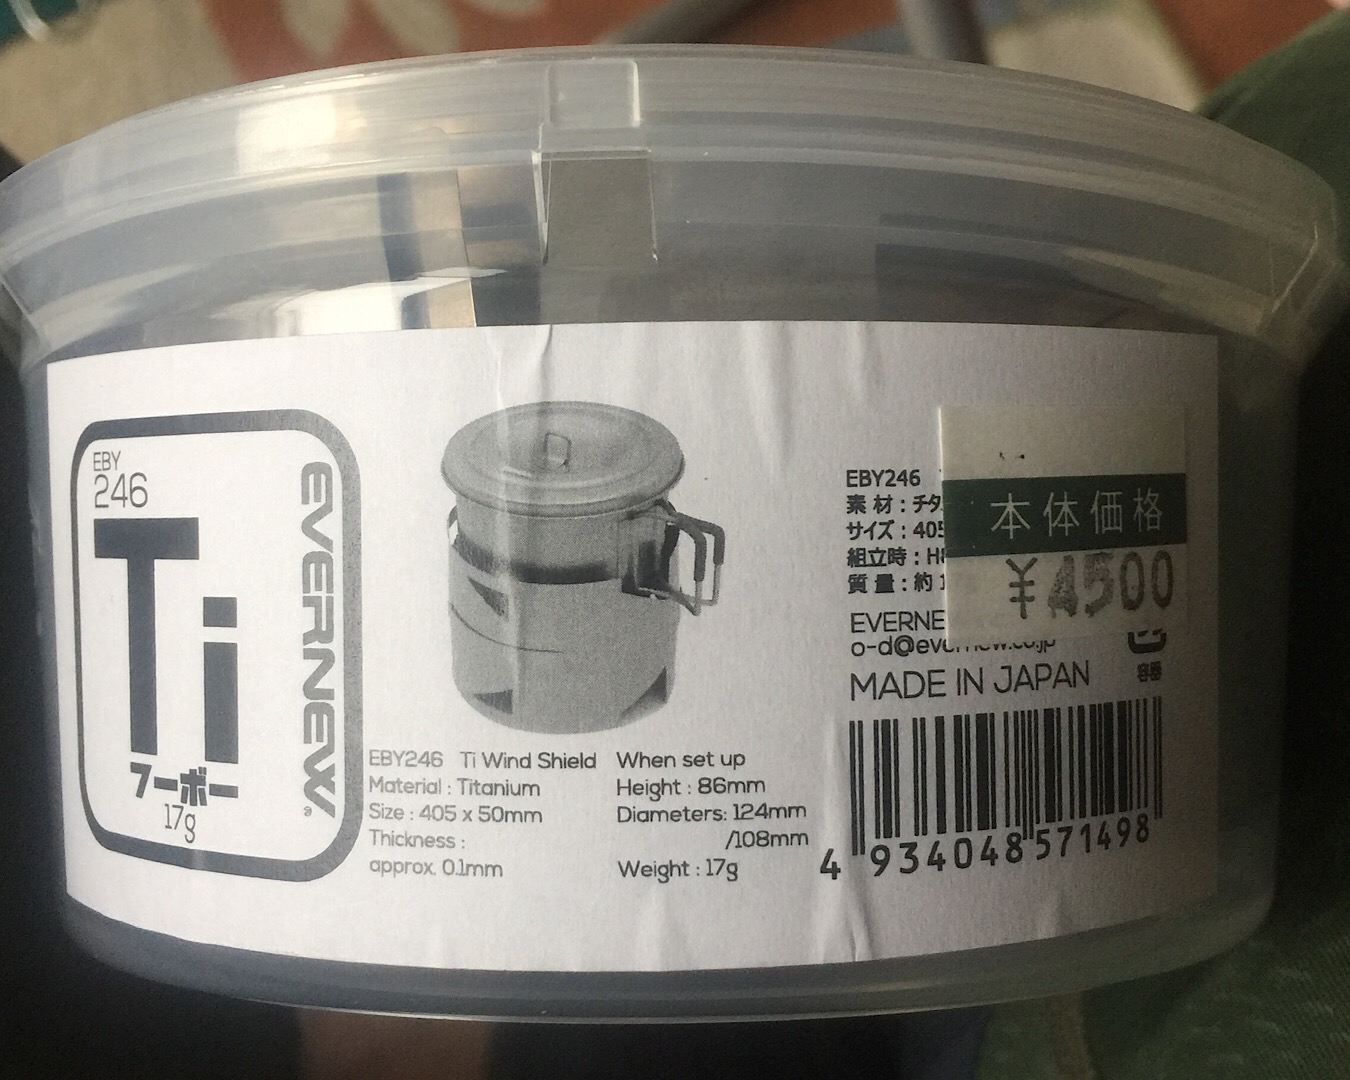
Note the flaps of both coiled parts are out, not in. Here’s the brochure:
NOTE THEY ADVOCATE WEARING GLOVES FOR ASSEMBLY, AND TO KEEP THE FACE AWAY FROM THE PRODUCT.
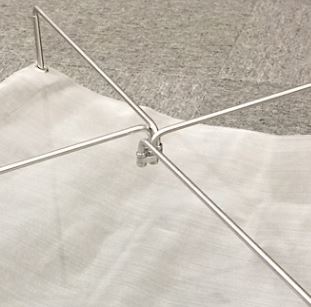
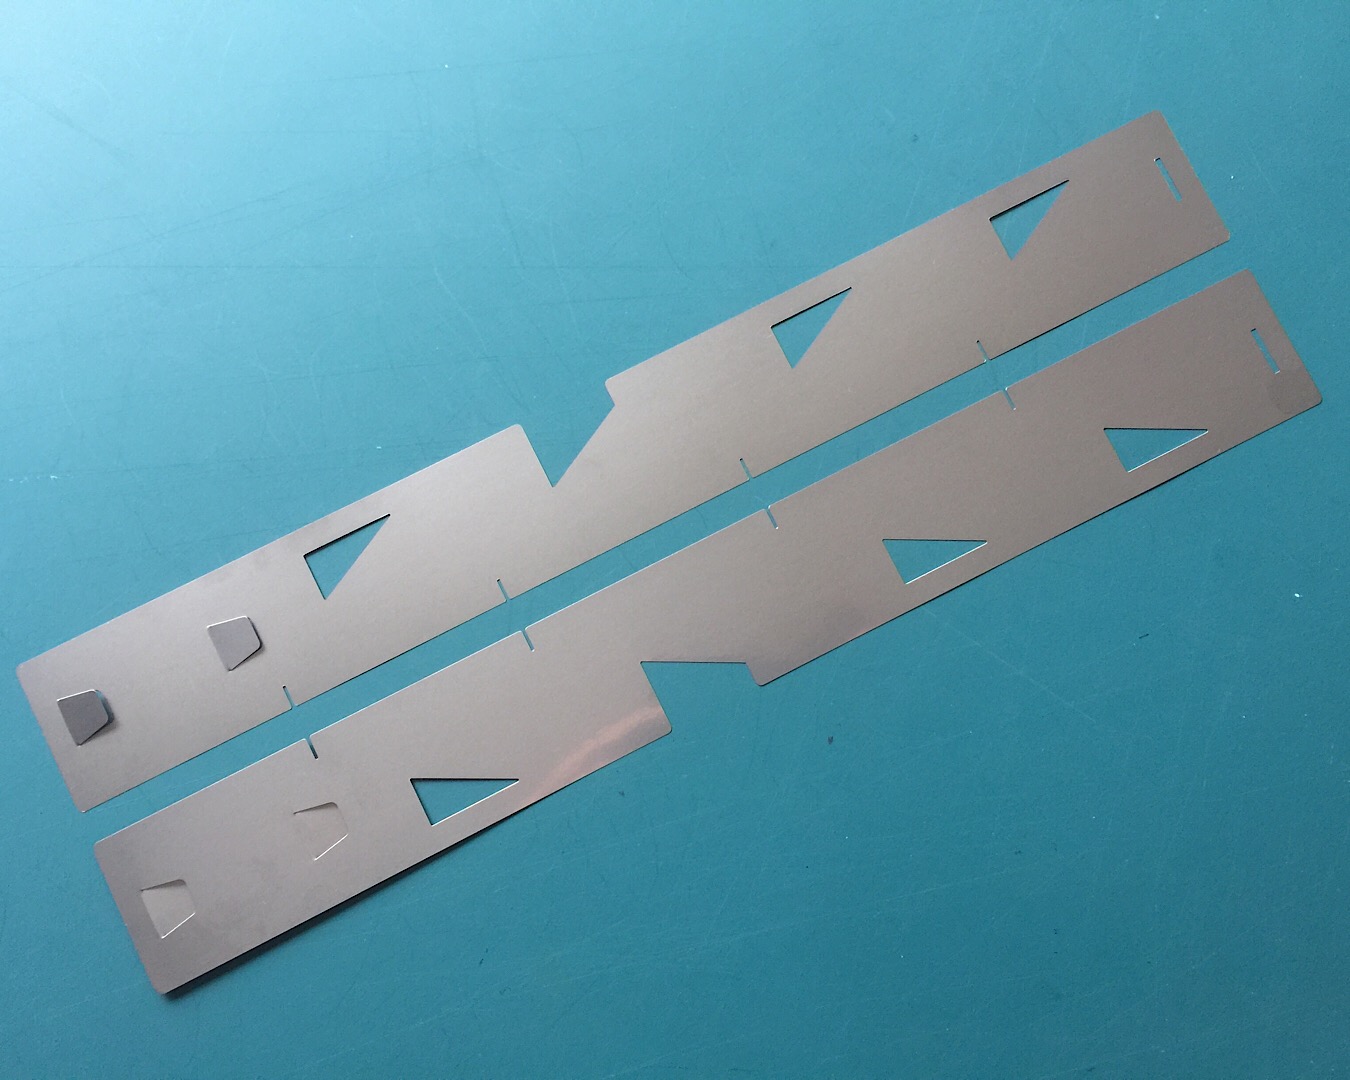
It consists of two parts, which in my case were identical to each other – here shown 180* to each other.
Note that the two inside slits do NOT align with one another. This means that following the assembly instructions, THE TWO HALVES WILL NOT MATE i.e. with the flaps out as they instruct. Although they will mate by having one with the flap inside the assembly, this constrains the inner space. Either I was provided a product that was wrongly packaged, or more likely someone has decided for economy only to manufacture the one half, not realizing the mistake.
The problem is readily fixed by gently bending both flaps of one half (part) in the opposite direction, Then, when the two halves are fitted together, they mate with both flaps out.
So in the above photo, the upper half has both flaps up, while the lower half has both flaps down.
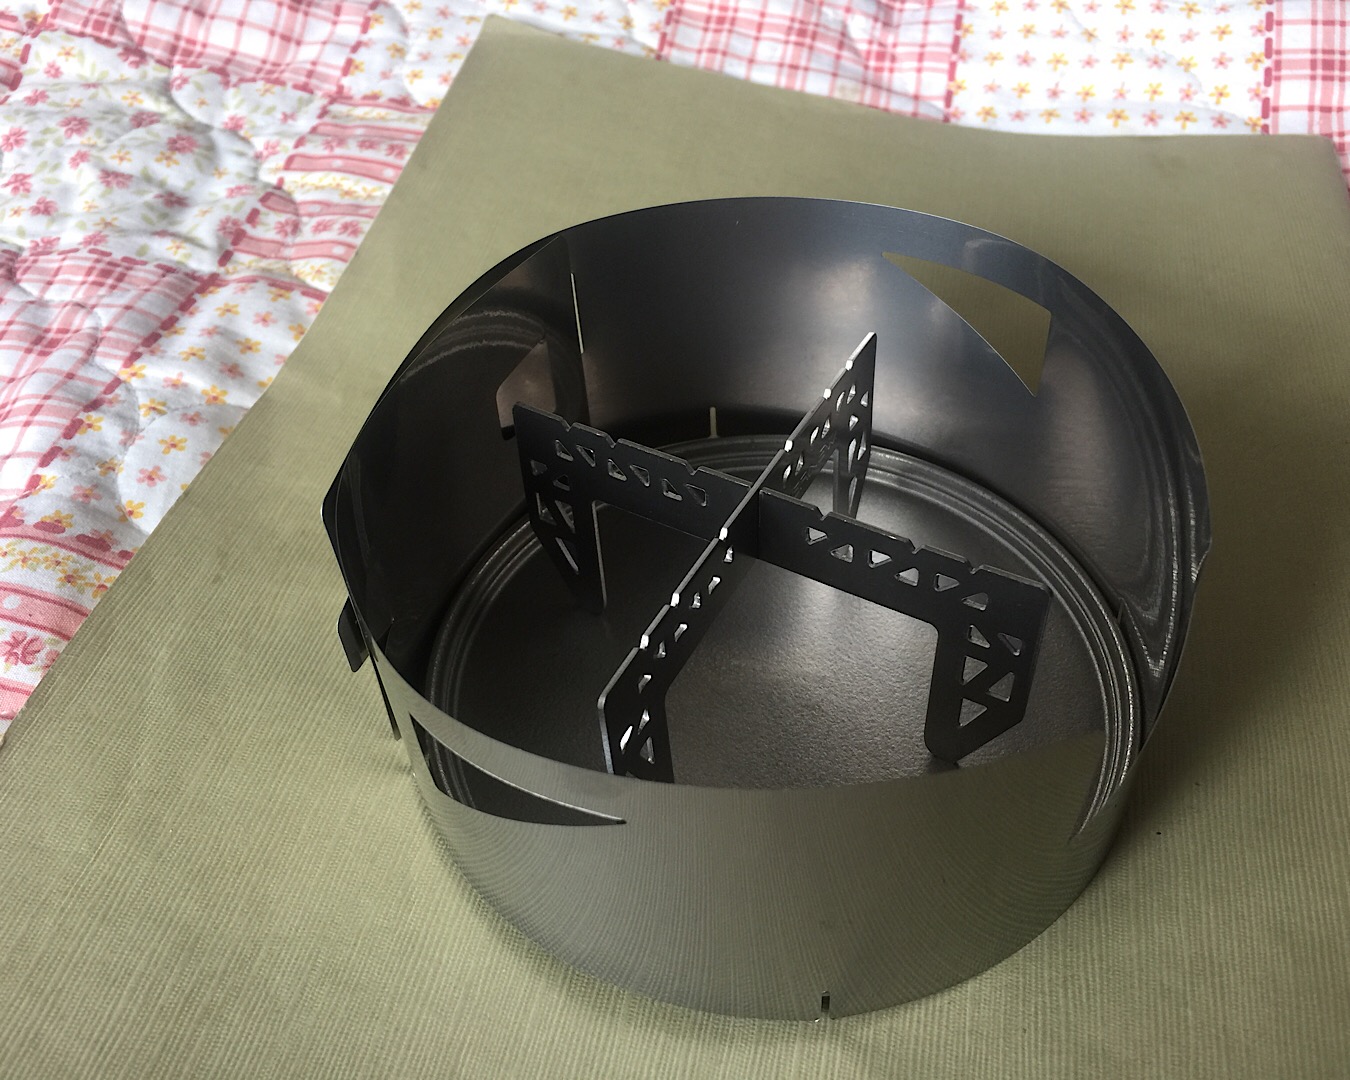
Here’s the two halves, one at left in small size using the closer flap, the other at right in large size using the further flap, with MulTi plate/lid and TriveTi, and Evernew 400 cup/pot. They won’t mate like that of course, but by having both small or large provides the option in diameter.
First, the smaller size using the closer flap is designed for the 400 cup/pot, using only one half ring with MulTi dish and TriveTi for Esbit:
[Kindly continue to Post 2 of 2 —>].
 </p>
</p>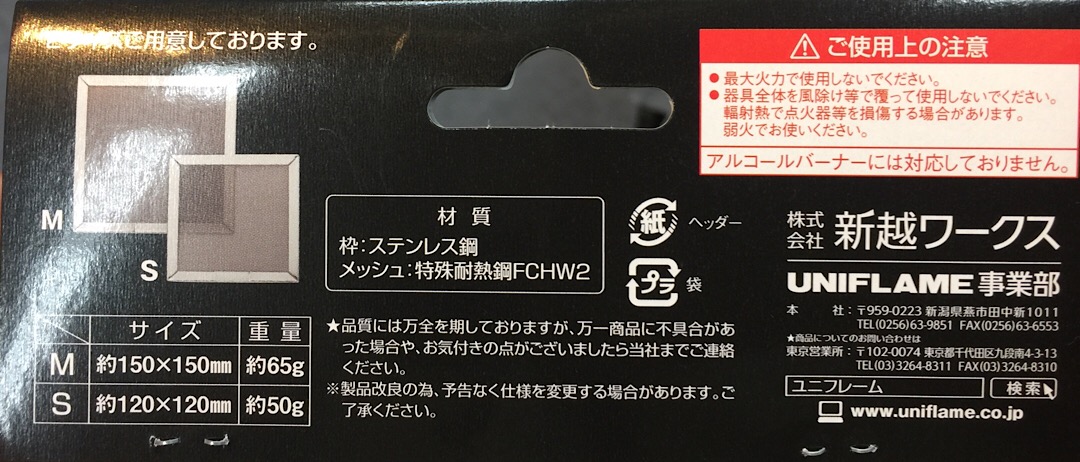


