Topic
Esbit burner testing
Forum Posting
A Membership is required to post in the forums. Login or become a member to post in the member forums!
Home › Forums › Gear Forums › Gear (General) › Esbit burner testing
- This topic has 906 replies, 4 voices, and was last updated 1 year ago by
 DAN-Y.
-
AuthorPosts
-
Jun 14, 2017 at 12:42 am #3473274
- As regards Step 8, Positive method of lighting Esbit, it is my personal belief that each inidiviual backpacker should be accompanied by a man – or woman – in red vest carrying a fluorescent flag and blowing a whistle, while the ignition procedure is followed.
Jun 14, 2017 at 4:47 am #3473281Dan, I missed the windscreen photo you posted earlier.

Looks as if it could be very efficient once the intake/exhaust is tuned but a bit problematic on the trail due to size and pot access.
Jun 14, 2017 at 1:59 pm #3473333On the windscreen I have to add 1, maybe 2 intake holes and then cut and fold over the top 1″ to funnel the hot air onto the lid. That might put the water temps into the boil range. No to shaby for 1 esbit cube.
Jun 16, 2017 at 2:17 am #3473613I hope there is a realizable product available at the end of all this. I would certainly be interested in purchasing same, depending on its characteristics. By the by, there is a titanium product maker in China that I have the address of somewhere, I was quite impressed with their products and service, if any potential product maker is interested (Dan?). They make Ti stakes, also bike parts, among other goods. I have long thought that a titanium redesign of my Meta-71 set above would make a nice little cottage product for someone to make and sell, but I’m not prepared to do so myself. There were also some rather lovely explorations going on in Japan some time ago, woodstoves, if I recall, but I’ve not seen anything particularly outstanding actually on sale there.
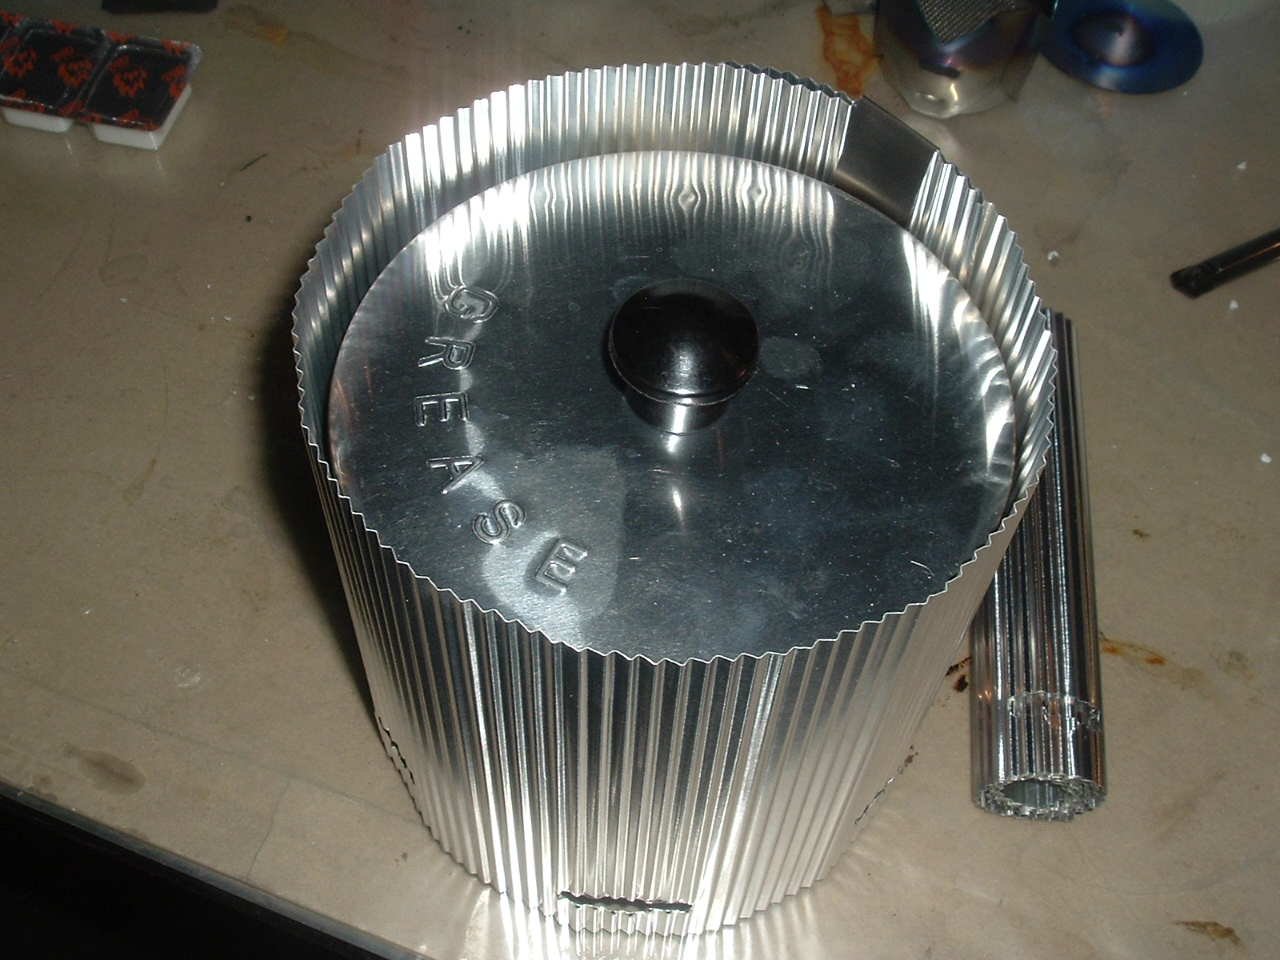
Jun 16, 2017 at 6:30 am #3473623@bobmny10562, that windscreen is 6″ tall and rolls up quite nicely. You can see one that is rolled up in the photo, laying flat on table. Because of the corrugations, it allows hot air to pass along side of the entire pot, much better than Caldera Cone. The windscreen can be placed in close proximity to the pot, even to the point of touching the pot’s lid. Yesterday I took the time to cut slits into the windscreen and today I will form the top 1″ to curve over the lid and do a couple tests.
@rmeurant, there are some commercial table top stoves used in oriental restaurants that are interesting. Later today I’ll google around and see if I can locate 1 or 2.After all this testing and fact gathering I’ve put together a stove package that some might find interesting. I’ll offer it here in limited quantities next week. The stove design is such that it acts as it’s own wind blocker/screen for the stove. A breeze has little effect on the flame inside the stove.
Jun 19, 2017 at 5:46 am #3473972Some info from Nick Gatel’s site:
In winter I often bring a backup BIC Mini, as the inability to start a fire could be life threatening or worse. The past 3 years or so I have been taking a BIC Mini Electronic on snow trips. The piezo has worked fine at high altitude up to around 12,000 feet. Beyond that it doesn’t work.
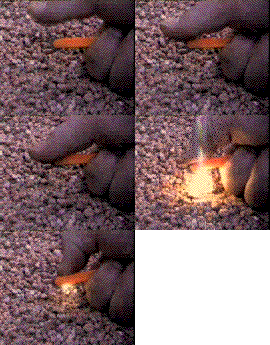
Heavier than the regular BIC (also available in the classic size), it has two advantages. It is easier to light and if it gets wet, it only takes a couple minutes or less to start working again. Sometimes I take a Mini Electronic when I will be using Esbit fuel as the fuel sometimes requires the flame to be applied to the Esbit cube for a few seconds. It is easy to light the BIC Mini Electronic with a forefinger instead of a thumb, which makes it easier to hold it to the Esbit cube. This would be helpful if you are a chimpanzee.Jun 19, 2017 at 5:59 am #3473974I just tear off a teensy piece of PJCB and stick it to the tab. Light with ferro rod.
 Jun 19, 2017 at 6:57 am #3473983Jun 19, 2017 at 11:13 am #3474037
Couple of suggestions, Dan. Angle the grooves. This will hold the heated air longer against the stove sides and not impede air flow. I think a less conductive, insulating material over the outside (like a carbon fiber felt) will allow less heat loss out of the outside. If you haven’t added some 1/8-1/4″ grooves to the bottom of the pot, this will also help about 5-10% with heat absorption (a HE only adds to the surface area of the bottom of the pot, you can approximate this with a series of grooves after annealing the aluminum bottom.)
Jun 19, 2017 at 7:21 pm #3474132I’ve pushed the grease pot to it’s limit, actually my limits :-) Today I crimped the windscreen a little more over the lid and did 2 tests using the large 14 gram esbits. 4 cups starting temps at 74, water never boiled but got up to 200 and one at 202. That’s what I was able to capture using the corrugated straight wall windscreen. That’s as far as I want to go on this project.
As i started one of the tests i spilled some water on an esbit cube and it quickly wanted to deteriorate. 1/3 of it quickly fell off one side. Didn’t know it was so susceptible to water.
Marco, thanks for the suggestions :-)
Jun 20, 2017 at 5:30 am #3474172Thus the Holy Grail remains tantalizingly out of reach!
Nice try, Sr. Quixote. :^)
IIRC best I ever got was 192, but I think starting water was somewhat cooler. However in most cases 200 and 202 (and even 192) are going to be more than good enough.
Jun 20, 2017 at 7:56 am #3474184Ok for filtered water, nice try.
Jun 20, 2017 at 11:03 am #3474243My water comes from a well, enriched with lime. no filtering :-) I’m a country boy

Bob, there is always another day to try something different. My new esbit burner design with integrated pot support combined with a straight wall, ridge supported straight wall support and then a corrugated windscreen along side the pot to include the rolled over the top of pot design might get me a little closer. Nothing Ventured, Nothing Gained :-)
Jun 20, 2017 at 12:14 pm #3474262I meant the temperature reached, ok for hot meals and drink on the trail.
Jun 21, 2017 at 1:30 pm #3474472 Jun 21, 2017 at 2:25 pm #3474507
Ok for filtered water, nice try.
As long as the temperature reaches 185°F for 5 minutes you’re good to go. In this instance, the longer time to boil is an advantage. ;^)
(See page 5 of this thread.)
Jun 21, 2017 at 2:41 pm #3474516Dunno what “felony” Ken Larson committed above to have the text removed and I don’t care.
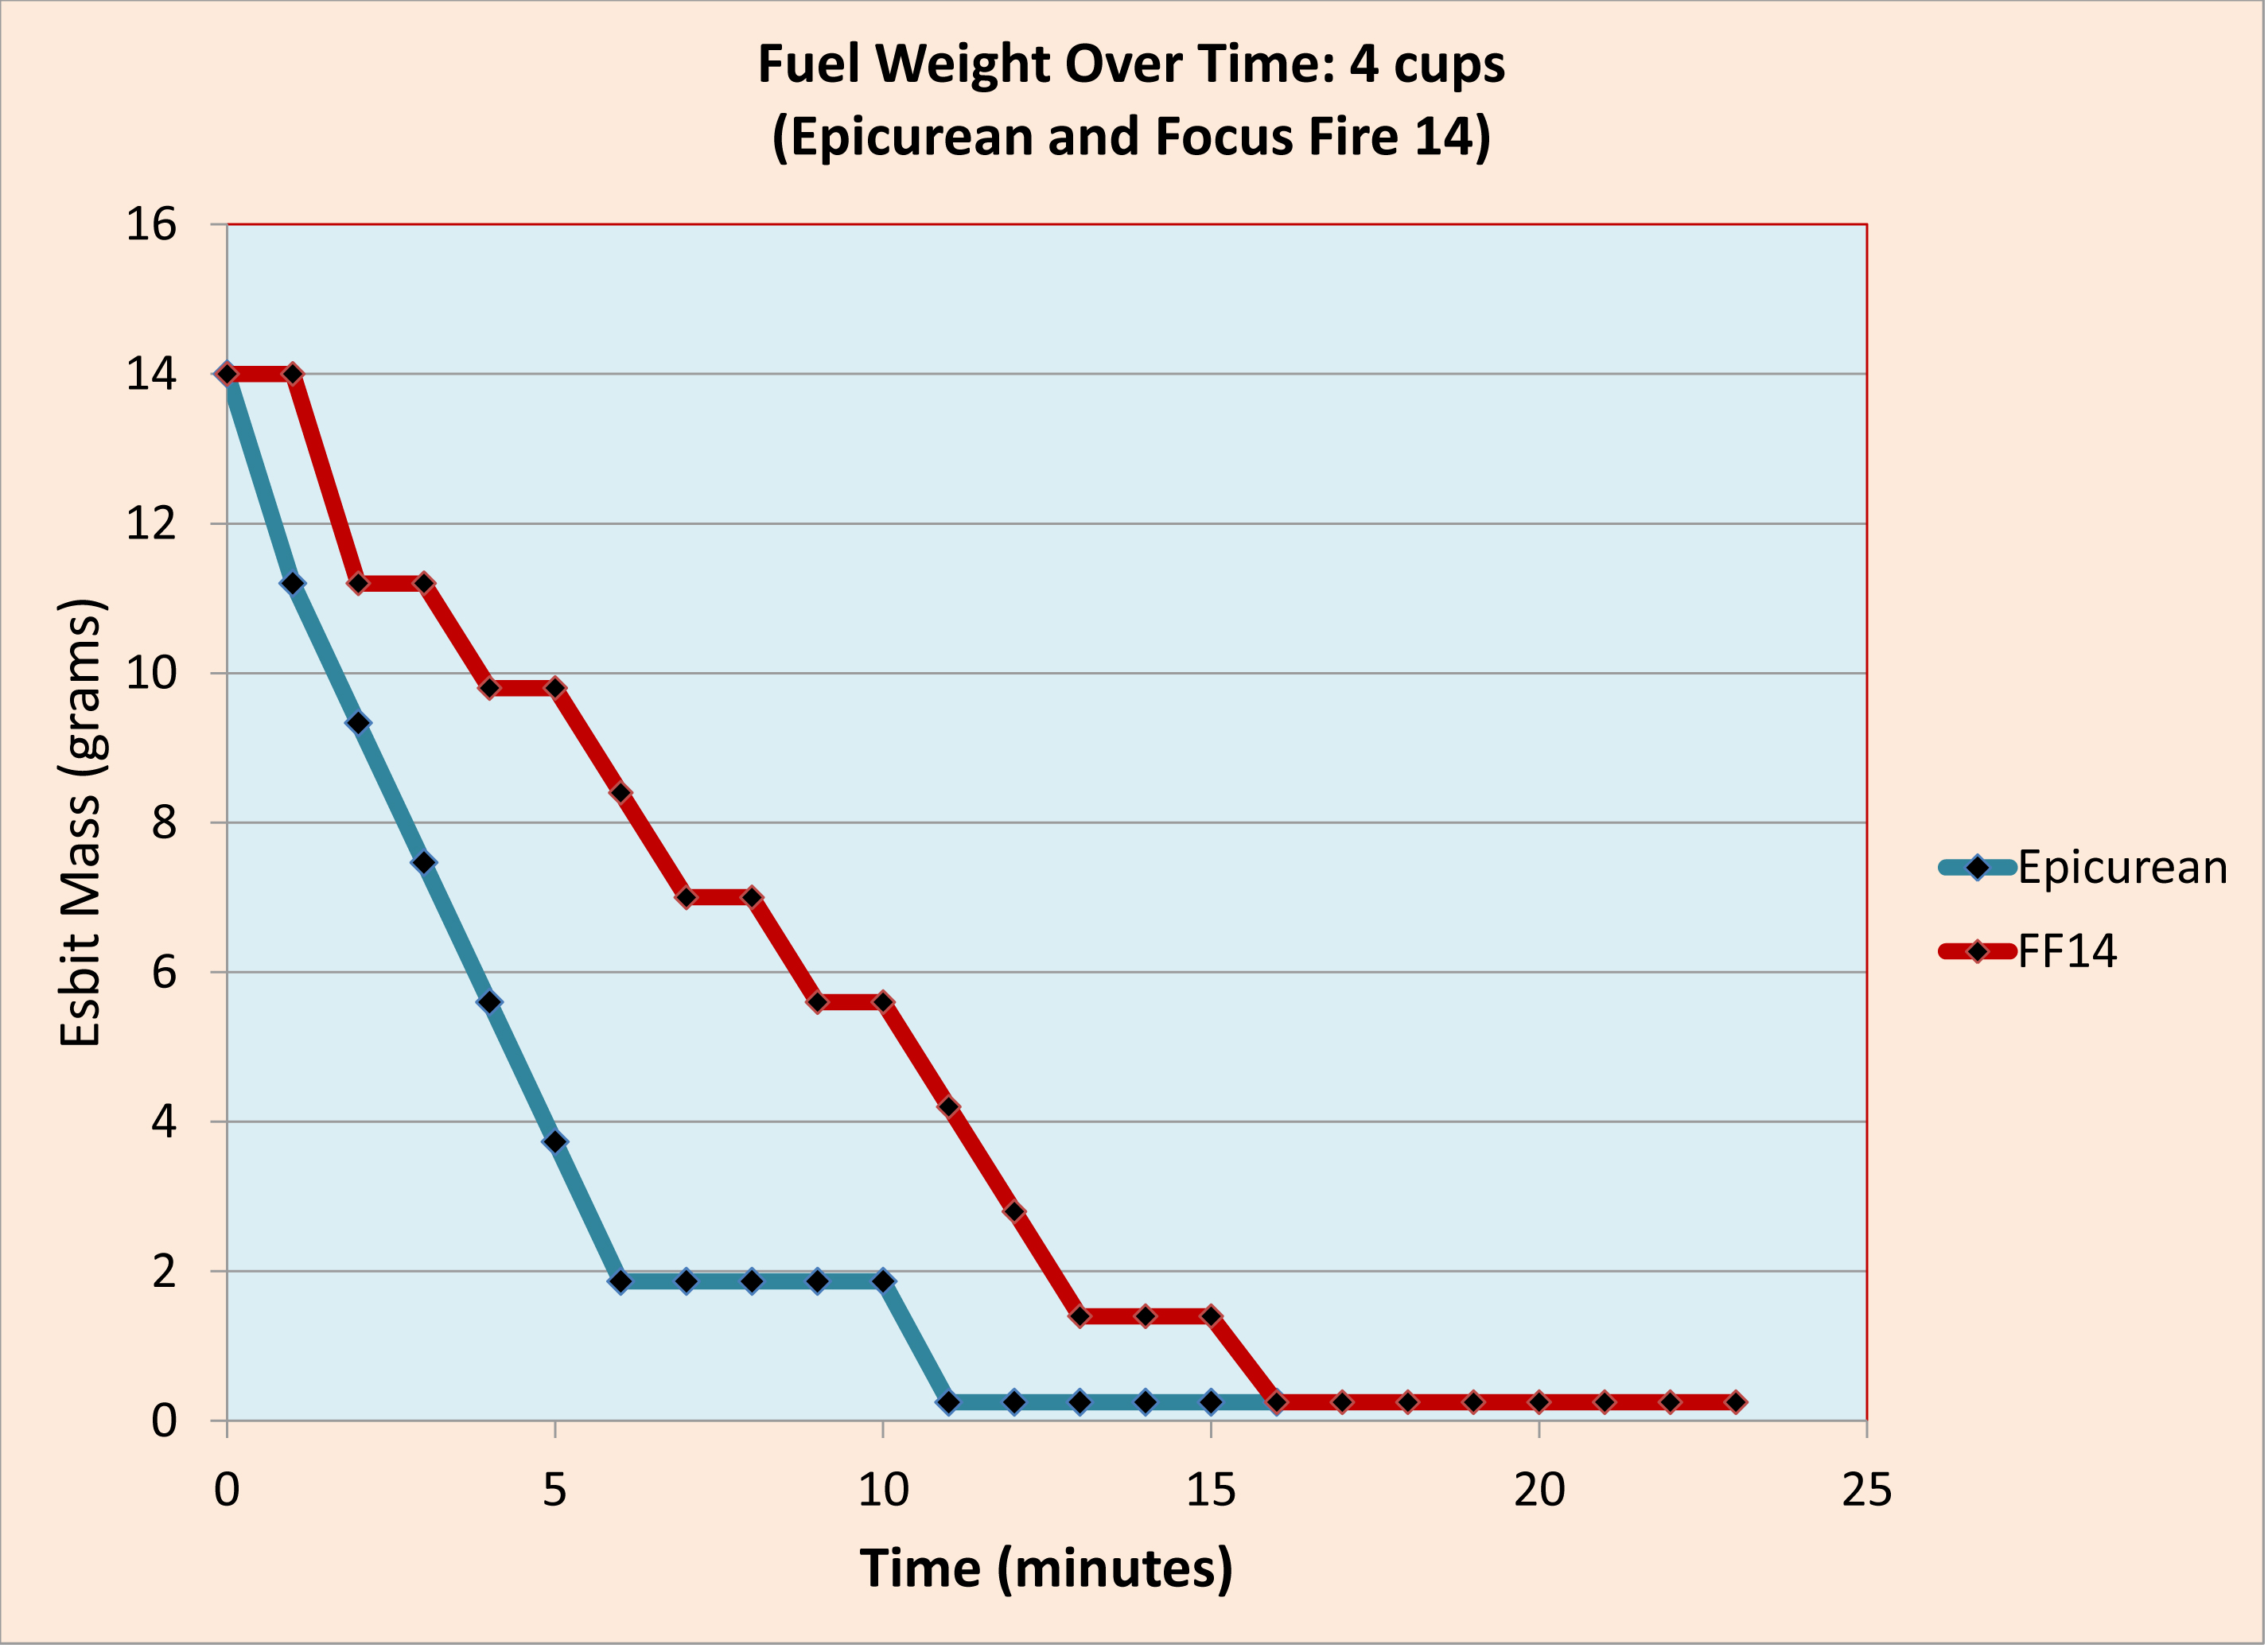
What I REALLY want to know is how do the Focus Fire and the Epicurean burners compare?
I have a Focus Fire and saw no improvement when my pot was at the proper distance from the burner. But when the pot was 3/4 inch higher the Focus Fire did improve the boil time (by 12 sec.) compared to my “bare” BEGT burner.
@ dan-> Where do you buy the corrugated aluminum sheeting?
Jun 21, 2017 at 3:59 pm #3474543Eric, google to watch the video: Feel the burn, an Esbit burning test by FLAT CAT GEAR
I make the corrugated aluminum windscreen.
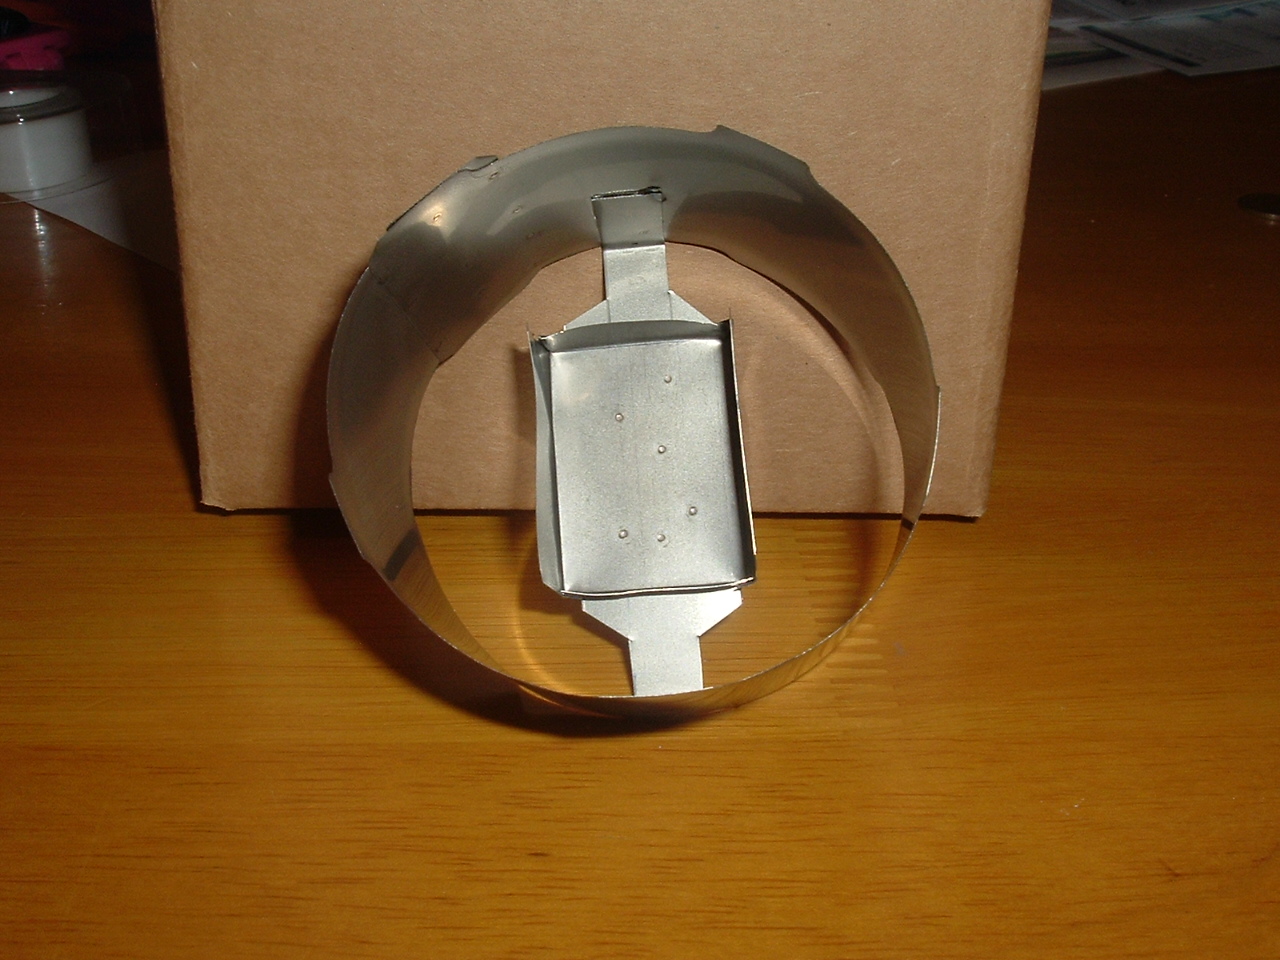
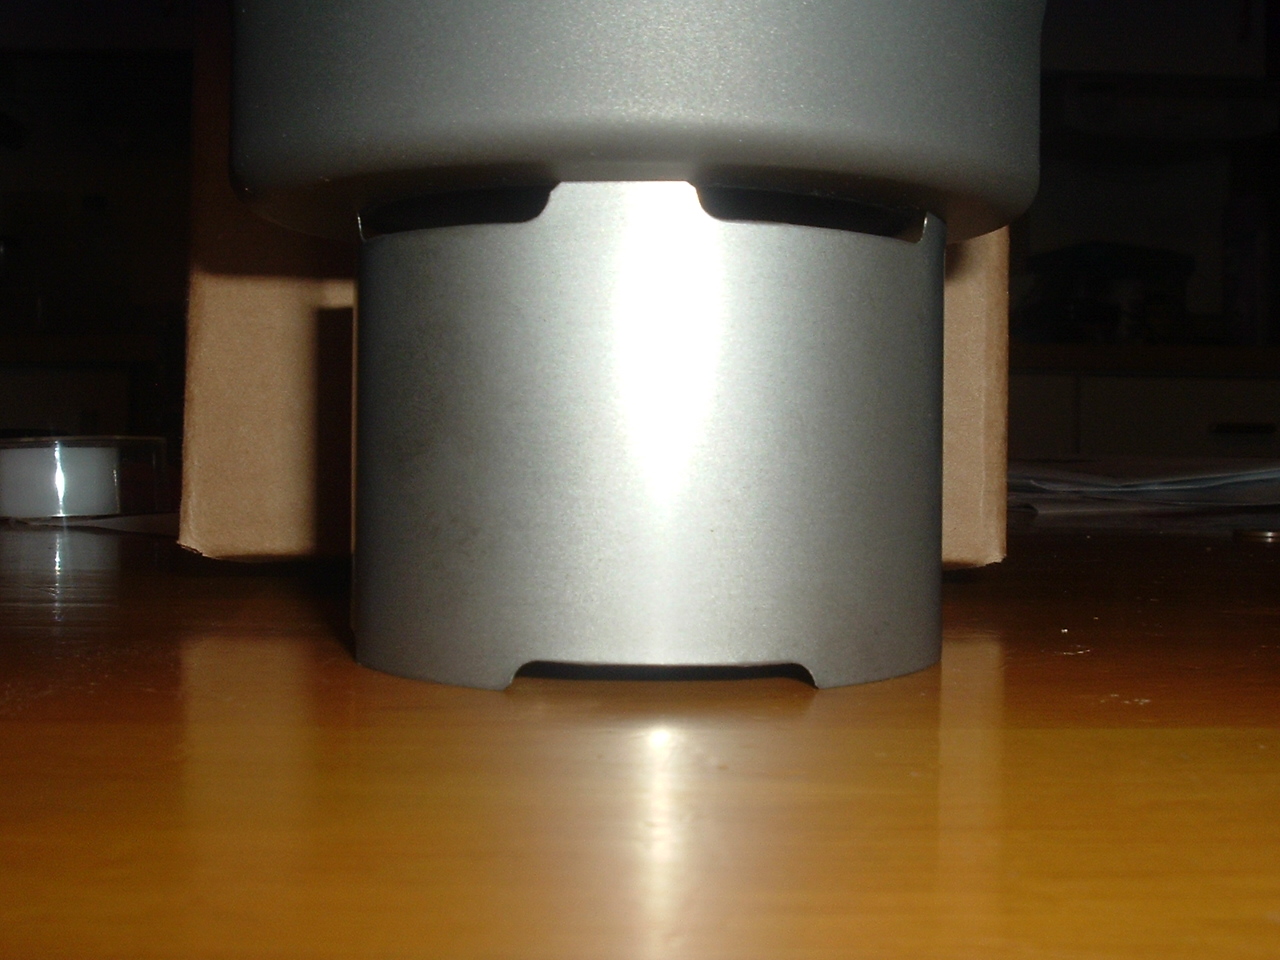
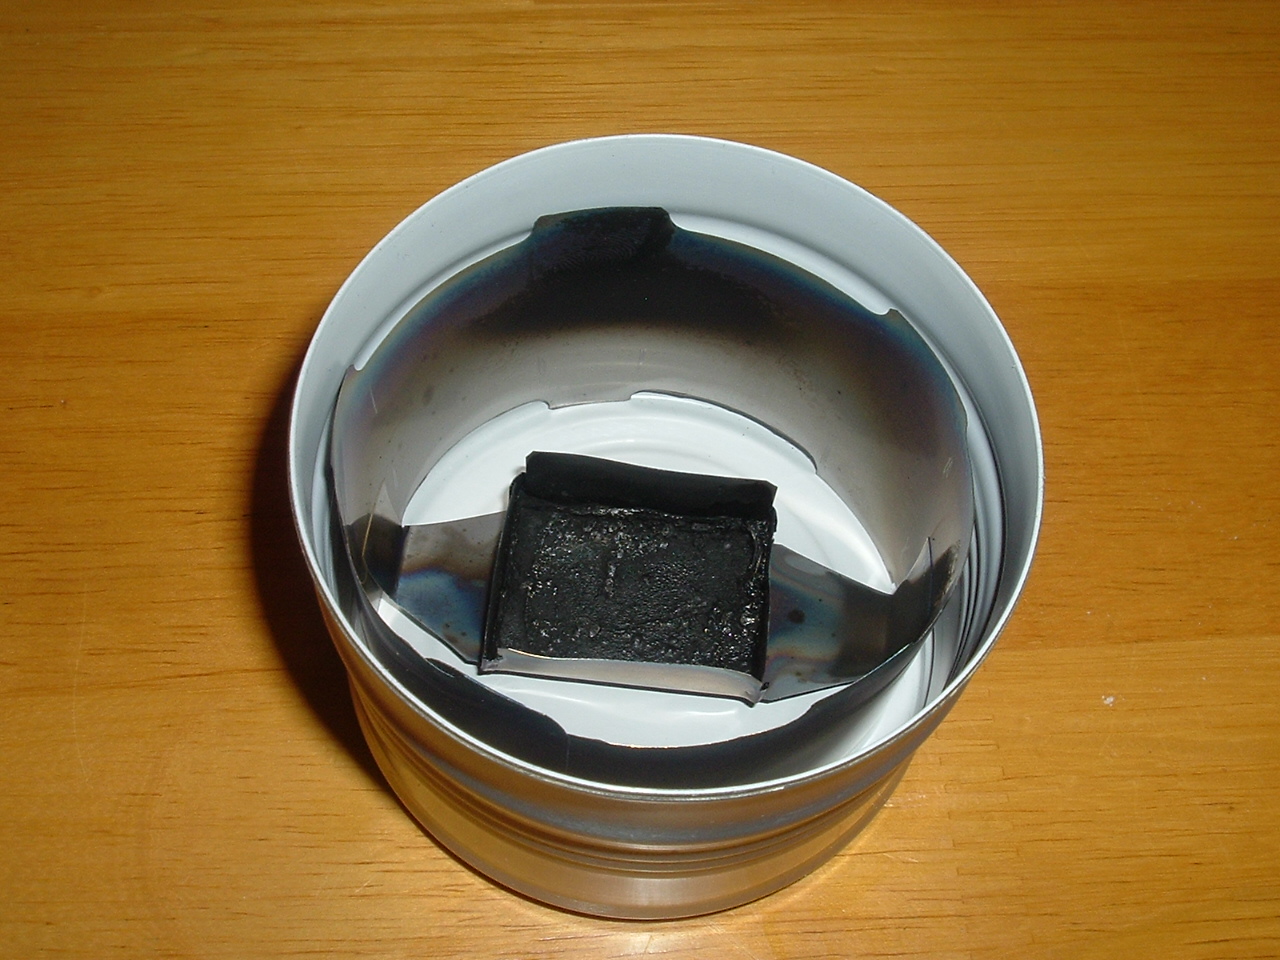
Jun 21, 2017 at 7:25 pm #3474592An 8 gram 1 piece titanium stove that incorporates a titanium BGET (Brian Green Esbit Tray with bread pan corners. It’s 3″ in diameter. Fits nice under a Toaks 650 Light Ti pot. So that’s the latest delivery system that has been tested here. Now all I have to do is make a video showing the flame pattern under the 650 and how easy it is to light with a Jet Torch. (did you notice in Jon’s video how it took a while to light the esbit using a Bic long nosed lighter?) If you missed it, go back and watch it a 2nd time. Also in his video you can see how the flame goes off to the side of the pot with a slight breeze,,,that doesn’t happen with this new design of mine. The flame is stable because it’s surrounded by a wall of titanium that protects it. Look at the photos.
One piece, all esbit is consumed. 8 grams.
I’ll see if I can get a video made by end of the day tomorrow.

 Jun 22, 2017 at 7:01 am #3474672
I like the look of this one Dan. It could be a good easy, fast compromise for those of us who are experimenting/using Vargo Bot 700s as pre-soaking pots in order to save fuel use and time (basically just heat up to desired temperature). In that case, the amount of esbit required for a typical meal up to say 100-120F is fairly low, a full windscreen isn’t required, nor essential (like, if its colder, windier, and you only heat to 95F with say your planned 4g tab, its likely “cooked”, and still very much edible).
Wondering what your thoughts are on storing it in the pack? I mean, the obvious is inside the pot (in a bag inside the stove, esbit goo in your pot, ick). If in pre-soak mode using a BOT 700, then the stove wouldn’t be in the pot, so it would have to go elsewhere.
Is the titanium ring flexible yet sturdy enough to say go in a pack mesh pocket without damage to the ring or the BGET tray?
On a fast and light hike, eg a thru-hike FKT, one would sometime in the afternoon (at a water source), dump in the freeze dried meal, water at whatever temp, screw up BOT 700, put BOT 700 in side bottle pocket, continue moving (that would take someone efficient possibly only 30seconds, unless the water needs treatment). Then later when you want, flick out this stove say from the back mesh pocket, chuck in a 4g tab, light, stick BOT 700 from side pocket straight on with lid unscrewed and flipped. Again a 30second process to get started if you are efficient. Wait what, 4 minutes, esbit is out, stir, eat a few spoonfuls, stove will now be cold, put it back in mesh pocket while eating, keep eating, finish food, slap in 100ml of water to bot, screw lid, shake, drink it, more water, screw tight, keep moving. Sloshing water will keep cleaning it. Camp. Finish cleaning BOT not sure when (in Aus and most places I usually use a piece of foliage to wipe out my cooking implements, doesn’t take long).
Something like that. The idea being to minimise seconds of time where possible in the process of getting rehydrated food inside you by minimising futzing around with gear, minimise fuel weight and time through the presoak method, maximise time spent hiking particularly in daylight on long fast thru hikes, combined with the concept of going to sleep as soon as you make camp (so that you don’t need as much clothing insulation while you sit around and cook).
Jun 22, 2017 at 11:57 am #3474757The stove will flex too much stored in an outside pocket by it’s self. I’m going to include an alumium cup with lid for the stove to be stored in. Stove, cup and lid weigh 30 grams. There is plenty of room left over to store at least 20 pieces(1 box) of 4 gram esbits with the stove. The photo shows stove inside aluminum cup/container, lid not shown.
 Jun 22, 2017 at 5:52 pm #3474841
What I REALLY want to know is how do the Focus Fire and the Epicurean burners compare?
Eric,
The answer to your questions are below:


The Epicurean Stainless Steel stove heated 4 cups of 70 F water up to 191 F
The Focus Fire 14 heated 4 cups of 70 F water up to 199 F
The higher the temperature, the more margin that a stove will have in real world usage. The Epicurean was designed for a dual heat level output to boil or dry bake. The Focus Fire 14 is just an experimental stove to better understand fuel efficiency. More details about the testing can be found here.
IMO, to boil 4 cups of 70 F water will require more than just a stove design: it will probably be a system level design (stove, pot & windscreen). It is probably technically viable, but I am not sure if most backpackers would want to deal with the overhead. My 2 cents.
Jun 22, 2017 at 8:02 pm #3474882Adam, here is a video of the stove showing it’s stability during a breeze situation and lighting it with a jet torch. it was a quick slap it together video

 Jun 22, 2017 at 8:24 pm #3474885
Base looks like it would dig into soft ground under weight of full pot. Maybe feet want to be folded horizontal.
Jun 22, 2017 at 9:08 pm #3474901 -
AuthorPosts
- You must be logged in to reply to this topic.
Forum Posting
A Membership is required to post in the forums. Login or become a member to post in the member forums!
Our Community Posts are Moderated
Backpacking Light community posts are moderated and here to foster helpful and positive discussions about lightweight backpacking. Please be mindful of our values and boundaries and review our Community Guidelines prior to posting.
Get the Newsletter
Gear Research & Discovery Tools
- Browse our curated Gear Shop
- See the latest Gear Deals and Sales
- Our Recommendations
- Search for Gear on Sale with the Gear Finder
- Used Gear Swap
- Member Gear Reviews and BPL Gear Review Articles
- Browse by Gear Type or Brand.

