


Yep
Topic
Become a member to post in the forums.
.
Yep
Some of you might remember my attempt to see just how light I could make a wood frame pack, https://backpackinglight.com/forums/topic/102455/ and https://backpackinglight.com/forums/topic/99890/ . While the finished product was attractive, carried great and received some positive feedback the final answer was “not that light.” (It failed in its second season)
I’d been dragging my heels on what to do next. I was sure that if I made the frame beefier and heavier it would hold up, but I am not that into frames. It was more of an experiment and I had my fun. At the same time I did like how the bag turned out and wanted to keep using it. Having the pack sit high on the frame gave a dedicated place for my shelter, wet or dry, below the rest of my gear where it didn’t hit the ground and having the water bottles angle in made for the easiest access of anything I’ve had.
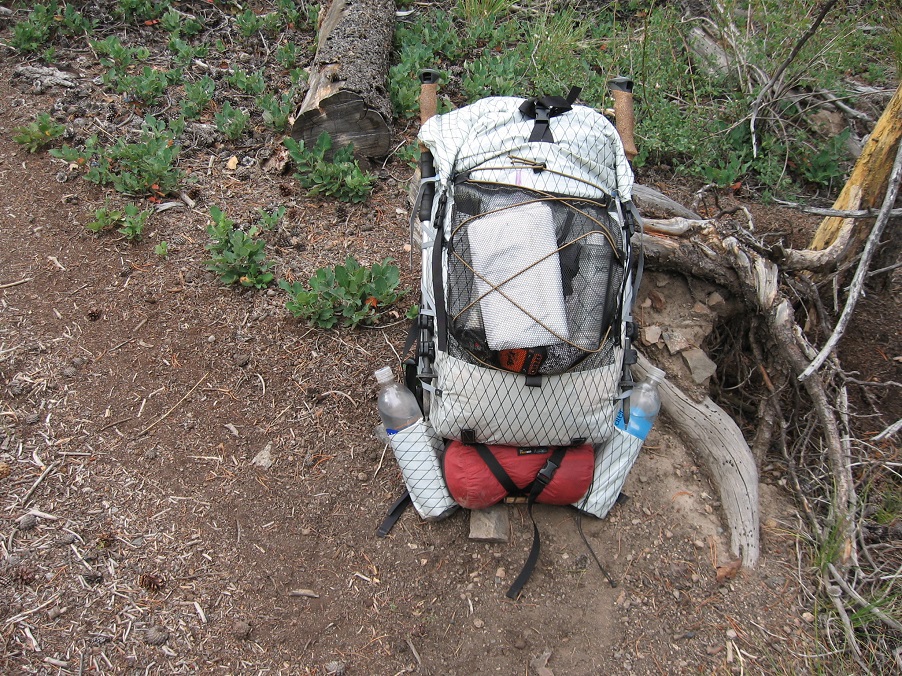
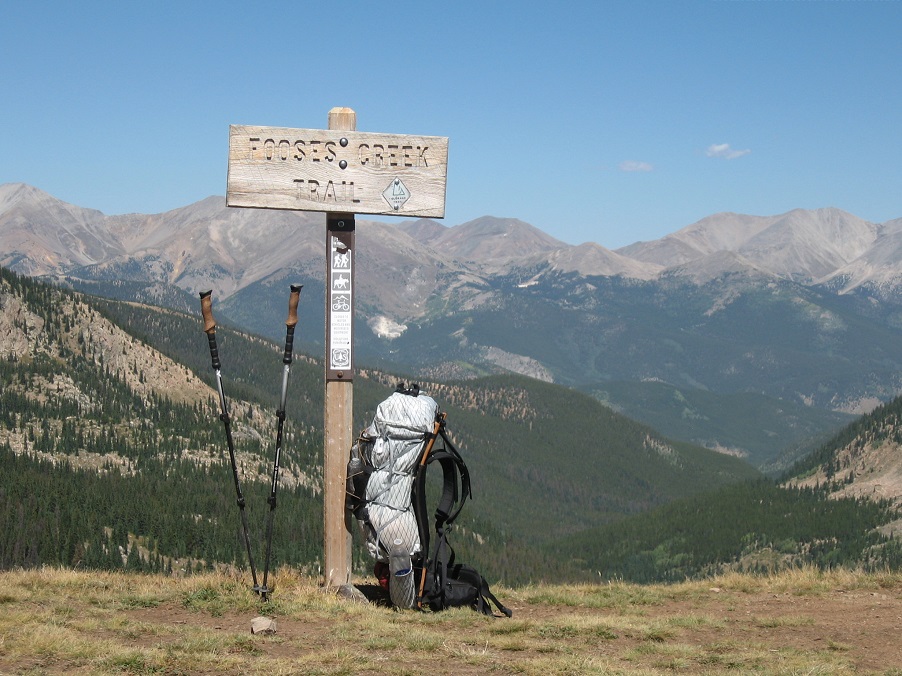
So, what to do? Well, I took the easy way out.
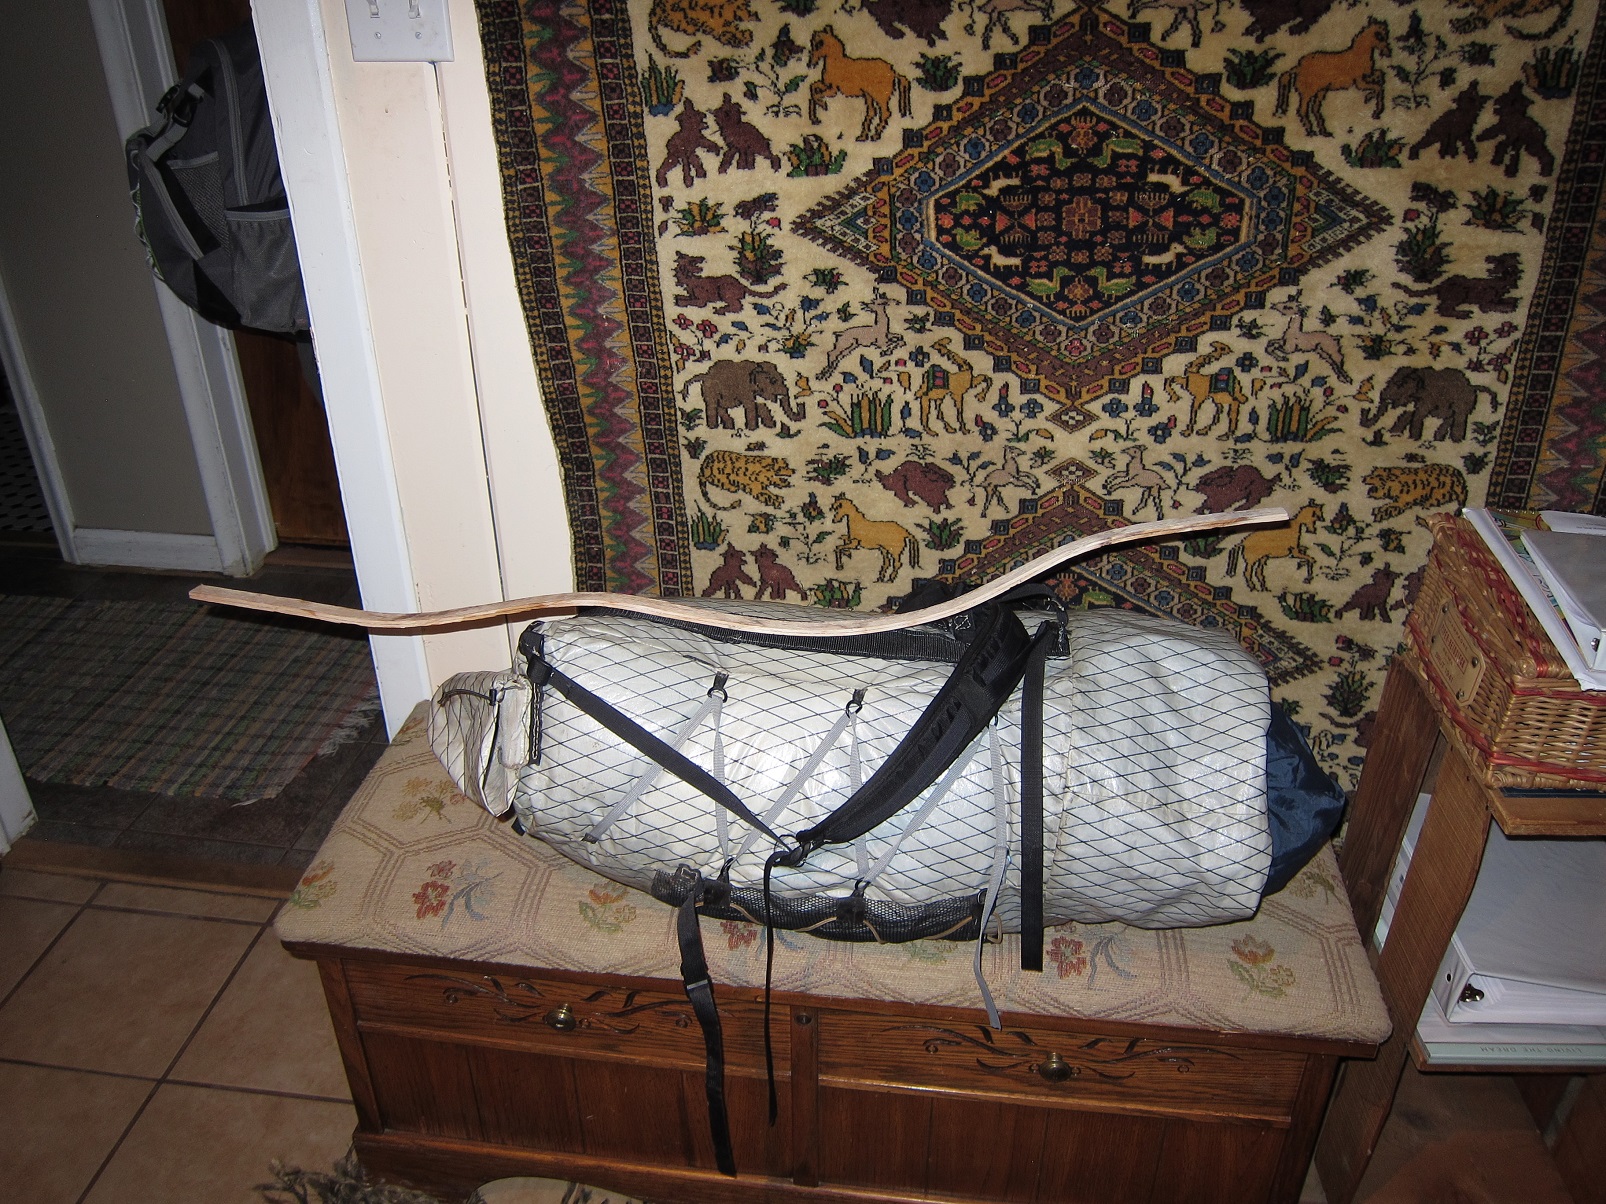
First step was to bend and glue up some more strips. This time they will be kept at 1” wide but only two ply, so I soaked the strips and dried them on the form for a week so they would have some memory before I epoxied them.
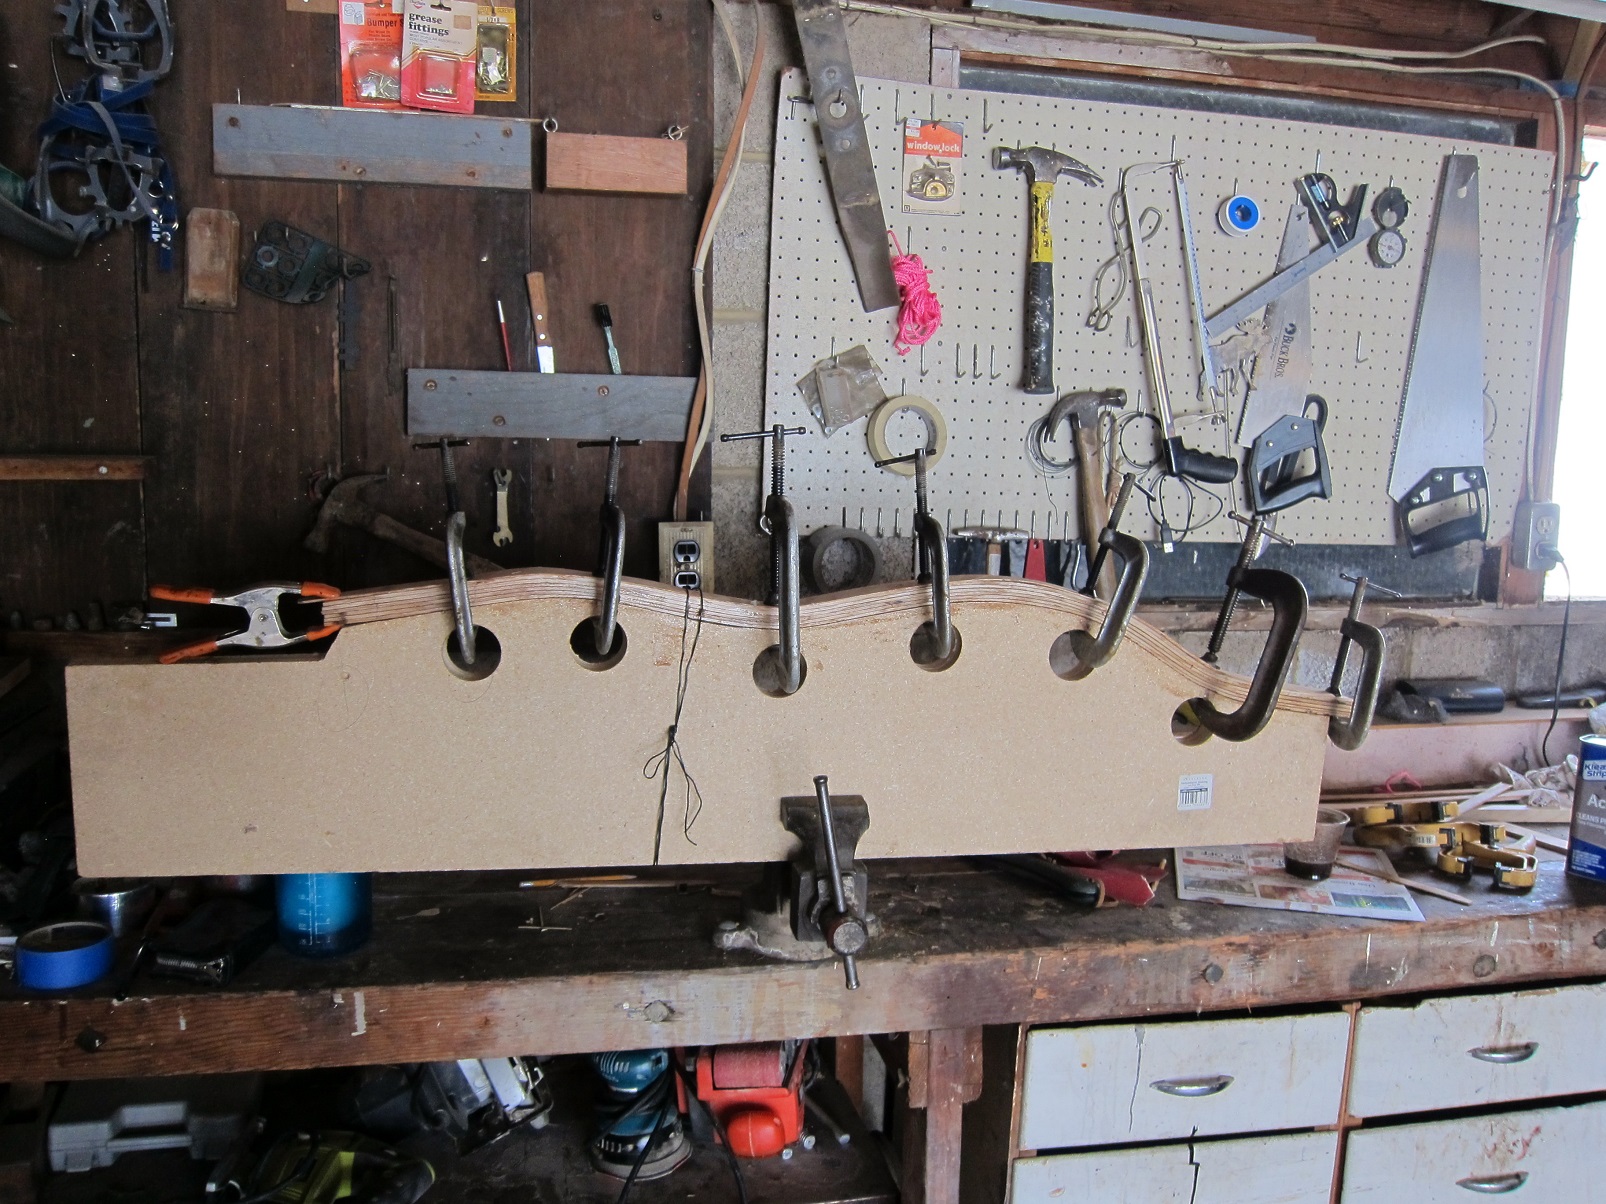
While the wet strips were drying on the form I turned my attention to the bag. All unneeded straps were cut off (leaving lots of little hole to seal later). Then I sewed two sleeves of 2” webbing down the back.
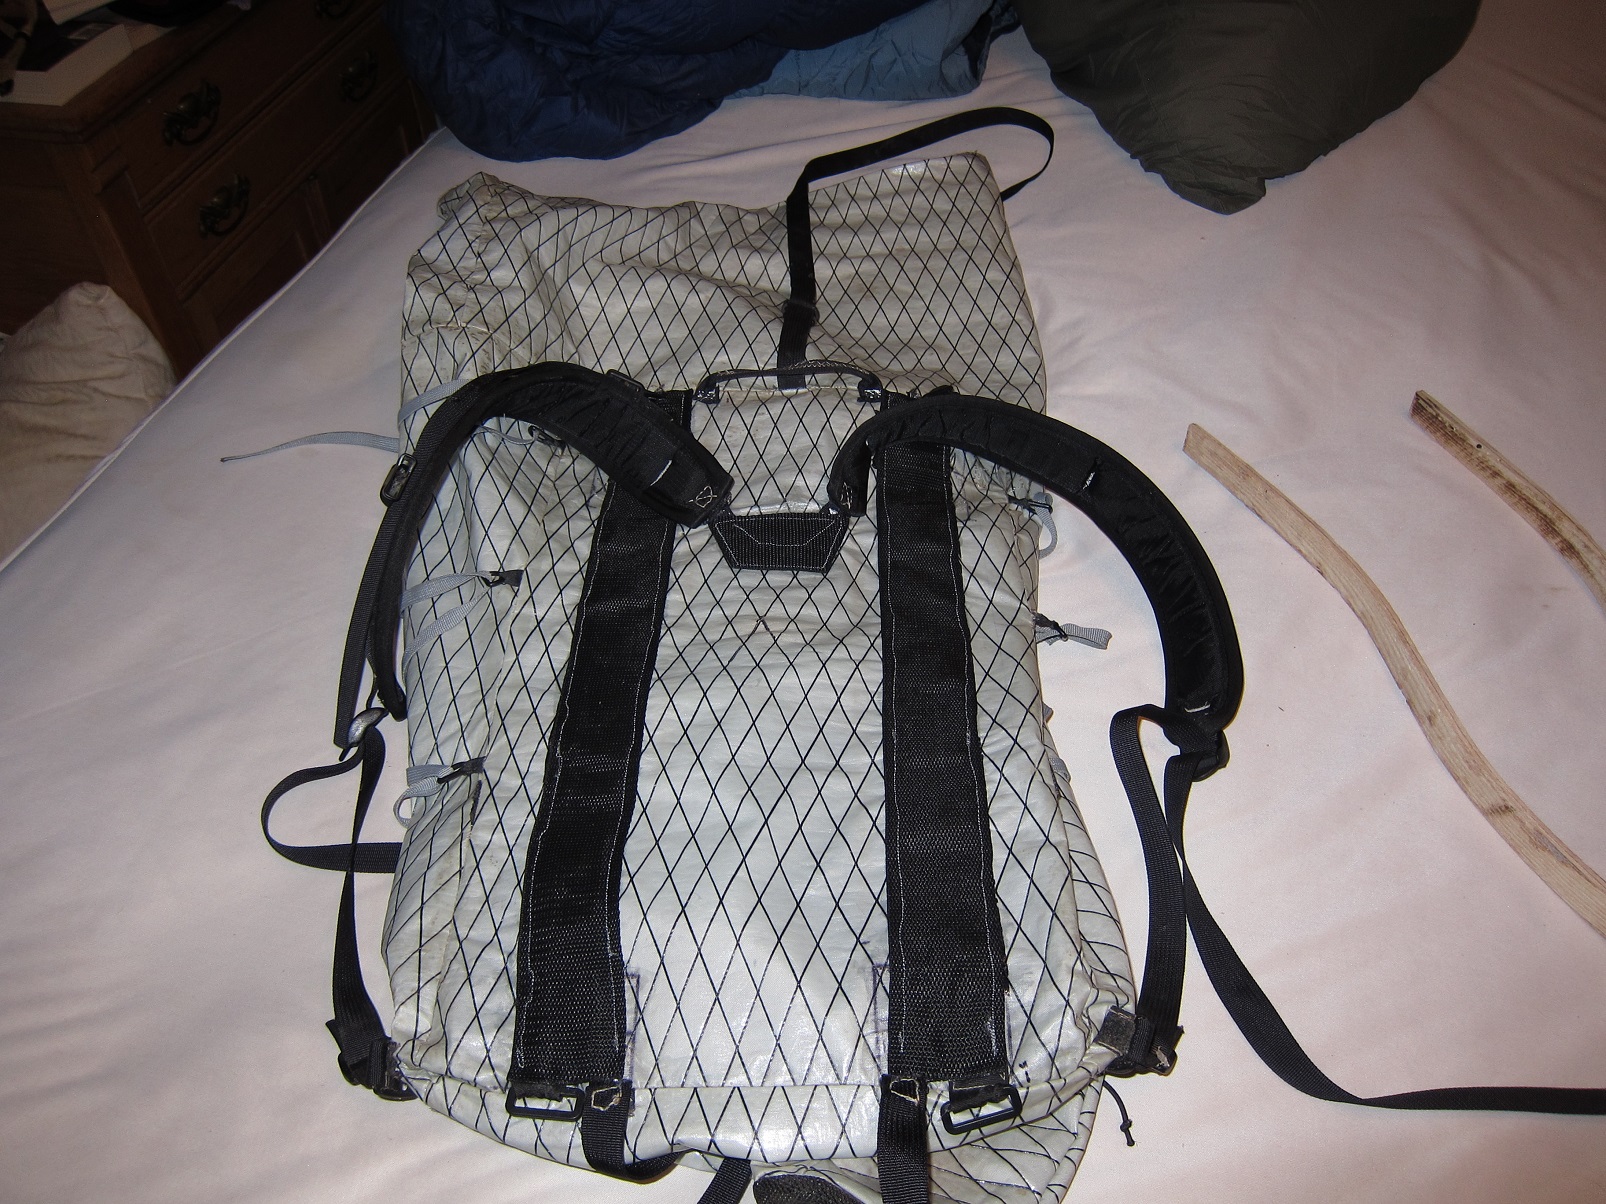
The hipbelt received similar treatment, with the addition of two straps to keep it from sliding off the frame pieces and a little extra padding in the center of the belt.
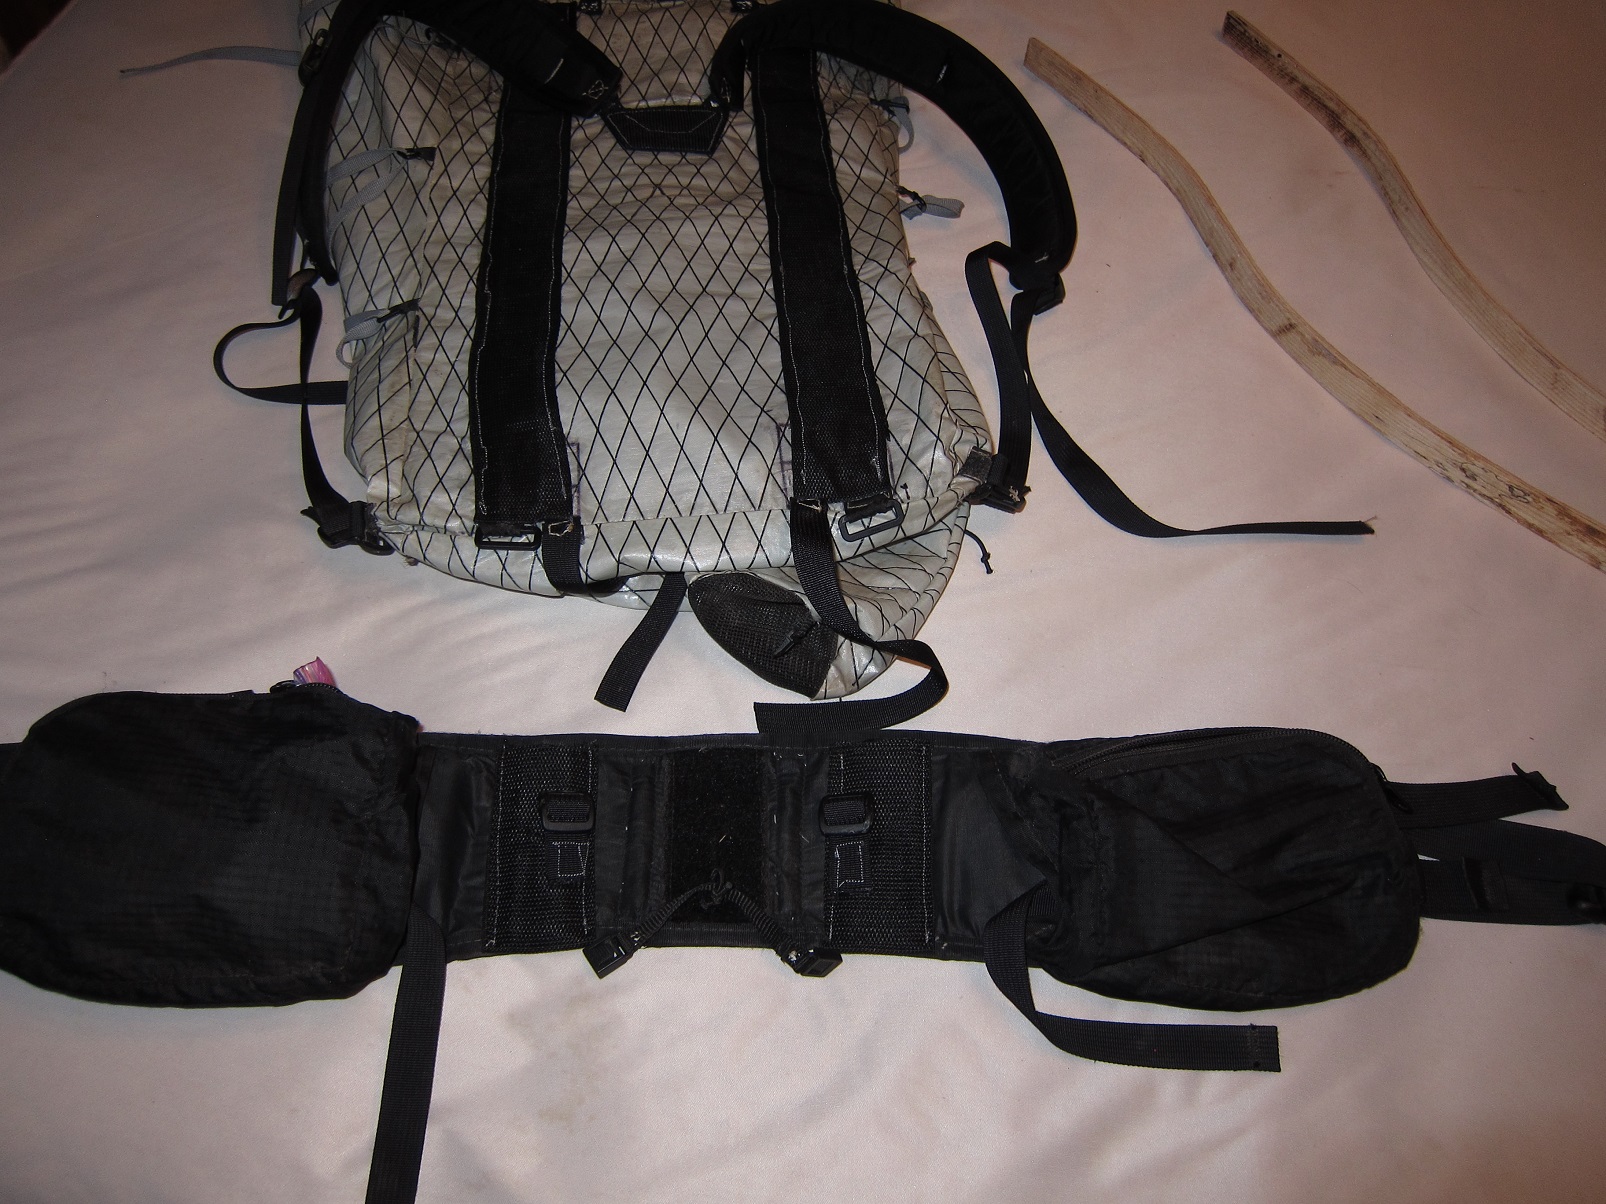
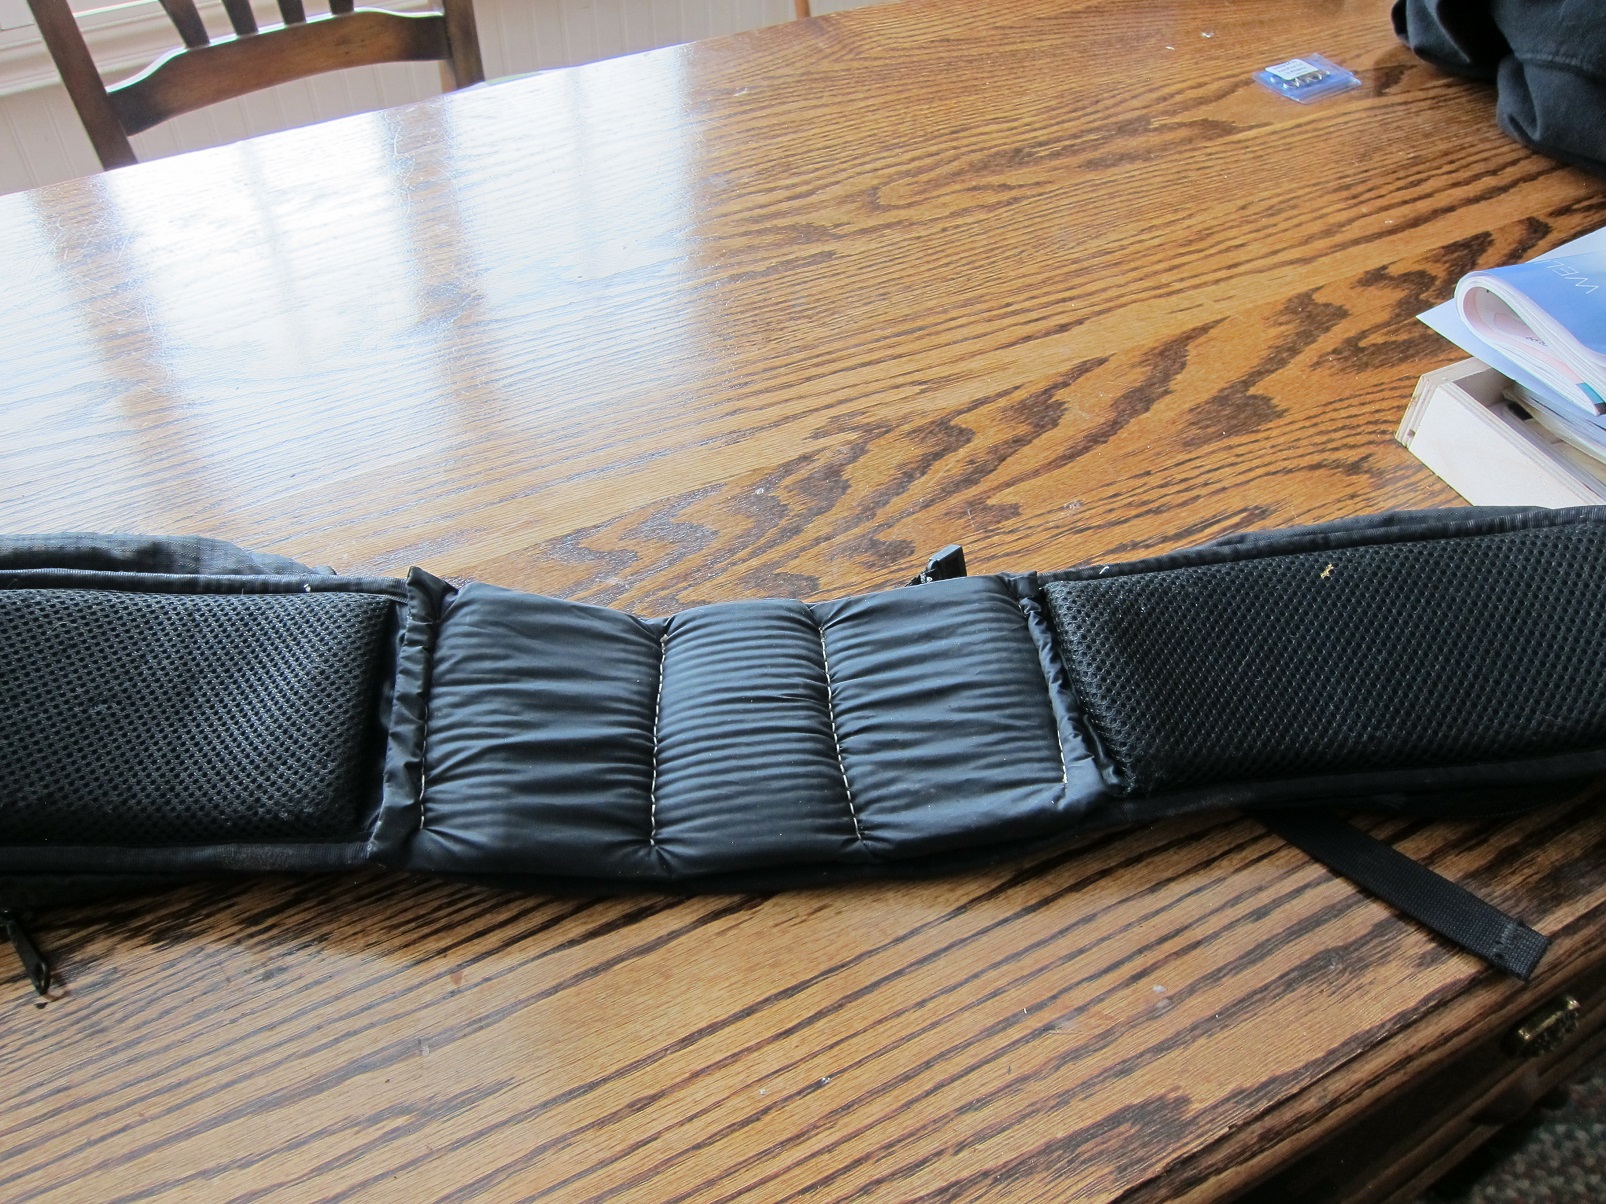
After that it was epoxy the strips and then cut them to length, starting a long and trimming to fit.
The upper part of the strips I sanded aggressively to add more flex while on the bottom curve I added a strip of fiberglass for more strength. When the pack is put down this section will be supporting the whole weight and I need strength not flex here. Then I coated the whole strip with epoxy to prevent any splitting when it flexes and gave it a final sanding.
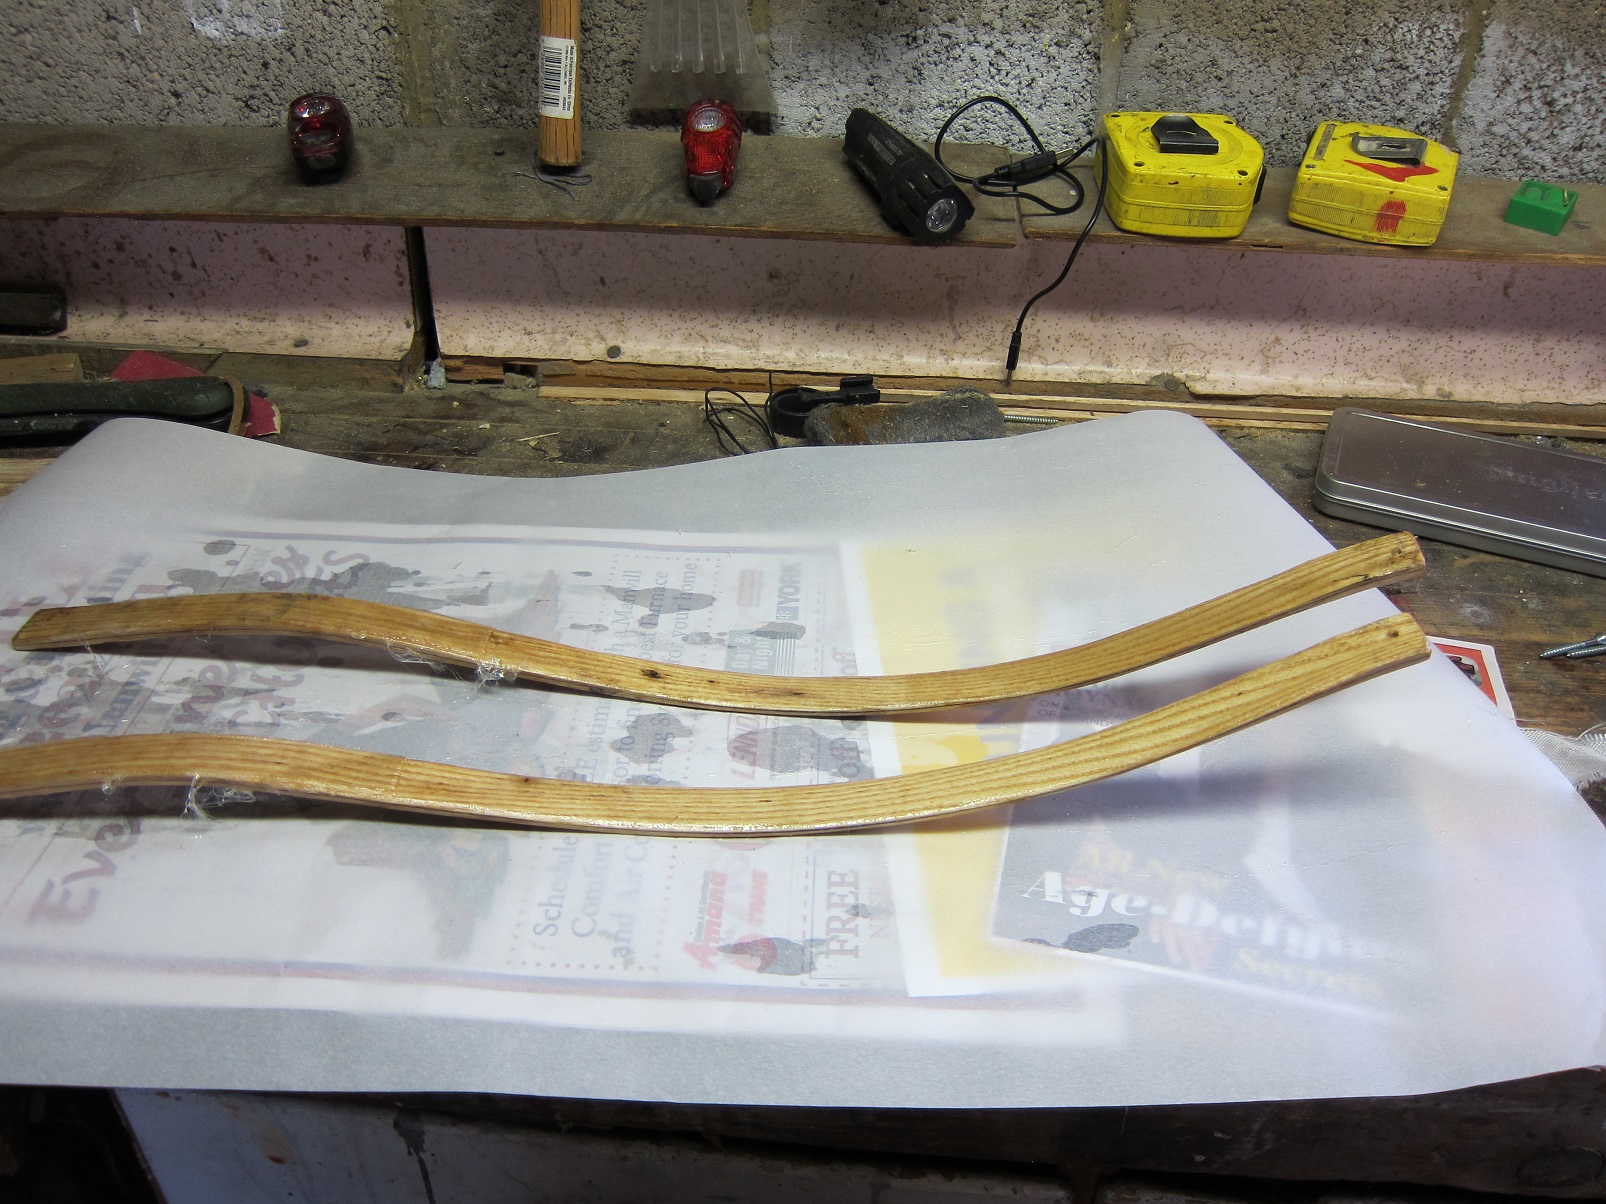
The end result: the same, only different. Not as fancy to look at, but it should do the trick and this time there are no joints in the wood to act as a weak point.
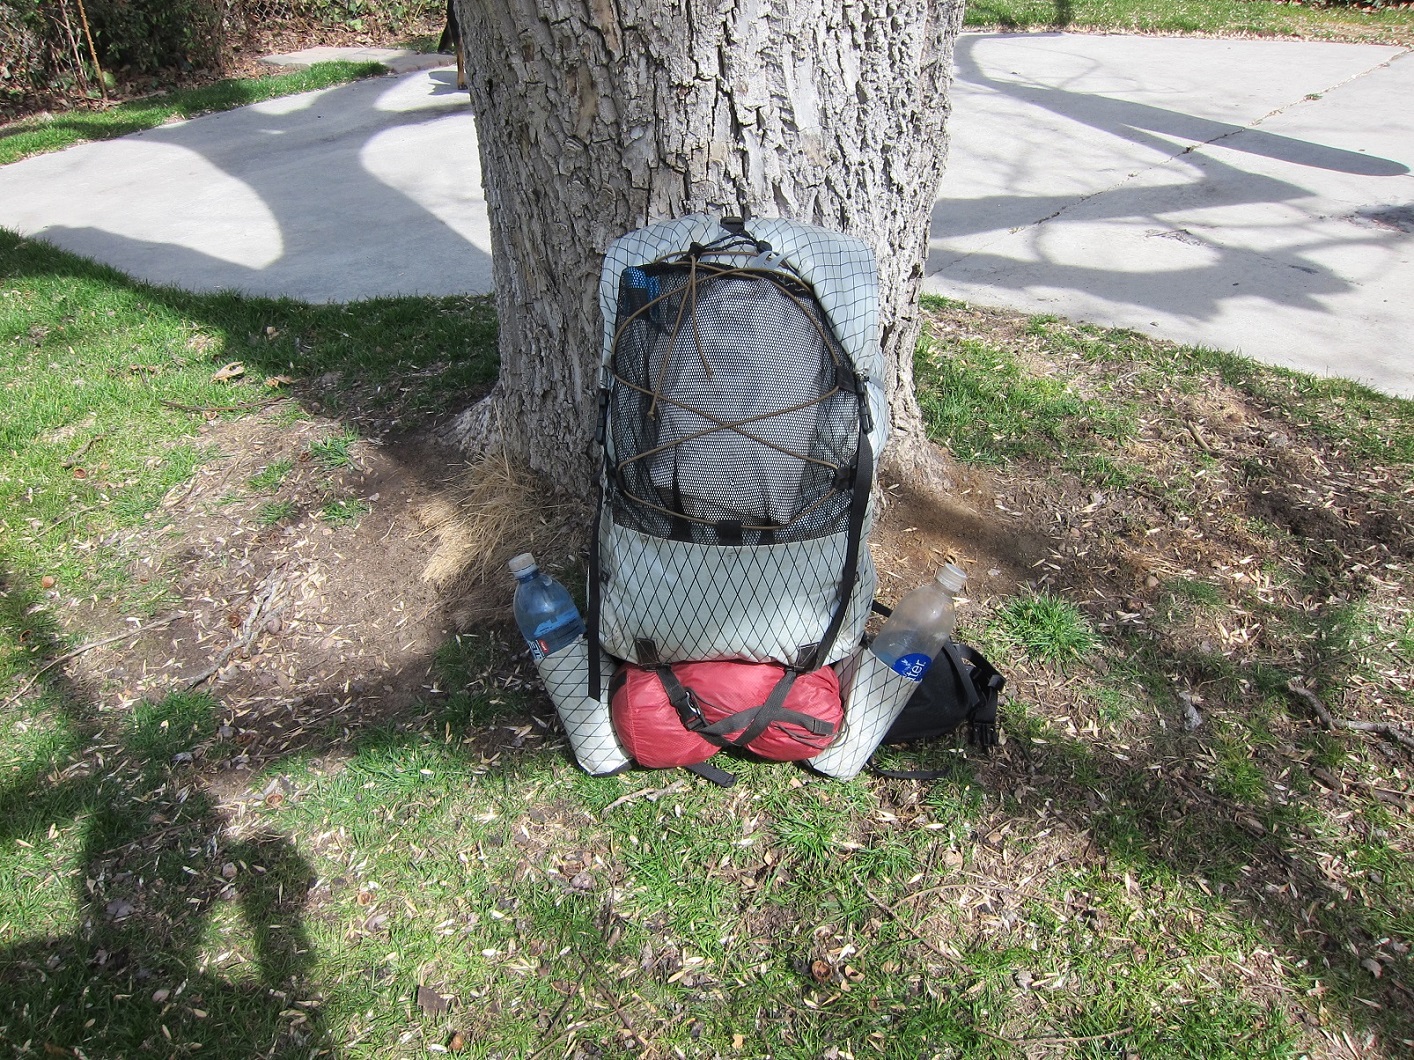
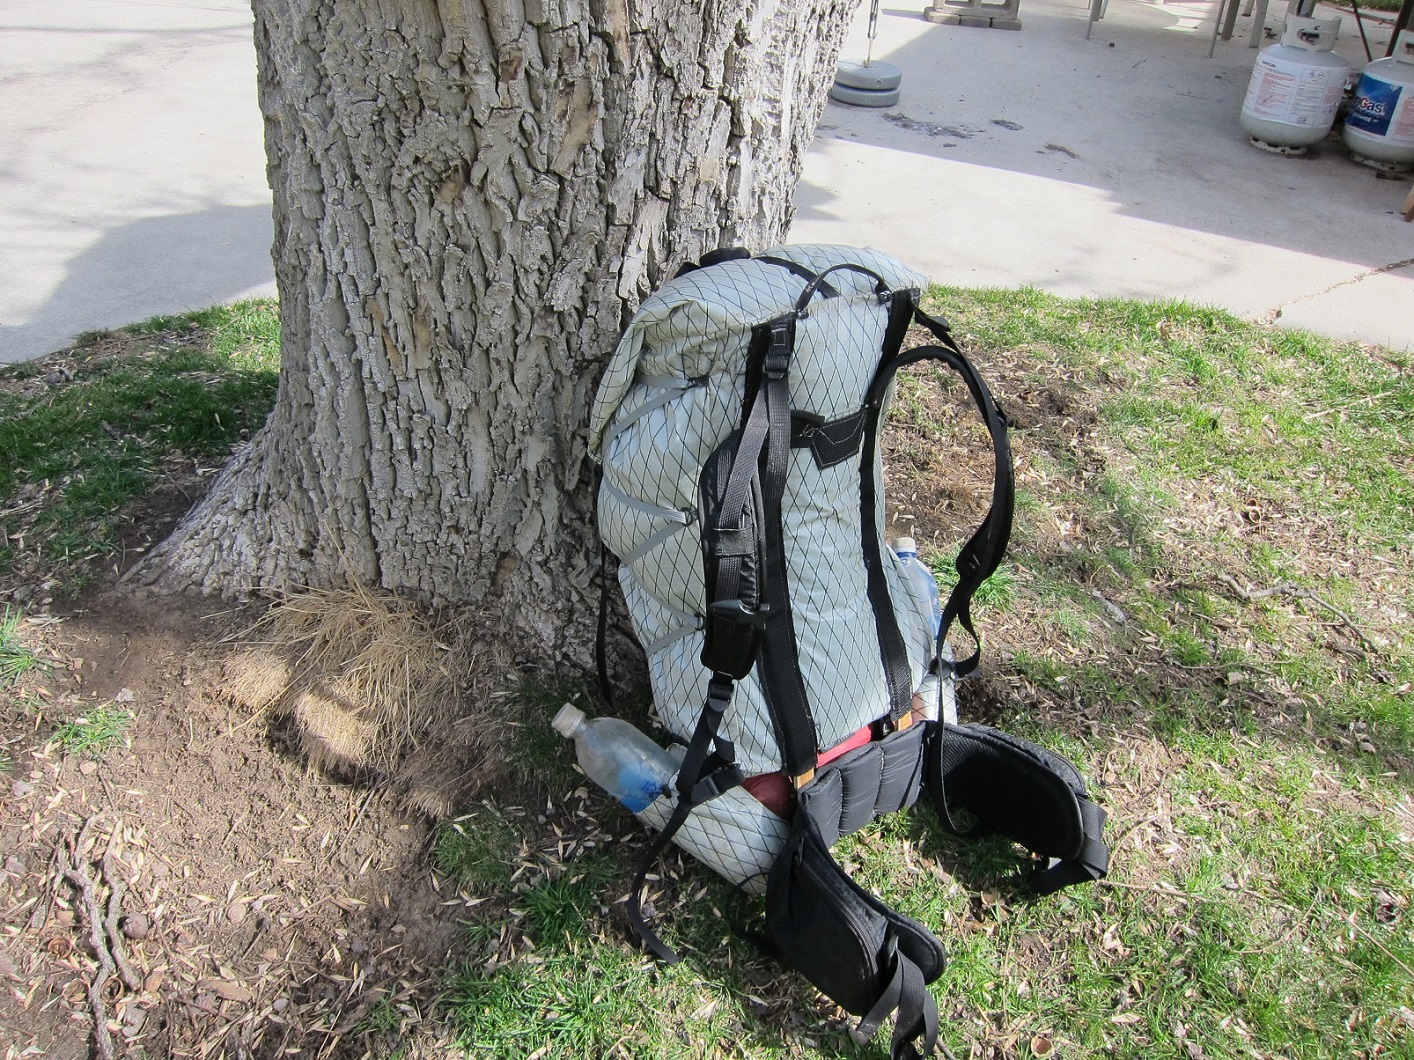
Well, I think I might suggest a second layer of fiberglass on the other side. Due to the slight shrinkage, you will find it weaker in the non-strengthened direction than you might expect.
Also, using three strips would be a bit stronger than two. So, cutting the strips just under 1/16″ and laminating them, will yield a 3/16″ frame or actually stays if there are no cross members. You might be able to use a softwood, like spruce, laminated and reinforced with the fiberglass (say 3.2oz satin weave Aircraft grade stuff.) Should save about 15-25% over using hardwood.
Anyway, looks good. An interesting experiment.
Thanks for the follow-up. I saw your last thread and it was the closest anyone has come to inspiring me to do a MYOG pack and frame.
Glad to see you taking another whack at this.
Fjallraven uses laminated birch.
George
My other hobbies include archery and bow building. The fiberglass is probably not needed if you are selecting the right piece of wood. Take a look at the grain, you are looking for straight grain on all sides of the lumber. Also there are better epoxies that are used in bow building that may work better for what you are doing. Losing the fiberglass would help lighten the frame. I recommend that you take a look at primitivearcher forums or paleoplanet forums. There is a lot of info on composite bow build and all wood bow building that would be helpful if you try another frame.
It has been a while, and the pack works great. I have moved from an UL air mattress to a folding CCF and a short 1″ inflatable pad, Nordisk Ven 2.5. I hate flopping or gear sticking out to the side, so how to carry it. A little rework on the straps and this is what I ended up with.


Compressions straps, pad carry and mesh pocket all in one.
Become a member to post in the forums.
 New Gear with Aluula FabricsLighter, stronger, more abrasion-resistant, and highly water-resistant - explore ultralight backpacking gear made with ALUULA Graflyte fabrics. Engineered for exceptional strength, durability, and lightweight performance, ALUULA Graflyte helps reduce pack weight without sacrificing reliability, making it ideal for demanding backcountry adventures.
 © Beartooth Media Group Inc.
 Loading...