Topic

Pots With Heat Exchangers


Forum Posting

A Membership is required to post in the forums. Login or become a member to post in the member forums!

Home Forums Gear Forums Gear (General) Pots With Heat Exchangers

Viewing 25 posts - 126 through 150 (of 288 total)
  • Author
    Posts
  • #3514263
    Ben H.
    BPL Member

    @bzhayes

    Locale: No. Alabama

    Mario,

    I am proposing using it on the normal Starlyte with a hole diameter similar to the “simmer” version.  Good point about the additional wear.  How about if you wrap the aluminum shield around the inside hole?  That is obviously a more difficult manufacturing process but you probably don’t need complete coverage on the bottom.  It is more important to cover the sides and top.

    #3514308
    Roger Caffin
    BPL Member

    @rcaffin

    Locale: Wollemi & Kosciusko NPs, Europe

    Obviously it would be too heavy for use in the field, but how about taking some thin ceramic tiles and putting different sized holes in the middle? Just to measure the effect of the hole size.

    Cheers

    #3514416
    DAN-Y/FANCEE FEEST
    Spectator

    @zelph2

    However; the flame being close to the carbon with degrade it over time.

    I’ve mentioned the fact that carbon felt degrades in stoves made with carbon felt. The degradation of the felt does not take long. One of the things that you will notice with stoves is, it gets difficult for the fuel to pass thru the felt when filling and vapors being released have a difficult time also. It will eventually clog completely. Minibull design cult sells felt replacement wicks because they degrade. Built in obsolescence??? ;-)

    #3514431
    Mario Caceres
    BPL Member

    @mariocaceres

    Locale: San Francisco

    I tried using ceramic felt instead of carbon felt for insulating the stove from thermal feedback.  In theory ceramic felt has higher tolerance to high temps than carbon felt  (still both are below the needed temps rating to tolerate direct contact with the flame).  But not sure about ceramic felt discs, they are starting to crumble with use when exposed directly to the flame (unlike carbon felt which keeps its shape but just shrinks with exposure to high temps).  The best solution I found so far, is again to protect the insulating disc (be it carbon felt or ceramic felt) with aluminum foil in both ends.  The added weight of the aluminum foil at both ends of the insulating disc is negligible.


    #3514437
    Steve M
    BPL Member

    @steve-2

    Locale: Eastern Washington

    Maybe we can coax Dan into building a simmer stove with thermal feedback (TF) insulation built into the stove.  This would probably be difficult as it would have to be physically separated from the alcohol absorbing section yet still be incapsulated inside the housing.

    Could be a big advantage though–faster setup, and protection (water absorption, wear & tear, etc) of the TF insulation.

    #3514488
    James Marco
    BPL Member

    @jamesdmarco

    Locale: Finger Lakes

    Actually Ti is a fairly good insulator and also resistant to heat. Perhaps a piece of folded Ti foil with a hole punched in it? Or a Vargo Ti stove?

    #3514499
    Roger Caffin
    BPL Member

    @rcaffin

    Locale: Wollemi & Kosciusko NPs, Europe

    Yeah! I’m with James: how would some heavy Ti foil go?
    Actually, some really thin Ti sheet in CP rather than 6Al4V please.

    Cheers

    #3514510
    Mario Caceres
    BPL Member

    @mariocaceres

    Locale: San Francisco

    Thanks James / Roger for the Ti suggestion.  I have some of the Ti foil from TiGoat (Per their website it is 0.005″ thick).  So following your suggestion I made a simmering “disc” with the same size opening (about 1″ diameter) than the one I used before on the pictures posted yesterday (for sake of comparison).

    The Ti seems to do a good job keeping the size of the flame fairly stable throughout the burn, but I got about 20 minutes less of burn-out.  Here some pictures:

    Minute 1 and 5


    Minute 10 and 20


    Minute 30. Stove run out shortly after minute 30. With the same size opening the previous setup (with Carbon Felt disc) the stove kept running somewhere between minute 40 and minute 50.


    #3514513
    Roger Caffin
    BPL Member

    @rcaffin

    Locale: Wollemi & Kosciusko NPs, Europe

    I would not expect Ti to behave exactly the same as carbon felt, so I think you need a smaller hole.
    In fact, the flames in your pictures look much bigger than flames through C felt shown earlier.

    On the other hand, I doubt the OD of the Ti needs to be nearly that big. Hum – Ti disk with smaller hole, disk OD being slightly smaller than stove OD. Then wrap edge of pot and Ti with Al foil to block any flames at the edges.

    Cheers

    #3514547
    Mario Caceres
    BPL Member

    @mariocaceres

    Locale: San Francisco

    Thanks Roger, I did reduce the opening of the Ti disk to something slightly larger than a dime coin (about 0.7″ diameter) and I got a little over an hour of burn time.   Something I did not mention before, is that with the 1″ opening of the Ti disc it brought 2 cups of 59F water to boil in about 29 minutes.  With the reduced opening water never got to boil, it reached only 206F before it burn out, interestingly it hovered around 200F for quite some time.  In all my tests I have been using 20ml of Denatured Alcohol.

    I have been wondering why the carbon felt vs Ti were so different burn out times, when both are supposed to have low conductivity (i.e protect stove from thermal feedback) and have the same opening size, and it occurred to me that the carbon felt is much thicker.  The type I’m using is almost 0.25 thick, so I wonder if that has affected how much air is in effect going to into stove.

    Anyway, I like to do more experimenting with the Ti discs, I’ll do some dry baking next time.

    #3514548
    Roger Caffin
    BPL Member

    @rcaffin

    Locale: Wollemi & Kosciusko NPs, Europe

    Hi Mario

    Forgive me, but …
    2 cups of 59F water to boil in about 29 minutes.
    I don’t think my wife would wait that long for her cup of tea!

    On the other hand, slow dry baking might be interesting. It would need to be a rather ‘relaxed’ walk though.

    Cheers

    #3514559
    DAN-Y/FANCEE FEEST
    Spectator

    @zelph2

    Mario, your photo of the Starlyte , on the previous page, shows “flame spread” due to the aluminum disc being separated from the stove surface. It has to be fastened under the retaining lip of the container cover to prevent vapors from escaping at the outer edge. Escaping vapors cause the “flame spread” Distance to bottom of pot and windscreen too close to pot can cause burner to over heat and cause “flame spread”

    #3514611
    Mario Caceres
    BPL Member

    @mariocaceres

    Locale: San Francisco

    Roger said “…I don’t think my wife would wait that long for her cup of tea!”.

    I don’t blame her Roger, I would not either :-).

    The purpose of simmer “disc” is not to boil water, the reason I gave the time it took to bring water to boil is to provide a proxy of the output of the setup.  Jon Fong has a nice chart to estimate the wattage of a stove based on how long it takes to raise the temperature of two cups of water.  if I recall correctly, if you bring two cups of 60*F water to boil in about 20 minutes your stove output is about 100 watts.

    In example one application of the simmer “disc” you start with your Starlyte unrestricted to bring water to boil quickly, and then throw the simmer disc to dehydrate your meal or to make rice, etc.  I think the smaller Ti disc would work well for that, I’ll give it a try today.

    Dan, I think you are right, when my “Starlyte simmer” gets hot it appear vapours start to escape thru the borders, but I can not change that as the lid is sealed.  Perhaps I can use some BJ weld to close those gaps?.

    #3514617
    Jon Fong / Flat Cat Gear
    BPL Member

    @jonfong

    Locale: FLAT CAT GEAR

    Keep in mind that the wattage chart was developed for boiling 2 cups of water and is a good place to start when evaluation stove output wattage.  Once you switch to dry baking, all bets are off.  While boiling, the upper pot temperature limit is +212F (and change).  Once you go to dry baking, the pot temperature can be 450 F to 600 F (or higher).  Thermal feedback to alcohol stoves when dry baking is pretty significant.  My 2 cents.

    #3514671
    Roger Caffin
    BPL Member

    @rcaffin

    Locale: Wollemi & Kosciusko NPs, Europe

    Thermal feedback to alcohol stoves when dry baking is pretty significant.
    Um.
    I had not thought about that one. Good point!

    Cheers

    #3514703
    DAN-Y/FANCEE FEEST
    Spectator

    @zelph2

    Mario, the stainless steel mesh on your burner is clogged.

    #3514755
    James Marco
    BPL Member

    @jamesdmarco

    Locale: Finger Lakes

    Sorry about the delay….
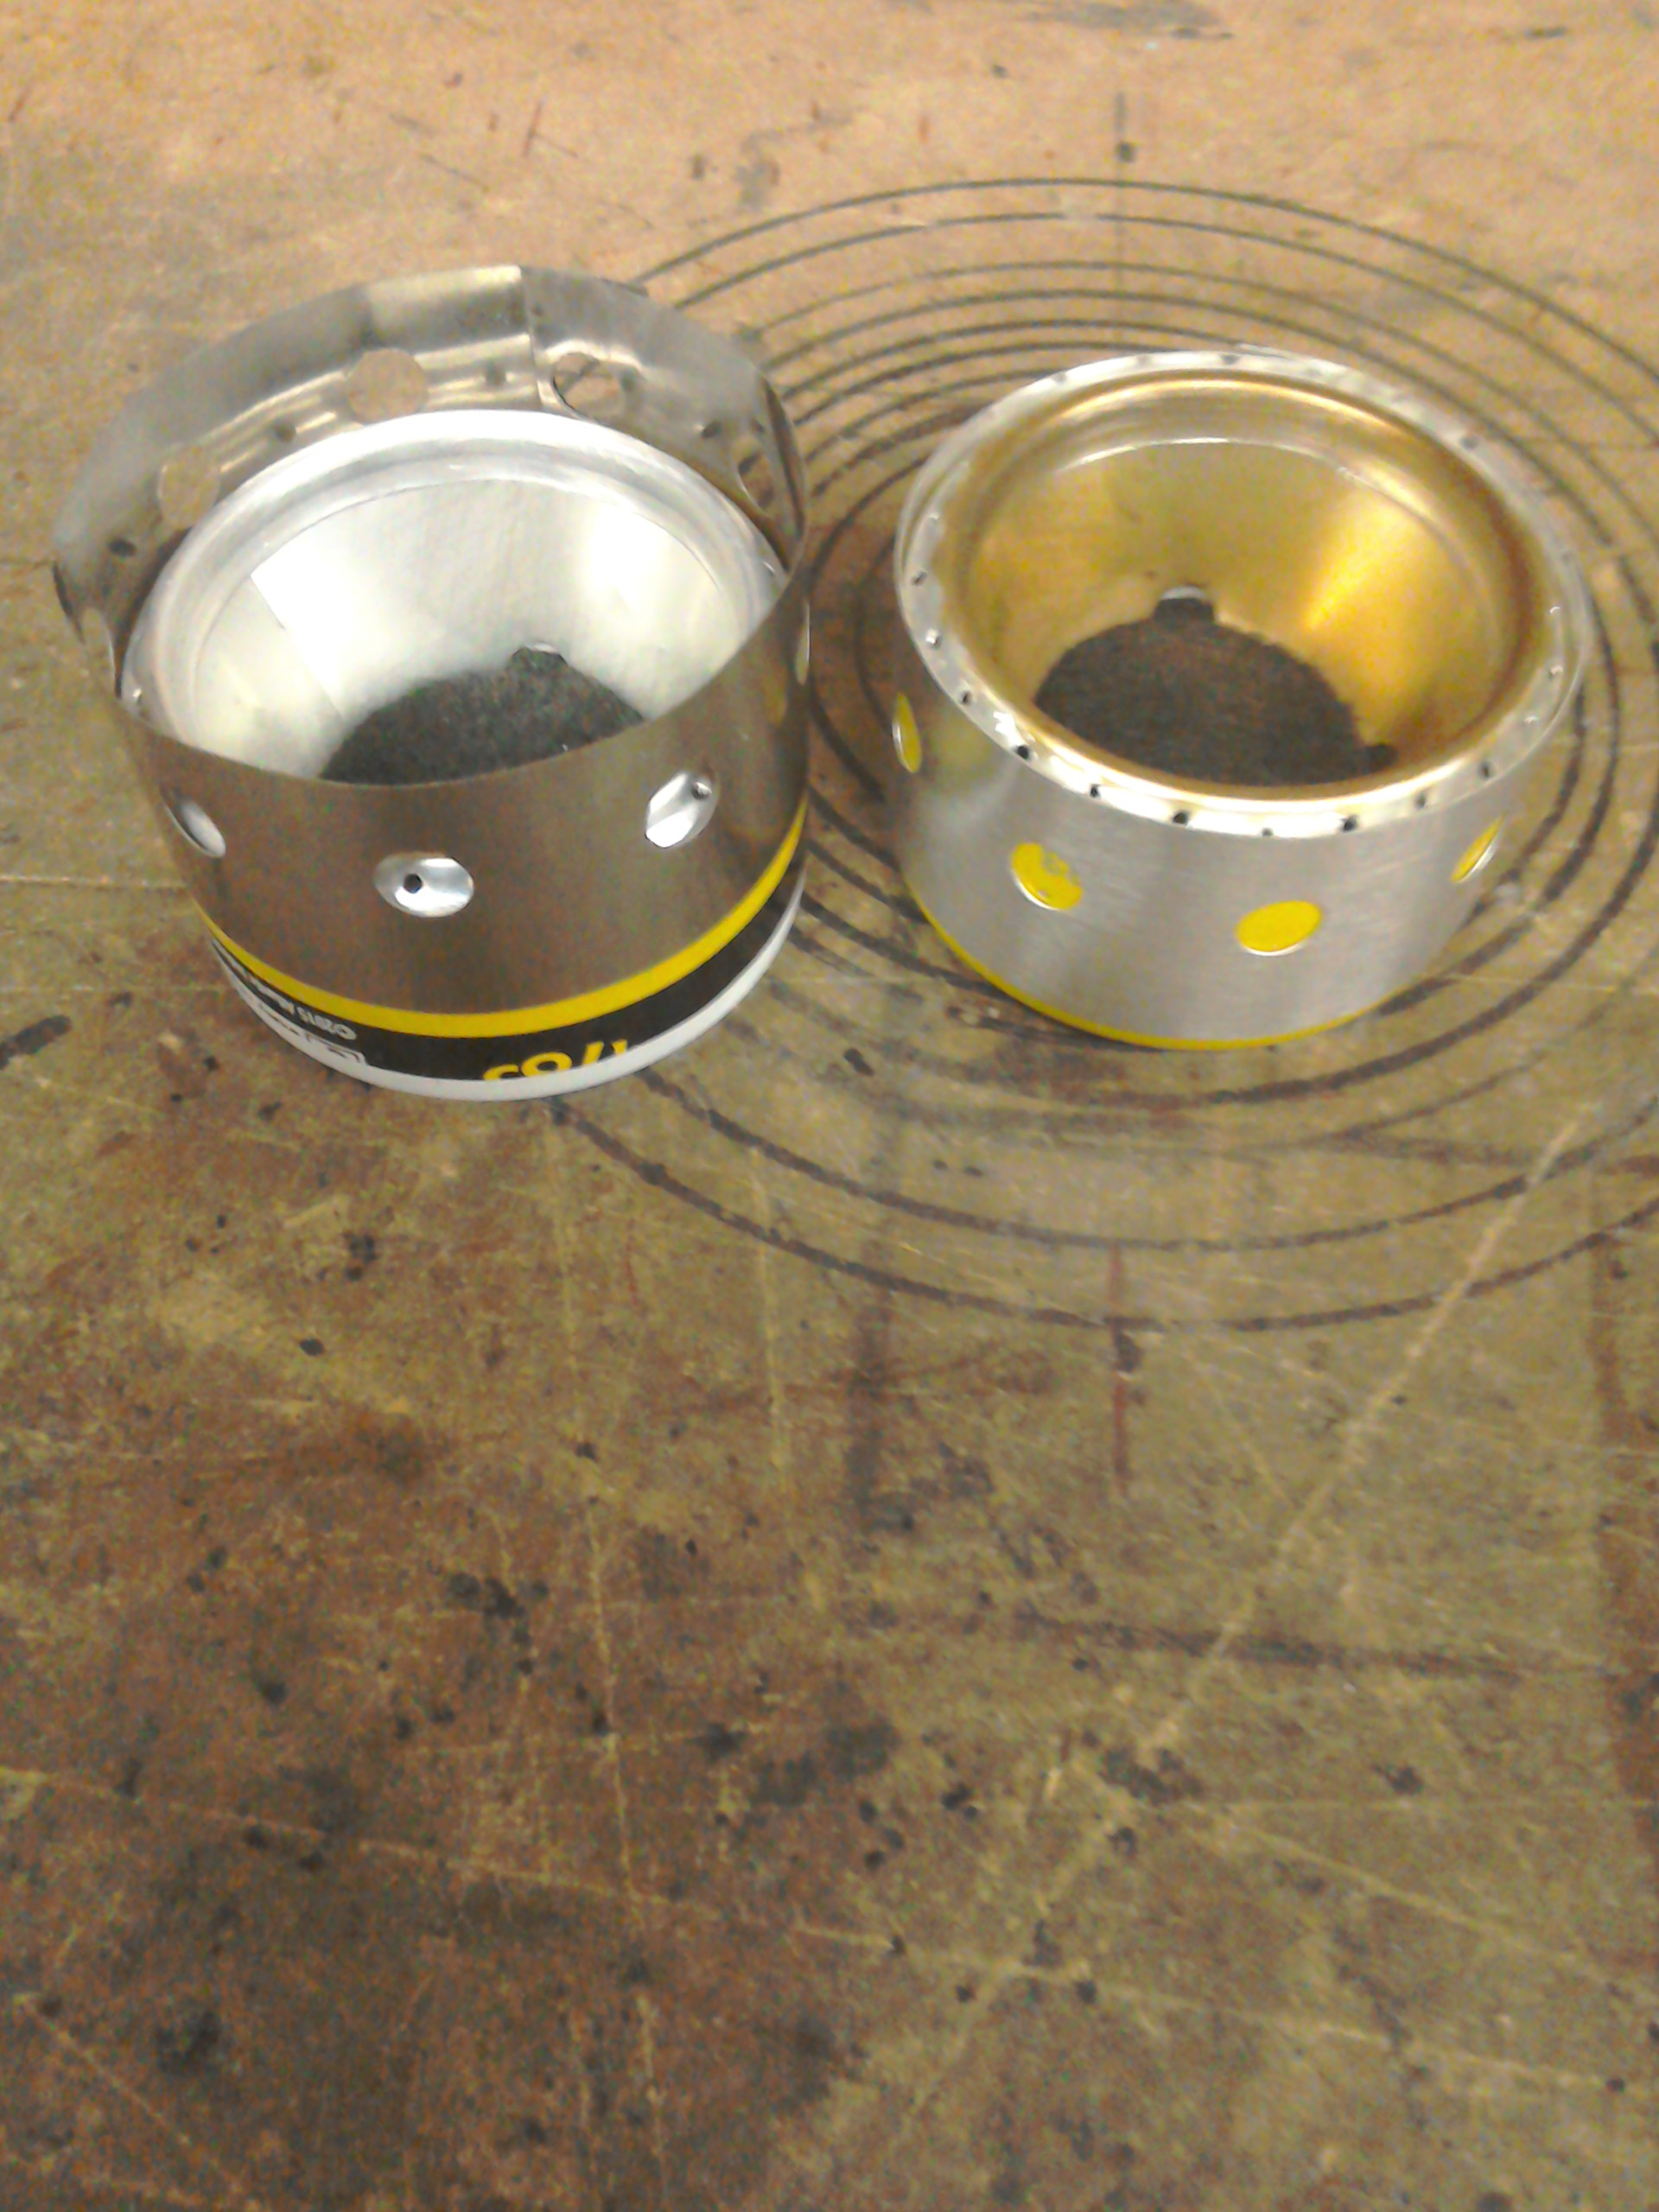
    I think we have established that at low heats/long boil times, the heat exchanger simply becomes excess weight. The actual time/heat benefit is due to the ring extending up the first 1/5 or so of the pot.

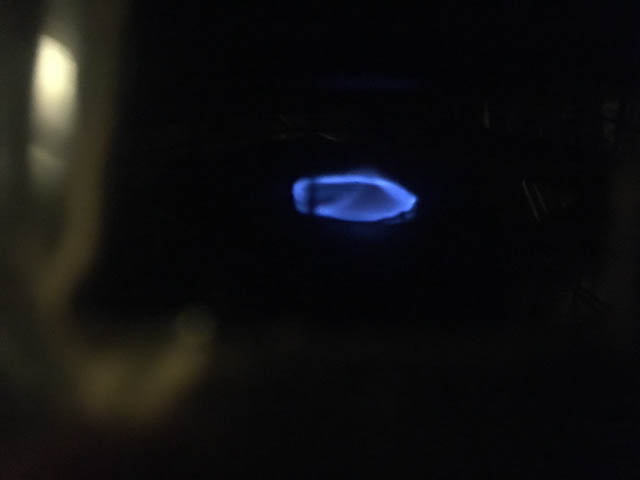
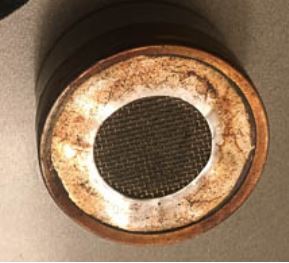
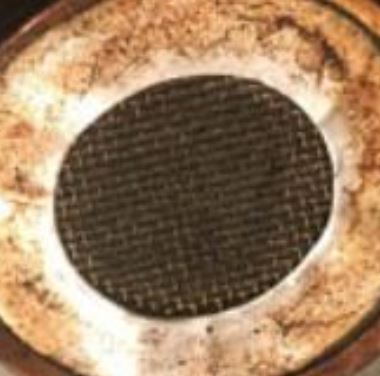
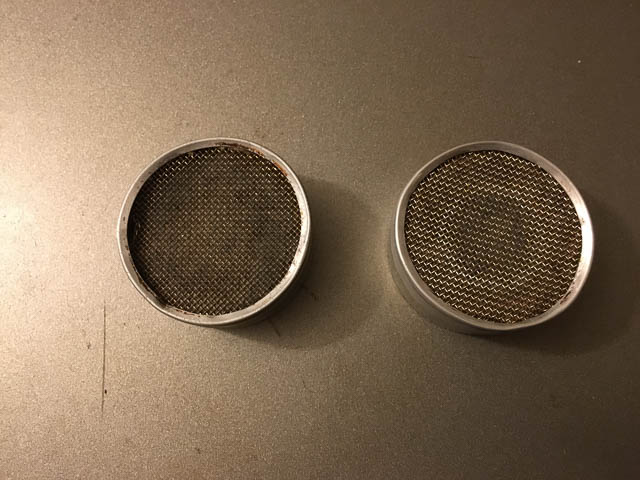
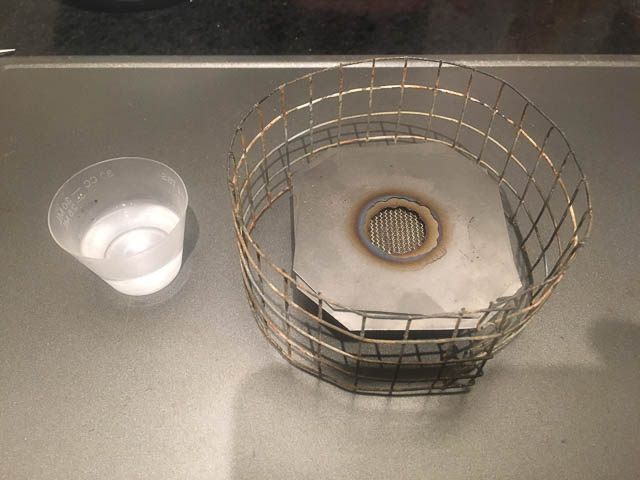
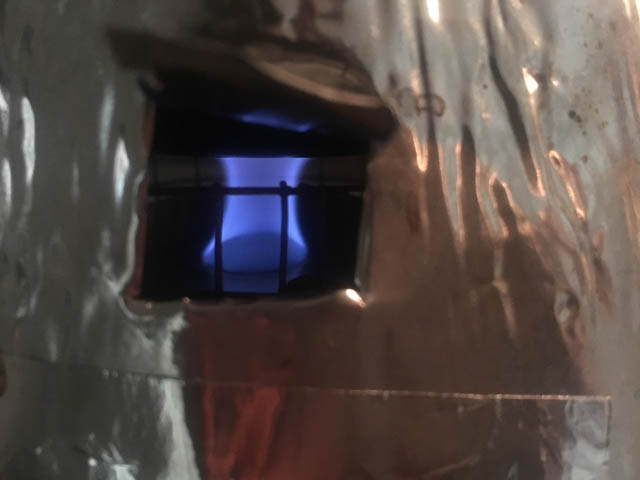
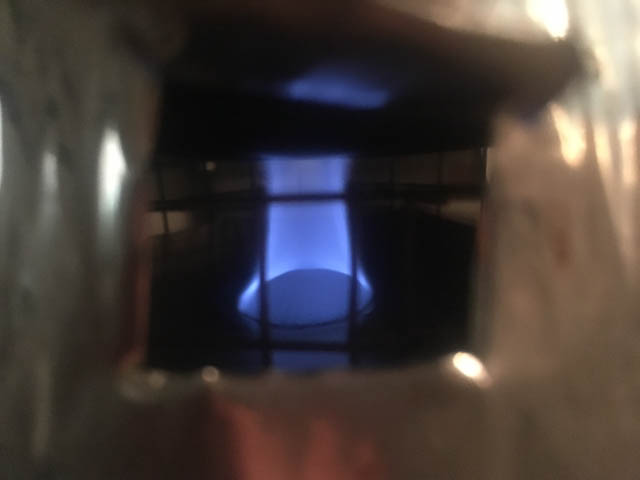
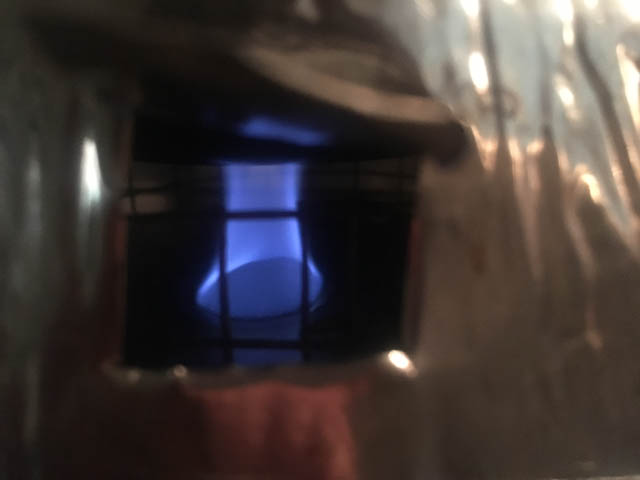
    As far as the disks go, various sizes would be needed to establish the optimal heat output. There is also lost heat from the environment. Mario, try a folded Ti foil stove cover with a 1/8″ (~3mm) gap between them. I believe the Carbon felt works well but can burn out. The folded protection will allow cooler air to flow into the flame (not that this will help alcohol burn) through the protector, cooling it. Chimney stoves run more consistently than fancy feast type stoves by drawing air through the body of the stove. The Turbo-D and 12/10 both do this.

    But, 3/8oz alky to boil 2 cups in the field is likely not viable. Even 190proof Everclear will require about a half oz. Ideally you want high heat transfers on the bottom with low heat loss of the pot/lid/windscreen or cone. Perhaps an aluminum bottomed pot with titanium upper surrounded by an aerogel “blanket” around the pot and over the lid. Of course, this will need protection from normal packing, perhaps a ti foil outer shell. I believe this is the only way to get better than the 3/8oz limit I slammed into so long ago and Dan/Mario also slammed into currently.

    As always, you need to consider the pot as part of the camping cook system to get any better. Identifying the basic components of such a system can lead to better results in terms of time to boil, weight carried, for each individual/pair of campers.
    1) eliminate all extra weight in the system (a stove, wind screen/heat shield, pot and lid, support stand, and, stirring device.) For example: a cone will eliminate the pot stand, but incurs a weight penalty. It can be difficult (fiddly) to put together, delicate to carry, and heats the sides of half full pot uselessly, and, has a large surface area radiating a lot of heat to the outside environment. At low heats it is wasted weight since a pot stand and wind screen/heat shield weigh about the same or less due to the heavy gauge metal used to support a pot.
    2) maintain a high efficiency system by adding weight back. For example: wrapping the pot in a heat proof insulator will add a lot to the heat gathering of the entire system by holding the heat from the stove as you heat it. At low heats, you spend time boiling water. Clearly 29minutes is out. At that length of time heat escapes from the pot/lid/wind screen almost as fast as you add it. (This is why the long boil time and impossible boils at 35F.) So, there is three components here, add more heat to reduce the boil time to around 8-10 minutes, add insulation to hold in heat already put into the system, and, use high conductivity pots (such as the heat exchanger pots) to allow heat transfers to the water as fast as possible. This is about where we sit.
    3) allow for environmental conditions. Camping is done outside. at 70-80F there is no big problem boiling water. However as temps drop, the problem becomes readily apparent. As Dans experiment above showed, the colder the water, the more fuel you use. It is common practice to leave a little bit extra to insure you have enough. Rogers work with floor insulation, stands, and heat outputs becomes important.

    Anyway, just a recap…

    #3514761
    Stormin
    Spectator

    @stormin-stove-systems

    Locale: East Anglia

    These new stoves and regulators will do the trick.Titanium or Aluminium, can also be used as a stove jack with my cone stoves.

    #3514800
    Mario Caceres
    BPL Member

    @mariocaceres

    Locale: San Francisco

    Dan, I have had your starlytes (regular and simmer) for a few years so I would not be surprised if they are starting to clog.  Not sure though, it appears that the difference in coloring is the stuff (wicking material?) under the stainless steel mesh.  I did go ahead and removed the “limiting disc/plate” on the “Starlyte simmer” and this is how my regular and “simmer” (without the “limiting disc”) look side by side.  Notice the similar coloring where the flame goes.

    Anyway, I like it how the Ti “disc” is working to reduce the output of the stove AND prevent the stove from overheating due to Thermal Feedback.  As James mentioned Ti properties appear to be ideal for this role.  Also I think that by having a simmering Ti “disc” much larger than the stove itself it helps further in providing more “shielding” from Thermal Feedback.

    So I put the set up under the highest challenge for Thermal Feedback, which as pointed out by Jon Fong is when drybaking, and it did wonderful.  I did use a couple of layers of Ti Foil.  One has a opening slightly larger than the other as that is what I had from my previous experiment, but for the most part, there is two layers of Ti Foil covering the stove. James, sorry I run this experiment before I read your suggestion of having a gap between the two layers of Ti.  I will do that next time.  The pot stand makes the Pot to top of stove distance a little over 1″, which is standard fro boiling water but quite low for dry baking (I think Jon Fong suggest 3″+ in his dry baking experiments).  So the thermal Feedback under shorter distance is much higher.

    Here a few pictures of the flame through the dry baking process:

    Minute 1 and 5:


    Minute 10 and 20:


    Minute 25 and 30.  At minute 30 my 15ml of denatured alcohol started to run out.


    My egg muffin was not quite done yet so I added a little extra Denatures Alcohol and ended up with this…

    #3514803
    Roger Caffin
    BPL Member

    @rcaffin

    Locale: Wollemi & Kosciusko NPs, Europe

    Two layers of Ti foil – good idea. Muffins look OK too :)

    Stormin – your idea is nice in theory, but my experience is that the heat of the flames will soften the Al sheet so much it will fall off. Do some burn tests and post the photos and results.

    Cheers

    #3514835
    Eric Blumensaadt
    BPL Member

    @danepacker

    Locale: Mojave Desert

    Now I’m thinking of making a ti “simmer plate” for my MSR Universal stove when I’m using white gas in winter.

    (Yeah Roger, I know, that MSR Universal has an inverted canister mode but I like white gas stoves for winter. It’s a matter of trust.)

    I also have a perforated aluminum strainer type plate that I’m cutting down in circumference to try as a simmer plate.


    #3514841
    Roger Caffin
    BPL Member

    @rcaffin

    Locale: Wollemi & Kosciusko NPs, Europe

    Hi Eric

    NOT sure how well a Ti simmer plate will go with either white gas stoves or canister stoves. Very different methods of operation. The results will be interesting.

    Cheers

    #3514845
    Jon Fong / Flat Cat Gear
    BPL Member

    @jonfong

    Locale: FLAT CAT GEAR

    I use a SS simmer plate with canister stoves, it tends to spread out hot spot even when the stove is set low.  You can use the lid of a 16 oz can to start of with.  Ti works as well, just not worth the $$ as the weight difference is minimal.  My 2 cents

    #3514846
    Roger Caffin
    BPL Member

    @rcaffin

    Locale: Wollemi & Kosciusko NPs, Europe

    Ti works as well, just not worth the $$ as the weight difference is minimal.
    Something to remember. I switched from 1 mm Ti wire to 1 mm SS wire in one small part for ease of bending – the total weight was a fraction of a gram!

    It might depend on what you have in stock and the bling factor of course. :)

    Cheers

    #3514849
    Mario Caceres
    BPL Member

    @mariocaceres

    Locale: San Francisco

    Jon Said “..Ti works as well, just not worth the $$ as the weight difference is minimal.”.

    Jon I think the main reason to go Ti is not to save weight, but to draw from its low Thermal Conductivity properties.   The carbon felt works well too on that regard, but does not stand to the high temps as Ti does.

Viewing 25 posts - 126 through 150 (of 288 total)
  • You must be logged in to reply to this topic.
Forum Posting

A Membership is required to post in the forums. Login or become a member to post in the member forums!

Get the Newsletter

Get our free Handbook and Receive our weekly newsletter to see what's new at Backpacking Light!

Gear Research & Discovery Tools


Loading...