Tyler,
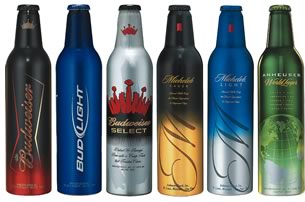
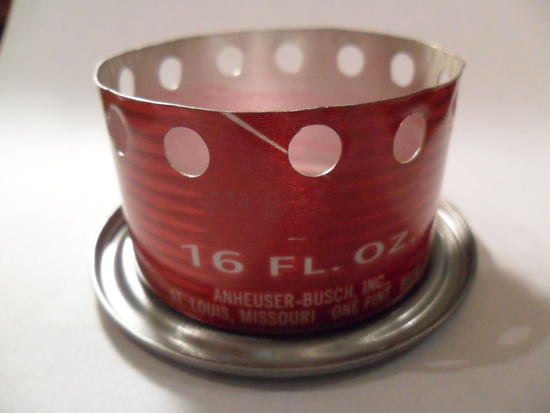
The stove is made from the bottom section of the aluminum bottle.
The base is a lid from a soup can. It was removed using a safety style side cutting can opener. The base is not permanetly attached to the stove. The stove just seems to nest realy well in the formed rings of the lid.
Construction pics do not exist. The holes are approximately 1/4" paper punched into the bottle bottom equally spaced apart. In the picture it appears that there are at least 11 holes but I believe it is actually 12. I'll be able to get a good accurate count later.
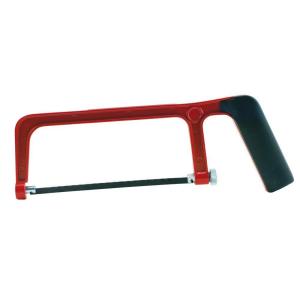
The stove height is as I remember 1 & 3/4" tall. Again an accurate measurement is forthcoming. I cut the bottom section off of the whole bottle using a Buck Bros. mini hacksaw from Home Depot. I kept the marking around the bottle "square" by wrapping a straight edge of a piece of paper around the bottle at the 1 3/4" mark and tracing the edge with a pointy Sharpie.

I dressed up the edges of the hacksaw cut with a file and then by rubbing it on a piece of sandpaper/emery cloth laid flat on a workbench.
I fill the stove with 1/2 oz to 1 oz of alcohol and put a few drops of alcohol in the priming pan/base. I light the alcohol in the stove first and then the priming pan afterwards. I watch for the fuel to start "boiling" and the jets/holes to blossom. Then I set down my pot of cold water onto the stove slowly and gently to avoid snuffing the flame and pressurize the jet holes.
It helps to use a long piece of straw, pine needle or a spaghetti sized dry stick to light the stove and priming pan/base. The alcohol flame is invisible in daylight and is quite hot. ;-)
Works for me!
BTW experiment with the fuel amounts and burn times. I tried using a snuffer and once this stove gets going there is no snuffing it out. I just let it run out of fuel and extinguish itself. When it is cooled off I pack it up. Simple, cheap and light.
Party On,
Newton