> I was not suggesting no carbon rod but nearly vertical ones instead of horizontal;I like the weight on my hips.
Ah, your first paragraph seemed to suggest eliminating the CF rods; that's what I was addressing. Your second paragraph suggesting vertical rods seemed to be a different, interesting issue…
I need to go away and think about how the load is carried within a conventional rucksack, and how the Skins is different…
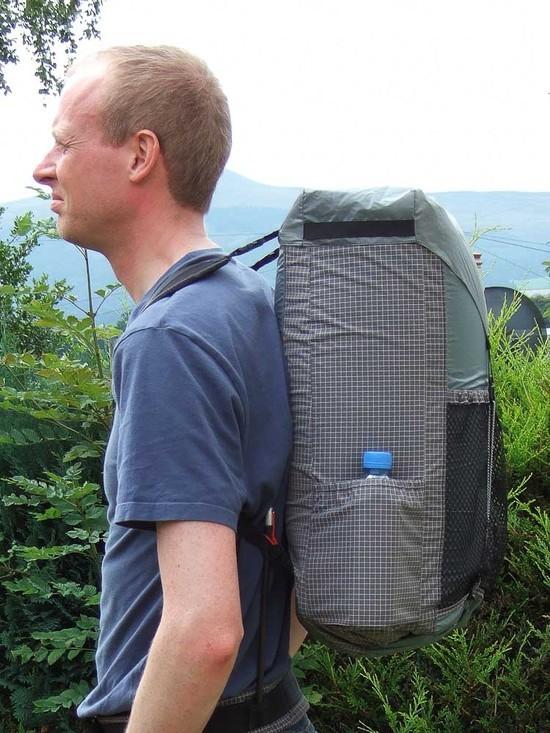
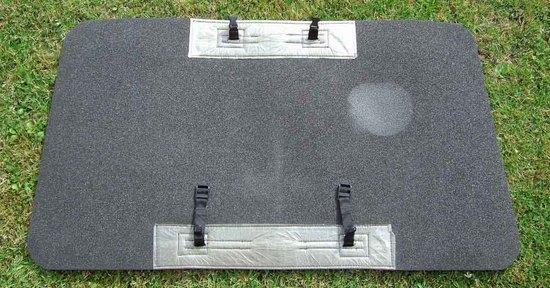
…okay; that's not so hard: a conventional pack is a big bag, and the load is suspended by the fabric of the entire bag sidewall and base. Straps are attached to the bag, so that the load is transferred to the straps. The fabric bag doesn't stretch much, so the load cannot slump down. Upshot: the fabric bag is in tension vertically and horizontally (circumferentially). Since there are two attachment points at top and bottom, on one side of the bag, it's possible for the bag to slump, and fold somewhat in the middle (and you can see that happening in lightly packed, or poorly-slung packs; e.g. school bags). That's one reason why packs often have reinforcements of some kind in the back.
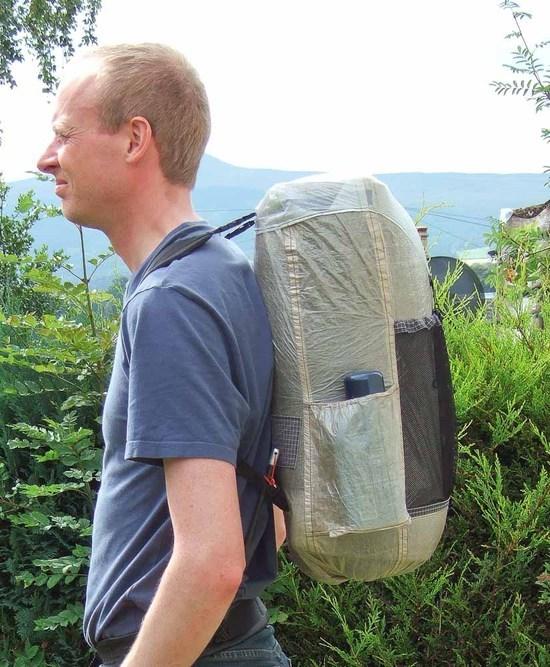
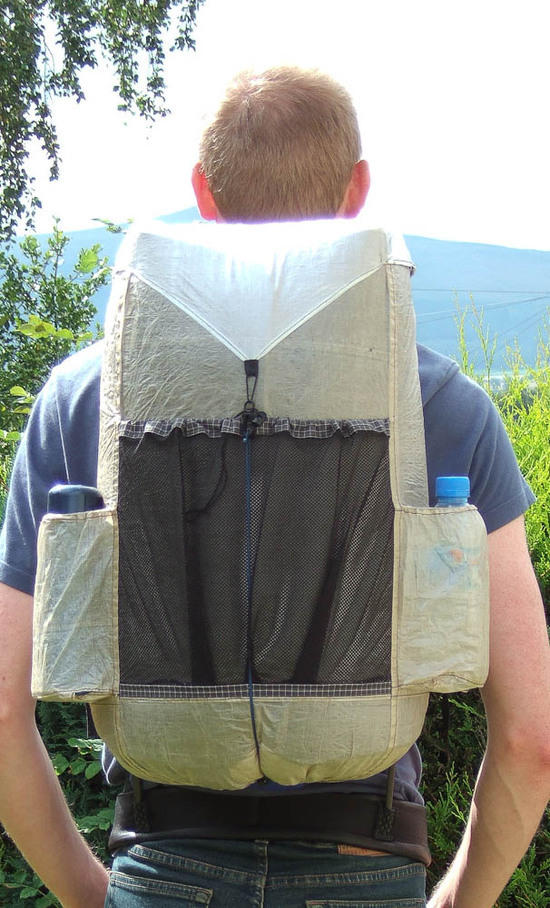
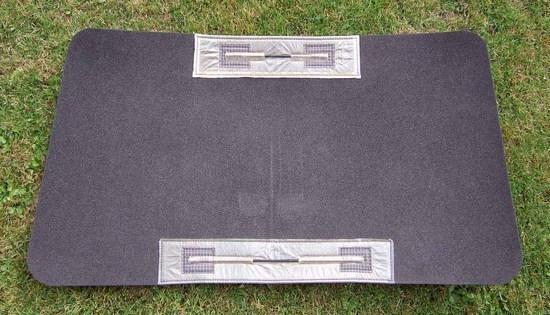
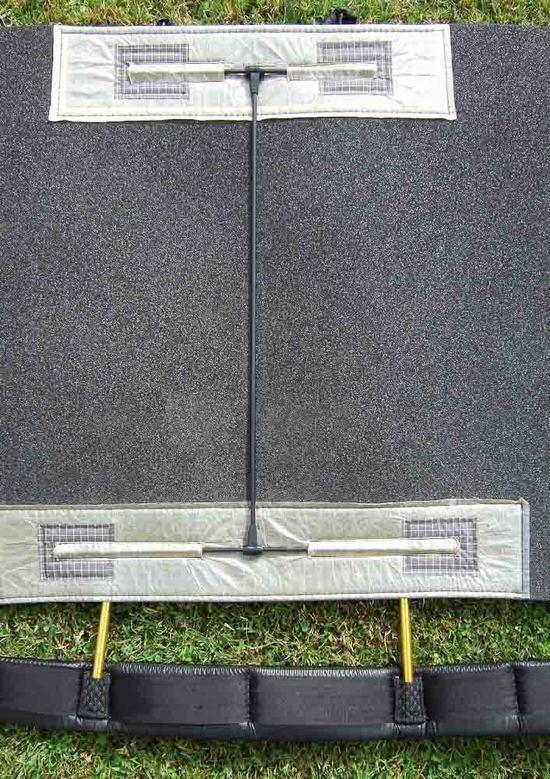
With a 'pure' Skins pack, the load is suspended from just the upper CF rod. The mat and pack provide some of the slump-revention function that a conventional pack bag provides; we surround the load with a cylinder of mat and the Skin, which provide a fairly rigid support for the load.
So, how do we transfer load to the hipbelt?
Why can't we simply add a hipbelt and associated suspension point? Provided we can support the load, and transfer that load to the hipbelt: the load becomes a column supported from below, rather than hanging from above.
What purpose does back stiffening perform?
Well, without back stiffening, the pack can slump, as we've discussed above. Without a significant force from above, the fabric of the pack isn't held in vertical tension. Of course, we don't remove all the force from the shoulder straps, just reduce it somewhat.
In the case of a 'pure' Skins pack, with a purely suspended load, we must attach the suspended load from this stiffened back. If we use a single suspension point, some sort of A-frame support sounds plausible. It's starting to sound like an old-skool backpack with a bent steel A-frame and a bag hanging off it…
I'm starting to ramble, so I'd probably better stop…
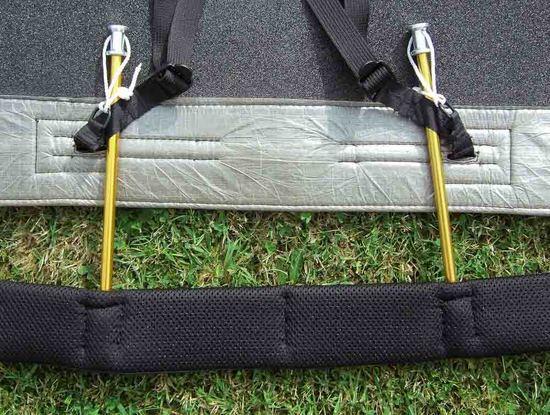
> Your idea would work but unless the vertical rods are removable then you would be laying directly on them if you use the frame as your sleeping mat.
I'd assumed from the pictures of your prototype that the rods were removable. I went one step further (too far…?) and was going to have the entire webbing separate from the mat, even if this would have made re-assembly a bit trickier…