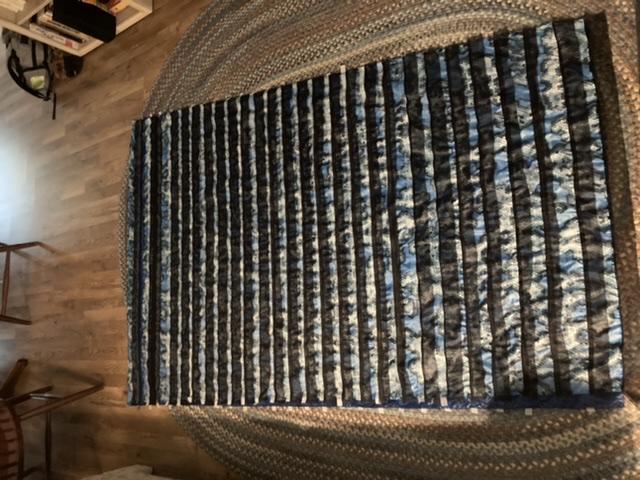
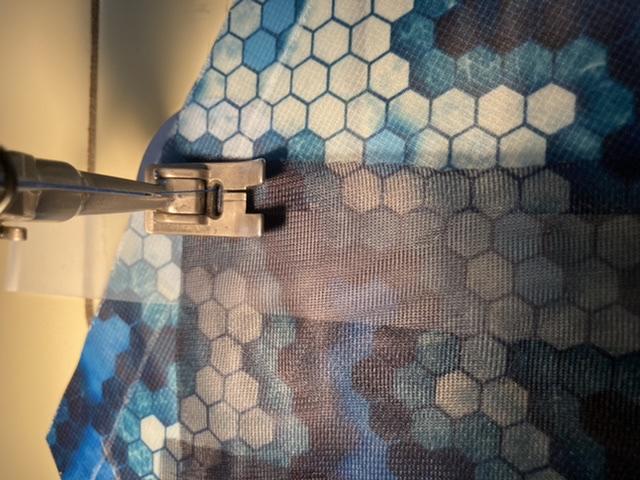
More progress. Got baffles done on one side, drawstring tunnel in, and liner prepped for baffles.

Topic
Become a member to post in the forums.
More progress. Got baffles done on one side, drawstring tunnel in, and liner prepped for baffles.
Lookin’ good!
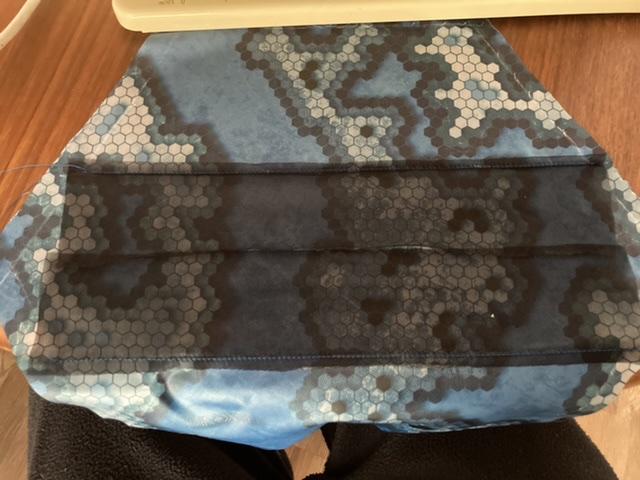
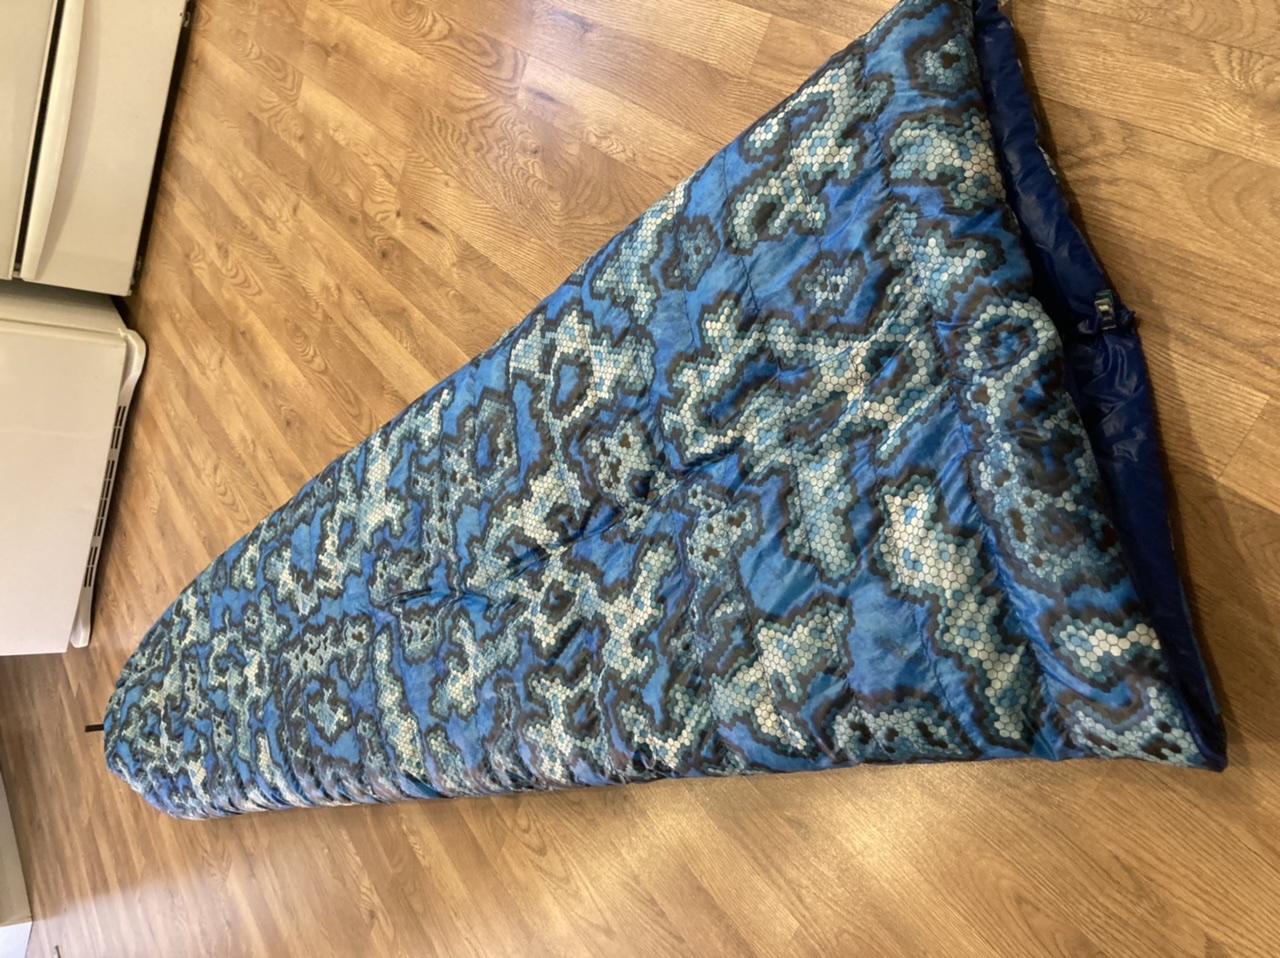
more work completed this weekend. All 27 baffles sewn in, end cap going in next and then fill. 6.65oz so far. Will add about .5oz for the end cap and then about 12 oz fill.
I stayed with constant width baffles since cutting them after I sewed them into the shell was a royal PITA. Will try a different technique on the next quilt.


Sorry Michael, I didn’t understand “I stayed with constant width baffles since cutting them after I sewed them into the shell was a royal PITA. Will try a different technique on the next quilt.”
If you shorten the widths the quilt will curve or at least not lay flat. I don’t see how you can change the width without this happening. If you change the thickness of the baffles, but, maintain the width, I believe the effect will be what you want. Or did I miss something?
Sorry James, I meant thickness. I was planning to taper baffles but it was a difficult task as I defined my process. Baffles on this one are a constant thickness.
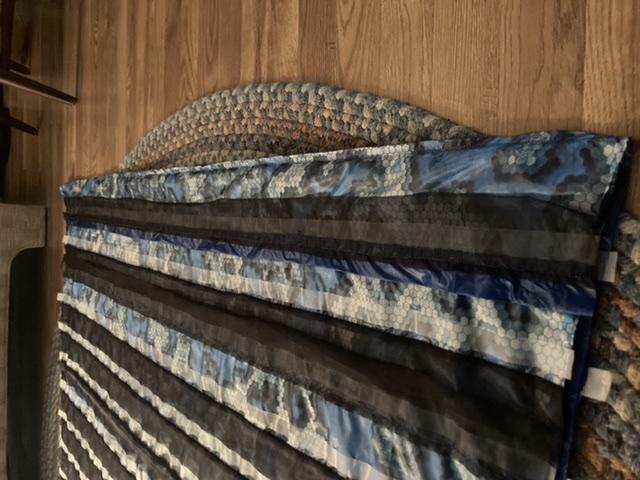
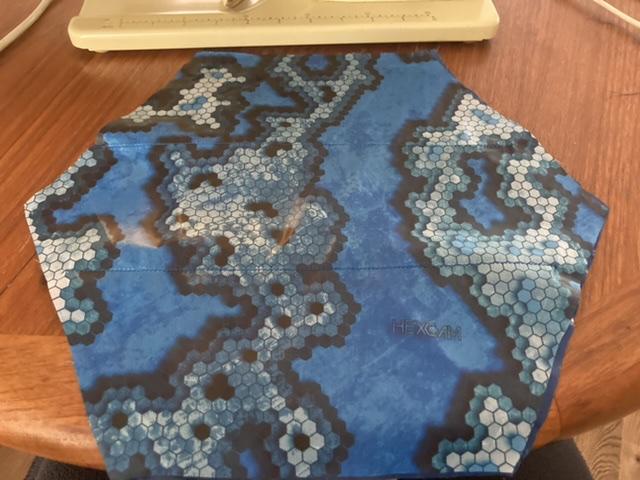
Got the footbox cap sewn up, just a few pics to show construction method. Added .2oz for total carcass weight of 6.65oz. I could have made the whole thing from M10 taffeta and fewer baffles to save a little, but I liked the fabric pattern and the little added strength of the micro rip stop and heavier denier of the M15 shell. Feels and looks awesome: went with a hex-shaped foot box as it matches with the shell pattern. 41” circumference.


sewn in to the bottom
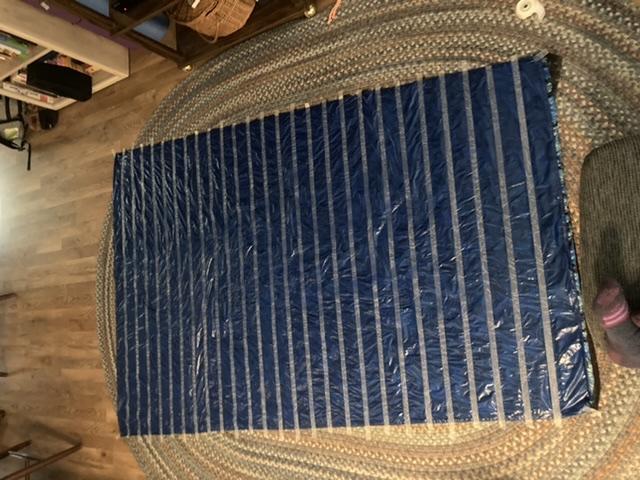
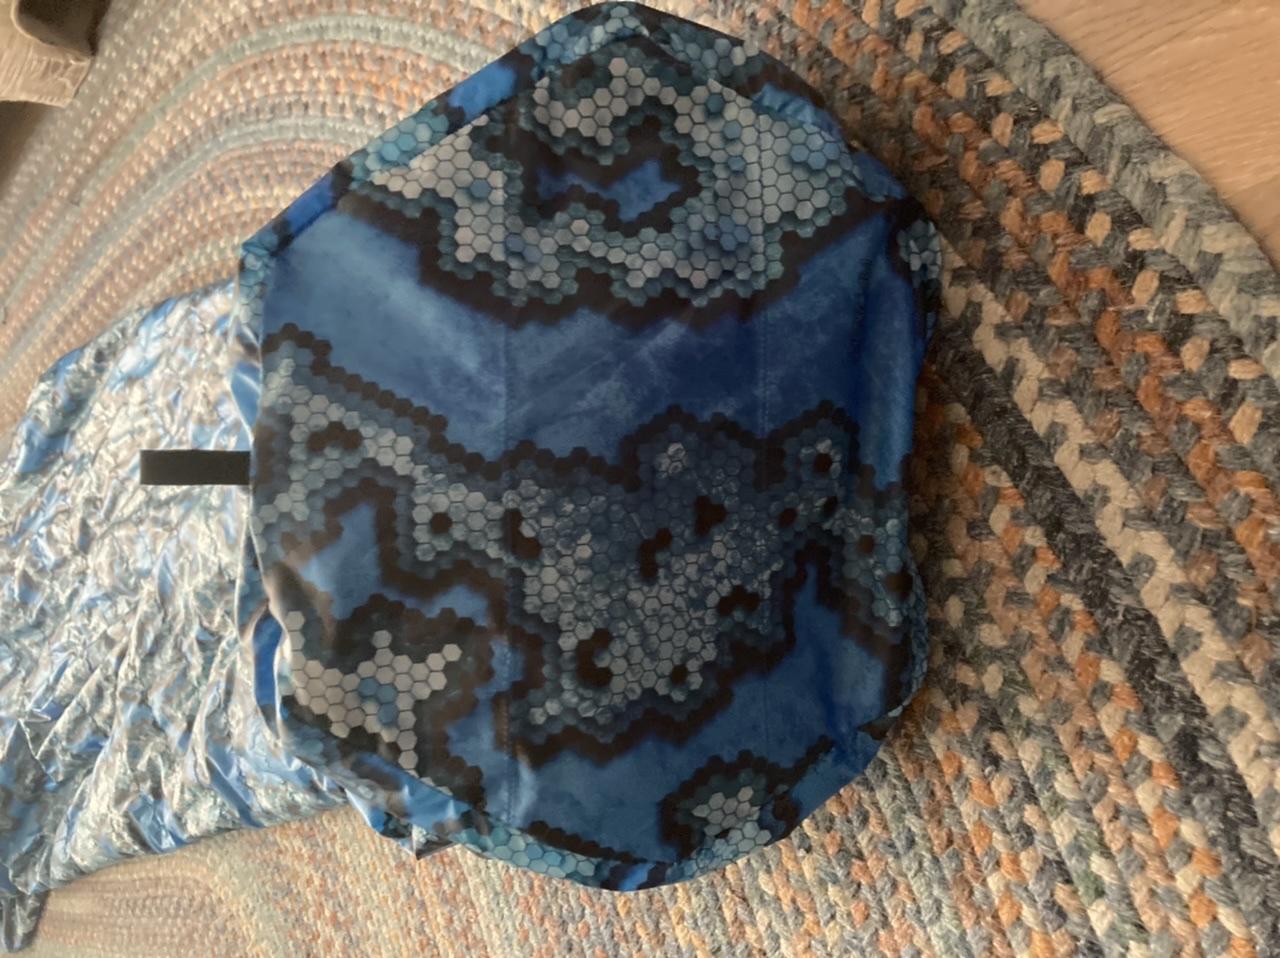
Got it filled today, 12.13oz fill, 18.98oz total weight. Still need to add 2 flat buckles for closure, and I should be good to go.


looks good
do you weigh the down for each baffle?
those must be clips on the edge after you put down in each baffle
rather than use funnel, I just grab down between fingers and compress into a wad, then put into baffle. Several wads to get all the down for one baffle. Use a long finger to push the wad of down away from the edge.
after it’s sewn up then I’ll evenly distribute the down in the baffle.
Yeah, I weighed each baffle amount on the scale- yes those are “quilting clips” I got from a friend who does traditional quilting. They work great. I tried the compress & stuff method you describe, but the down started sticking to my fingers about 2 baffles in, I wasn’t having none of that. A lot more tedious than I expected. My sleep deprivation from a newborn doesn’t help with my patience.
Good information here on different ways to do things, thanks
I weigh down for each baffle also, but it’s time consuming. I assume real quilt makers just blow it in. After a while they get the feel of how to do it. If there’s a little extra down it doesn’t matter.
I am sure manufacturers have an easy way to know how much is going in, I doubt they just go until they feel it is good, as that is money down the drain for all but the biggest manufacturers.
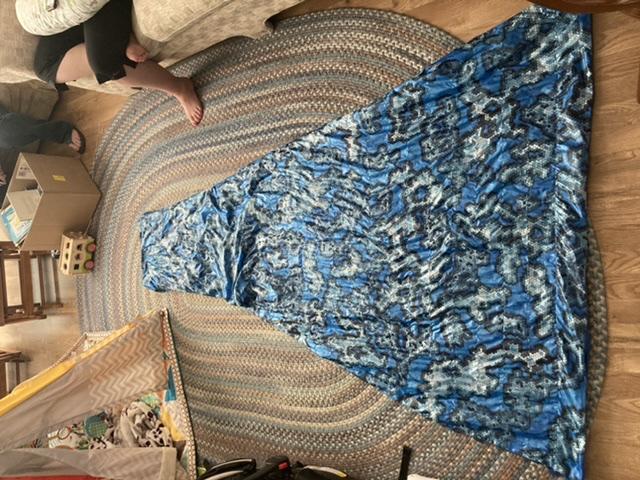
this one goes over my head easily without touching the foot box bottom (I am 6’1”). I may have made it a little too long. Oops.
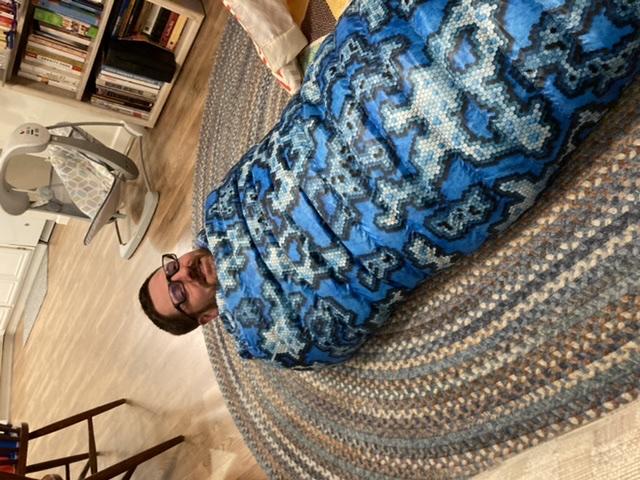

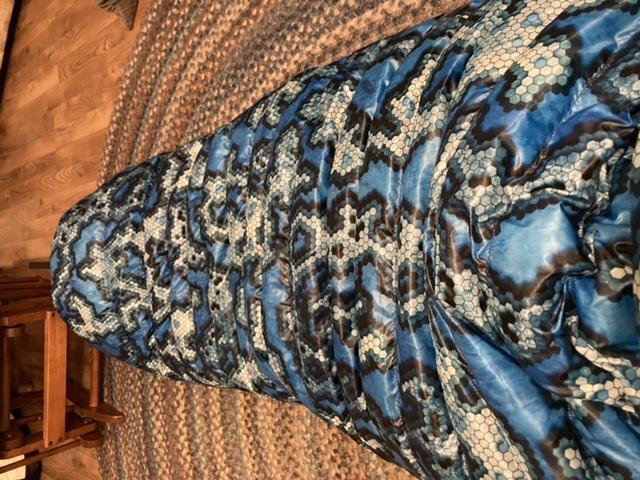
Wild pattern!
Who wants boring plain?
Hopefully not me :) I bought enough to make two, so maybe another person will want one.
Become a member to post in the forums.
 Loading...