Wanted to share my first sewing experience and thoughts on Ripstop By the Roll’s 0.93 Membrane Silpoly in a tarp application. I’ve been a longtime lurker on these forums and admirer of all the great MYOG posts and information these boards have to offer. Finally, I committed to making my own tarp. This project was spurred on by a desire to break out of my comfort zone and away from my well-trusted single-wall tent. I find myself drawn to the flexibility of a tarp/bivy combo and the challenge of using it in a more humid/rainy temperate environment (New England).
The design for this tarp was simple, an 8’x6’x9′ trapezoid without cat cuts. My hope was to make this a design with the possibility of more pitches than an A-frame, but with the utilitarian shape of a tarp like the MLD Grace. I reasoned that leaving out the cat cuts would lead to a more flat-tarp feel. I haven’t had the opportunity yet to test other pitches extensively. However, in the future I’d likely use cat cuts with a material that stretches as much as this. The finished tarp + lines weighs 8.0oz.

Material, from RSBR:
6yards MEMBRANE Sipoly, Glacial Blue, claimed HH of ~2000mm and 0.93oz/yd2 finished weight
¾ grosgrain ribbon
3/8 grossgrain ribbon
Gutterman MARA 70 thread
After receiving the material and running a few test stitches, I laid out the fabric on my floor and drew out the two identical panels using a tape measure, 8ft planed board as a straight edge and a dressmaker’s pencil. Then cut my panels with Fiskars fabric shears (would highly recommend as budget scissors) and checked the uniformity of the panels. A few discrepancies, but nothing more than a ¼” which isn’t too bad.
The tarp was constructed of 2 identical trapezoidal panels measuring 108” along the a straight line in the y/height direction, and a bottom of 36”, top of 48” along a straight line in the x/width direction. The straight 108” edges were aligned and clipped together using office bulldog clips. These aren’t the best and can be finicky to use but have plenty of holding power and don’t slip on this silpoly.
The ridge was stitched together using a hybrid french seam.

Then, small reiforcement patches were made out of scrap. First I cut cardboard templates for each corner, sizing the patches as 5” along each the two edges of the tarp’s corner. Then templates for the midpanel tie outs as isosceles triangles with 5” edges. I then cut 4 of each out of scrap fabric and hemmed them on the edge(s) that would not be incorporated into the final rolled hem.
The corner reinforcements were sewn on with parallel lines of straight stiches 0.5” apart

The midpanel reinforcements were sewn with a single line of stiches around the “inside” 2 edges of the patch triangle. Originally they were sewn on with “parallel lines” as with the corner patches. However, this was re-done because my sewing technique caused the patches to “walk” and become off-center. The edge-sewing method allowed me to center the patches better.
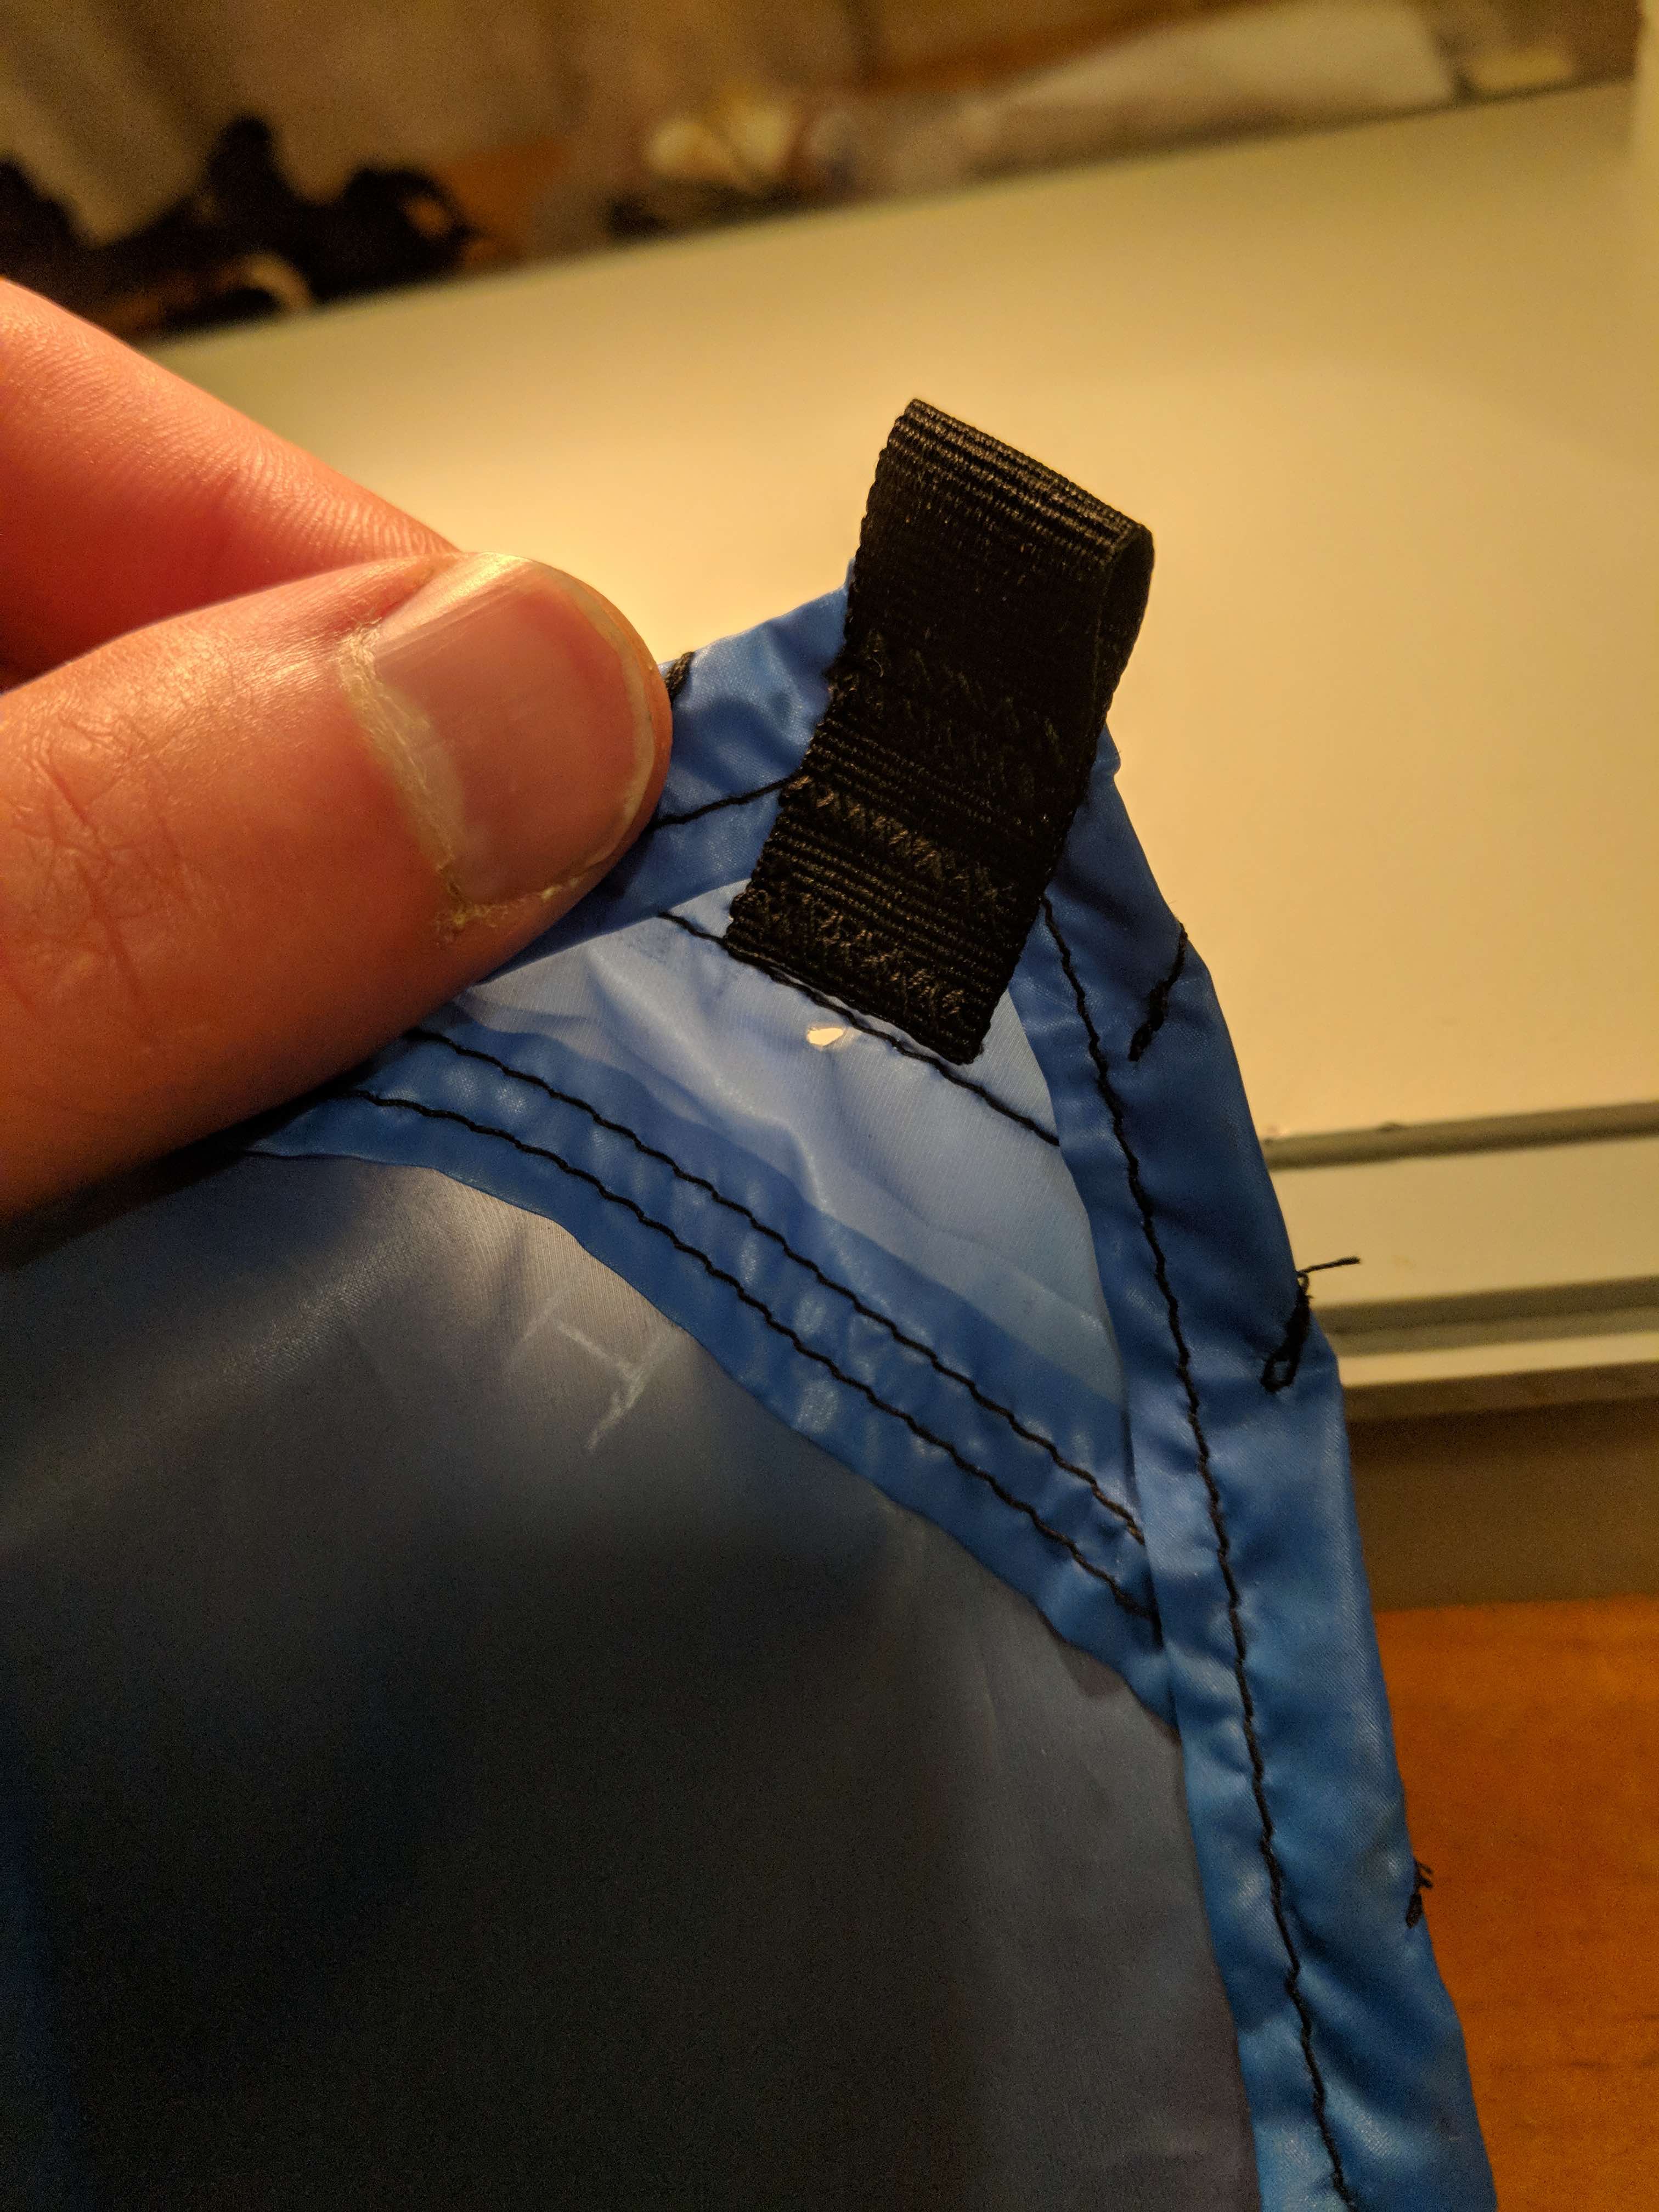
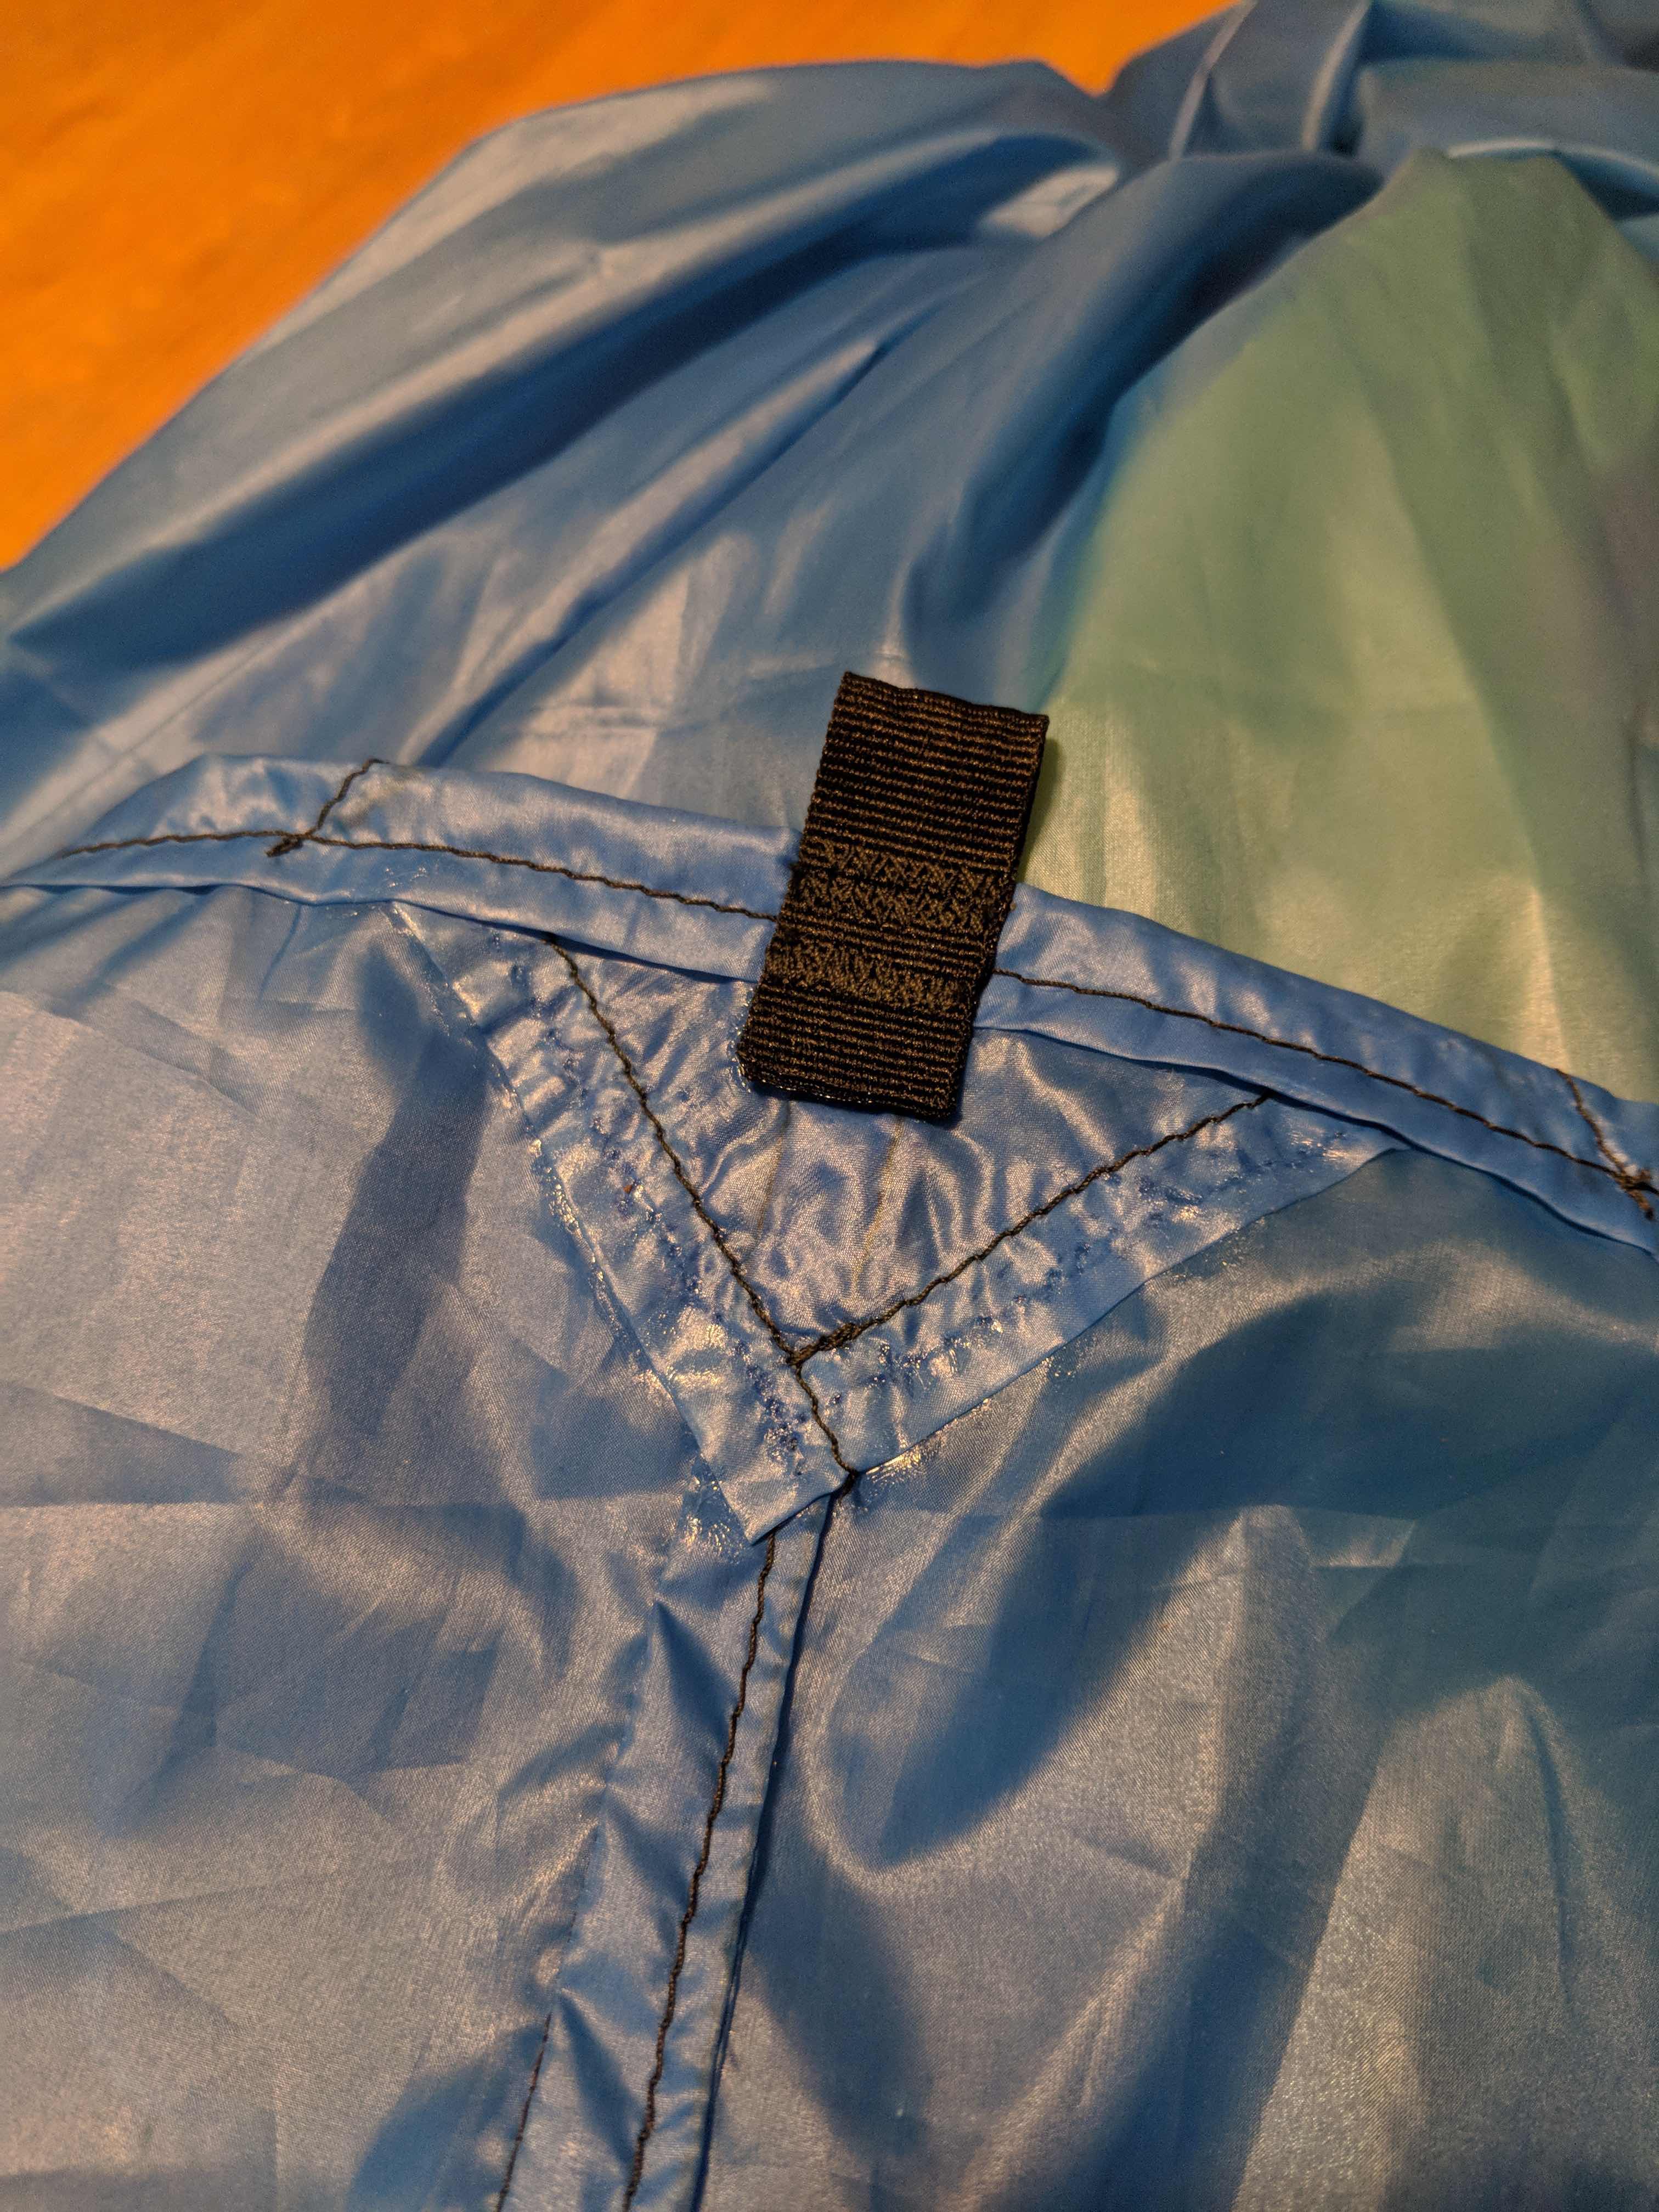
After all reinforcement patches were sewn in place, I gave the tarp a 3/8” rolled hem around the perimeter to finish the main tarp body. Notice how the ridgeline tie out is sewn on.

Lastly (so I thought) I made 8 identical tie out loops and bar-tacked them on with 3 rows of stitches.
Of course, on the LAST TWO snips of loose thread, I managed to cut a hole in one of the worst imaginable spots. As frustrating as this was, it was a great learning experience. Firstly, don’t rush at the end. Secondly, bonded patches with 100% silicone (GE Silicone II) work great with this material.
To remedy this screw-up, I removed the grossgrain to obtain a flat area to re-reinforce. I then cut mini triangles using the carboard template I’d made previously. These I bonded, top and bottom by smearing with undiluted silicone and placed just inside the rolled hem stitching. Then the area was weighed down after being sandwiched between two pieces of parchment paper, then two pieces of evazote foam (to help distribute weight across the uneven thickness of the stitched/hemmed fabric).

This completely sealed and added strength to the area where I’d cut the hole. I’ve used this technique before to repair tents made of 1.3 Silnylon and reasoned it would work the same on a silicone-impregnated polyester. So far it seems to have been as effective as it has been for silnylon.
After re-installing the tie out to the repaired area, I added a small grossgrain loop on the underside of the ridgeline 1′ from the head end of the tarp. This will allow me to affix my Borah bivy pull. Finally, I seam-sealed all the stitching with thinned silicone.
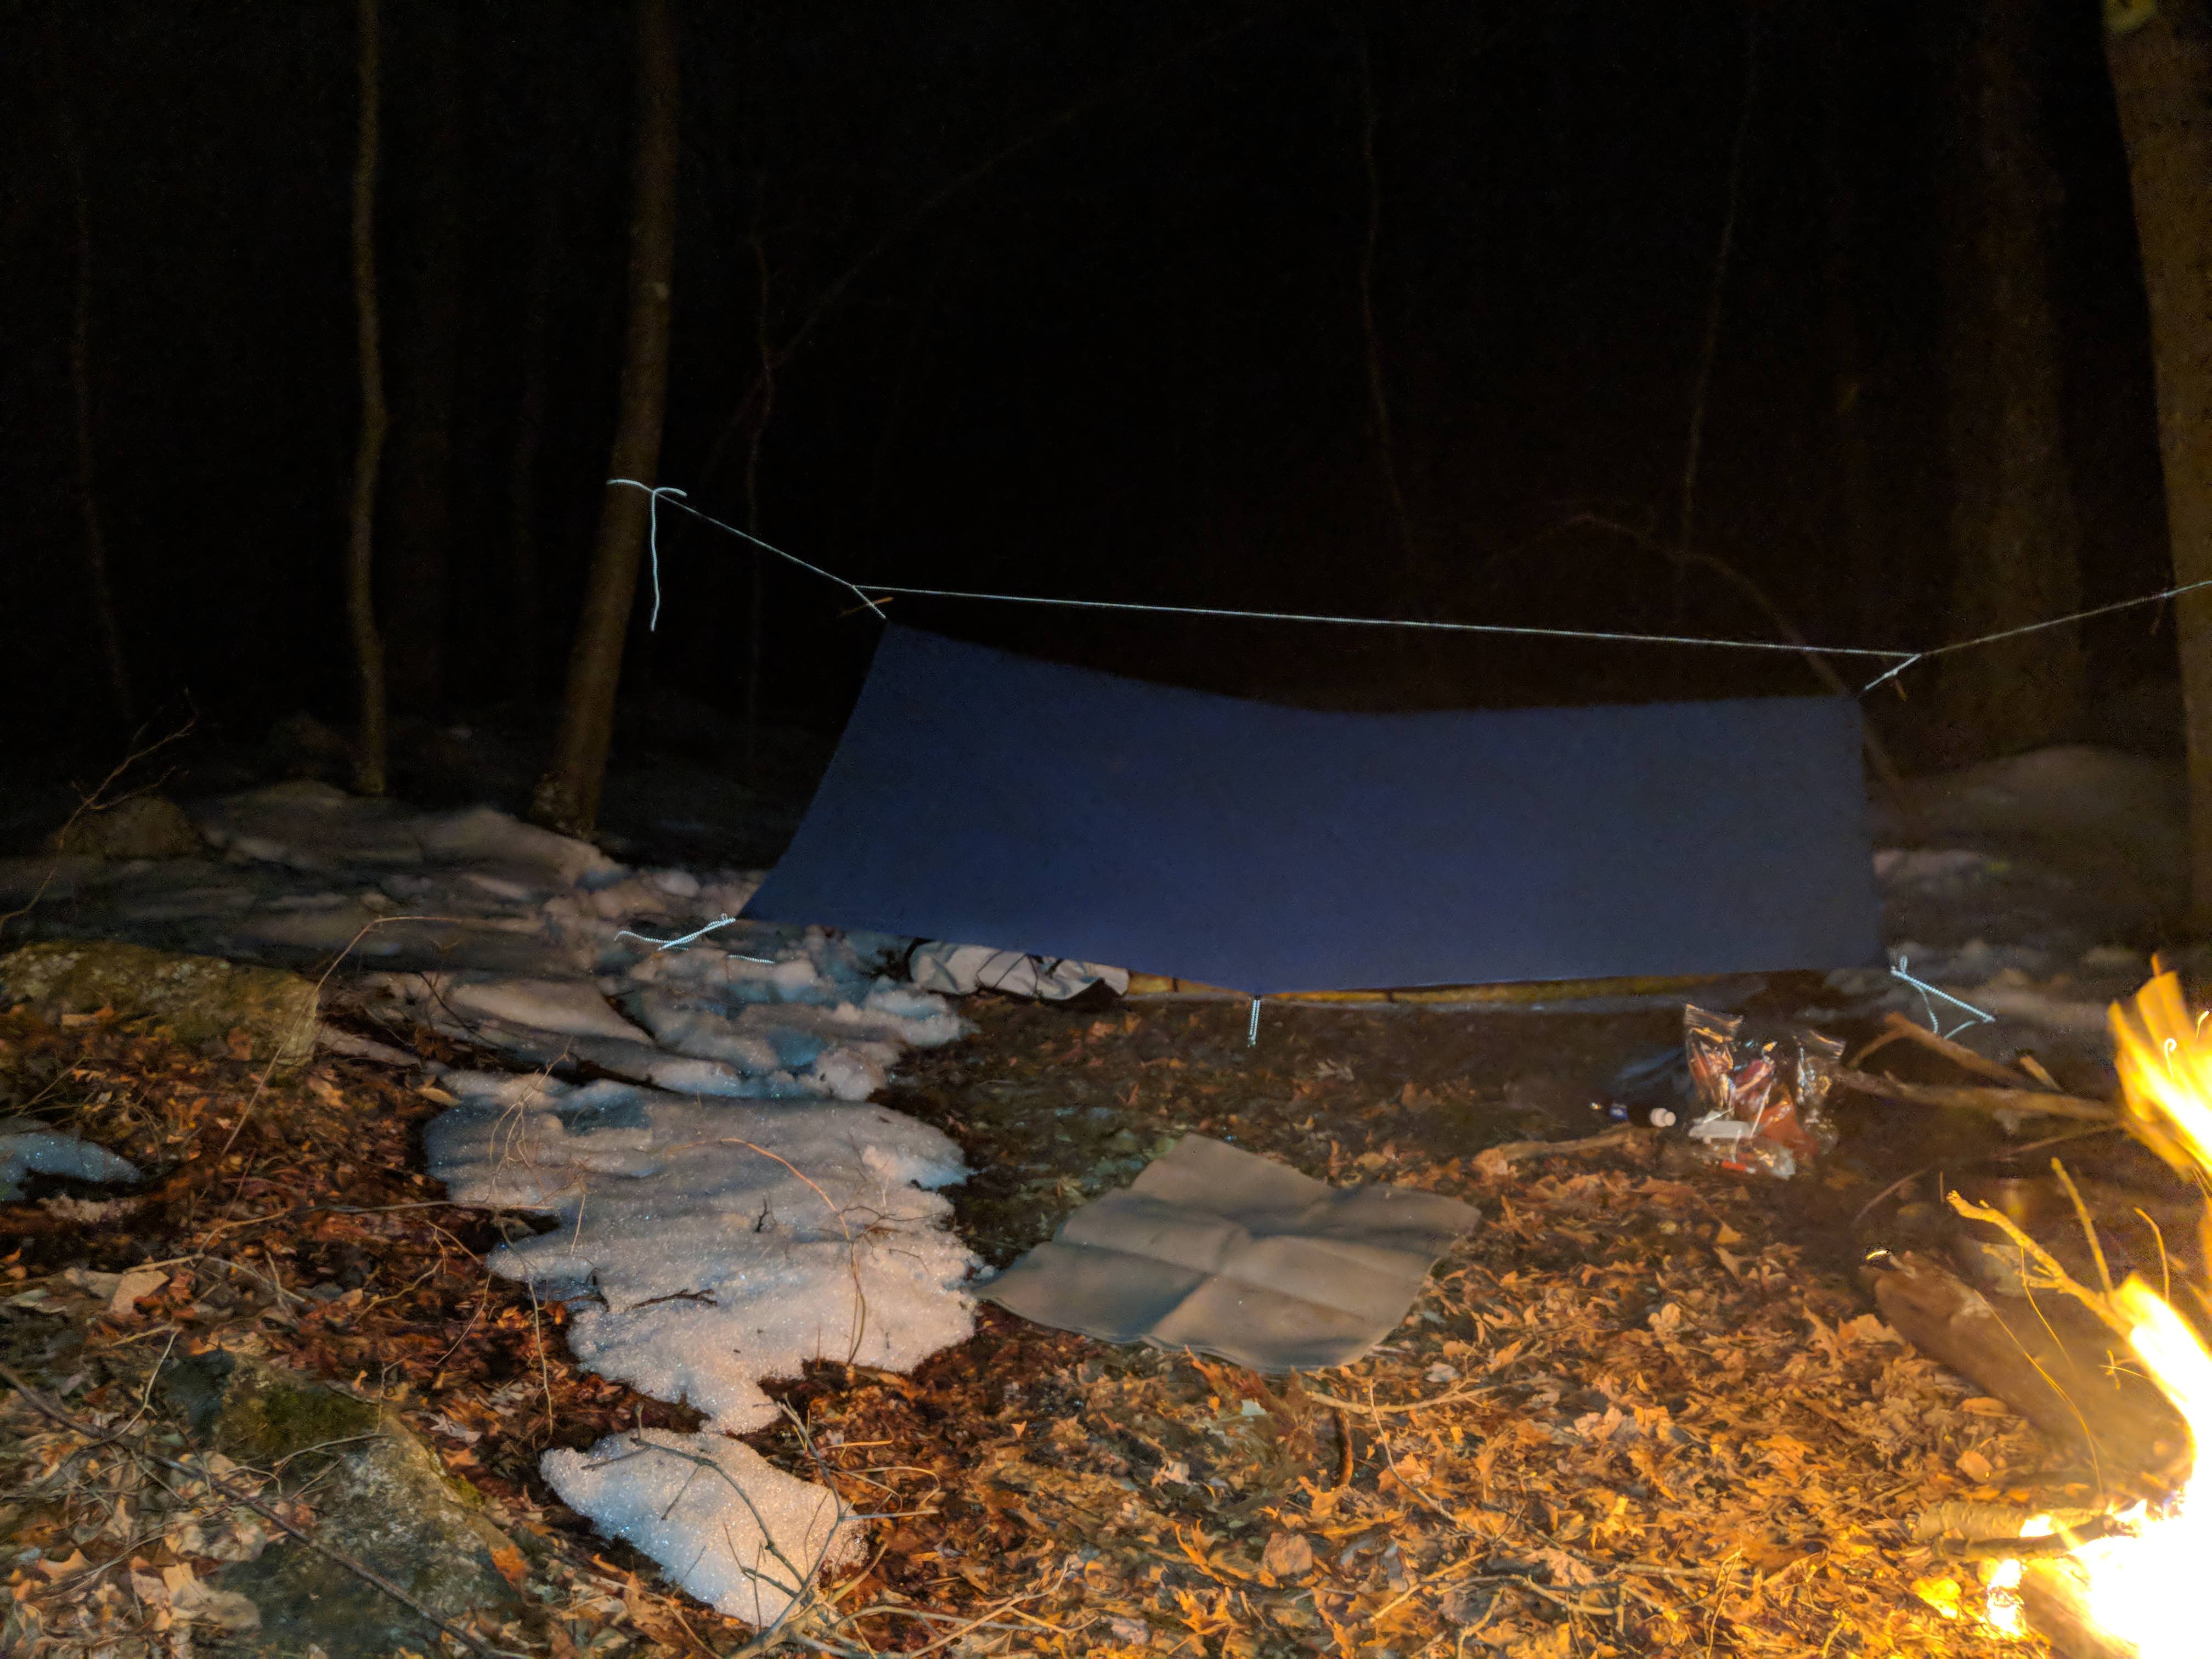
This weekend I set it up for the first time to test the construction. The wind was quite strong and helped to show some of the tarps weaknesses. In the below pic, observe how taut and stretched-in the side panel is when taking a gust of wind broadside.

By contrast, observe how flappy the other side is can be when the slack lessens.
It seems as though the extreme stretchiness of the membrane silpoly makes it tough to tighten the central part of the panel between tie outs. I think cat cuts along the long edges would solve most of this issue, although I don’t see it going away entirely. Absent wind, the pitch is great. However, I have to apply a fair bit of tension to get a proper pitch. A workaround I’m considering is running a continuous ridgeline of cord with prusik loops, then affixing the tarp to the ridgeline cord at 3 places on the center ridge seam. This would help pull the fabric up and further tension the tarp. However, the extra hardware will cut into the weight savings vs a heavier fabric or superior design that lacks this issue.
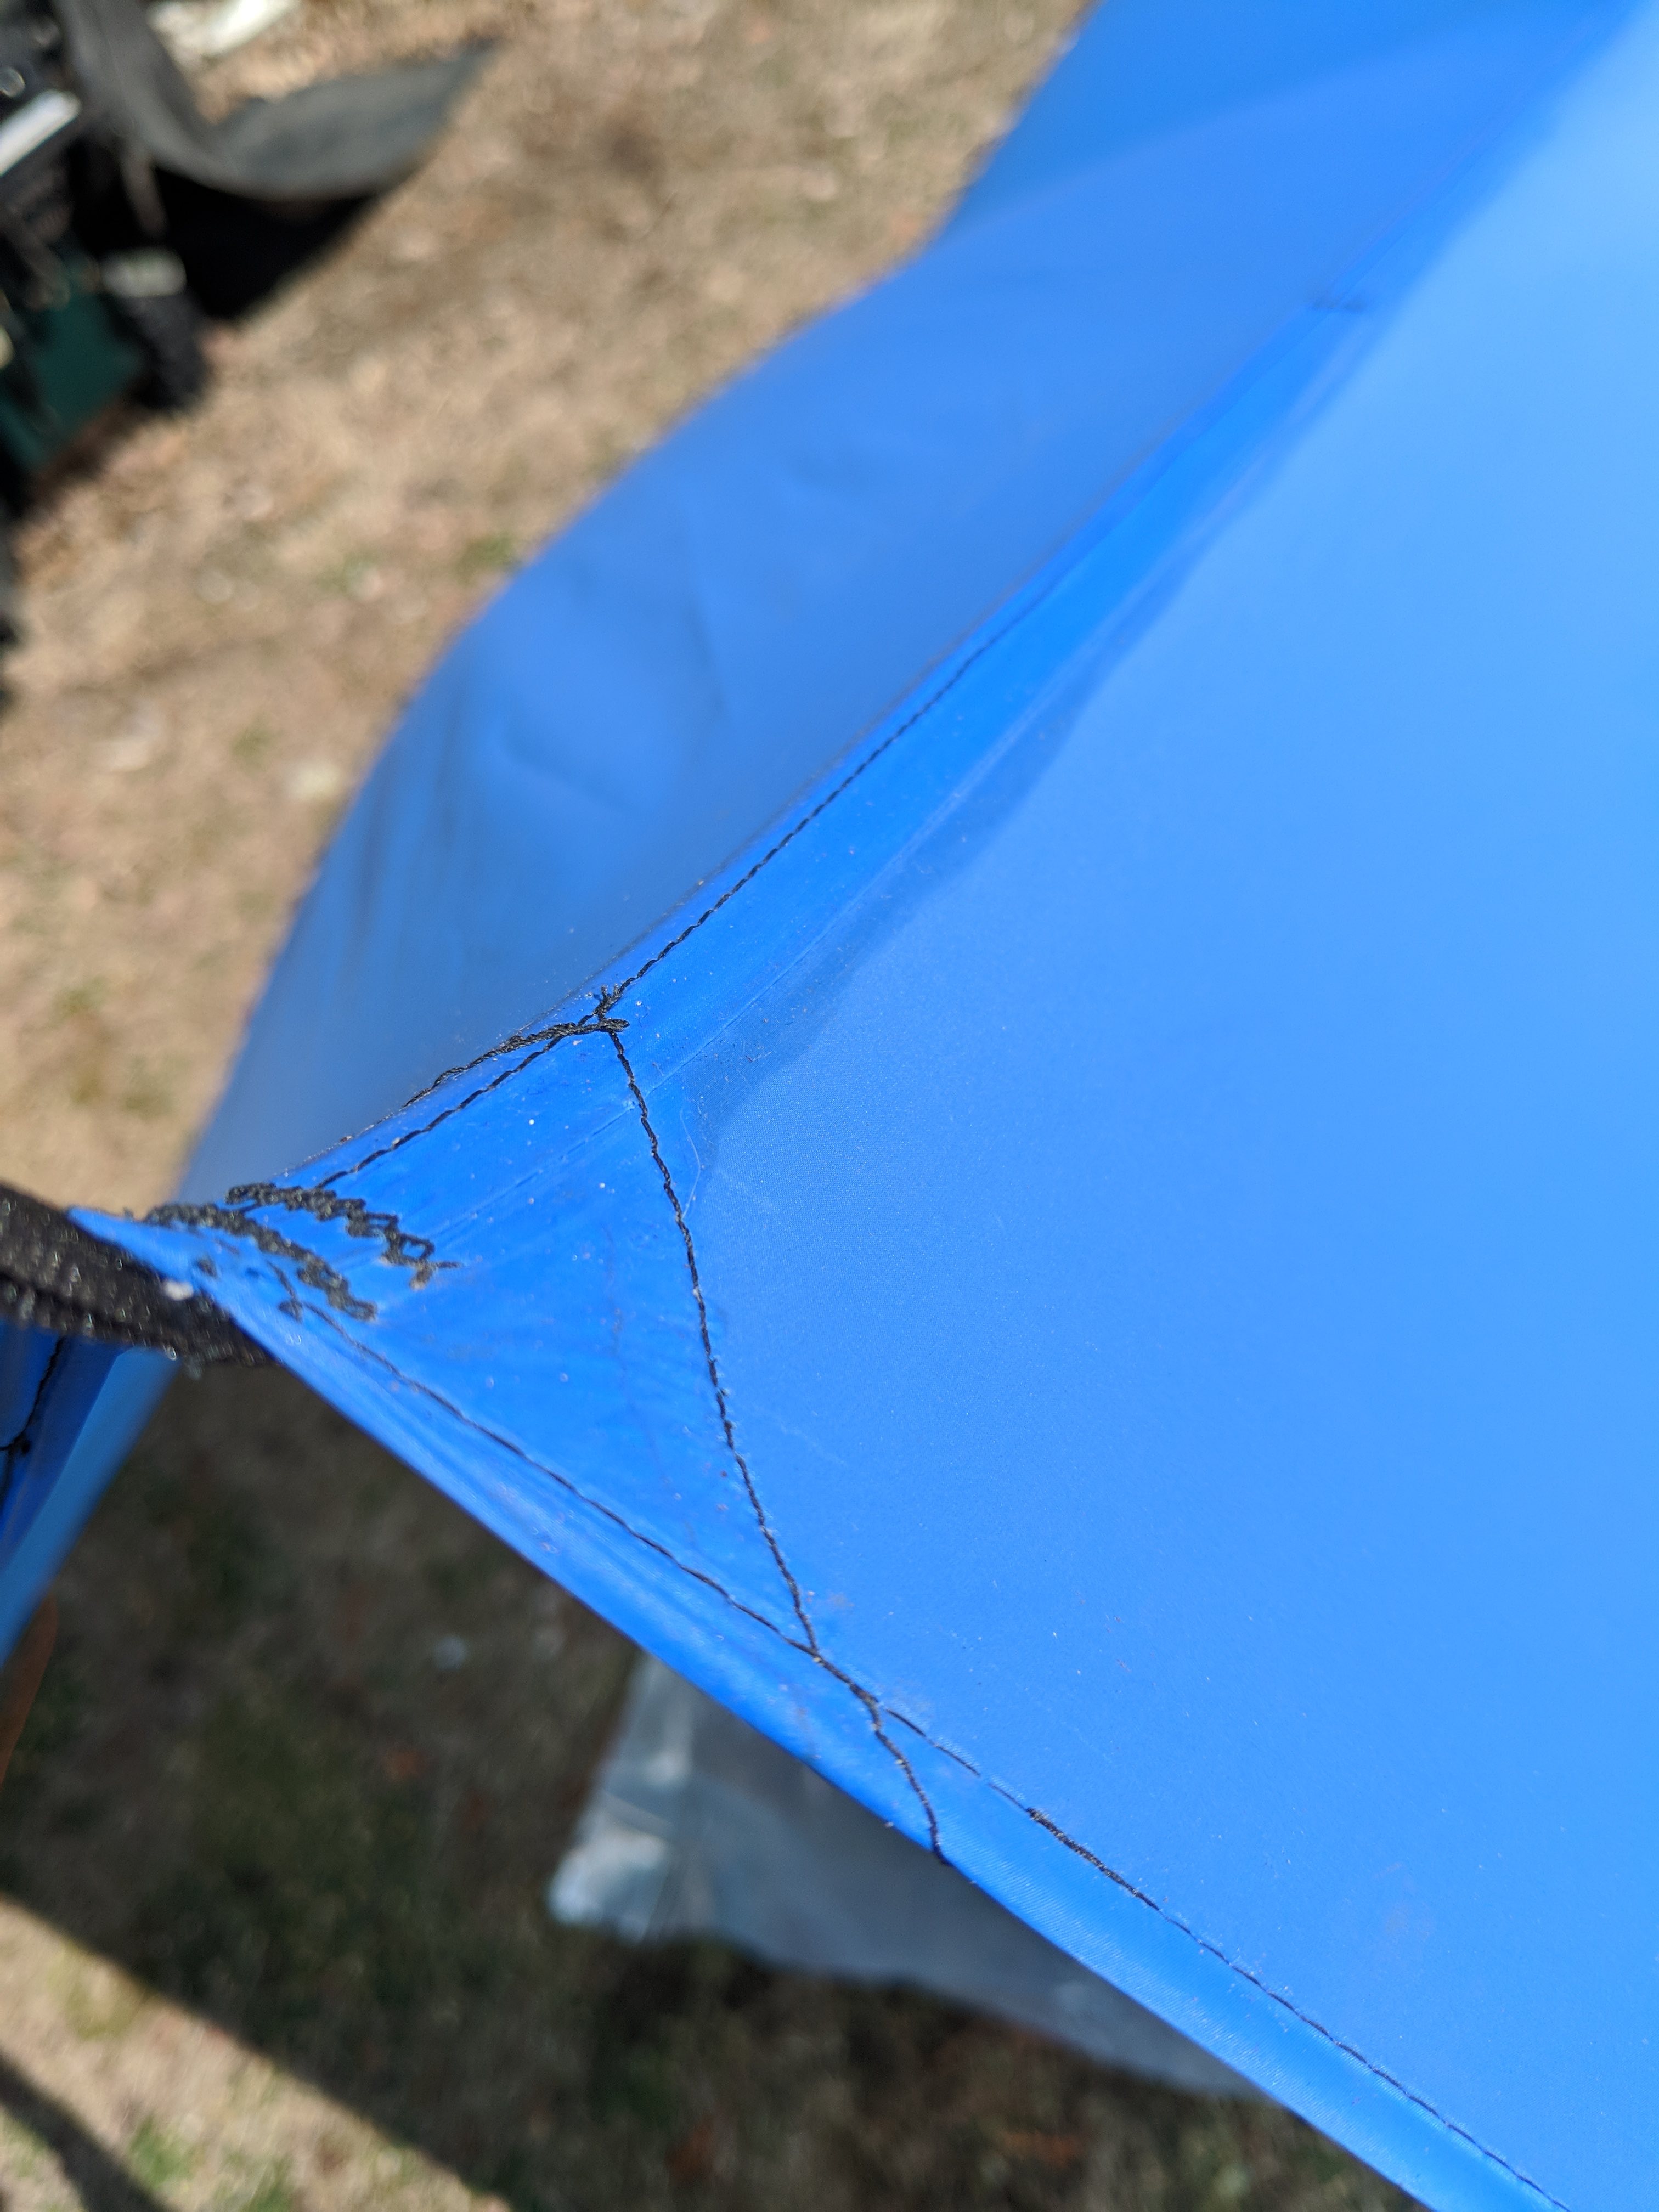
In the future, I’d definitely bond all reinforcement patches flat with silicone as above. In fact, the needle holes on sewn on reinforcement elongate when the tarp is tensioned down. It was hard to get a picture of this, but its a definite structural worry. I tried to repair this by ripping out the stitches on the two ridgeline tie out reinforcements down to the hem, then bonding the now mostly-loose patches on. After replacing the stitching I’m not seeing any elongation of the material around the needle holes. I think the double-bonded material has significantly less stretch and is a superior method of reinforcing the high-stress areas.
Overall, sewing this tarp was a great learning experience. I’m excited to finish tinkering with the setup and trying it in the field. The membrane silpoly is wonderful fabric but I think it needs to be designed and constructed thoughtfully to avoid its weaknesses. Any feedback on how to improve my construction or design would be appreciated!