Topic

Industrial Needle Feed Sewing Machine


Forum Posting

A Membership is required to post in the forums. Login or become a member to post in the member forums!

Home Forums Gear Forums Make Your Own Gear Industrial Needle Feed Sewing Machine

Viewing 25 posts - 1 through 25 (of 30 total)
  • Author
    Posts
  • #3486554
    Craig B
    BPL Member

    @kurogane

    Hello All,

    I’m in the market for an industrial sewing machine to replace an early 70’s Sears Kenmore home machine.   It seems to me the general consensus is that needle feed machines work very well with lightweight, slippery materials.  However, I have also seen people say that heavy-duty needle feed machines do not work well with the light stuff.  So, I’m looking for a light-duty (from a material standpoint) machine that will do well with all the ultralight fabrics used in clothing, shelters, and quilts.  There are LOTS of them out there by many different manufacturers, and most all seem to have similar design elements and should still produce good seams, even if they are 40 years old.  It has been quite difficult, though, to find information on a lot of these old machines from decades ago, and what their specifications/applications were.  For instance, the current Juki DLN-5410 series of machines has 3 variants: 5410N, 5410NH, and 5410NJ, corresponding to light, medium, and heavy materials (more or less).  So the 5410NJ would probably not be so good trying to sew ultralight nylons.  I have had some luck finding that a particular model of old machine is a needle-feed type, but not what all the variants were meant for.

    So my question to the community is this:  What model/variant of single-needle, needle-feed, industrial machine do you know of that is geared toward lightweight materials?  Please be as specific as possible.

    Here are the models that I’ve collected so far (and please correct me if I have something wrong!):

    • Brother S-7200B-33S (New)
    • Brother DB2-B790
    • Brother DB2-B791
    • Consew 315R-2
    • Durkopp-Adler 212
    • Highlead GC0518 (New)
    • Juki DLN-5410N (New)
    • Juki DLN-415 (variants? -1, -2, -3, -4 ?)
    • Mitsubishi LS2-2210
    • pfaff 561
    • pfaff 481
    • Reliable 3200SN (New)
    • Reliable MSK-8210M (New)

    What can you add to the list?!

    #3486575
    Armando S
    BPL Member

    @asinger

    Locale: (null)

    I’ve been dreaming of an industrial single-needle, needle feed industrial for a while now. One more model to add to your list:

    DLN-9010A-SS
    This is the newest Juki needle feed (newer than the 5410).

    The “A” designation is for Direct Drive–the motor is built into the head. It’s also has a “semi-dry head.” Unlike older models that sit in a big pan of oil, this has a little oil reservoir to fill and a it sips tiny amounts of oil to the head to keep the fabric clean from oil spurts.

    The “SS” is the lightweight version. It’s rated for size 9 to size 18 needles–a similar range to home machines. The “SH” suffix is the heavyweight version for up to a size 23 needle.

    Should run about $3000 brand new with all the bells and whistles like an auto-trimmer, auto-back tacking and a computerized panel with a bunch of programmable functions. (I’m assuming it’s similar in price to the 9010aSH, the heavy model, which I have shopped for. It’s even sold on amazon with prime free shipping, table included. I also went to a local dealer who quoted a similar price.)

    I’m told that the SH heavy version and the SS version are very similar. It’s possible to get the SH version and buy the thread plate & feed dog kit for the lightweight version and swap them out. The SS throat plate has a smaller hole for the needle for finer fabrics (so it doesn’t get pushed into the thought plate hole easily). And the SS feed dogs have finer teeth. That’s the main difference. The tensioning discs are also a bit different. So either the SS or SH model should have a pretty wide range of needle & thread sizes.

    I will probably get one of these myself at some point, but I’m forcing myself to make do for a while w/ a semi-industrial home machine that I really enjoy.

    #3486625
    nunatak
    BPL Member

    @roamer

    I have a 5410 (needle feed) and a 8700 (basic straight stitch) and a 1541 (walking foot). In use a needle feed feels like a regular single needle machine, a walking foot does not!

    With needle feed (as opposed to walking foot) you can do precise work, zippers, the thinnest fabrics, etc, but with a small advantage in control and stitch quality over a regular single needle, like the 8700.

    Some will say this advantage is too small to warrant the added expense of a needle feed mechanism. For me the 5410 was three times the price of the 8700.

    The reseller accidentally sent me the heavy duty version when I bought the 5410. I ordered the medium. Seeing the hardware on the heavy duty, I’d say it’s unsuitable for light or even medium materials, like 100d. It was just a matter of replacing the dogs, foot and throat plate, plus a small spring, to convert back to medium duty. I suspect the medium is far more versatile than the dedicated light duty, which I have actually never seen.

    Overall the best value out there got to be the 8700 at about $700. I sew just as much with that, compared to the 5410. Only on really difficult multi layered slippery jobs does it get easier and better with the needle feed. For the occasional MYOG job, or even steady, semi production MYOG the 8700 (medium duty) is the one.

    Both the 5410 and 8700 have the delicacy and power to do everything from quilts to packs, although I do most of the pack work on the 1541.


    #3486736
    Craig B
    BPL Member

    @kurogane

    Hey, thanks for the feedback guys!  Very useful perspectives.  It’s good to know that with a few part swaps you can change between heavy and light variants.  It’s great to get the thoughts of someone in the industry about the specific difference the needle feed makes.  Since they are about 3x more expensive than the standard feed (and much harder to find used), perhaps I’ll reconsider one of the 8700 types.  I wanted to keep my budget around $500, and I have yet to find a needle feed machine (complete with table and motor) anywhere for that price after a couple weeks of looking.  Hence the desire to know all possible models out there that fit the bill; a larger pool of potential choices.

    #3486816
    Nick Smolinske
    BPL Member

    @smo

    Locale: Rogue Panda Designs

    One other thing to note – make sure you get a servo motor! They make a huge difference in the ease of controlling the machine. They also weigh a lot less and use less energy.

    Most new machines will be sold with a servo, but it may be cheaper to get a used industrial. If you go that route, make sure to either get one with a servo or factor in the additional cost of ordering one and installing it (the cheapest ones run about 100 bucks).

    #3487672
    Craig B
    BPL Member

    @kurogane

    You’re right Nick.  I checked out a friends Juki DDL-5550 (which is not working at the moment) and it has a clutch motor.  Wow, they are loud.  Definitely a piece of industrial equipment!

    #3487756
    Nick Smolinske
    BPL Member

    @smo

    Locale: Rogue Panda Designs

    I totally forgot about the noise! Servos are much quieter. I only have one machine with a clutch motor (our bar-tacker, they don’t work as well with servos). We have it in a back room so only the person using it has to listen to it.

    #3487799
    Anonymous
    Inactive

    For thin, slippery fabrics, I tend to “cheat” some, and use iron on bonding stuff as a pre step to sewing. If the fabric has a DWR or waterproof coating with low surface energy, it doesn’t bond enough to use solely by itself, but it keeps it together enough (and adds a little thickness to it) to sew it easier and surer with an inexpensive sewing machine.

    Some heat bond stuff can be sewn through and some can’t (some have some adhesive on it, which would gum up a machine). Typically they are labeled which is which.  I like the stuff that is backed with paper on one side.  You quick press, heat bond it to one layer of fabric, take off the backing, put over and line up the other piece of fabric, and then press and hold for a bit longer.  Pretty easy and quick to do all in all–certainly more than ripping out thread, redoing, and cursing the UL Gods for the lovely, ethereal, but capricious and eel like UL slippery fabrics…

    Mentioning this for the poorer folks like myself who can’t afford the high end machines.

    #3488986
    Craig B
    BPL Member

    @kurogane

    Hmmm, interesting technique.  So I guess you use that instead of pins, or in addition to?  And the adhesive remains on the fabric right?  Don’t you want to eliminate all the unnecessary material though?!  Granted, it probably doesn’t weigh too much, but it seems more about the principle ;-)  I’ve taken to pinning the hell out of joints before I sew them to keep things together.  Most of the time it works.

    Ha, well I finally saw a Juki DLN-415 on Craigslist near me for $500, but when I emailed they guy (about 20 hours after the post went up) he had already sold it!  I am however going to babysit (and fix while I’m at it) my friends DDL-5550 for a while, so I’ll get to try that out and see how I like it.

    #3489030
    Nick Smolinske
    BPL Member

    @smo

    Locale: Rogue Panda Designs

    Another method for sewing the really thin stuff is to just start at both ends. Sew about 1/3 of the way in from one side, then flip and start from the other side. Then see which side is longer. Flip again if you have to so the longer side is on top, then you can keep pushing it in as you sew to even out the two sides until you meet your other seam.

    It’s not the prettiest method (sometimes I’ll end up adding unnecessary pleats), but it’s the fastest and so it’s my go-to method for personal projects. I used it for nearly every seam on my down jacket I made earlier this year. I haven’t used pins in a few years, ain’t got no time for that! Occasionally I’ll use a binder clip or two, but mostly I avoid using pins or any equivalent.

    #3489038
    Anonymous
    Inactive

    “Hmmm, interesting technique.  So I guess you use that instead of pins, or in addition to?  And the adhesive remains on the fabric right?  Don’t you want to eliminate all the unnecessary material though?!  Granted, it probably doesn’t weigh too much, but it seems more about the principle ;-)  I’ve taken to pinning the hell out of joints before I sew them to keep things together.  Most of the time it works.”

    Instead of.  I use the non glue/adhesive coated stuff, so I can sew directly through it. It’s like gauzy non woven nylon like plastic and melts onto and a bit into the fabric. It will wear off and out of DWR, silicone, and other low surface energy material treated fabrics fairly quickly. It doesn’t bond that well to these, but like I said, just enough to keep the fabrics together well enough to sew them with no problem.  In that case, it’s like a weak tape, but that won’t gum up your machine.

    It barely weighs anything.  It might add a few grams or so to a large project (if you’re not using the wider and thicker stuff), but you’d have to be a true gram weeny to worry about that little bit of weight.
    It makes life a lot easier.  I won’t use it on some fabrics/matierals though, like polypropylene, cuben/Dyneema composite, or Tyvek, simply because I don’t want to subject these to the heat of an iron (these all have low melting points). The mylar part of Cuben would likely be ok, but the highly oriented UHMWPE fibers within same, start to soften and melt at pretty low temps (a little over 200*F) , and as soon as they reach near melting temp, they lose their high/uniform molecular orientation and thus their crazy high strength.

    But polyester, nylon, coated or uncoated, and pretty much everything else natural and synthetic, you can use it on.  The companies refer to it as “no sew”, but I wouldn’t rely on it alone without stitching. Except maybe in the case of uncoated nylon to uncoated nylon, using the thicker and wider stuff and careful bonding temp and time to make sure it bonds as much as possible.

    I kind of assumed, for some reason, that a lot of folks were doing the above, but I guess it’s not as common as I had thought?  I wish I had discovered this earlier.  There are plenty of fabrics I don’t mind sewing without using this stuff first, but the new UL quilt nylons, UL polyester waterpoof fabrics, etc are definitely made easier.

    #3489064
    Jerry Adams
    BPL Member

    @retiredjerry

    Locale: Oregon and Washington

    I put a few hand stitches with the two sides of fabric aligned, or you could use pins

    Then, as I feed the fabric through the machine, hold the two sides firmly together and put a bit of tension.  Make the sewing machine pull it through

    Play with it a little to get the technique down

    If you pull to much it can cause a “birds nest” underneath or other problems.  Put just a little pressure

    #3489101
    Sam C
    BPL Member

    @crucial-geek

    Locale: Mid-Atlantic

    If you are looking at these types of machines to open a cottage of your own, then I dunno.

    If you are looking at these types of machines to make MYOG/DIY projects easier, there are a few tricks to use, as mentioned:

    1.  pins
    2. adhesives
    3. basting
    4. newspaper, gift wrap papper…. between the fabric pieces.  Gift wrap paper works well and “tears” out easily.

    I used to use painters tape.  You know, the blue stuff.  Now, I don’t use anything but my hands.  I find that it is faster and easier this way.


    #3497526
    Craig B
    BPL Member

    @kurogane

    Here’s another couple I found:

    • Brother DB2-B721-3
    • Brother DB2-B722-m03

    I think these are newer than the B790 and B791 models, but not as new as S-7200’s.

    Well, after sewing for a while on my friends Juki DDL-5550, I’ve decided I definitely want a needle feed machine.  The standard single needle lockstitch industrial design is way better than my old Sears Kenmore home machine, but I still find myself wanting better control of the top fabric feed.  Yes there are a lot of different ways to mitigate this (thanks for all your suggestions!), but I really want the elegant mechanical solution.  After monitoring the used market now for a couple of months, I have not been able to find one within my budget of $500.  So I decided to up my budget to $1000 since I don’t want to wait forever for a good deal.  Now I found a GREAT deal on a Juki DLN-5410N-7 for $800!  I buying one of two of this model that this place has.  They also have 3 DLN-5410N-6 machines they want $600ea for.  Happy to share the contact info if anyone is interested; PM me.  Of course shipping these beasts is expensive, on the order of several hundred $.

    #3497621
    Nick Smolinske
    BPL Member

    @smo

    Locale: Rogue Panda Designs

    I’m very psyched to see how you like this machine! I’ve only used needle feed in a compound walking foot machine, which is only good for thick fabrics and not the lighter stuff.

    #3498003
    Geoff Caplan
    BPL Member

    @geoffcaplan

    Locale: Lake District, Cumbria

    I’m sure that these specialised machines can make life easier, but watching a tour of the Zpacks facility on YouTube is seems that they are using inexpensive domestic models. So there’s hope for us poor hobbyists with our basic machines!

    #3498369
    Lisa C
    Spectator

    @akgirl

    I sew Silpoly, silnylon, HyperD, Dynema, etc. with a Janome 4120 QDC. I make stuff sacks, pouches, pullover rain jacket, snow skirts, backpacks etc. Sews slippery fabric well, but the key is knowing how to sew with that fabric and what needle and thread you should be using and what type of foot you should be using. I lead in with a piece of scrap of whatever slippery fabric I am sewing with on my machine at the time. I generally use Microtex 70/10 or a Microtex 90/14 needles Gutermann Mara 70 threads and Tera 80 threads. There are many feet options for my machine that come with it like a zipper foot, etc. It isn’t a commercial machine, but sews delicate to heavy duty fabrics well. Good luck on your hunt for a new machine.


    #3505936
    Craig B
    BPL Member

    @kurogane

    Well, the GREAT deal on the used 5410 turned out to be not quite so great!  First of all, it was in a factory and running on 3phase 220VAC.  I spent a fair amount of time researching the differences between the 3 phase 220 and 1 phase 120, but could not find a whole lot of references.  I did find a manual for what I thought was the right motor control box and there was a picture showing power input connections to either 1 phase or 3 phase.  So I took that to mean the controller could handle whatever voltage/# phases you wanted to use, so I decided to go ahead with the purchase and I’d figure it out when it arrived.  It took a fair amount of effort to arrange shipping and whatnot, seeing as how it had to be shipped LTL (less-than truck load) freight on a pallet.  Eventually I managed to get it up the stairs into my house though.

    Yay, new (used) sewing machine!  And luckily, they included included all the original manuals that came with it!  Now to see what it takes to make it work on 120V.  So the controller is an SC-1 EB, and it has a CP-330 control panel on top of the machine head.  Well, after a careful study of the manual, I discover that some of the electronics and the transformer inside the controller are indeed specific to phase and voltage! :-(  Sigh.  After deciphering the cryptic notations on the parts list, I find that I need to change two specific assemblies:  the power board, and the transformer.  Which, If I had thought about it a little more, makes total sense.  I’ve gotten too used to modern electronics that accommodate a very wide range of inputs!  Well, two parts shouldn’t be too expensive to swap out, right?  Juki has an online parts website, but unfortunately, you have to be a dealer or distributor to use them.  Universal Sewing Supply also has a good search database for Juki parts and they happened to have the parts I needed in stock…. for $150 for the transformer and $750 for the power board!!  Ugh!  It appears I will have just about doubled my budget if I go that route.  I can’t be the only person that wants to do this, and there must be a better way….

    A search of converting 3phase power to 1phase brings up lots of stuff on inverters and motor controllers.  Most of the solutions seek to directly power a 3phase motor, not act as a ‘power supply’ for an instrument that takes 3phase.  The method that most closely matches creating a ‘power supply’ is to use another 3 phase motor and wire it up in a certain way.  However, I would also need to first step-up my 120VAC to 220VAC, which would require yet another heavy transformer.  And this method is not very efficient, as the extra 3 phase motor in the circuit would be spinning whenever you are supplying 220 and the sewing machine was on, regardless of if the servo motor was actually running.  New 3 phase motors of the correct size to power all this are on the order of several hundred dollars, as are the step-up transformers, not to mention all the extra weight and bulk I would be committing to.  Grrr.

    OK, one last avenue.  At some point in researching Juki models and controllers, I remember seeing a place that would repair sewing machine electronics.  Perhaps they would have reconditioned or used parts for my machine so that I could correctly switch it over.  Well, it turns out the answer is yes, they did.  And it ONLY cost $386 including shipping for a used board and transformer.  I asked if they would knock off a hundred bucks if I sent him back my 3phase parts, but of course they responded “Got plenty of 220!”.  I guess it’s to be expected that as all the manufacturing jobs get outsourced to other countries (like the company I bought this machine from is obviously doing!) the demand will be for machines that go into residential installations, and there will be lots of factory machines setup for 3phase that will be unwanted.

    There was one other thing I discovered that was necessary when I finally got all the parts swapped out, and that was a power switch box.  In the original setup, there was a 3phase 220VAC magnetic starter box that would not energize on 120, so I had to get a simple single phase power switch box instead.

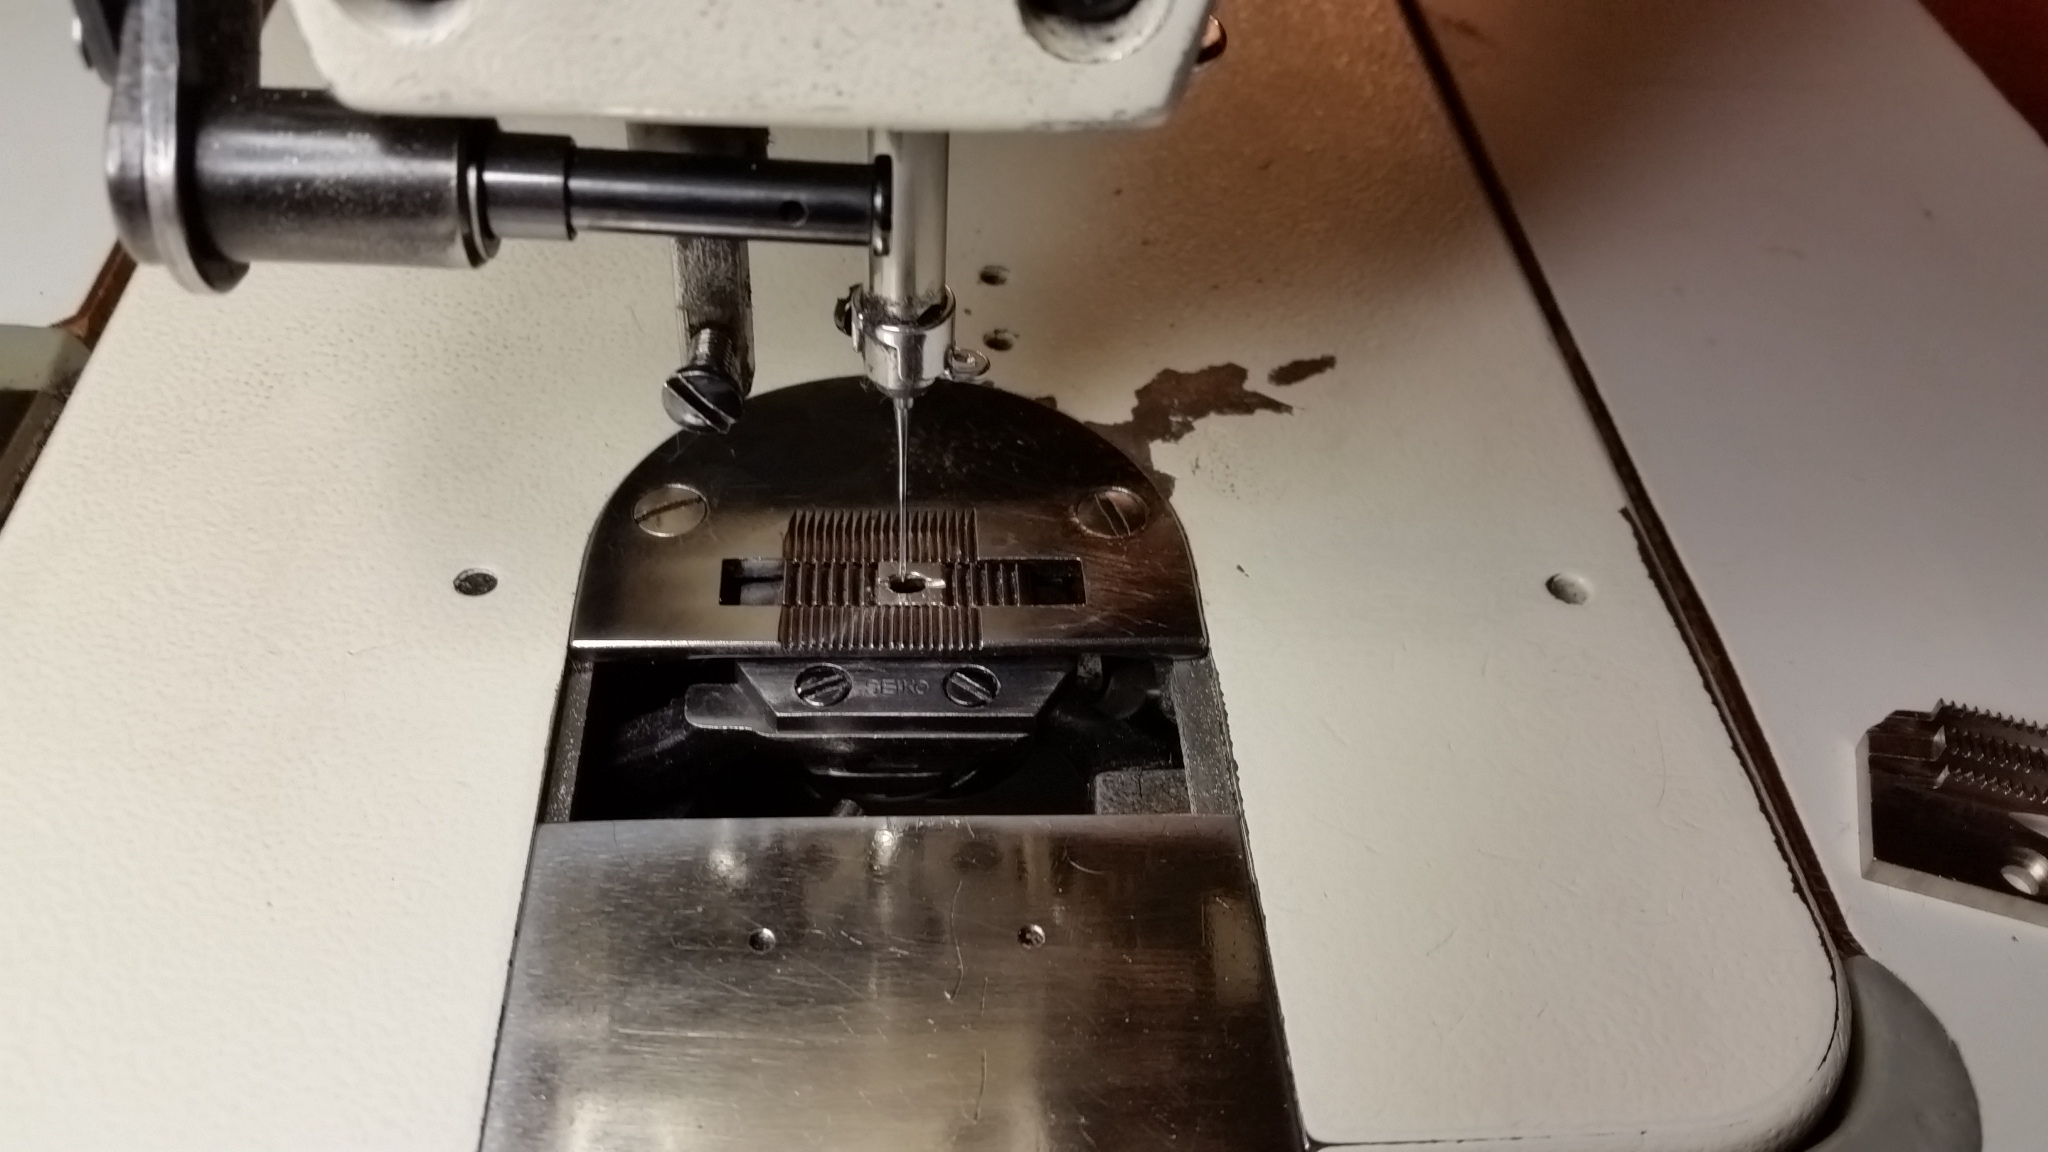
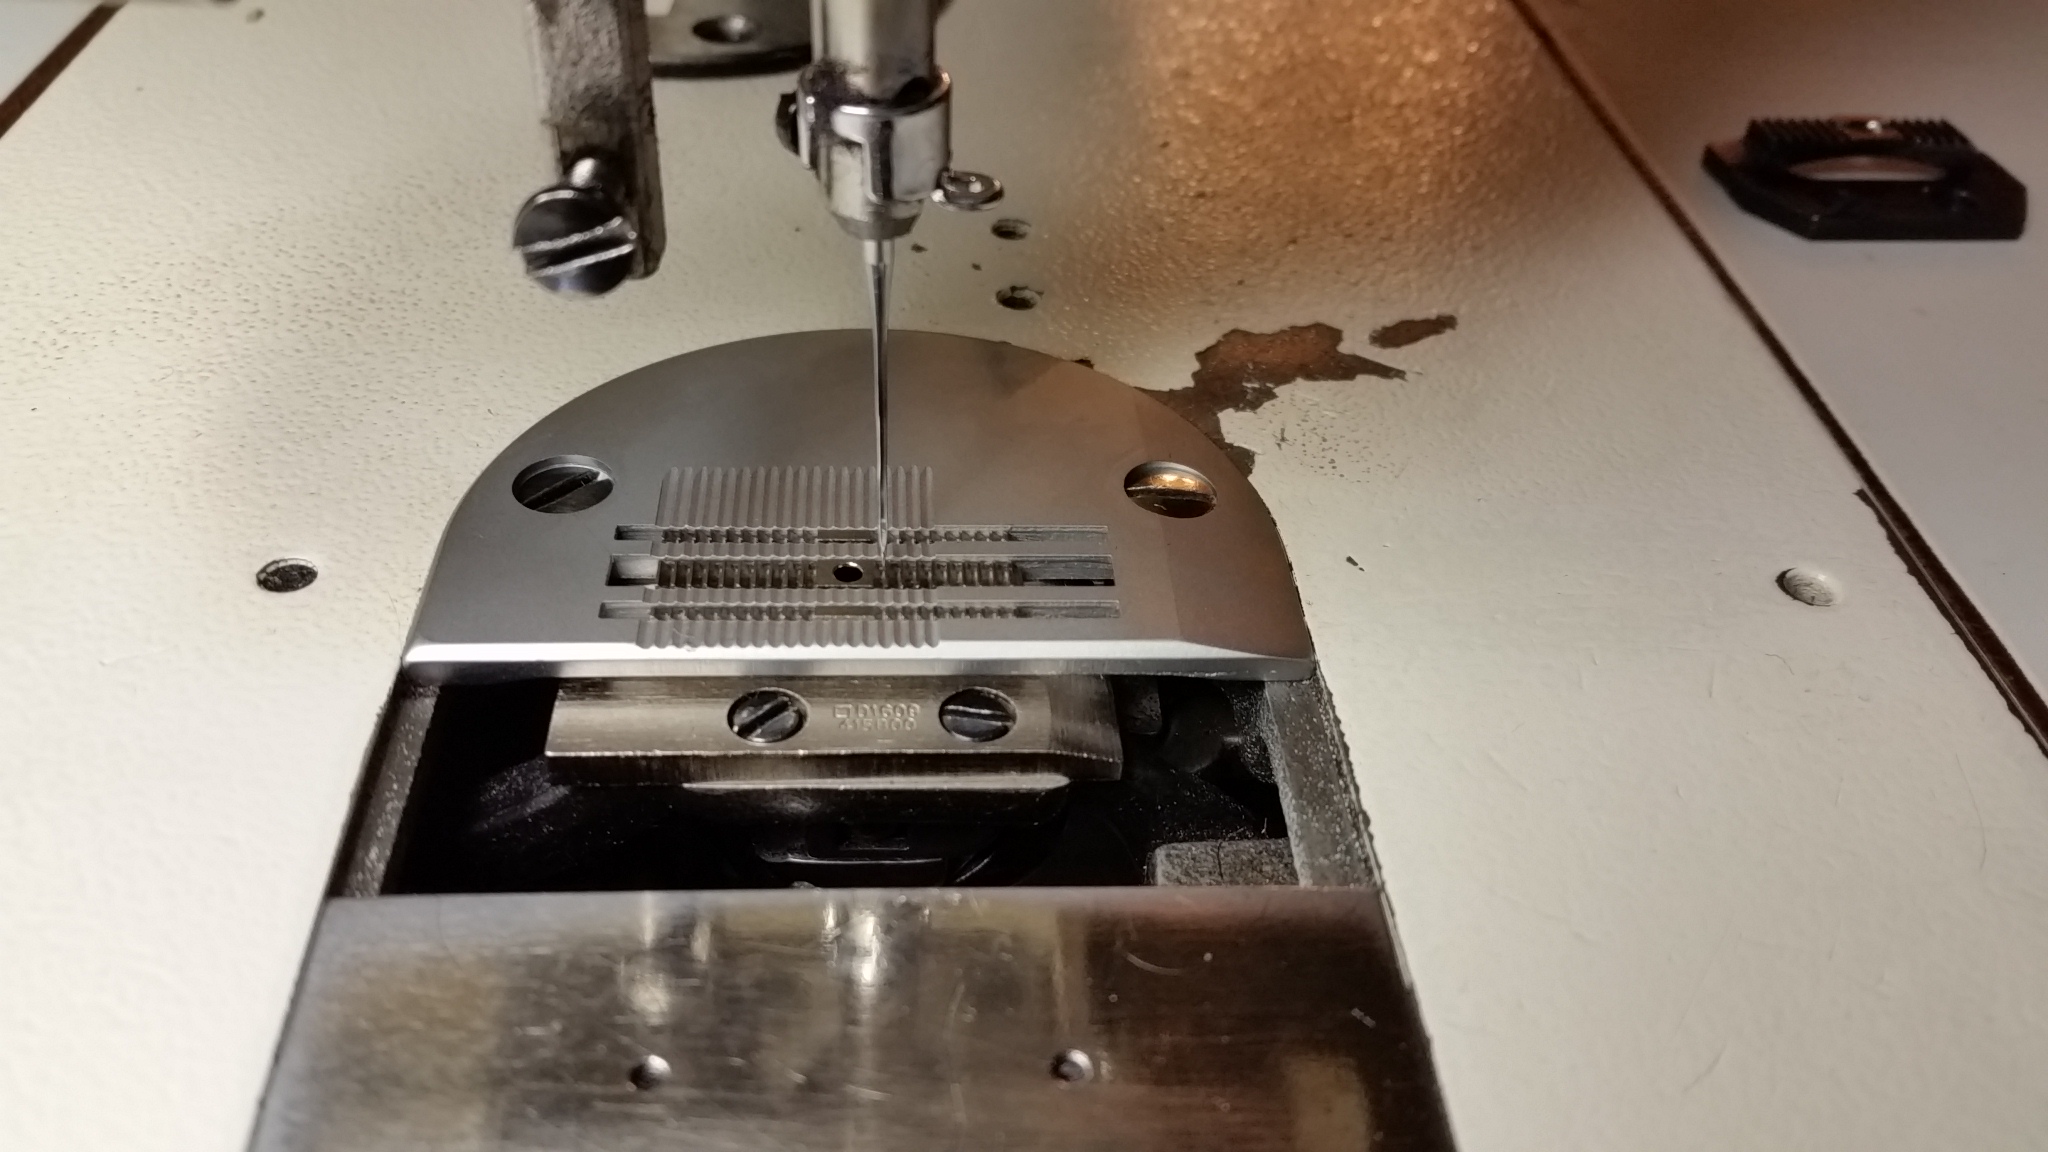
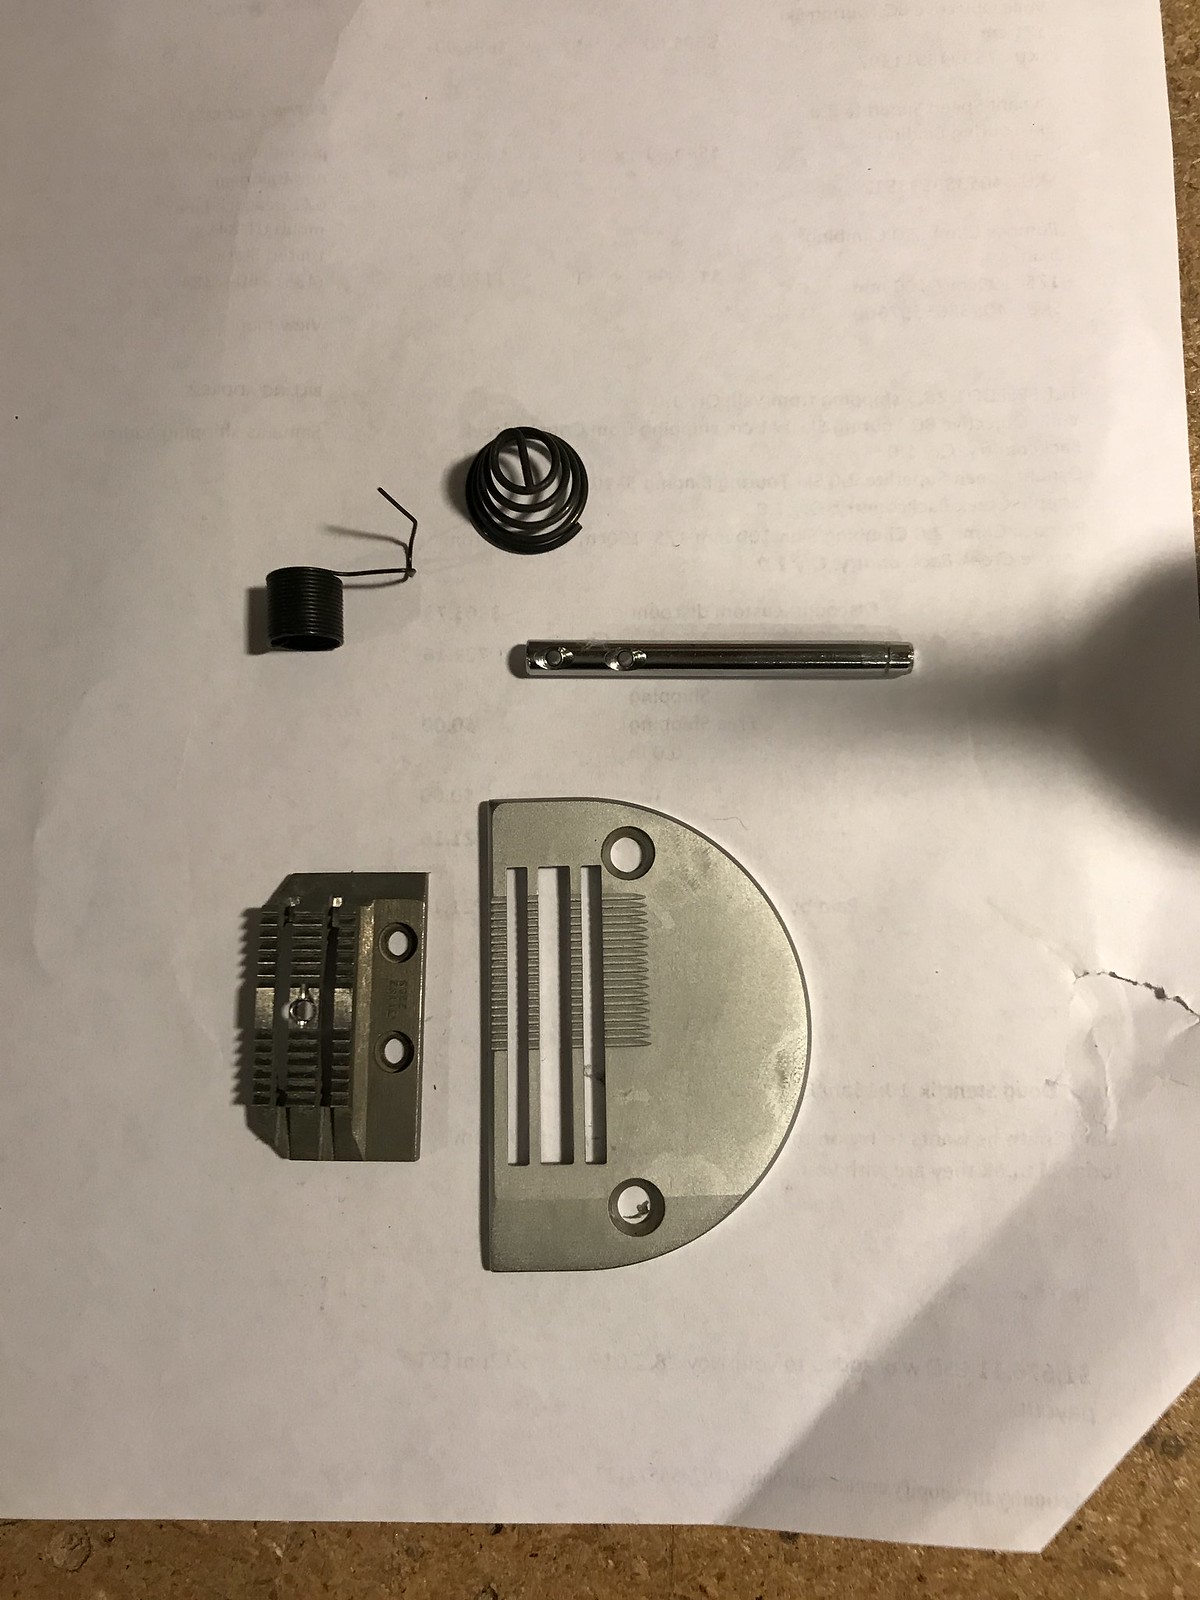
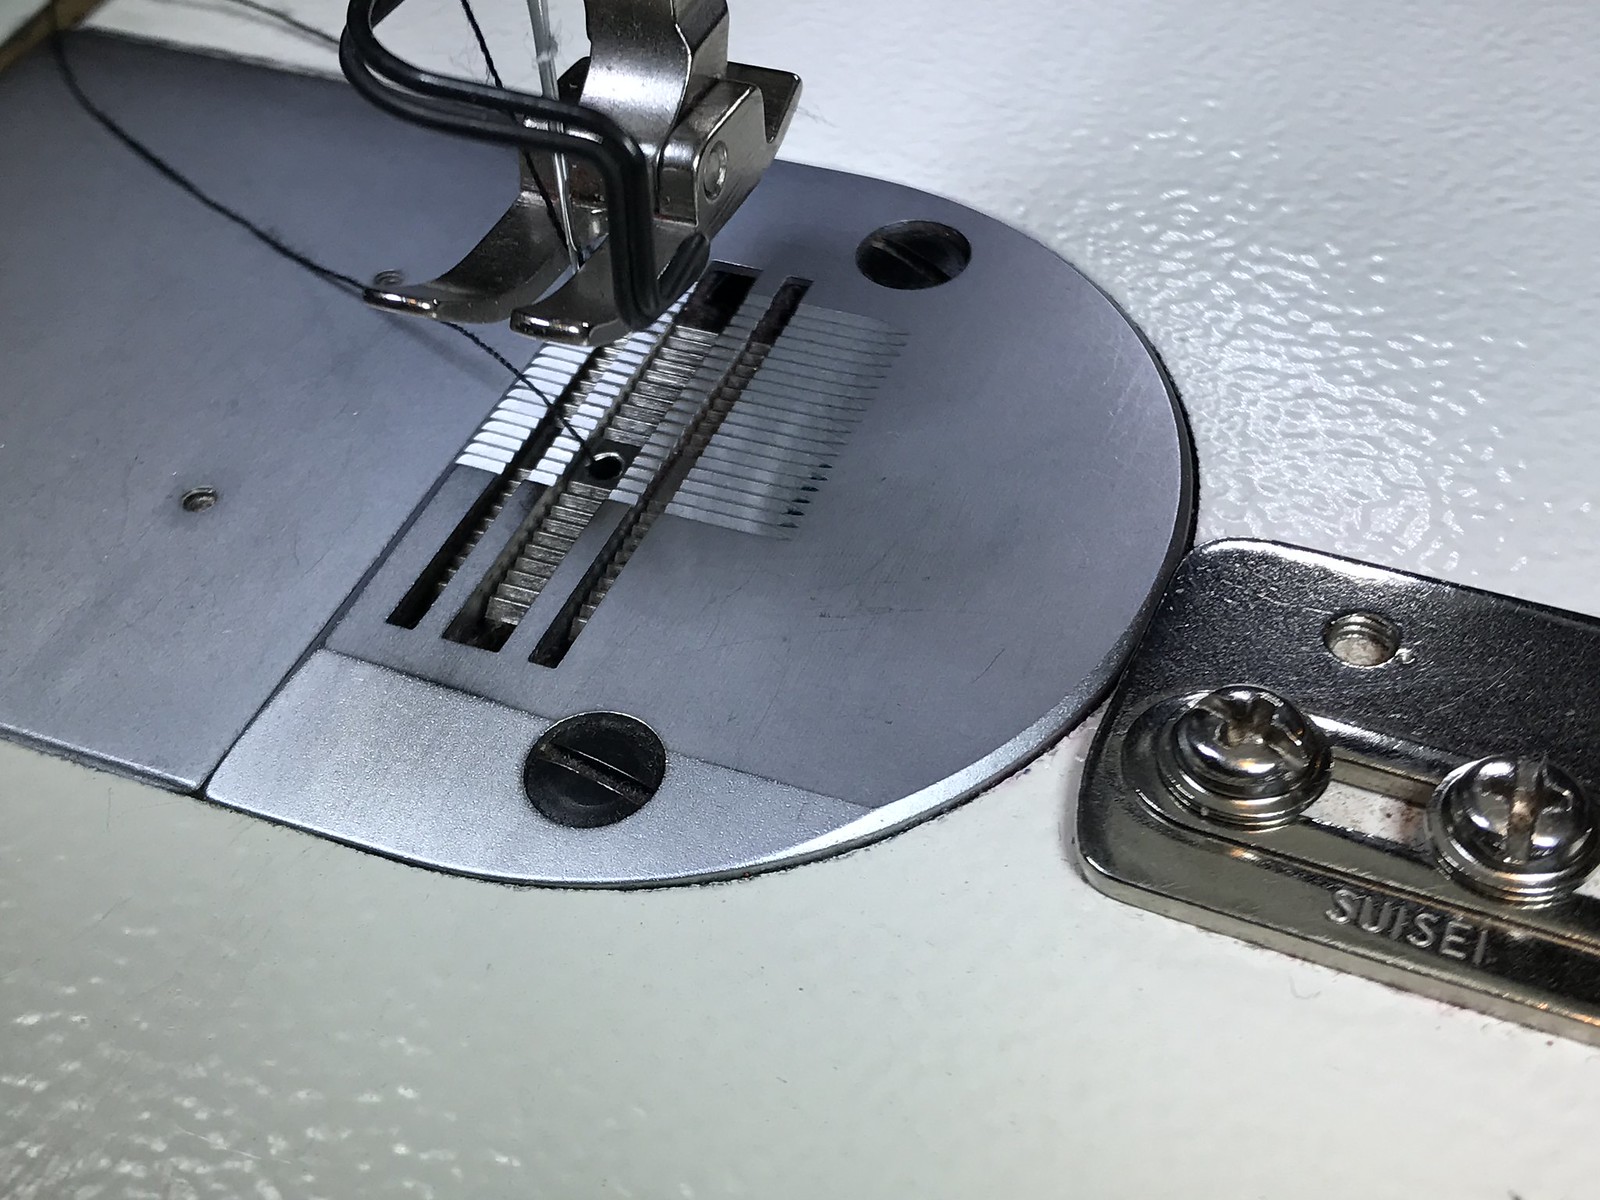
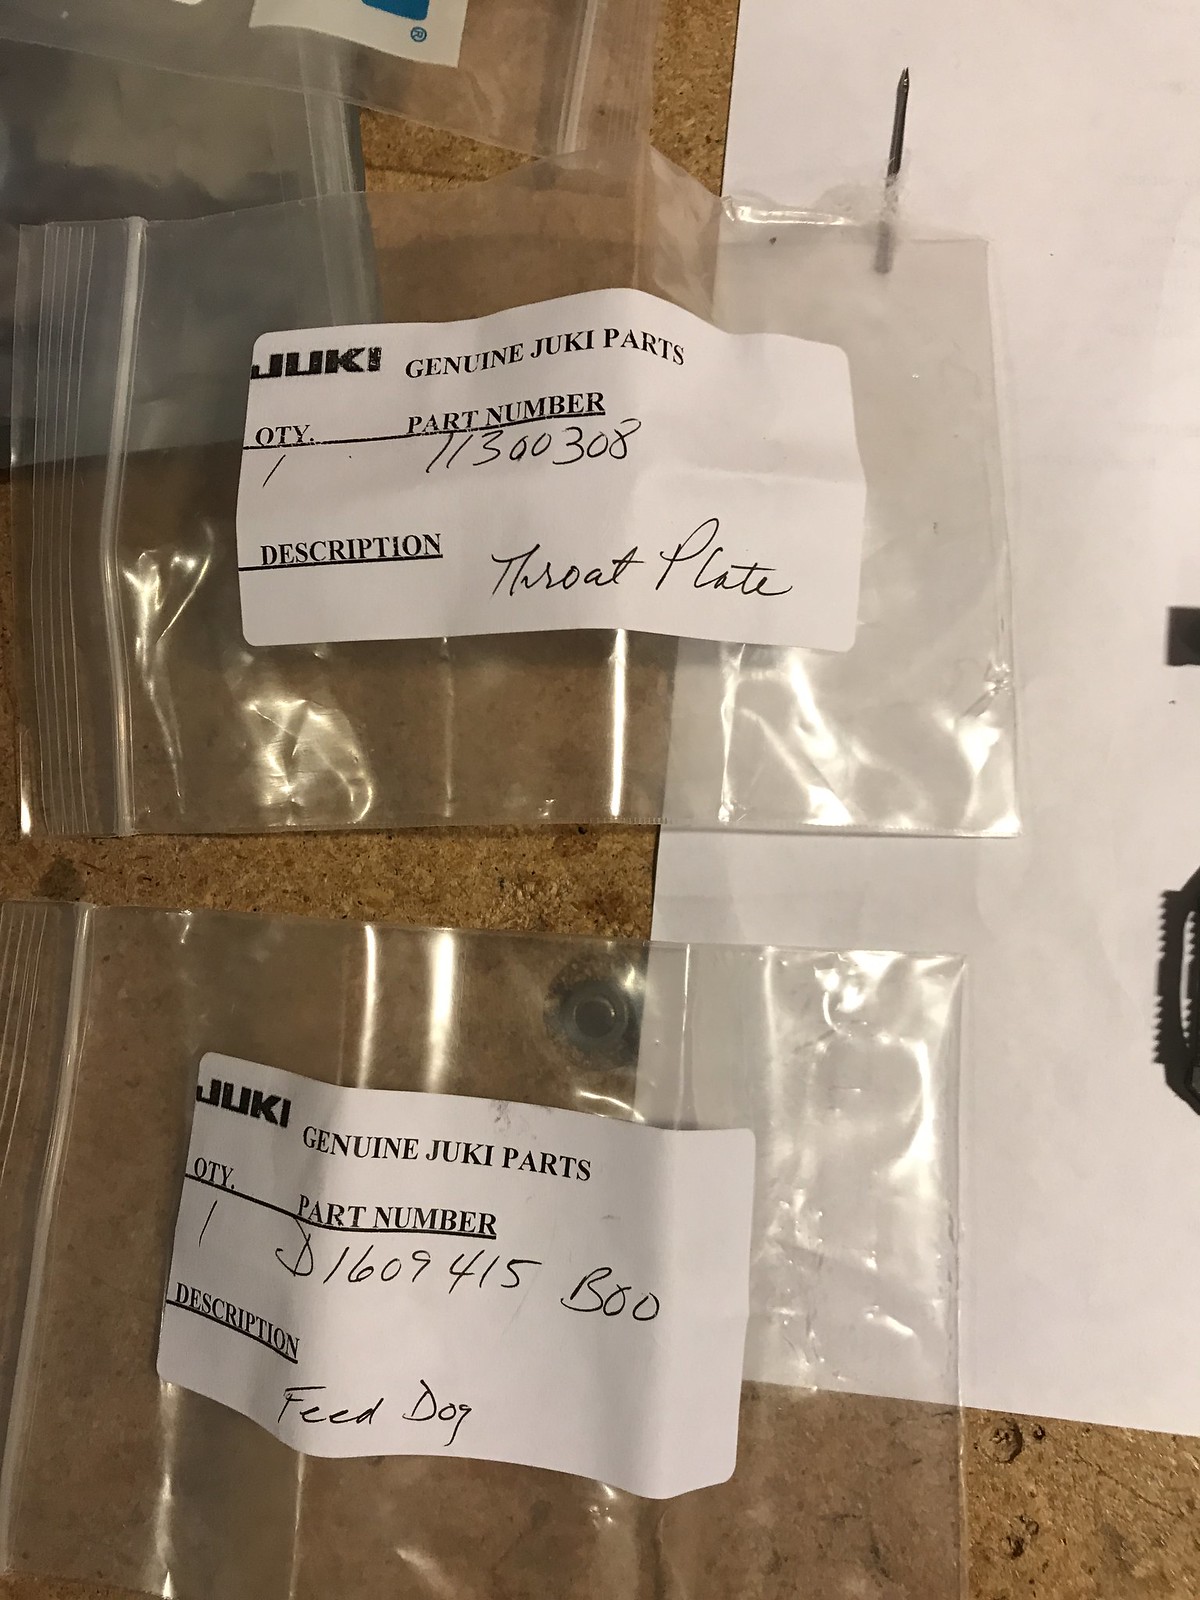
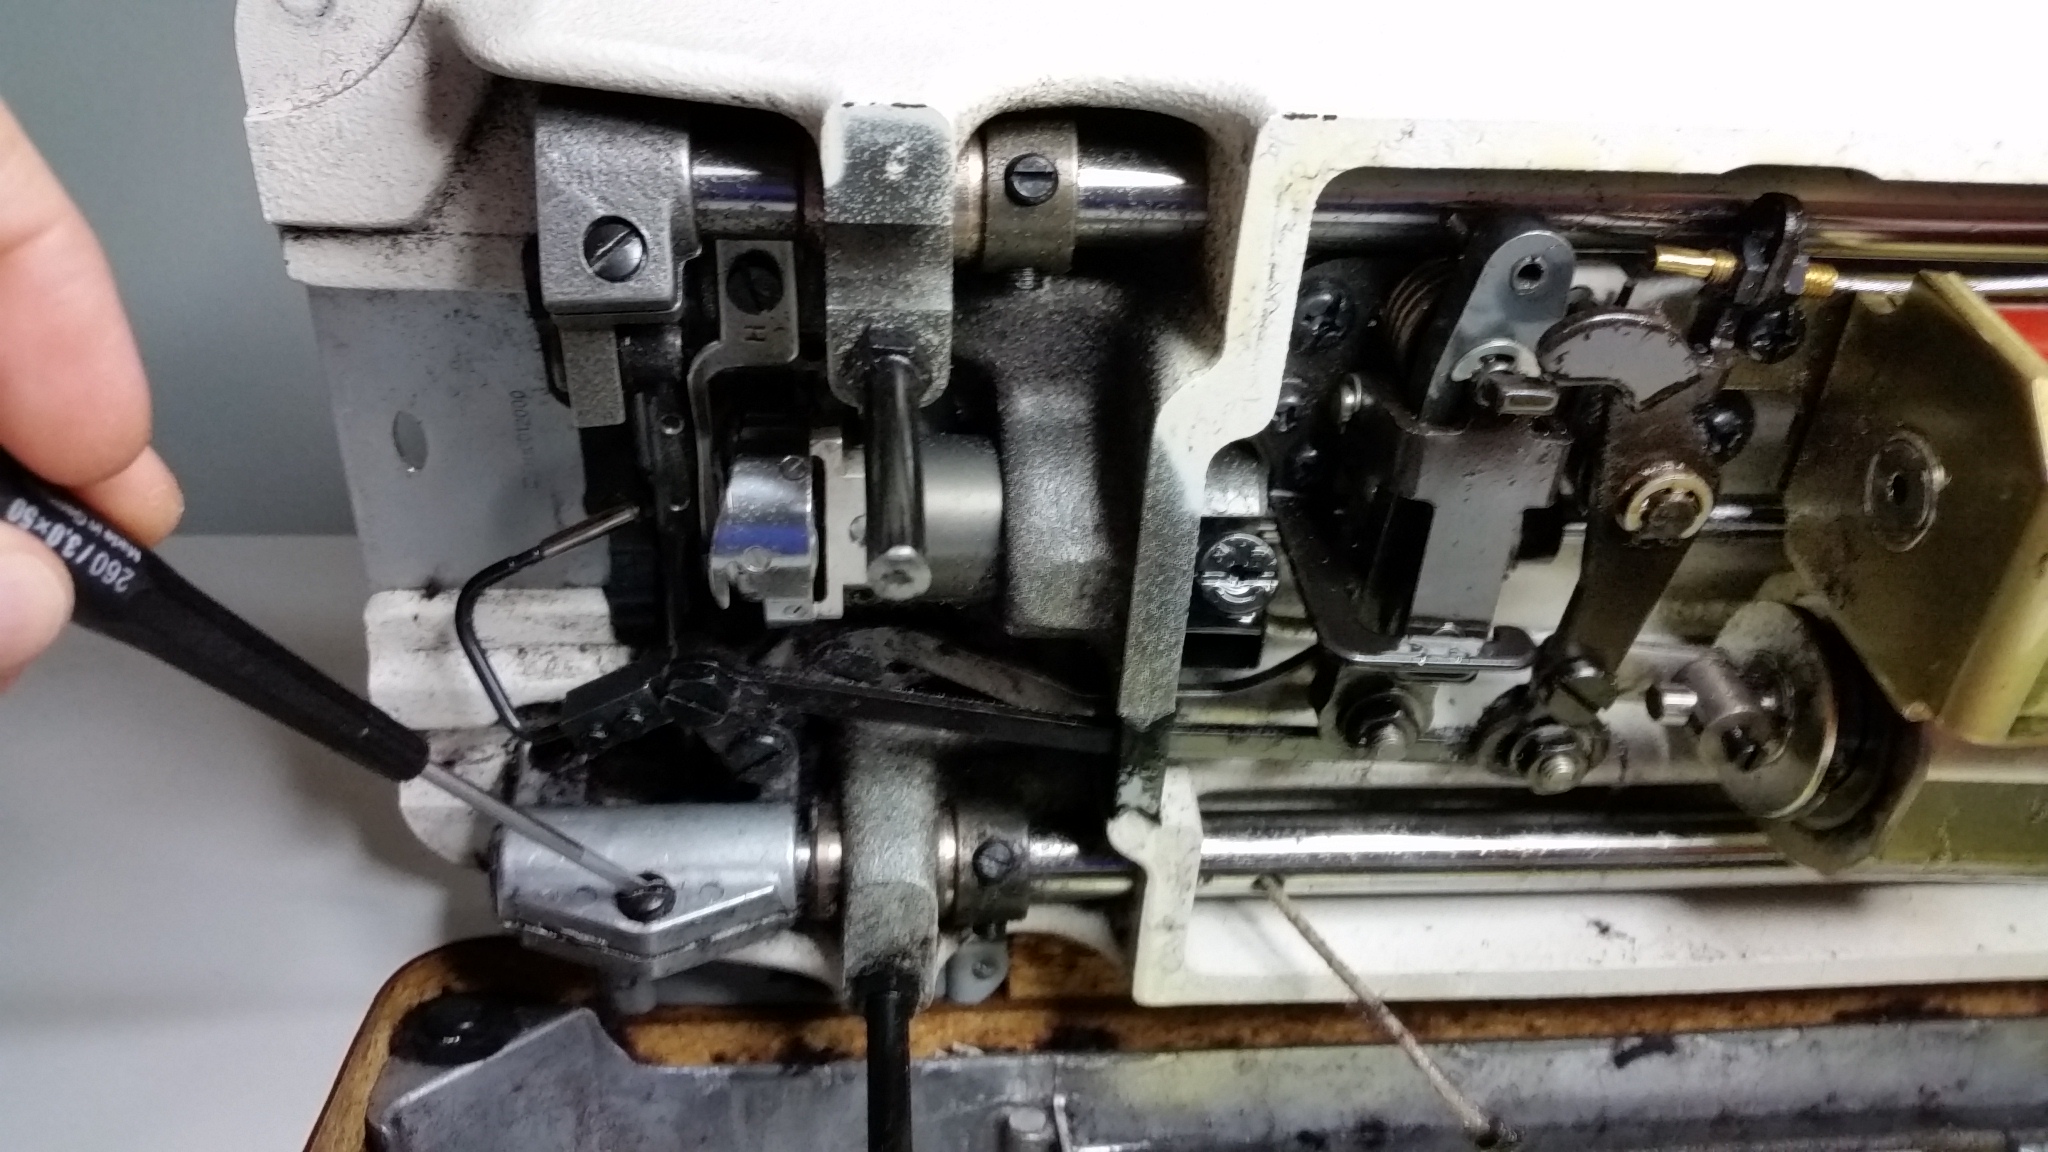
    I’ll wrap up this post here with the statement that now my machine turns on and runs plugged into my wall! Yay!  However, In the course of all this, I also discovered that the machine is ACTUALLY a DLN-5410NH-7 (Heavy!!!!).  Ugh.  Next up, converting it to the standard configuration.  I’ll include some pictures next time too.

    #3506301
    Craig B
    BPL Member

    @kurogane

    Converting DLN-5410NH-7 to DLN-5410N-7, heavy version to medium version.

    After reading the comments from @asinger and @roamer above, it sounded pretty trivial to do the conversion.  Actually, the parts list has a section for H version specific parts that has 32 entries.  However, some are duplicates for different regions, 11 are for the thread trimmer mechanism, and others seem like they should work equally well on either version.  Here’s a list of the parts that seem like they will make a difference in how the machine works from most to least, not including the thread trimmer stuff;

    • Feed dog, throat plate, presser foot.
    • Thread tension springs (there are 2)
    • Hook assembly, Feed eccentric cam, Positioning finger
    • Needle bar, Needle bar thread guide, Presser spring, Feed dial
    • Clutch link, Arm thread guide.

    I started with the first three, and ordered the standard feed dog, throat plate, and presser foot from Universal Sewing Supply.  First off, the feed dog and throat plate that came with the machine are NOT the standard Juki H version parts, although the needle hole is quite large so it seems like they are for a heavy duty setup.  Here’s what they look like:

    And here’s what things look like with the standard duty Juki parts:

    Hopefully you can see the problem.  The needle hole in the standard feed dog is set a couple of mm back relative to the one it came with, so the needle does not line up!!  In these pictures the machine is set at 0 stitch length.  There’s nothing in the manual that talks about adjusting the position of the needle directly, so it’s pretty unclear how to get things to line up.  A google search does not reveal anything either.  The normal adjustments that the manual mentions that might be relevant are the feed dog tilt and height, stitch width, and feed timing.  The feed dog tilt/height really does not seem like it’s it, so that leaves the other two.  Although, looking at those adjustments, it’s not clear those should make any difference either.  Oh, and yes, I got the right parts, as confirmed by someone at Universal Sewing.  At least in terms of published parts lists.  I think I’ll start turning some screws and see what happens!

    #3506377
    Nick Smolinske
    BPL Member

    @smo

    Locale: Rogue Panda Designs

    Well you’re having quite the adventure! One thing you should know is that a change from heavy to light duty will likely require a timing adjustment anyway, due to changing the needle size. My local shop recommends tweaking the timing if the needle is changed more than a size away from the stock size.

    That said I have never adjusted timing on a machine – so I’m just repeating second hand info here.

    #3506395
    nunatak
    BPL Member

    @roamer

    As I mentioned above, I accidentally acquired a 5410 heavy duty, while actually needing the light/medium.

    My dealer helped ordering the few parts necessary so i could swap from heavy to light/medium. It took 30 min of very simple work. No timing adjustment needed.

    I am attaching pics of the removed heavy parts, the bags for the light dogs and plate, and a pic of the machine with light parts installed.

    In the parts pic is also the tension springs that must be replaced, plus a different type thread guide for heavy use.

    Also, here’s a vid that show the switch of the parts. Although the machine in the vid is the 8700, I found it useful to watch before I set to work.

    https://youtu.be/gXhLduAlpXw


    FullSizeRender 28


    FullSizeRender 28

    FullSizeRender 28<script async src=”//embedr.flickr.com/assets/client-code.js” charset=”utf-8″></script>

    #3507413
    Craig B
    BPL Member

    @kurogane

    Thanks @smo and @roamer, that’s very helpful!  I definitely bought the right parts, and am glad to have confirmation from you.

    By timing, it sounds like you are referring to the needle to hook relationship.  The manual recommends the edge of the hook (the thing that grabs the top thread from the needle beneath the throat plate) be very close to the needle, so if the needle diameter changes, the hook will be further away so you would have to readjust that distance.  When you loosen the hook assembly to do that, you can also change the ‘timing’ of when the hook passes the needle in its rotation.  That’s actually what was originally wrong with my friends 5550; the timing and position were off, along with the finger that holds the bobbin case and prevents it from rotating.

    After a little more study of the machine mechanism for the feed dog, I discovered which screw to loosen in order to change the horizontal location of the dog relative to the needle.  It was also obvious this had been done at least a few times, as the edges of the slotted screw had been rounded due to cam-out of the screwdriver when trying to loosen the screw.  It was VERY tight.  I had to go buy a larger screwdriver with a wider blade and larger handle to crack it loose while not stripping out the slot any further.  Here’s a picture of which screw it is.

    The manual does not mention this adjustment at all, but it’s on the same component as the feed dog tilt adjust, which the manual does describe.  I twiddled that a bit just to see what it does, and I also had to adjust the feed dog height, which the manual also describes.

    So at this point I’m finally up and running!  Phew! The only thing I’ve sewn with it so far in this final configuration is a couple of seams on a minky-fleece jacket for my wife.  After I’ve used it for a bit, I’ll report on my overall impression vs. the standard feed machine.

    Craig

    #3510425
    Dave @ Oware
    BPL Member

    @bivysack-com

    Locale: East Washington

    I find a papers width between the hook and center of needle curve works well, usually can switch between about 4 needle sizes without too much trouble.

    I tend to use thicker bonded thread, so thinner, softer thread may work differently.


    #3585355
    Melinda M
    Spectator

    @multimodal

    I know this is an old thread and I’m new to the forum but I’m hoping someone can be kind enough to share some info on this topic. It’s really hard to find good information about these machines.

    I bought a used Juki 5410N H this weekend and think I made a mistake. Perhaps the regular model (without an H) would have been better for me. I would like to do some sewing with a size 14 needle but didn’t inquire about using that size needle when I bought the machine. It didn’t occur to me that it might be a problem. Perhaps that’s because I have more experience with domestic machines. So, now after looking more closely at the manual  I see that the hook and needle bar are different on the regular model. Can the H model take a size 14 needle? Should I change the hook and needle bar as well? Is that even possible?

    I haven’t set up the machine yet because I’m waiting for help to get it out of the car. It’s so heavy.


    @kurogane
    Do you still have your machine? What is the smallest needle do you put in it? Have you change any other parts on it since this post?

    I appreciate any help you can give.

    Melinda

    #3585357
    Ken Thompson
    BPL Member

    @here

    Locale: Right there

    Hopefully this helps

Viewing 25 posts - 1 through 25 (of 30 total)
  • You must be logged in to reply to this topic.
Forum Posting

A Membership is required to post in the forums. Login or become a member to post in the member forums!

Get the Newsletter

Get our free Handbook and Receive our weekly newsletter to see what's new at Backpacking Light!

Gear Research & Discovery Tools


Loading...