Topic
Designing My First DCF Tent
Forum Posting
A Membership is required to post in the forums. Login or become a member to post in the member forums!
Home › Forums › Gear Forums › Make Your Own Gear › Designing My First DCF Tent
- This topic has 34 replies, 9 voices, and was last updated 4 years ago by
 David Gardner.
-
AuthorPosts
-
Jan 22, 2021 at 11:03 am #3695067
Sam – right. Version 1 had a CF tube between the tops of the trekking poles. Eliminated it because I didn’t see any structural advantage and wanted to reduce weight, but I’ll check out those other designs. Perhaps another thing to test before construction begins. Slight cat cut for sure. Haven’t seen “wicket” used like that before!
William – 3M has a zillion pressure sensitive adhesive tapes, so it may just be a matter of figuring the right one that will stick to both the DCF and the Dyneema cord. But even if it doesn’t stick to the cord particularly well I think just the friction of the cord trying to move in the many inches of bond between the fabric will be enough. But that’s what I’ll be testing.
Jan 22, 2021 at 12:44 pm #3695087While contemplating whether to use a cross-pole, it might be worth reading Robert Meurant’s comments in this thread.
Jan 22, 2021 at 9:53 pm #3695141William,
While Robert Meurant’s terminology suggests he is much more of an engineer than I, am not sure I agree.Roger Caffin’s poles, that form a modified gambrel shape, each contain three elbows. The poles are kept in place by the tension on the tunnel fabric at each tunnel end, and by adding guy lines if need be.
Granted, the poles and elbows that form the main wicket must be securely affixed to each other, so that the whole pole functions as one. With two trekking poles connected up top by a ridge pole, I think it is a matter of how well the three tubes are joined at the peaks. We’ve seen many approaches to this, so there are alternatives to choose from. But it is the tension on the tent from head to foot, plus the small width of the outer pole sleeves, that is just as essential to avoid the twists and turns that Robert describes in the post that you linked.
If anything, the lowering of the tent at head and foot helps with wind performance, but lower, sleeved triangular wickets at head and foot should have the same effect to tension the tent that is so important in a tunnel with larger hoops, gambrels, gothic arches, triangular wickets or what have you for a pole framework.
Jan 22, 2021 at 11:46 pm #3695149Not having any support between the poles should be okay as long as you put a bit of a cat cut in the lateral ridge between the poles, so the poles don’t have a tendency to slide along the ridge. I assume you will be installing some cup or abrasion resistant material in the peaks to hold the pole ends. The more vertical your seam at the outer zipper or whatever your door will be, the more holding force will be required to keep the poles in place, or else you’ll require additional guy out points for the peaks. Wasn’t sure if that was included in your previous posts.
Jan 23, 2021 at 11:49 am #3695187Hey David, looks like a neat project. I made a DCF tent last year, and can offer a few random thoughts. First, I’m 95% sure you will NOT be able to bond a zipper or no-see-um mesh to the DCF with the double stick (transfer) tape. It MIGHT work with seam grip though. It MIGHT work with the uretek zippers on the smooth surface too, but I didn’t try. I tried with velcro, and that was not even close to working.
On the weights of the zippers, I think that #3 uretek and standard #3 coil are about the same per linear foot. The uretek ones have a narrower zipper tape (I got both to compare).
The idea of having edges that are stronger (with the dyneema cord) is an interesting one. I suspect that physically putting it together so that it matches the concept in your head will be the hard part. My gut feel is that the way you are proposing to capture the cord will not work quite as well as you are imagining. It will be incredibly difficult to lay it straight enough so that when you start putting tension on it it will remain in place. Also, it will be hard to get the tension right so it doesn’t break the initial adhesion within the channel you are creating for it. And once that cord is under tension, it will probably be able to work it’s way to the edges of the tape that’s holding it in place. Think of a wire cheese-cutter.
Another way you could accomplish something similar would be to layer 1/2″ wide (or so) strips of DCF along the lines you wanted the dyneema cord. I think you could get weight and strength to be similar, and it would be much easier to execute physically. A couple of places sell 1″ wide dcf ‘repair tape’ as I’m sure you’re aware, so you could use that as is, or cut it in half. Or you could buy some heavier weight DCF and cut strips yourself and use the transfer tape. Along edges, you could fold the edges over once or twice, but that makes the pattern a little more complex, and might push the carefully placed pieces on your material (when you cut them out) out of place.
Good luck! Interested to see how you progress!
Jan 23, 2021 at 3:05 pm #3695215Dynerma is super stiff but subject to creep. I’d be concerned about this with respect to your cordage scheme.
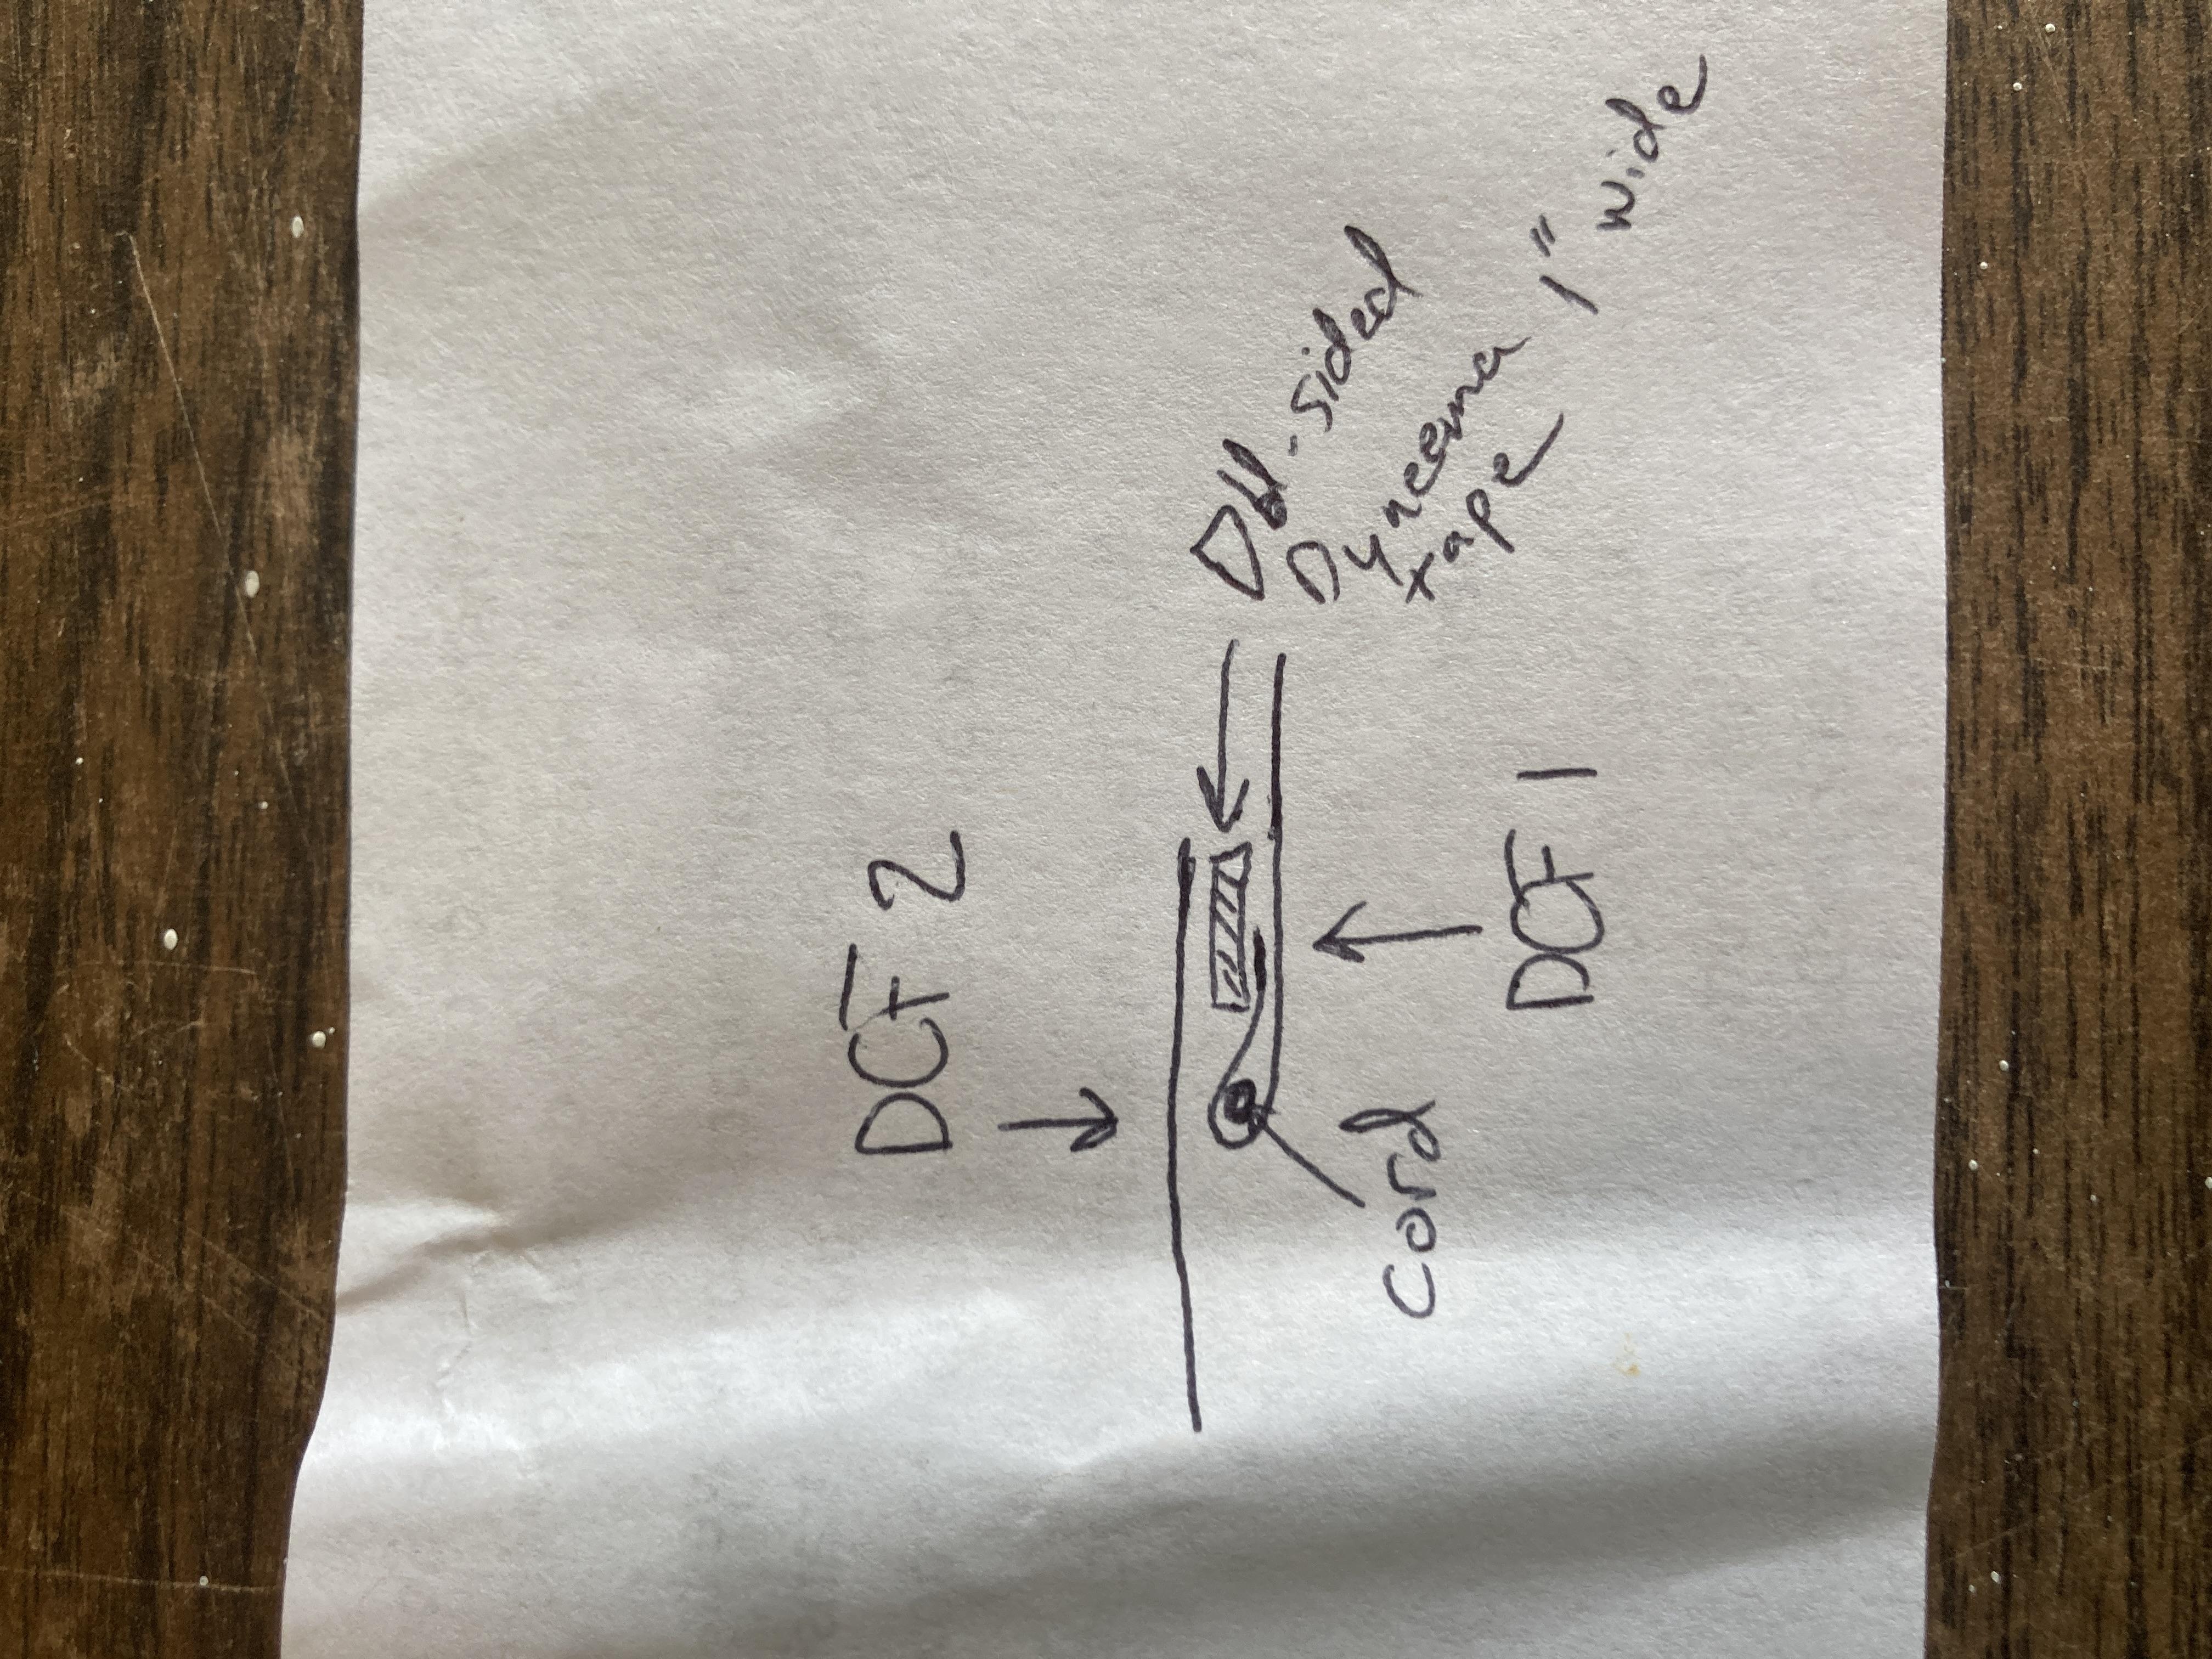
Jan 23, 2021 at 3:31 pm #3695221Perhaps a seam as shown would work for your cords. Then they would be free to slide.
 Jan 24, 2021 at 6:52 pm #3695426
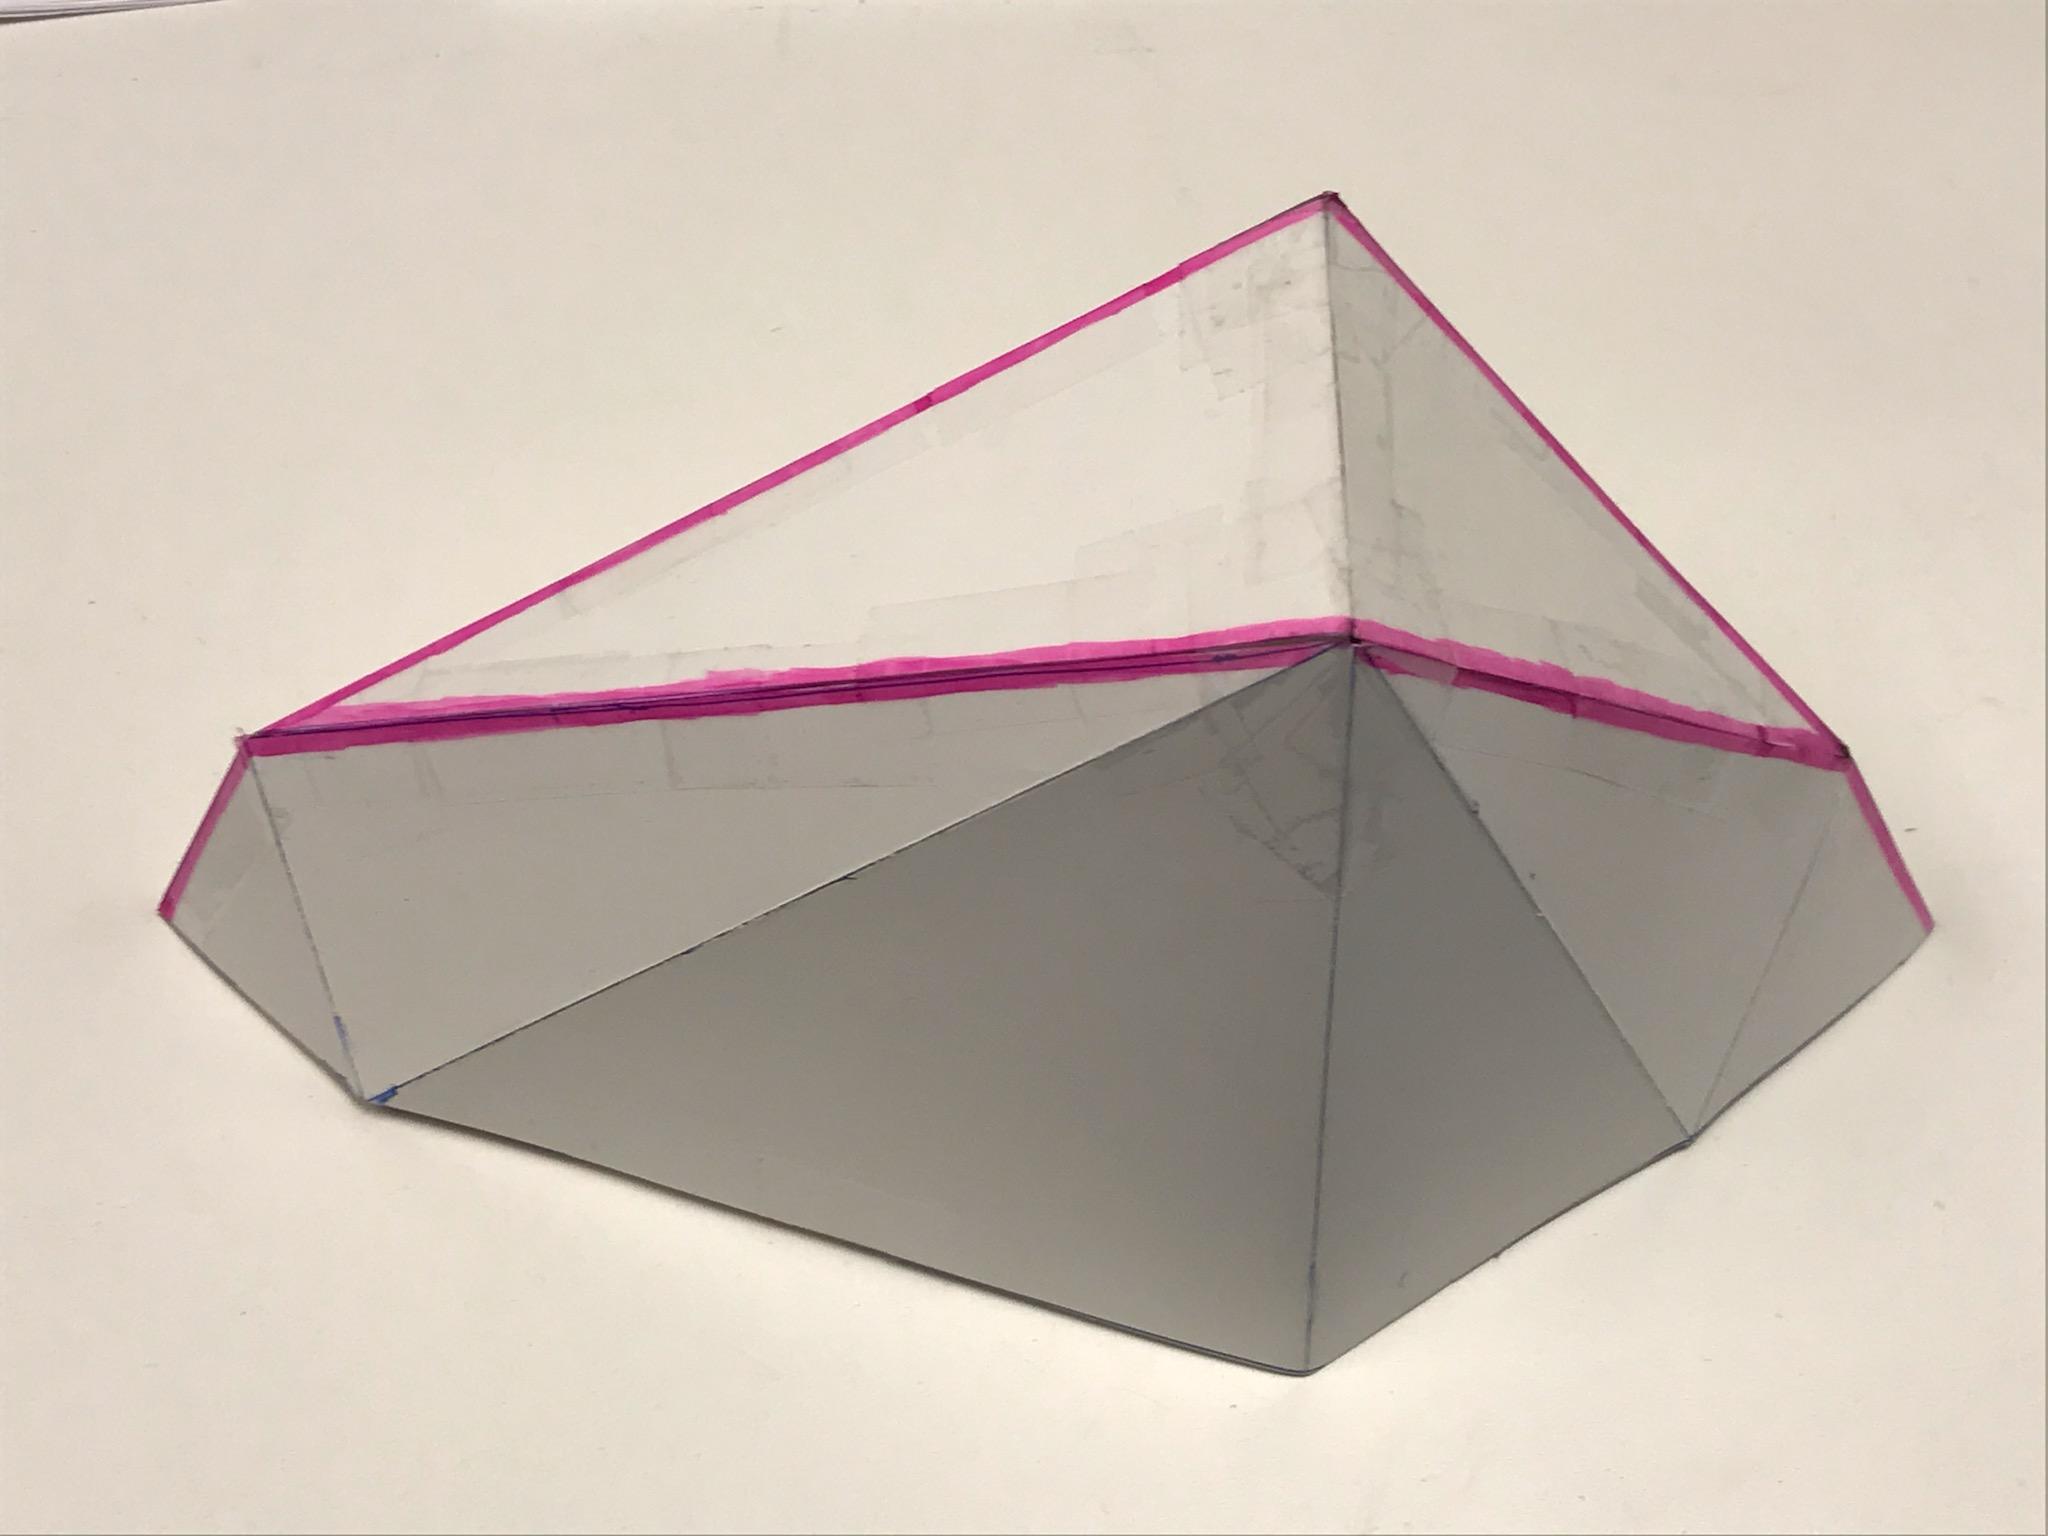
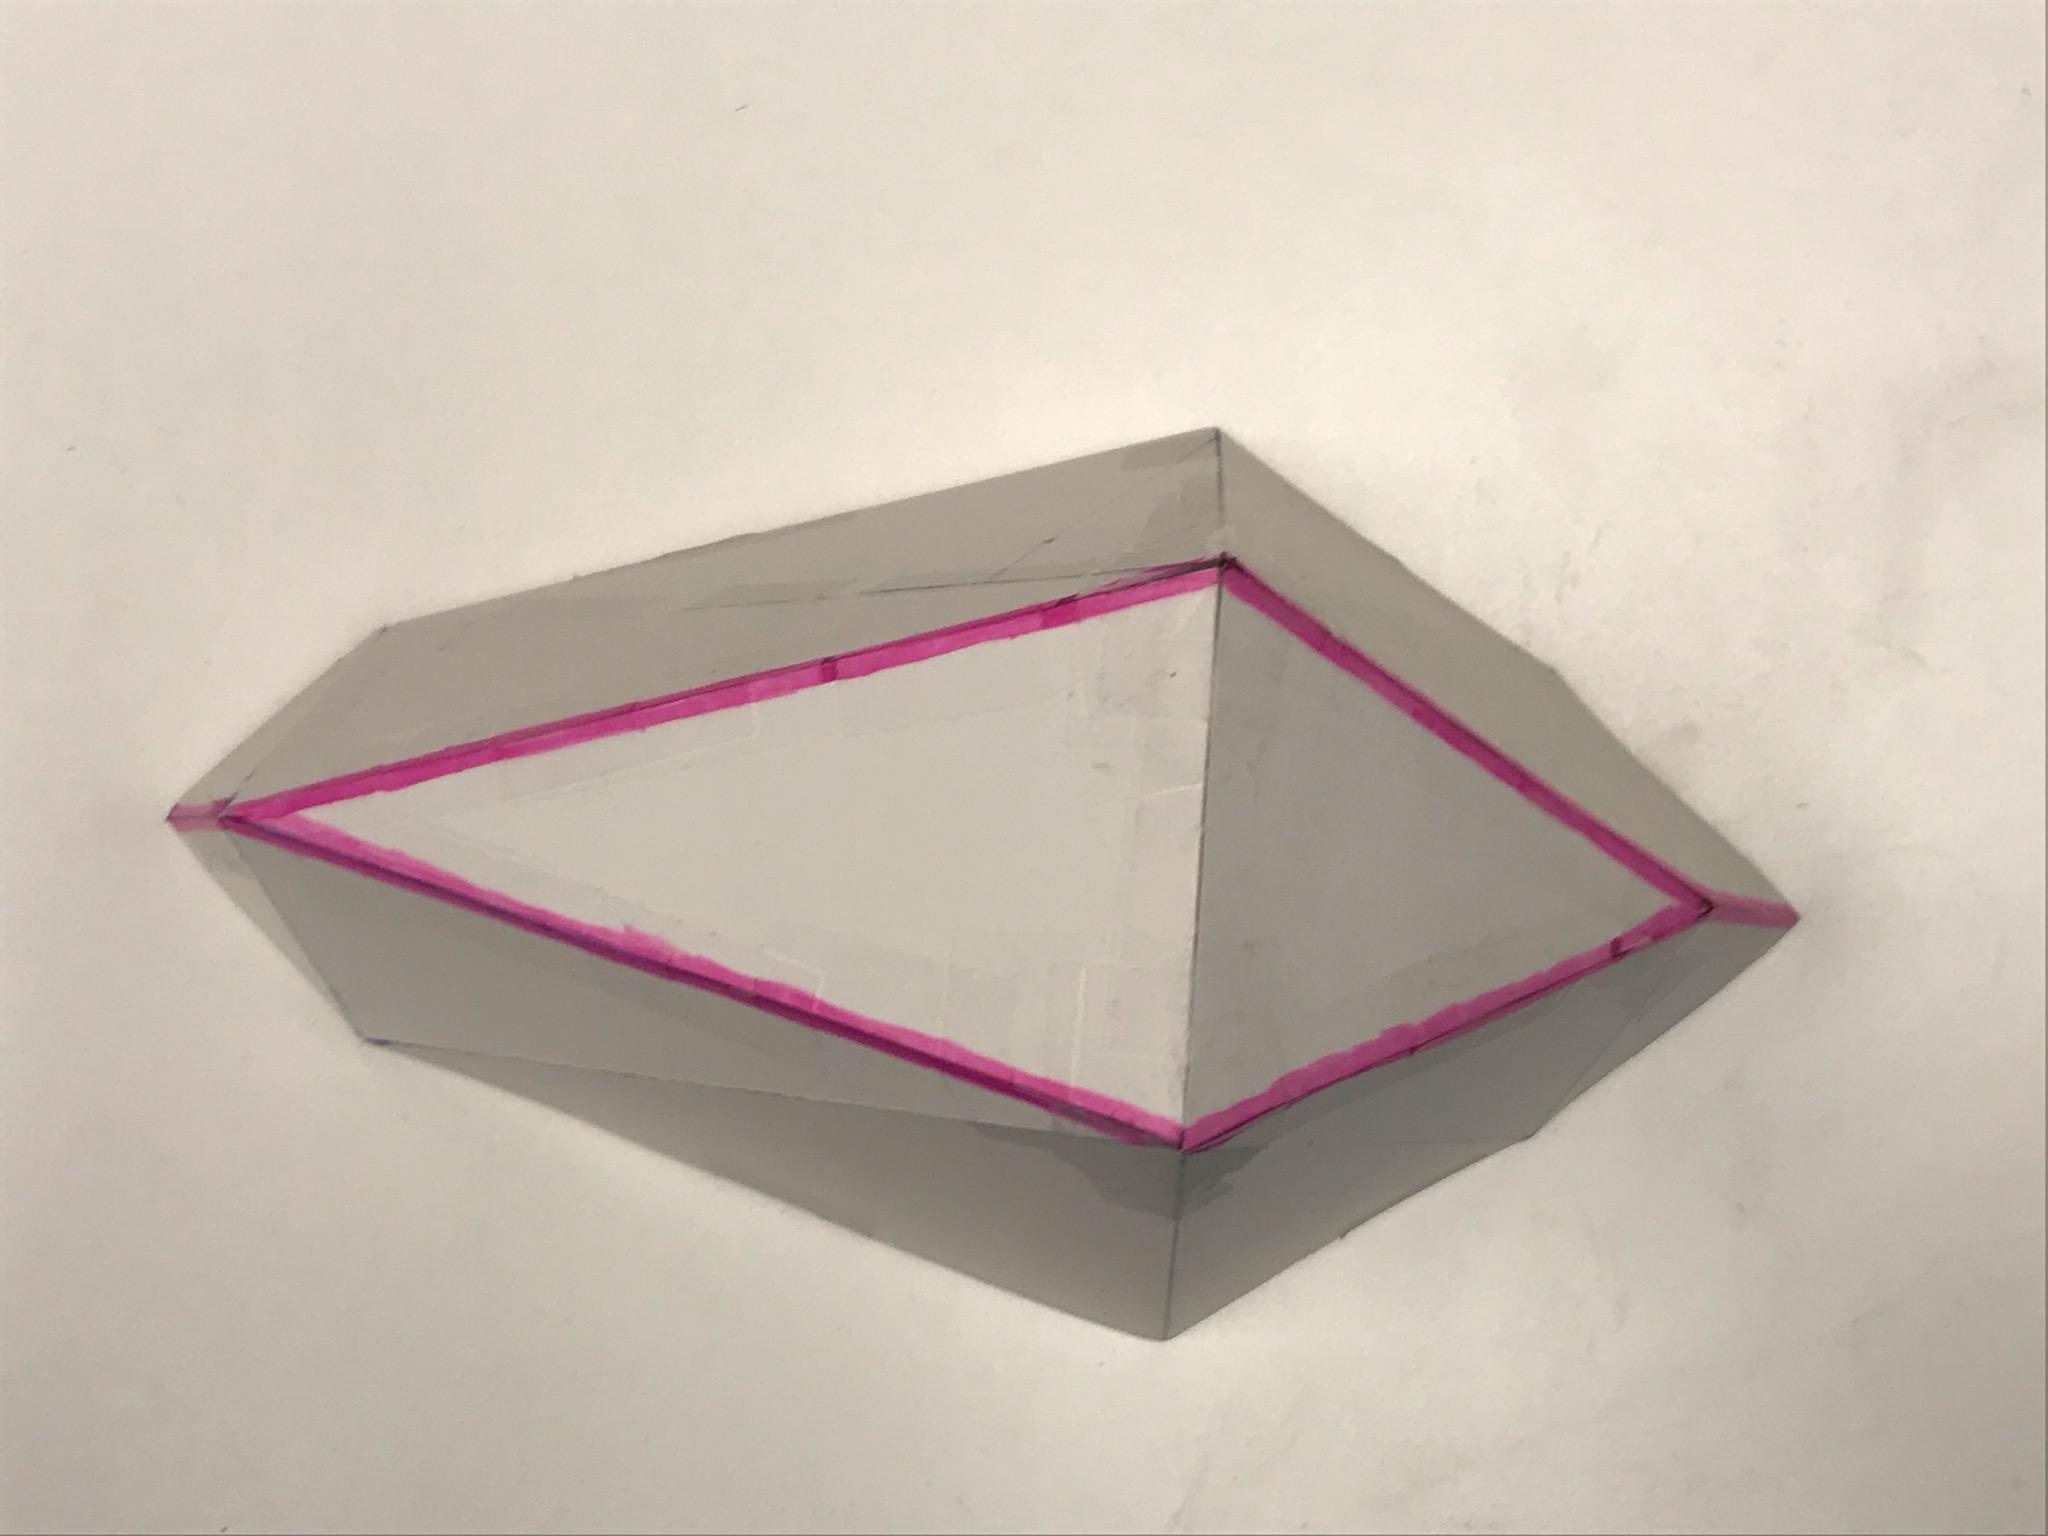
Regarding a cross pole between the tops of the trekking poles at the transverse peak line, Version 1 shown in the yellow string prototype photos in the OP was inspired by the Black Diamond Distance Tent, which has a rigid “bridge” aluminum tube that inserts into their dedicated trekking pole grips or can be used with adapters for other brands. I had designed a CF tube bridge with adapter for that version before ultimately deciding on different designs that don’t require the extra weight (and pack space) of a bridge.
One of my basic design ideas is analogous to merging two single-pole shelters side by side. With a single pole shelter the single pole is tied out in all directions 360*. By having two poles tied out in all directions 360* its basically twice as strong but without doubling the loads. So rather than a weighty and clumsy bridge, for a small fraction of the weight you end up with a much stronger structure.
I’ll definitely be testing the Dyneema cord to DCF bond, in various configurations. I also have a few ideas about how to tension the cord and the DCF during fabrication, and we’ll see how those work out. I don’t want the cords to move at all relative to the DCF because I think that will cause abrasion and slicing issues.
For bonding mesh to DCF see cubenmaker.com’s experience.
All my tent/tarp designs use the trekking poles in the upright position with handle up and tip down (no dirt or water on the grips, no chance of tip poking through material, downward tips dig in a bit like stakes) so there will be a means of fixing them in place at the proper locations in the peak.
I definitely plan to make catenary cuts, although with my current cutting pattern that requires only three separate pieces of DCF the only location for such cuts (aside from the bottom edge all the way around) are the two long seams that run the length of the tent along the longitudinal ridge lines:


“Another way you could accomplish something similar would be to layer 1/2″ wide (or so) strips of DCF along the lines you wanted the dyneema cord”
That sounds like what I was trying to show in my sketch above for bonding cord to Dyneema “At Panel Corners” unless I’m misunderstanding your description.
Feb 2, 2021 at 12:16 pm #3696953Michael B – on the question of “bias” in DCF:
Things like [DCF], there is no bias because the whole thing is laminated with polyester. So even though the yarns in there are oriented, it won’t be until you really pull on them enough to disrupt the polyester that you will get any bias behavior.
From Rex Sander’s interview with Mike Cerot on tent design, part 2 of 3.
Feb 18, 2021 at 8:49 am #3700188Hmmm. Considering whether I should just get Gossamer Gear’s The One. It is in many ways very similar to my design as it has evolved since my OP. Probably about 8 oz heavier than it would be in DCF, but the price is $100 less than just the fabric I would need to make my own. Or just stick with my 11 oz Gatewood Cape for a mid-summer trek where it is mainly back up for cowboy camping if the weather gets wet.
-
AuthorPosts
- You must be logged in to reply to this topic.
Forum Posting
A Membership is required to post in the forums. Login or become a member to post in the member forums!
HAPPENING RIGHT NOW (February 11-21, 2025) - Shop Hyperlite Mountain Gear's Biggest Sale of the Year:
Our Community Posts are Moderated
Backpacking Light community posts are moderated and here to foster helpful and positive discussions about lightweight backpacking. Please be mindful of our values and boundaries and review our Community Guidelines prior to posting.
Get the Newsletter
Gear Research & Discovery Tools
- Browse our curated Gear Shop
- See the latest Gear Deals and Sales
- Our Recommendations
- Search for Gear on Sale with the Gear Finder
- Used Gear Swap
- Member Gear Reviews and BPL Gear Review Articles
- Browse by Gear Type or Brand.


