I do not claim any of my process to be the correct or best methods but they have proved to work well enough for myself.
I’ve been asked by a number of people for more info so I figured I would start a new thread. I’m not going to go into every detail but I certainly welcome any questions as to the process or results or w/e.
Last year I took on the challenge of my first cuben fiber project. The material was new to me but the design was not. I have been using pyramid tarps for years from a MLD cricket to their duomid to my own MYOG silpoly pyramid. Through the years, I have been able to narrow down the perfect dimensions for myself.
I spend most of my time doing research, as best to my abilities. I spent countless hours reading through the bpl forums, hammock forums, youtube videos (suluk46, ty), google searches, etc. and decided I wanted to go with a mostly bonded approach as compared to sewing and taping or other variations on dcf work methods for a number of reasons.
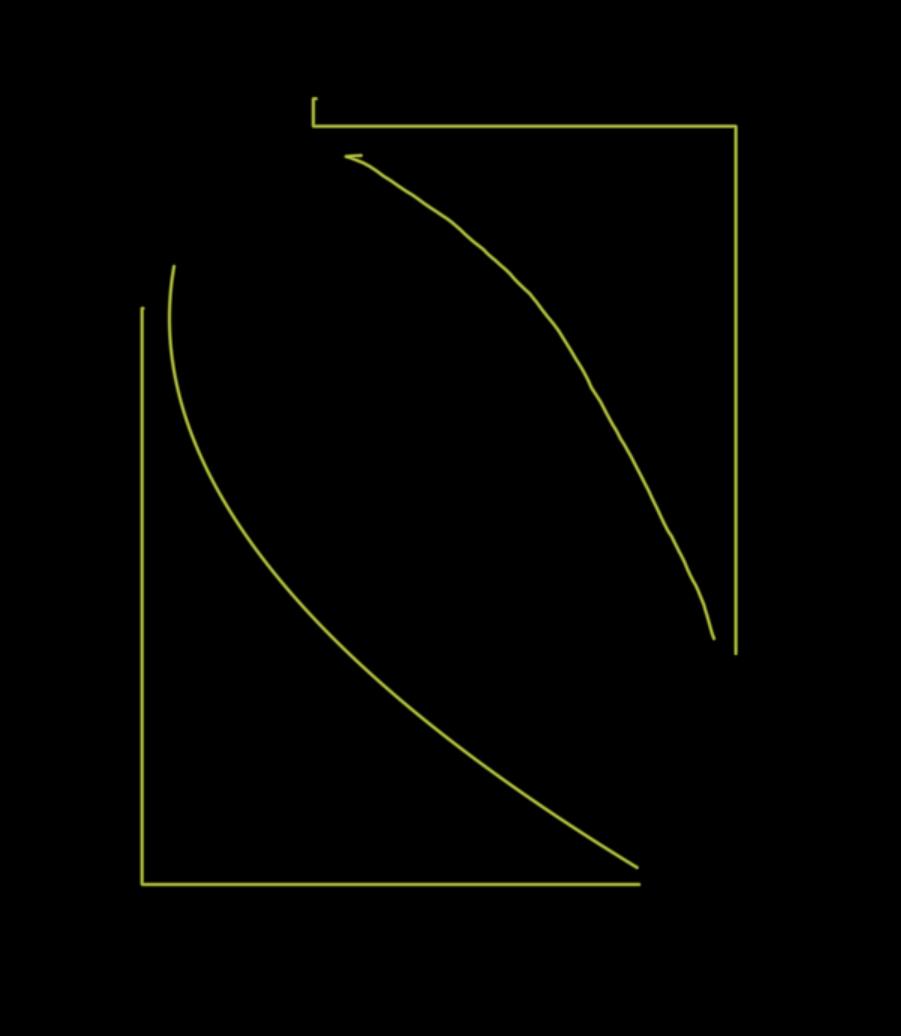
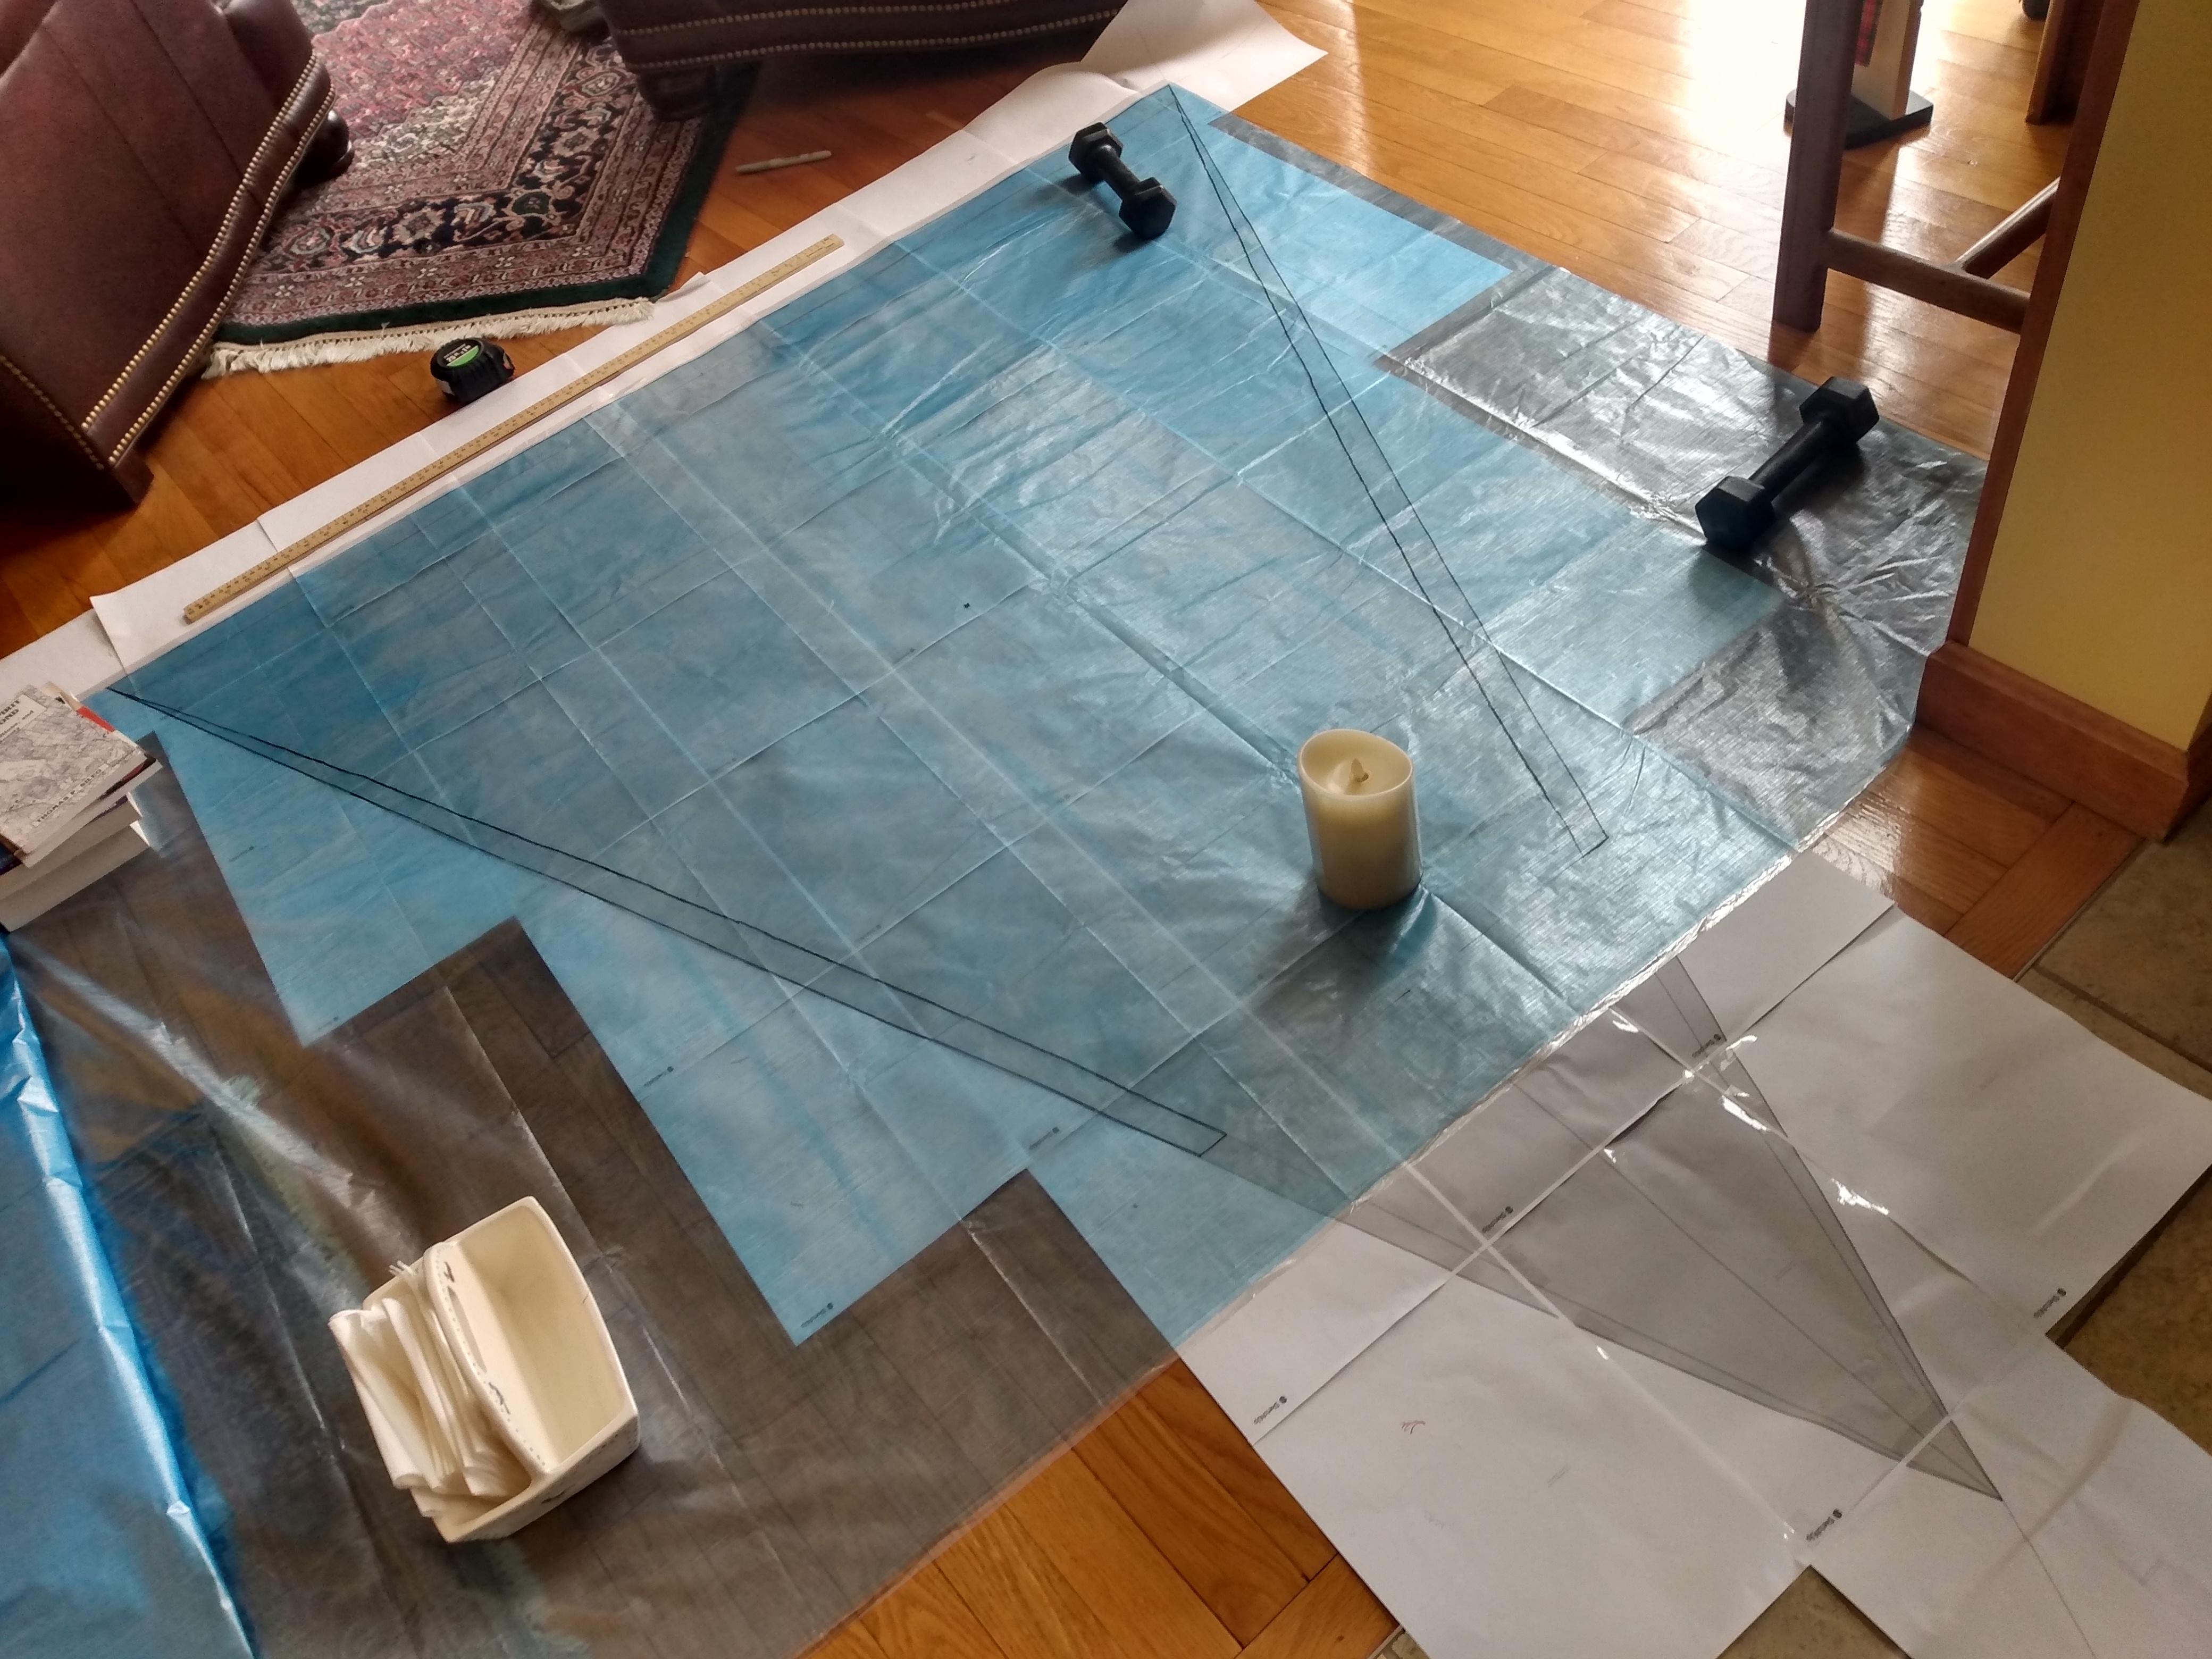
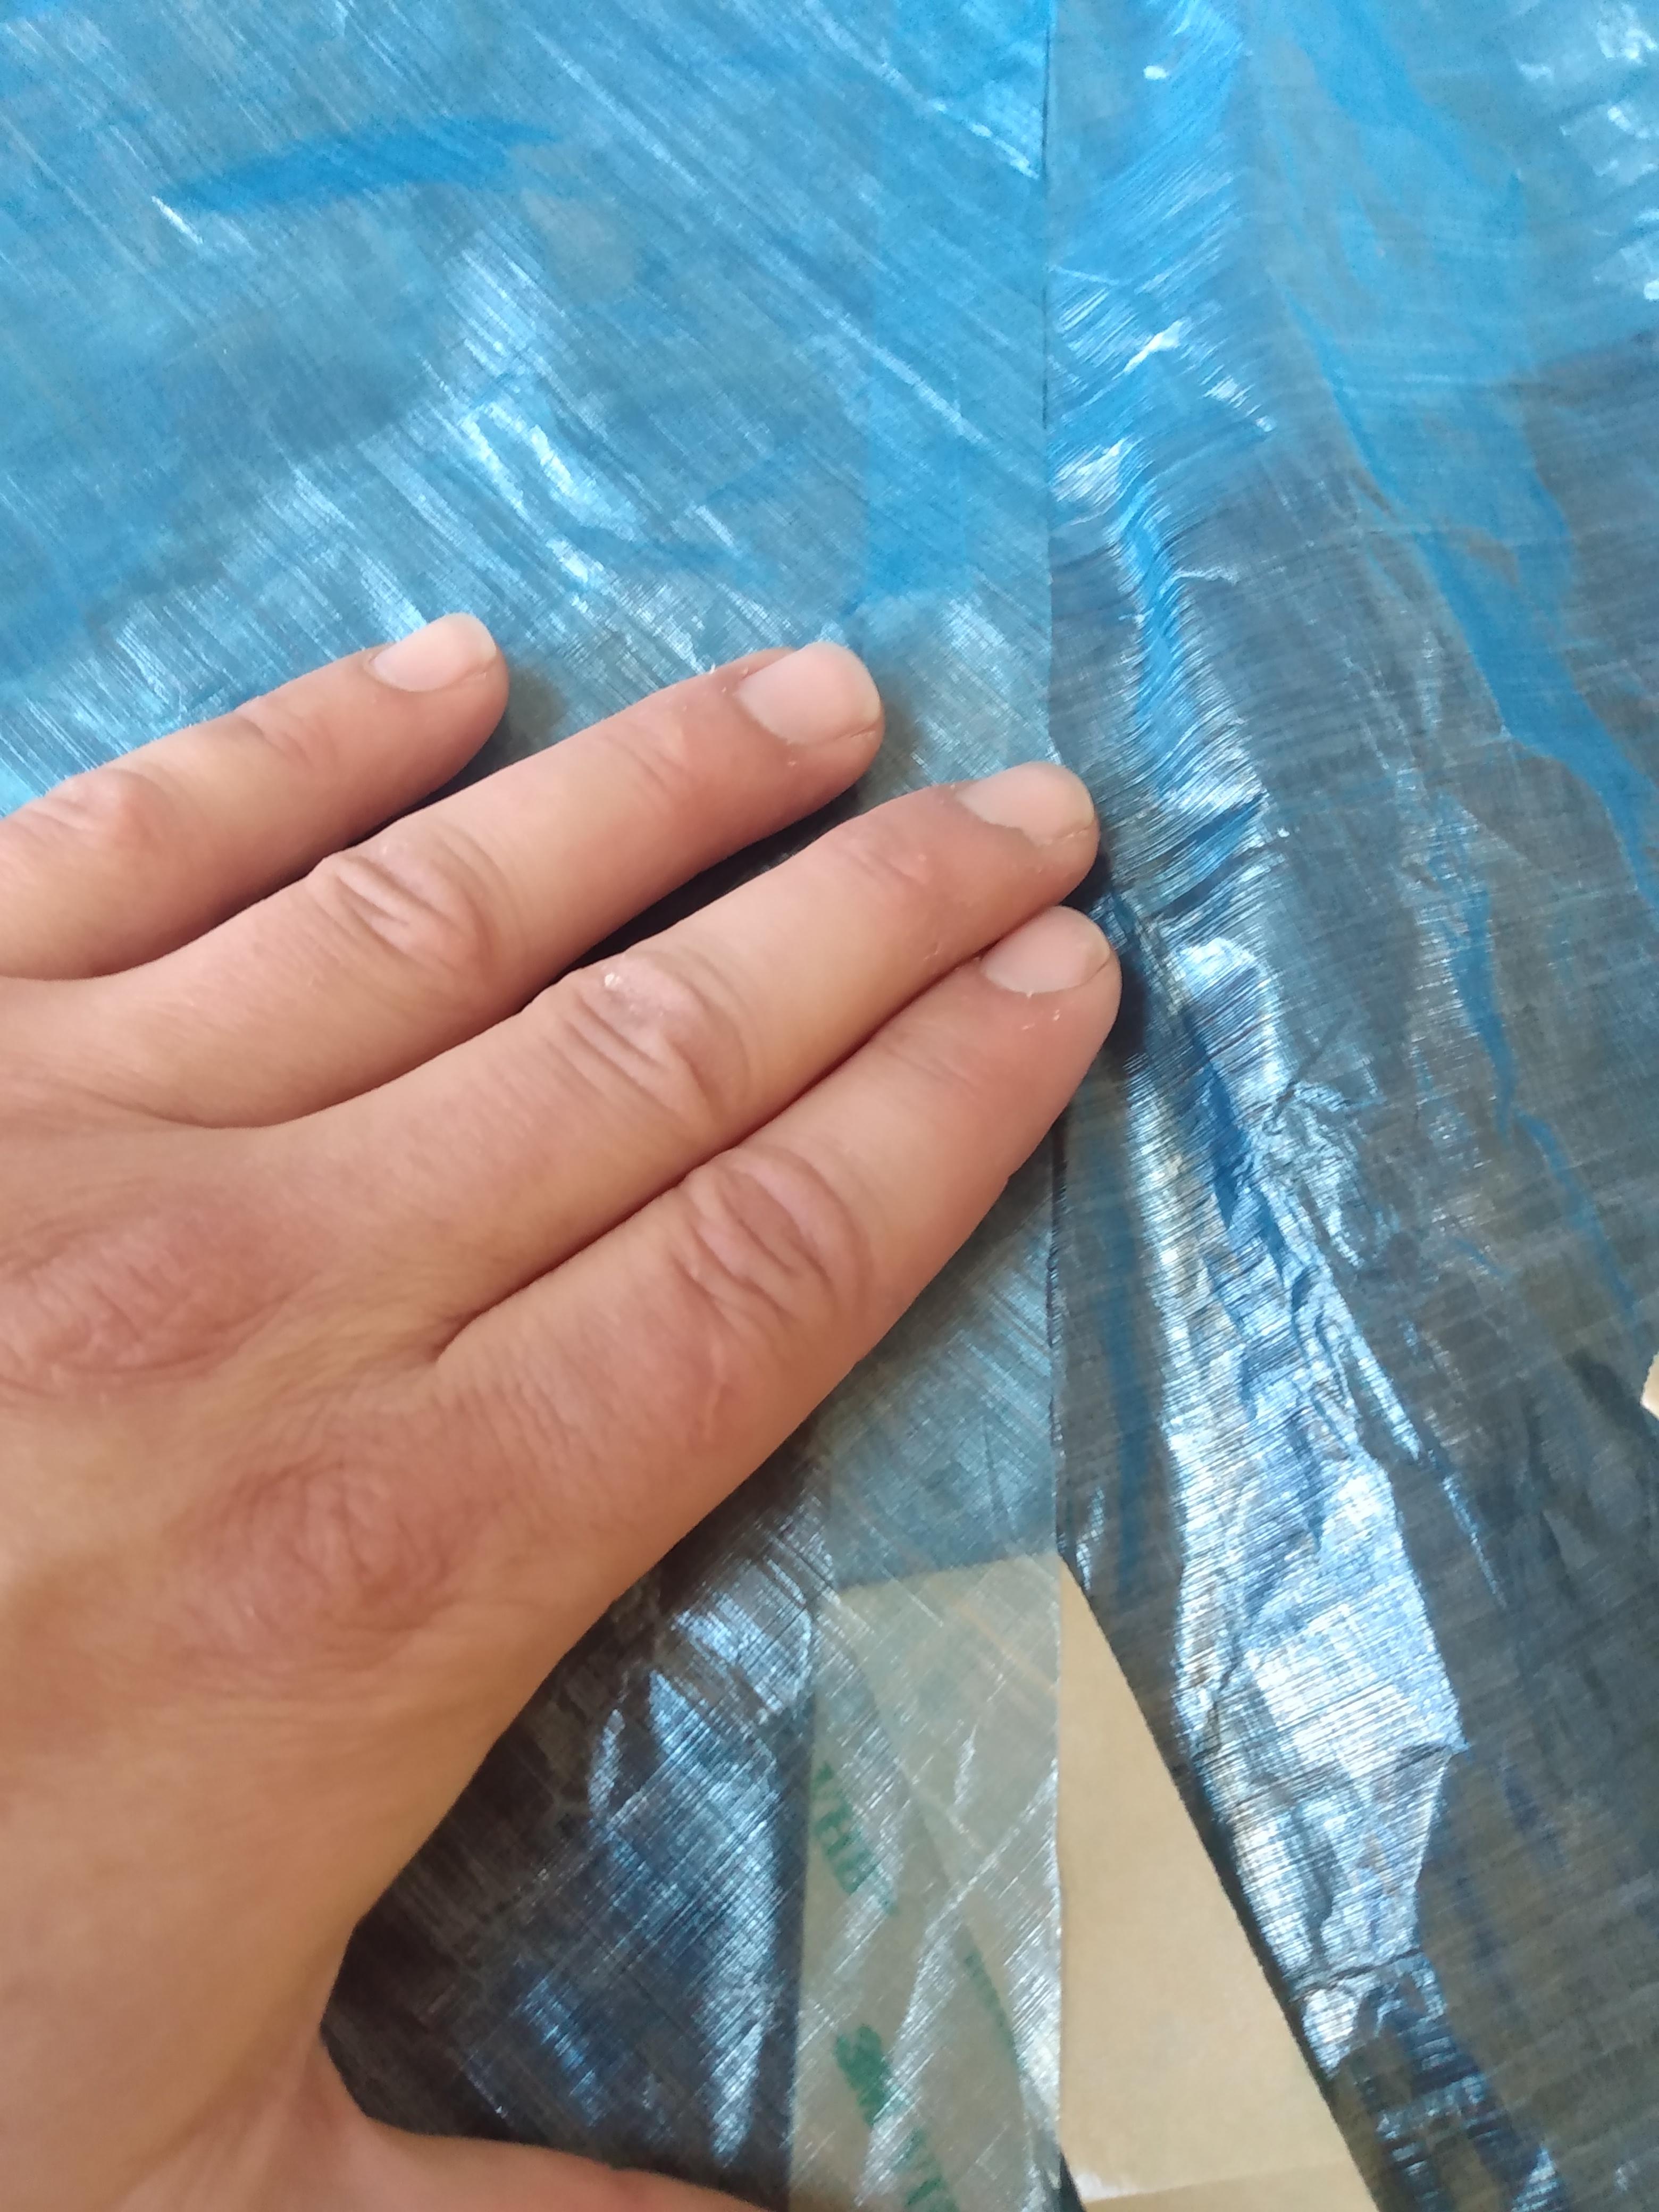
The pattern is always the most difficult and frustrating part for myself because I do not have sufficient work space for the size of the project. I used googles sketchup to design my pattern based on the chosen dimensions. Learning curve here as I never used this program or anything like it before (I’ve played around with photoshop in high school)…I translated the computer pattern to the dcf fabric by hand using yard sticks, rulers, and a new tool to me; 5ft long t square. This was very nerve racking as it’s the first time I’ve worked with such expensive material. I measured 4+ times before marking the lines and then rechecked all measurements again afterwards. I calculated the catenary cut ridgelines and marked the entire curve by hand at each 1 inch mark rather than making a template first.
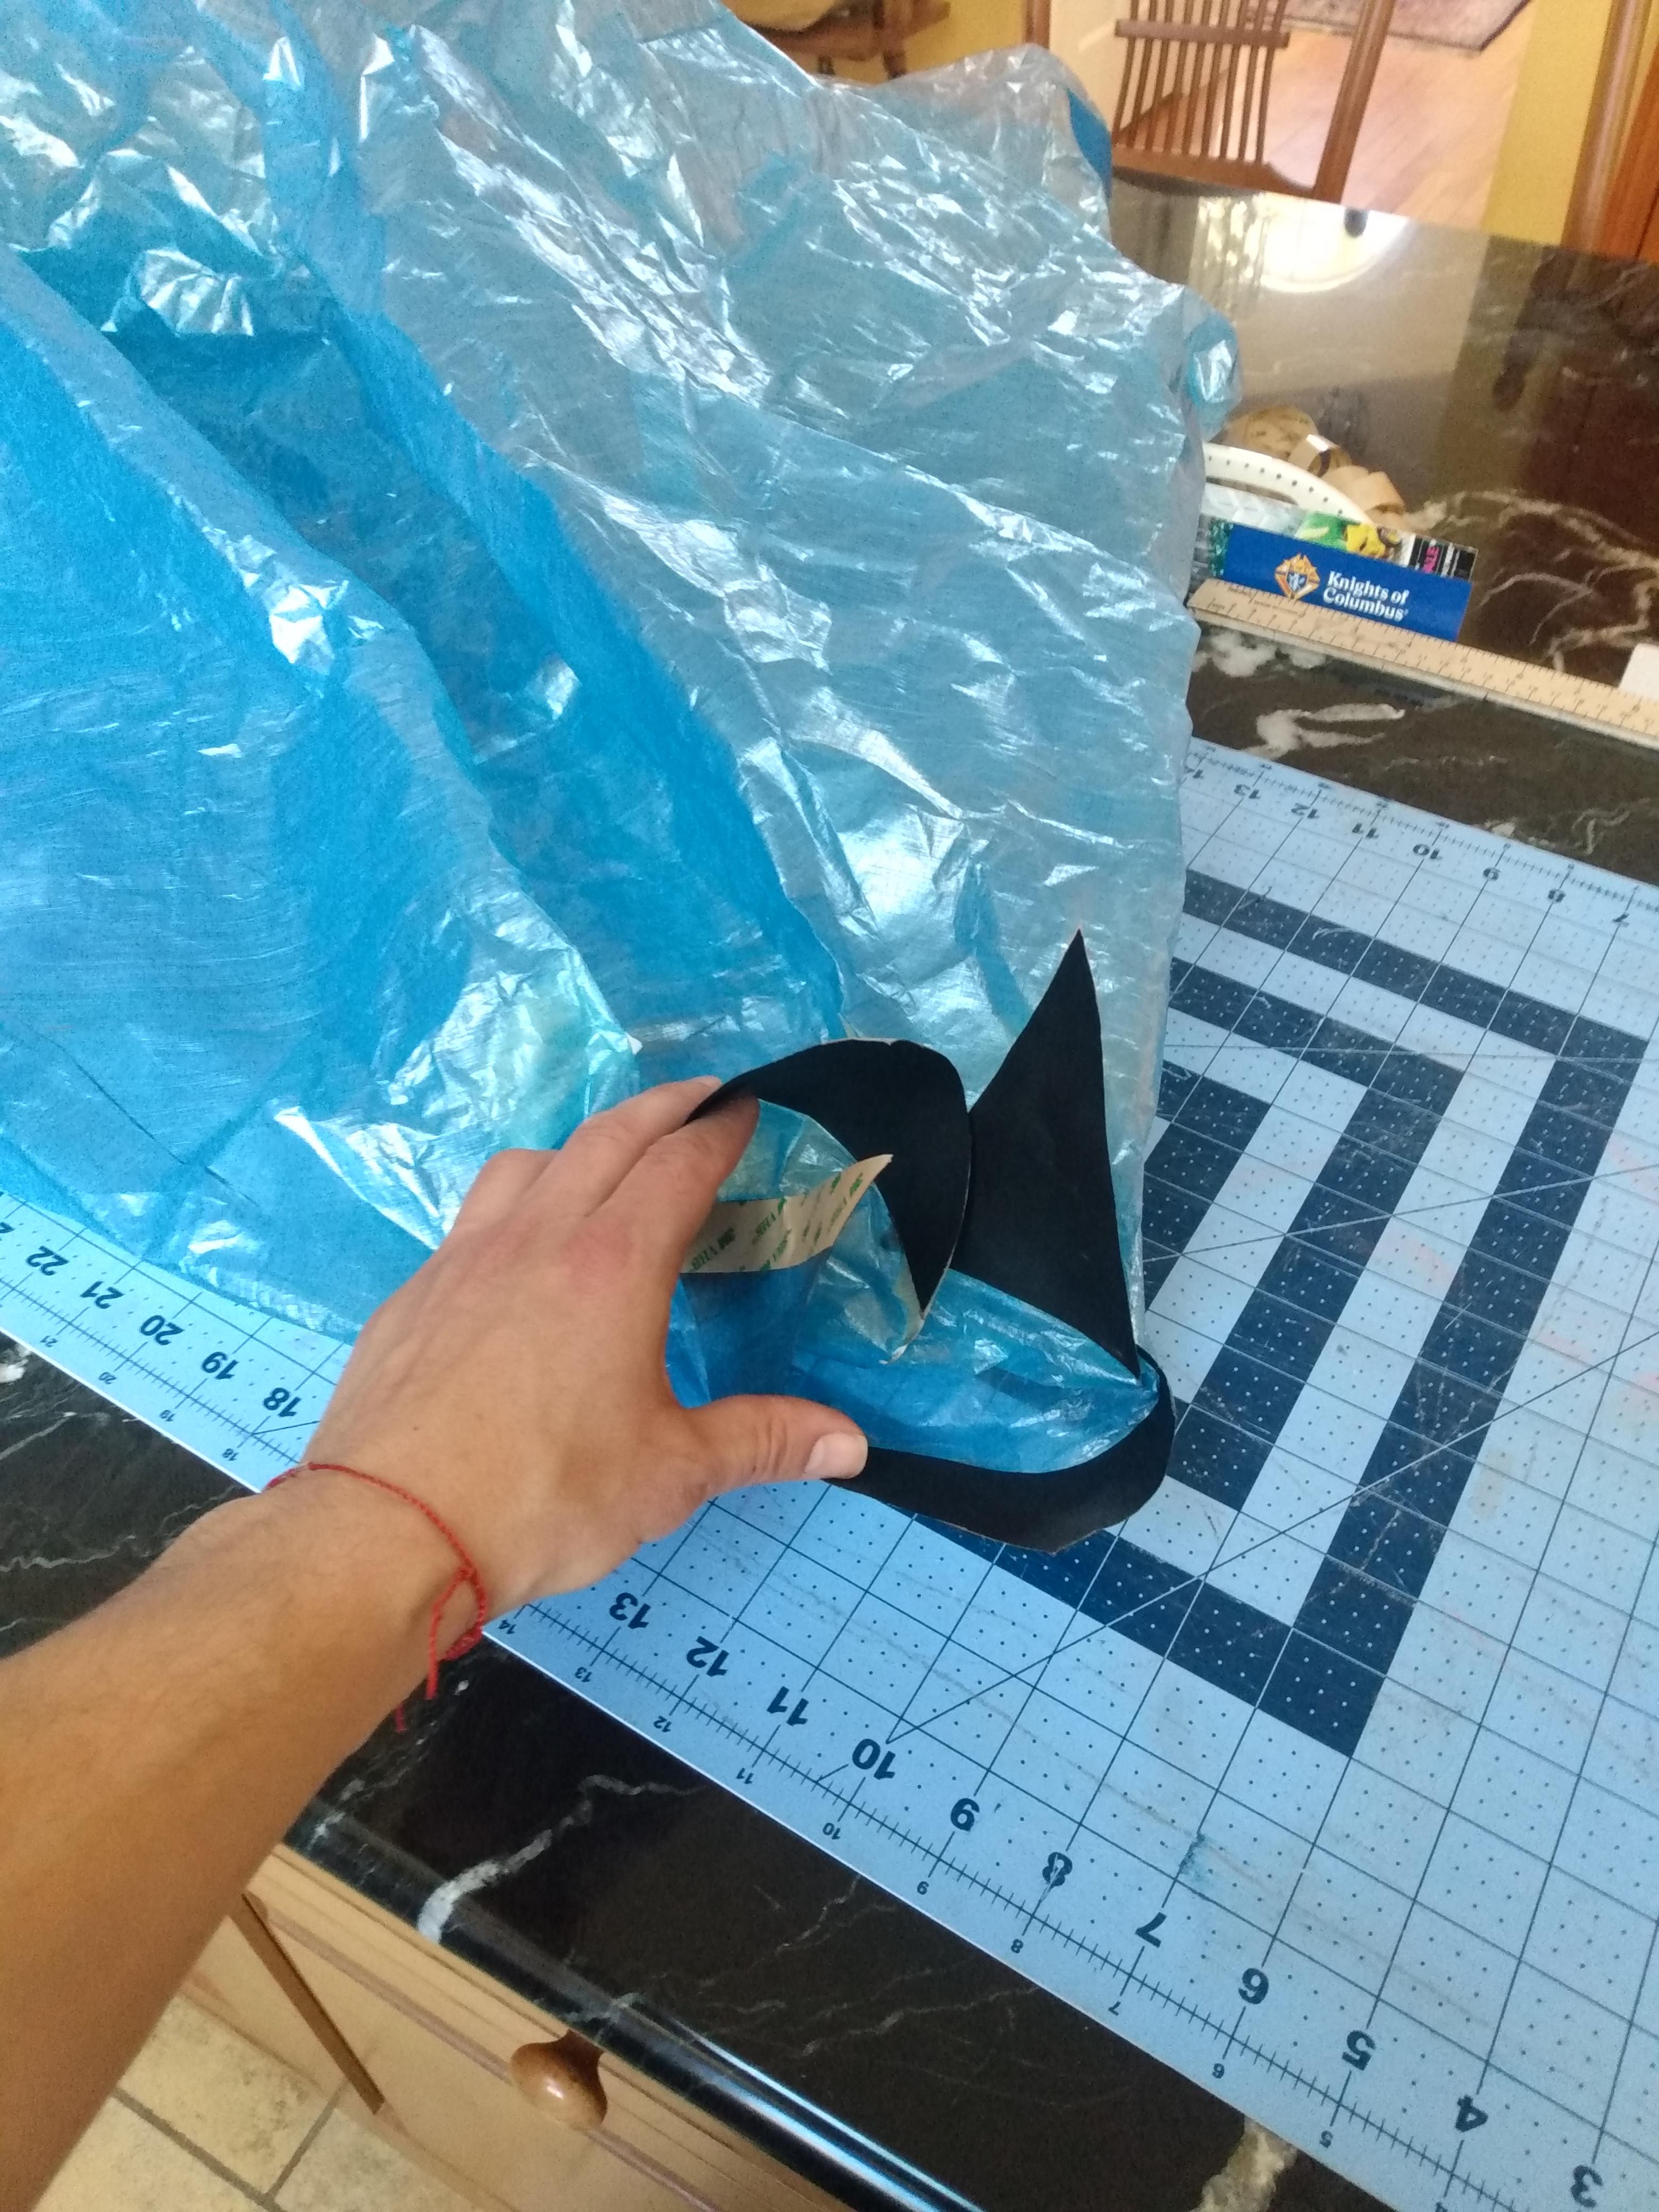
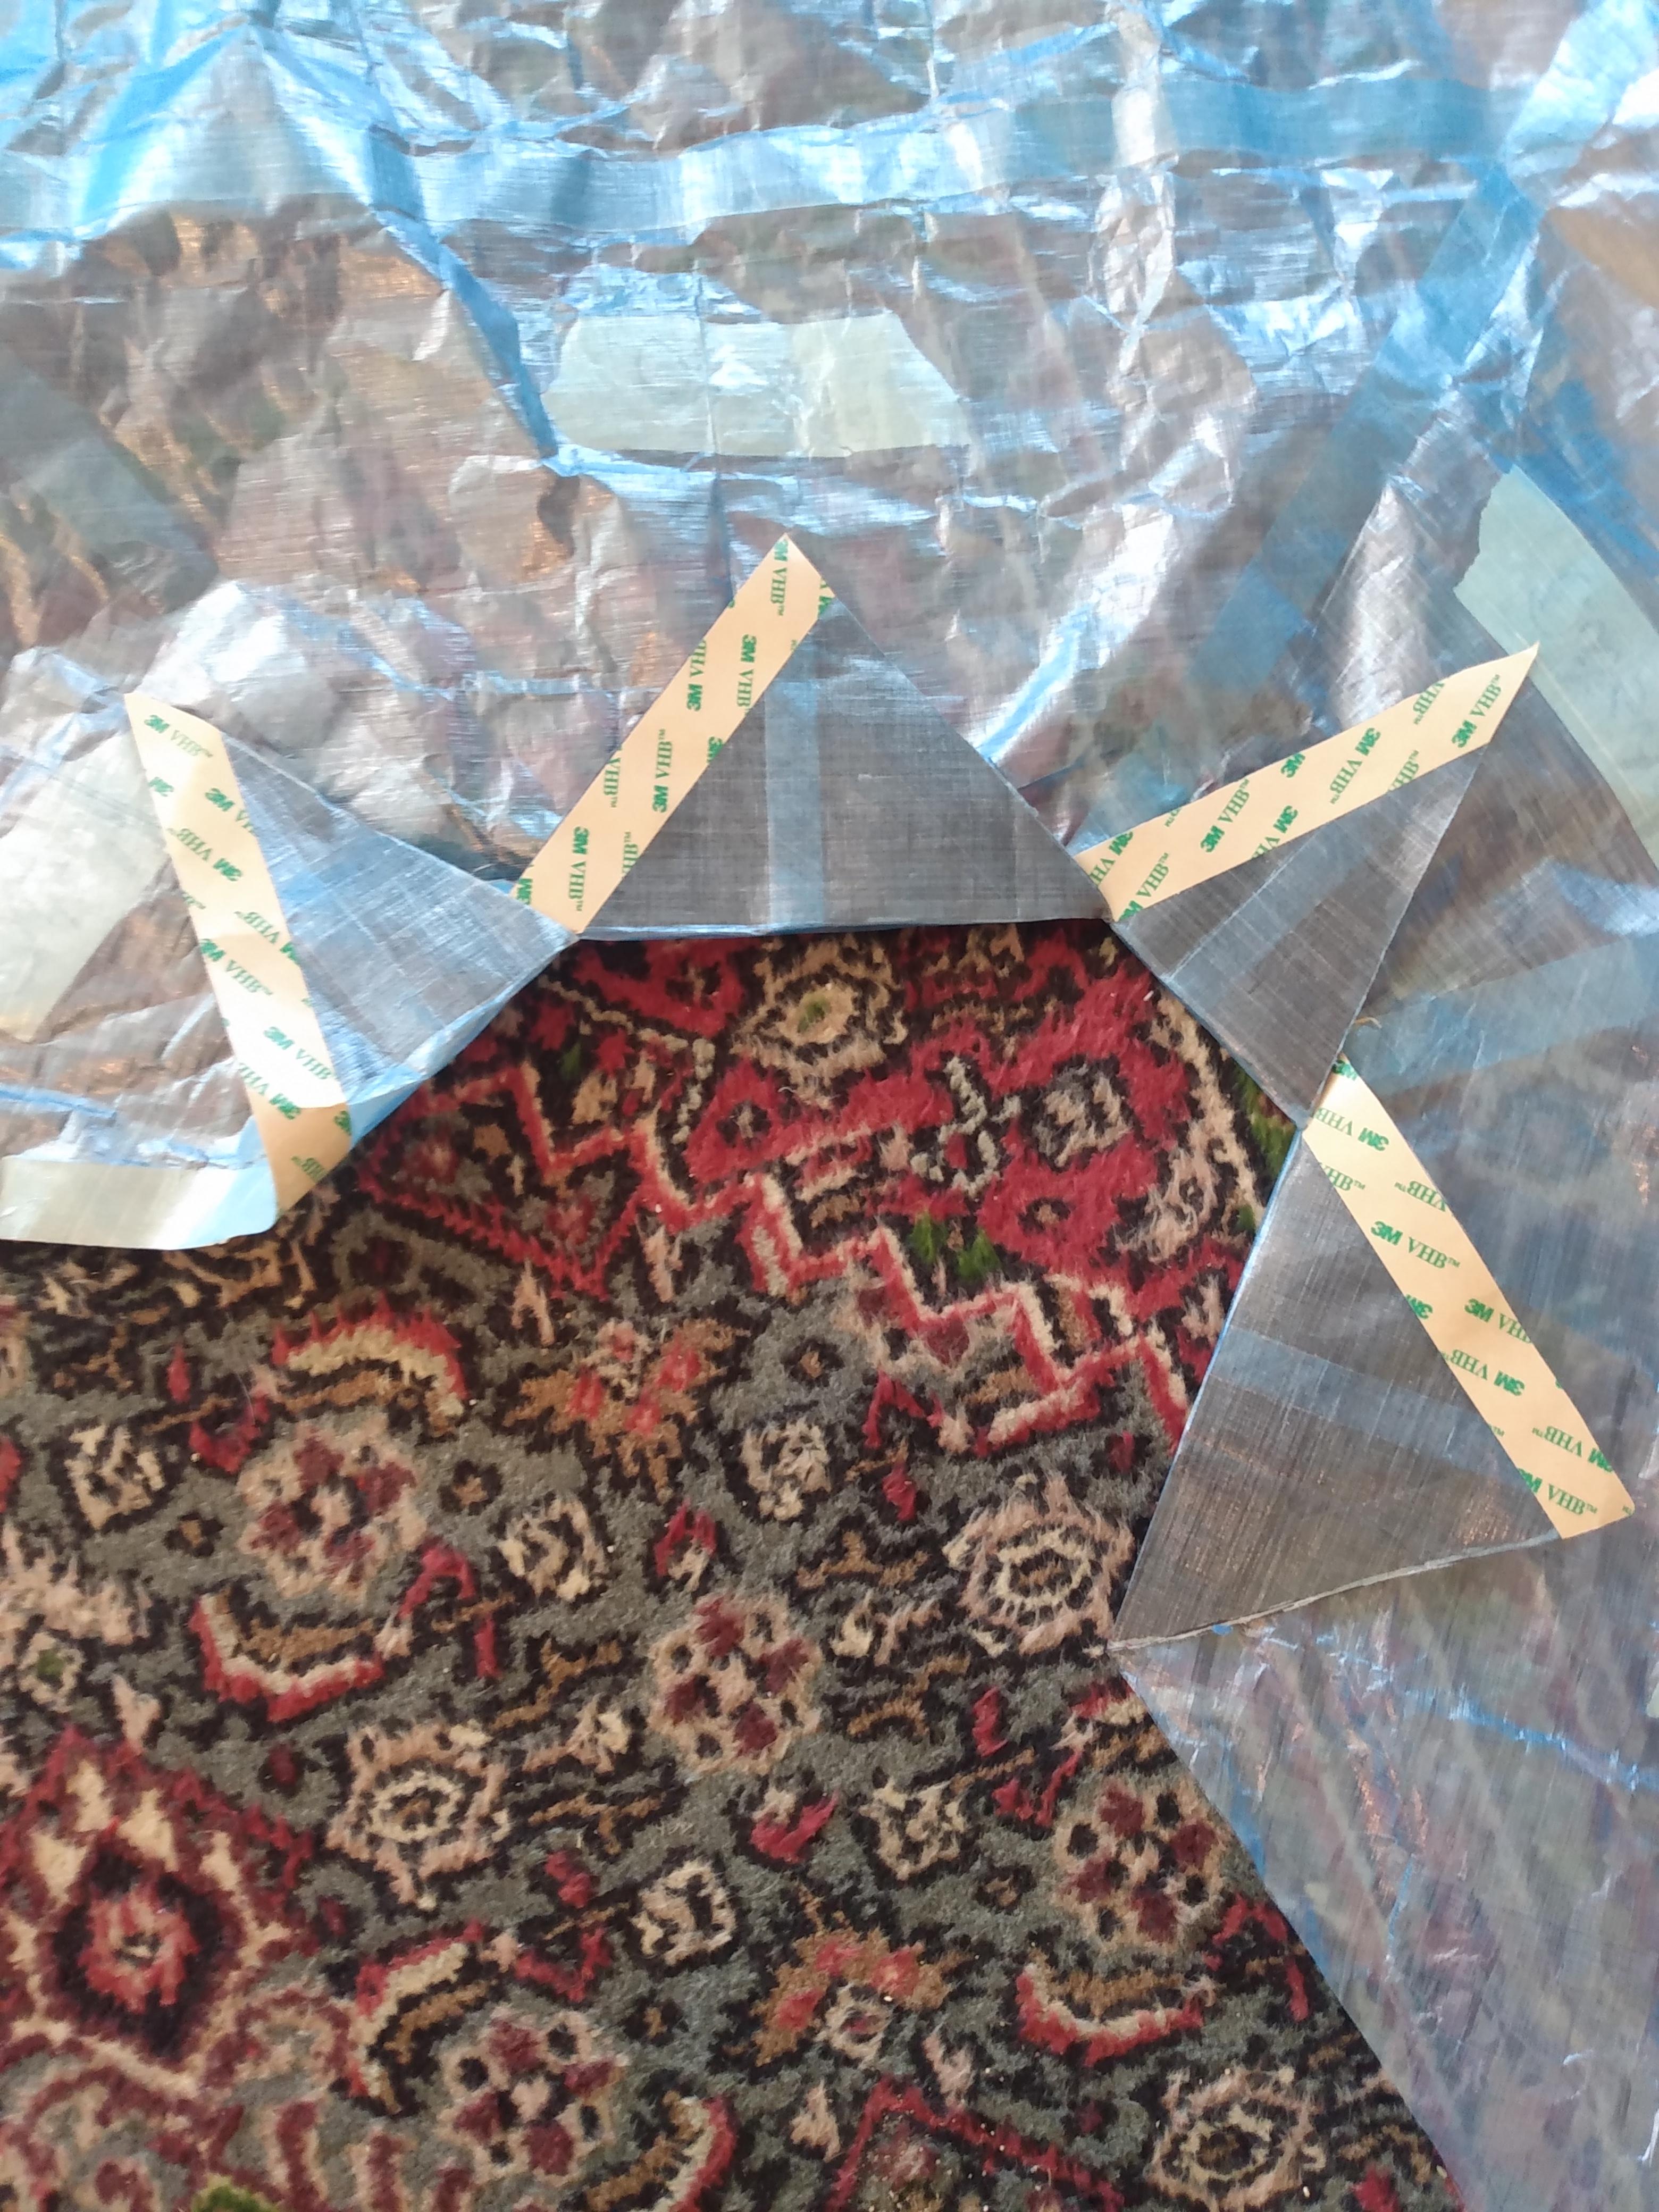
Two patterns were needed for the total of four panels. They were cut out and then lined up to ensure accurate cutting/measuring. Each ridgeline was then bonded together using 3m transfer tape. Reinforcement patches were used at each of the four corners, mid length of the bottom hem, mid panel guyout locations, along with mid ridgeline guyout points.
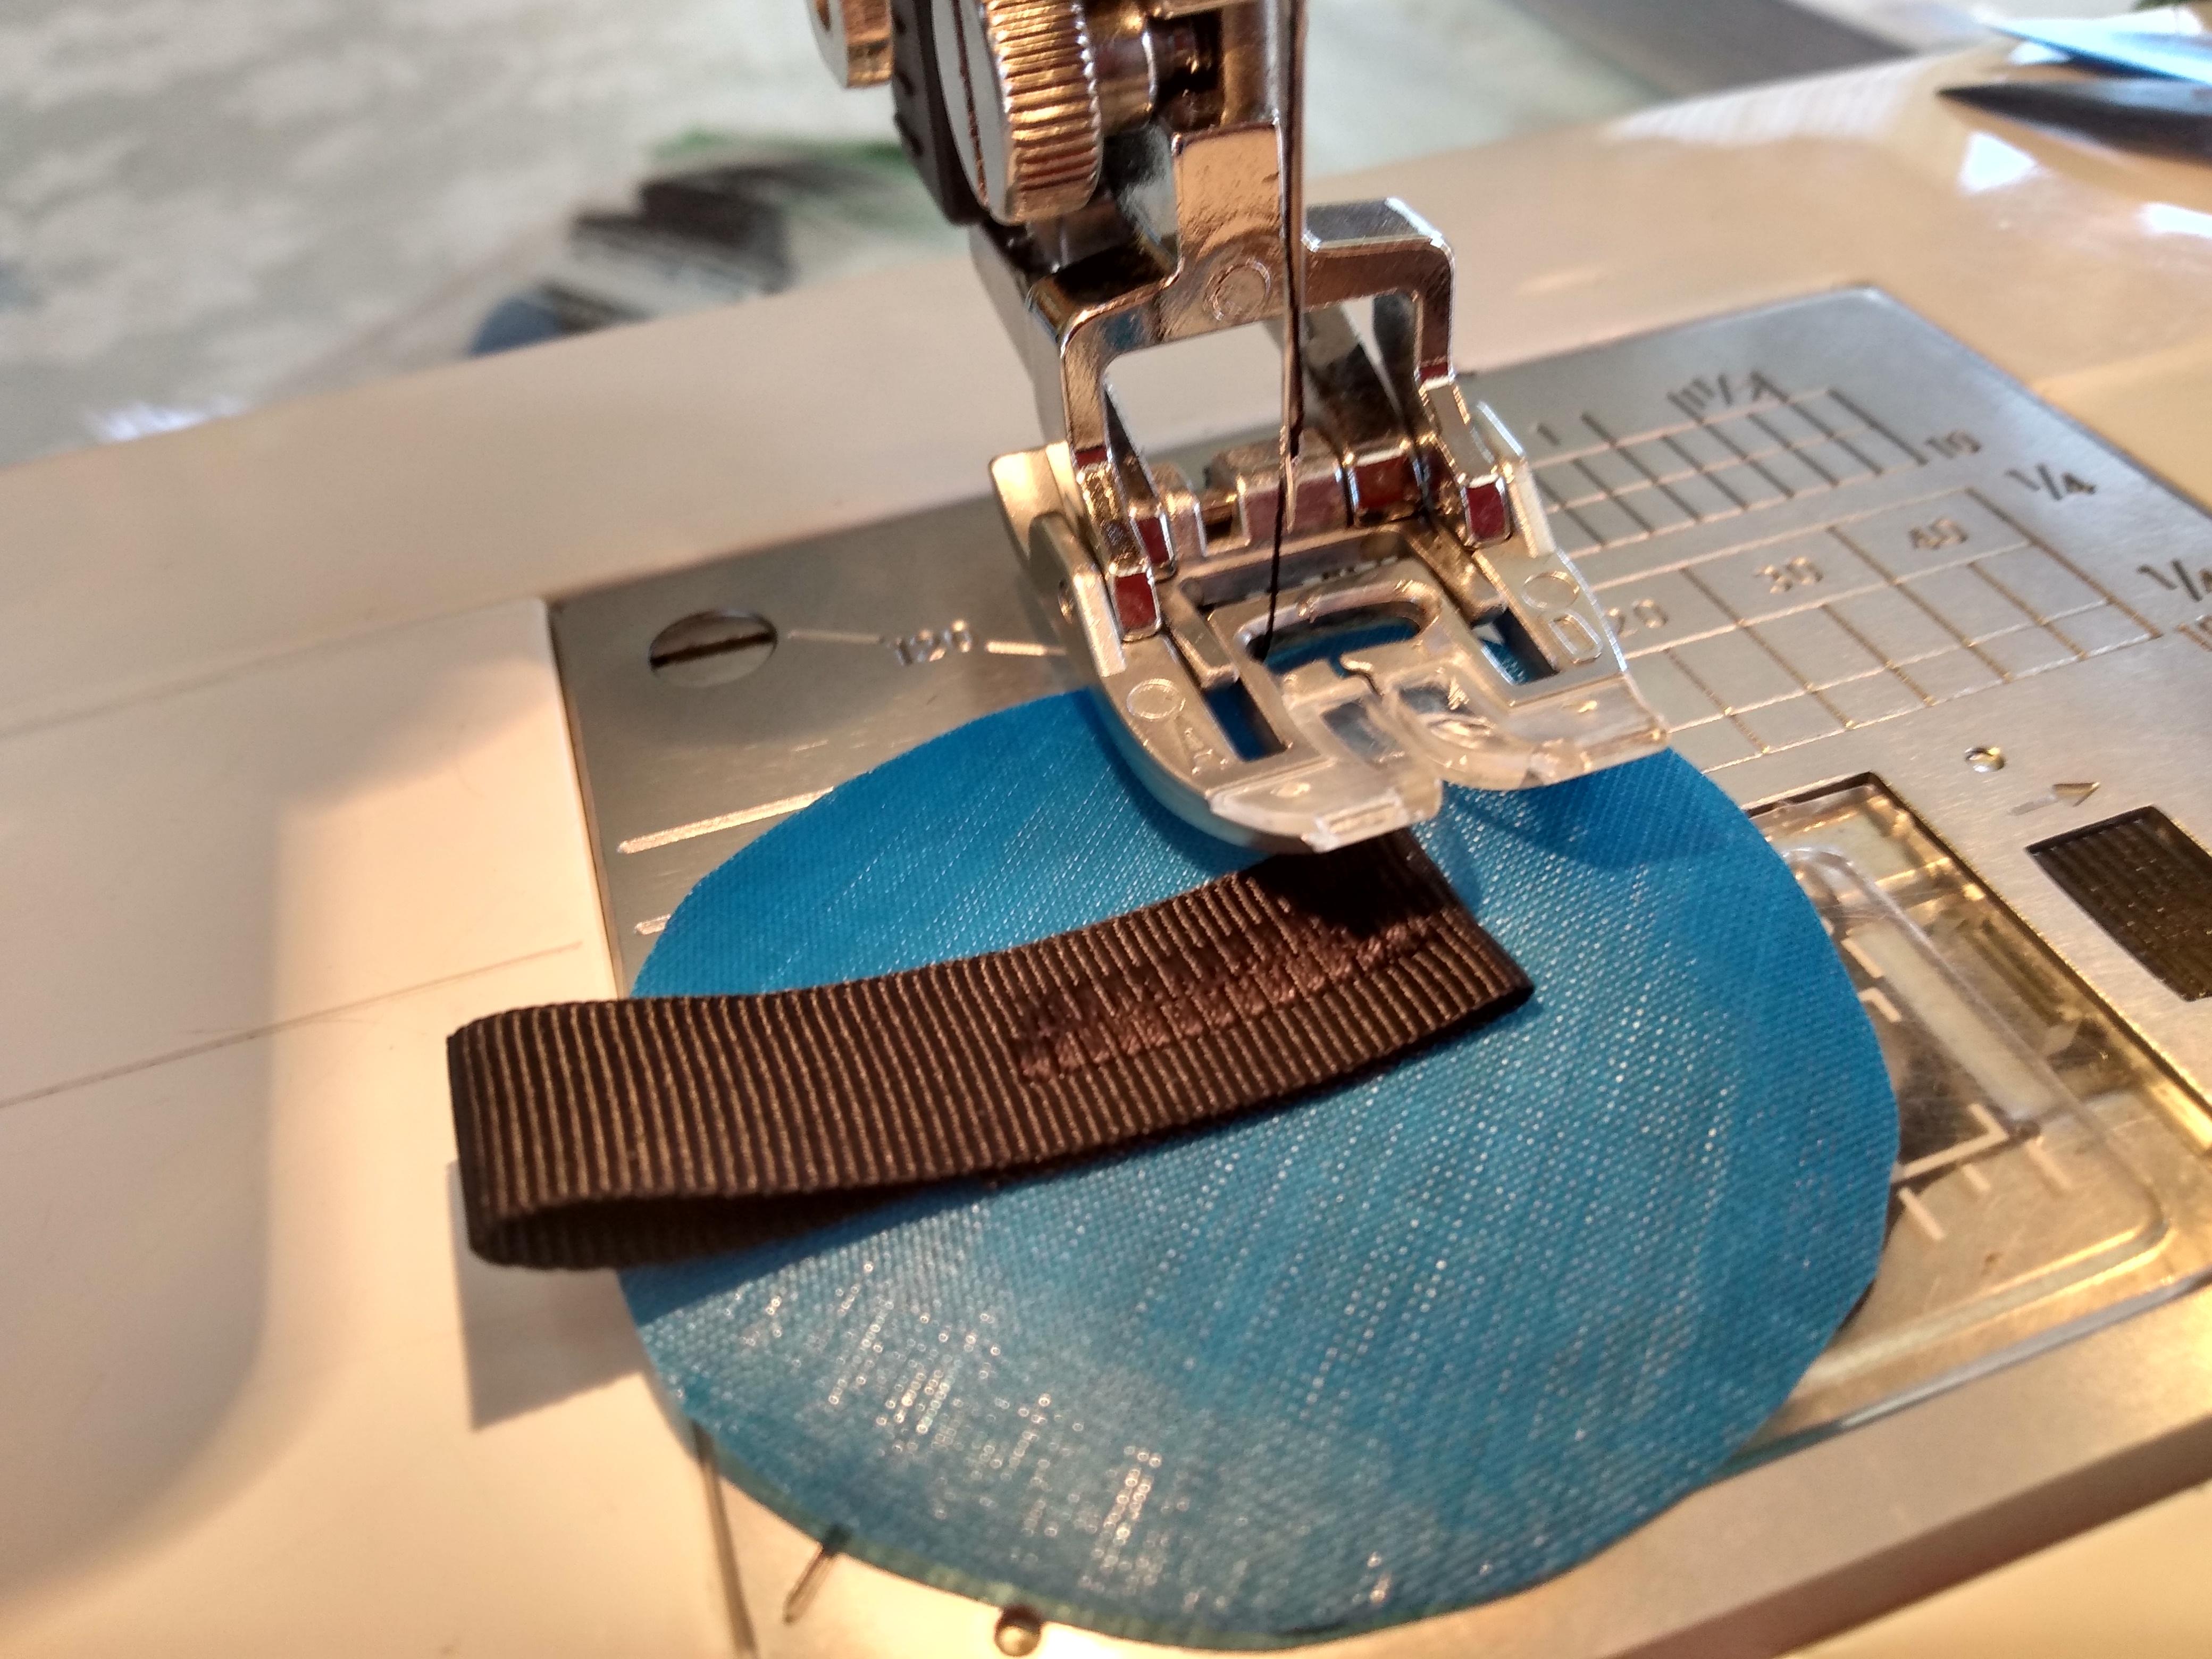
I sewed the bottom hem to save weight over more bonding and to “lock in” the bonded reinforcement patches on the bottom and corners. The mid panel guyout points are sewed together and then bonded onto the main fabric panel. The ridgelines guyout points are bonded patches with the attachment point sewn through the patch, two layers of main panel fabric, and bonding adhesive. This is then further reinforced on the inside to also maintain the waterproof seam.
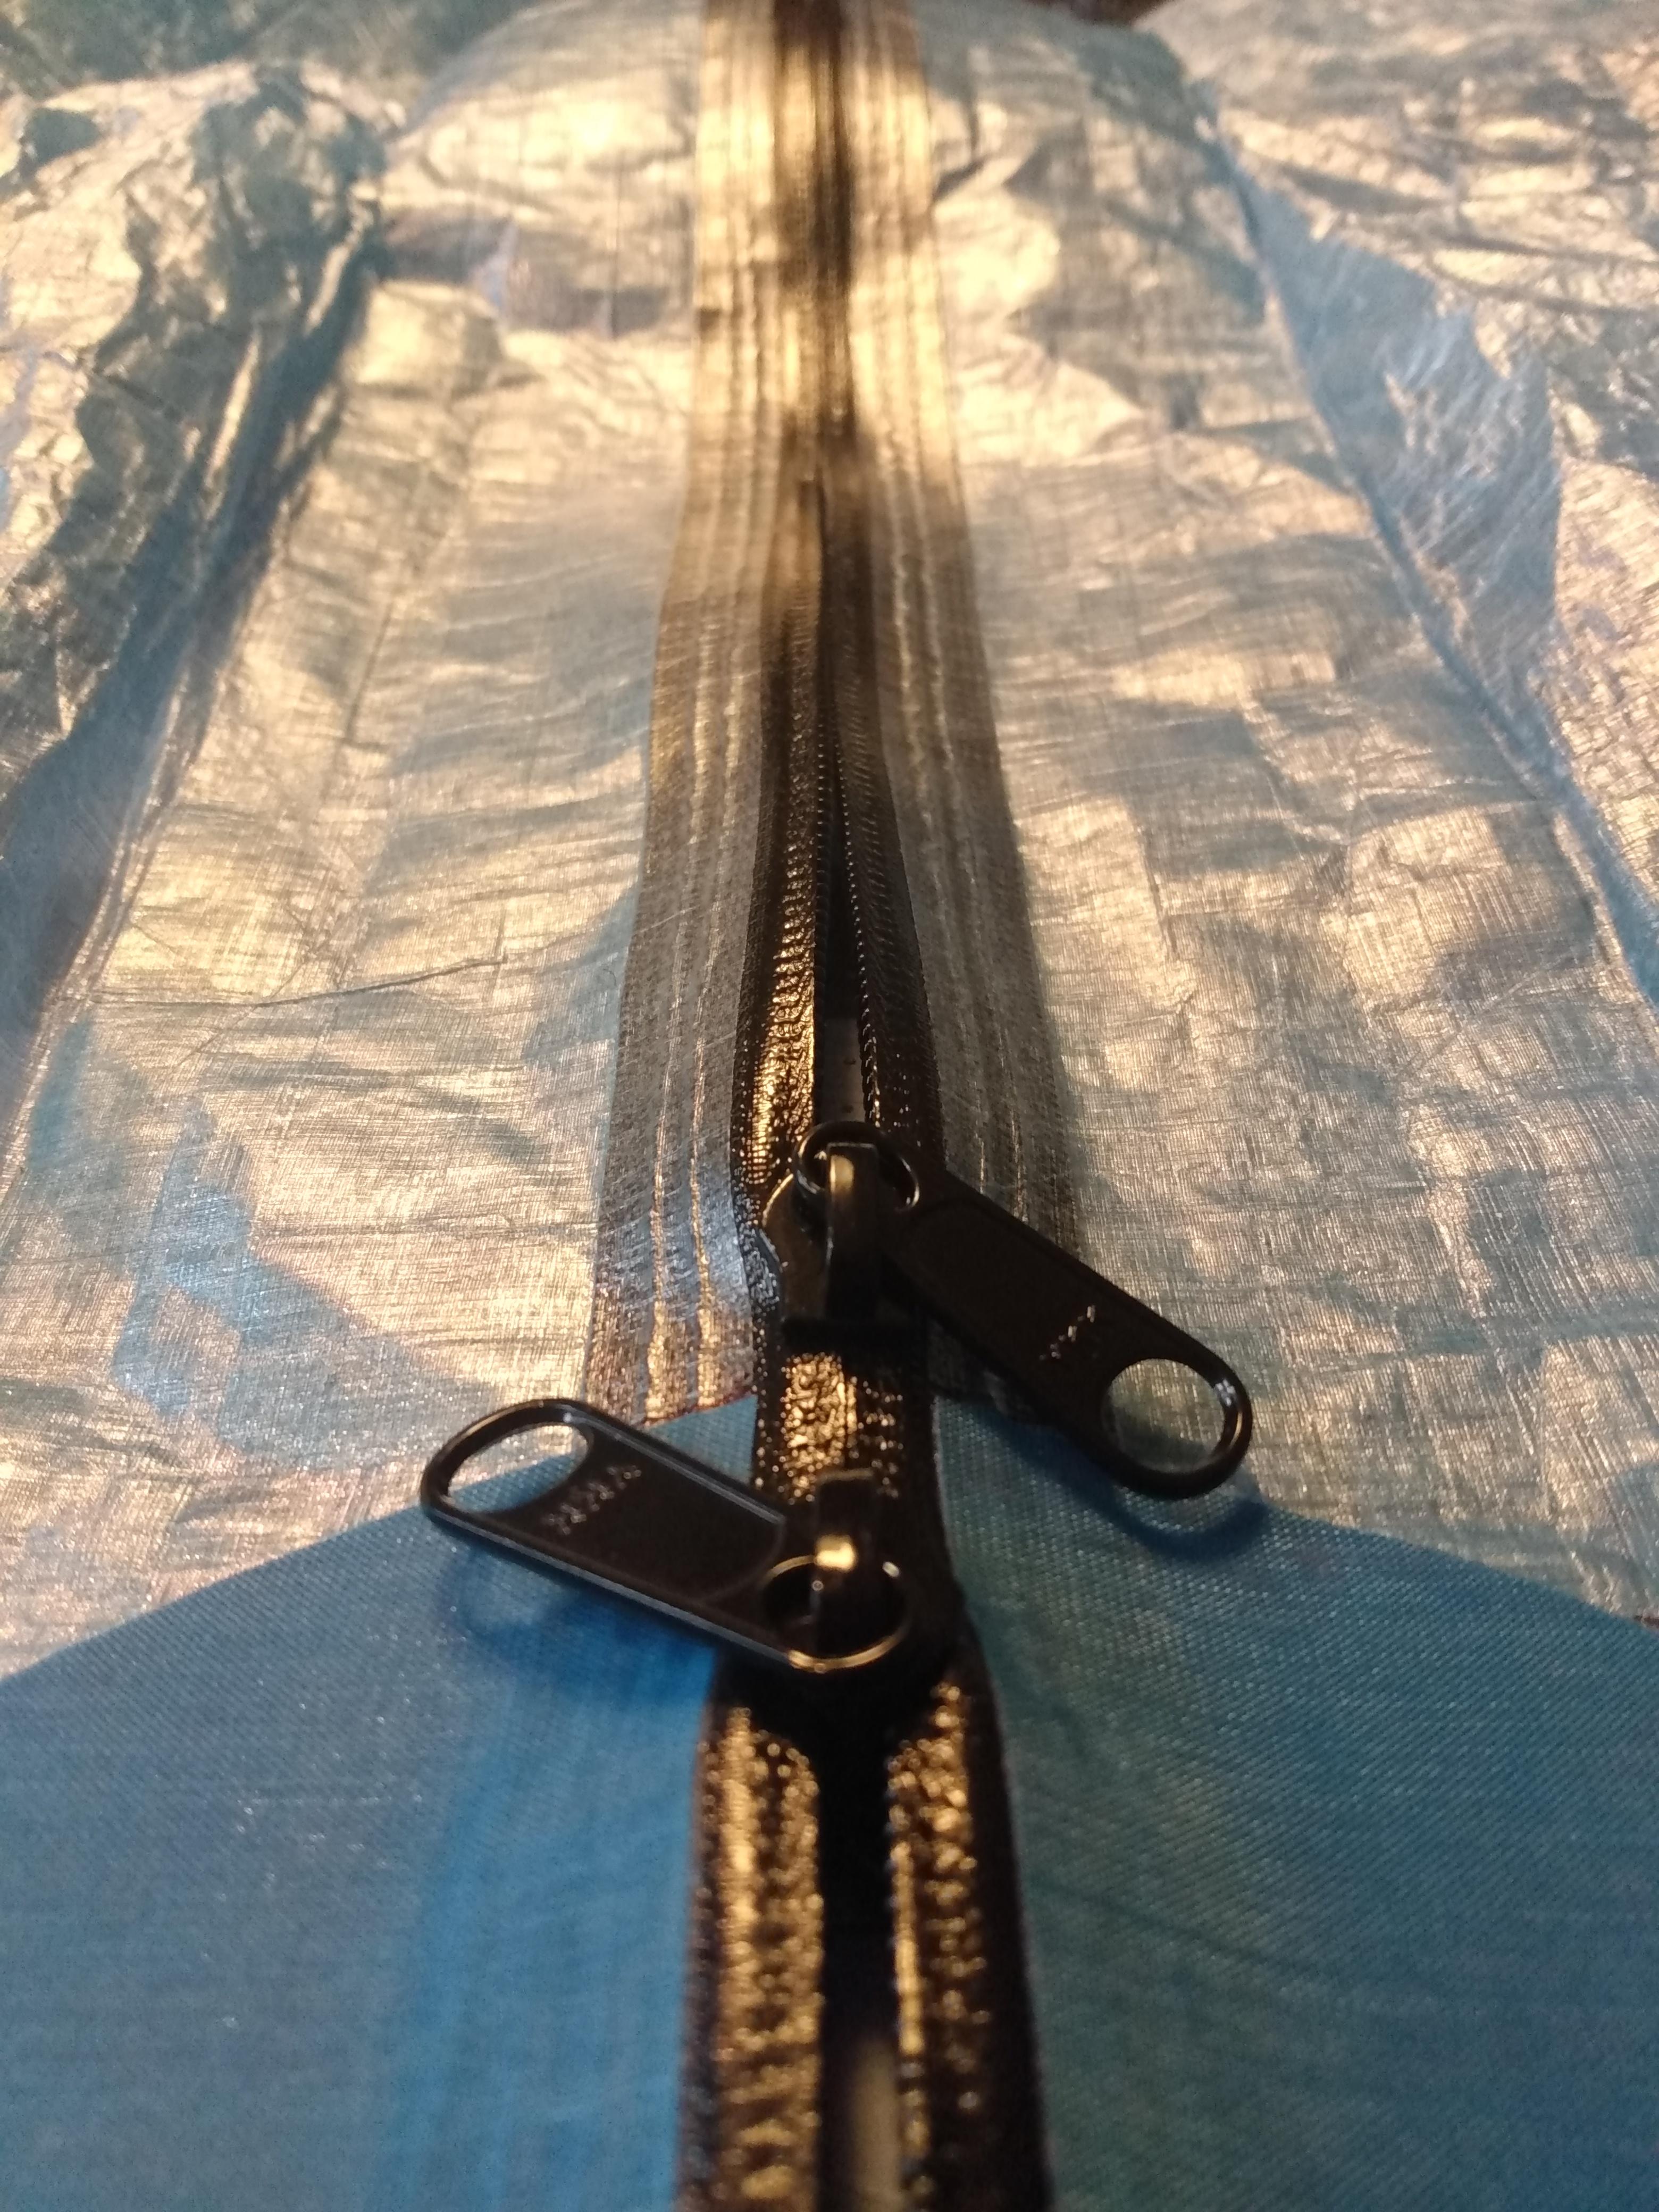
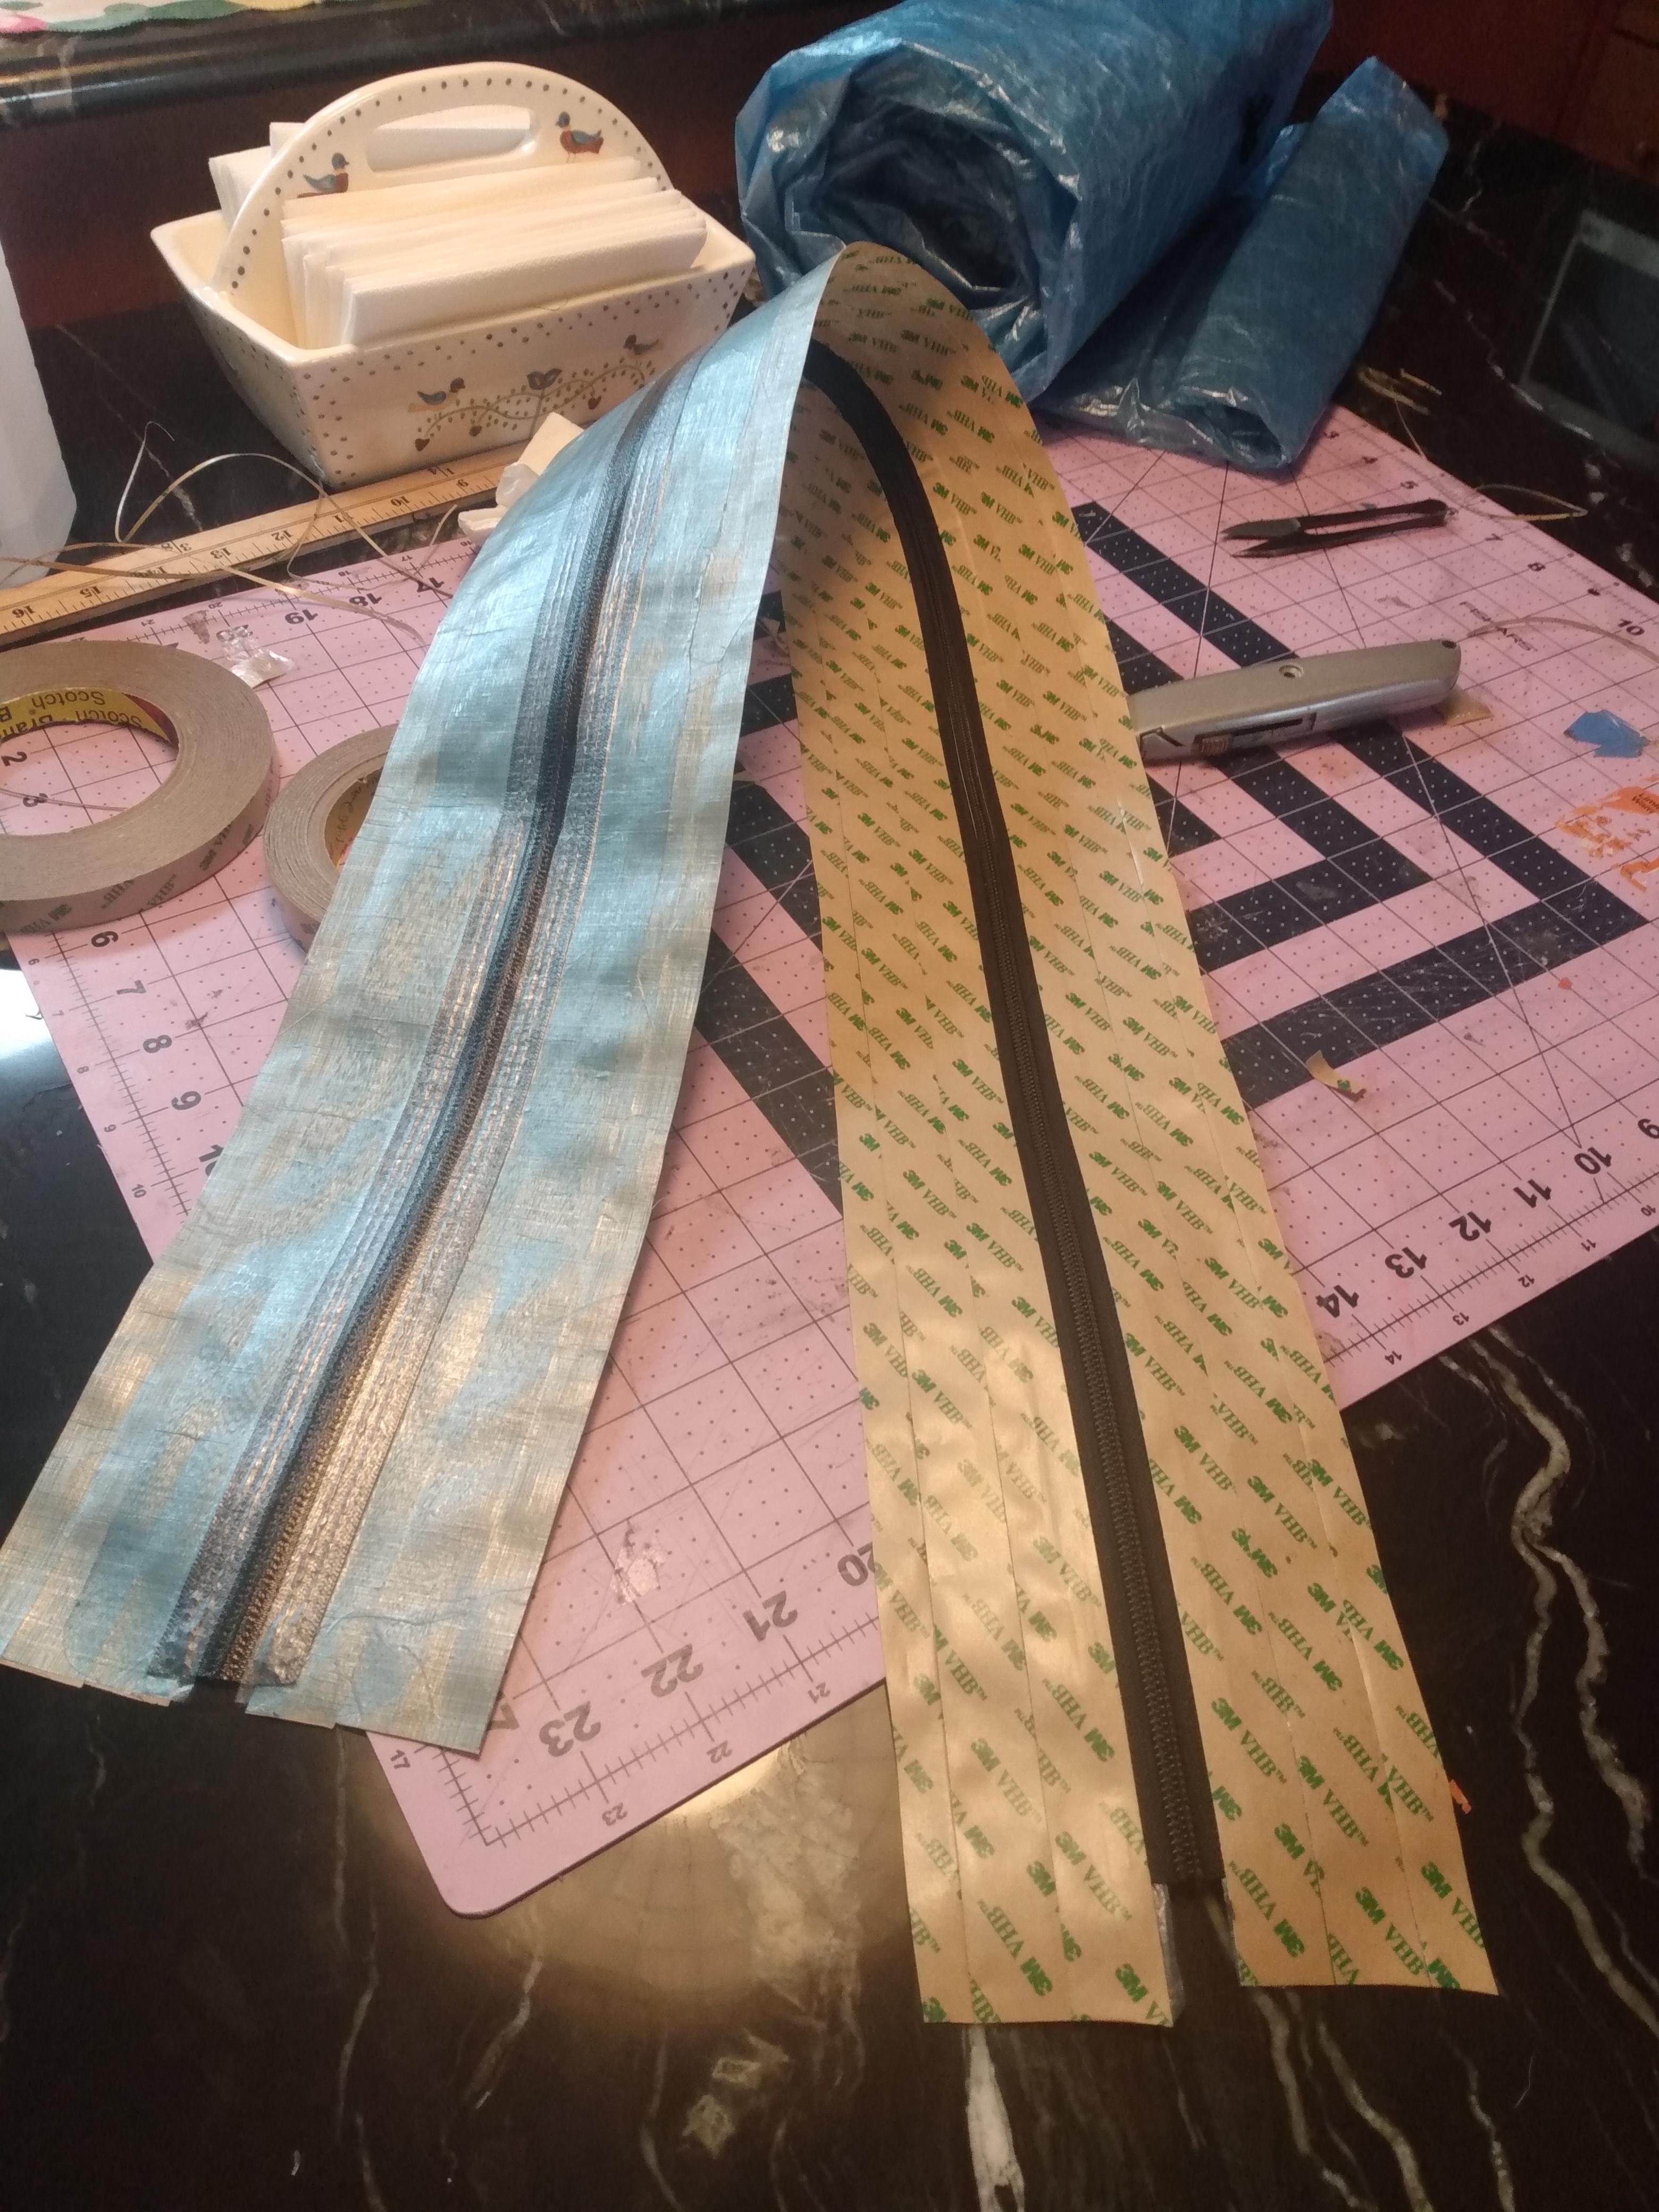
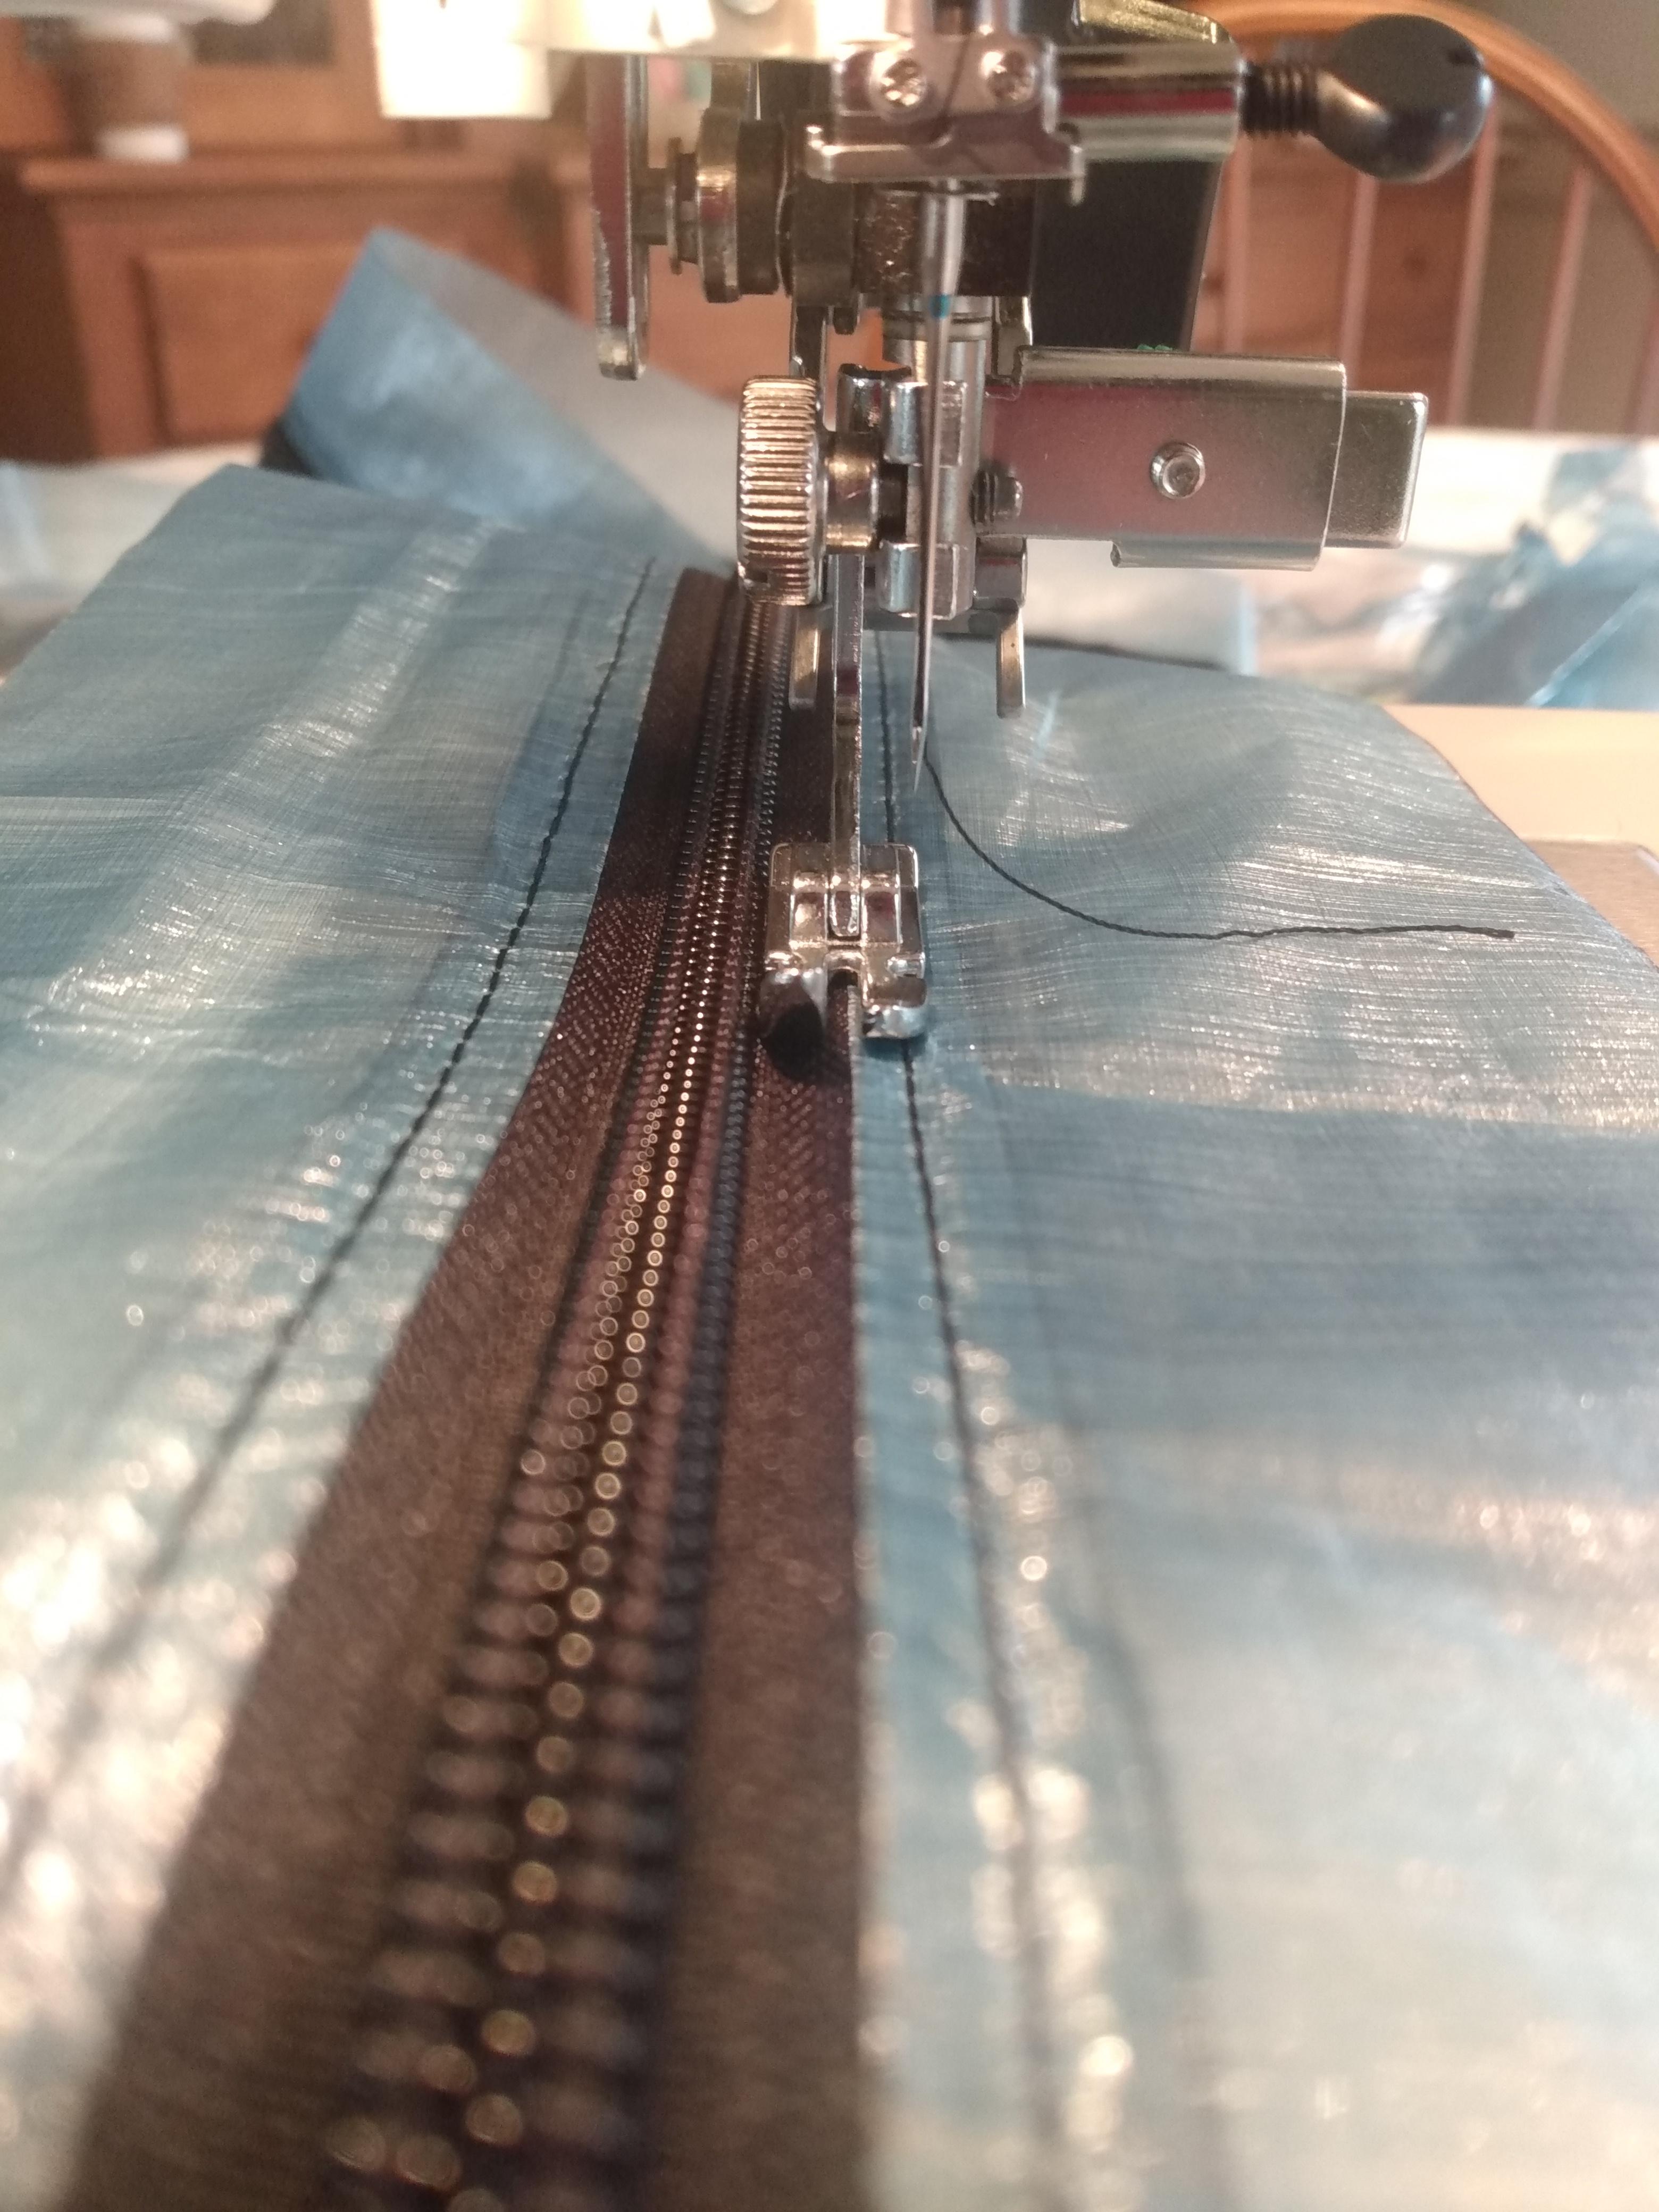
The waterproof zipper was sewn onto a strip of dcf fabric and then bonded onto the main panels. Another strip was bonded overlapping the other strip to waterproof and provide further strength to zipper fabric connection.
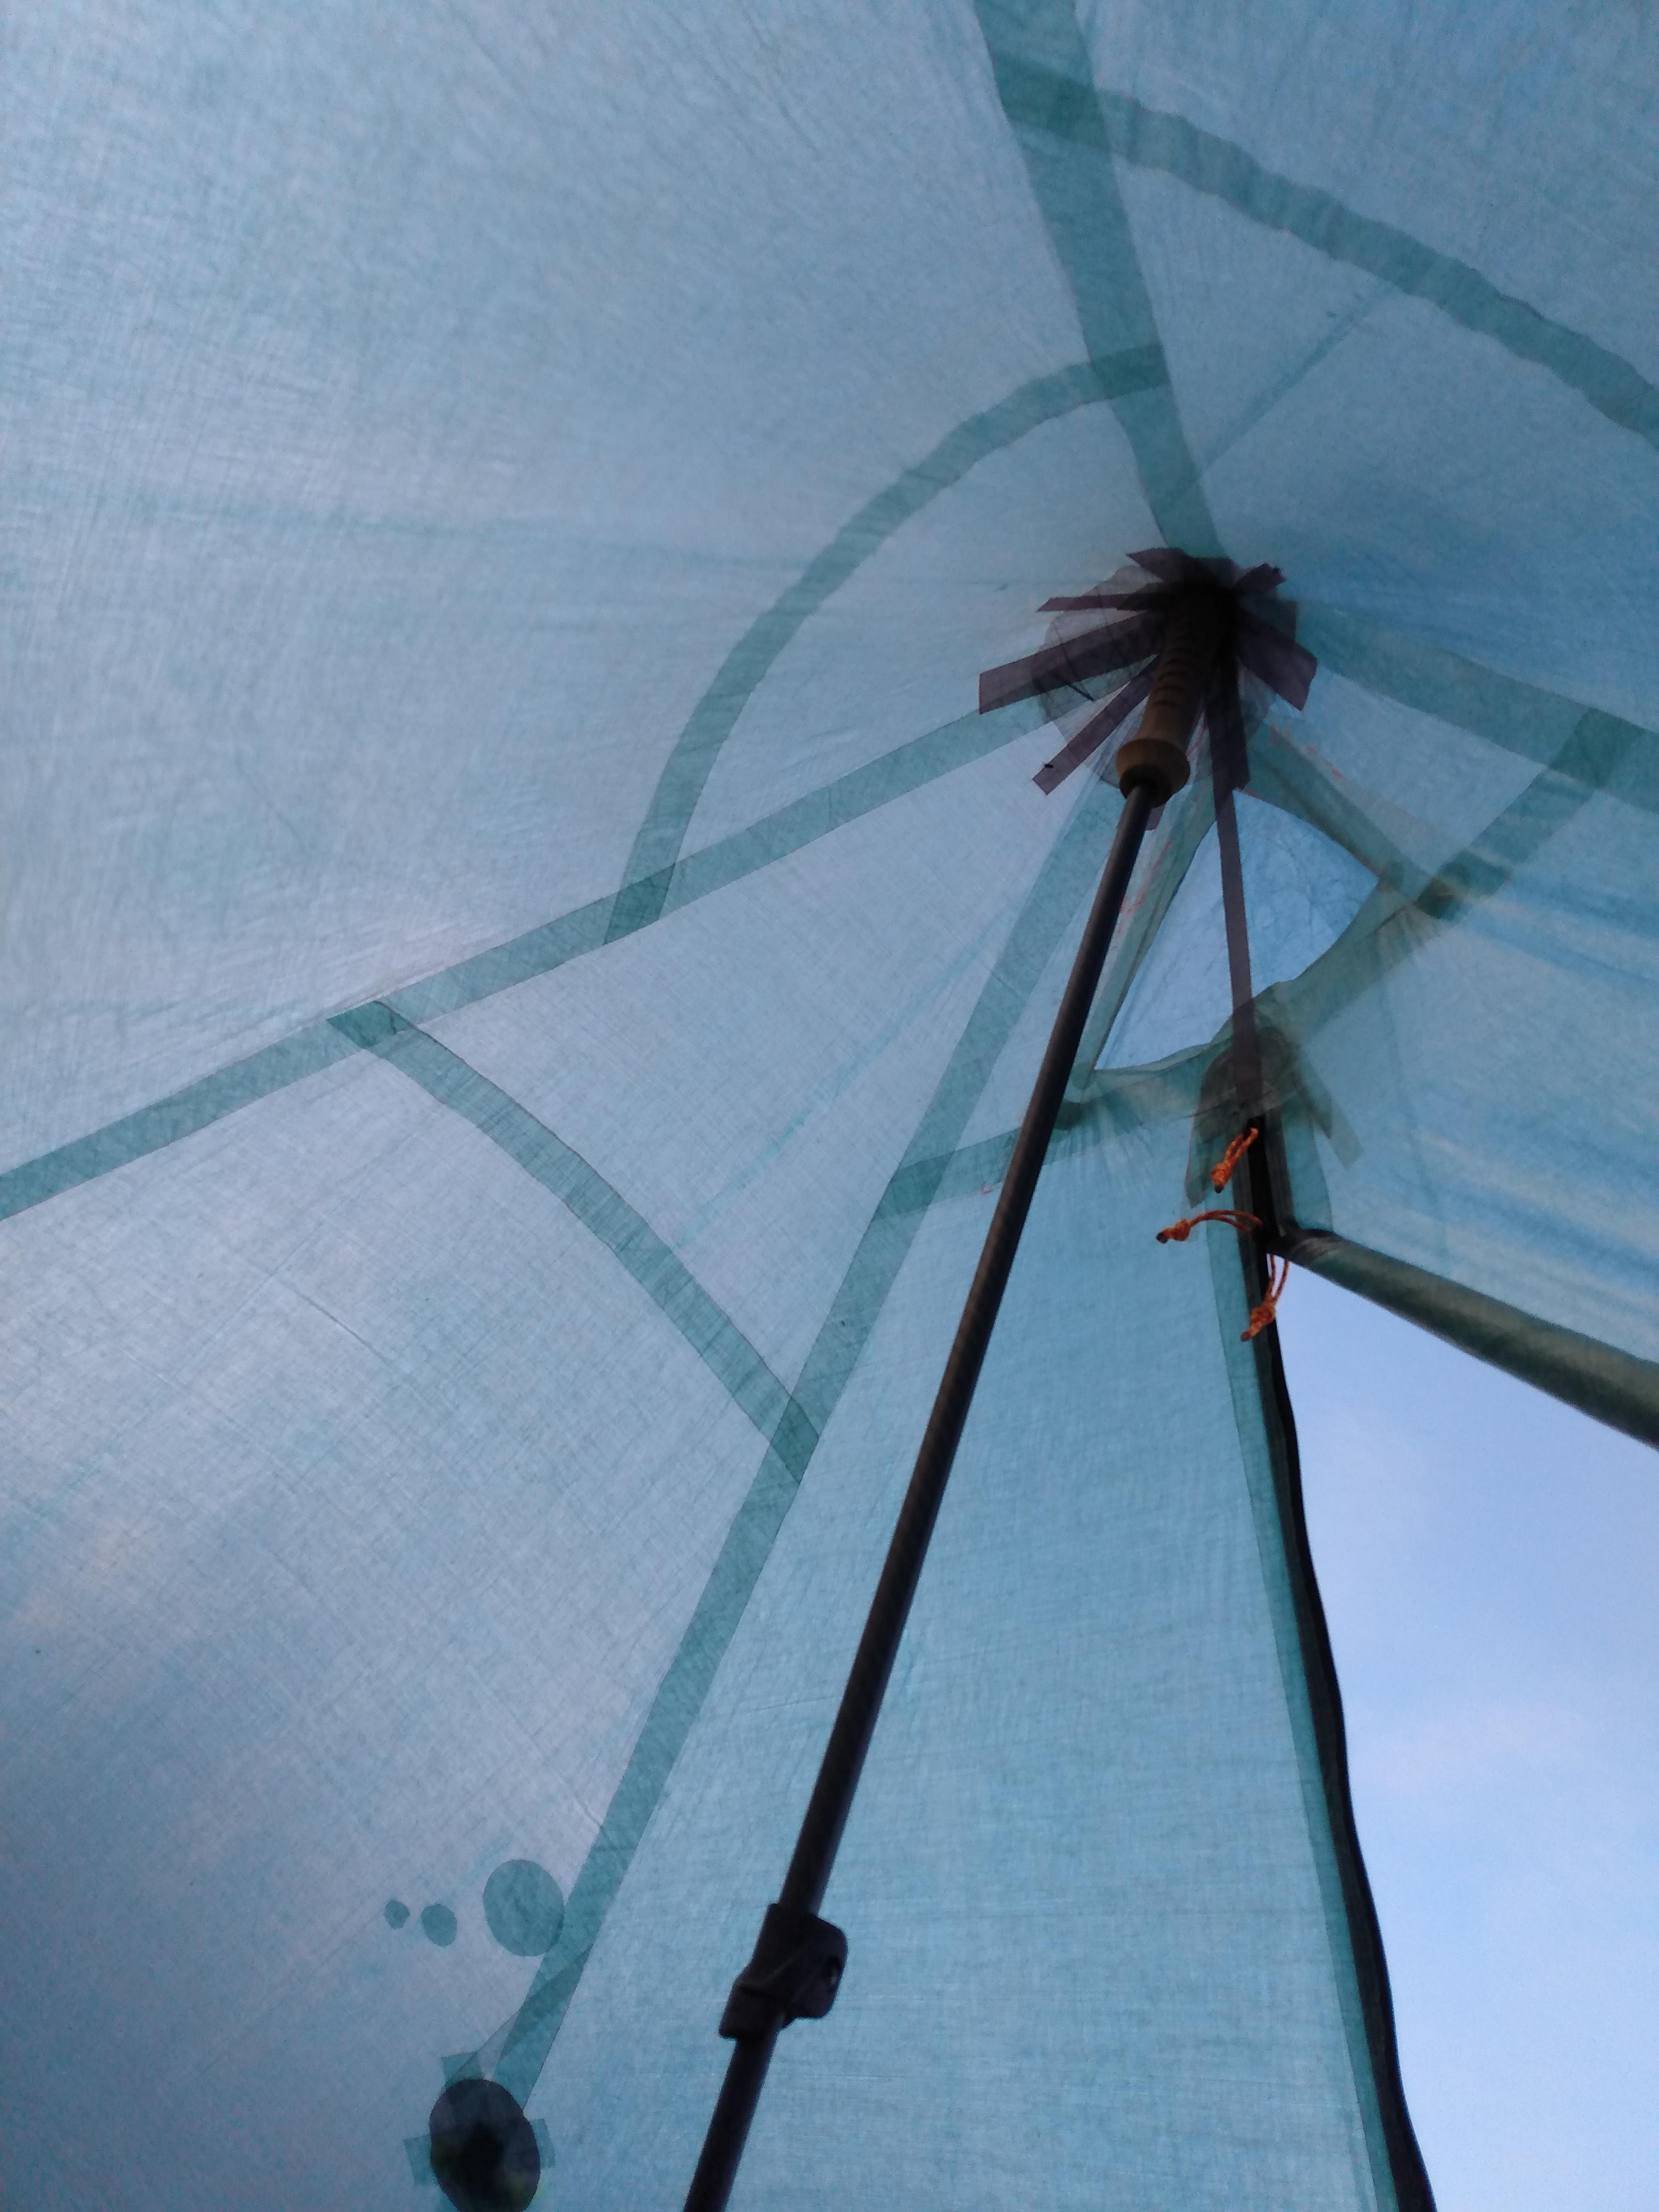
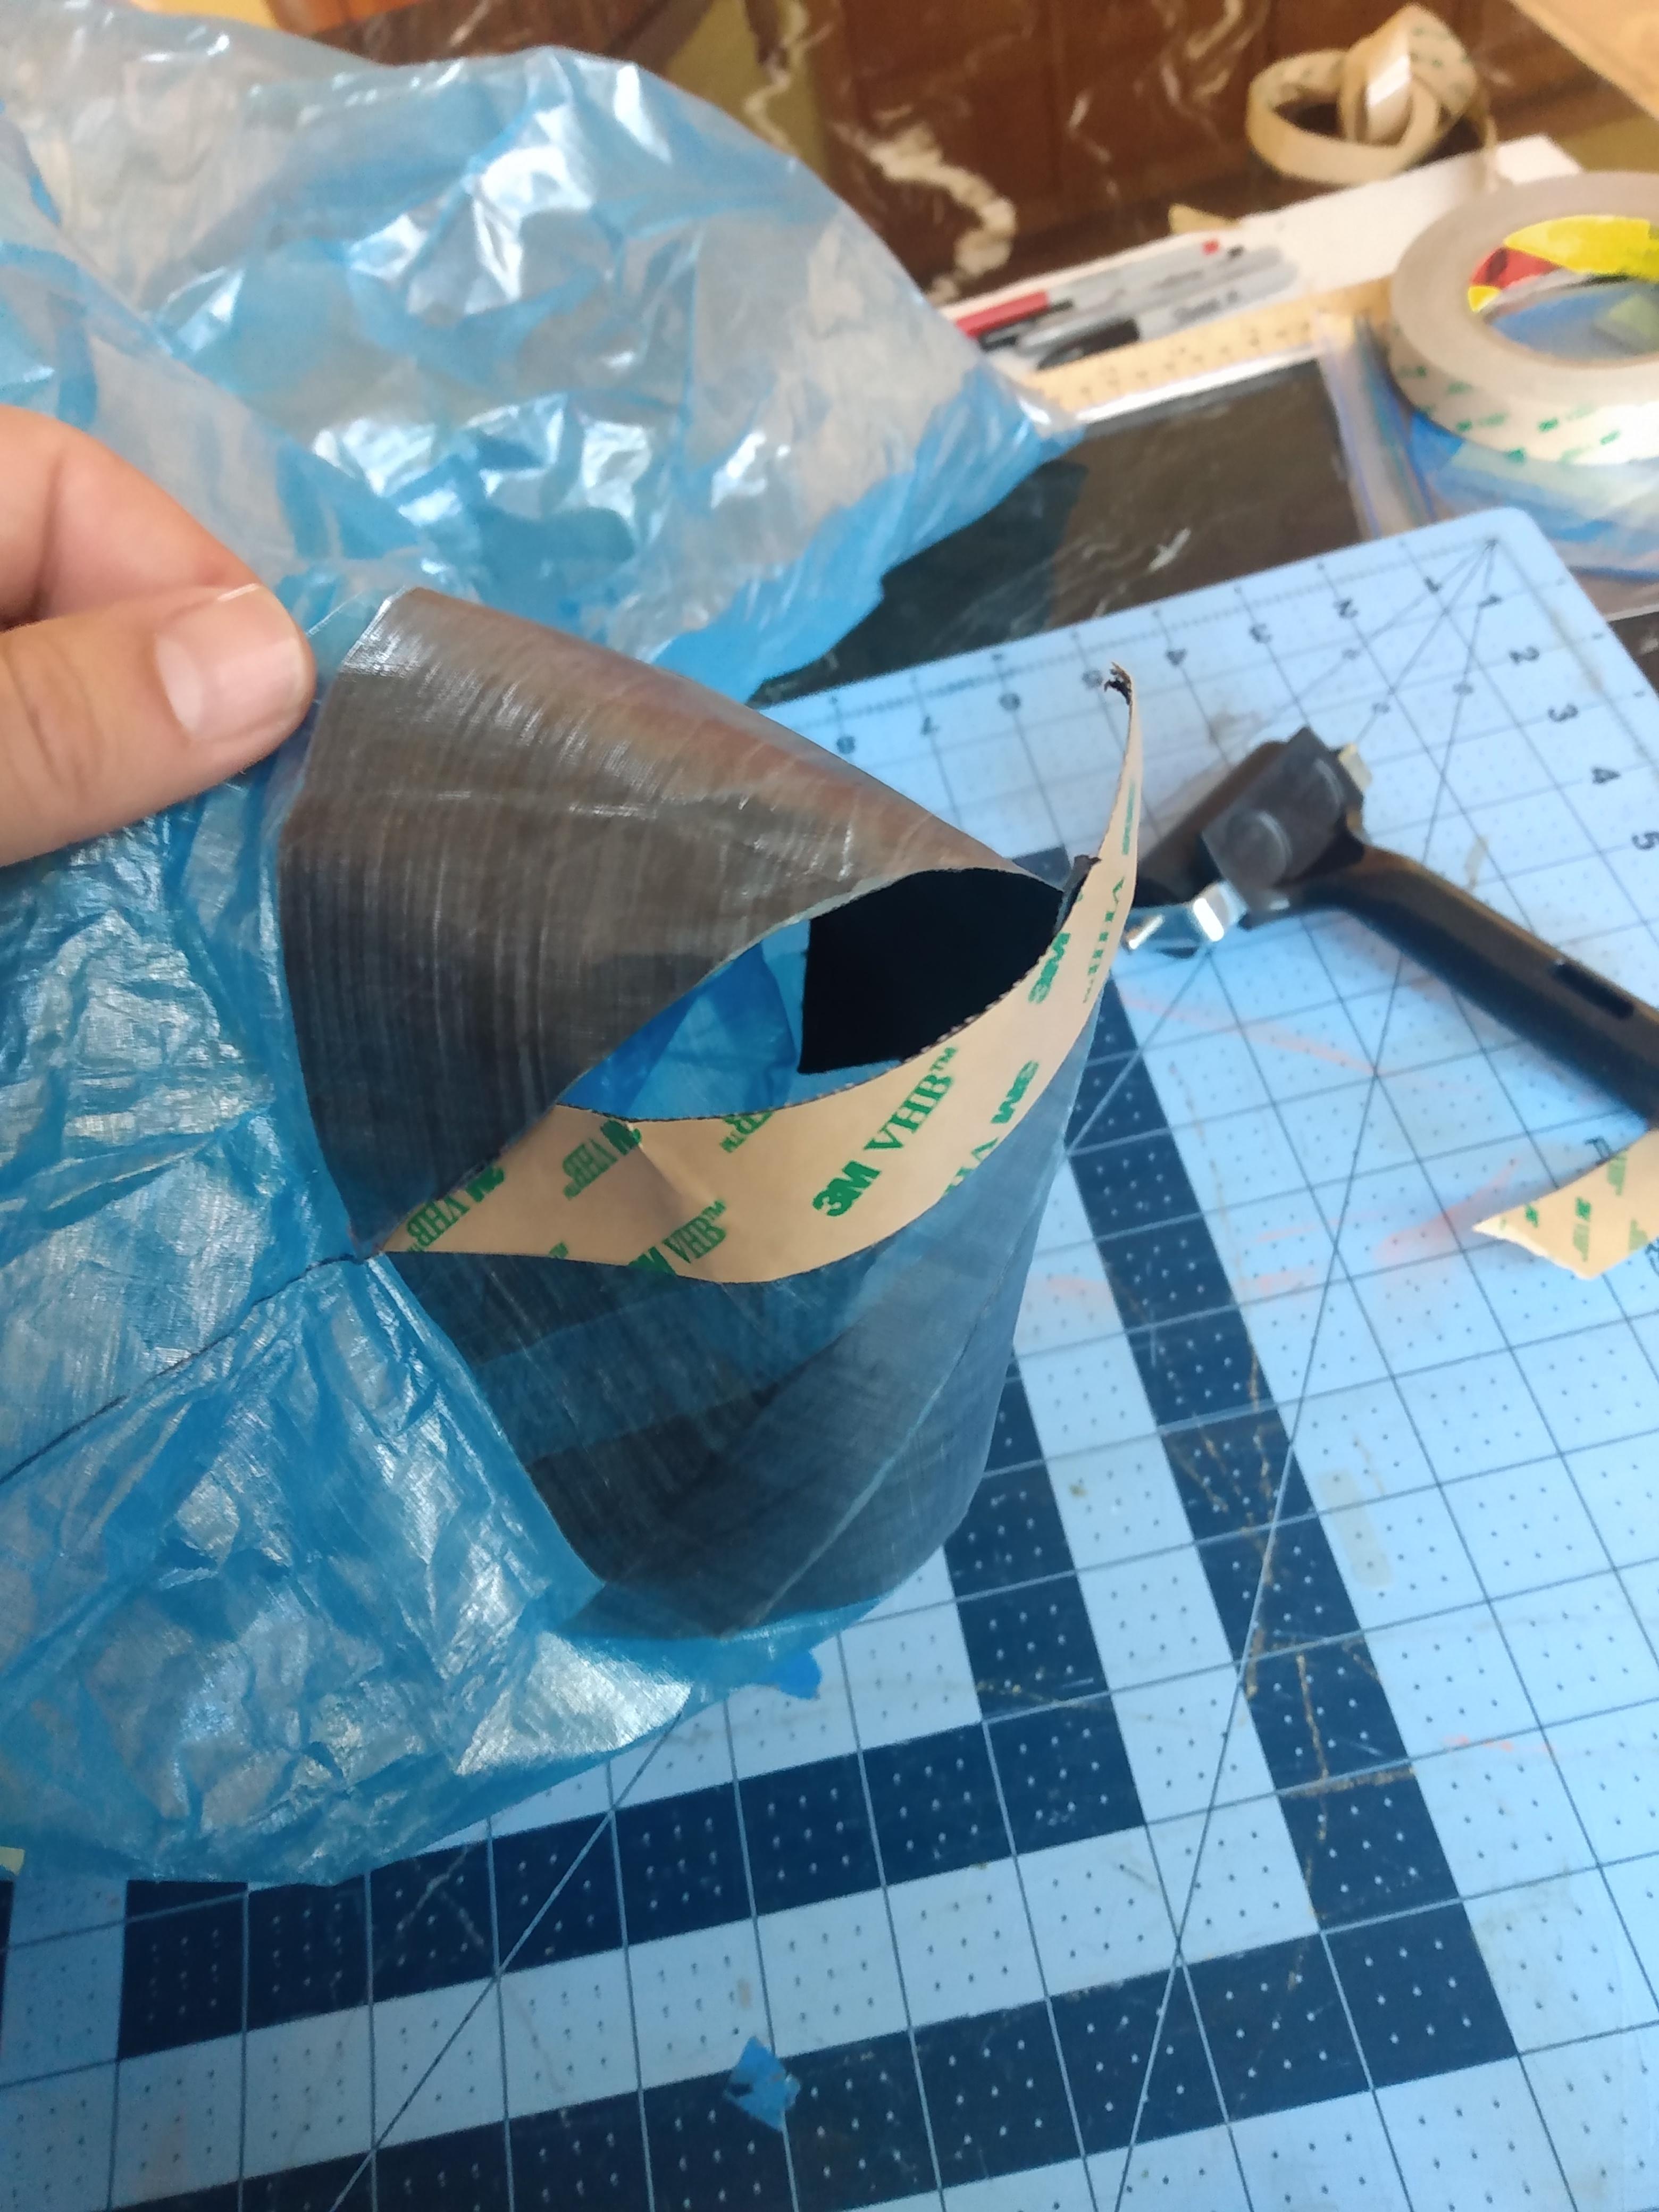
The peak cone was first reinforced by bonding 1oz dcf to the to panels before construction of the bonded ridgelines. Further inside reinforcement came by using strips of 1 inch and maybe 1/2 inch 2.92oz dcf tape bonded inside. I intended to use the trekking pole handles rather than the tips. This saves weight over a full coverage inside cone.
The peak vent was just a mock up of several shapes in a different scrap material until I got the correct proportions. The inside was simply sliced out and reinforced.
Final Specs:
100″l x 60″w x 50.4″h
.74oz dcf main fabric
1oz and 2.92oz reinforcement fabric
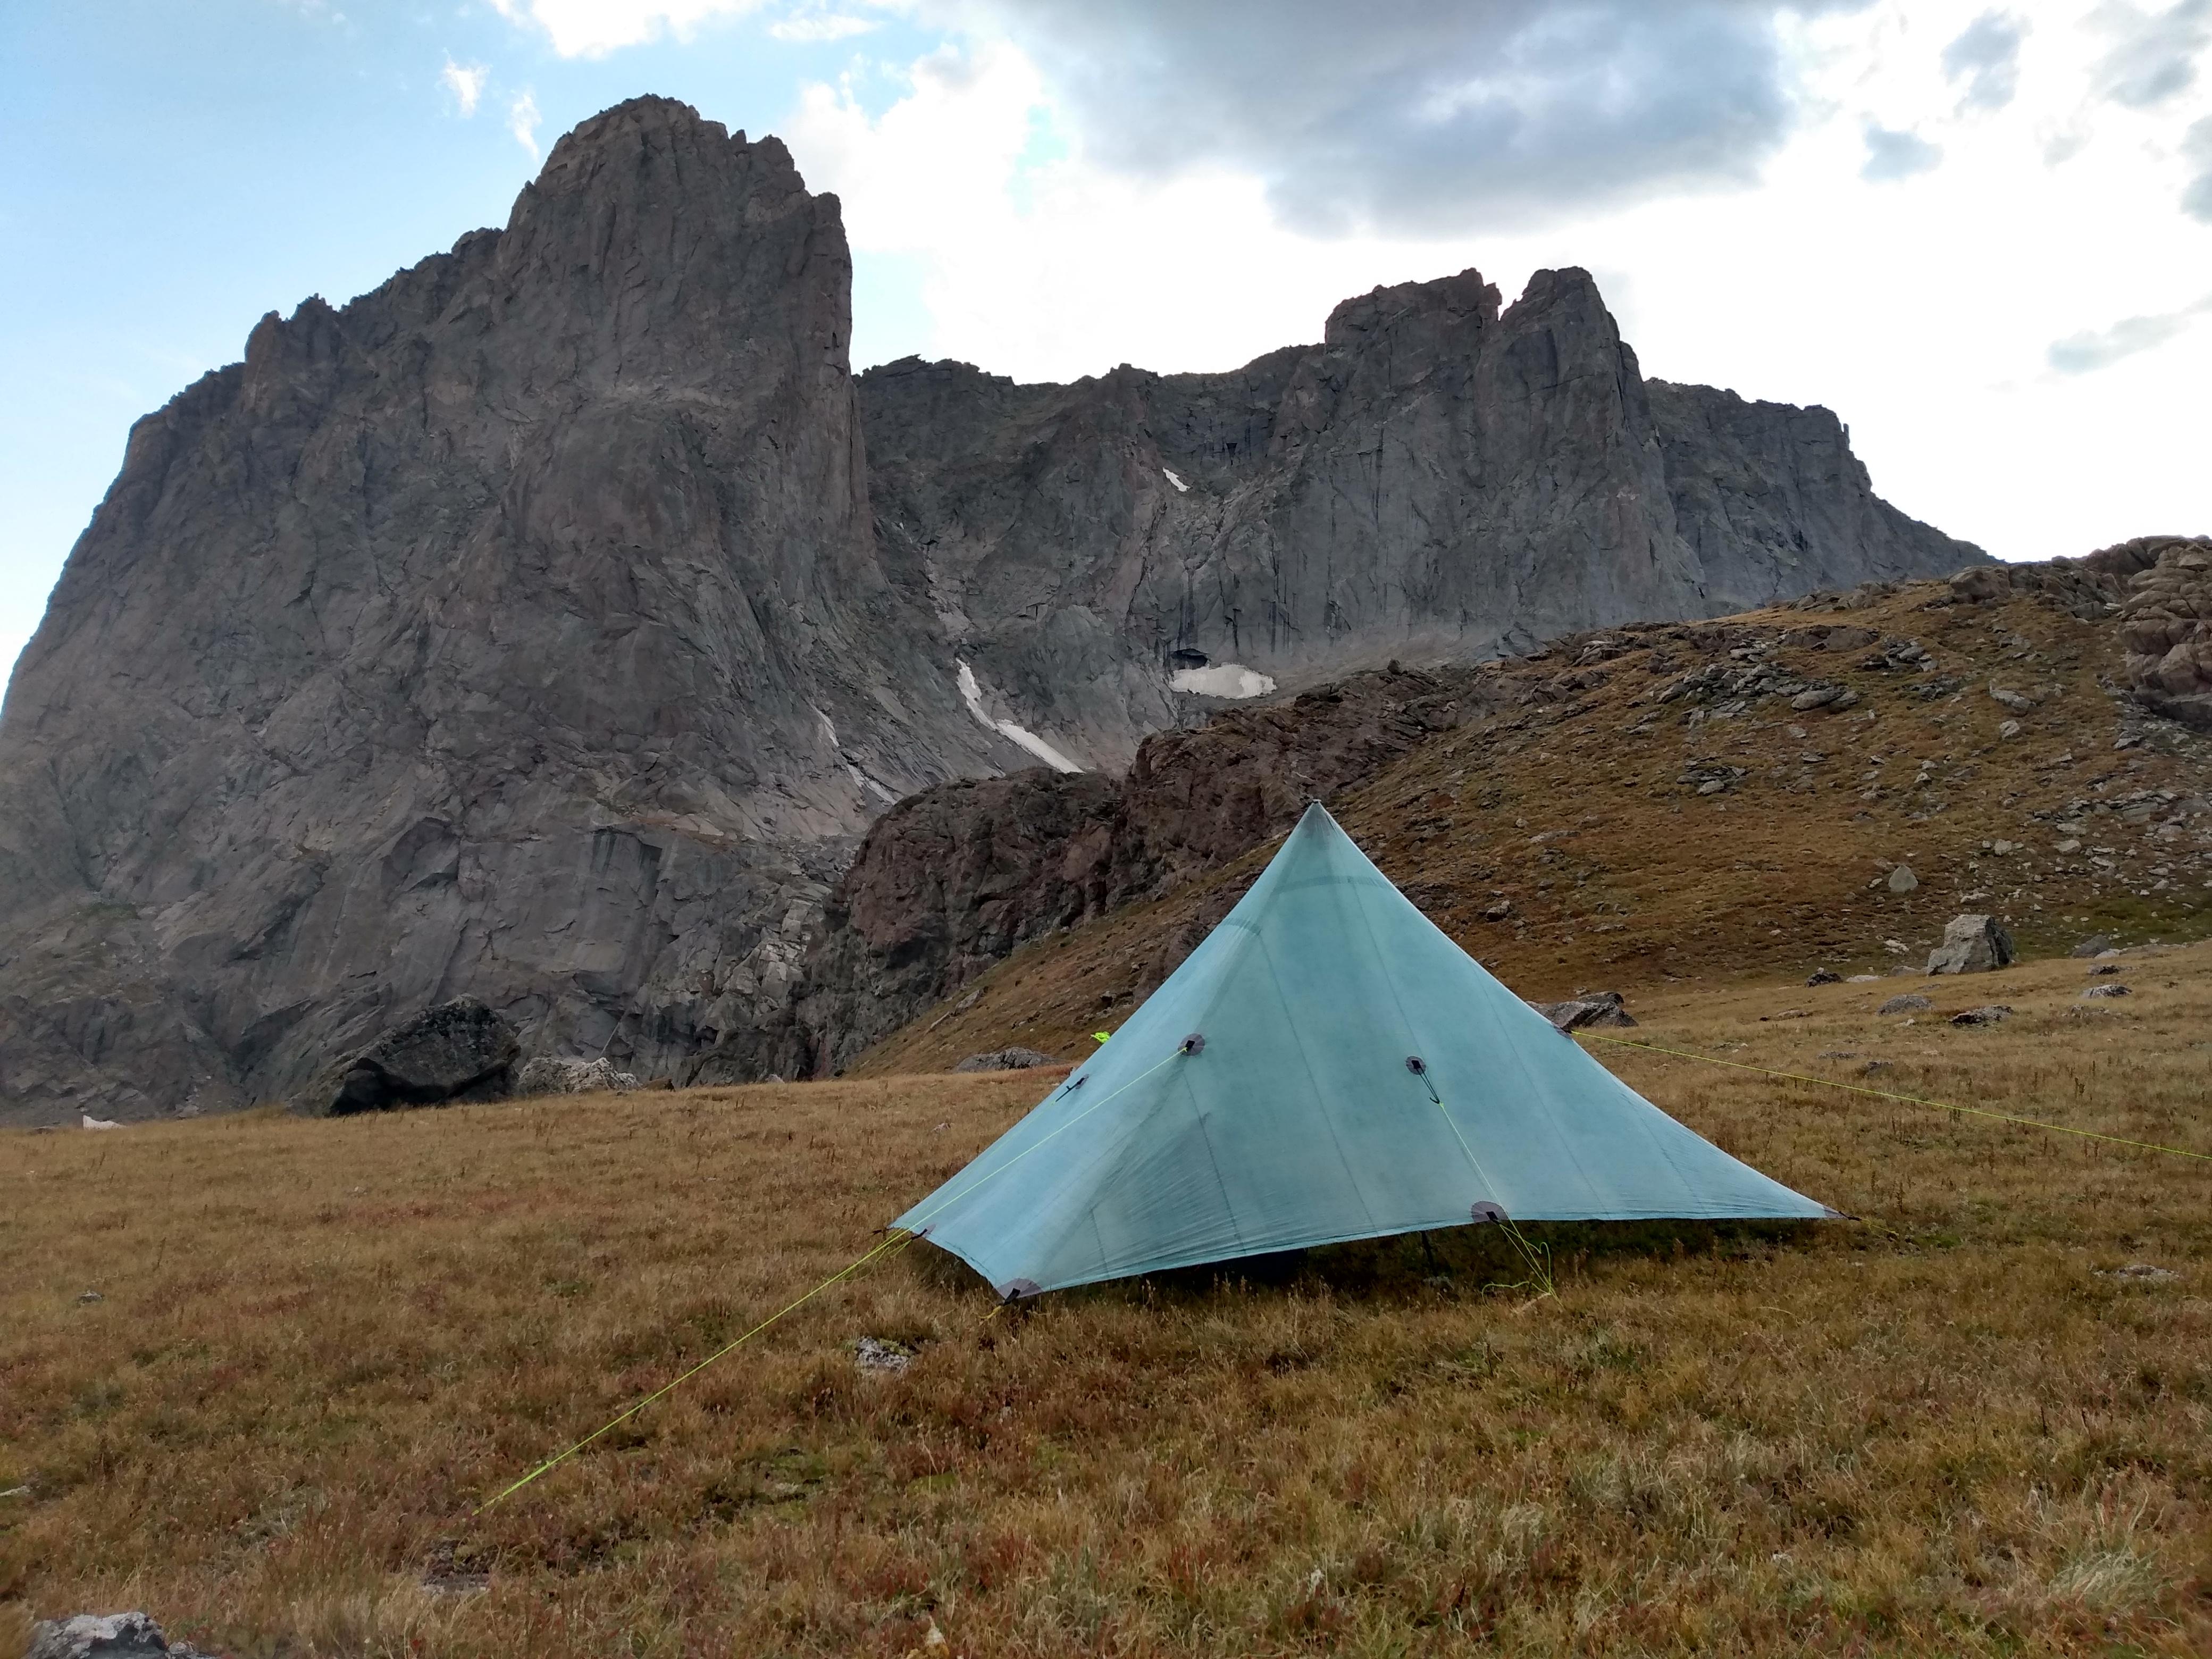
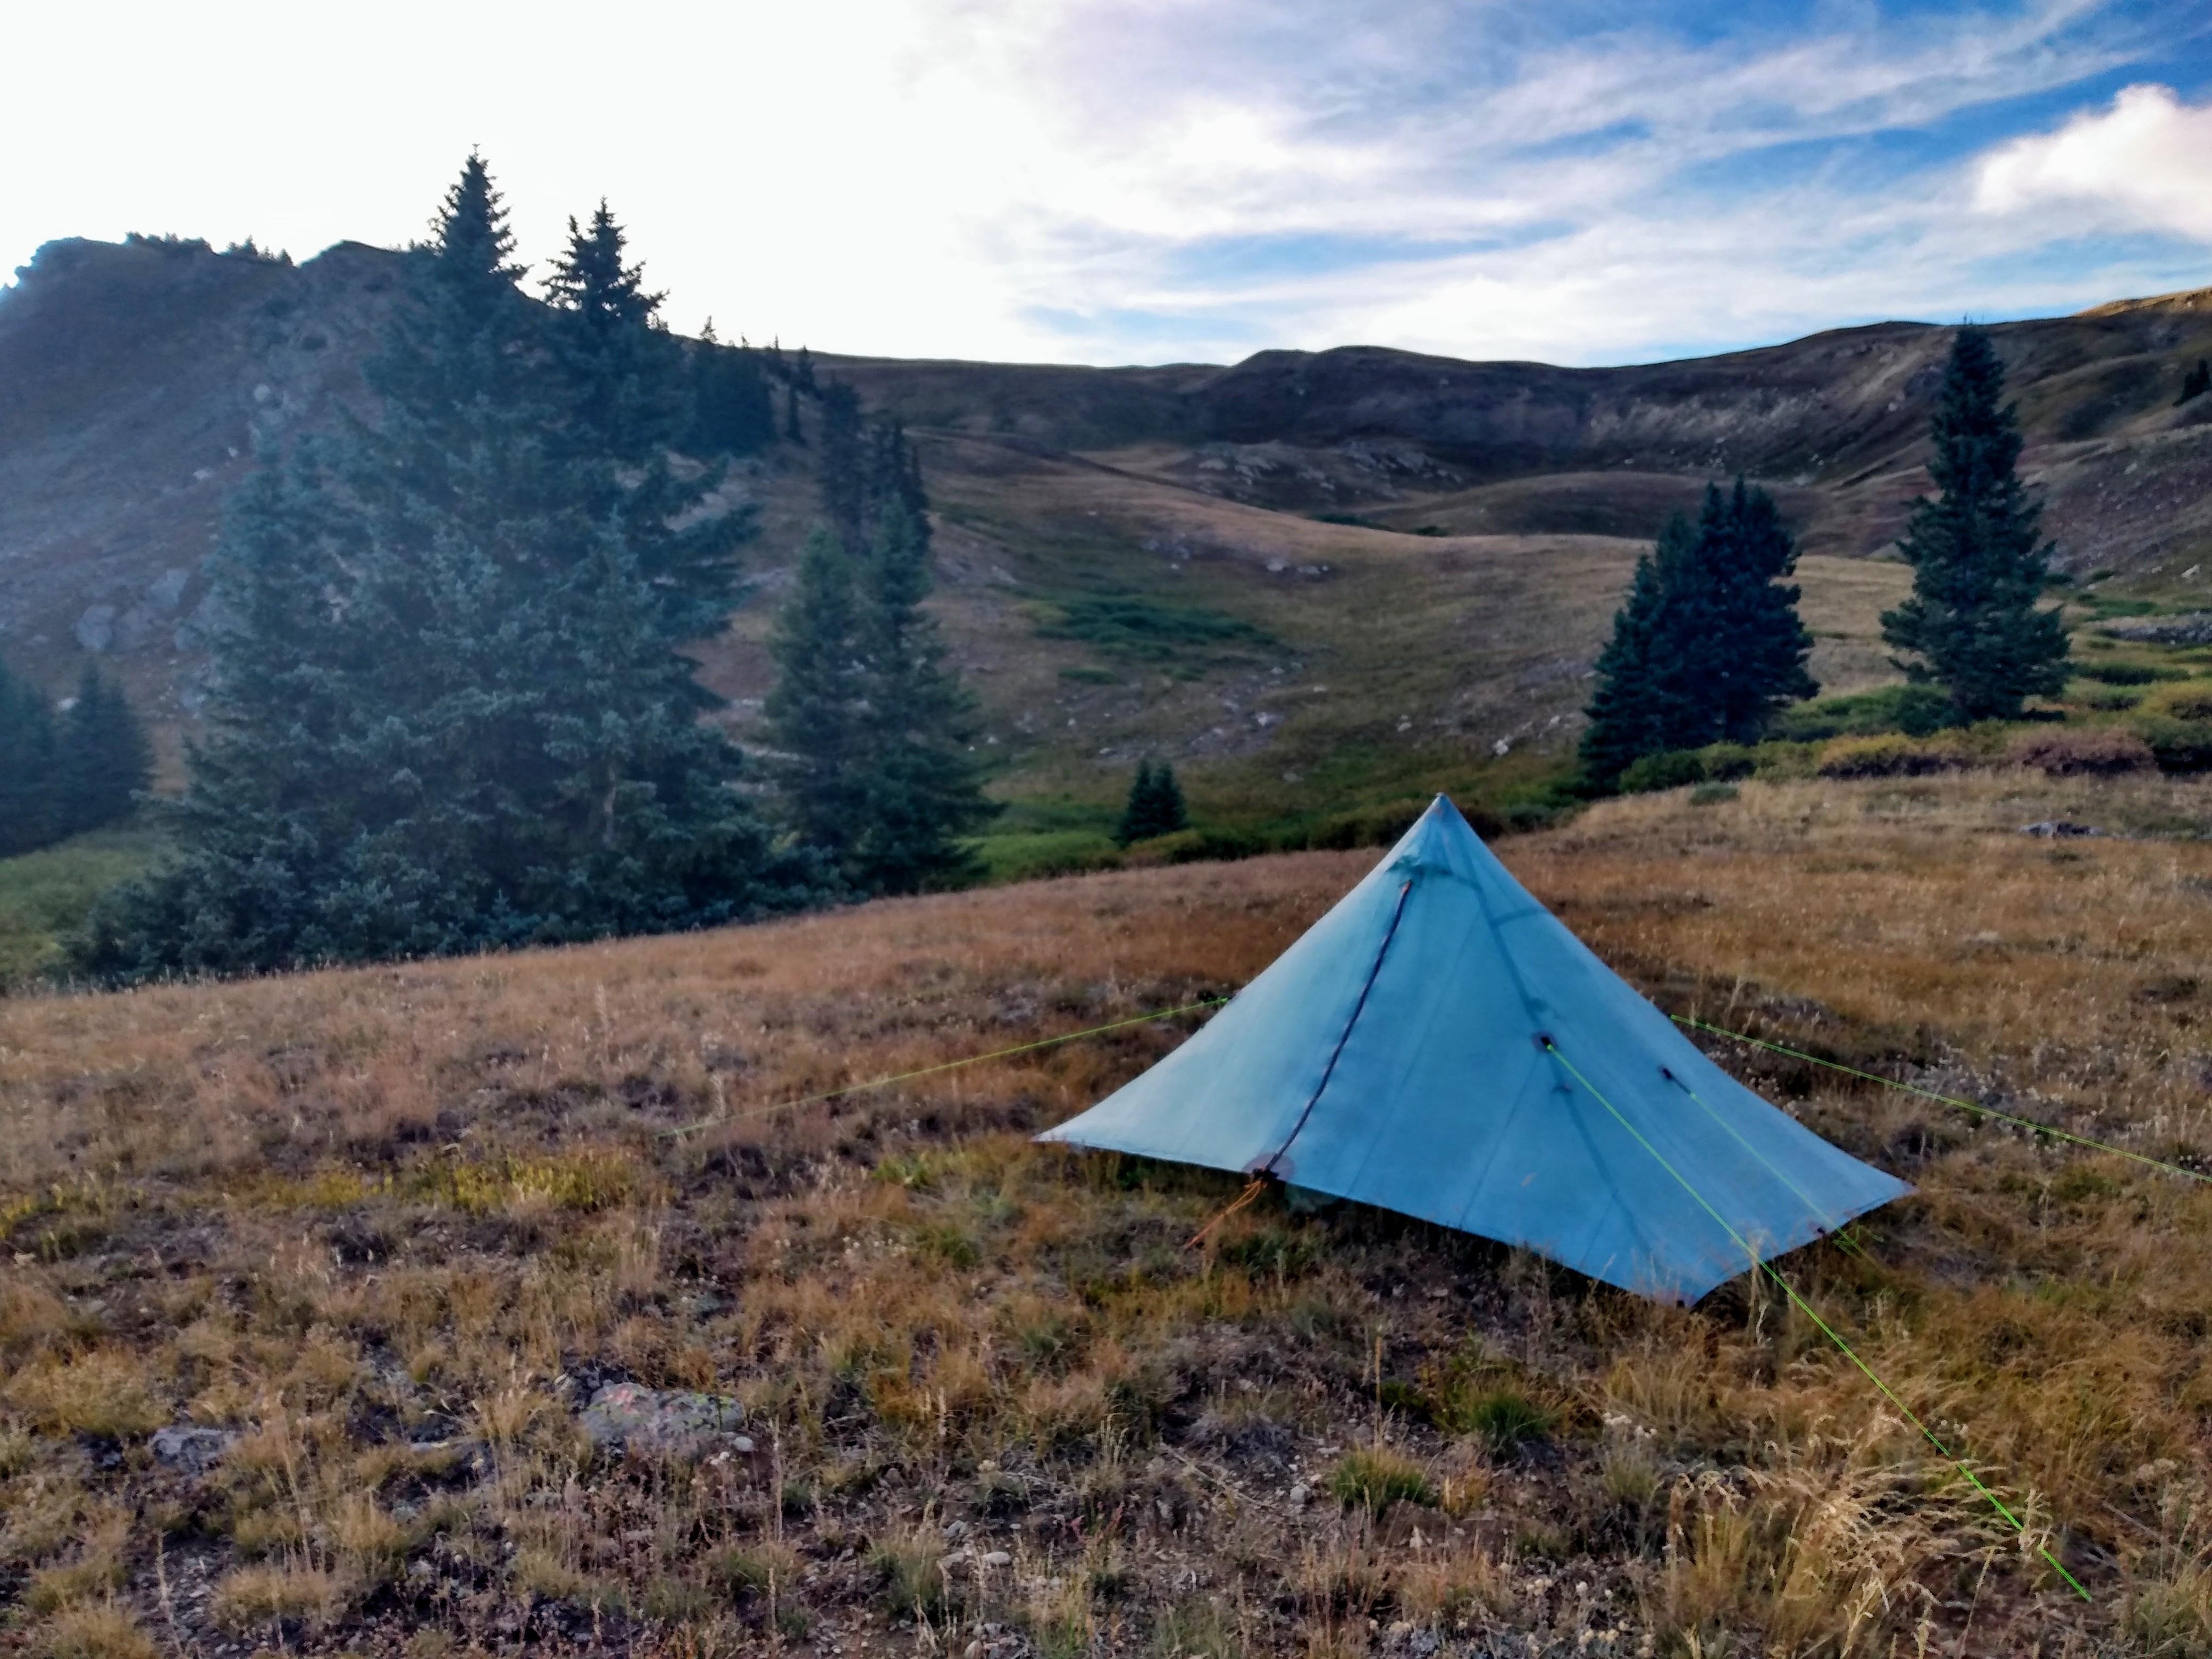
Total weight including 1.2mm guyline, 4 dac vstakes, 8 titanium skewers, and silpoly stuff sack is right at 16oz.
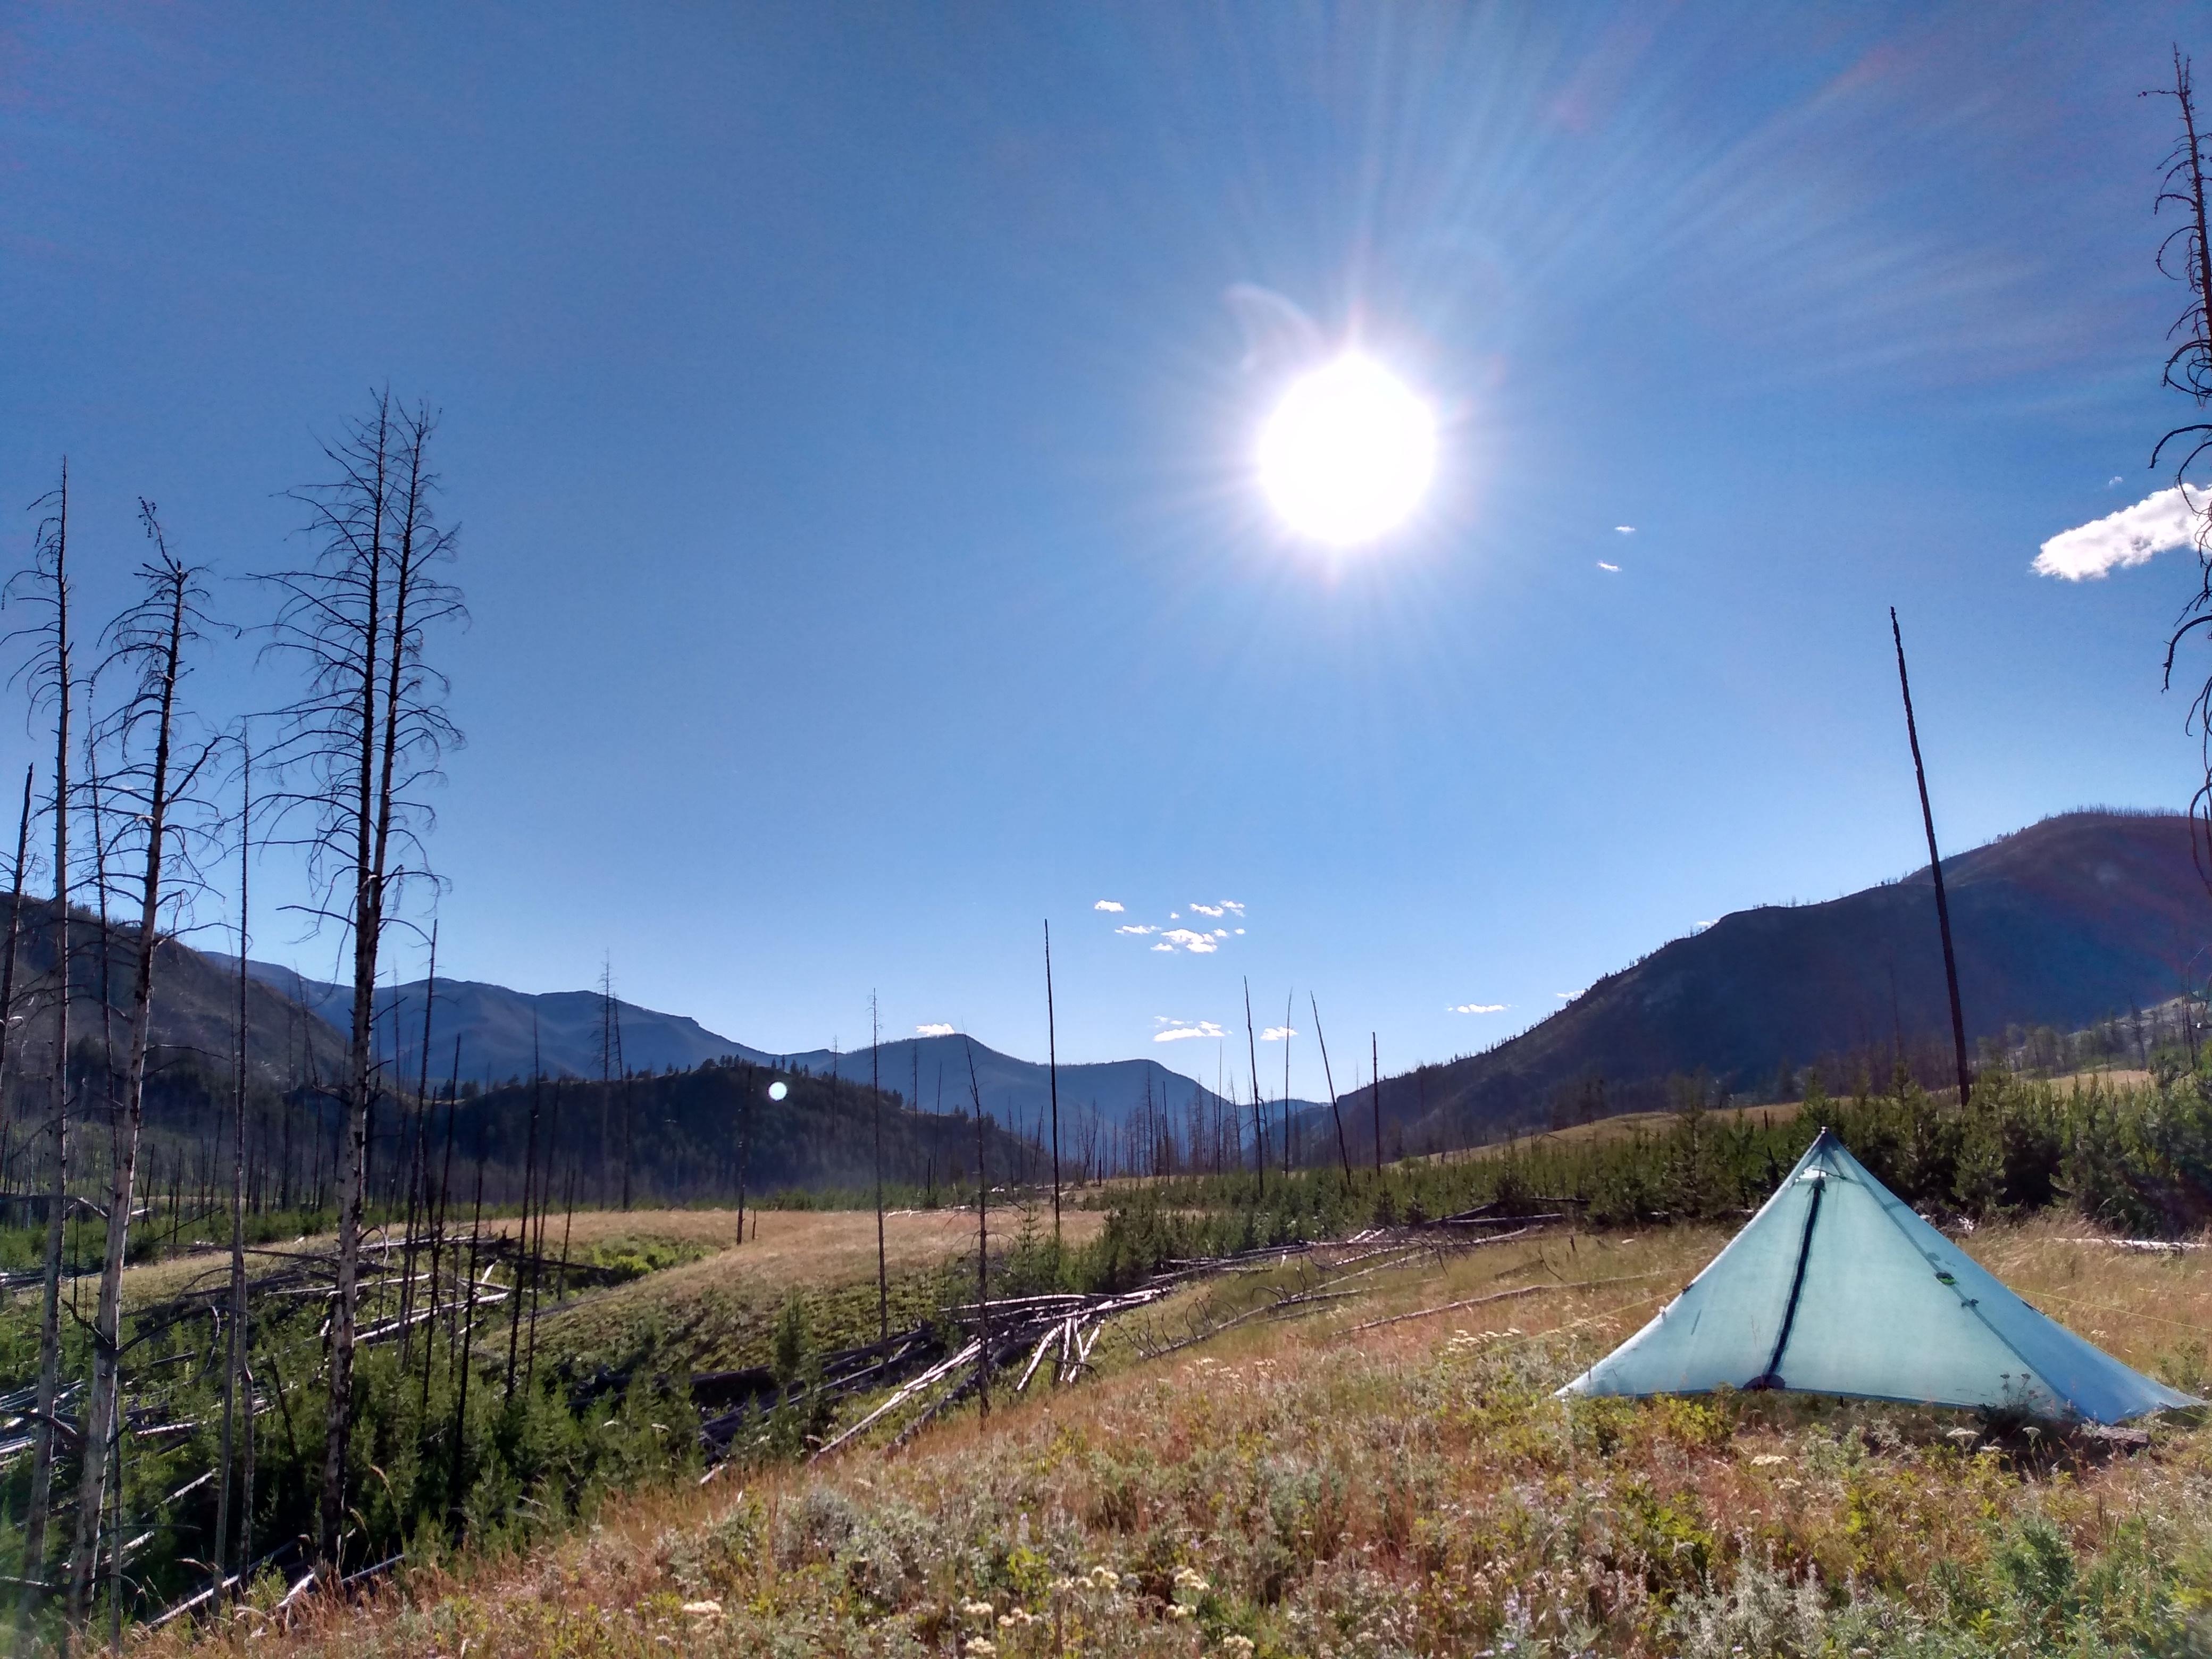
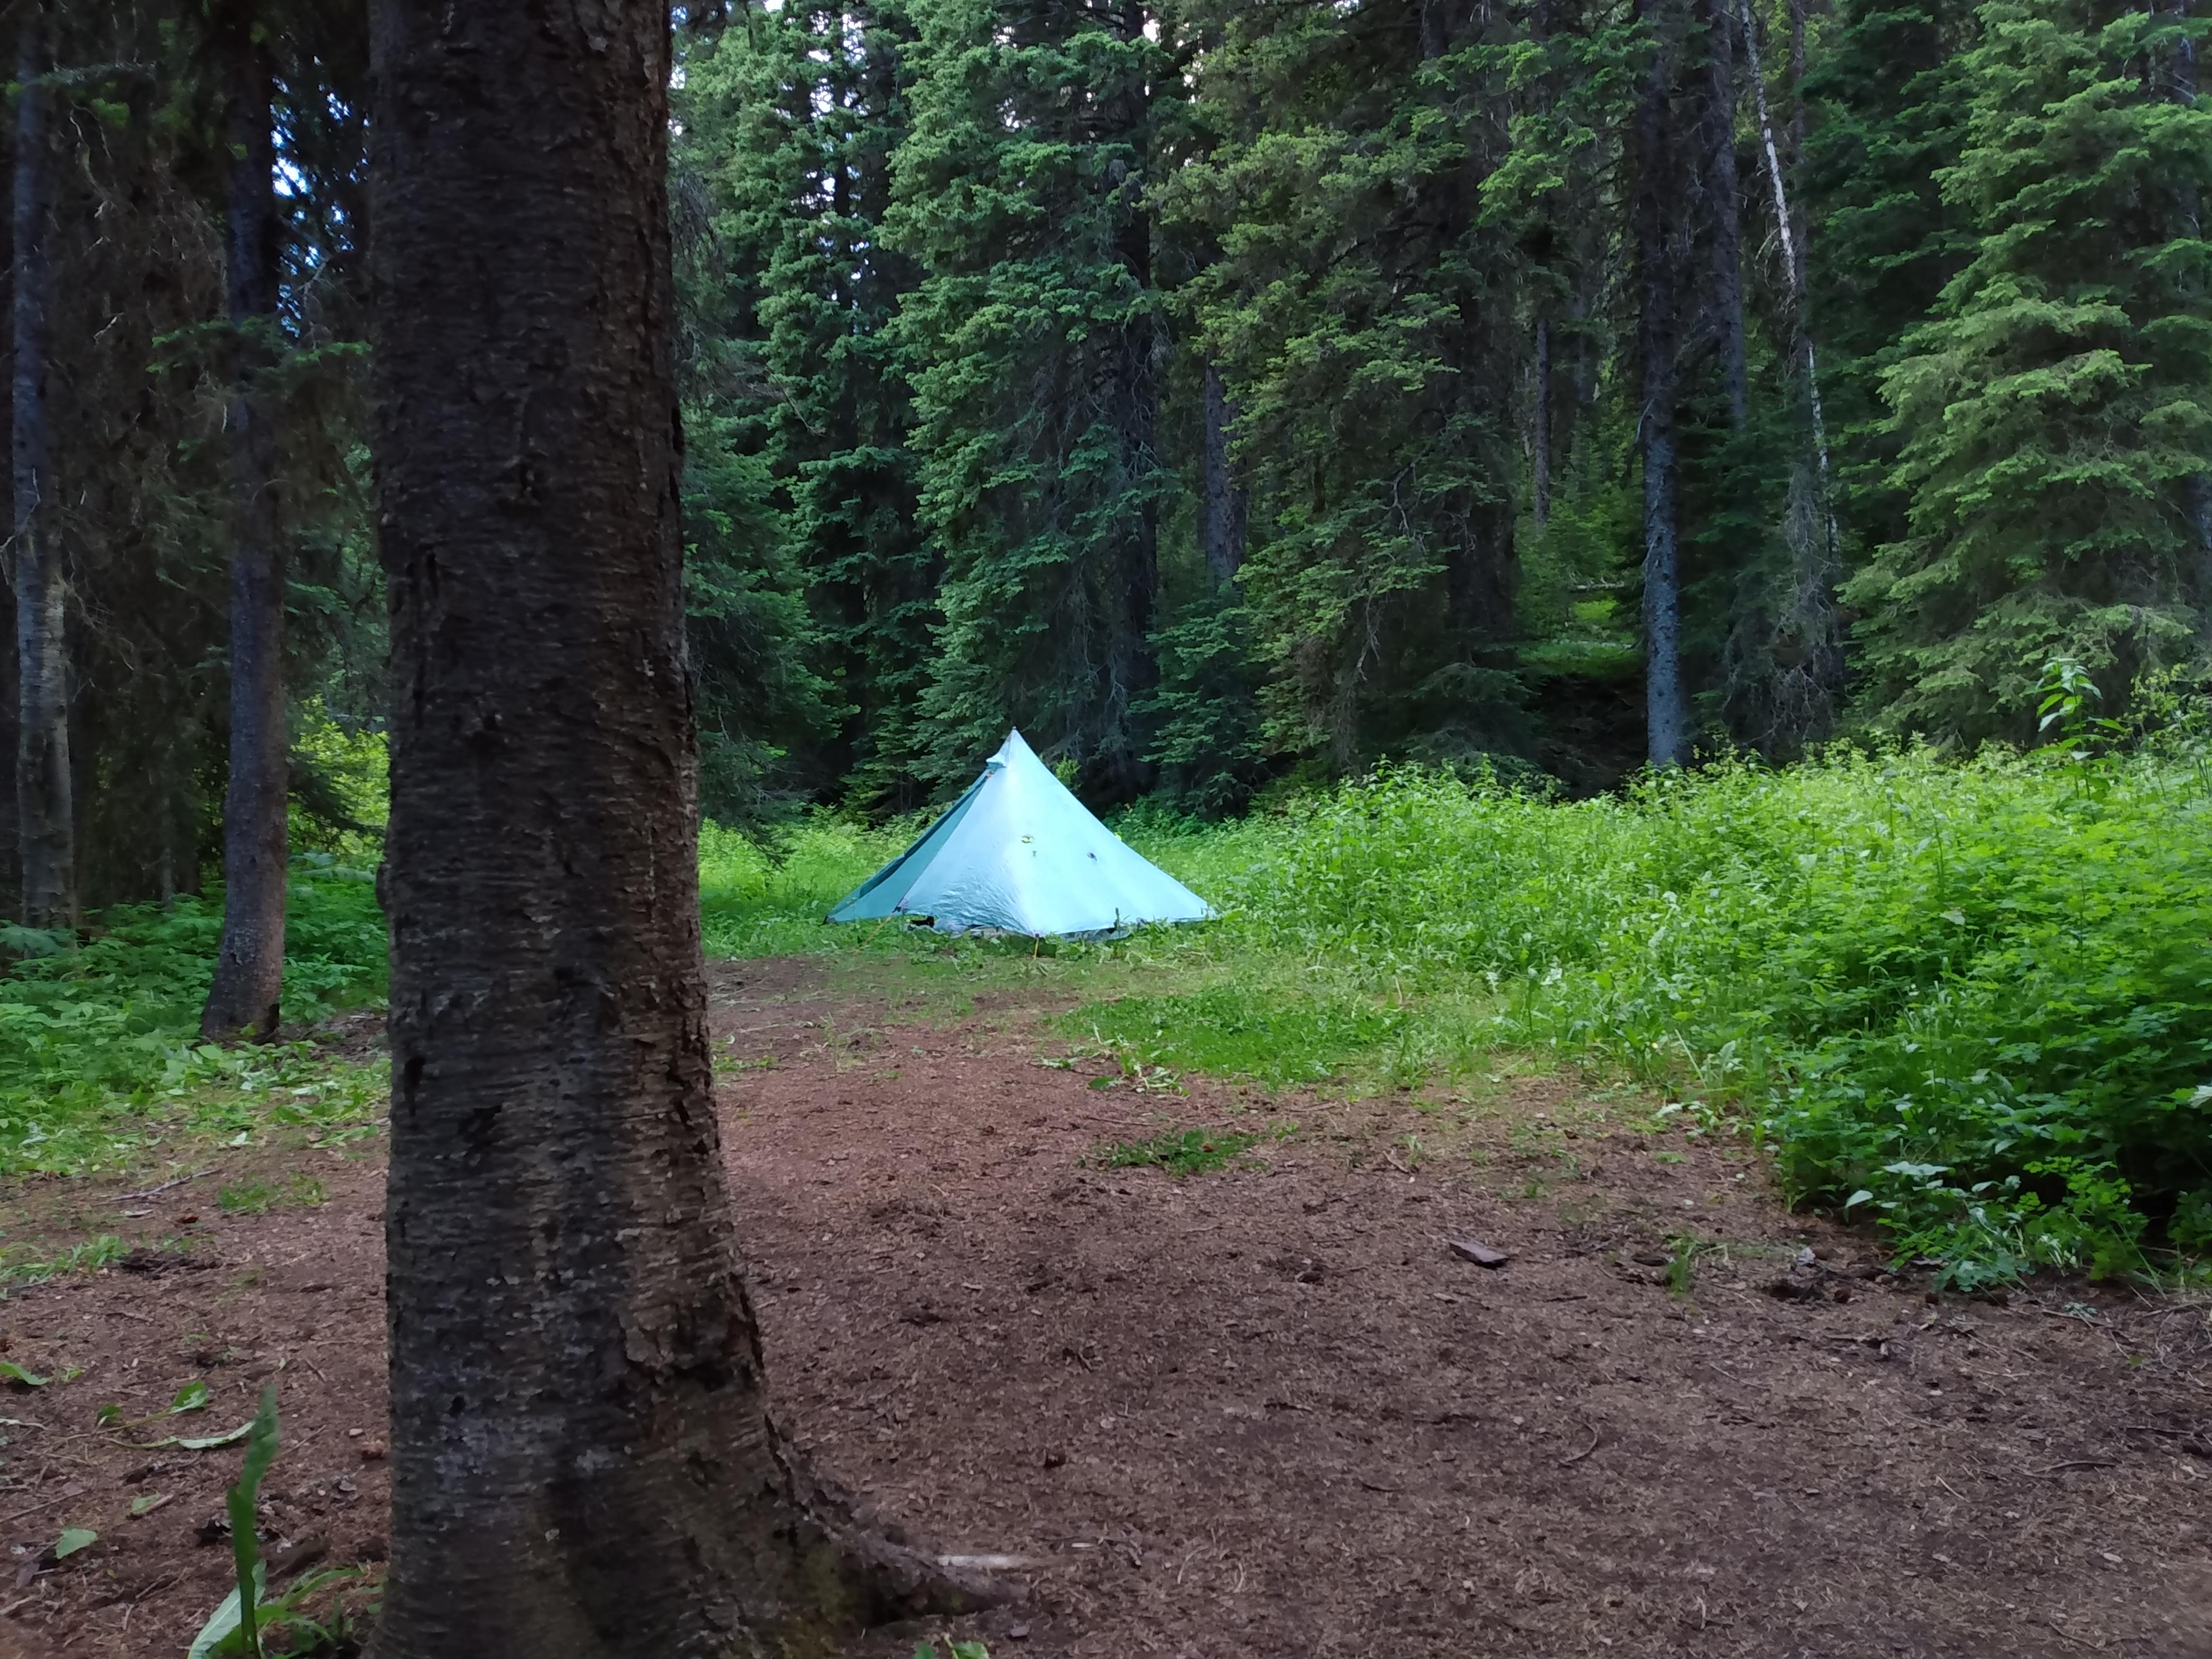
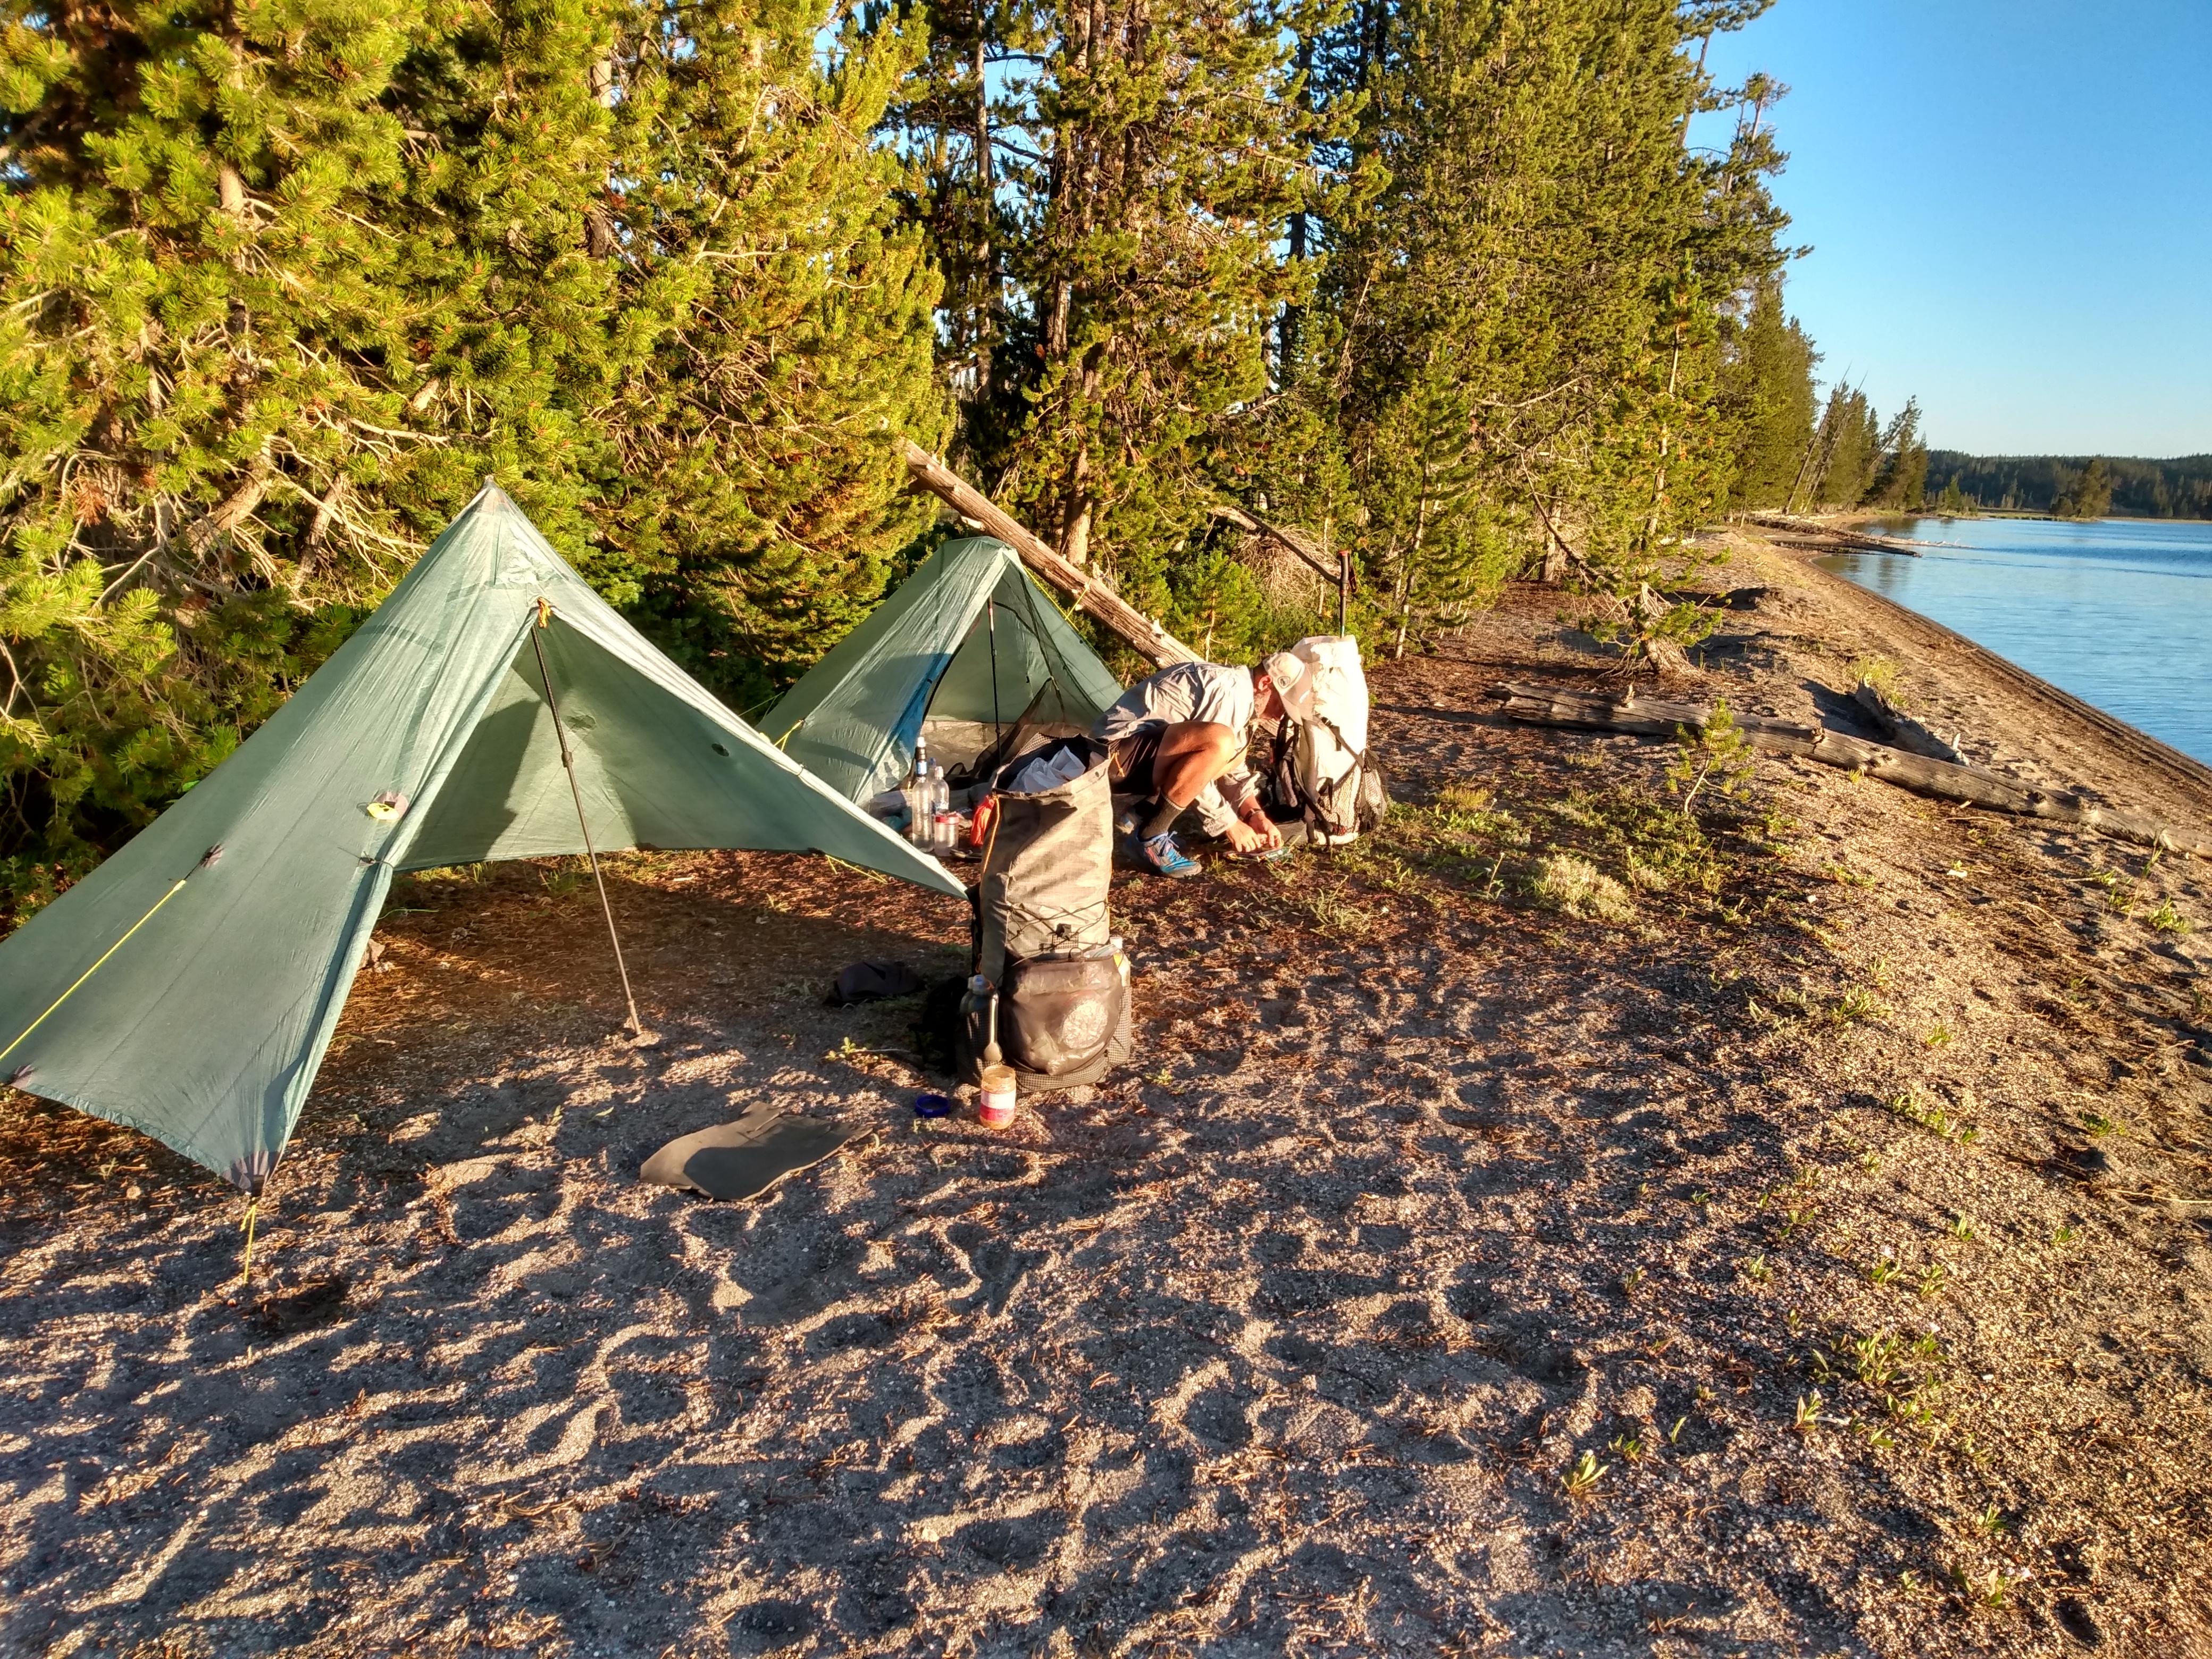
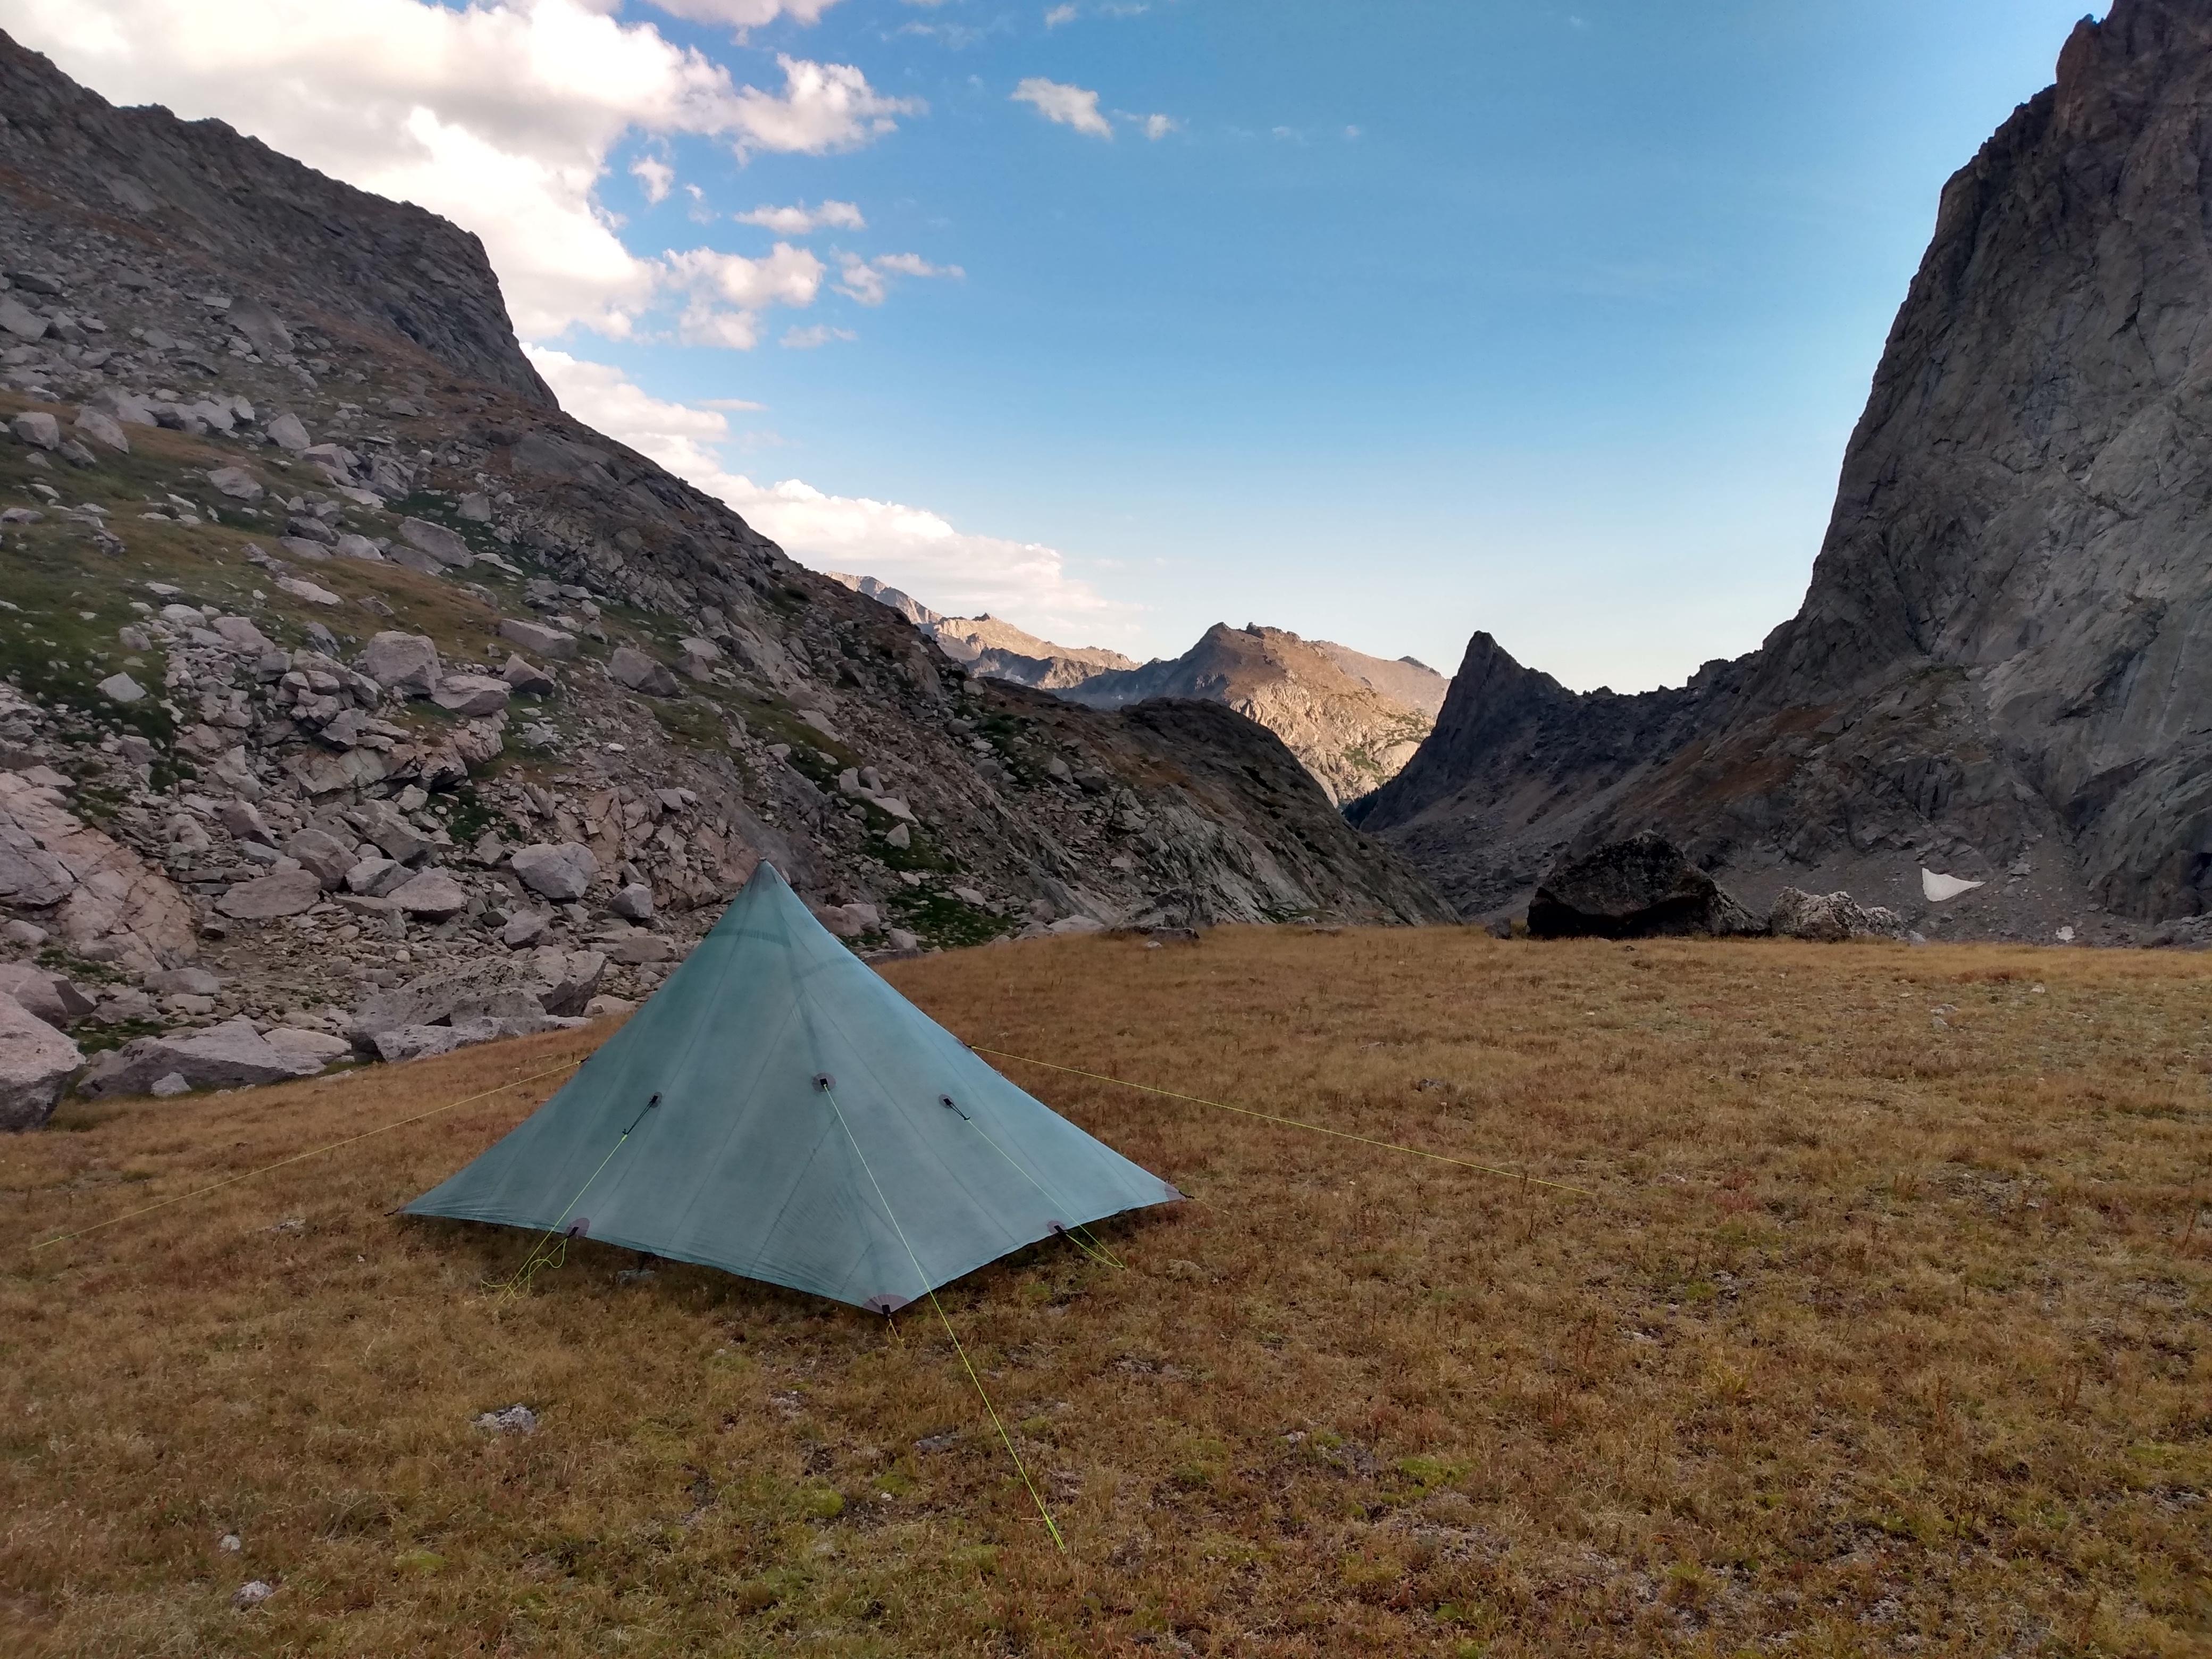
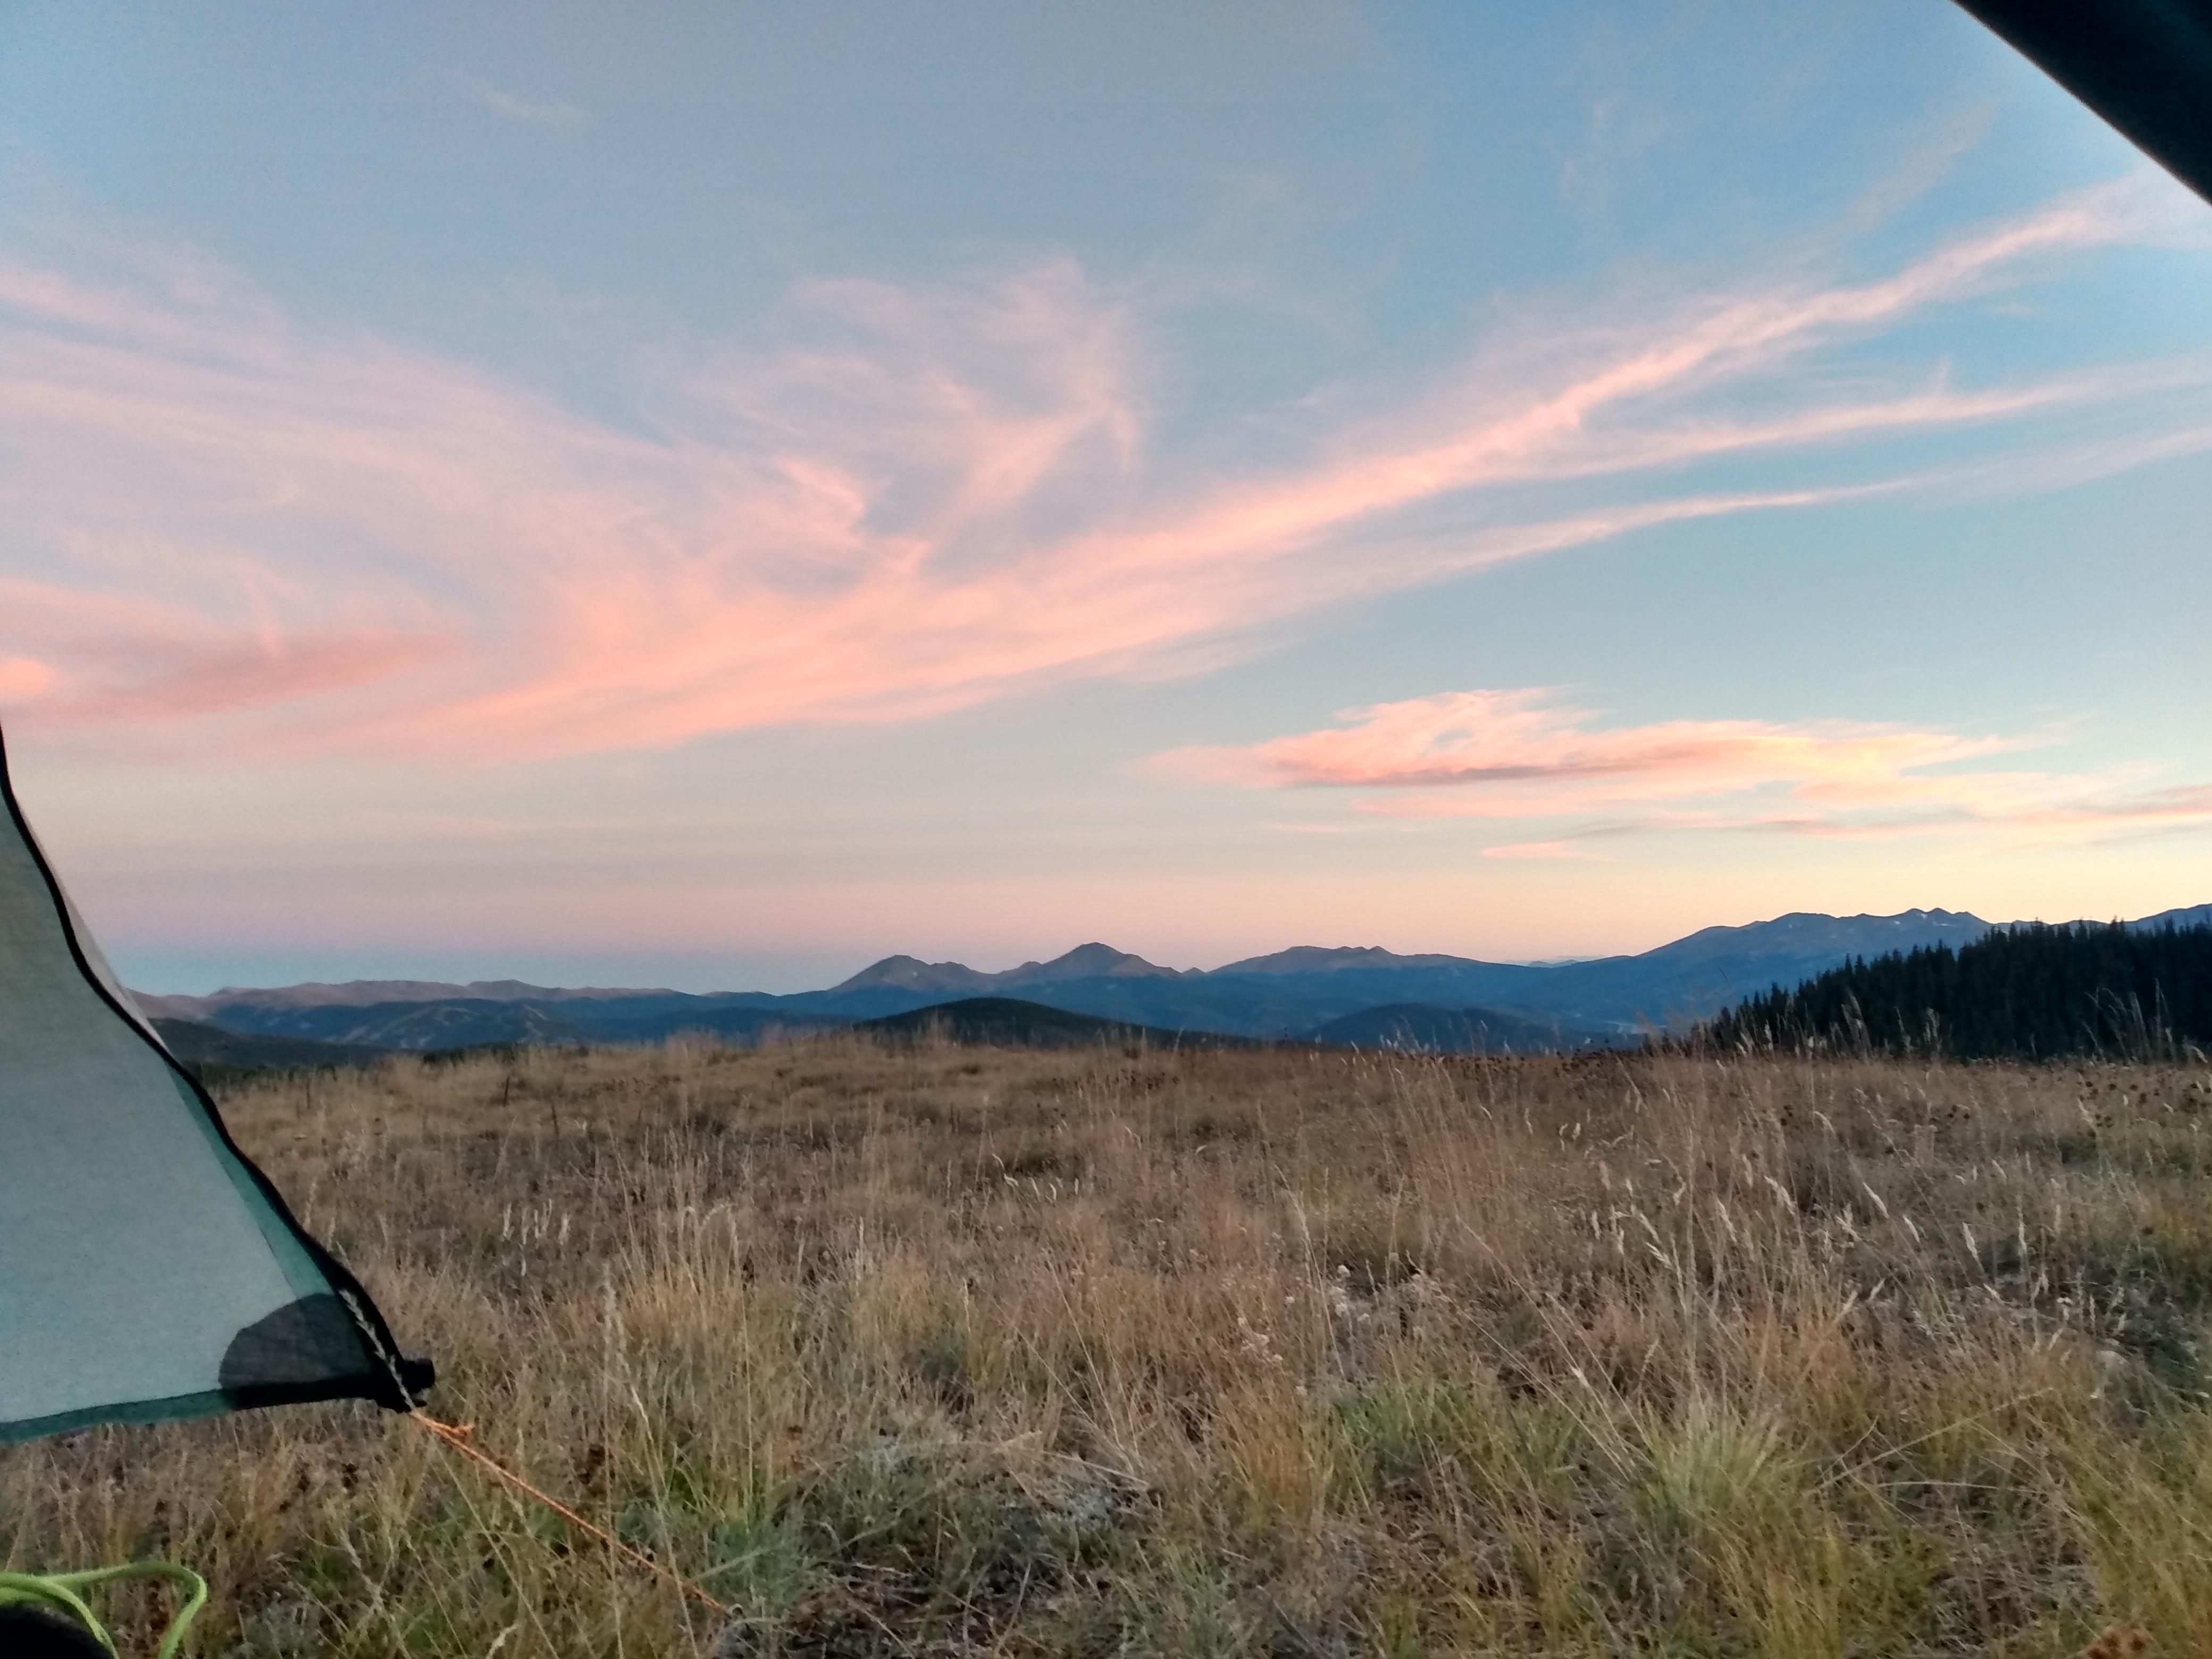
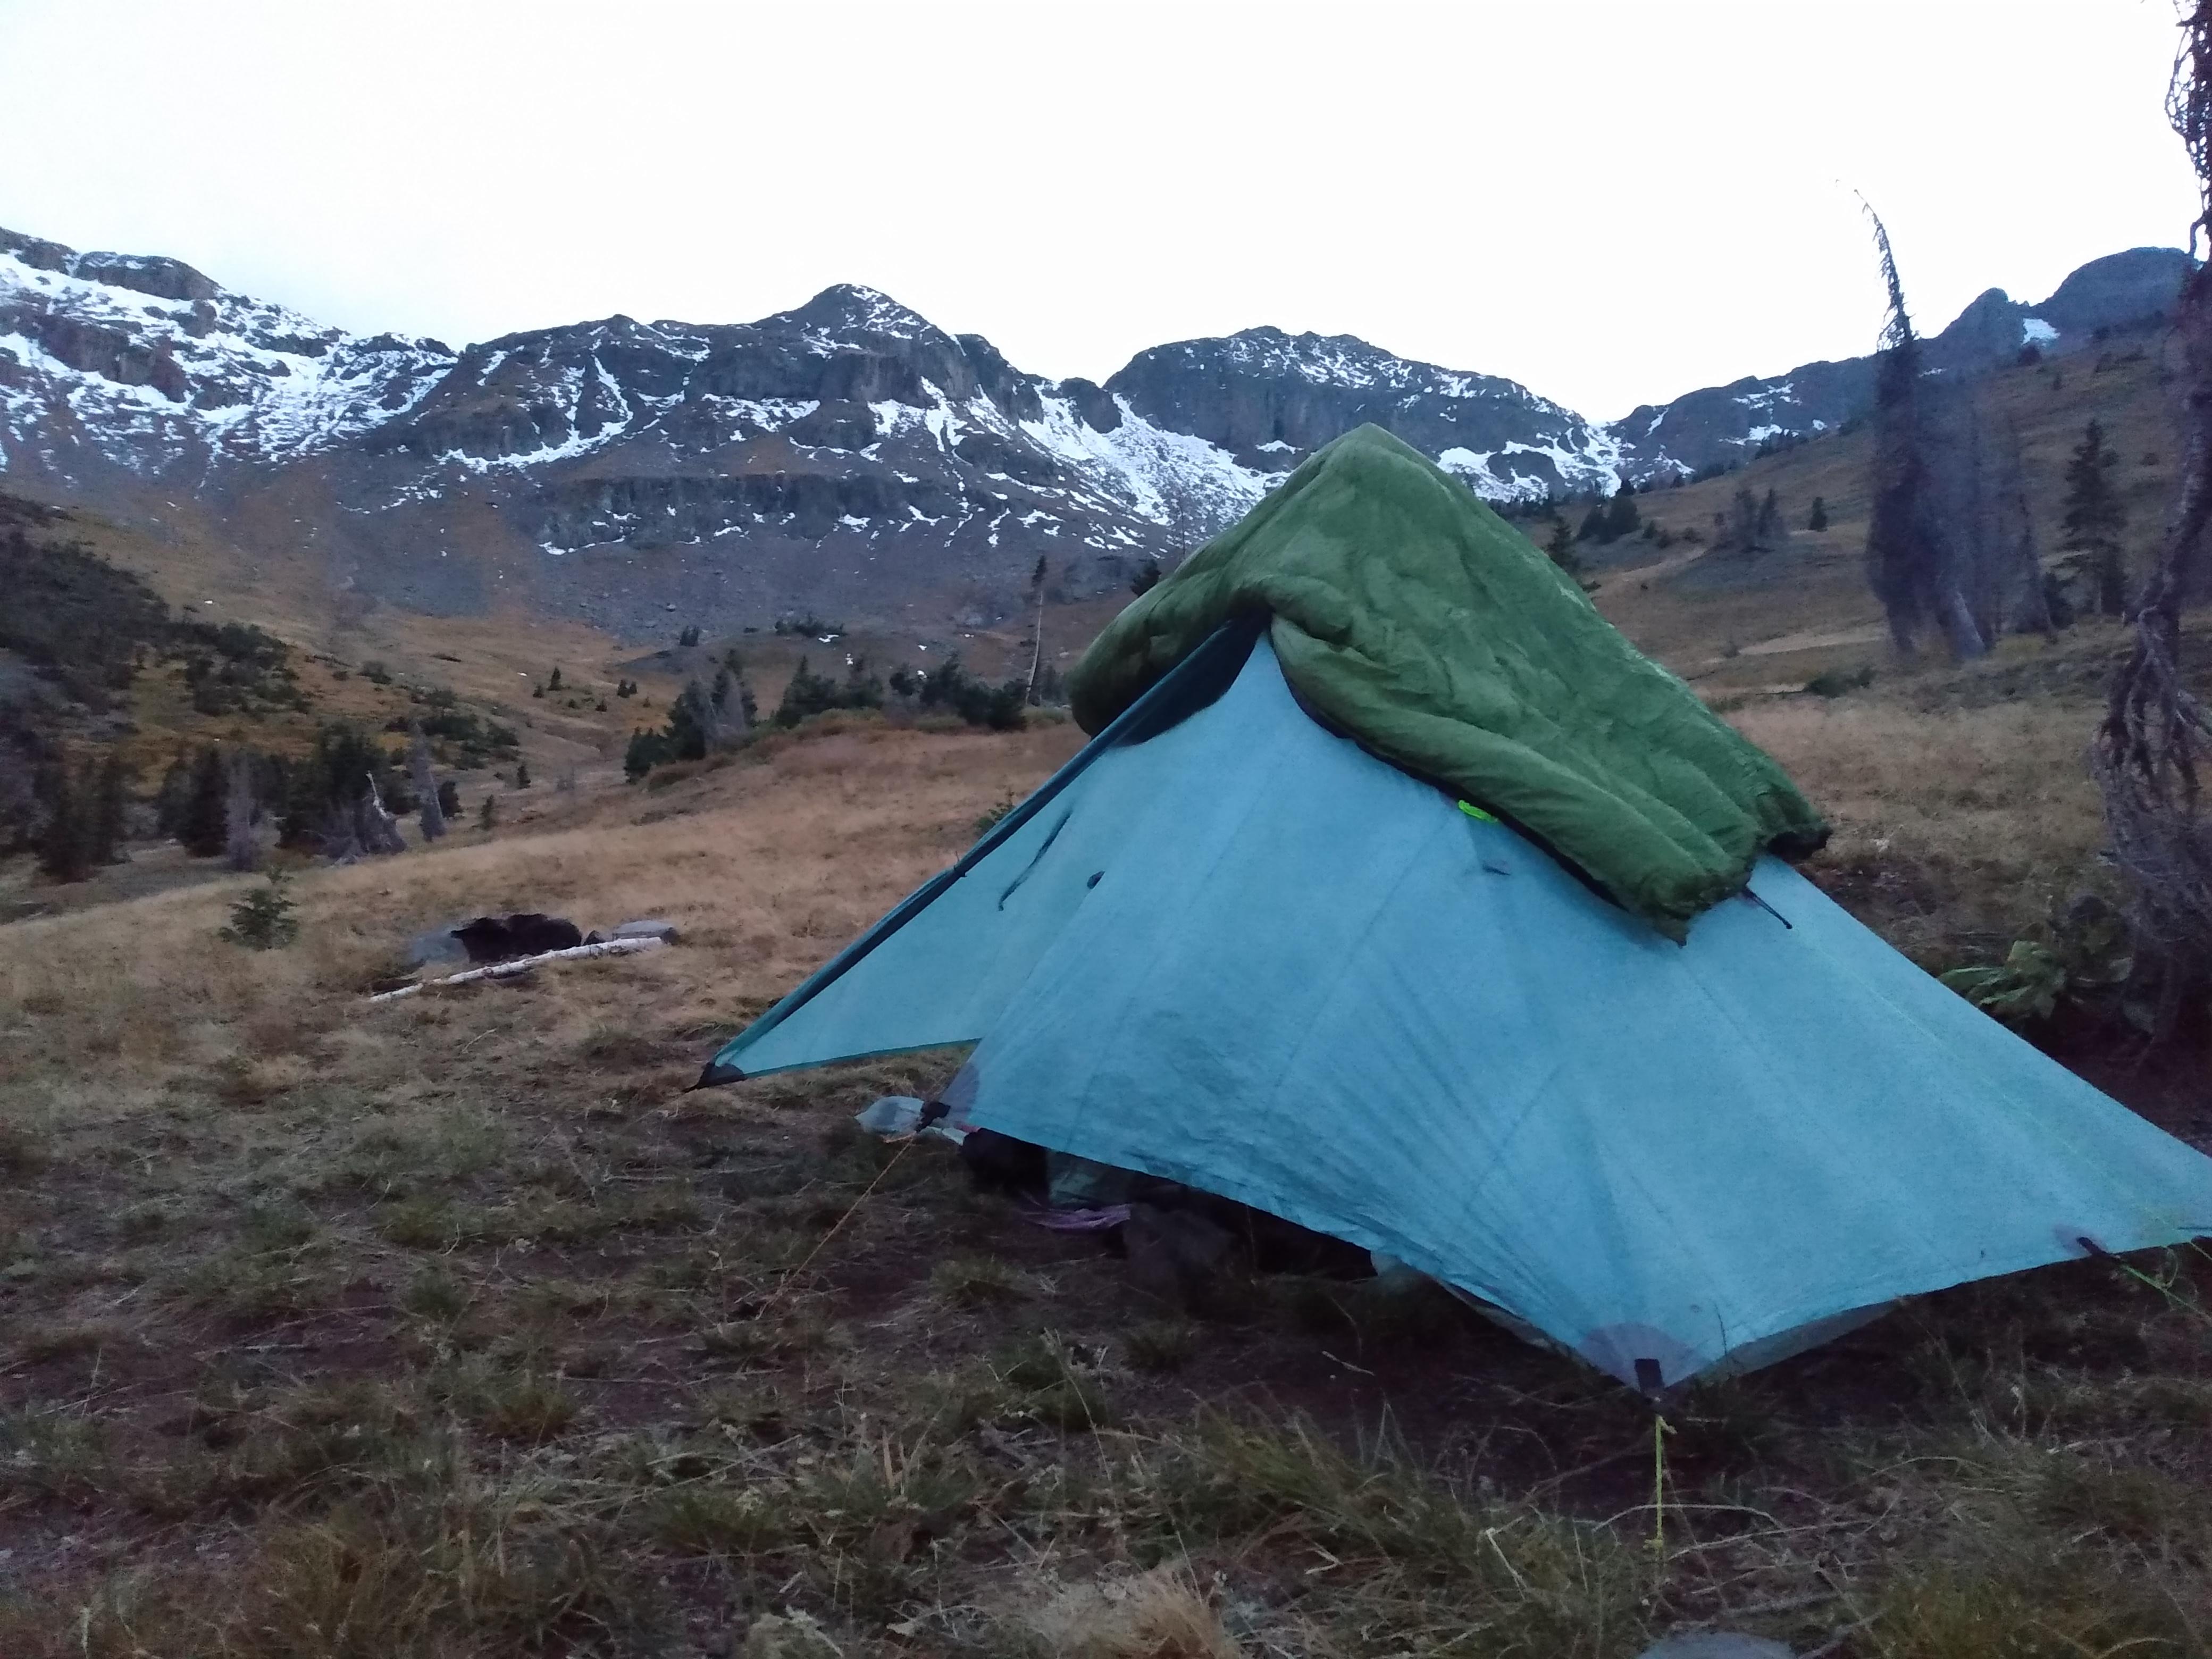
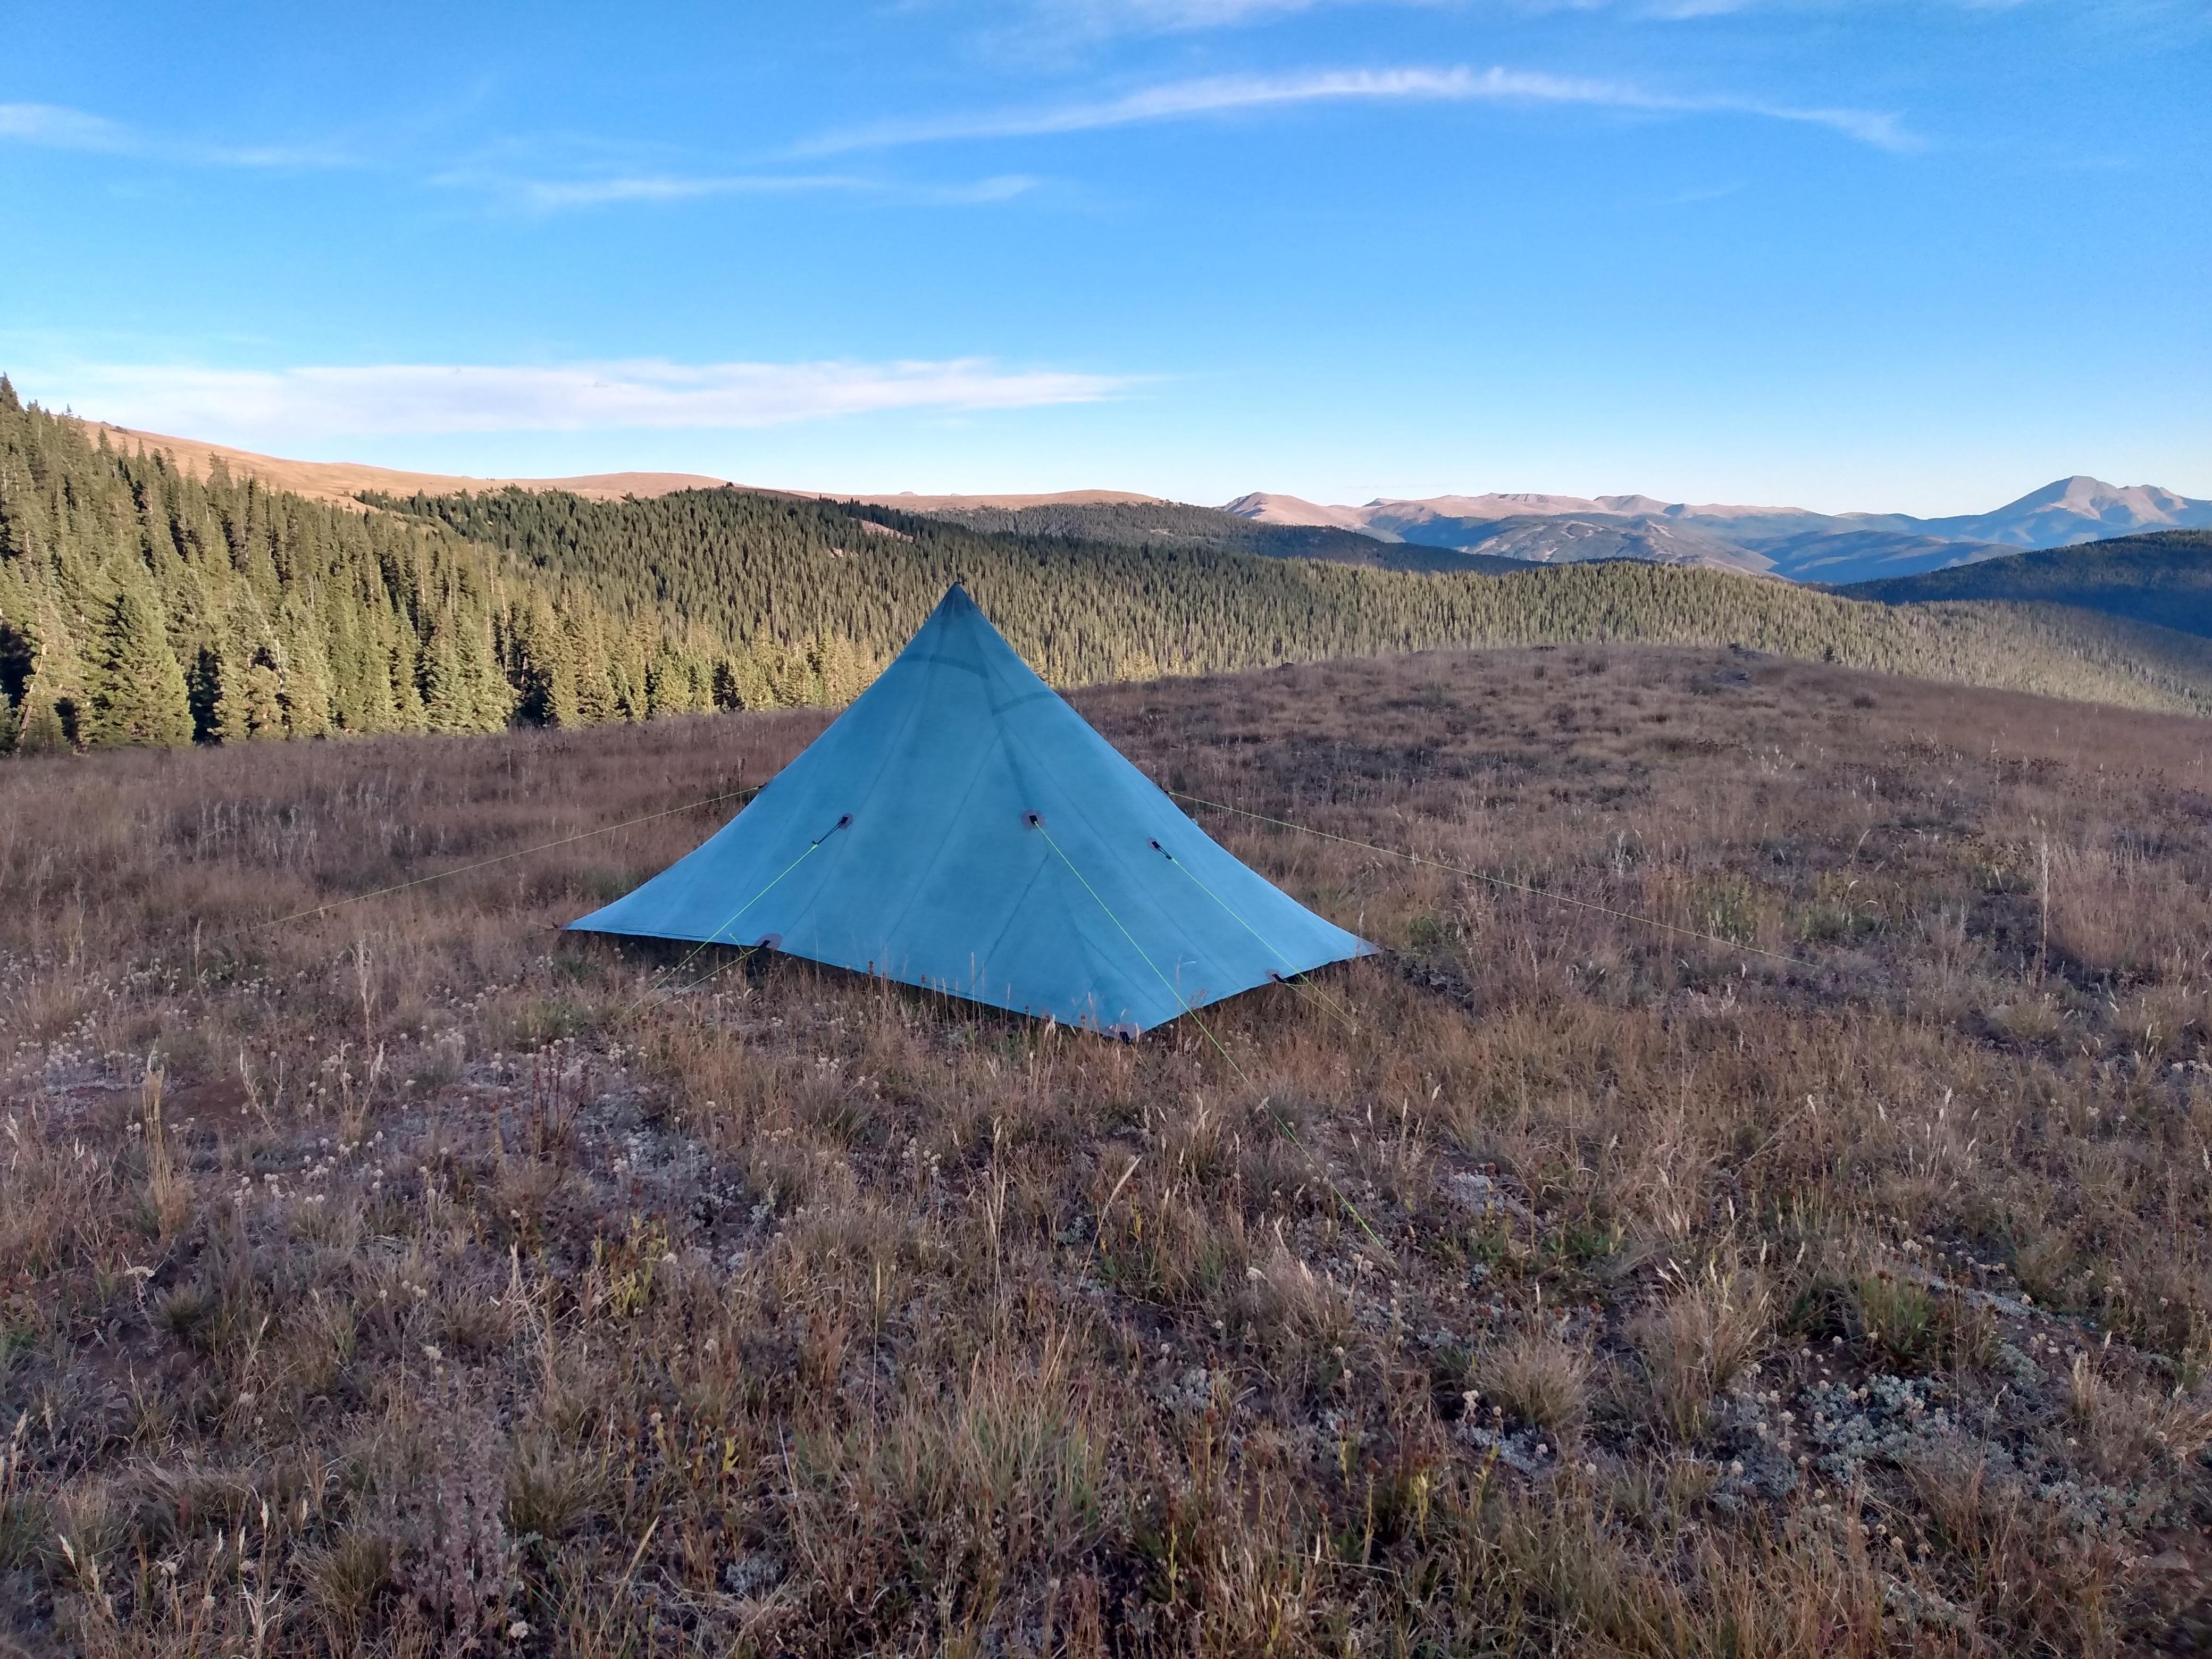
I used this tarp to hike the entire Continental Divide Trail and it performed flawlessly. Here are a few pictures of the end result: