https://mountainlaureldesigns.com/product/supertarp-flat-tarp/
Detail photos available. He uses a double bar tack, but it’s on multiple layers of rolled hems at corners and seams. However, if the guy line pulls significantly to either side of the direction shown in the photo, the webbing will pull more on one end of the stitch which could lead to a ‘zipper’ failure, tearing the seam from one end to the other.
Your laminated reinforcements go on the underside of the tarp, with the webbing on top. This way the tarp fabric is protected from the load applied by the threads on both sides.
http://borahgear.com/tarps.html
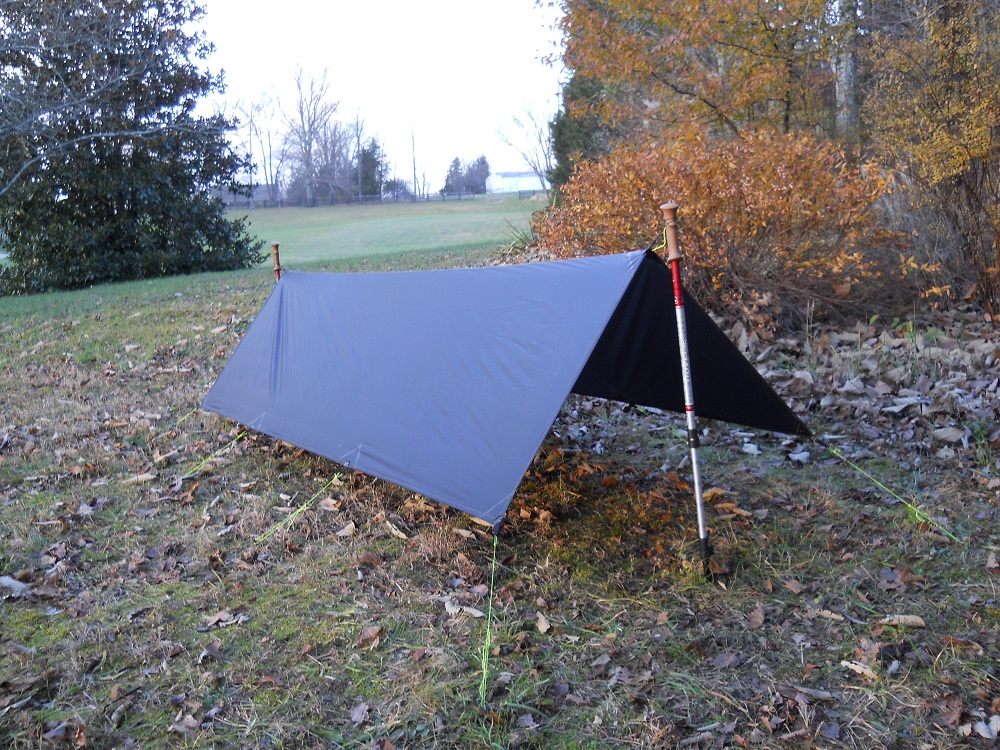
For the side tie outs, here we see a reinforcement patch on (what I consider to be) the wrong side of the tarp. However, the arrangement of the loop itself is good as it doubles the area for load transfer.
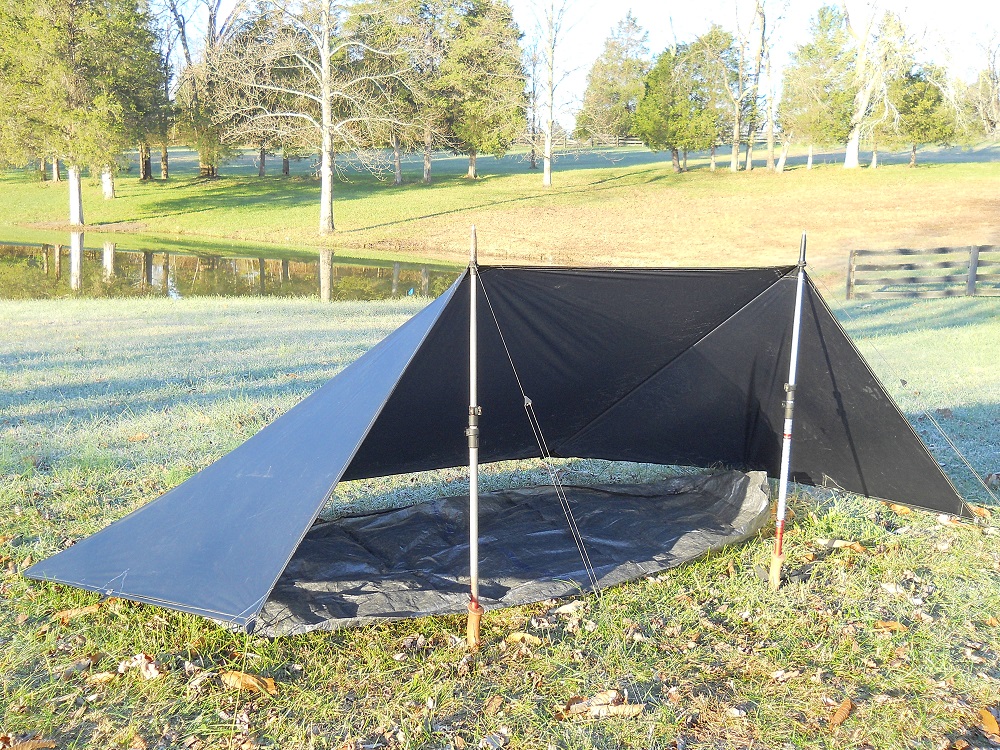
Here’s what I’ve been using for the corners:

It’s a strip of grosgrain sewn over the rolled hem at each side of the corner w/ a zig-zag. The seam stops a little ways from the corner. Then there’s a bar tack across the folded ribbon to form the loop. The bar tack is (or at least, should be) positioned right at the corner of the tarp on the center line of each rolled hem. That geometry means the load on each zig-zag is always down the center of each rolled hem; no side loading, no zipper effect. If you skip that bar tack that closes the guy loop, then you side load the seams. The beauty of this is the direction of the load on those seams is independent of the direction of the guy line. The only thing that changes is the relative size of the loads on each side of the corner. And of course, you can make the ribbon and the zig-zags as long as you want to reduce the specific load. Since the zig-zag is narrower than the rolled hem, the working surface of the tarp is protected on both sides from the thread load. Also, since all the load is directed down the hem, I didn’t feel the need to add a reinforcement patch (neither did MLD); I did add them at the side tie outs and ridge line.