Crown® Denatured Alcohol NEXT
CONTAINS:
95-100%
ETHANOL (64-17-5)[200-578-6],
0 -10%
ISOPROPANOL (67-63-0)[200-661-7]
Number in parentheses is CAS #, number in brackets is European EC
msds
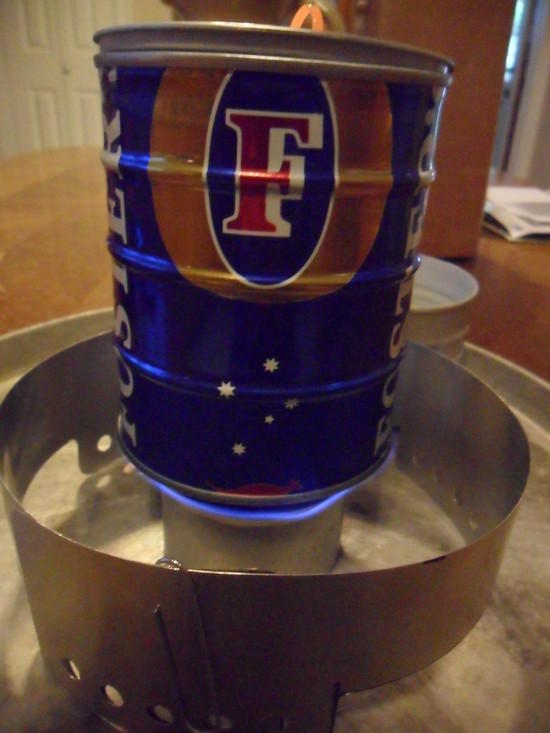
I’d say it’s the isopropanol that is causing the yellowing and sooting if present. I saw the same with enrg fuel, which burned so sooty as to be unusable. As with other msds I am astounded at the arithmetic, doesn’t anyone actually check a msds to make sure it’s possible? (if eth is 95-100% then isoprop can be no more than 5%, but if eth = 100%, then it’s not denatured…) My conclusion, as with enrg, is that they are lying about the quality ingredient, and that it’s actually probably 90% ethanol and 10% min isopropanol, which is where the yellow comes from.
enrg used isopropyl alcohol, not sure what the burning difference, if any, is between the two iso types.
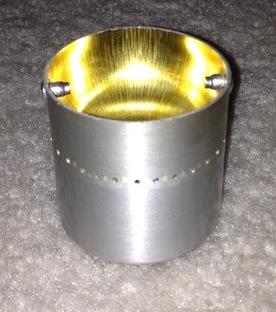
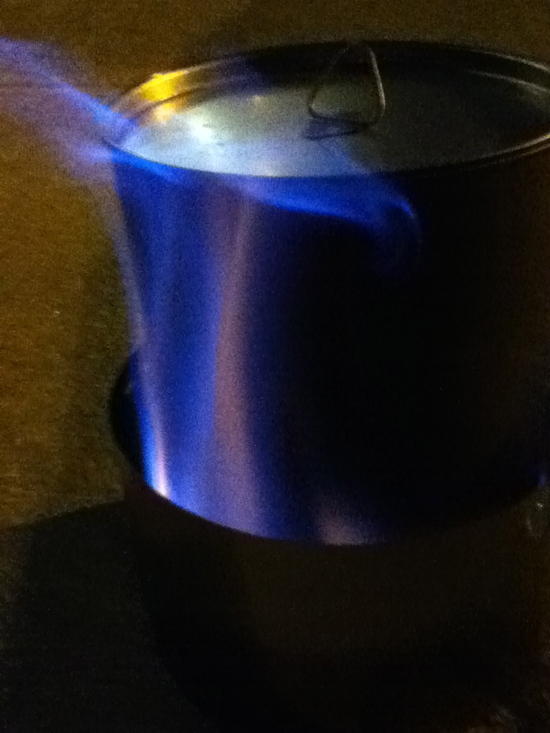
The flames shooting up the sides means it’s getting too hot, I have been testing that recently, it’s vaporizing too quickly, which also results in incomplete, ie, inefficient, burns, though fast. Make sure to use a measuring device when testing to see what the actual capacity is, some people here suggest medicine measuring cups, if you can find them, but those little plastic containers that some restaurants etc give samples in are also good, they are about 1 oz or so big, if you then carefully mark them for the actual amounts (hint if you go to a pharmacy they may have irrigation or oral irrigation syringes which let you create the measurements with precision.)
I find it difficult to get 2 cup (500ml) boils consistently with less than 17.5 ml fuel at normal temps, but with that much, it always boils at normal temp. If you use any kind of cone, actually it doesn’t even need to be cone, all it has to do is funnel the heat towards the top and close it off, I have found it makes very little difference how you do that, even with an open front on the windscreen, as long as it’s conical, it’s far more efficient, but also more of a pain to use and pack. I believe just tabbing the top of the screen and bending them in as Jon Fong does on his flat cat systems screens is all you need to do to get that cone heat efficiency.
You should be able to get a fine burn with a supercat stove, just the fancy feast can with two rows of holes punched in, about the easiest stove out there to make, not quite as efficient but I think your pot is wide enough to use it.
Also keep in mind, there’s a major drop in efficiency if the stove is in direct contact with the ground, something both the penny stove and cat can stove creators were aware of, and provided a way to make a base, there, the penny is the easiest base by far to make, and it works very well to insulate the stove from the ground. I noticed this when testing some time ago, inside, or on a piece of wood it worked fine, but with particularly one cat can design, with fewer holes, when it was put on the ground directly on a chilly night, it wouldn’t even light. So a base is another frequently overlooked feature of stoves. Workbench testing isn’t a very good substitute for testing outside in cold/wind etc, outside tests show much better what the stove will really do when you use it outside.
For testing purposes, if you are doing it outside, the slx basic stuff burns cleaner but not as hot as the ethanol you are using, but make sure NOT to burn that inside, it’s very dirty and toxic in terms of its actual ingredients. But it’s cheap and easy to find, so it’s a good testing fuel.