On Friday afternoon I had my friend come over and cut out some large pieces of would to make the layout of the cat curve. It turned out very well and stable. We traced the shape on the silnylon. The only issue I had noticed was that the gray silnylon that I had just purchased from quest had been folded to fit into a priority mail box….which put creases in the material. This made it difficult to flatten without stretching.
Sewing the material for the 2nd pyramid went very fast, because I wasn't having to constantly pin everything and I didn't have to check to see if the 2nd material line was matching up (since I could now see it through the 1st layer of material). It took about 25-30 hours to put everything together, this time around (which is a lot more reasonable than the 45-50 hours it took last time…and I think the sewing job this time was a lot better).
This time around, I did things a little differently:
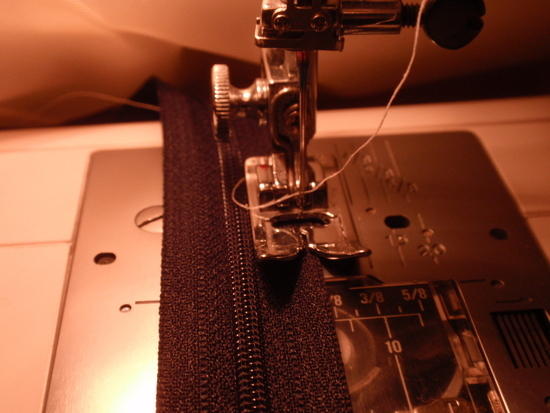
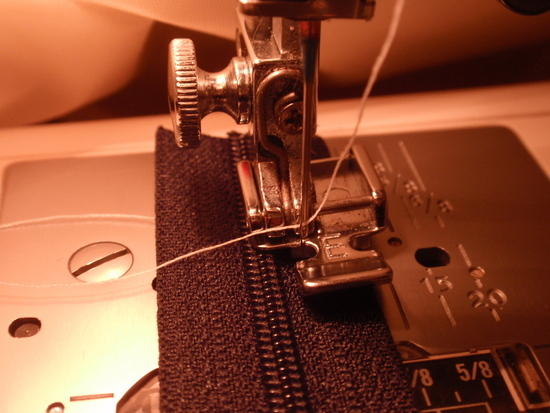
– I used guntherman (sp?) heavy weight thread this time. I don't remember where, but I read that for high stress applications like backpacks and tents, this weight was recommended. I discovered that I needed to use a heavier needle when using this thread, and things were a little more finicky. This is probably overkill, but now I know that any strength issues with this tent should not be caused by the thread (I put three rows stitches in all of the seams, except for the bottom hem….which I put two rows of stitching with normal weight gunt. thread).
– I don't know why I missed this last time, but in Jerry's article, he mentions sewing from the top (apex) down for putting things together. At least in my head, it would make sense that if your lines were off, it would be better to have the excess be at the bottom of the tent instead of at the top. This might not be true, though.
– I used navy and gray for the silnylon on this pyramid. This looks a lot better IMO.
When I got to the part in connecting all of the pieces together to make up the shelter, like last time, two of the corners did not line up (they were off by 1/2 of an inch). When I saw this, I immediately thought (oh sh**…not again!). The only thing that I can think of that might have caused this discrepancy was the folded silnylon. But I am not even sure that this would cause the problem I outline below.
I was able to setup the shelter in my backyard yesterday. The bad news is that the same exact corner that appeared to be going closer to the ground with my last pyramid, was doing it in this shelter…just not as sharp of an angle. In fact, in what I saw, this shelter should be much more usable.
After thinking about it, maybe part of the problem is my stake setup. Or maybe my pole is not completely center in the apex? Or could it be the length of the center pole I am using? I also thought maybe the spreadsheet from Jerry's article may not be a good calculation for this size of a pyramid (considering the larger dimensions and taller center pole). The ground is still frozen so it is not the easiest process in setting up the shelter (in fact, I can't get my MSR groundhogs out of the ground….but man are they strong!). So I am hoping to investigate some of these ideas later.
It is supposed to warm up in the next week or so. I will get some more photos of the new shelter, plus of the final cat jig…that I can now re-use for future pyramids of this size.
For this size of shelter, I really like the tent stake loops in the middle of each side, in helping everything stay more taught with high winds.
I did learn that you do not want to setup the shelter where you have no more room in tightening up the corners. Because when the silnylon stretches a little bit, you won't be able to tighten the corners without having to move the stakes.