
Introduction
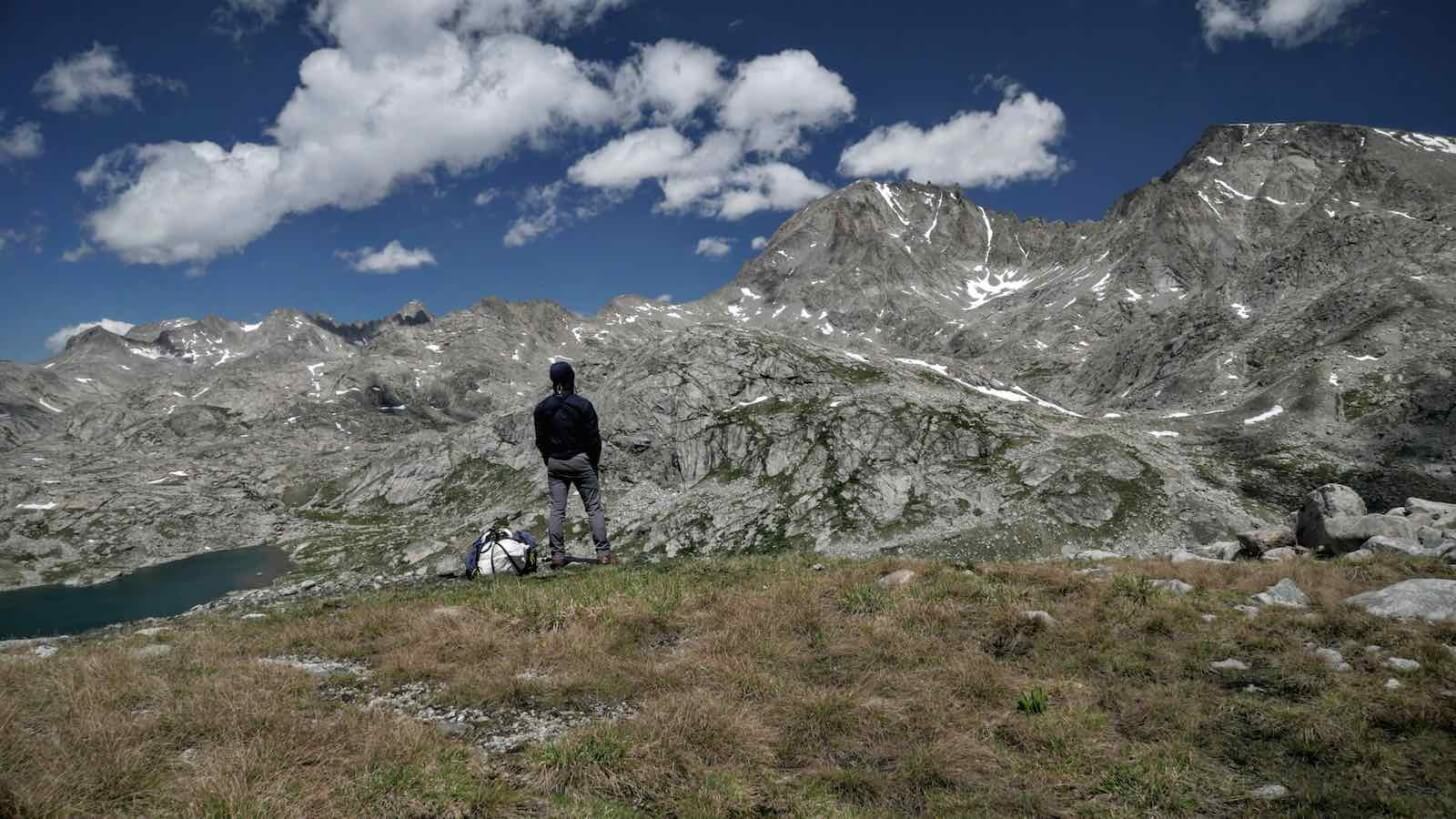
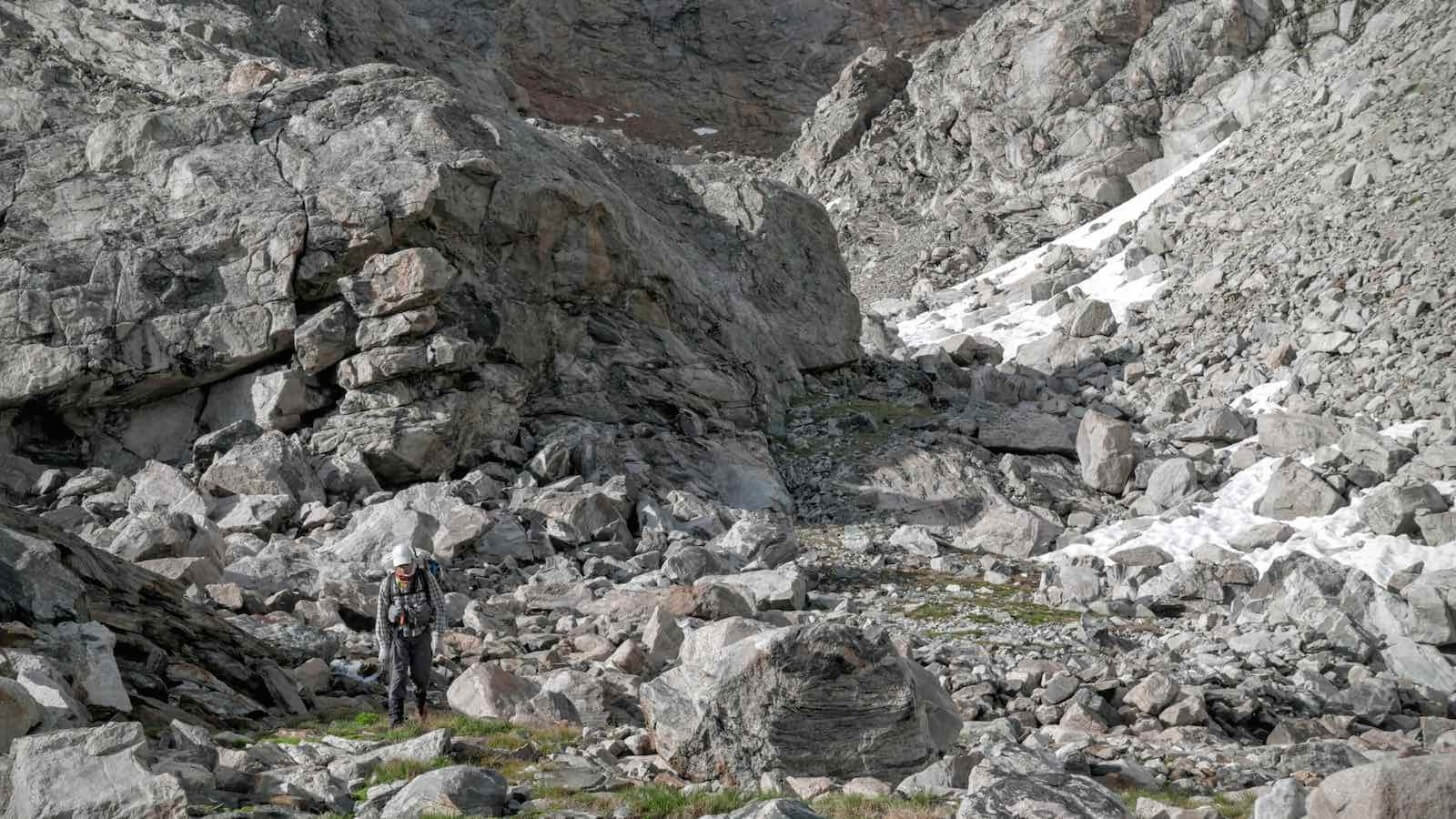
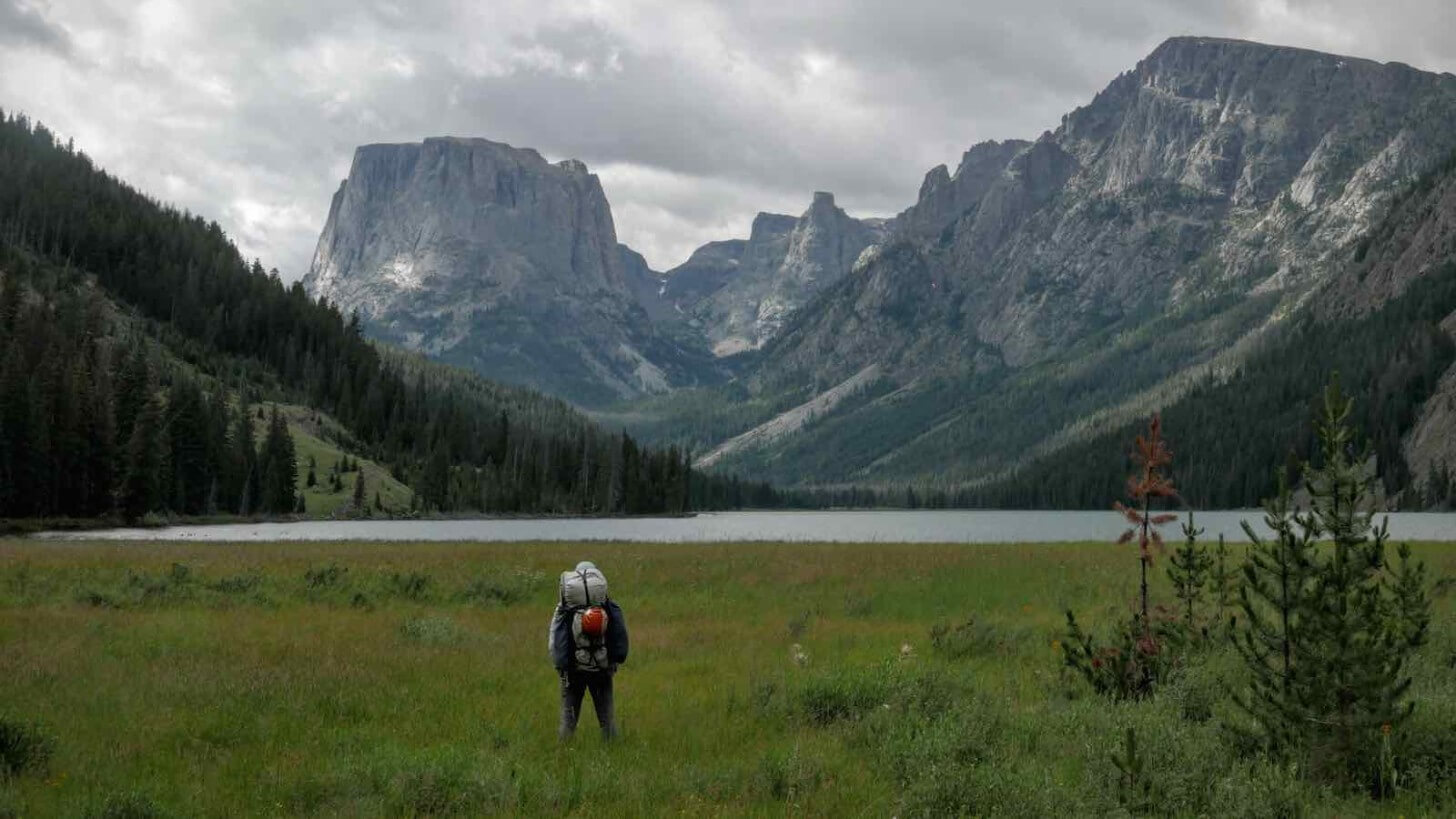
In July, I joined BSA Venturing Crew One on an eleven-day trek via a high route adjacent to the crest of Wyoming’s Wind River Range between Spider Lake (near Angel Peak) and Flagstone Lake (near Klondike Peak).
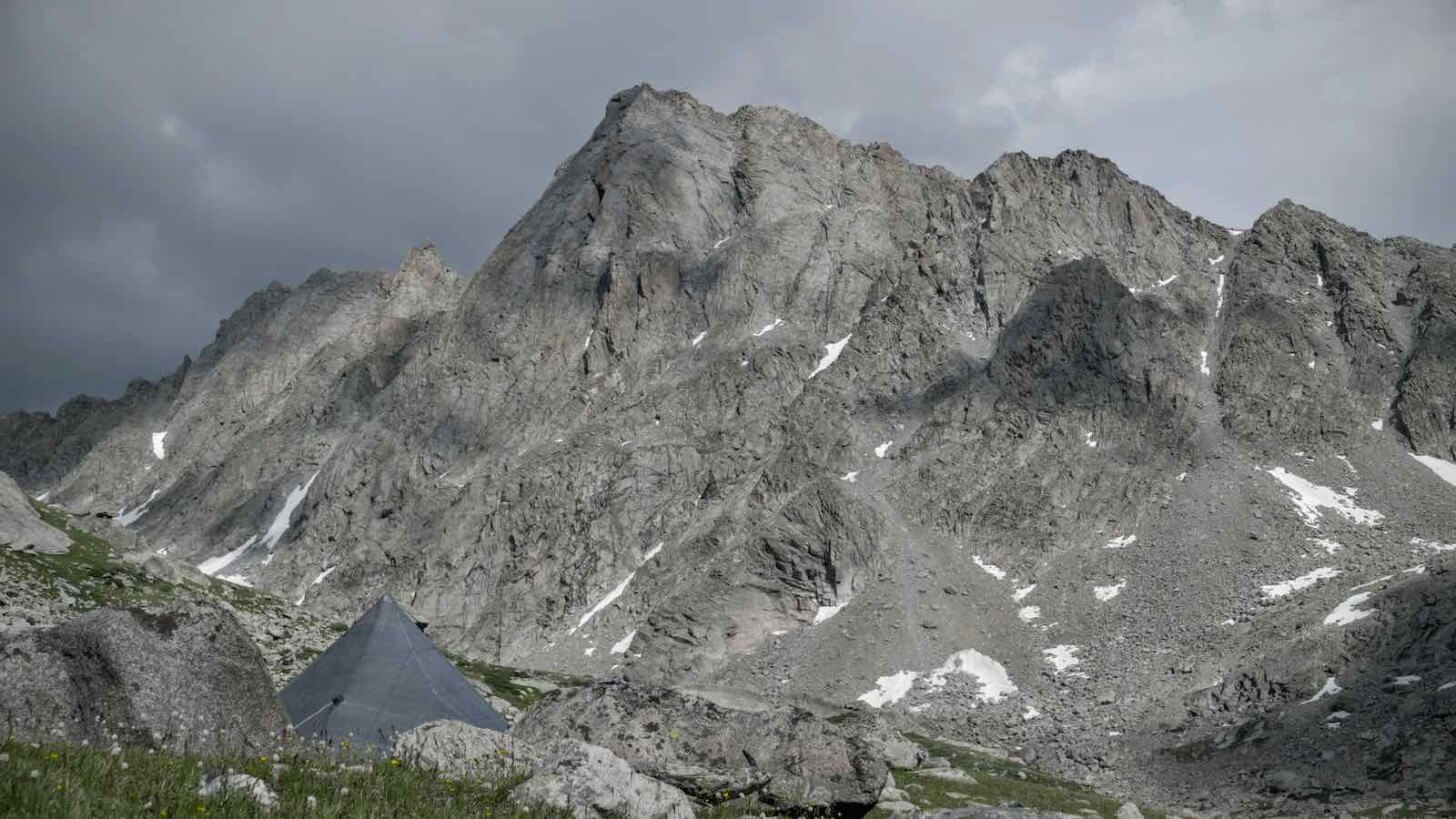
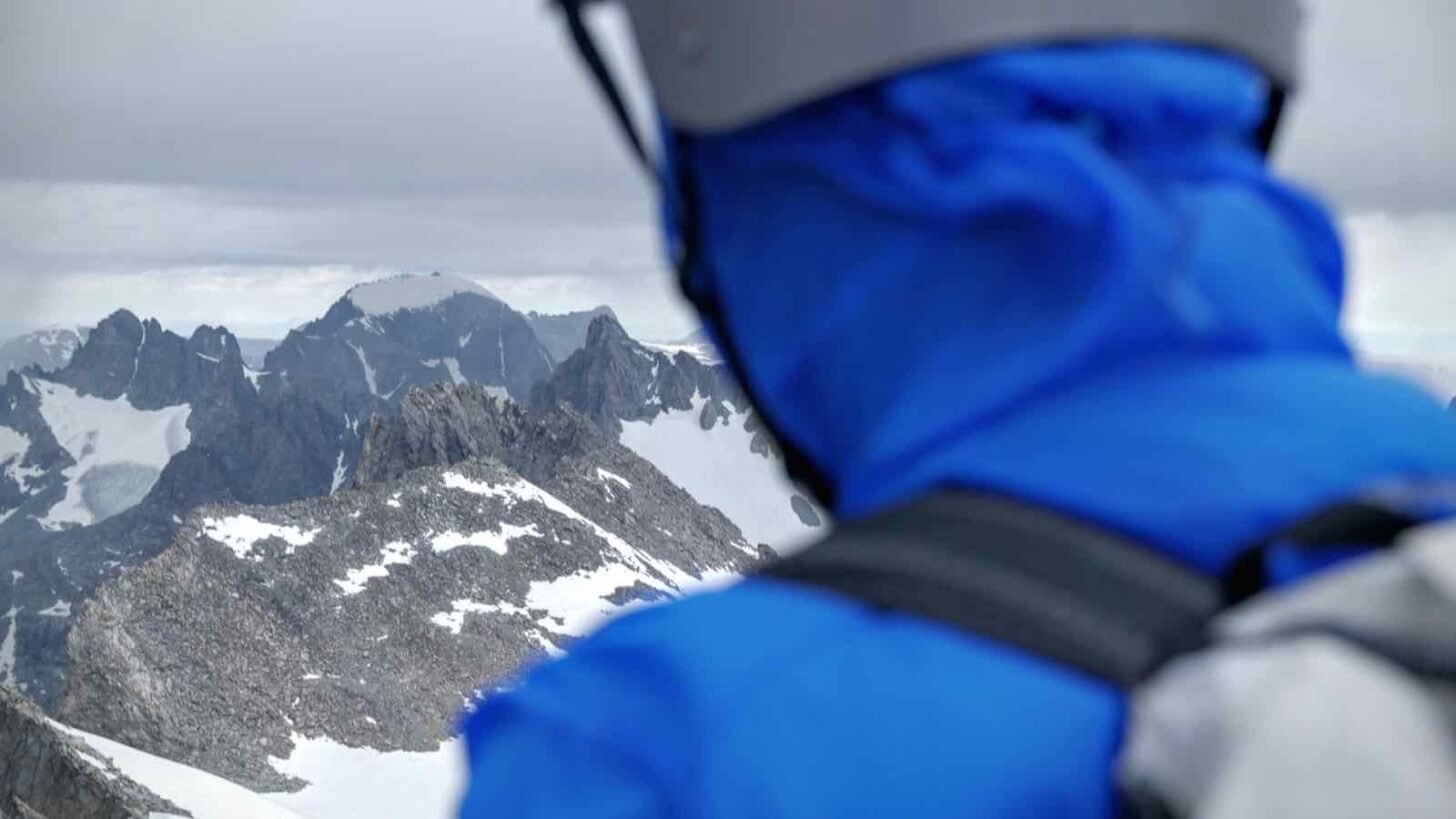
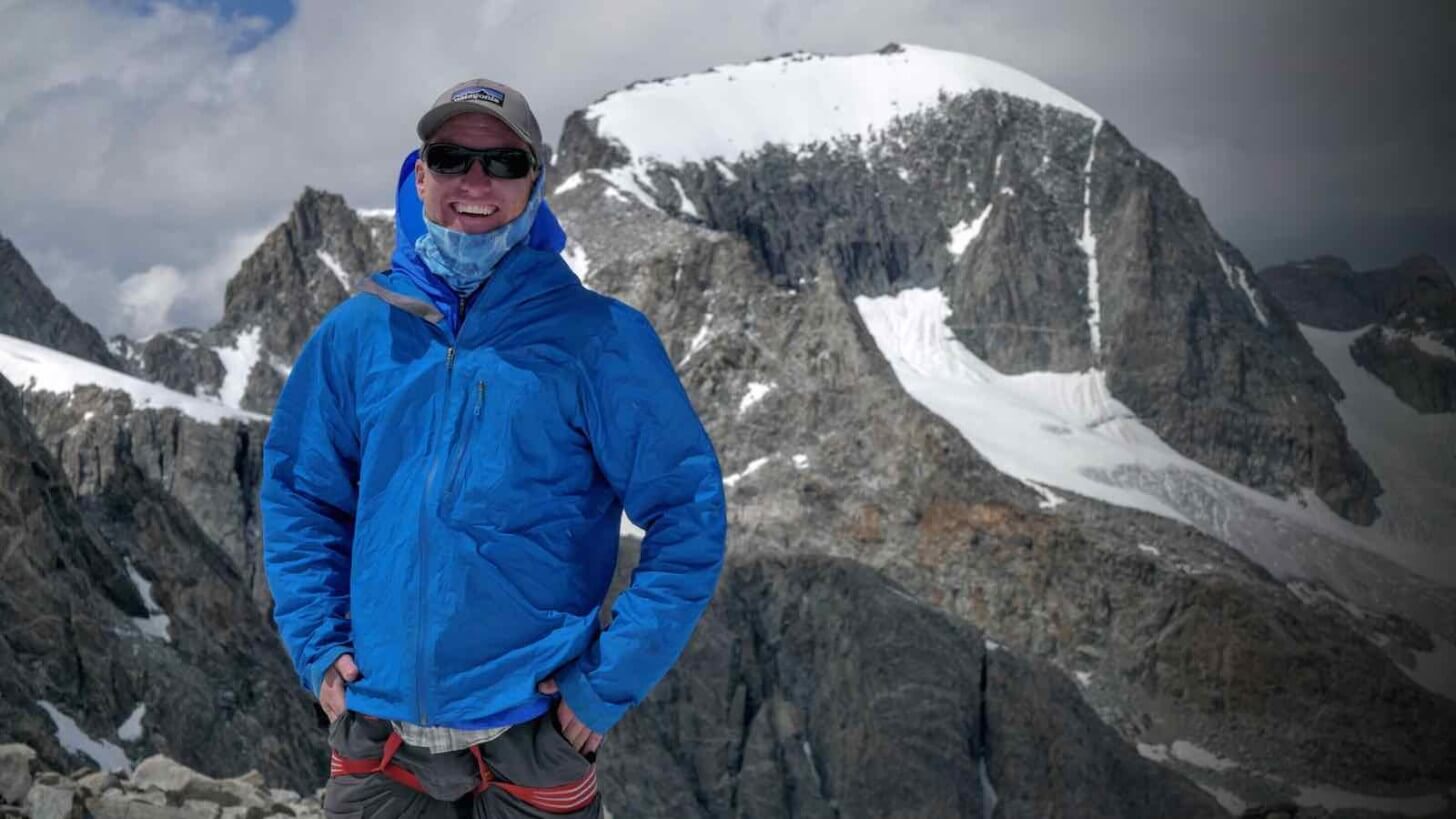
Our expedition goal was simple: to complete a high route through the Northern Wind Rivers involving cross-country and glacier travel, with opportunities to bag a few big peaks along the way.
This report includes a photo journal (Part 1) (refer to my trip journal for the full story, originally published live via satellite at my personal website) and a trip review (Part 2) that includes summary notes about training, travel style, trip logistics, and some of the group and individual equipment I used.
Part 1: Photo Journal
Route Description
- Section 1 – 12 miles (trail): Elkhart Park to the lakes SW of Bald Mountain Basin via Pole Creek Trail, Highline Trail, and Fremont Trail;
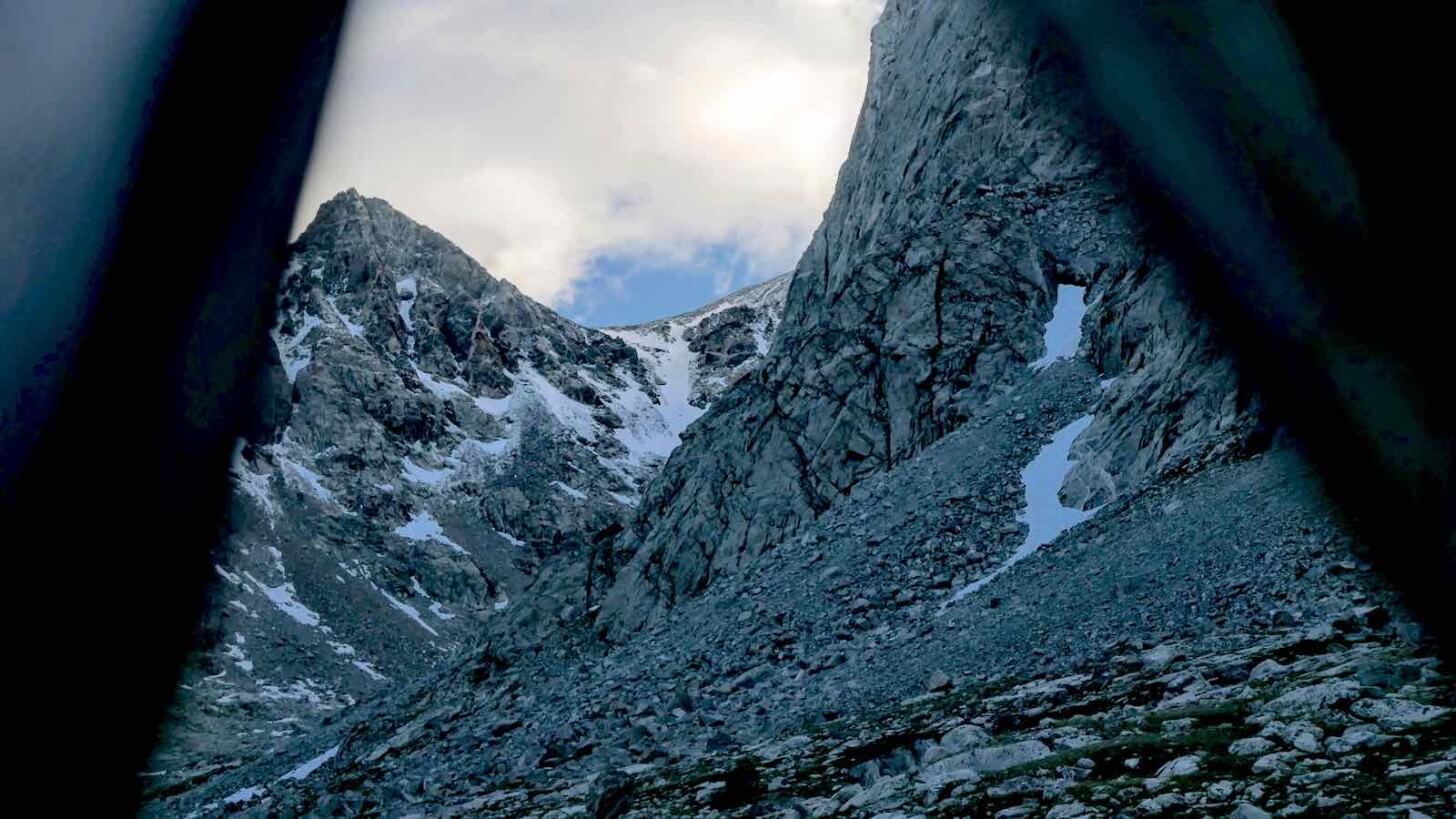
- Section 2 – 8 miles (off trail): Lakes SW of Bald Mountain Basin to Lake 10813 in Indian Lakes Basin via Spider Lake, Wall Lake, and the Elephant-Harrower Col;
- Section 3 – 4 miles (trail): Lake 10813 to Upper Titcomb Basin via Indian Basin and Titcomb Basin Trails;
- Section 4 – 15 miles (off trail): Upper Titcomb Basin to Green River Trail at Pixley Creek (Beaver Park) via Bonney Pass, Dinwoody Glacier, West Sentinel Pass, Gannett Glacier, Klondike Glacier, Flagstone Lake, Tourist Creek, and Green River;
- Section 5 – 9 miles (trail): Green River Trail at Pixley Creek to Green River Lakes Trailhead via Green River Trail.
In summary, the total route length was approximately 48 miles, with about 10,300 feet of elevation gain. We spent 11 days on the route, which included two layover days for peak bagging, fishing, and rest. A link to our route can be found at Hillmap.com.
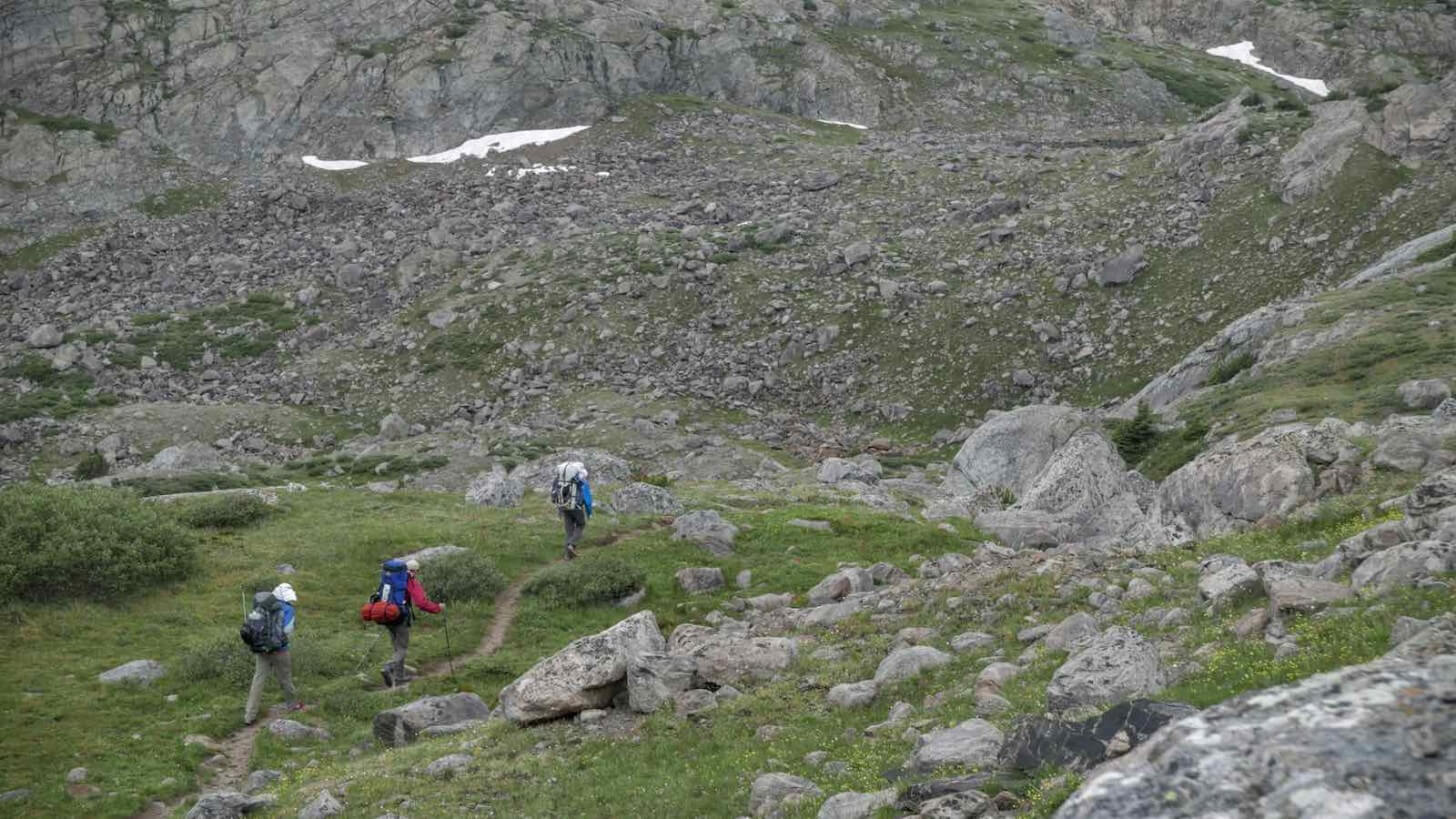
Photo Journal


Part 2: Trip Review
Training
Our Crew participated in a rigorous training program prior to this trek. We’d be carrying heavy packs (45 to 60 lbs) with glacier climbing gear and 11 days of food, and traveling over challenging terrain that would include talus, scree, snow, and glacier ice. Our training model was based on Scott Johnston’s and Steve House’s Training for the New Alpinism, started in November of 2014 (8+ months prior to the beginning of the trek), and involved a very high volume of aerobic base training combined with core and lower body strength training, and a muscular endurance program during the latter third of our training period.
I will be writing a far more comprehensive review of this program for Backpacking Light in the future, as I’ve been training directly under Scott’s coaching. However, for the purpose of this trek, following the general guidelines as prescribed by this program proved to be one of the most beneficial investments of time for our Crew. This year, we were in the best shape we’ve ever been in for a trek, and for the most part, the physical challenges posed by carrying heavy packs on a glaciated high route through this range proved to be the easy part.
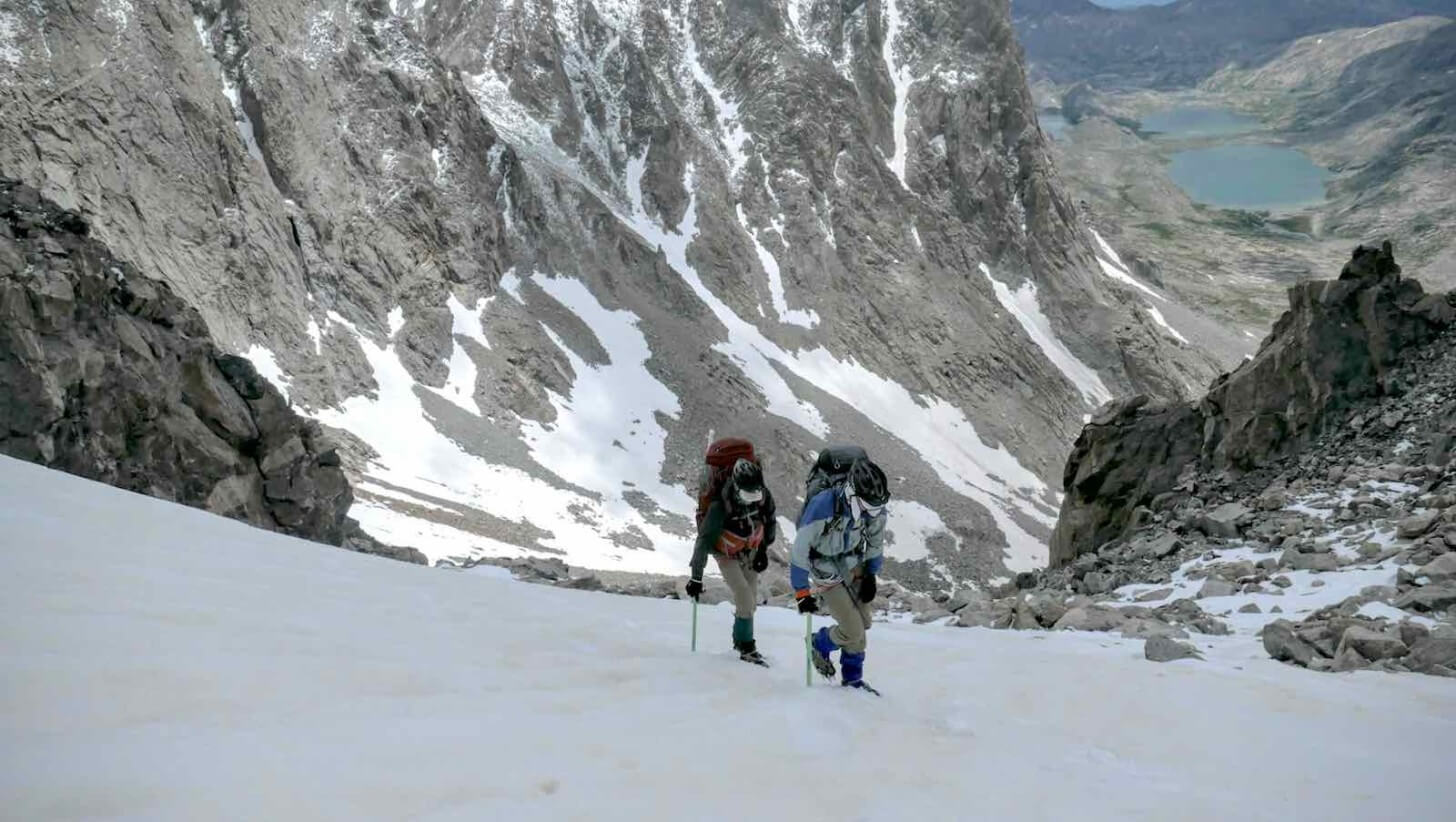
In addition to physical training, we did a fair amount of technical training prior to the trip: rope management, self-belay, ice axe arrest, crevasse rescue, and perhaps most valuable: steep, solo snow climbing on slopes of 35 to 50 degrees up the couloirs and faces of our local mountains. This experience gave our Crew the security required to move quickly through this type of terrain without the hassle and risk that comes with traveling unbelayed on rope teams, or the impractical time requirements that come with traveling belayed on rope teams with large groups.
That a group of teenagers can be asked to invest a serious amount of time at great cost to the freedom in personal time afforded to most of today’s youth was one of the more inspiring outcomes of attempting this route.
Trip Planning & Preparation
We began planning this trip in October of 2014. We originally planned to attempt a glacier traverse in Washington’s Olympic Range, with an Olympus summit attempt part of the route. However, upon learning about Washington’s abysmal snowpack this year, and the risk that came with the probability of road and trail closures, chossy rock, and fire risk, we changed our route to the Wind Rivers a few months prior to the trek. This required some logistical adaptation (transportation, etc.), but little functional change in terms of trip planning, training, or preparation.
Generally, we operate as a group of subcommittees, and this model worked well for distributing the workload required to take on a group expedition of this caliber. A few members would take on food planning (meal planning, purchasing, and packaging), a few members would take on consumable supplies and group equipment, two of us took responsibility for assessing climbing gear needs including acquisition, someone took charge of arranging transportation and vehicle shuttles, and I took on the role of planning and executing the glacier travel and alpine climbing training curriculum.
Since one of the core functions of our youth team is to learn the art of expedition leadership, having every member involved in trip planning and preparation is critical for carrying out this aspect of our mission.
Travel Style
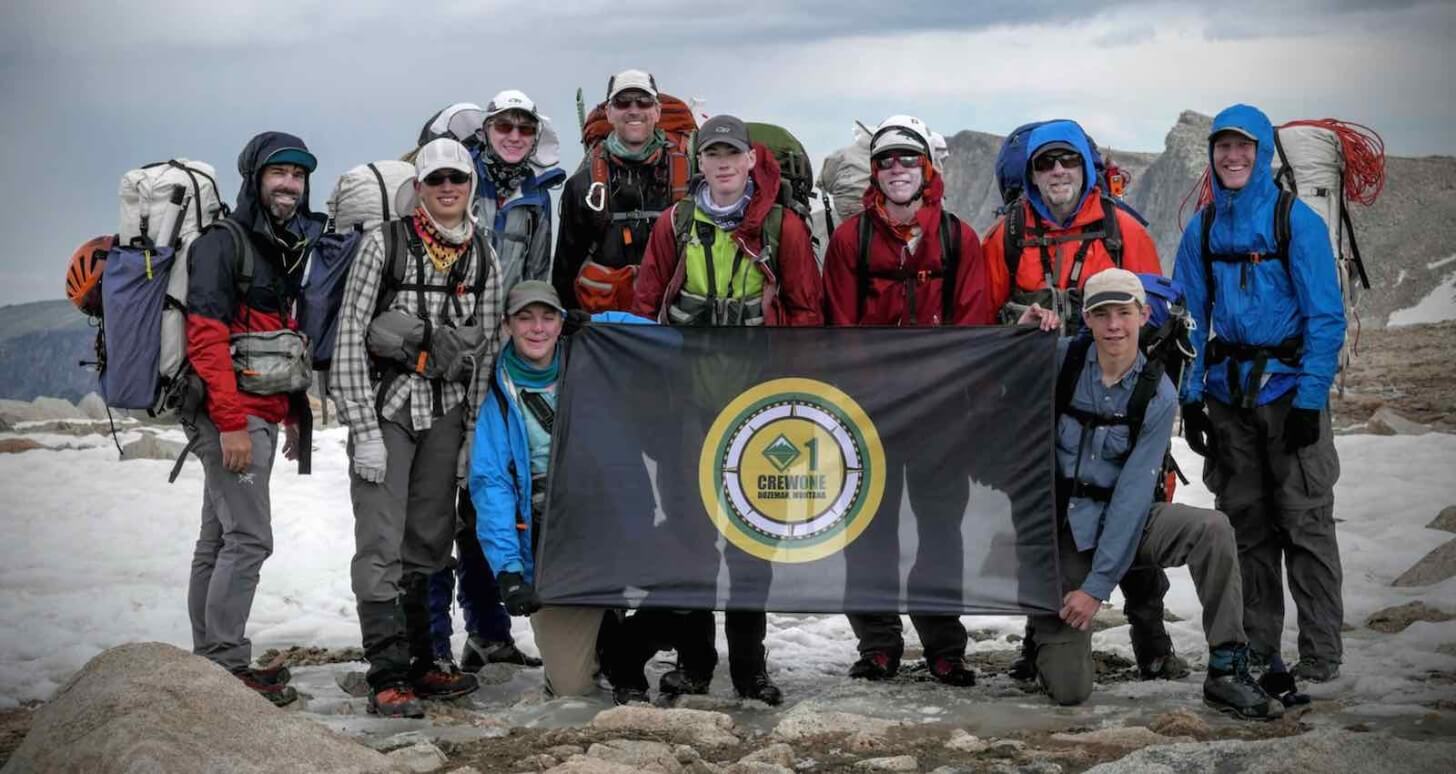
We functioned autonomously in two organized groups: one group of six youth (split into two groups of three, each of which shared a cooking kit and shelter), and one group of five adults (who shared three shelters). In addition, two adults were assigned to each of the two youth cooking groups, while the remaining three adults formed their own cooking group. Generally, the adults function as “casual observers”, because we allow the youth to lead and make decisions while we enjoy the fruits of simply having to follow and/or advise them when asked, or needed for safety reasons.
We always travel together, as a single group. The only time we deviated from this plan was on our layover days when smaller teams formed to go day hiking, fishing, or try for a peak summit.
h3 Logistics (Transportation and Permits)
Because the Wind Rivers are within reasonable driving range of our hometown (the distance can be covered in about eight hours), we were able to hike at least five miles on each of our first and last days of the trip, without requiring overnight staging stays at motels or frontcountry campgrounds. This, of course, lessened the burden on supervising adults who would already be taking significant amounts of vacation time, and reduced the cost of the trip for the participants. We carpooled to and from the trailhead in two vehicles (one SUV and one truck).
Vehicles were shuttled from Elkhart Park to Green River Lakes by a licensed and bonded shuttle service out of Pinedale, Wyoming.
Permits are not normally required for hiking in the Wind River Range, but Scout groups are required to file them with the Pinedale Ranger District, which we did. Responding safely to unexpected weather hazards resulted in deviating from our permitted route, and in some cases, our permitted camps, but in the end, we finished at our intended final exit point on time. Our actual and planned routes were similar for the first five days and last two days, but significant deviations occurred during Days 6-9 because of the cold front that hit us on Day 6. We also learned later that we had been permitted for two nights in an area where “organized groups” were not to be permitted, indicating some communications disconnect within the land management agency governing the area in question. In addition, one of the camps on original permit application had been denied, forcing us to apply for an alternate route that in the weather conditions we faced, would have been quite dangerous. I outline some of these observations simply to state that in this case, the beuracracy of the permitting process became a burden for our group, rather than a particular benefit to the land management agency. While I understand the need to distribute use in crowded areas, we saw very few people on this trip, only two organized parties (both NOLS groups), and in the historically most crowded area on the west side of this part of the range (Titcomb Basin), we only encountered one other individual (a solo trekker from Germany attempting a high route traverse of the entire range). On the east side, staging for a Gannett summit below the Dinwoody Moraine, we encountered a few parties, but on our summit day, we were only one of three parties on the mountain.
Equipment Notes
Group Gear
Cooking Gear: As a group, we shared some meals (breakfasts and dinners, with the exception of the two layover days, for which we all packed our own no-cook breakfasts snacks), along with cook kits (one kit shared by 3-5 persons) which included the following items:
- 4-Qt Open Country Aluminum Kettle: This is one of the lightest gallon-sized pots on the market. It’s uncoated and cheap ($15) which means we can use it for open fire cooking without feeling too badly about trashing it with soot or washing it out with abrasive glacial sands.
- MSR WindPro II Stove: With large water volumes and cool mornings and nights, our cook groups operated these stoves in their liquid-feed, inverted canister mode, which decreases boil times. With the included stock windscreen and heat reflector (and operators that pay attention!) we usually count on using about 0.5 oz of fuel per person per day, which is enough for boiling three full pots of cold water (one for breakfast, two for dinner). Each 3-person cook group brought a net weight of fuel of 16 oz (e.g., one large sized MSR IsoPro fuel canister), which turned out to be just enough fuel for this trip (we did pack a few smaller canisters as insurance for the entire group but didn’t need them). Each stove kit included a Light My Fire Firesteel for lighting the stove, a minimal repair kit, a bottle of hand sanitizer for the cooks, and a tiny pot scrubbing pad.
- Fry Bake: We shared two fry bake kits for our group, which included a 9-inch nonstick MSR Fry Pan (includes a handle), an aluminum plate converted to a pan lid with a wingnut and screw, a plastic spatula, and a tiny bottle of oil. We use the fry bakes for cooking fresh trout, as well as frying tortillas and pasta. We used them very little on this trip (we didn’t fish much for food, and planned mostly light-as-possible packaged meals requiring only boiling water) and could have left them home without missing them. On trips where we have more time to cook and are less concerned about saving weight, they prove to be a wonderful addition for group morale.
For individual eating, each person brought one 3+-cup capacity eating container (most commonly, the Antigravity Gear 4-Cup Screw Lid Container with Cozy). Dry food is rationed into each person’s eating bowl, and boiled water from the group cook pot is distributed accordingly. Each person then becomes resposible for their own cleanup.
Some meals require cooking pasta (in particular, we favor a whole-grain penne for our homemade meals that is not available in freeze-dried form), which we do in the group cooking pot. Once the pasta is cooked, some of the pasta water is temporarily discarded into someone’s (clean) eating bowl, with the remainder being used for the sauce base. Once the sauce ingredients are added, we simmer the meal further for a few minutes, then add back some of the extra pasta water discarded previously to bring the sauce to a delectable consistency. Cleanup is typically easy: teenagers have an uncanny ability to remove all traces of food from a pot, and glacial silt takes care of the rest.
Food Packaging and Storage: Group meals were packaged in 2 mil poly bags, purchased from the bulk section of our local bulk foods grocer. Individual meals (lunch snacks) and other individual rations (e.g., hot drinks) were packaged in quart-sized zip closure bags. All of these bags were then packaged into odor-proof Loksak 12.5″ x 20″ O.P. Saks, protected by Ursack S29 bear-resistant food storage bags (two per person were required for a trip of this duration). We secured our Ursacks by bear-bagging them with our glacier ropes below timberline, tying them to trunks of scrub trees at timberline, or tying them to chockstones lodged in cracks or under glacier remnants sitting atop granite slabs when above the timberline.
Water Treatment: In the past, we’ve shared water treatment supplies (usually Aqua Mira kits) as a group, assigning one or two members of our expedition team to be responsible for meeting each person’s need for clean water. For this trip, we issued individual Aqua Mira kits to each person and placed responsibility on the individual to maintain their own hydration needs. This was a positive change, and worked well, as long as each person took the responsibility to fill their water bottles and start their Aqua Mira premix batches early enough at rest stops or prior to leaving camp so as not to hold up the rest of the group.
Shelters: Our group shelter of choice is the Hyperlite Mountain Gear UltaMid 4, which we use to house 3 or 4 youth members. Each shelter is rigged with a full set of 2mm Dyneema-core guylines and includes a stake kit of 16 MSR Groundhog stakes. We use an adjustable pole leftover from the GoLite era (the adjustable aluminum GoLite Shelter Pole) to keep setup fast and simple, and allow us to use trekking poles if needed for day hiking
Each camper brings their own ground cloth (the Gossamer Gear Polycro is a popular choice) or simple bivy sack (e.g., Adventure Medical Kits Escape Bivy). Headnets provide us with mosquito protection. We all use down quilts or summer-weight sleeping bags, mostly in the 25-to-40-degree temperature rating range, supplemented of course with down jackets and hoods or hats on chilly nights.
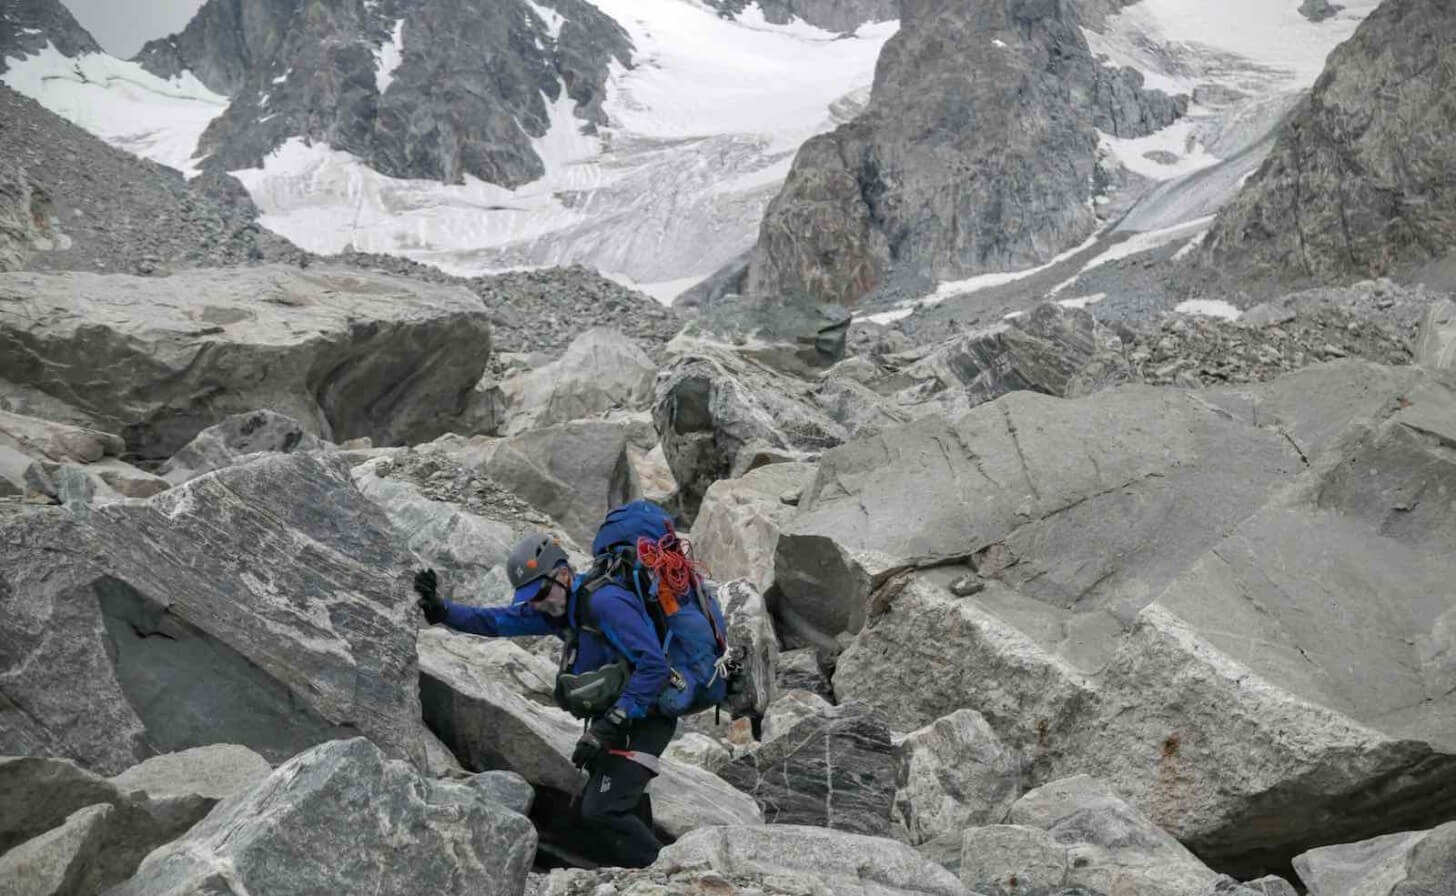
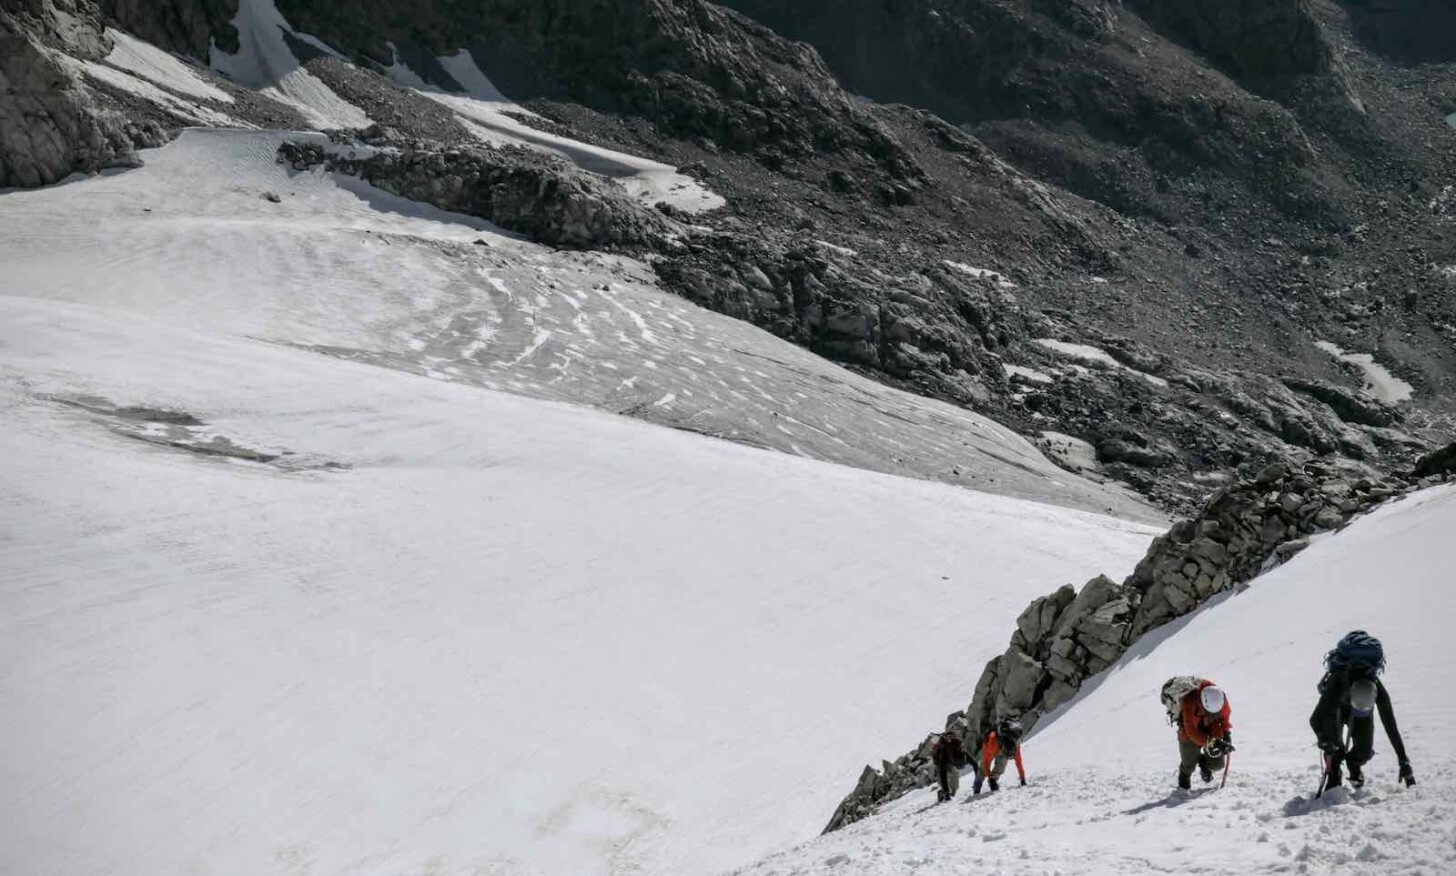
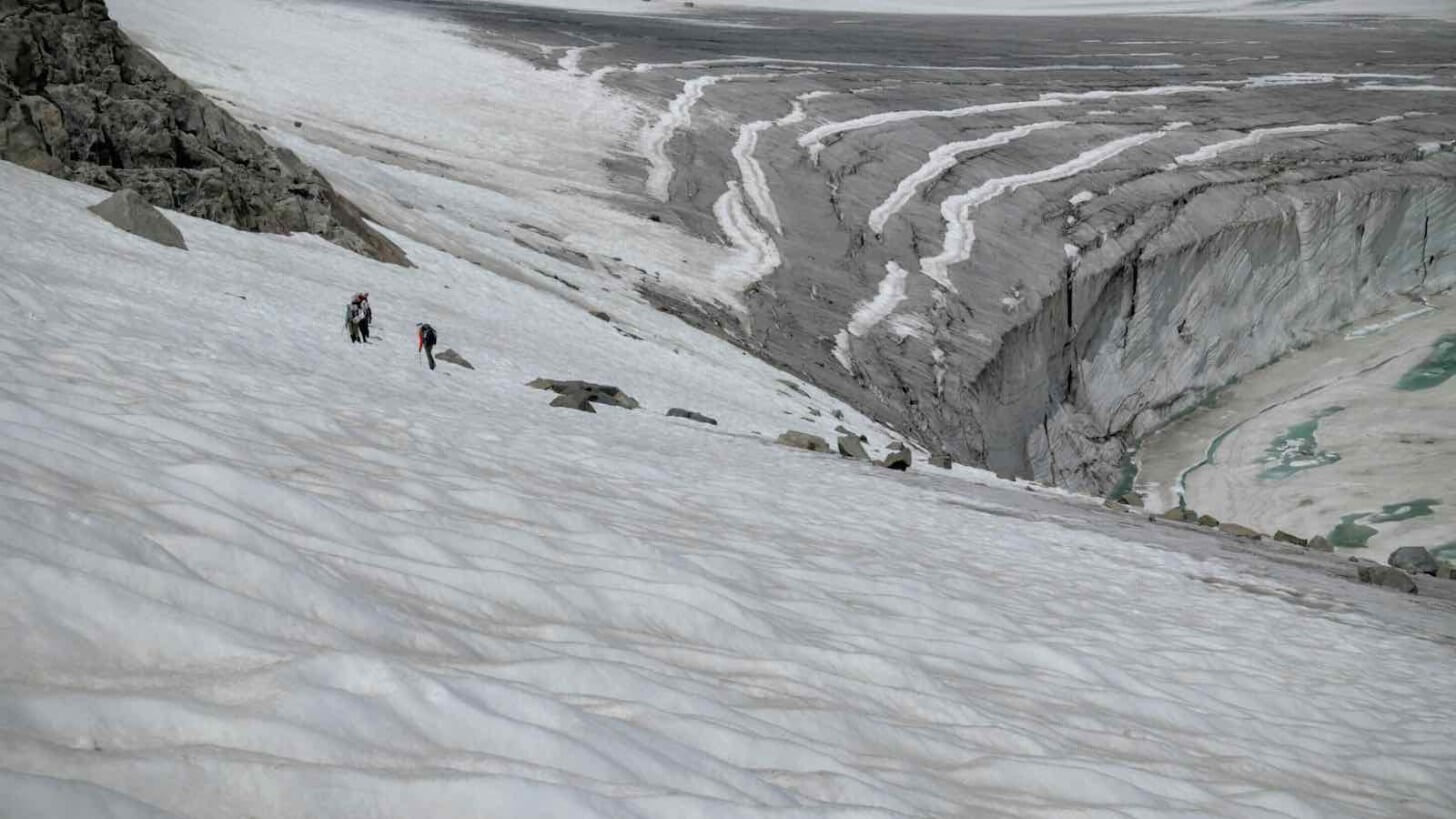
Glacier Travel and Crevasse Rescue Gear: Roped glacier travel is not often practiced in the Wind Rivers. Most of its glaciers are small with minimal crevasse risk. The Dinwoody Glacier complex, however, is a notable exception. The Dinwoody, Gannett, Gooseneck, Klondike, and Grasshopper glaciers are heavily crevassed and early in the season, snow cover hides some gaping holes (crevasses) in these icefields. I’ve often traveled solo through this area, and on nearly every early season (May through July) trip here, I’ve managed to plunge at least to my thighs through a rotten snowbridge at least once. The odds of a crevasse fall increase with group size, inexperience, pack weight, and afternoon travel, so we elected to hedge our bets by being prepared for roped glacier travel.
That said, the risk wasn’t terribly high, owing to a thin seasonal snowpack and relatively cold temperatures on our trek. However, the day we traversed the bulk of the Dinwoody complex (Day 9) proved to be our warmest and sunniest day, and we hit the worst of the crevasse risk (the Klondike Glacier below Pedastal Peak) in the late afternoon after several hours of warming. As we traversed above the ice cliffs, we began to punch through several rotting snow bridges, and found hidden holes large enough to swallow a bus, so we roped up – the only time we roped up on the trip except during our descent of Gannett Peak’s Gooseneck Couloir.
Since we knew our rope systems would be used “just in case” rather than as a matter of course, and we didn’t know going into the trip exactly how much glacier travel we’d actually be doing, we kept our kits extremely minimal with an eye on weight:
- Glacier Travel Rope: Blue Water Titan 5.5mm x 50m (one rope per 4 to 5 persons). I love this rope. It weighs 2.2 lbs and represents the state of the art and safety in ultralight glacier travel. The rope is classified as a static rope, but falling into a crevasse on it, or taking a follower fall while belayed, you’d never know it. I wouldn’t want to take a leader fall on it, but there’s enough stretch so as not to separate you from your intestines in a low-angle or short fall. There is an uprising in the mountain guide community that static ropes may actually be safer for low angle glacier travel (it is easier to arrest falls in low-stretch systems). For many of my alpine treks, I’ll carry a 25m length that is used to belay followers up or down short sections of Class 4+ rock or snow terrain, or use it as a pack haul line for mountaineering and canyoneering. I’ve rappelled on one frequently, and while it takes a little cajones to first rap down lines that seem more like dental floss, I’ve done it enough that my confidence on Titan for short raps and belayed follower climbing is high. WARNING: This isn’t a recommendation. Use of this rope for glacier travel, crevasse rescue, belayed climbing, or rappelling is well outside the conventional recommendations of the mountaineering community.
- Crevasse Rescue Gear: Through the years, I’ve spent a lot of time, money, and equipment failure testing crevasse rescue equipment that is “reasonably” compatible with ropes like the Titan rope described above. Most traction devices and pulleys are designed for ropes with a minimum diameter of 8mm, and kernmantle sheath density and materials consistent with those ropes. I have to admit that I have yet to find a “perfect” system that preserves 100% of the strength of the rope, but I’ve found enough devices to work well enough in a basic heavy crevasse haul using a Z-pulley system to keep the weight down, setup and operation simple, and load to failure high. Consider this an experimental setup for informational purposes, and use at your own risk. Our Crew spent several hours training with this kit and testing it in scenarios with full body and pack weight hauls out of vertical drops, but not enough is yet understood about ultralight systems like this to ensure that they are adequate in all crevasse rescue scenarios. Of course, no system is 100% foolproof, so the system you decide to bring, more than anything, should be compatible with your own risk tolerance.
- Harnesses: Camp XLH 95 or Camp Alp Racing (carried by each climber);
- Carabiners: Four wiregate + two locking (carried by each climber);
- Traction Pulley Systems: Petzl Micro Traxion Pulley + Petzl Tibloc (each mated to a locking carabiner; carried by the uphill lead/caboose on each rope; downhill lead/caboose would carry a lighter two-Tibloc system);
- Anchor Slings: 7mm width sewn Dyneema slings (2x60cm + 1x120cm carried by each climber);
- Prussik Loops: 7mm width sewn Dyneema slings mated to wiregate carabiners for Kleimheist knot rigging, carried by each climber, also used in concert with Z-pulley systems and self-belay during crevasse rescue);
- 5mm Perlon Accessory Cord: 30 ft carried by each climber to use as climber-to-Prussik loop material and miscellaneous alpine anchor building);
- Snow Pickets: Yates Expedition Pickets, one per rope team, carried by the uphill climber.
In addition to the above, each climber carried an ice axe (most commonly, the Camp Corsa) and wore crampons (most commonly, the Camp XLC 490 Universal, Camp Tour Nanotech Universal, or Kahtoola KTS). All climbers wore a lightweight mountaineering boot for glacier travel (Scarpa Marmolada, La Sportiva Trango S, or Salewa Rapace).
My Individual Gear
I won’t discuss in detail all of the gear that I used, but I do feel the need to highlight my packing, shelter/sleep system, and footwear.
Packing: My pack for the past three years has been a prototype of the Hyperlite Mountain Gear Full Dyneema Porter 4400. Mine is a slightly customized model with a longer extension collar, and the weight is a little less than four pounds with an external rear pocket attached. Gear is stowed in Hyperlite Mountain Gear CF8 or CF11 stow bags for waterprotection and organization. The bag is large enough to creatively pack (inside and outside…) enough personal gear and food for a two-week multi-sport expedition. This might include enough gear for belayed Class 4+ alpine scrambling and steep snow and glacier travel, a whitewater packrafting kit, and if necessary, an expedition bear canister (e.g., Bearikade Expedition) plus a full Ursack S29 for overflow.
Since most of my week-or-longer expeditions involve copious amounts of alpine climbing, scrambling, or bushwhacking, along with the seam stress incurred carrying 40 to 60 pounds of packrafting and/or alpine climbing gear, I became weary a few years ago of having to buy a new pack every year or otherwise having to constantly repair light fabrics that had been trashed by alpine scrambling. My Dyneema Porter has one tiny hole in it (suffered in a fall down a steep scree slope on this trip), but otherwise, has held up well and promises to do so for many more expeditions.
Shelter and Sleeping: For this trip, I brought my own solo shelter system – a Locus Gear Khufu CT3 with a mesh insert for insect protection. Mosquitoes were rather thick on warmer nights below 11,000 feet, and the added protection of the inner was welcome. However, my preference on this trip would have been to pair this shelter with a half-inner to provide more vestibule space for stowing gear and managing wet items more efficiently with the shelter doors buttoned up.
I used a Katabatic Gear Chisos down quilt (14 oz), NeoAir X-Lite size regular pad (12 oz), Exped Schnozzel inflation bag (2 oz, also used to stow gear inside the pack), Exped UL Down Pillow (2 oz), Goosefeet down pillow cover (1 oz), and a Goosefeet down parka (9 oz) for in-camp warmth and sleep comfort – a system I’ve been using regularly for the past several years for all of my long trips between July 4th and Labor Day in the Northern Rockies of MT, ID, WY, and UT, and the High Sierra in CA. I cannot recall one night where I ever wanted a different system – until the night of the cold, wet storm that hit us on Day 6 on this trip. The only change I would have wanted would have been a quilt and a parka with a more water-resistant outside fabric, and perhaps a little bit of down overfill, to cope with the cold, wet conditions that would have degraded loft had the weather not improved and the storm lasted longer.
Footwear: In April 2015 I suffered a Grade 2 sprain of the metatarsophalangeal (MTP) joint of my left big toe while on a long training trek in Montana’s Bridger Range. Since the toe had not completely healed prior to this trip, I was unable to carry a heavy pack with soft-soled (e.g., trail running) shoes. We all had to bring mountaineering boots, anyways, so rather than bring an extra pair of shoes, I opted to bring only my boots and do all of my trekking and climbing in them. My boots of choice were the Scarpa Marmolada, a model available outside the U.S. that I have been climbing in for the past year. They provide enough rocker to be comfortable trekking long days in them (I find them more comfortable even than my Scarpa Zen approach shoes, which are recognized as some of the most comfortable approach shoes on the market), they have soles that are stiff enough for steep cramponing (I’ve frontpointed up to 70 degree alpine ice in them without problems), have a flexible upper for effective French crampon techniques (e.g., pied-a-plat), and what is perhaps the best alpine climbing outsole available – the very well-designed Vibram Mulaz S. The combination of stiff midsole, edgy outsole, and flexible upper means that I’m able to easily climb mid-5th class rock in these boots. Having an ultralight moutaineering boot like this (21 ounces per boot, in Size 42!) certainly blurs the lines between trekking and mountaineering, and opens up a vast opportunity for mountain travel for the backpacker who is unwilling to give up all-day comfort in their footwear. On this trip, I suffered little discomfort – certainly no blisters – even while carrying a heavy pack for long days. My feet were most fatigued on our long glacier travel day (Day 9) from Dinwoody Creek to Flagstone Lake, but this day offered its share of footwear challenge from steep sidehilling and frontpointing in crampons on icy glaciers, talus, and loose scree. Admittedly, I was eager to take my boots off when arriving at camp that evening, and my forefeet were sore from the lack of midsole cushionining. That said, I was very surprised how comfortable these boots were, and I appreciated their stiffness for glacier travel, rock scrambling, and loose scree gullies. Look for a more comprehensive, long-term review of this boot from me after a few more mountaineering trips.
Summary
My hope with this report is that it has given you enough information (photographic inspiration, trip objective and summary, route information, and equipment information and rationale) about this adventure to provide an overview of our experience in the Wind Rivers on a glaciated high route. In addition, perhaps you’ll find some practical or inspirational value in this report that you can use to help you in planning your own expeditions to the Wind Rivers or elsewhere at some point in the future!
Above all, I hope that it will stimulate some discussion in the comments below. I’m always eager to learn about what other folks are doing to save weight and maintain safety on treks that bridge the gap between technical hiking and mountaineering.
Resources
- Ryan Jordan’s Trip Journals: ryanjordan.com/windrivers2015
- Crew One Website: crew1.org
- Notable Equipment & Other Links:

Discussion
Become a member to post in the forums.
Companion forum thread to: Talus, Tundra, and Ice on a High Route in the Wind River Range of Wyoming
WOW! You guys done good!
What a great sounding trip. I live in SE Michigan and have only done a little mountaineering (Olympus, Rainier), but the route you took sounds really appealing to me. (challenging, glaciers, views, snow covered passes to ascend). If I lived out west, I'd probably be begging someone to organize a trip like this one that I could sign onto. :-) I'm impressed with the physical & technical training everyone did. That 5.5 dyneema definitely sounds well outside the traditional wisdom of alpine safety, even to a noob like me! Thanks for writing this up and sharing. It's good to live vicariously through others sometimes.
Thanks for sharing Ryan! The Winds are an awesome and inspiring place. Great trip report and info! I appreciated the details on the technical gear and crevasse rescue kit.
Now that's a high route! Thanks for the article and for your instruction/collaboration with those young men.
Ryan, I'm interest in how you connect your NeoAir X-Lite pad and Exped Schnozzel inflation bag; I'm aware of the use of the Neoair Airtap and DIY adapters using hose etc. from other threads here and elsewhere; I wonder if you have an alternative possibly elegant method? Thanks in advance…
Robert: the schnozzle (female) end mates to the neoair (male) plug directly. The fit is tight and is hard to manage when it's cold but for the most part it seems to work fine without modification. My schnozzle is a few years old, so maybe there's been a design change if it's not mating now? Cascade Designs also makes a valve adapter that you can use to use to make any stuff sack into an inflation bag, and I've had good luck with those as well.
Thanks for the response. Appreciated. Mine don't fit, but I might just try reaming out the schnozzel port.
Become a member to post in the forums.