Topic

X-Mid Pro 1 – I couldn’t wait longer… (329g / 11.6 oz) @montmolar


Forum Posting

A Membership is required to post in the forums. Login or become a member to post in the member forums!

Home Forums Gear Forums Make Your Own Gear X-Mid Pro 1 – I couldn’t wait longer… (329g / 11.6 oz) @montmolar

Viewing 23 posts - 1 through 23 (of 23 total)
  • Author
    Posts
  • #3769563
    Montmolar
    Spectator

    @vhk416googlemail-com

    I’m proudly presenting my winter project:

    The X-Mid Pro 1 – MYOG style! :D

    Final weight: 329g / 11.6 oz.

    (vs. the yet to be confirmed sub 500g of the original DD one)

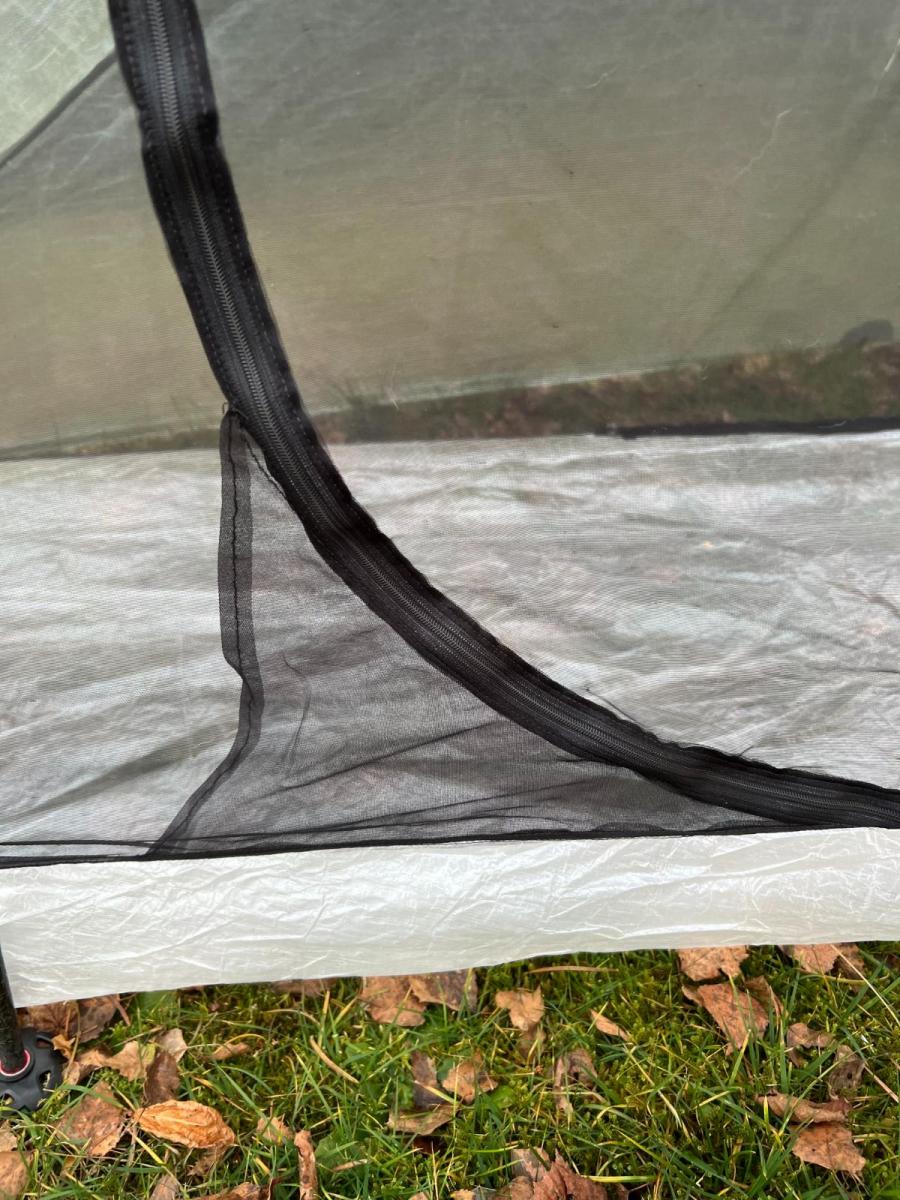
    It’s a fully enclosed, bug proof shelter, that can be pitched with a minimum of 4 stakes and two 120cm / 47″ (trekking) poles.

    The interior is really spacious with a 200x65cm / 79×25.5″ floor and much more living space then I’m used to (227g / 8oz – The DCF tent the Plex Solo could have been… @montmolar).

    Materials:

    • Fly: .51oz – 18g/m² DCF
    • Floor: .67oz – 23g/m² DCF
    • Guyouts: 1.43 oz – 48.5g/m² DCF
    • Mesh: .5oz – 17g/m² NS50 NoSeeUm
    • YKK Aquaguard 3C und YKK 2.5C Zipper
    • PSA 3M 9482PC 25mm Tape


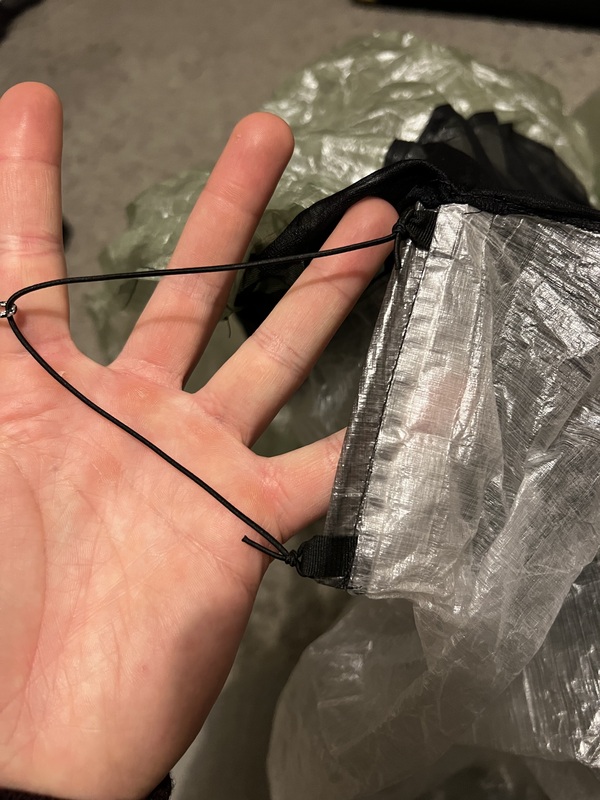
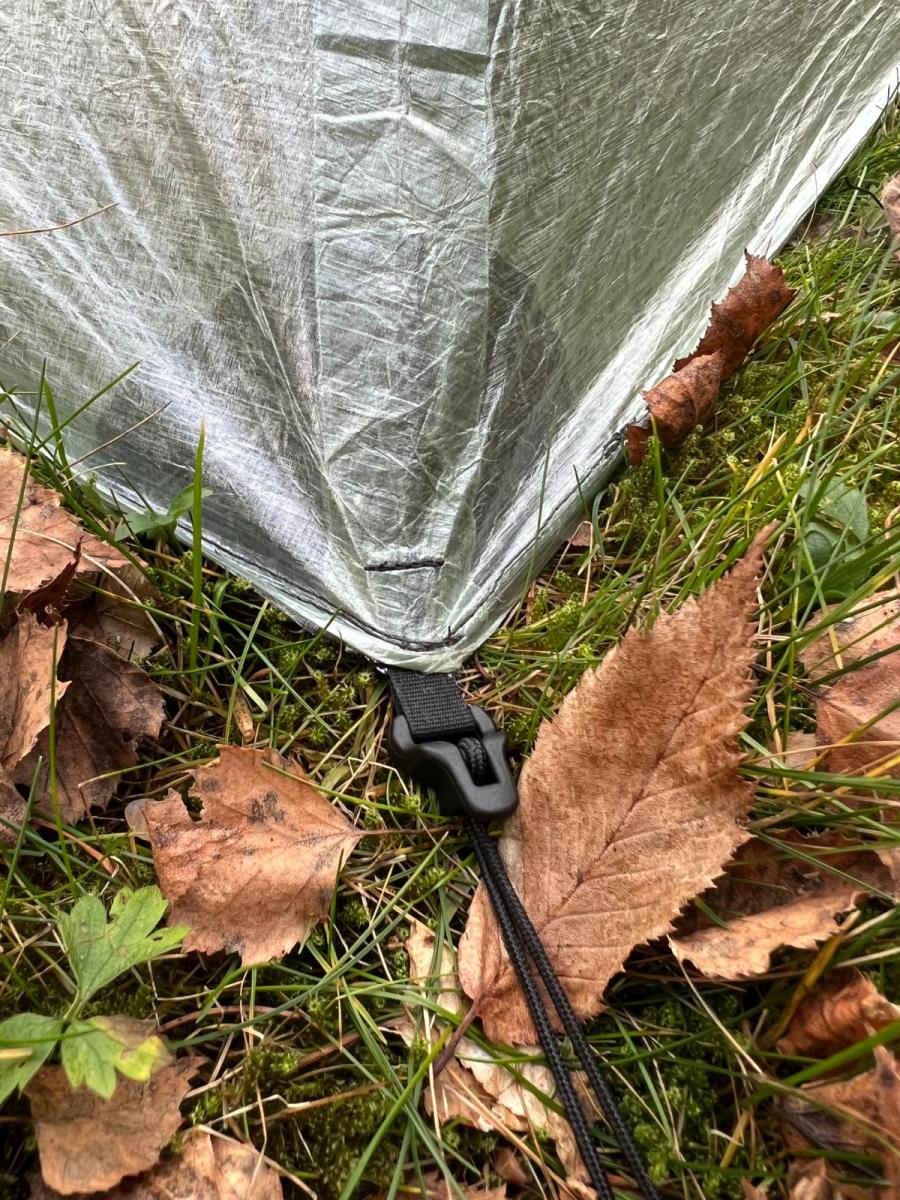
    I placed micro Linelocs on all four corners, which utilize 1.7mm Dyneema cord. Two additional guyouts with bungee cord are on the long sides – the most useful one being the one at the door for creating a neat vestibule.

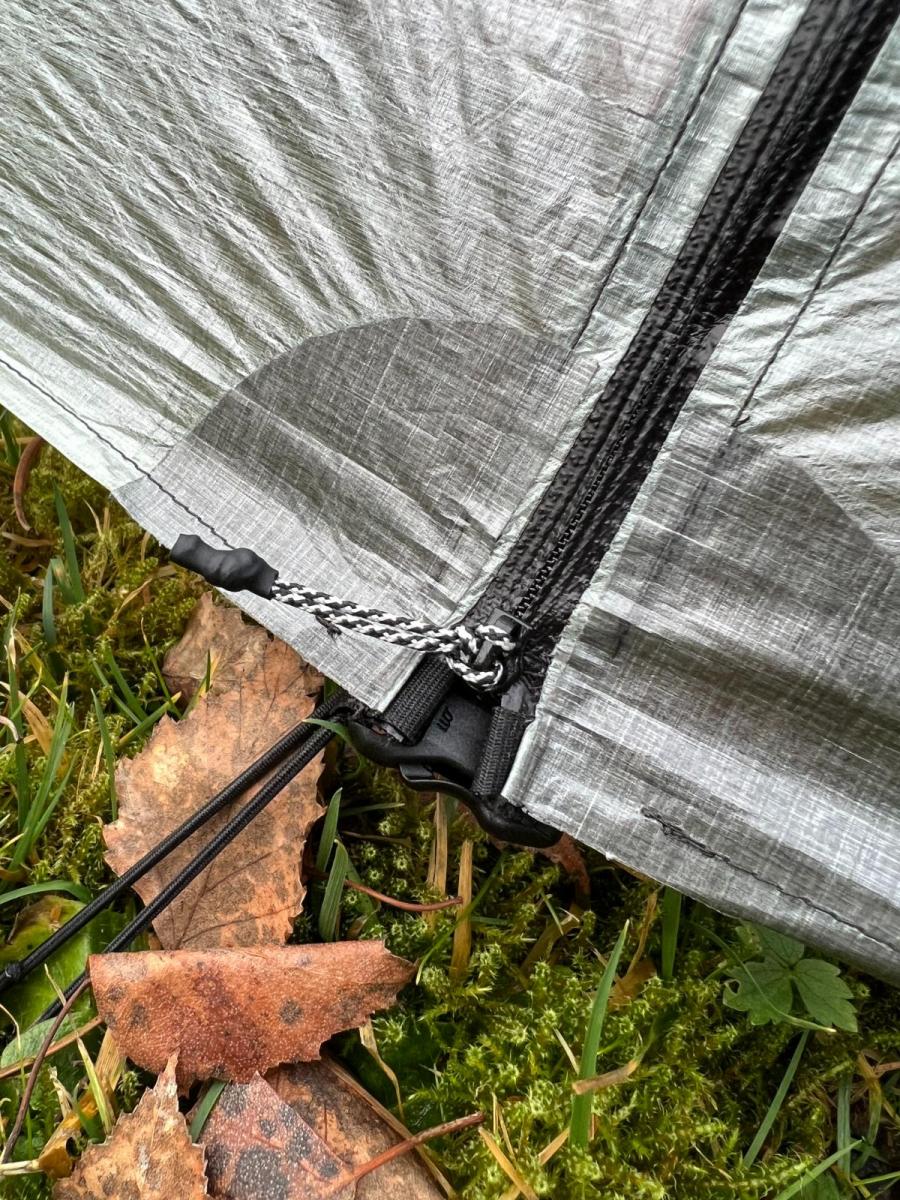
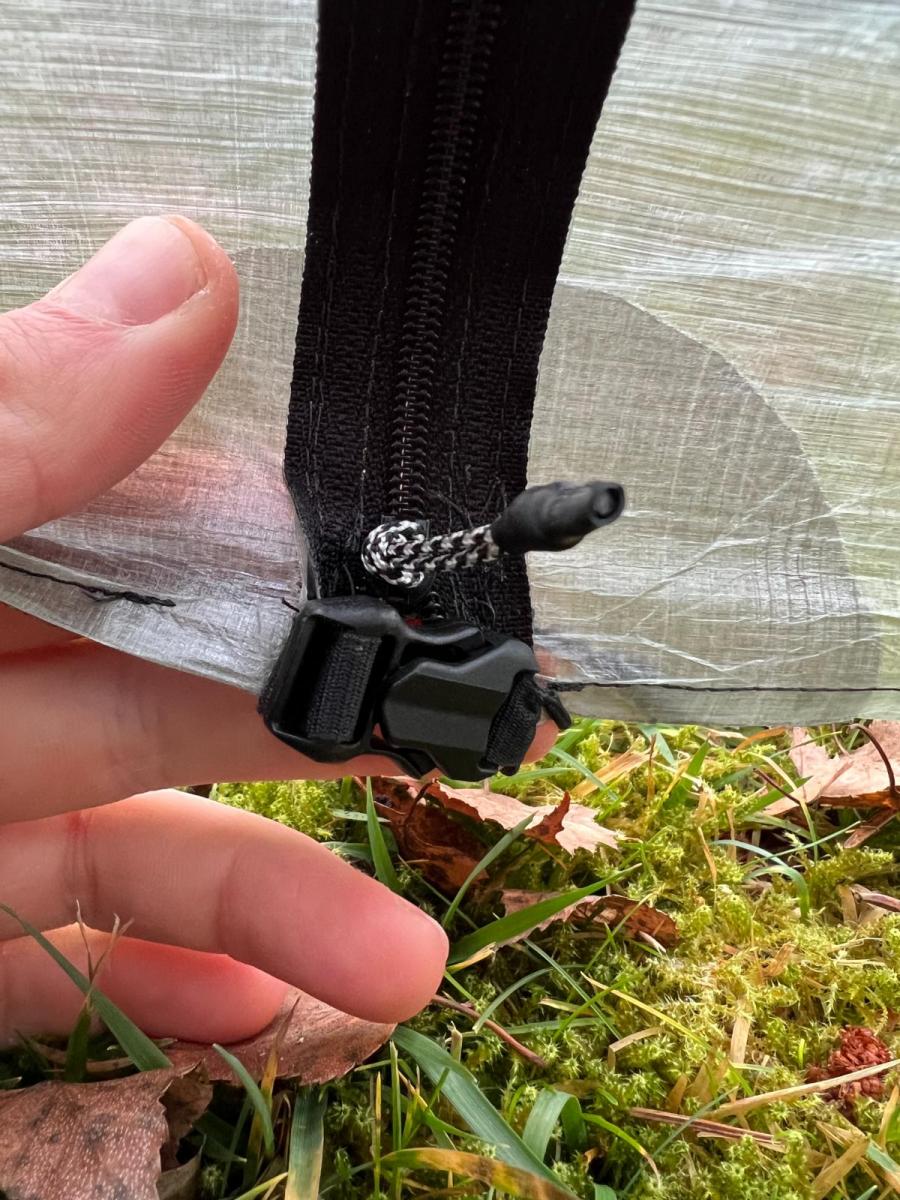
    The Aquaquard 3C Zip at the door uses buckles as a relief for the zipper. I also placed carbon corner struts with semi-elastic connections on all four edges of the floor to keep it properly taut.

    Both peaks incorporate peak vents, that can be closed with velcro.

    The Door Toggles are 12mm neodymium magnets.

    The second vestibule can be used to stow shoes and similar small items via the partial zipper in the mesh. Speaking of which: I also integrated a small pouch in the mesh at the door zip.

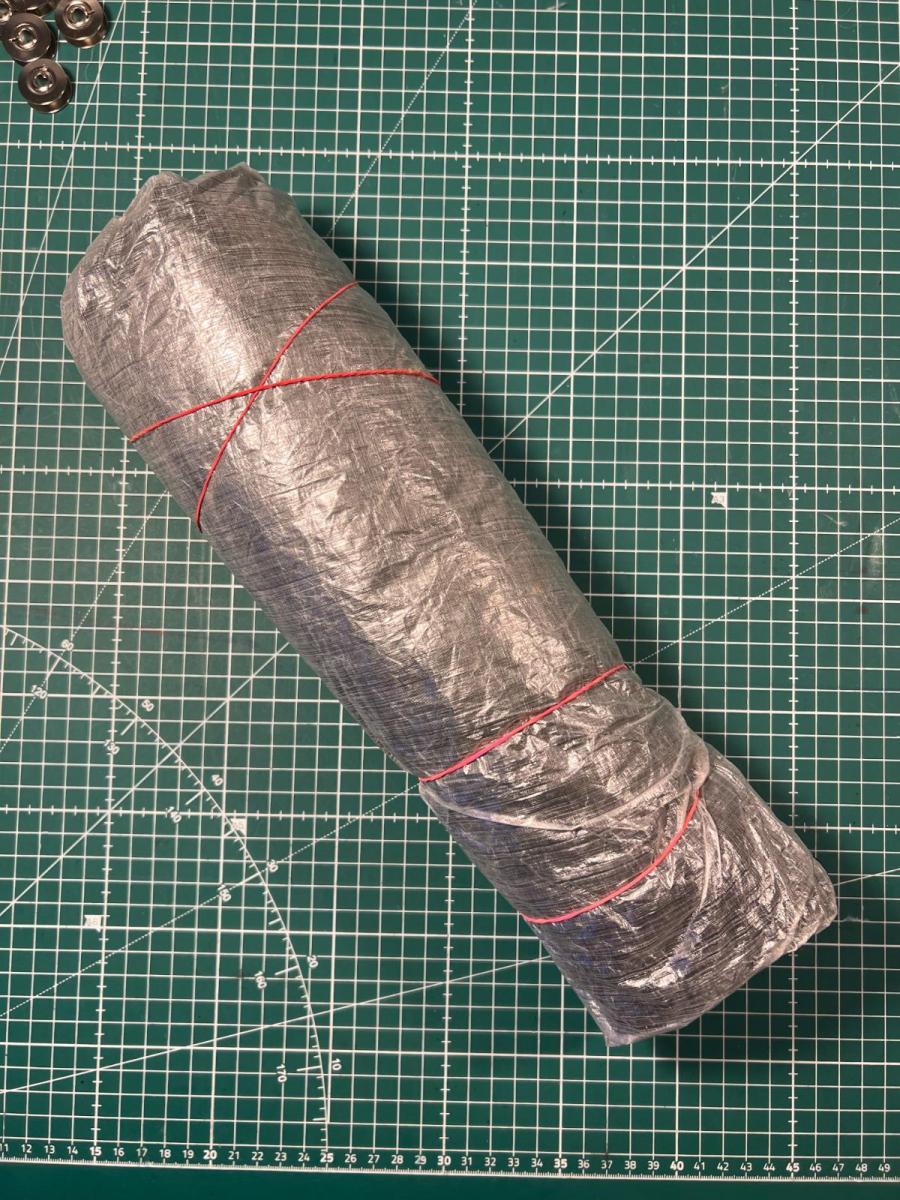
    Neatly folded and rolled it has a reasonable pack size.

    With this out of the way I wish us all a great 2023 season of UL hiking, backpacking and outdoor recreation! :)

    PS: I did make some mistakes with the seam allowances, which led to me having to tape all seams twice… I suppose it could have been sub 300g if I wouldn’t have made that stupid mistake?!:D

    #3769564
    John Vance
    BPL Member

    @servingko

    Locale: Intermountain West

    Congrats – Very nicely done!

    #3769580
    john mcalpine
    BPL Member

    @cowpie

    Congratulations!!!..that looks amazing.  You’re obviously very skilled.

    You got it done for 11.6 oz.  That would be a dream.  I really hope I can get my hands on one of Dan’s when he list them.  His tent will be my last purchase for awhile.  I like all the rest of my gear.

    #3769616
    d k
    BPL Member

    @dkramalc

    Beautiful job!

    #3769620
    Eric Blanche
    BPL Member

    @eblanche

    Locale: Northeast US

    Well done! Least and most favorite part of the project?

    #3769628
    Montmolar
    Spectator

    @vhk416googlemail-com

    Thanks a lot! :)

    Least favorite: Redoing all fly seams, after I realized my miscalculations with the seam allowance…

    Most favorite: The first pitch, which immediately worked out well. Prior to that also the design process – SketchUp can get a bit addictive haha.

    #3769639
    YoPrawn
    Spectator

    @johan-river

    Locale: Cascadia

    I’m surprised Dan hasn’t commented yet. I’m sure he would be pretty stoked to see someone made this.

    This is one of the coolest MYOG tents I’ve ever seen. So much space for such little weight.

    Would be curious if you could make access to the back vestibule without a zipper adding weight. Lots of storage space back there while in the tent.

    #3769645
    R L
    Spectator

    @slip-knot

    Locale: SF Bay Area, East Bay

    Nice job.  Well done.  If I only had the skill set.   What is the overall footprint?  I’d even entertain a skinny one similar to the High Route 1.

    #3769646
    Murali C
    BPL Member

    @mchinnak

    Congrats! If you are going to sell your 8 oz masterpiece – I am all EARS! :-)

    #3769667
    McDowell Crook
    BPL Member

    @mcdcrook

    Locale: Southeast

    Super impressive!

    #3769675
    Montmolar
    Spectator

    @vhk416googlemail-com

    @Johan-river: I suppose you could think about kam snaps or velcro? – I don’t think it would be much lighter though and definitely less convenient.


    @slip-knot
    : The base measures 130x225cm or 51.2″x88.6″.

    #3769682
    John W T
    BPL Member

    @bilbby

    Great work!

    I ended changing to Velcro on the vent to a strip as well.

    Do you plan on adding a couple of tie outs at the peak?

    I botched up the slider trying to one hand the zipper without a stake at the bottom. A second slider (top down) might be useful.


    #3769690
    Rob P
    BPL Member

    @rpjr

    That is so cool…I love it!

    #3769925
    Dan @ Durston Gear
    BPL Member

    @dandydan

    Locale: Canadian Rockies

    Very awesome. Love to see people interested enough in the X-Mid design to want to make their own. I don’t mind at all for personal use. What are the floor dimensions?

    #3769935
    Montmolar
    Spectator

    @vhk416googlemail-com

    @dandydan: Thanks a lot! It was an interesting process, since all I started with have been the basic measures you list on the XMid 1. Tweaking those to my own needs has been a lot of fun.

    The bathtub floor is a usable 205.5x65cm / 81×25.5″. I’d call that spacious with my 5.9ft, but others may find it tight. :)

    #3770036
    R L
    Spectator

    @slip-knot

    Locale: SF Bay Area, East Bay

    Good size.  Covers a hole between the X-Mid 1 and the High Route 1

    #3770052
    R L
    Spectator

    @slip-knot

    Locale: SF Bay Area, East Bay

    …regarding footprint dimensions only.   I meant no direct comparison of design as attested by Mr Skurka himself.   ~RL

    #3770118
    SIMULACRA
    BPL Member

    @simulacra

    Locale: Puget Sound

    Amazing project! Well done. Would you mind describing how you did the carbon struts in the floor?

    #3770125
    Mike J
    BPL Member

    @mikejones3-2

    Locale: SoCal

    Awesome job! I love MYOG but have not had the guts to attempt a shelter yet!

    #3770154
    Jerry Adams
    BPL Member

    @retiredjerry

    Locale: Oregon and Washington

    nicely done.  and great pictures of it, thanks.

    I like the most and least favorites.  If you can recover from a screwup without having to buy a bunch more (expensive) fabric it’s a good thing.  I always enjoy it when I first set something new up and it actually works

    #3770476
    Montmolar
    Spectator

    @vhk416googlemail-com

    @simulacra:
    It was a rather straightforward process: Cut carbon to length (10cm), round edges, put in 1.43 oz DCF flap (top and bottom folded inwards for strength), sew on grosgrain and attach to the bathtub seams via tape. :)

    #3770615
    SIMULACRA
    BPL Member

    @simulacra

    Locale: Puget Sound

    And you attached this to the outside of the tub?

    #3773771
    Montmolar
    Spectator

    @vhk416googlemail-com

    @simulacra: No, I basically sandwiched it between the two tub parts forming the edge seam.

Viewing 23 posts - 1 through 23 (of 23 total)
  • You must be logged in to reply to this topic.
Forum Posting

A Membership is required to post in the forums. Login or become a member to post in the member forums!

Get the Newsletter

Get our free Handbook and Receive our weekly newsletter to see what's new at Backpacking Light!

Gear Research & Discovery Tools


Loading...