Great picture with such a small lens
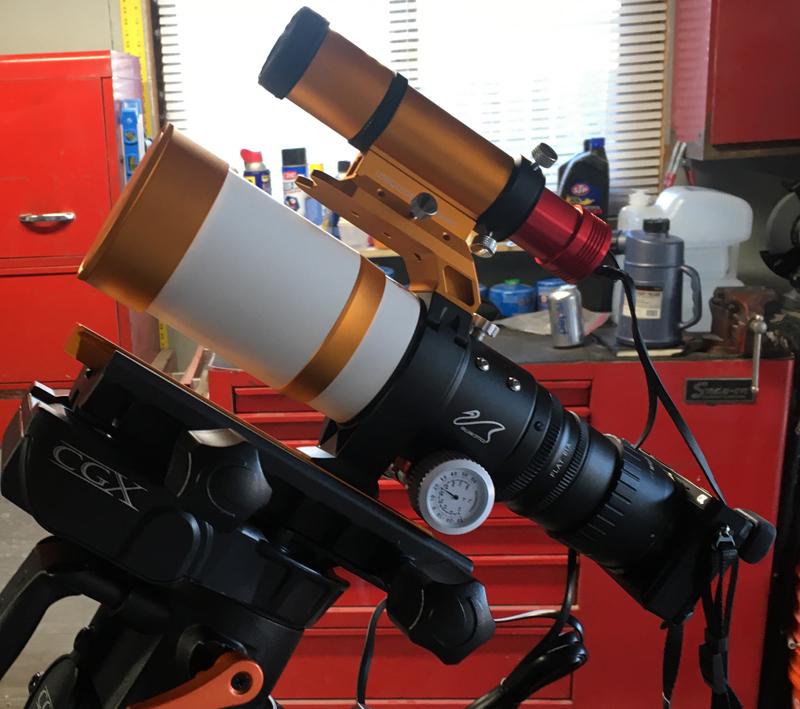
Yes, it is small. My DSLR is attached to the white scope in the picture below. The A6000 is a pretty compact crop sensor body, and is physically much smaller than similar cameras.

The gold scope on the top is a guiding scope with a mini-camera instead of an eyepiece. The guide scope camera is connected to a computer that guides the telescope mount. The guide scope is focused on only one dim star and it follows the star as the earth rotates telling the computerized mount when and how much to move. It moves the mount incrementally every 2.5 seconds the way I set up the guiding software.
The photo I shared in the original post has not been enlarged!!
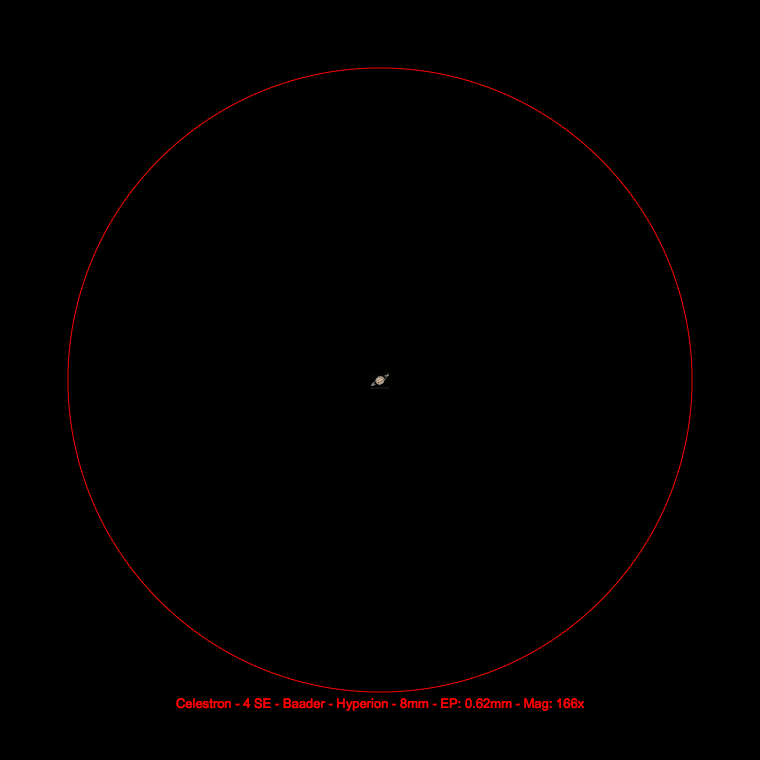
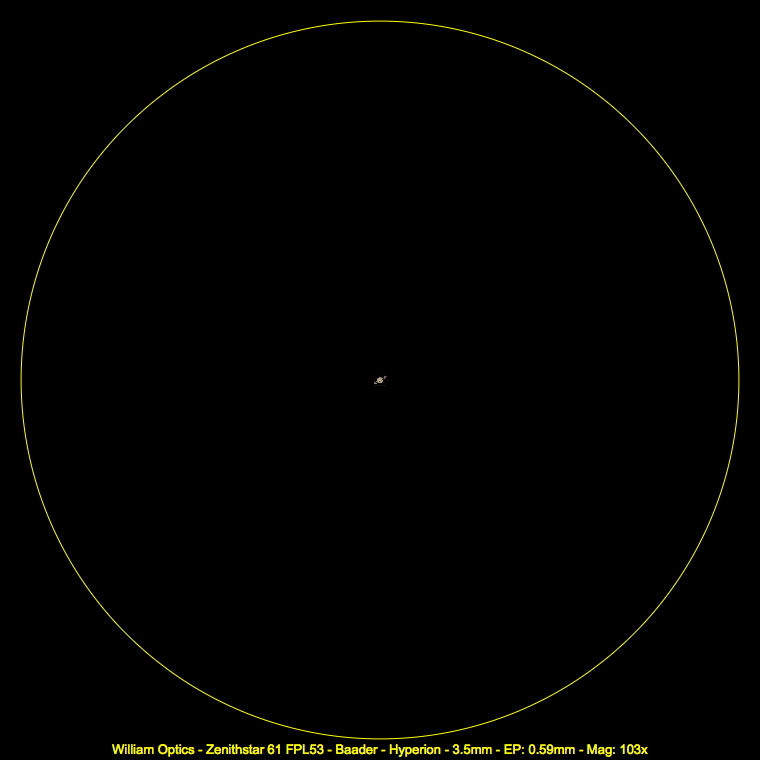
How can such a tiny fixed lens (no zoom) do this? Here’s the secret . . .
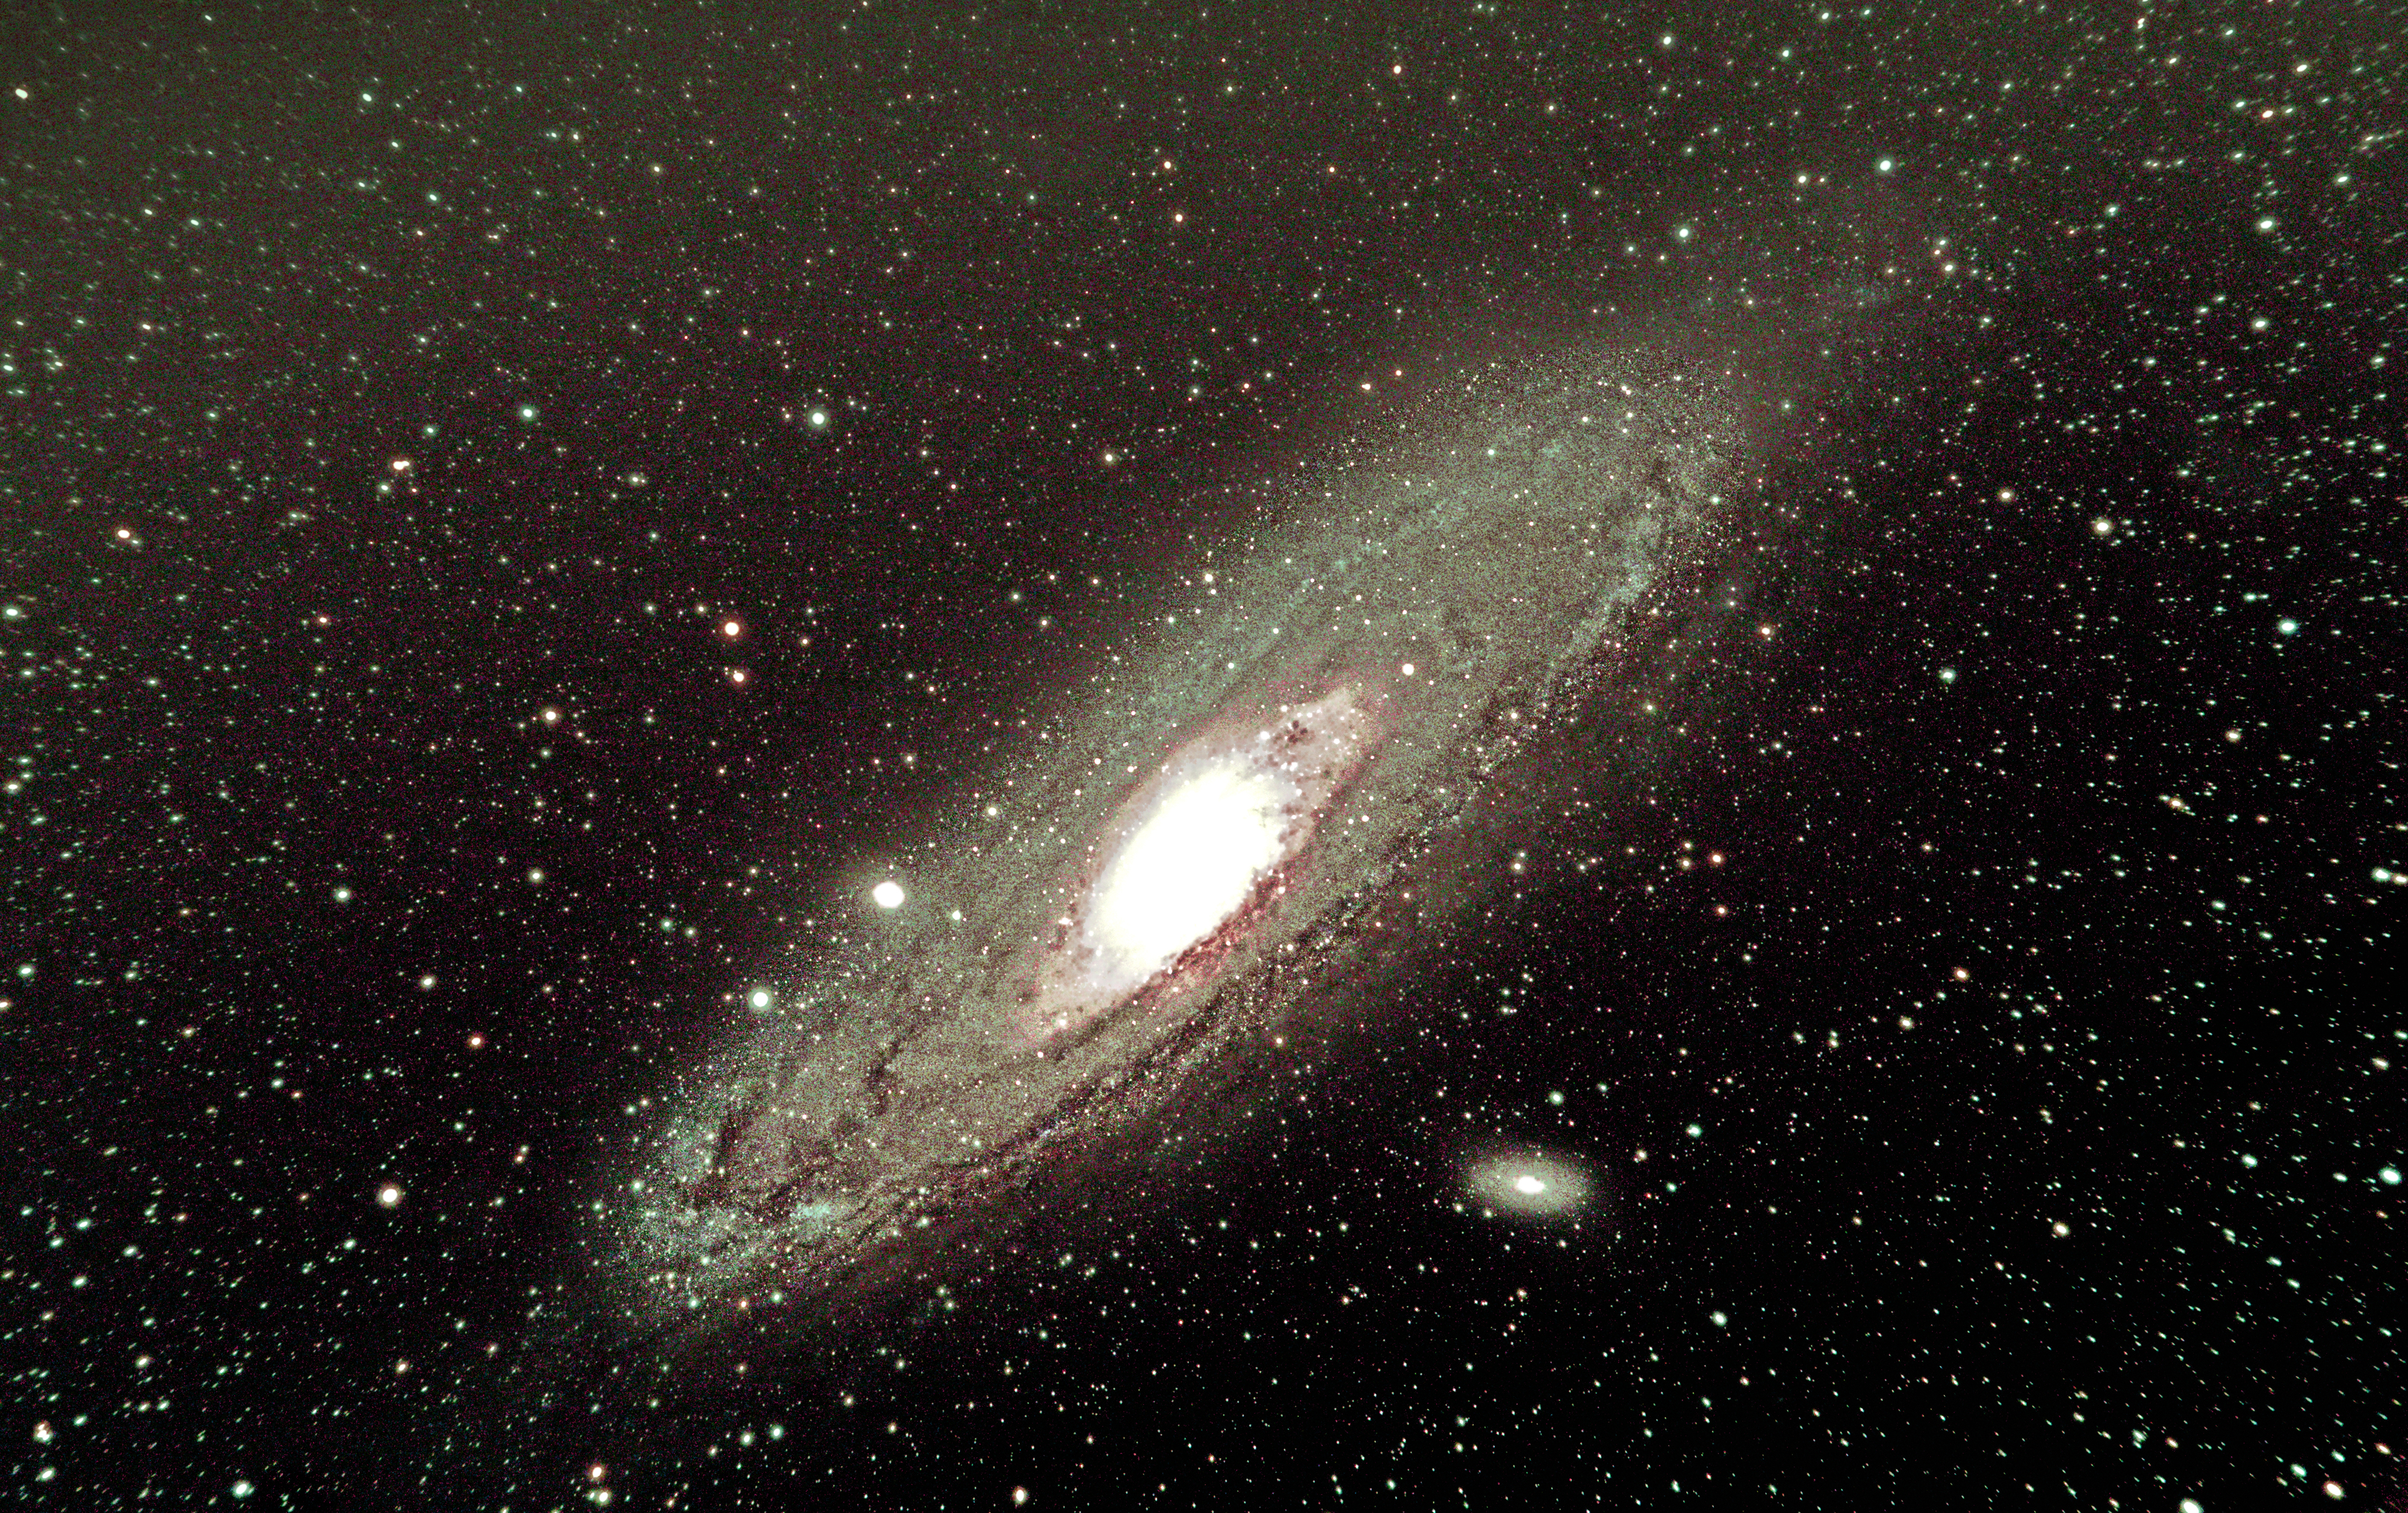
The Andromeda Galaxy is HUGE — only we can’t see it with our inferior eyesight.
The Moon has an apparent size of 32.9 arc-minutes.
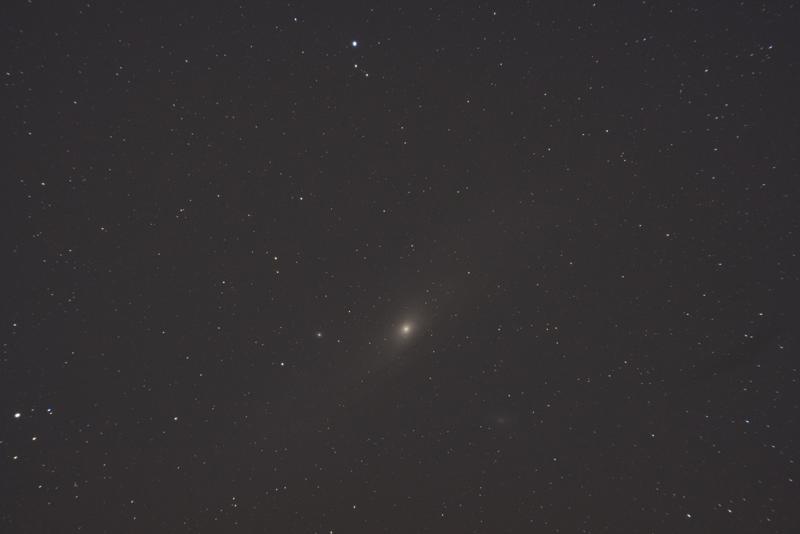
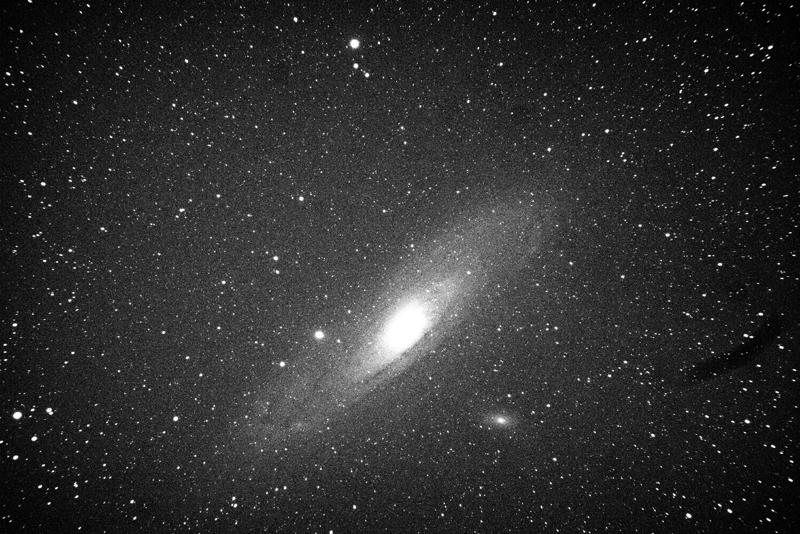
Andromeda has an apparent size of 177.8 arc-minutes. From our view, Andromeda is 5.4 times larger than a full Moon. On a crystal clear night, if we know where it is, it is a tiny smudge in the sky to the naked eye. Below is a single 60 second exposure I took.
The picture only shows the galactic core and a tiny bit more. Because a sensor can capture much more than we can see, and because cameras are designed to replicate the human eye, we can only visually see the tiny smudge in the picture above. But all the data is stored in the picture.
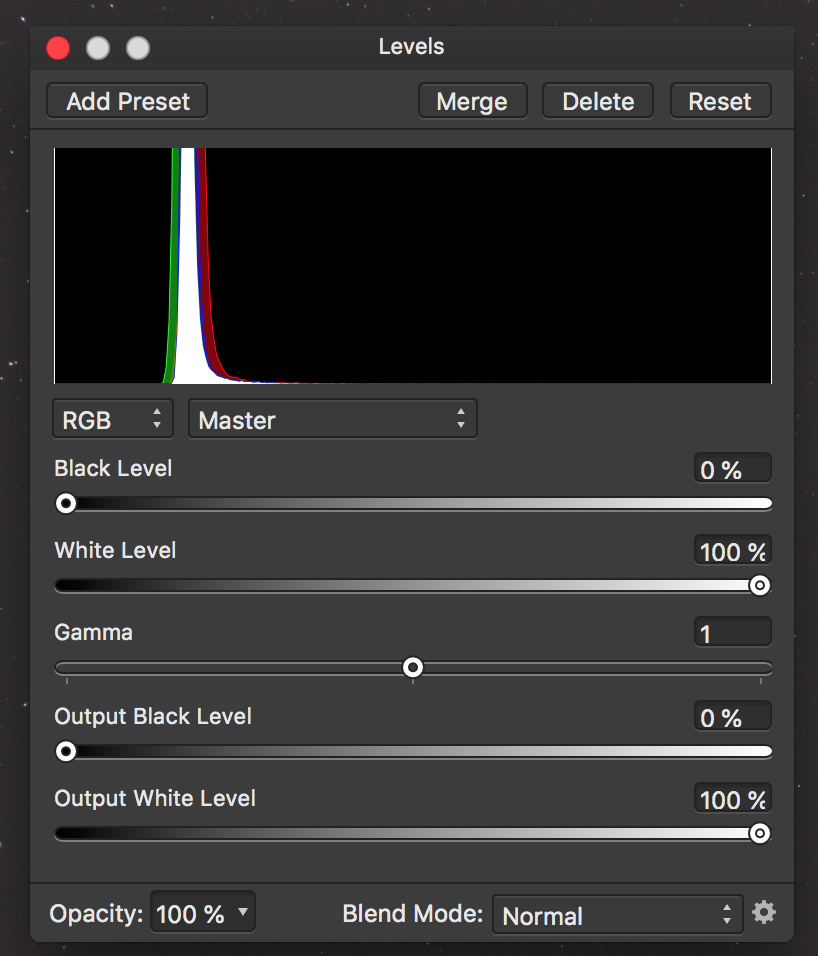
Below is the RGB color histogram of the above photo. Note that all the colors are stacked into a very narrow band of space.
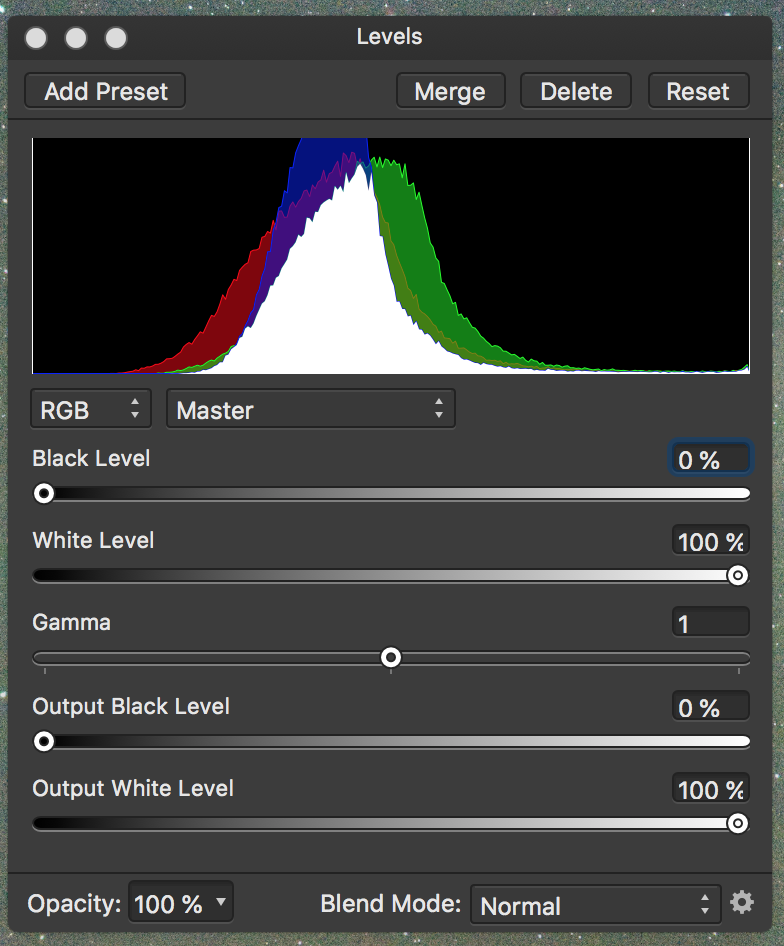
What we want to do is stretch this RGB data. As we stretch it, we can see more. Below is a histogram after I made 6 adjustments to the single picture above.
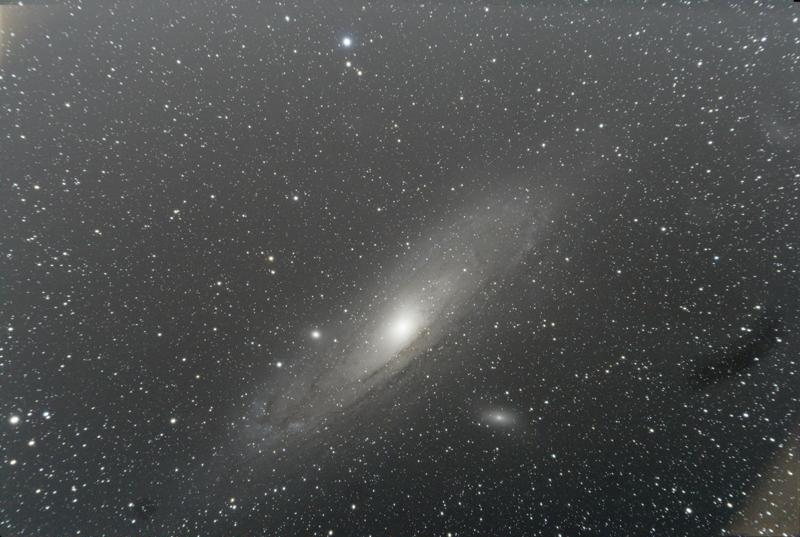
As the histogram is stretched, more data becomes visible. Below is the same picture after these 6 adjustments. No cropping or enlargement was done. I did turn it into a black and white version to better show what is happening, since I only spent a couple minutes doing the adjustments.
If you look at both pictures, you can see the star clusters at the top of the picture and the star cluster in the lower left are in the same position. So no “zooming” or cropping was done with the software. The second picture just shows more of the data that was captured and stored on the SD card.
Also note how many more stars are visible in the second “stretched” photo.
The Process of the photo in the original post
I took 120 pictures with an exposure of 60 seconds each, with a 61 second interval between each so the sensor could keep cool and the memory cache would clear between each exposure. I had to discard 28 photos because of satellites (Elon Musk is a villain), plus the scope tracked under a power line for a few seconds. So I ended up with 92 good photos.
Calibration photos
I also took 30 pictures with the lens cap on using the same exposure and ISO and ambient temperature.
I took 30 pictures with the cap on with an exposure of 1/4000 of a second. Then I took 30 pictures at 1/4000 of a second with the cap off, the lens covered with a white t-shirt and a white screen iPad on top of the t-shirt. These calibration photos help identify and “hot” pixels, extraneous noise or other defects.
Photo Stacking
Using special software, I stacked all 182 pictures to create a single master photo, which ended up being 320MB in size. The software took about 60 minutes to stack and integrate all 182 photos.
This is the stacked results below. Notice that there are problems in the corners, which always happens when stacking pictures (the telescope over four hours moves in an arc). Also there is a dust spot on the right side of the picture. The picture looks like it is black and white, but it is a color photo. Post processing will bring that out.
But the single stacked photo has much more data than a single exposure. This is what we want, a picture with lots and lots of data to extract for a finished product.
Post processing
This is the most important and time consuming part. I’m not completely happy with the original photo I posted. I am using a new to me program, Affinity Photo. It is very complicated and powerful, and similar to Photo Shop. Unlike my Windows version of Photo Shop CS2, that cannot handle 32 bit RGB, Affinity does handle 32 bit RGB, and my stacking program can export 32-bit RGB.
The other thing is Adobe has gotten greedy with their subscription model and pricing. I’m not going to spend that kind of money to upgrade. Affinity Photo is a direct competitor and can read PS files and also run Photo Shop plug-ins. They have versions for Mac, Windows, and Linux operating systems. I paid $49 and it is much, much more powerful and polished than I anticipated for under $50.
The internet and bookstores are full of how-to do Photo Shop information, and Affinity lacks these kinds of resources, since it has only been on the market for 3 years or so. If anyone is looking for a full featured photo processing program, take a look at Affinity Photo.
I have only had Affinity Photo for about a week, and anyone who has experience post processing using layers, curves, levels, masking, etc., knows 1 week isn’t enough time to learn a powerful program like Affinity or PS. So I am at the beginning of that learning curve. This is why my final product isn’t as good as I could do with my current version of PS. But I have to learn how to use Affinity Photo, so that is why.
Anyway, this is a long-winded post. I learned a lot about trail cameras when Katharina started her hobby, so maybe anyone who is interested in astrophotography might find this helpful. Astrophotography can be really expensive. But if you already own a DSLR and a decent lens, then a lot can be done with that. However, if you want to capture deep space objects like M31 where many exposures of 30+ seconds are required, then a computerized equatorial mount is necessary and good ones are expensive.


