One of the first things I did with the new Li Protrail was weigh it. 17.7 oz with the 4 stakes and the stuff sack. The stakes weigh the same as my titanium shepherds hooks, and they are the same length. I’m using the shepherds hooks for now. The bag weighs 0.5 oz less than the Zpacks, so I’m using the new bag.
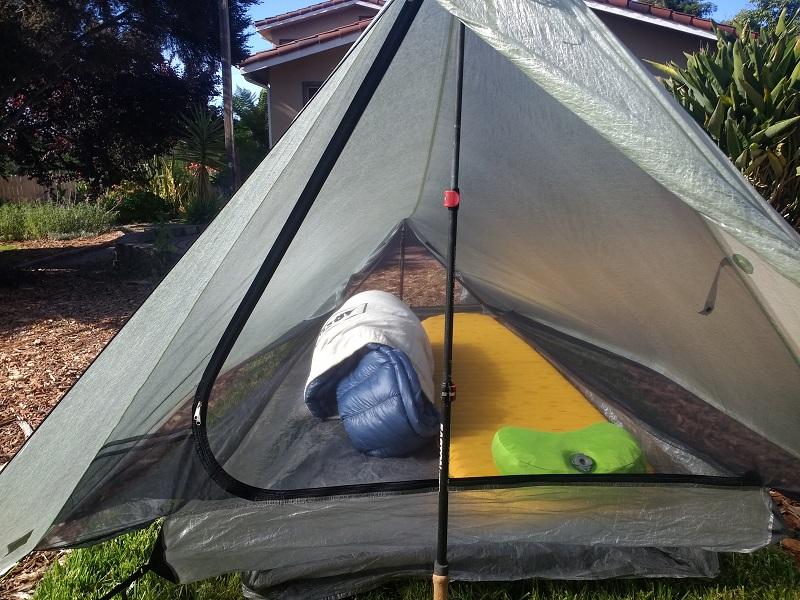
I quickly set the tent up with 4 stakes on not perfectly level ground. Pretty realistic, I think. That night I kept sliding toward the bottom. There is some netting at the foot which keeps your bag from touching the wall. Very nice feature. I was impressed with how roomy the tent is.
The next day I took the Protrail to a level spot, and determined I would learn to set it up properly (though there was no problem in the first night).
I took some pictures as I learned more about the tent:
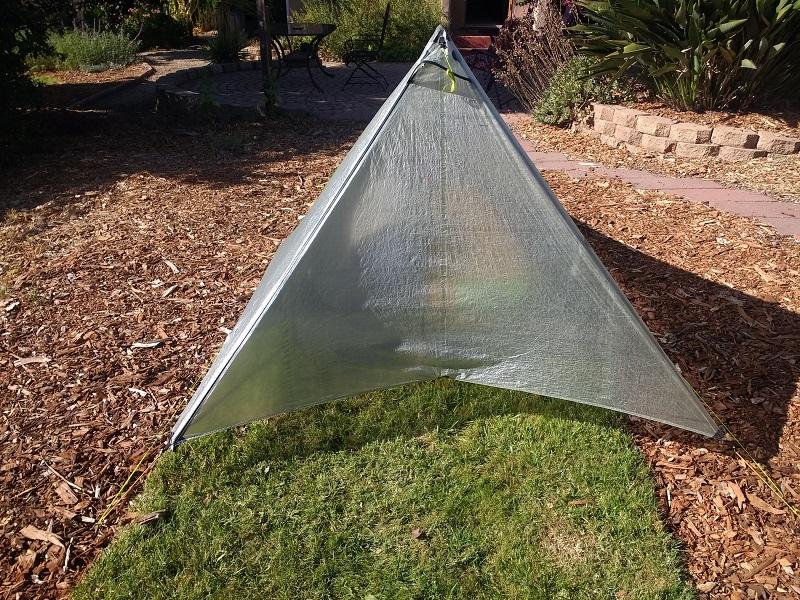
The Protrail is quite roomy. It looks like it could squeeze in 2 in an emergency.
It took awhile to learn the fundamental structure of the tent is the catenary curve. If you don’t get that right you fight an uphill battle getting the tent taught. So, I learned to stay with the suggested 24″ height of the rear pole and the 115-150 cm height of the front pole.
So the tent was more or less up, but it was not taught. It was a little breezy, and in this photo you can see the fabric moving on the downwind side:

Finally I arrived at a taught pitch:
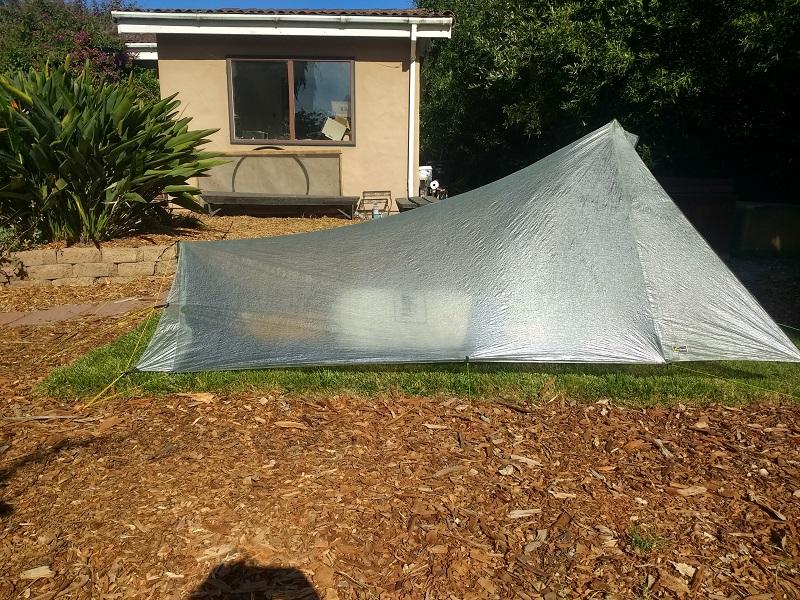
Taught pitch from the other side:

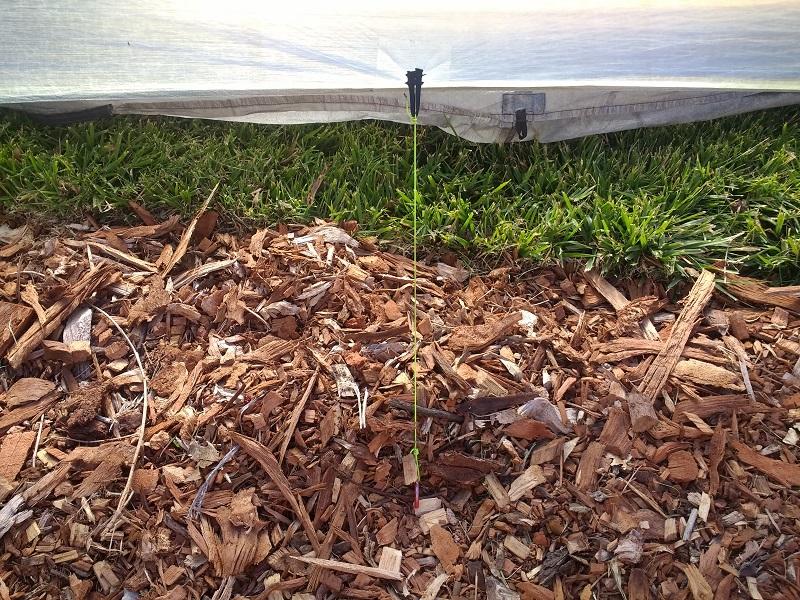
This how I tensioned the catenary curve. Mainly I added a stake to pull the tent taught. Since I now have an anchor, I pulled the provided tabs to the same stake. These pulls are adjustable, using their taught-line hitchs. The center line (and all three lines) can be adjusted using the provided tensioner at the apex of the rear:
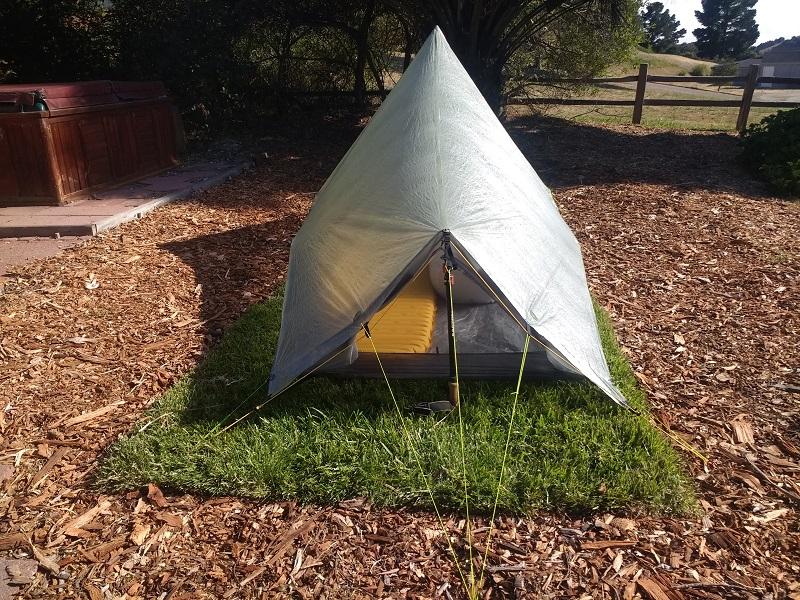
I liked this result, so I also pulled the provided tabs to the corner stakes, using taught-line hitches.
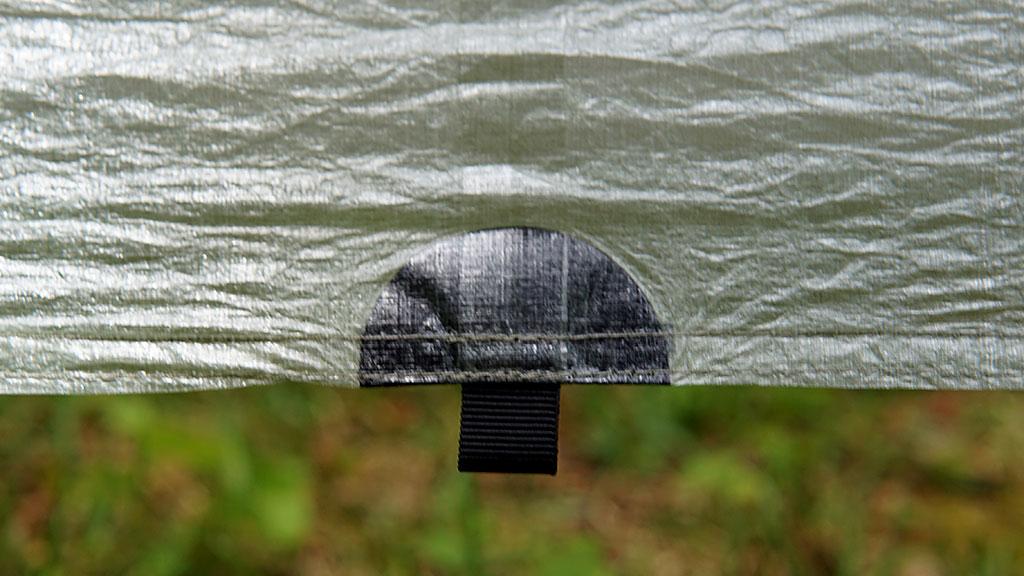
Earlier skipped over the mid-section pullout on each side I added almost immediately. The first photo of the roomy tent owes much of its spaciousness to these 2 extra stakes. Also, Henry Shires, the designer, said any tent is only as wind-worthy as the longest unsupported panel. I used a stick-on patch from Zpacks I had around; it might be better to request a sew-on tab from Tarptent. The lower tab in the photo is on the poncho I tried out as a groundsheet.
The front provided tabs were connected to the corner stakes in the same manner as the rear. There didn’t seem to be any advantage to pulling the front forward with the line from the apex. This would make setting up the tent easier, though.
The front vestibule needs to be tensioned too, to keep it from flapping in the wind. In this photo, I pulled the bottom inside. Probably I will add another stake and pull it outside.
I quite like this tent. I’m almost 6′ tall, and there is plenty of room to sit up in the front. I expect the large interior volume is going to help minimize condensation. My previous side entry test was ok until it started raining. Rain pounding on the roof just inches above my head was not comforting.
I weighed the tent again after these modifications. Mainly I added 3 stakes, plus one optional for the front for a total of four stakes. Now the tent, bag, and stakes weigh 19.8 oz.
The 19.8 oz also includes a cloth to wipe down interior condensation. The cloth weighs 0.6 oz (when it’s dry ;)