Hello All,
Given the trekking pole review just posted, I thought I’d share my design attempt. I had never used trekking poles before a couple of years ago, but after talking with a couple of friends who had done the PCT and use them, I decided to make a pair. Also, I had just bought a Z-packs Hexamid solo plus shelter and wanted to replace the dedicated tent pole I got with it.
Design goals:
- Have to fit my shelter. This was one of the primary reasons I made them, so I chose 52″ as the length
- Collapsible, but not necessarily adjustable. I like the simplicity and lightness of single piece poles, but they are just too unwieldy. I wanted to be able to easily stow them on my pack for steep off-trail scrambles. Complicated adjustable joints on trekking poles add to the weight and can be prone to failure. They can also be noisy, which is annoying. I was always impressed by the friction-fit joints on my fishing poles, and the fact that I never had one come apart during use. So why not do that for a trekking pole? If the joint is only a couple inches long, you are adding very little weight over a single-piece pole, but get the benefit of disassembly.
- Strong but lightweight. If they are not strong enough to catch your fall when you slip, or support your shelter in adverse conditions, what’s the point? Carbon-fiber is the lightest, so I wanted to use that. After looking at plain carbon tubes and fishing poles, I checked out golf-club shafts. These can be gotten very cheaply, they are very light weight, and also quite strong (think about using a golf club as a cane). The taper on them is also perfect for the friction fit. There are a huge number of choices, so you can get them as light or as beefy as you want.
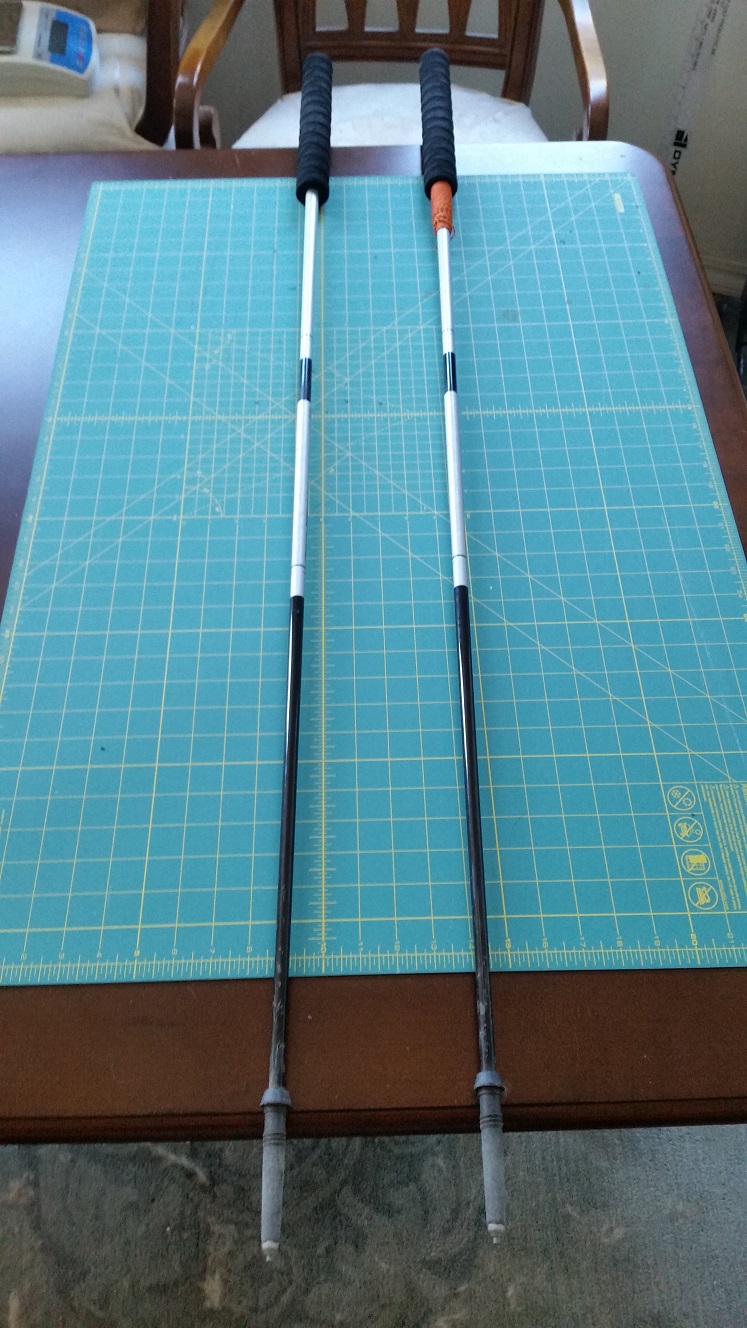
The shafts I got are 41″ long with a .375″ tip (for irons). The butt end is .6″ with a .04″ wall, and the tip has a .1″ wall so it is almost a solid rod at the tip. The shaft blanks weigh 73g each. For the tips, I bought a pair of Leki replacement tips off Amazon I think. For the grips, I got some foam fishing pole grips with a .5″ inner diameter, 1.5″ OD and 11″ length. Since 52″ is pretty tall for a trekking pole, I wanted a long grip since pole length was not going to be adjustable. Foam is pretty light, so an extended length grip won’t add too much weight. Here are some pictures:
Load bearing: you can see a little bit of flex as I try to put weight on it while holding the camera above me.

Construction:
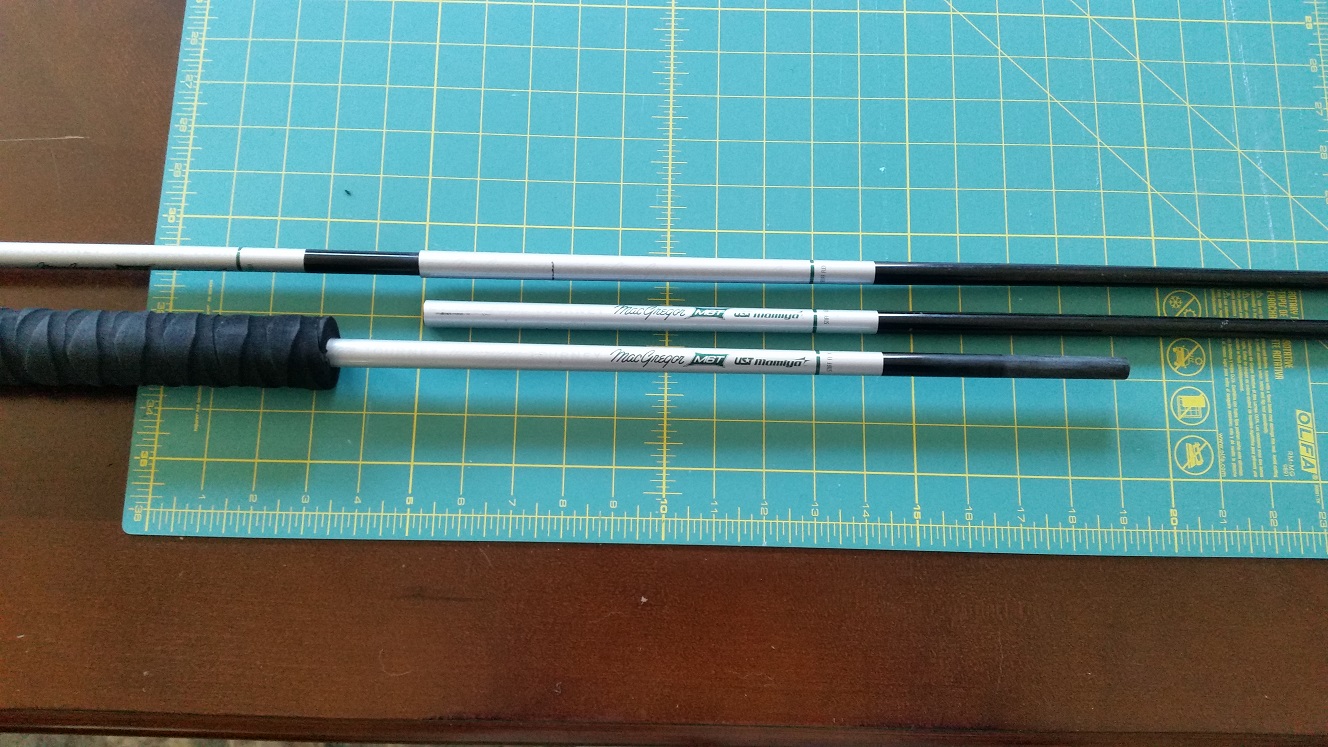
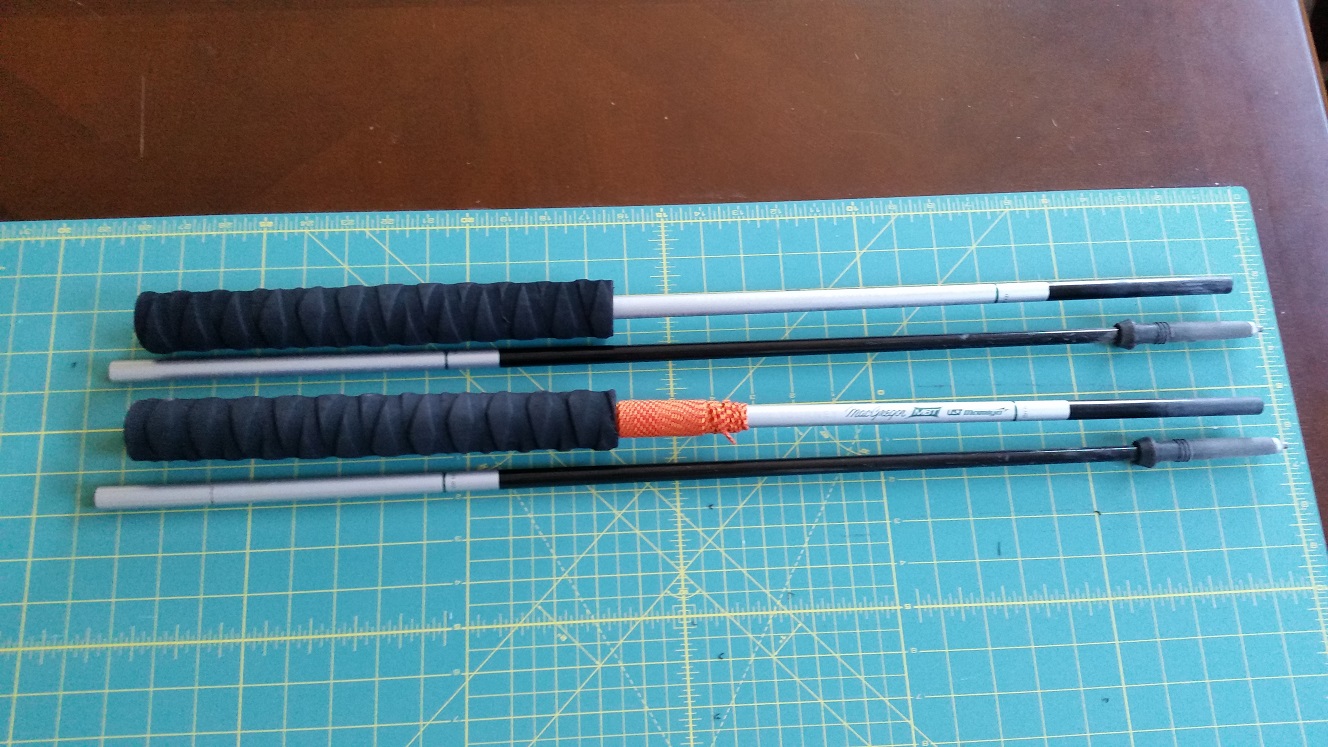
The way the shafts taper and fit together, you have to use two shaft blanks to make one trekking pole. You can see in the picture above where I made the cuts on each section. I thought I might need to reinforce the female side of the joint with a ferule or something, but that does not seem to be necessary. One thing I did feel was necessary though, is an internal ‘stop’ on the female side. After I cut the piece that would be the top half of the trekking pole, I cut about .5″ off the tip that would be the male side of the joint. I then epoxied this .5″ section into the female side of the lower half of the pole. Doing this operation was a little tricky, because you only want the epoxy to be where the stop is, not where the tip of the top half sits in the joint. I used a q-tip to reach into the mouth of the joint about 2″ in and coated the wall with epoxy. Then I stuck the .5″ stop ring into the joint a little ways while the shaft was horizontal, and used the male tip to push it in to where the epoxy was. I pushed the shafts together hard enough to get a solid fit that would not come apart too easily, then pulled them apart again to make sure no epoxy was on the male tip. To let the epoxy set, I re-joined the two halves to the correct amount of friction then turned the assembly upside down so the stop ring would be pulled by gravity against the male tip.
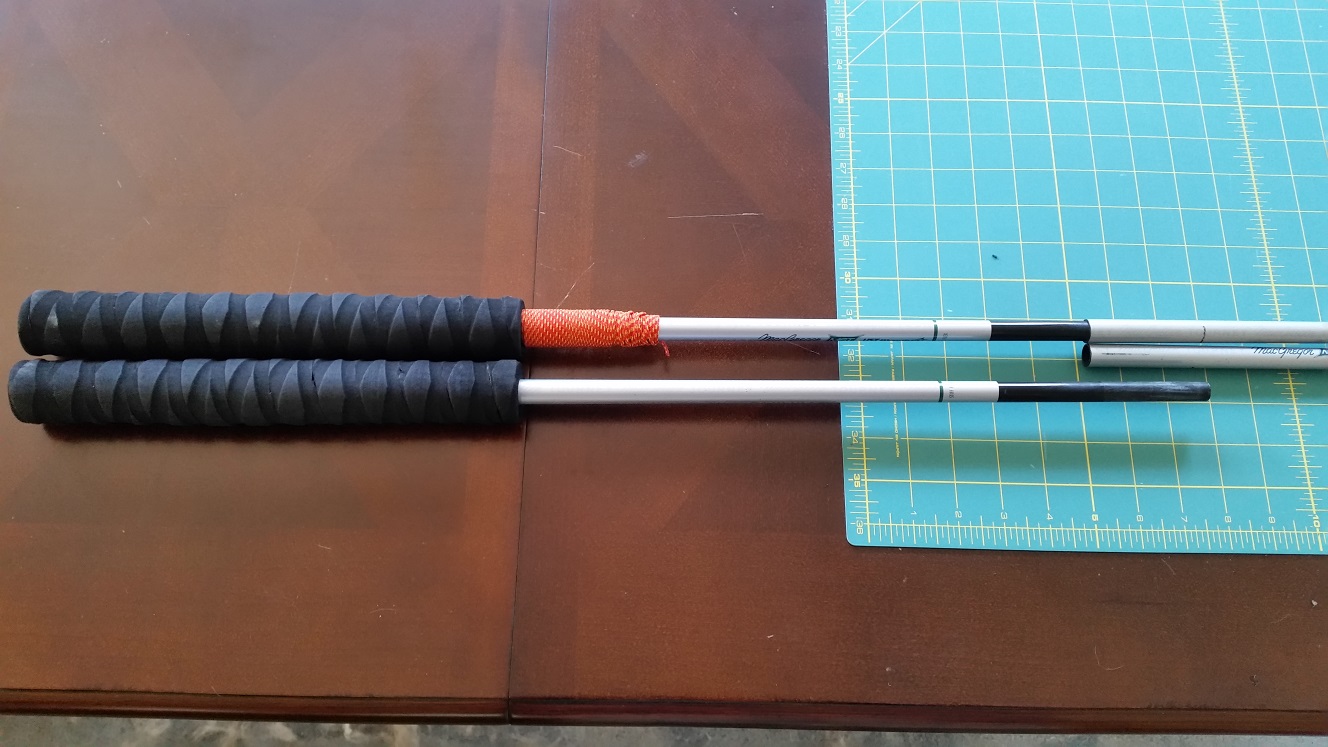
To get the .5″ ID foam grip to fit on the .6″ butt of the shafts, I cut them in a spiral so they could expand as needed since the foam itself did not have enough give to expand to .6″. I then used some RTV adhesive to secure the grips to the shafts.
To get the trekking pole tips to fit, I had to file/sand down the tips of the shafts a fair amount, then just press fit the shafts into the tips.
Performance:
I have taken them on two trips for a total of maybe 60 miles in the Sierras. They have held up well so far, and the joints show no signs of wear and still stick together very securely. I’ve had quite a few instances where a tip would get stuck in a crack and I’ve had to quickly release my forward motion to keep them from snapping, but no damage resulted. I chose not to add wrist straps, because I don’t feel I really need them. I’m a gym climber with decent forearm strength/endurance, so my hands have not felt fatigued while using them without straps. I also chose the grips to be pretty large diameter so they were a bit easier to hold securely. The diamond pattern on the grips also helps a bit vs just smooth foam. Total weight: 5.5 Oz / pole.

