Topic
Mid-Style tent
Forum Posting
A Membership is required to post in the forums. Login or become a member to post in the member forums!
Home › Forums › Gear Forums › Make Your Own Gear › Mid-Style tent
- This topic has 8 replies, 5 voices, and was last updated 4 years, 7 months ago by
 Jerry Adams.
-
AuthorPosts
-
Sep 3, 2019 at 4:21 pm #3608775
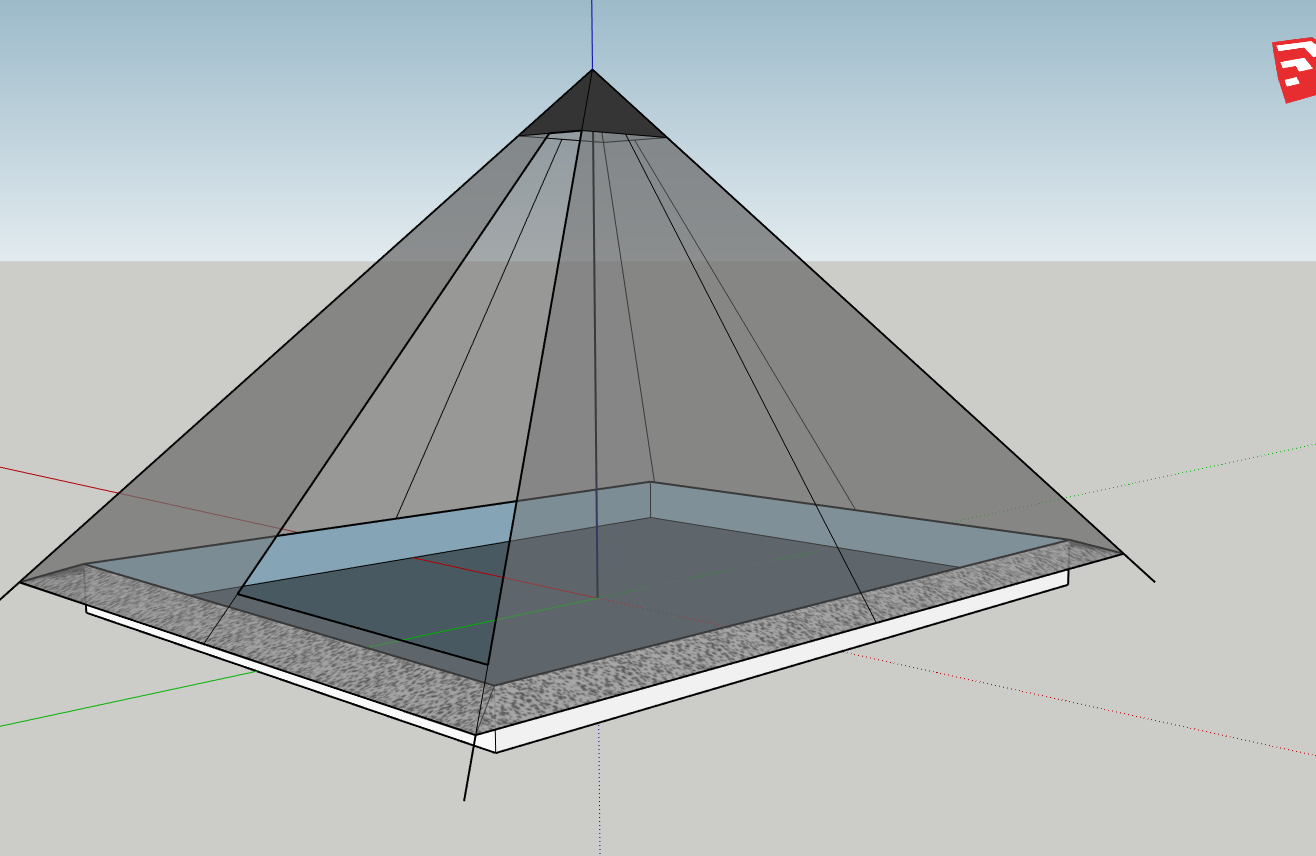
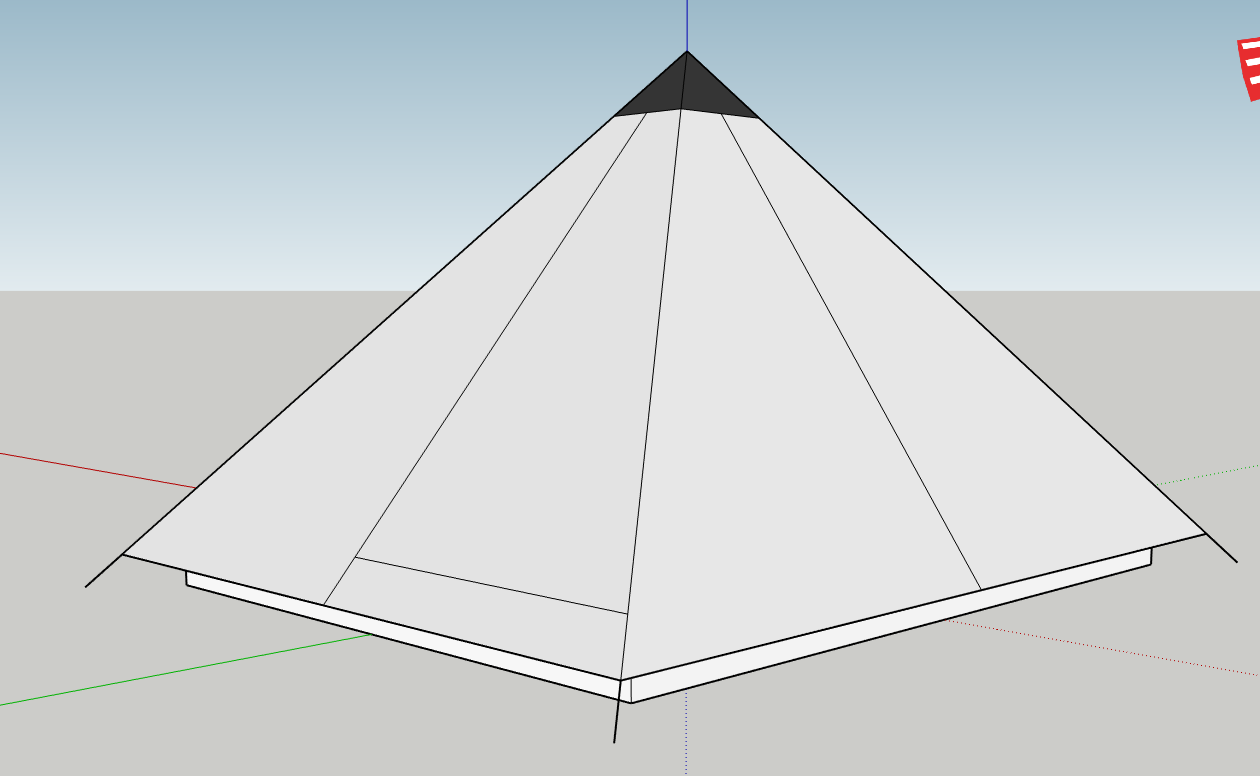
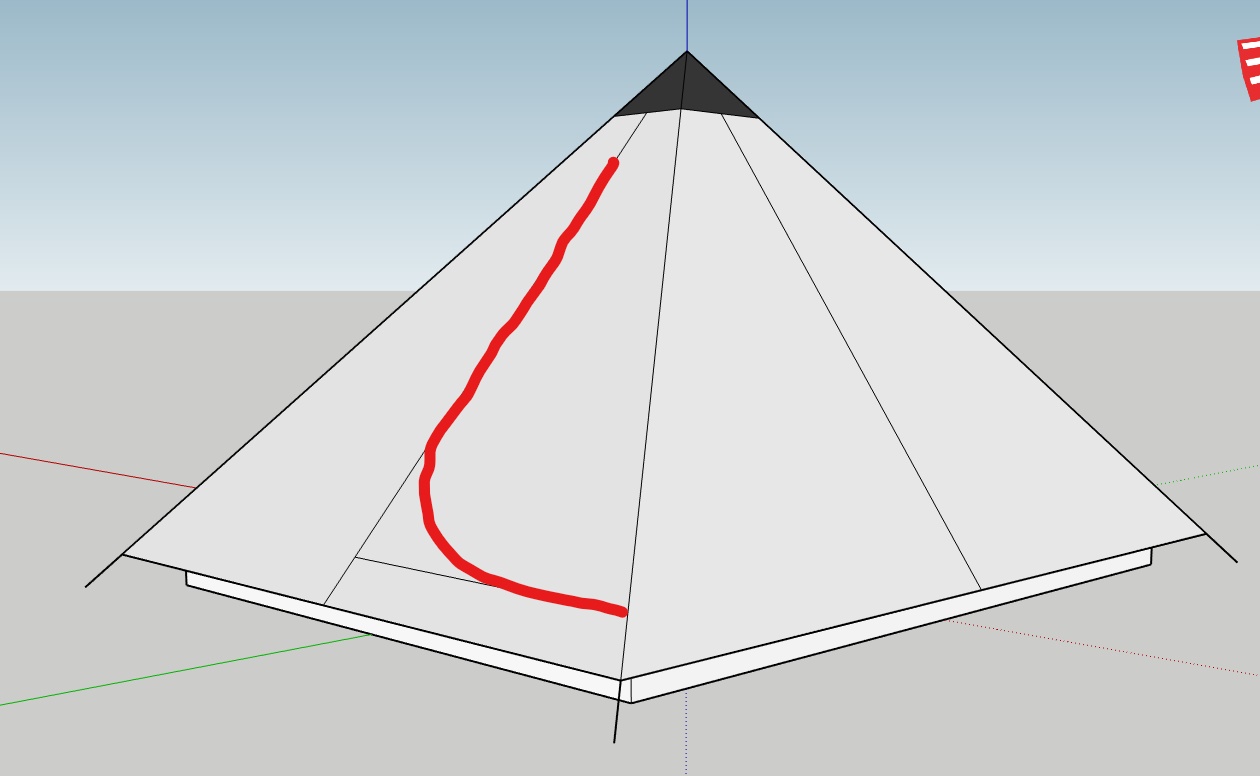
I’m looking for some input on whether this plan would work. I’ve never tried a Mid before but have completed several A-frame style tents already. I’m mostly trying to identify any potential roadblocks before I go ahead and order the fabric. As a side note, I’m hoping for this to have plenty of space for 2 people plus a dog. While I want the tent to be light, having enough space & durability is more of a priority. Having bug protection is a must as well. I’ve played with a couple of designs with mesh going all the way up to the peak, but that adds a ton of extra fabric. Instead I intend to sew a 6″ piece all around the bottom that connects to the floor. I haven’t seen many Mids with the mesh sewn from the bathtub floor to the bottom of the fly. I’m wondering if this will lead to a problem that I’m not seeing. The zipper would come down the front and curve into the side seam (red line) so it would be about 6″ above the mesh that runs along the bottom of the fly.
Here are the specs.
Floor: 6’6″ X 8′ X 6″ (walls) – 1.6 silpoly
Mesh – .67 noseeum
Fly 1.1 silpoly
 Sep 3, 2019 at 5:25 pm #3608780
You might want the mesh to go vertical and sew it to tent walls a foot up from the bottom
Even without mesh, I have found bugs don’t go into a mid much. And they go to the peak and just fly around harmlessly. But I avoid heavy bug areas/times.
With 2 people, when you open the door, rain falls into the tent. If someone has a sleeping bag there it will tend to get wet.
If instead, you put the opening centered on the tent, then each person can shift their sleeping bag to the side and not get rain on it. Put 2 extra stakes, 1 on the center of each side panel at the bottom.
Sep 3, 2019 at 6:07 pm #3608787Thanks for the input Jerry!
Sep 3, 2019 at 7:07 pm #3608798Lance will you want the ability to have the door open for views? As it stands now if the door is open the bugs can get in. If you want to remain bug free you can do one panel of mesh on the front until you get over your max zipper height. This will be heavier of course since you will have 2 zippers instead of one and a full panel of mesh. Something to think about.
Mike
Sep 4, 2019 at 3:32 pm #3608932Good point Mark I hadn’t considered that.
Sep 4, 2019 at 3:36 pm #3608933If it’s not raining or super windy I leave my door open for ventilation. Reduces condensation inside. In addition to the view.
If it’s raining a little maybe I’ll leave it open half way.
Sep 4, 2019 at 7:24 pm #3608958I suggest insetting the netting from the edge of the roof just an inch or so, if possible. The ZP hexamid does not. Consequently, rain runs down the roof, down the netting, and then wicks to anything that is brushed up against the netting on the inside.
Sep 6, 2019 at 12:29 pm #3609153If you go this way, you might want to looks at RSBTR’s new Monolite mesh. For a modest weight penalty you are getting something that is much more robust than conventional noseeum. If you’re suspending the floor off the mesh, I would suggest that the added durability would be well worth a few extra grams.
If you do suspend the floor, you have the usual problem that when you pack up it will get wet with the condensation on the walls, though there is a way of folding that can minimise this. Lots of people seem to live with this quite happily, but it’s a factor to consider.
In your drawing you don’t take the outer to the ground. In my part of the world this is a bad idea – reduces resistance to wind, and to driven snow and dust. If you always camp in sheltered woods, it may be OK, but you’ll have more flexibility if you design it so you can pitch the edges off the ground for venting in good weather, but low to the ground when it’s windy.
That said, this discussion summarises my issue with this type of mid – the door overhangs the sleeping area, so you can’t leave it open in poor weather. For me, that’s a show-stopper – I’d always go for a design where the drip line is outside the living area. Other people don’t seem to mind this so much.
Plus you have to consider how to keep the zip waterproof. Some designs rely entirely on a waterproof zip, but from what I’ve seen the zip seal can break down quite quickly and they can begin to leak, especially if exposed to UV. And this is something that would be difficult to fix in the field. So you’ll probably have to cover the zip with a flap, which is a bit of a pain to use with a curved zip. Finally, from the evidence I’ve seen, long curved zips are quite prone to failure compared to straight zips. For a start, you’ll have to use a coil, which is less reliable than a moulded zip and more prone to damage by UV (because of the thread that holds it together). And there’s a lot more strain on a curved zip in use.
Sep 6, 2019 at 2:08 pm #3609164yeah, I’ll second that, if the walls go all the way to the ground it has better wind resistance. Plus, stuff doesn’t blow underneath and get inside.
in fair weather it’s good to have a few inches of air space all around
-
AuthorPosts
- You must be logged in to reply to this topic.
Forum Posting
A Membership is required to post in the forums. Login or become a member to post in the member forums!
Our Community Posts are Moderated
Backpacking Light community posts are moderated and here to foster helpful and positive discussions about lightweight backpacking. Please be mindful of our values and boundaries and review our Community Guidelines prior to posting.
Get the Newsletter
Gear Research & Discovery Tools
- Browse our curated Gear Shop
- See the latest Gear Deals and Sales
- Our Recommendations
- Search for Gear on Sale with the Gear Finder
- Used Gear Swap
- Member Gear Reviews and BPL Gear Review Articles
- Browse by Gear Type or Brand.
