Topic

Inflatable Sleeping Pad from TPU Ripstop


Forum Posting

A Membership is required to post in the forums. Login or become a member to post in the member forums!

Home Forums Gear Forums Make Your Own Gear Inflatable Sleeping Pad from TPU Ripstop

Viewing 14 posts - 1 through 14 (of 14 total)
  • Author
    Posts
  • #3560799
    Will C
    Spectator

    @willcase

    I bought some 40D TPU coated ripstop nylon from DIY packraft.  I used it to make an inflatable sleeping pad.  I 3D modeled and printed the “boston valve” and used a Coke cap (easy to replace) to top it off.  I used scissors, ruler, marker, parchment paper, tape, and a clover mini iron to complete this project.  I also used some Seam Grip to adhere the inflation valve and to seal up some pin holes.   It measures about 21 x 72 x 3 inches.   The pad weighs around 16 ounces, although I haven’t put the final product on the scale, still waiting for the seam grip to dry.   See the pics below.

    The Coke cap valve.  It top part is the removable one way valve which inserts into the valve body.  I used a small piece of flexible plastic to make the valve work.  Its not perfect but I prevents most of the air from escaping when you are trying to blow it up.  It actually seals better under more pressure.

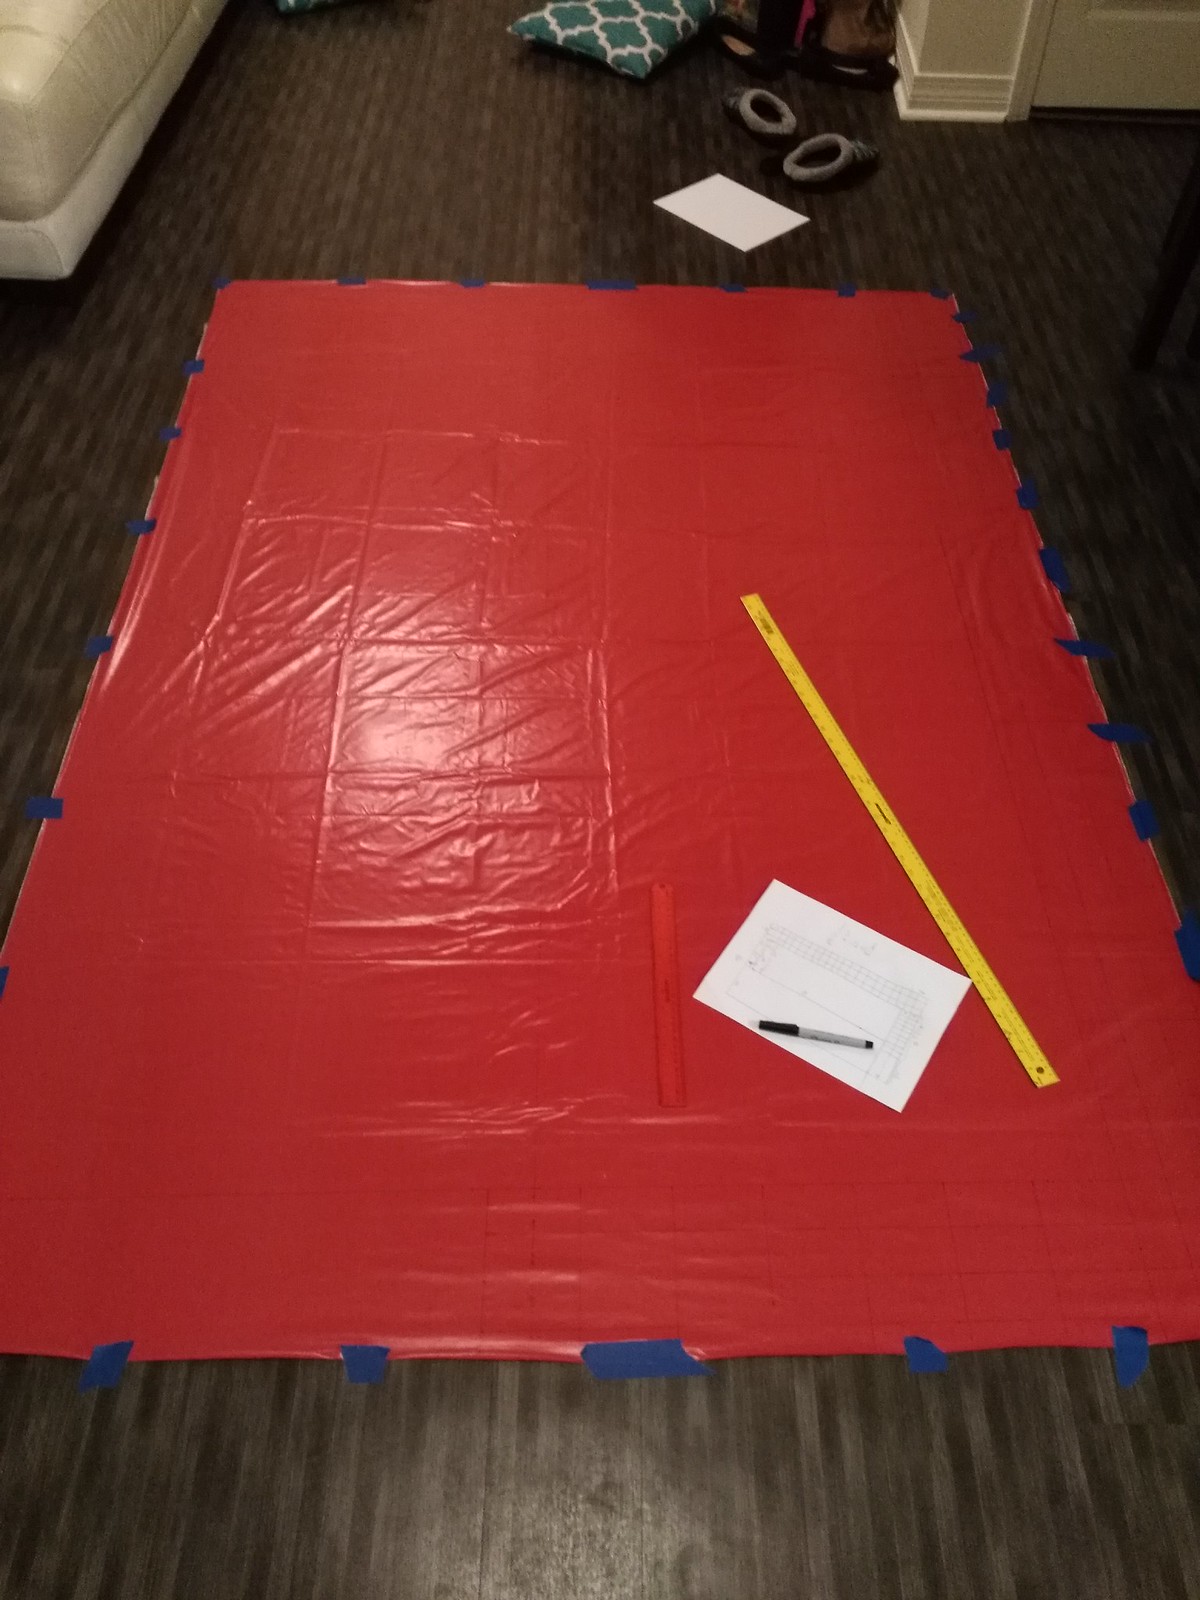
    Laying out and marking up the fabric.

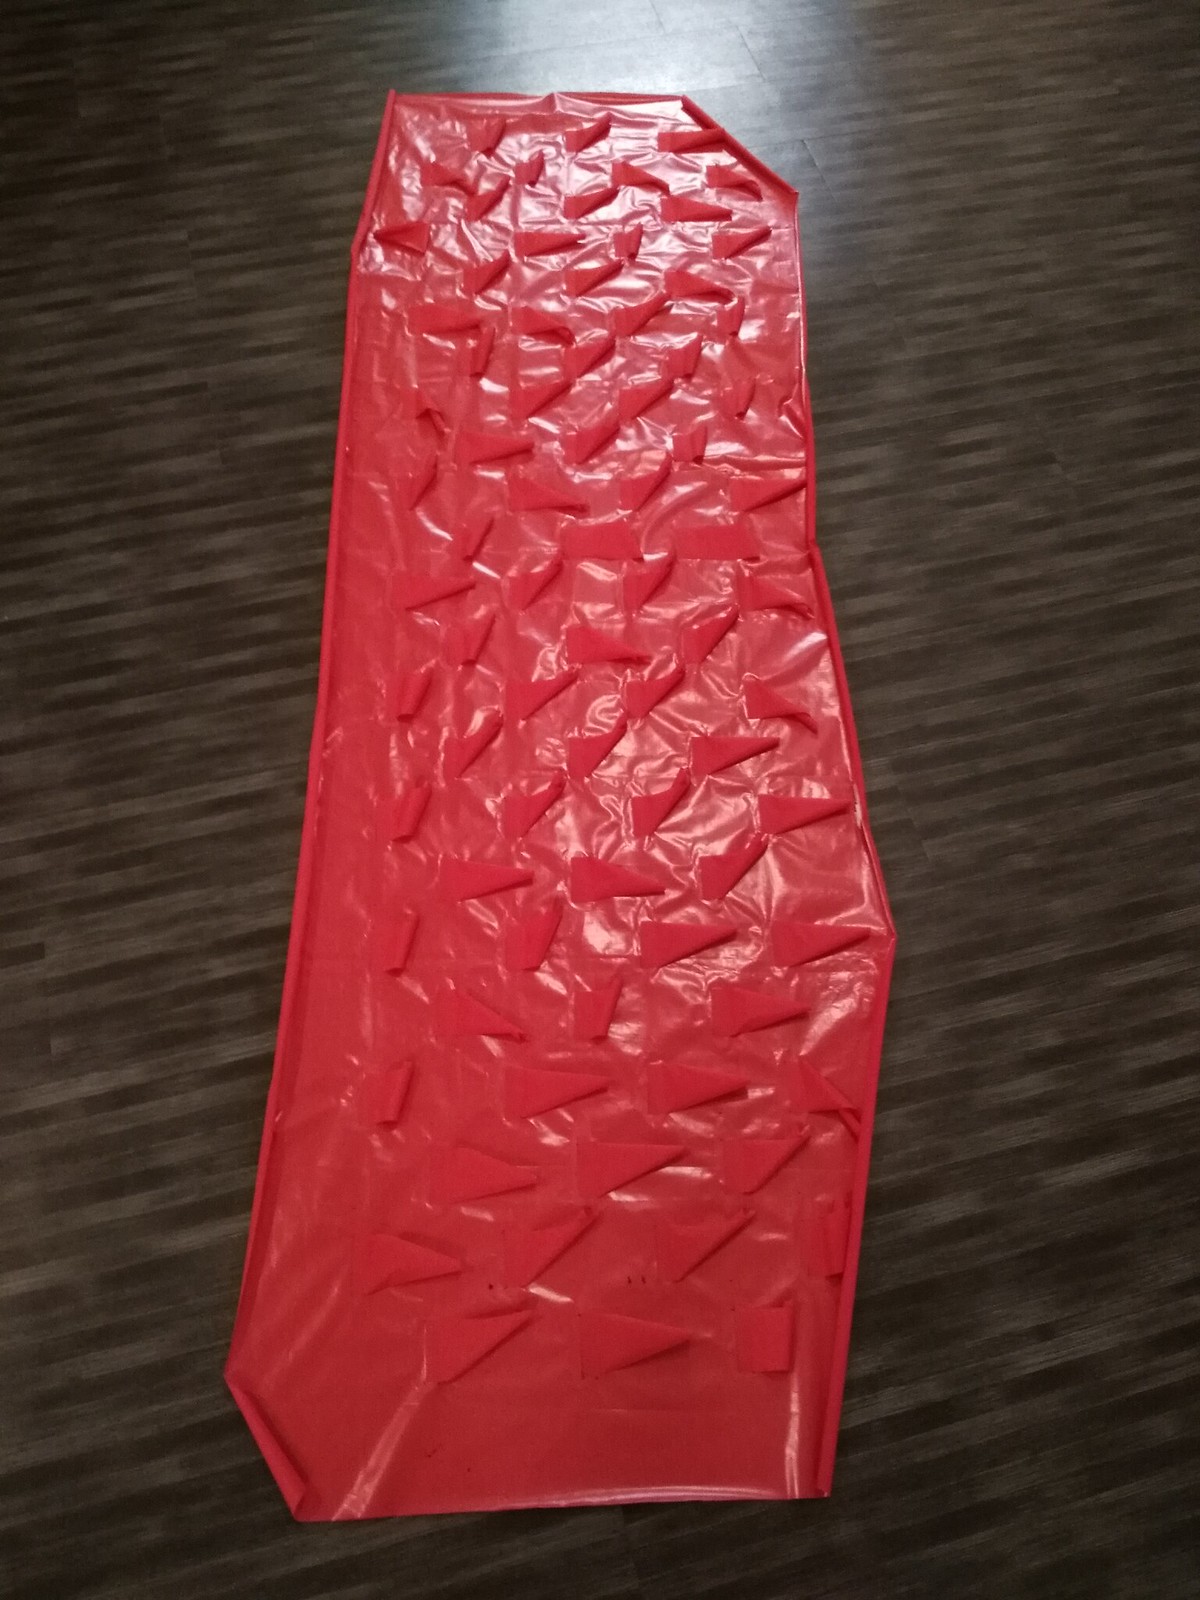
    After cutting out the two sides and the 80 baffles.

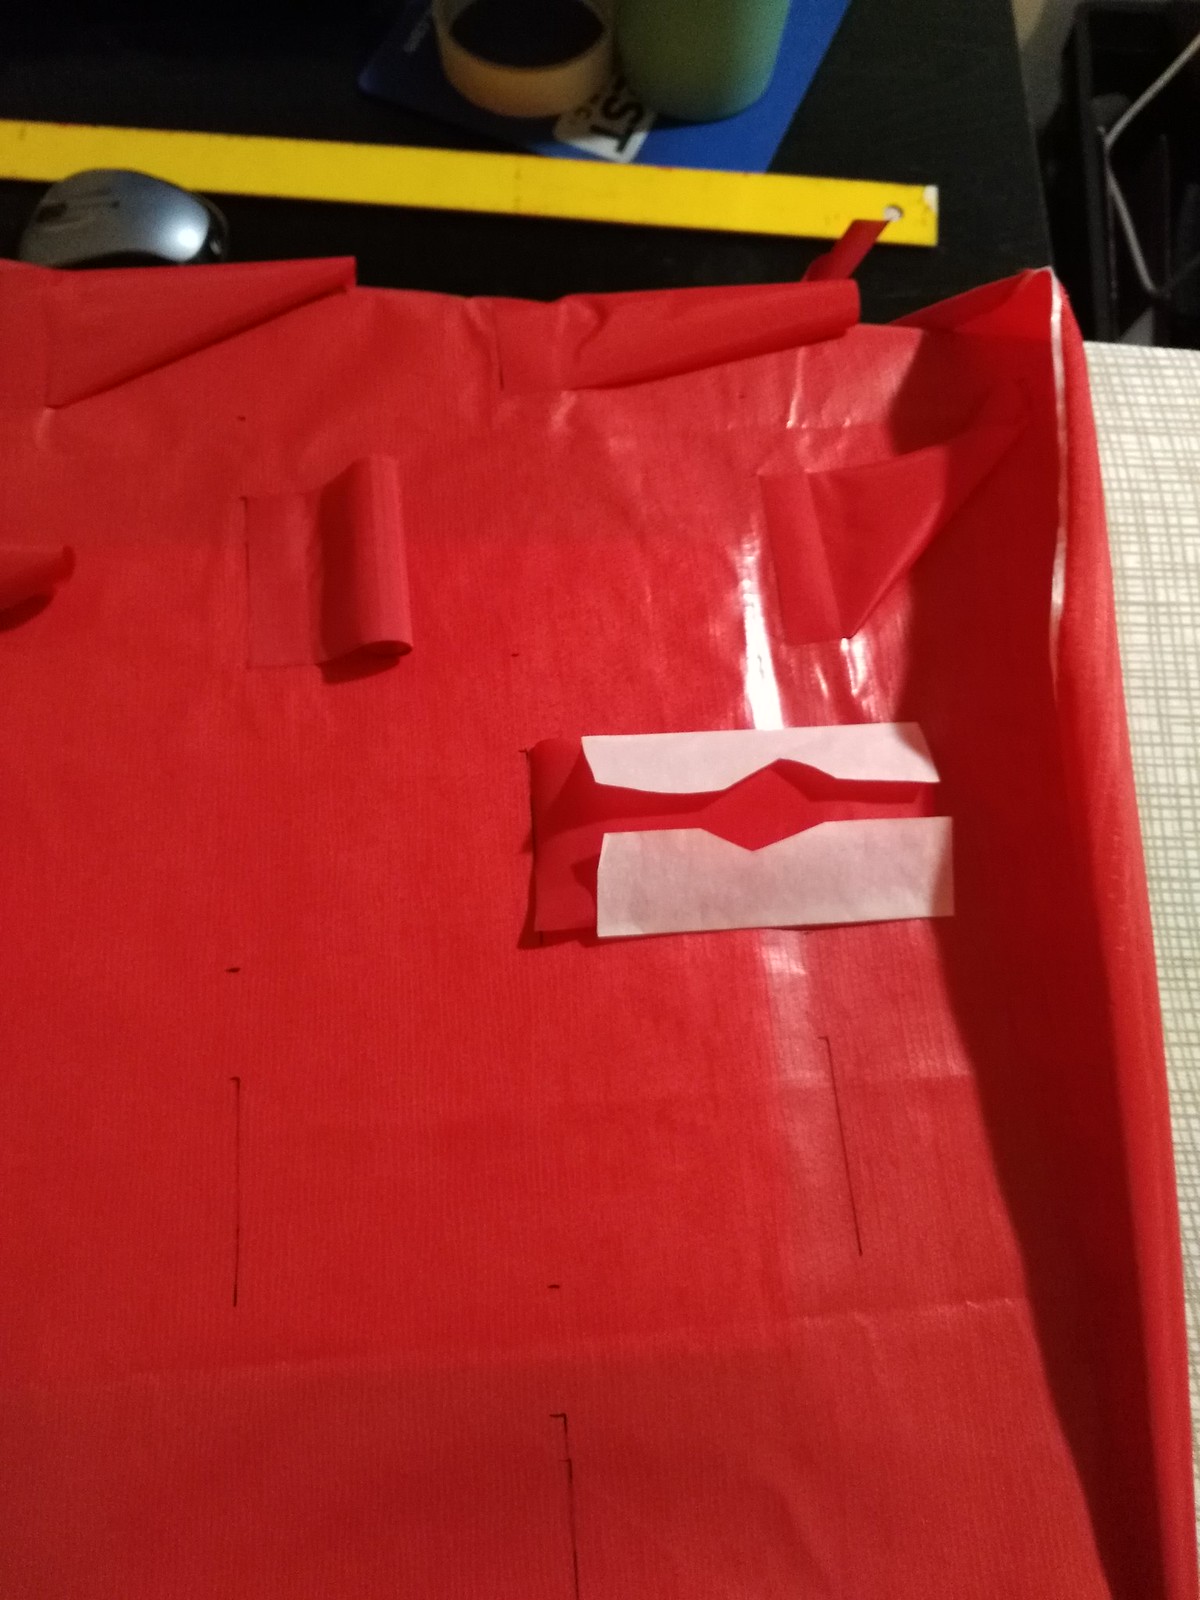
    Using parchment paper to seal a 0.5 inches of each baffle to the main panel.

    One side with all the baffles welded on.

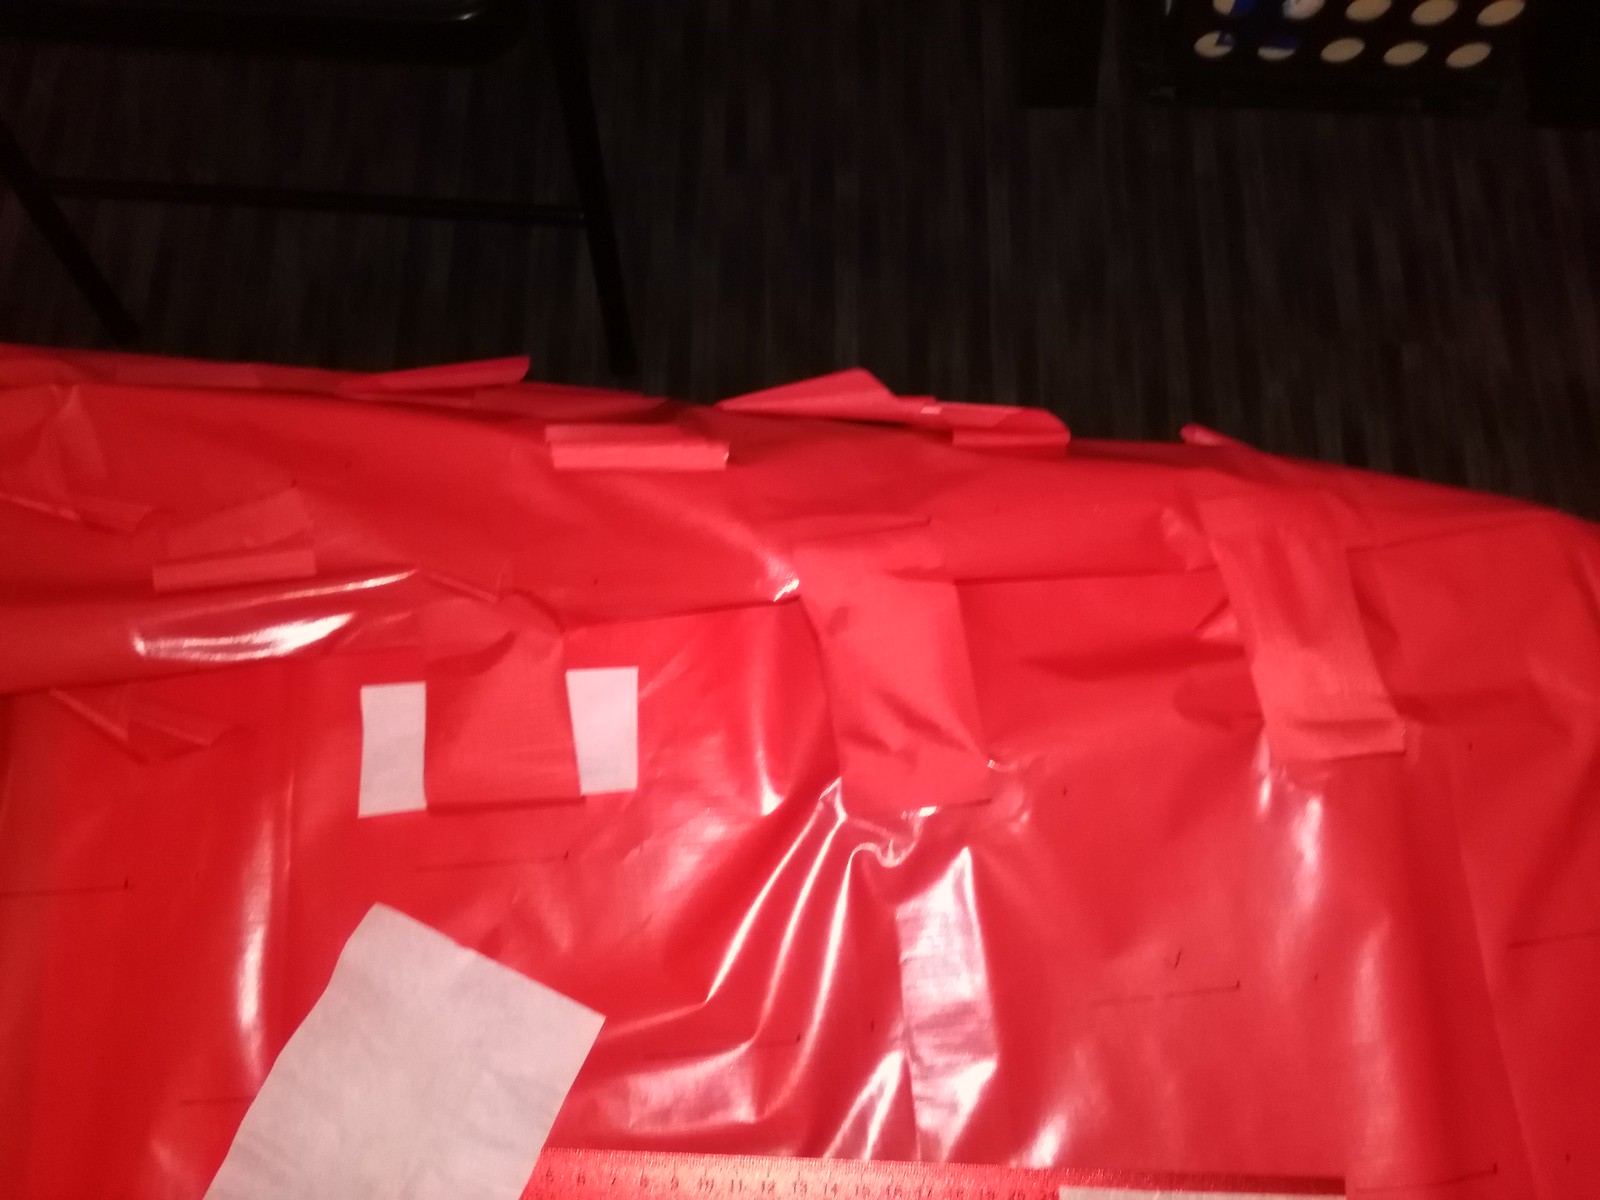
    In the process of sealing the baffles onto the other side of the pad.

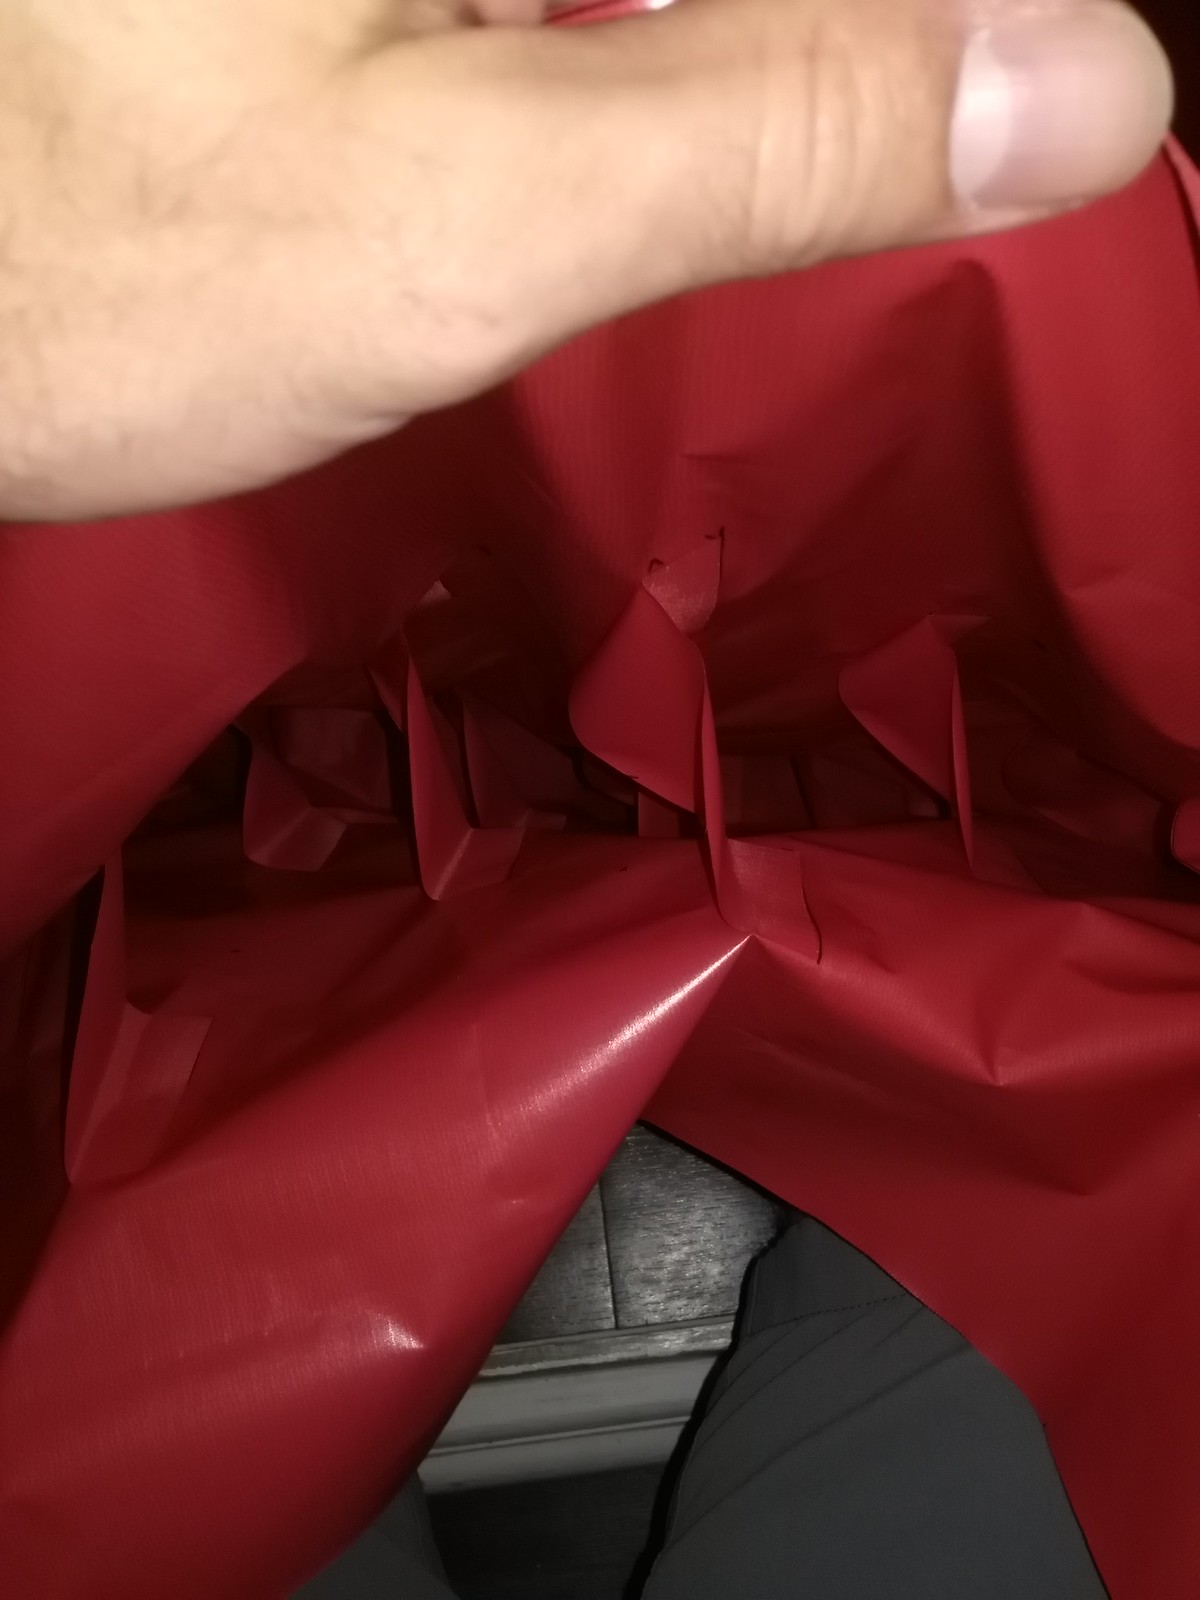
    Inside of the sleeping pad after all the baffles have been sealed to both sides.  This is before the edges were sealed together.

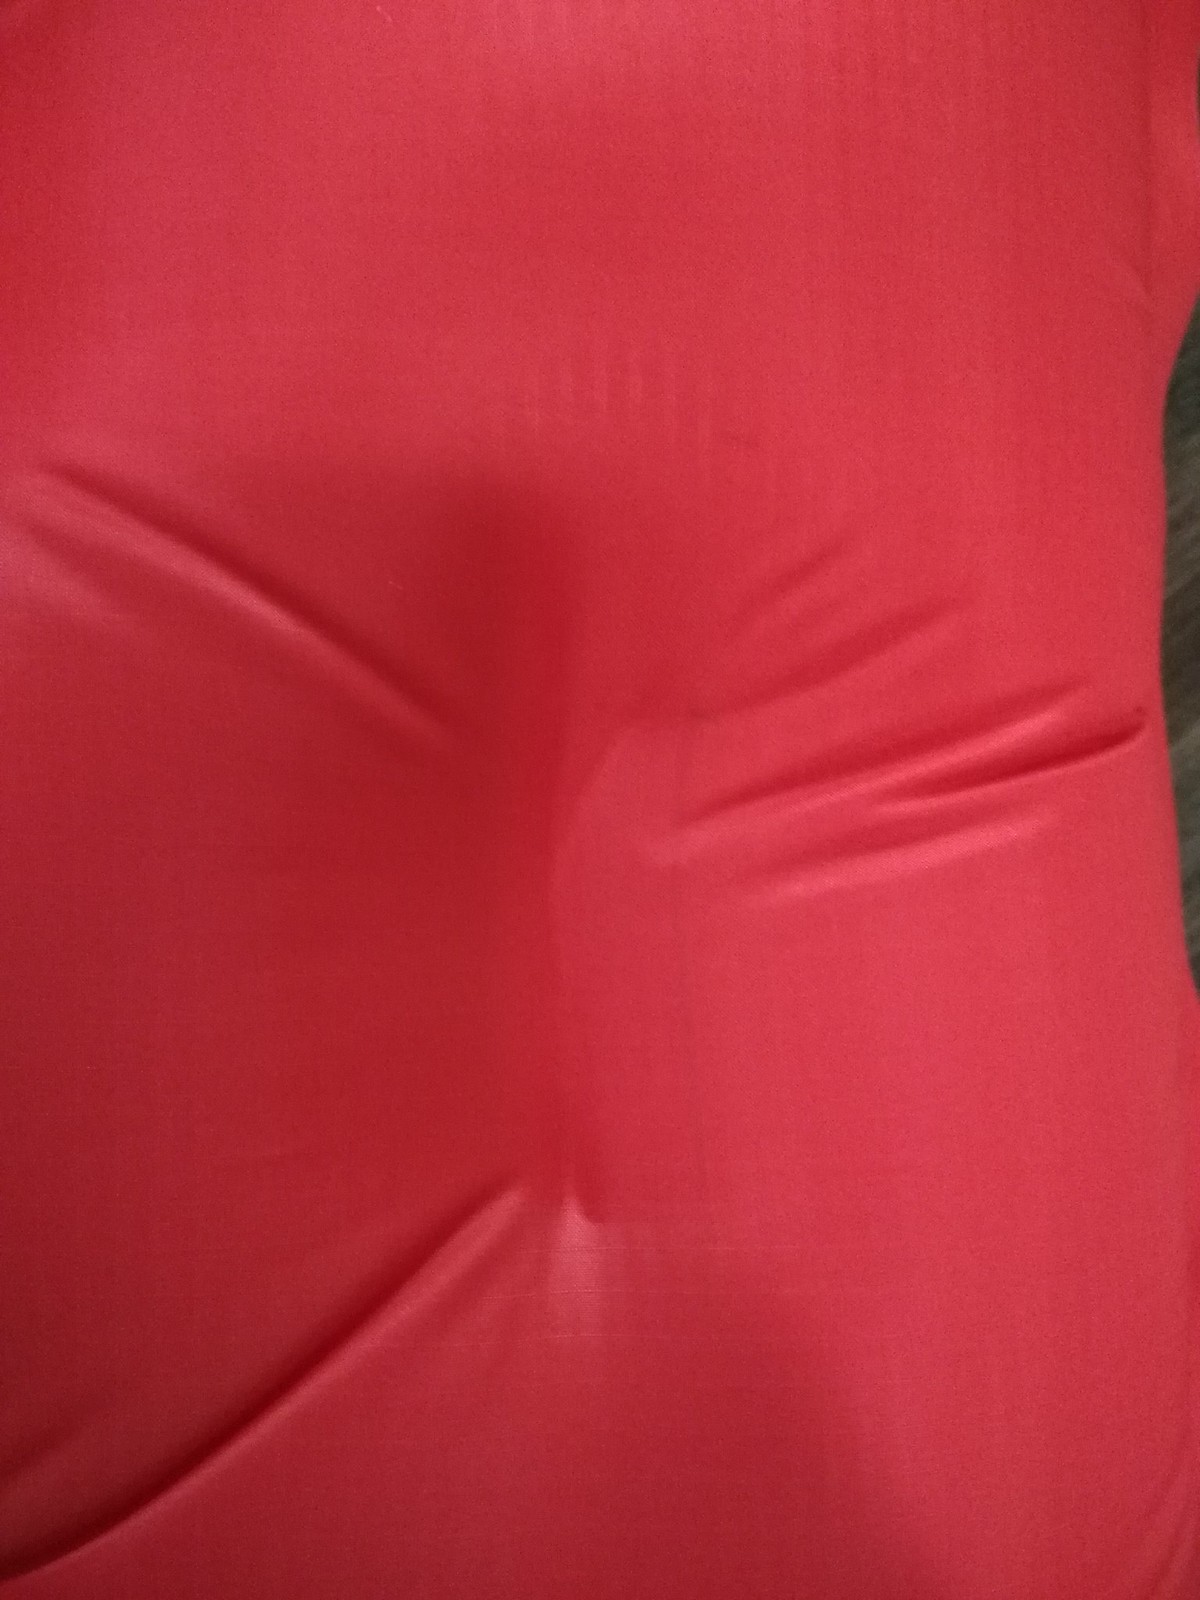
    An edge that needed a little more sealing.

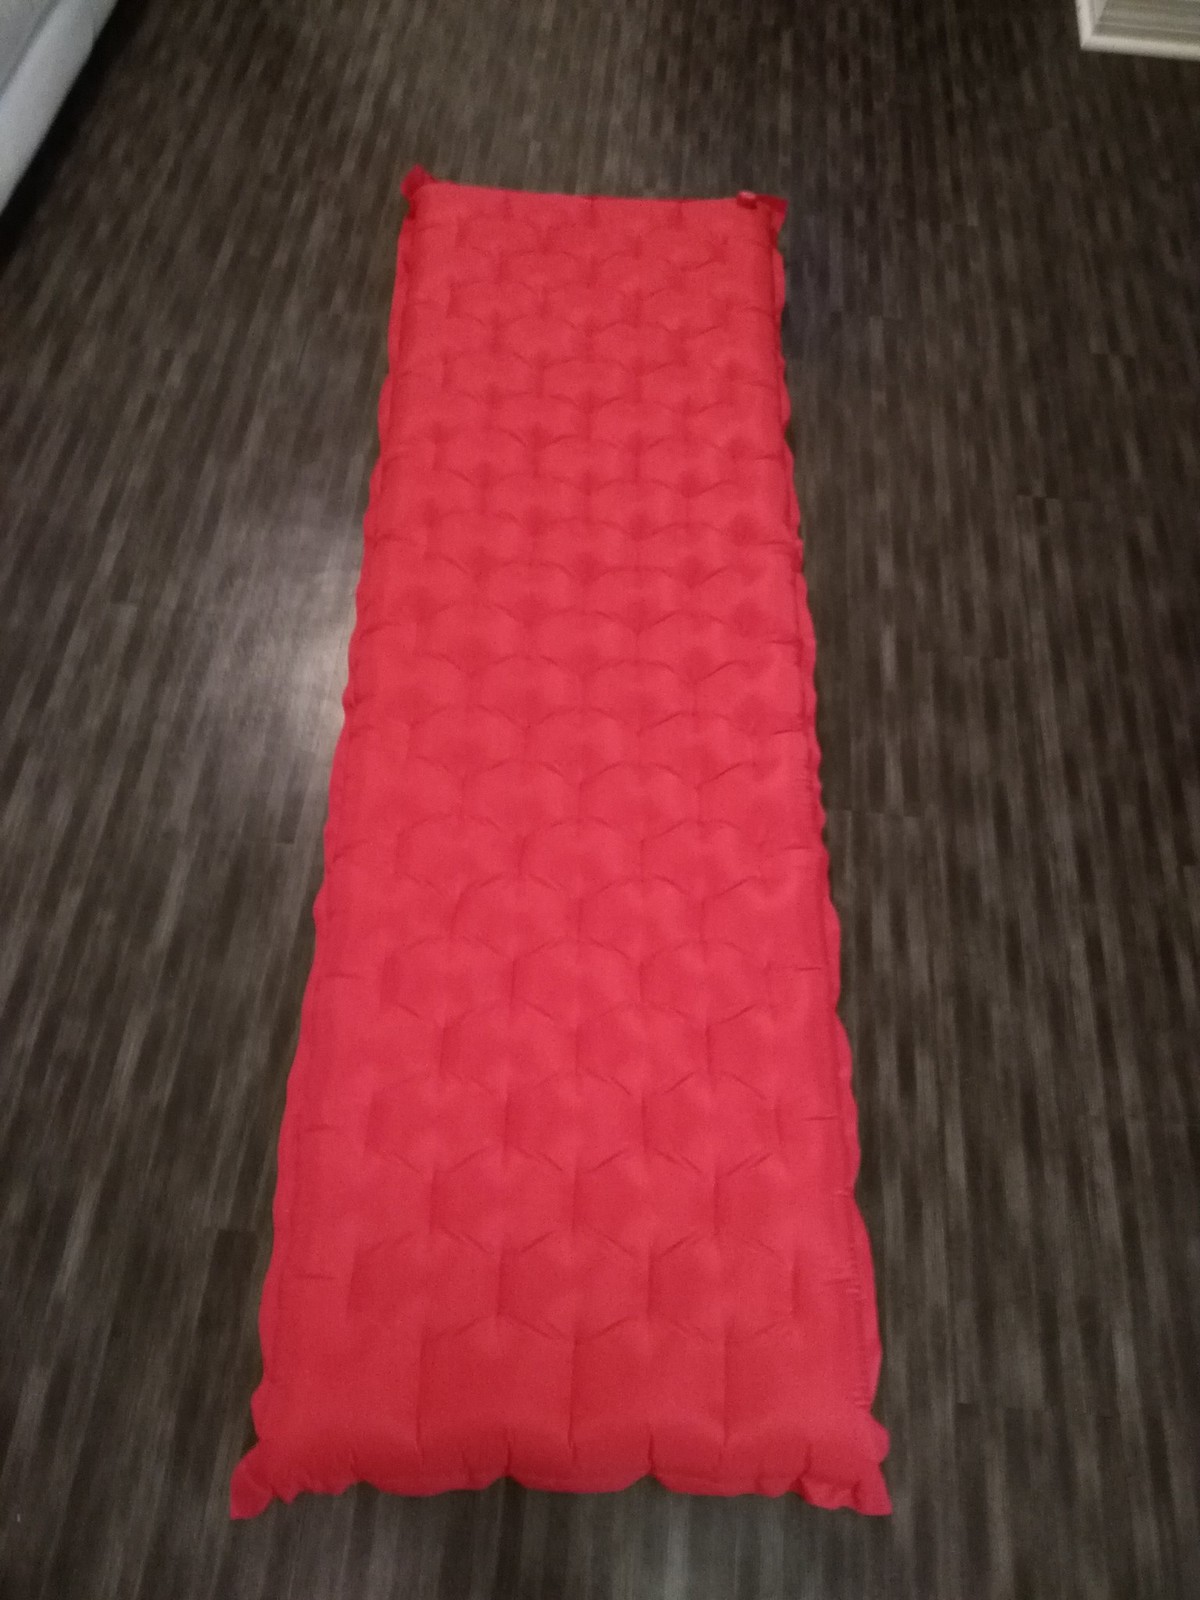
    First successful inflation.  I had to go around and seal the edges again and with a larger seam allowance.

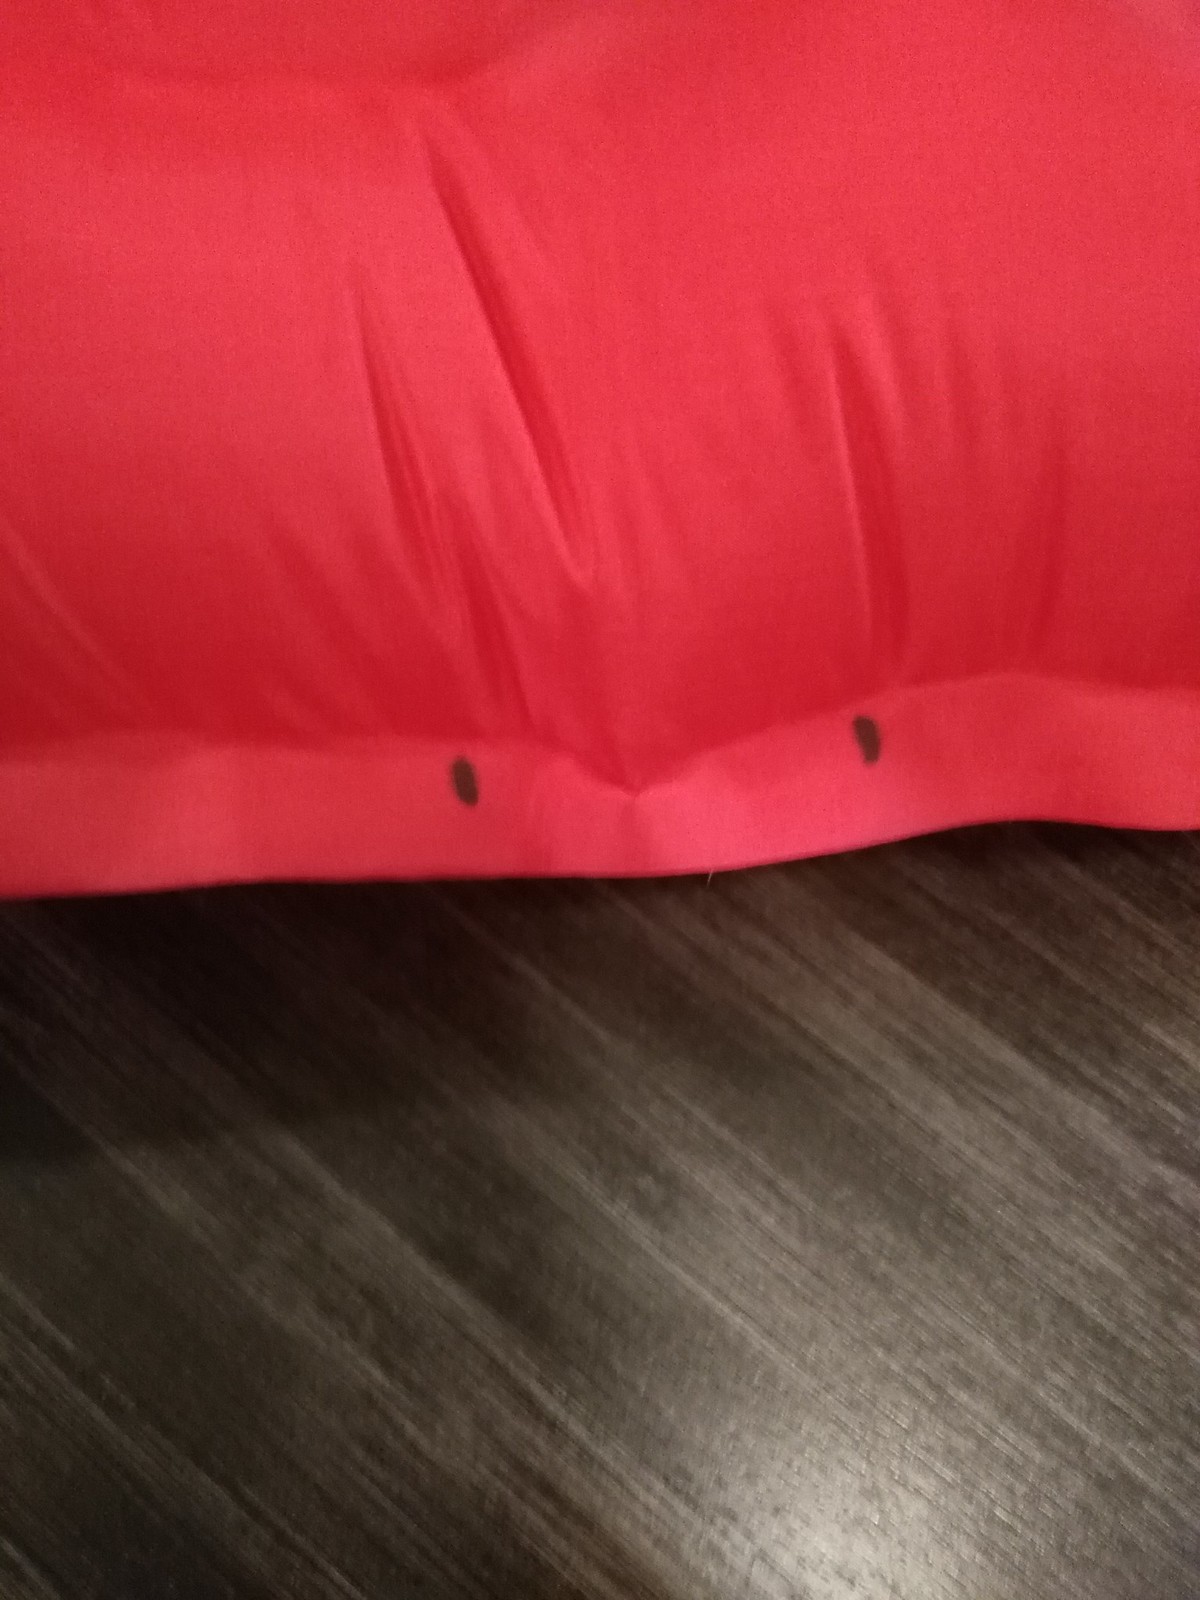
    When testing the pad out, I could hear some of the seams separating.  This photo shows how some of the baffles are pealing away from the main panels.  I think this was just under initial stress from the first time I laid down on it.  The peeling noise stopped after I laid down on if for a few minutes.  If I make another I would use a slightly higher temperature and more pressure to stick the baffles in place.  Looking at commercial pads, the welds look rounded as opposed to squared off like I did.  I guess that would reduce stress along the edge of the weld.

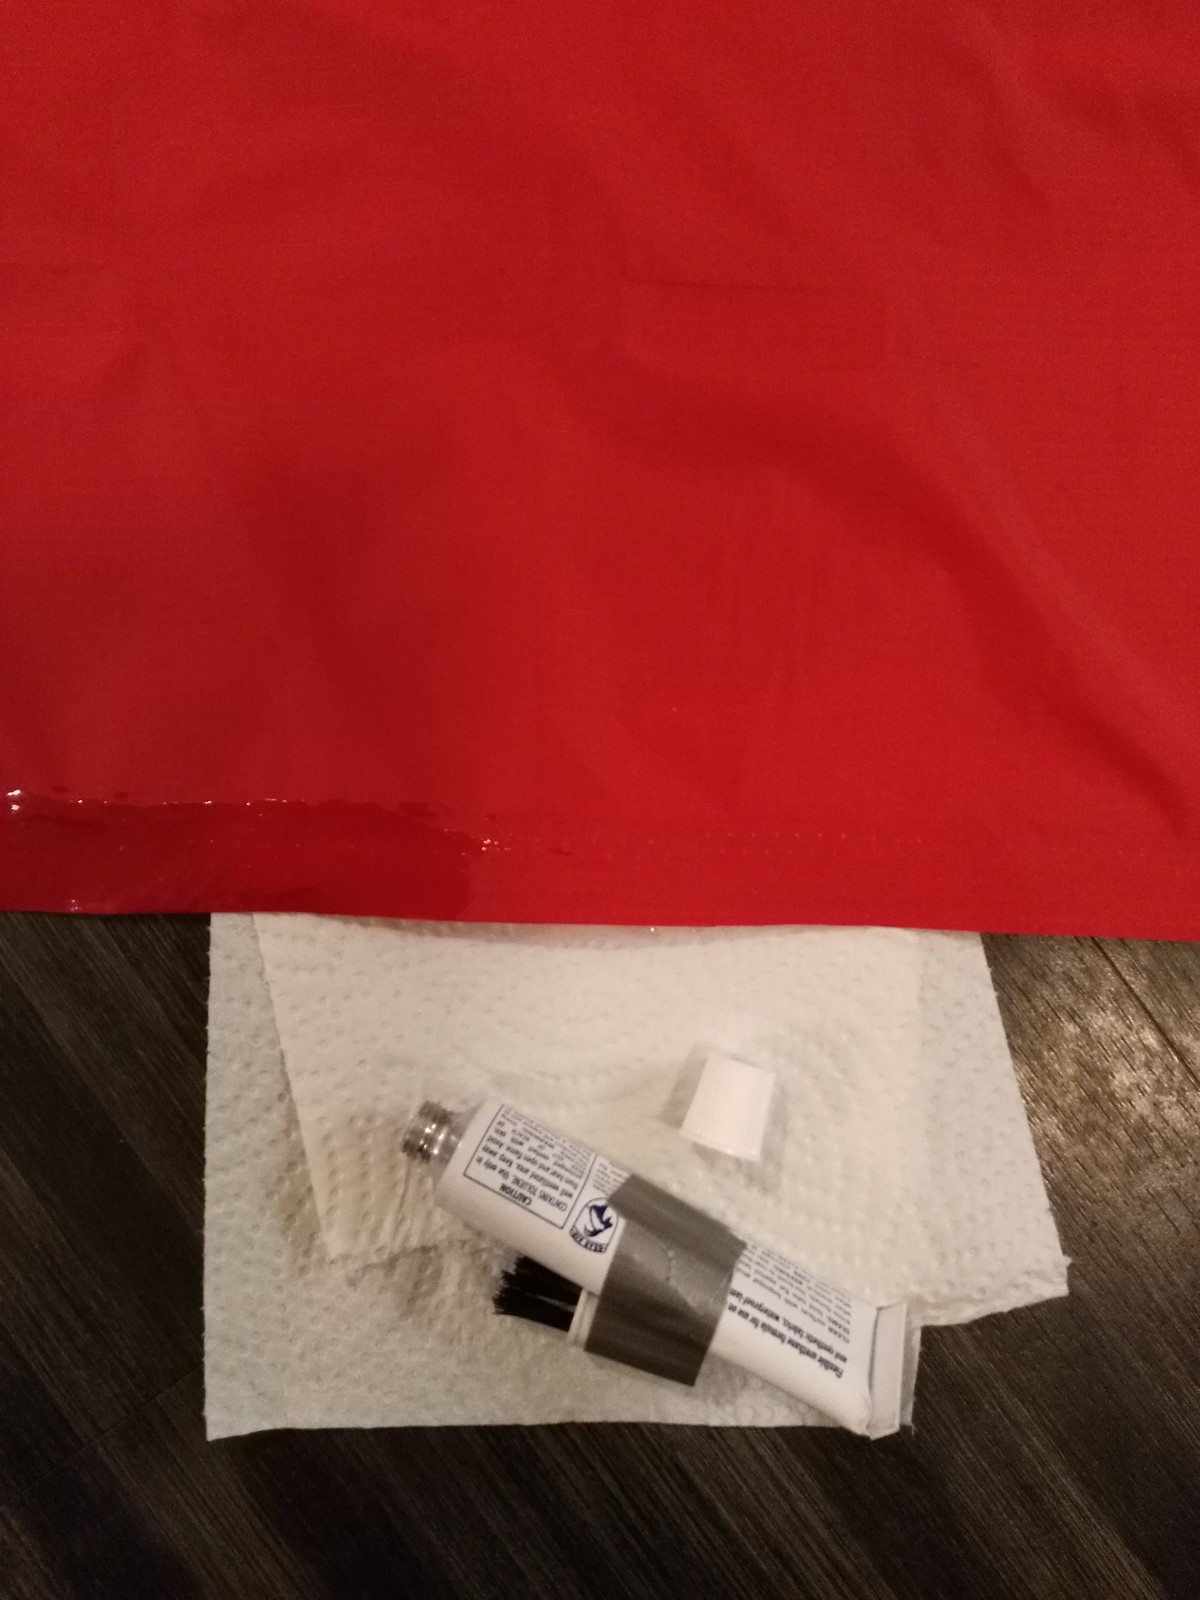
    I had to seam seal on side of one of the long edges.  I used the selvedged edge of the fabric because I was trying to avoid a lot of cuts and get the most out of my fabric.  I figured the TPU would melt and seal the holes.  After inflating the pad, I could feel the air escaping the pin holes at the edge of the fabric.  Next time I will trim the edge to avoid the holes of the selvedge.

    Hopefully I can get some use out of it.  This project cost maybe $40 for materials, plus another $25 for the mini iron.


    #3560847
    Will C
    Spectator

    @willcase

    It weighs 10.75 ounces.

    #3560863
    Derrick White
    BPL Member

    @miku

    Locale: Labrador

    <p style=”text-align: left;”>That is very impressive Wil.  What temperature setting did you use on the iron?</p>

    #3560923
    Ryan Smith
    BPL Member

    @violentgreen

    Locale: East TN

    Nice!

    #3560976
    Mike B
    BPL Member

    @highwarlok

    Locale: Colorado

    Very cool, It looks like you went through a lot of thought before you started putting anything together, do you have a lot of hours in this or does it just look that way? I tried cutting down a pad once and had issues getting it resealed. Was the glue just seam grip? I tried that and could not get a good seal, I always had a small leak in the seam. Any tips or tricks you can think of to get an airtight seal using the seam grip? I was impressed you printed the valve, sure beats trying to reuse one from an old pad. Thank you for writing this up.

    #3560983
    Will C
    Spectator

    @willcase

    I used the medium setting on the clover mini iron.

    #3560987
    Will C
    Spectator

    @willcase

    I put alot of thought into how I could use the two yards of fabric to get the dimensions I wanted.  Originally I was going to weld the top and bottom together along the length of the pad into several long baffles.  That design was going to use more fabric than I had, so I decided to use two inch by four in baffles.  Altogether the build time took probably a day and a half, with most of that spent on welding the baffles.

    I only used seam grip to seal leaks that I could not seal with an iron,. Thw fabric has a heat activated film witch can be melted with an iron.  When you cut down your pad did you use an iron or did you try to glue it?

    #3560993
    Mike B
    BPL Member

    @highwarlok

    Locale: Colorado

    I tried using an iron and had issues where the old baffles were welded. I then used the seam grip and could not get it to seal the pin holes that formed where I tried to cut the old baffle material out. I used a normal household iron so it may not have gotten hot enough. The seam grip did hold on the valve area though where I relocated the inflation valve from the piece that I cut off.

    #3561581
    matt kirk
    BPL Member

    @matthew-d-kirk

    Locale: southern appalachians

    That’s cool, Will! Do you mind sharing the STL file for your nozzle? Much obliged.

    #3561584
    Will C
    Spectator

    @willcase

    Here is the link to the SLT files for the valve which I posted on Thingiverse.

    https://www.thingiverse.com/thing:3182111

    #3562571
    Craig B
    BPL Member

    @kurogane

    Super solid effort.  I’ve dealt with pressurized systems in the past and you were brave to take this project on!  To get a completely closed system that doesn’t leak AT ALL is quite tricky as you found out.  Nice job on the most efficient layout of the fabric as well.  Is there a Rev2 in the works, maybe with some insulation next time?! ;-)

    #3562623
    Will C
    Spectator

    @willcase

    There might be an insulated version somewhere down the line.  I’ve though about putting a layer of synthetic insulation or Mylar in between, but for now no plans.   If I make another, I will use a heavier weight TPU fabric.  I am finding that although I have a strong weld, the TPU film is peeling away from the fabric when pressure is applied to the joint, thus causing leaks.  I have been strategically applying Seam Grip to welded areas to see if I can get it to stop leaking.

    I did mixing up a batch of silicone and mineral spirits to coat the entire pad.  This solution did not really work, it just rubbed off.  I might have had curing issues because it never got above 65 degrees that day.  I wound up rubbing the silicone coating off and going with seam grip and straight up silicone when I ran out of seam grip.

    #3562672
    Mike B
    BPL Member

    @highwarlok

    Locale: Colorado

    I have had issues with silicone sticking on sil-poly, I wonder if that is what you experienced?

    #3562679
    Matthew / BPL
    Moderator

    @matthewkphx

    Wow! Impressive!

Viewing 14 posts - 1 through 14 (of 14 total)
  • You must be logged in to reply to this topic.
Forum Posting

A Membership is required to post in the forums. Login or become a member to post in the member forums!

Get the Newsletter

Get our free Handbook and Receive our weekly newsletter to see what's new at Backpacking Light!

Gear Research & Discovery Tools


Loading...