Topic
I have the gear, want to Dry Bake..don't want to melt my Titanium
Forum Posting
A Membership is required to post in the forums. Login or become a member to post in the member forums!
Home › Forums › Gear Forums › Gear (General) › I have the gear, want to Dry Bake..don't want to melt my Titanium
- This topic has 91 replies, 13 voices, and was last updated 7 years ago by
 DAN-Y.
-
AuthorPosts
-
May 15, 2016 at 10:10 am #3402519
Dan, I may be interested in those stainless steel diffusers you will be offering. How fine is the mesh of the disk? Is the material the same you use for the top of your starlyte stoves?. I made a difuser out of the lid of aluminum can by punching some holes on it, but it does get quite hot and I would imagine your “mesh disk diffusers” would be better as they would not provide as much “thermal feedback” into the stove.
May 15, 2016 at 10:50 am #3402527The disc mesh is the same size as the stuff used in the Starlytes.
May 15, 2016 at 3:59 pm #3402584Ok, first dry baking attempt.
And….I made 3 errors already.
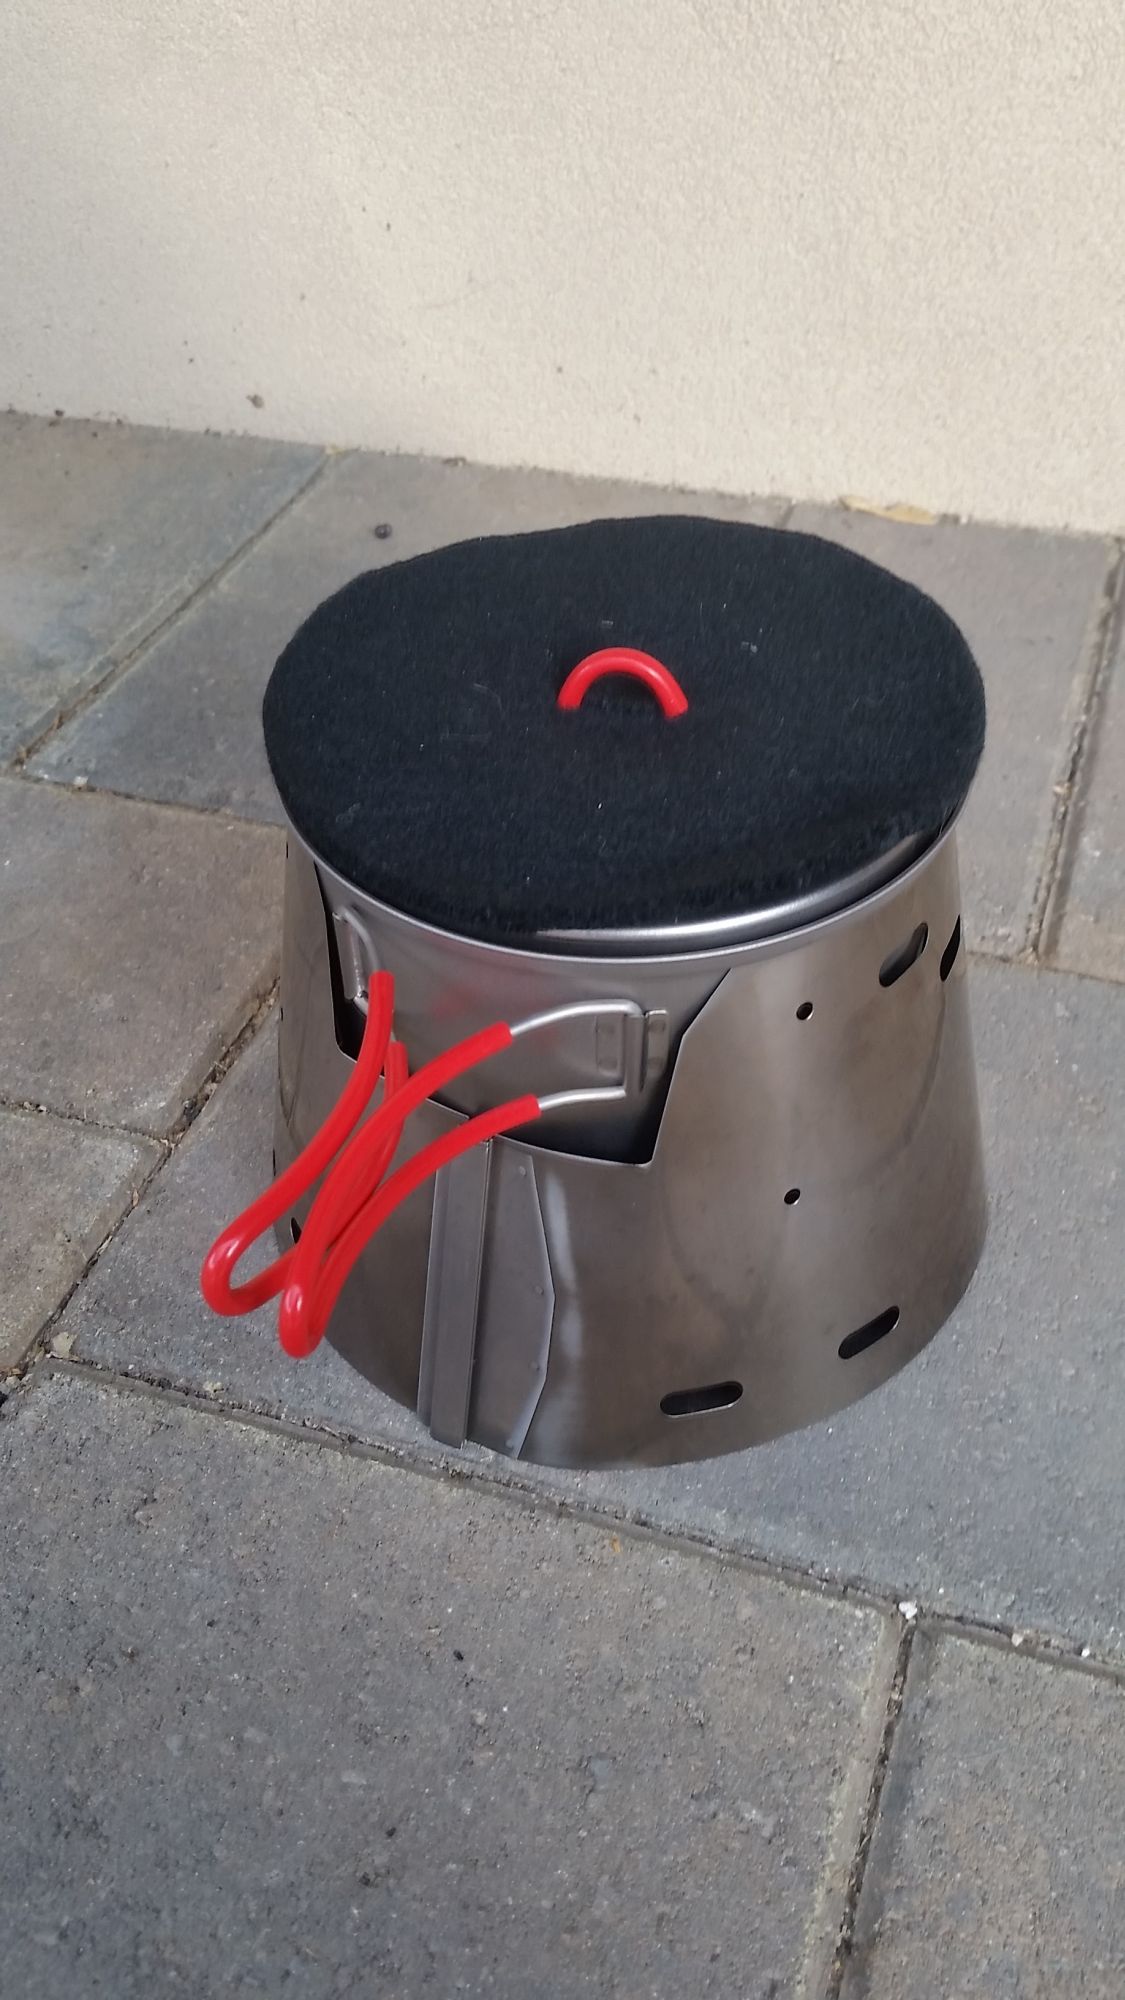
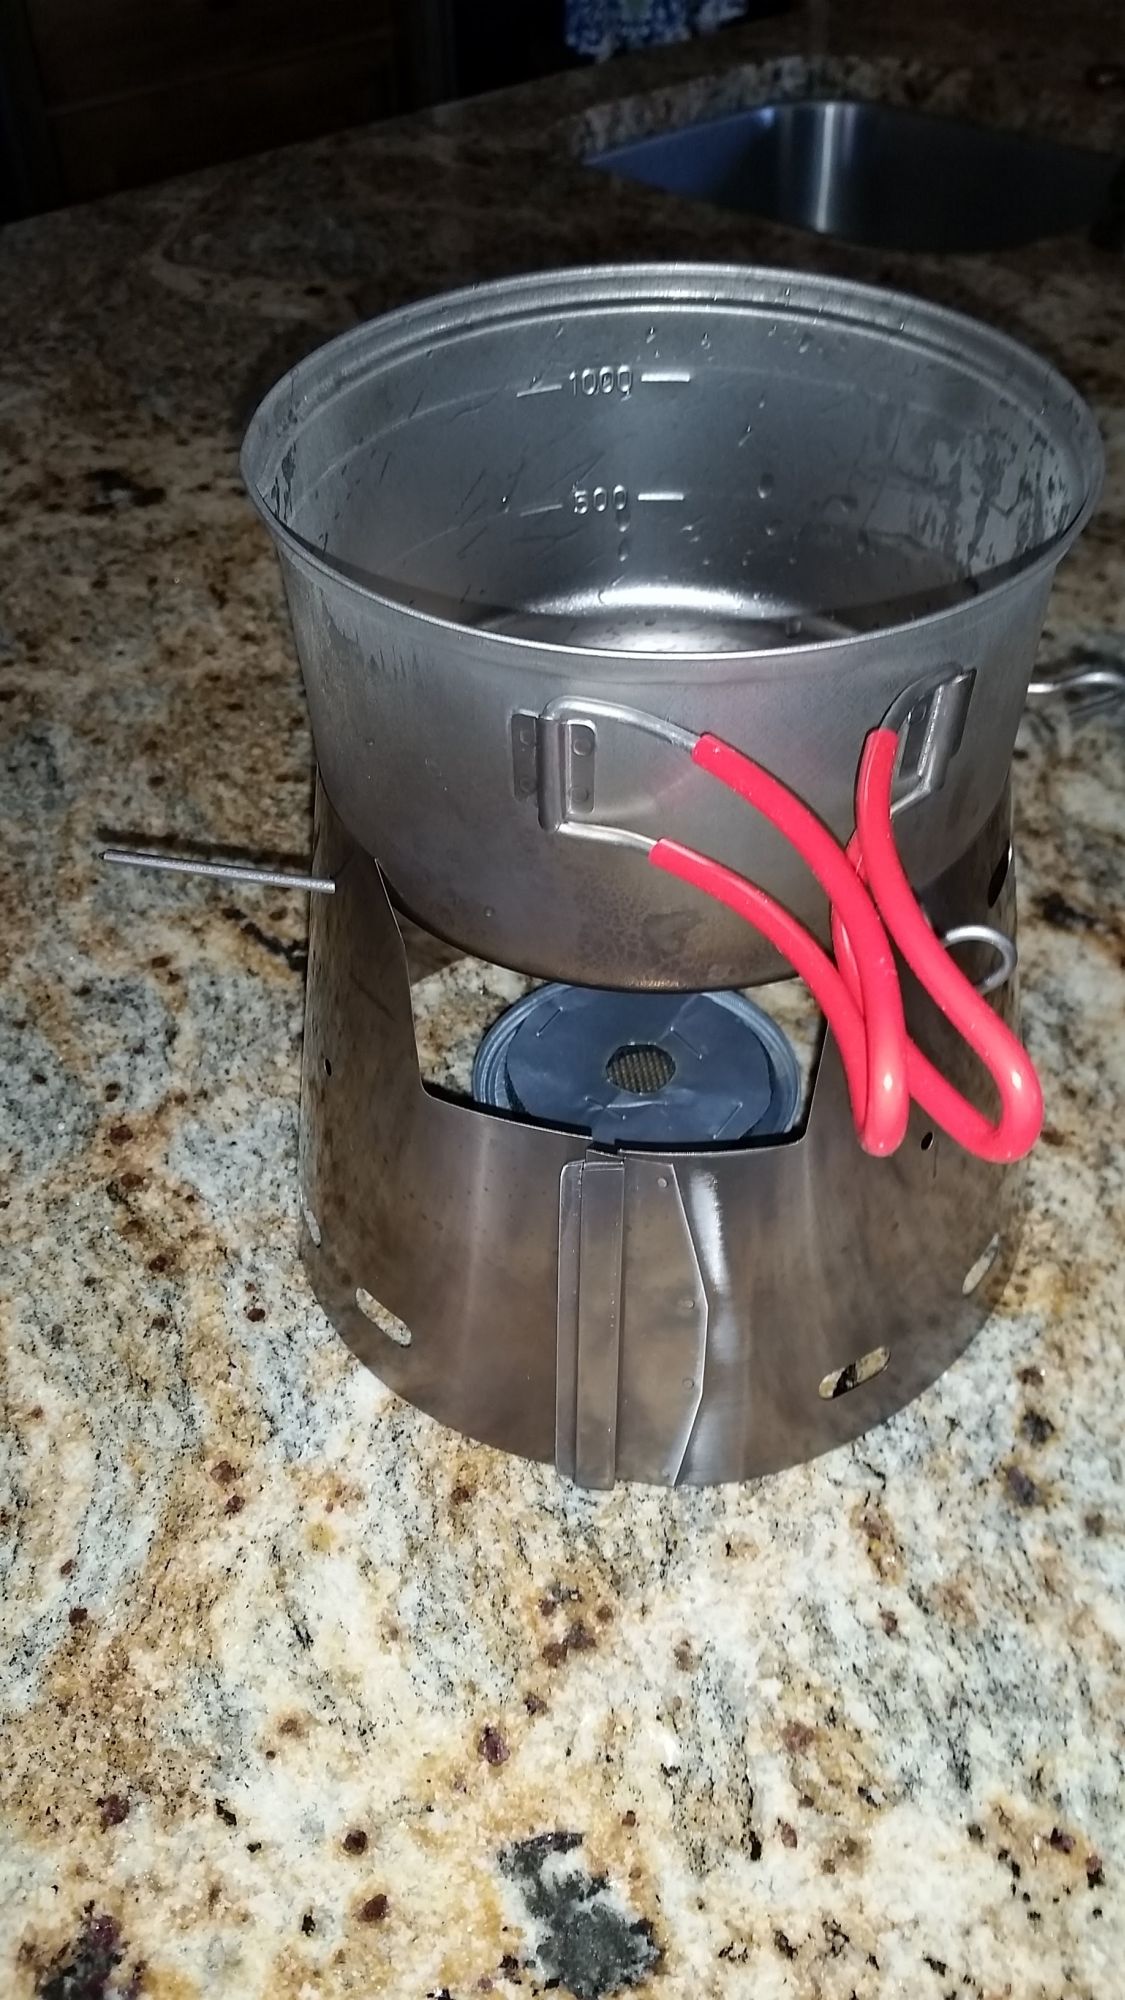
I used a 1.3L evernew, with caldera cone, and this time I used 4 tealights ->

I set the pot directly into the caldera cone….so it was roughly 2 inches from ground to bottom of pot (flatcat recommends 1.8″) ->

And, just like flatcat said…one of the candles blew out after 10 minutes so I had to relight it.
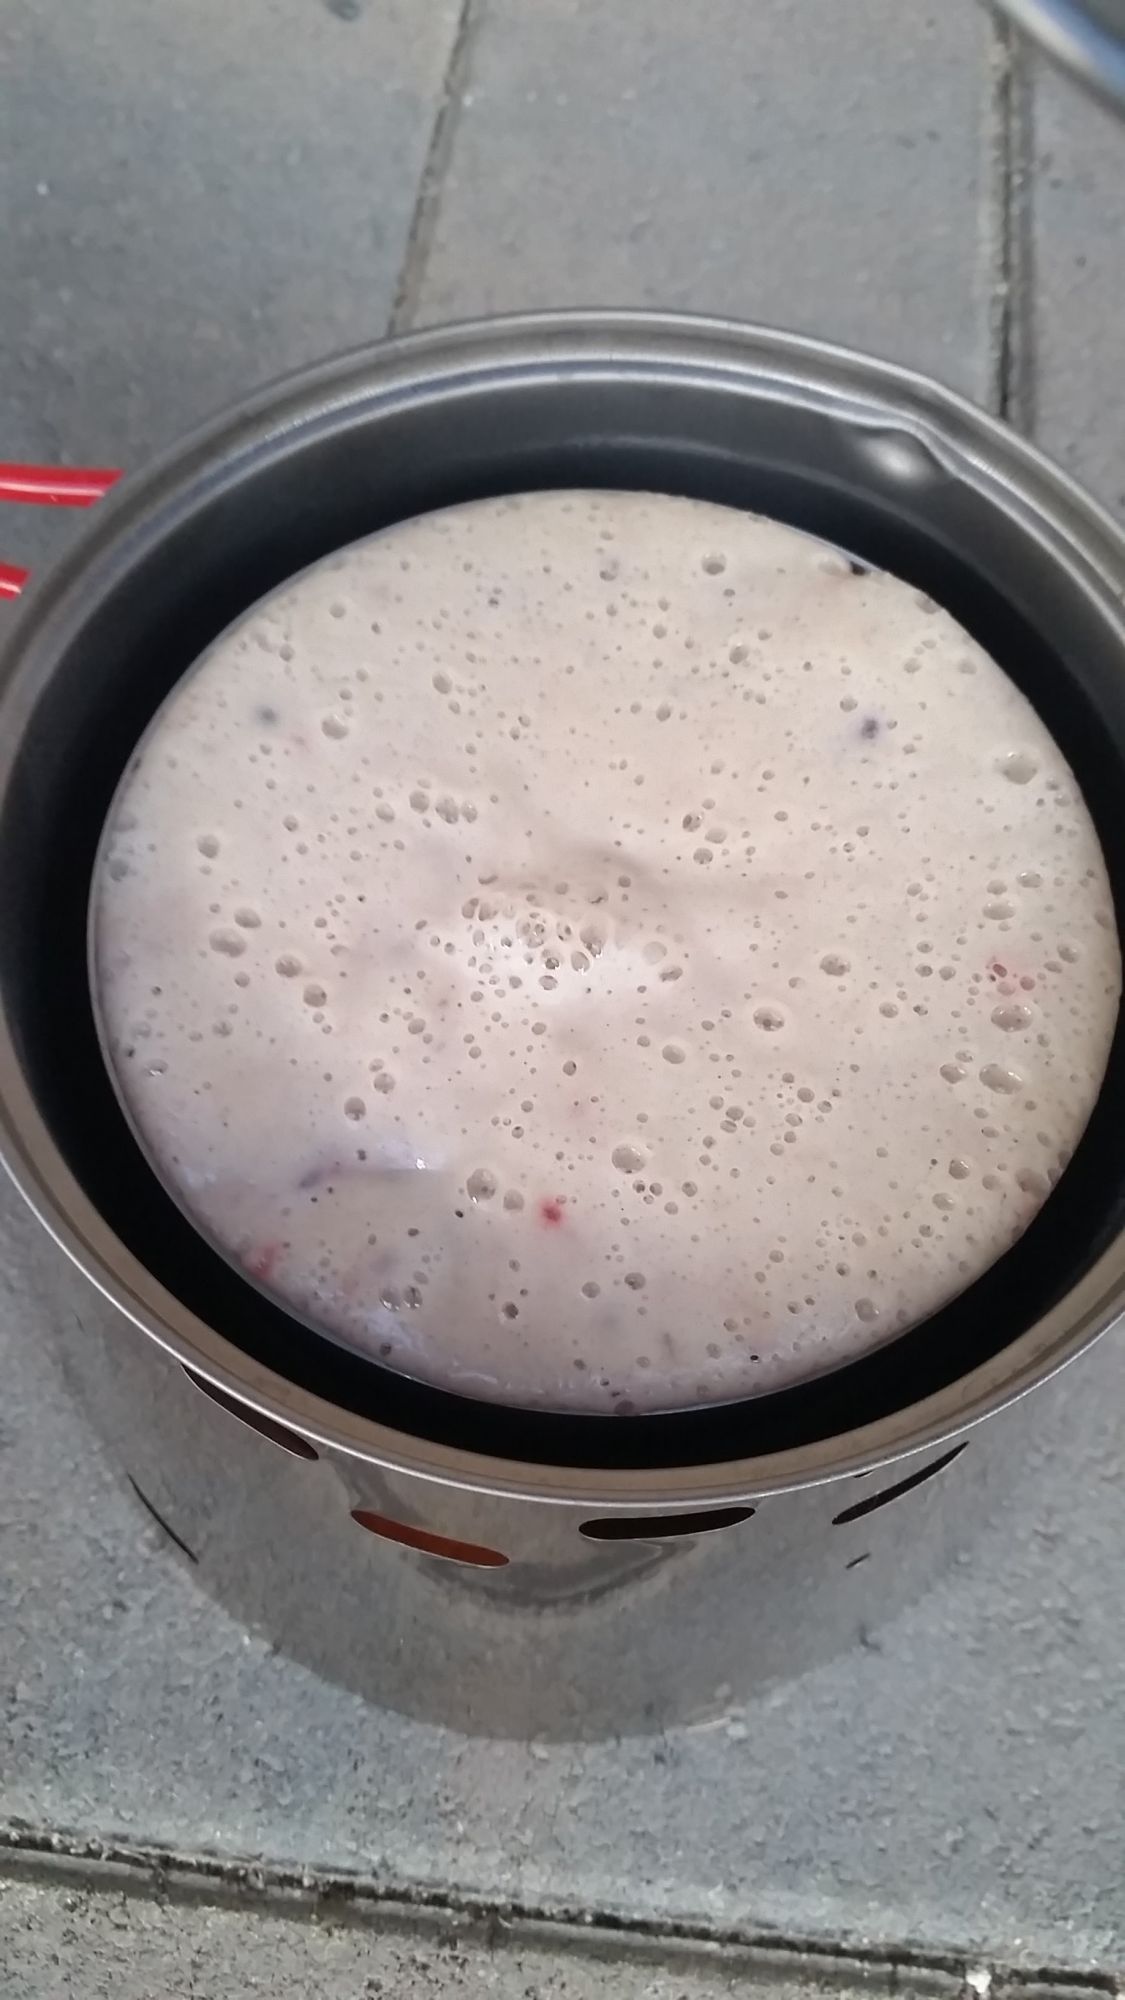
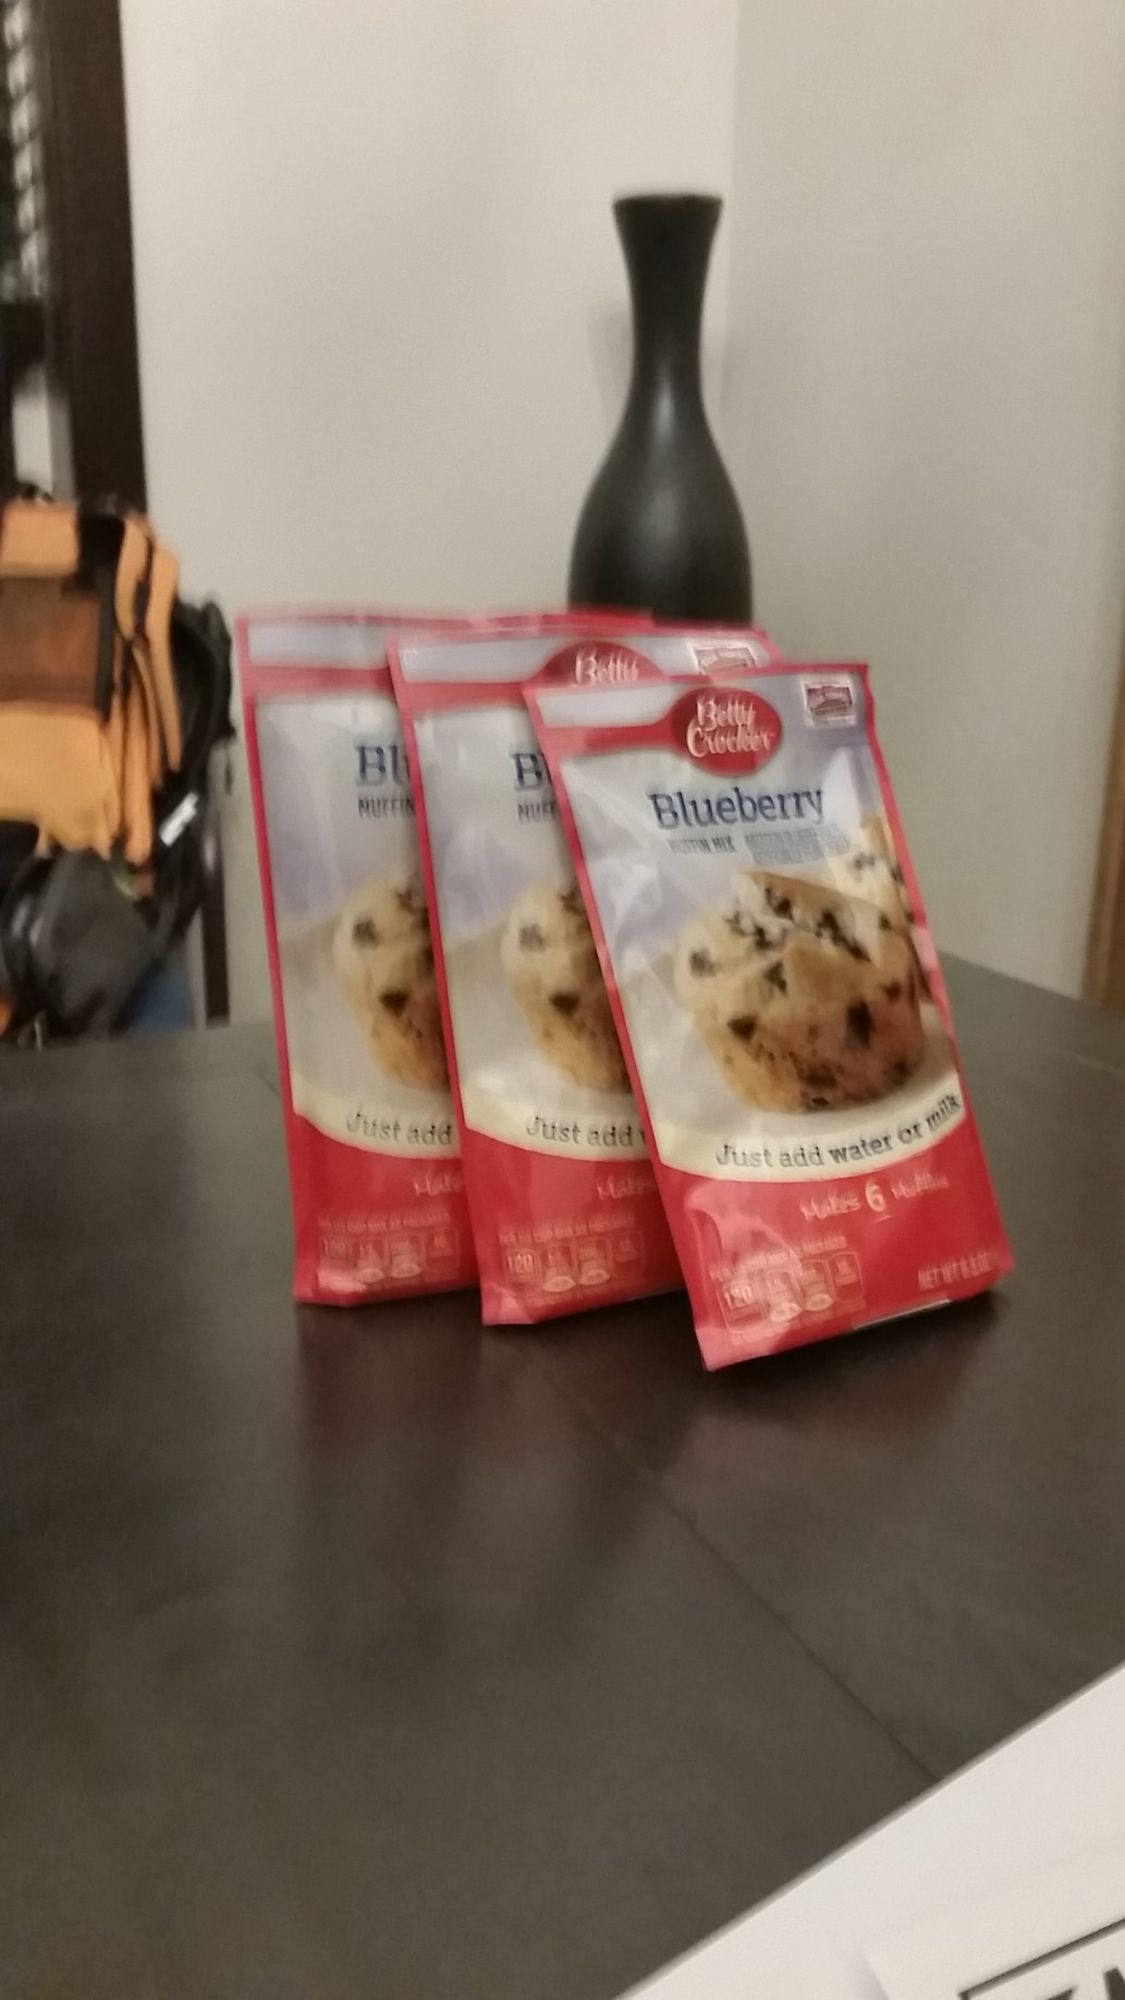
So…mistake #1. I used a 190g (small sized) just add water mixed berry muffin mix. And…used all of it. Which, is fine…the 5″ fat daddio pan is supposed to be able to hold that much, and it does. But it really extended my cookine time. Which…led to mistake #2…..I added the full amount of water (1/2 cup) that the recipe requested. As soon as I was mixing it in a ziplock I knew I added too much water…
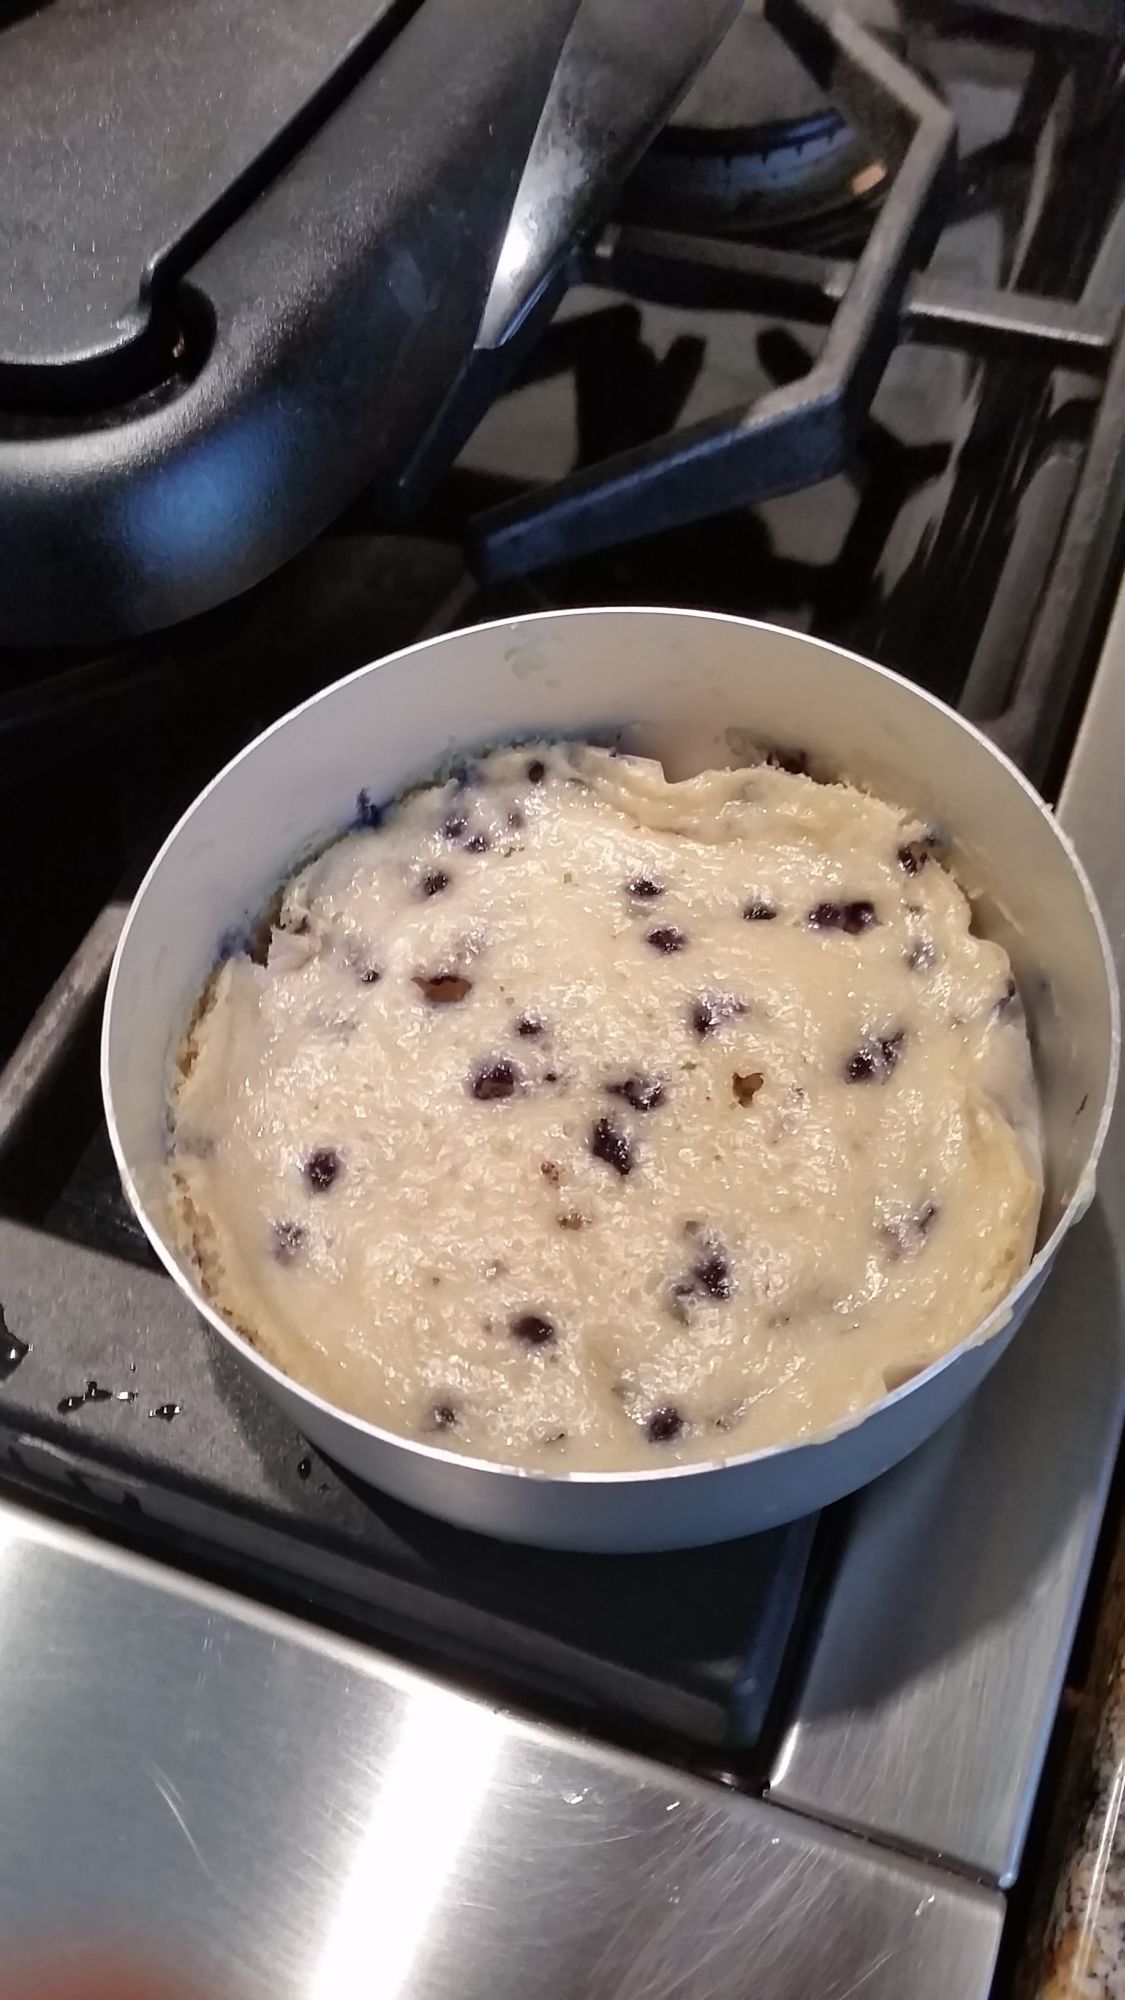
So, after an hour, it still looked liked this ->

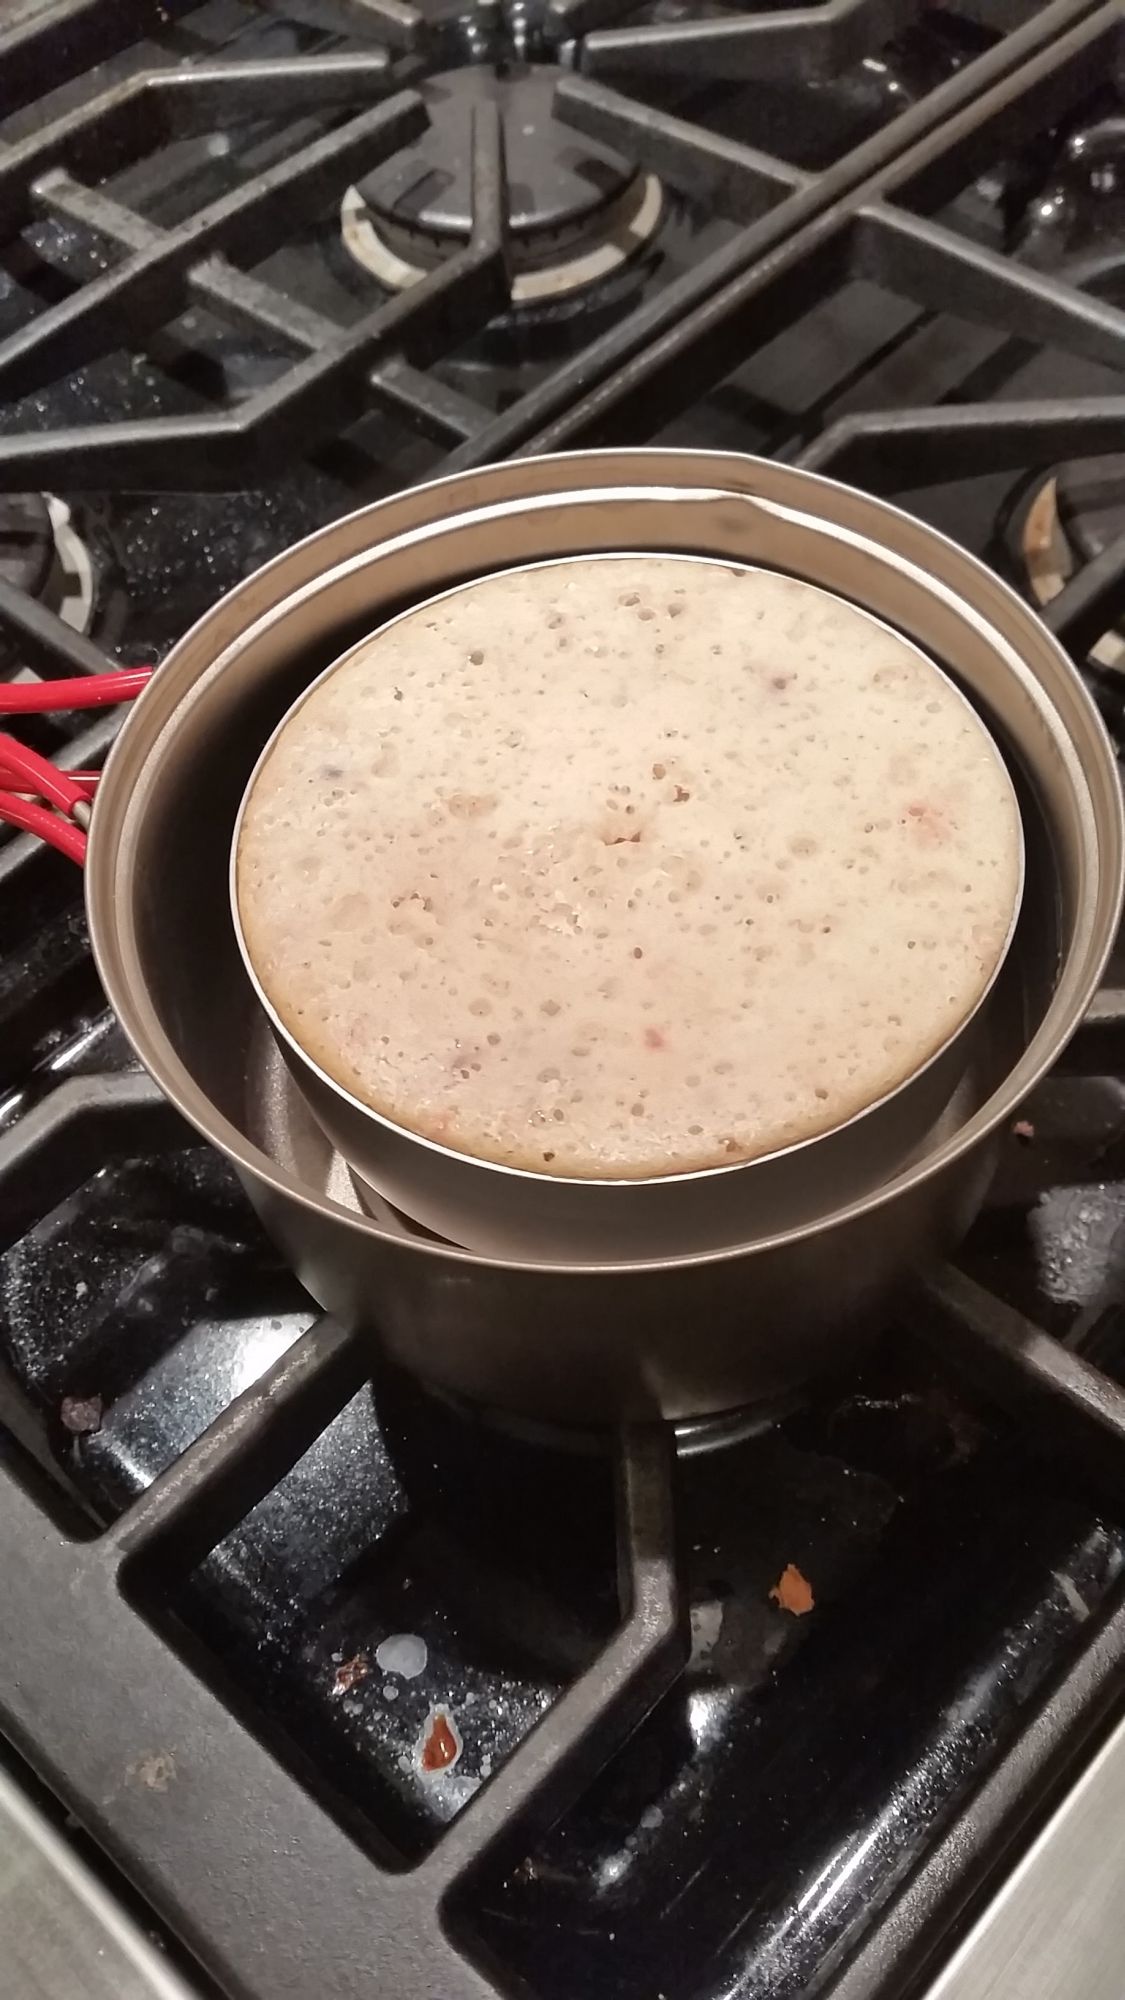
At an hour and 40 minutes, it was dry enough that a toothpick came out fine. I later weighed..and I used 12g of candle fuel for that 1:40.

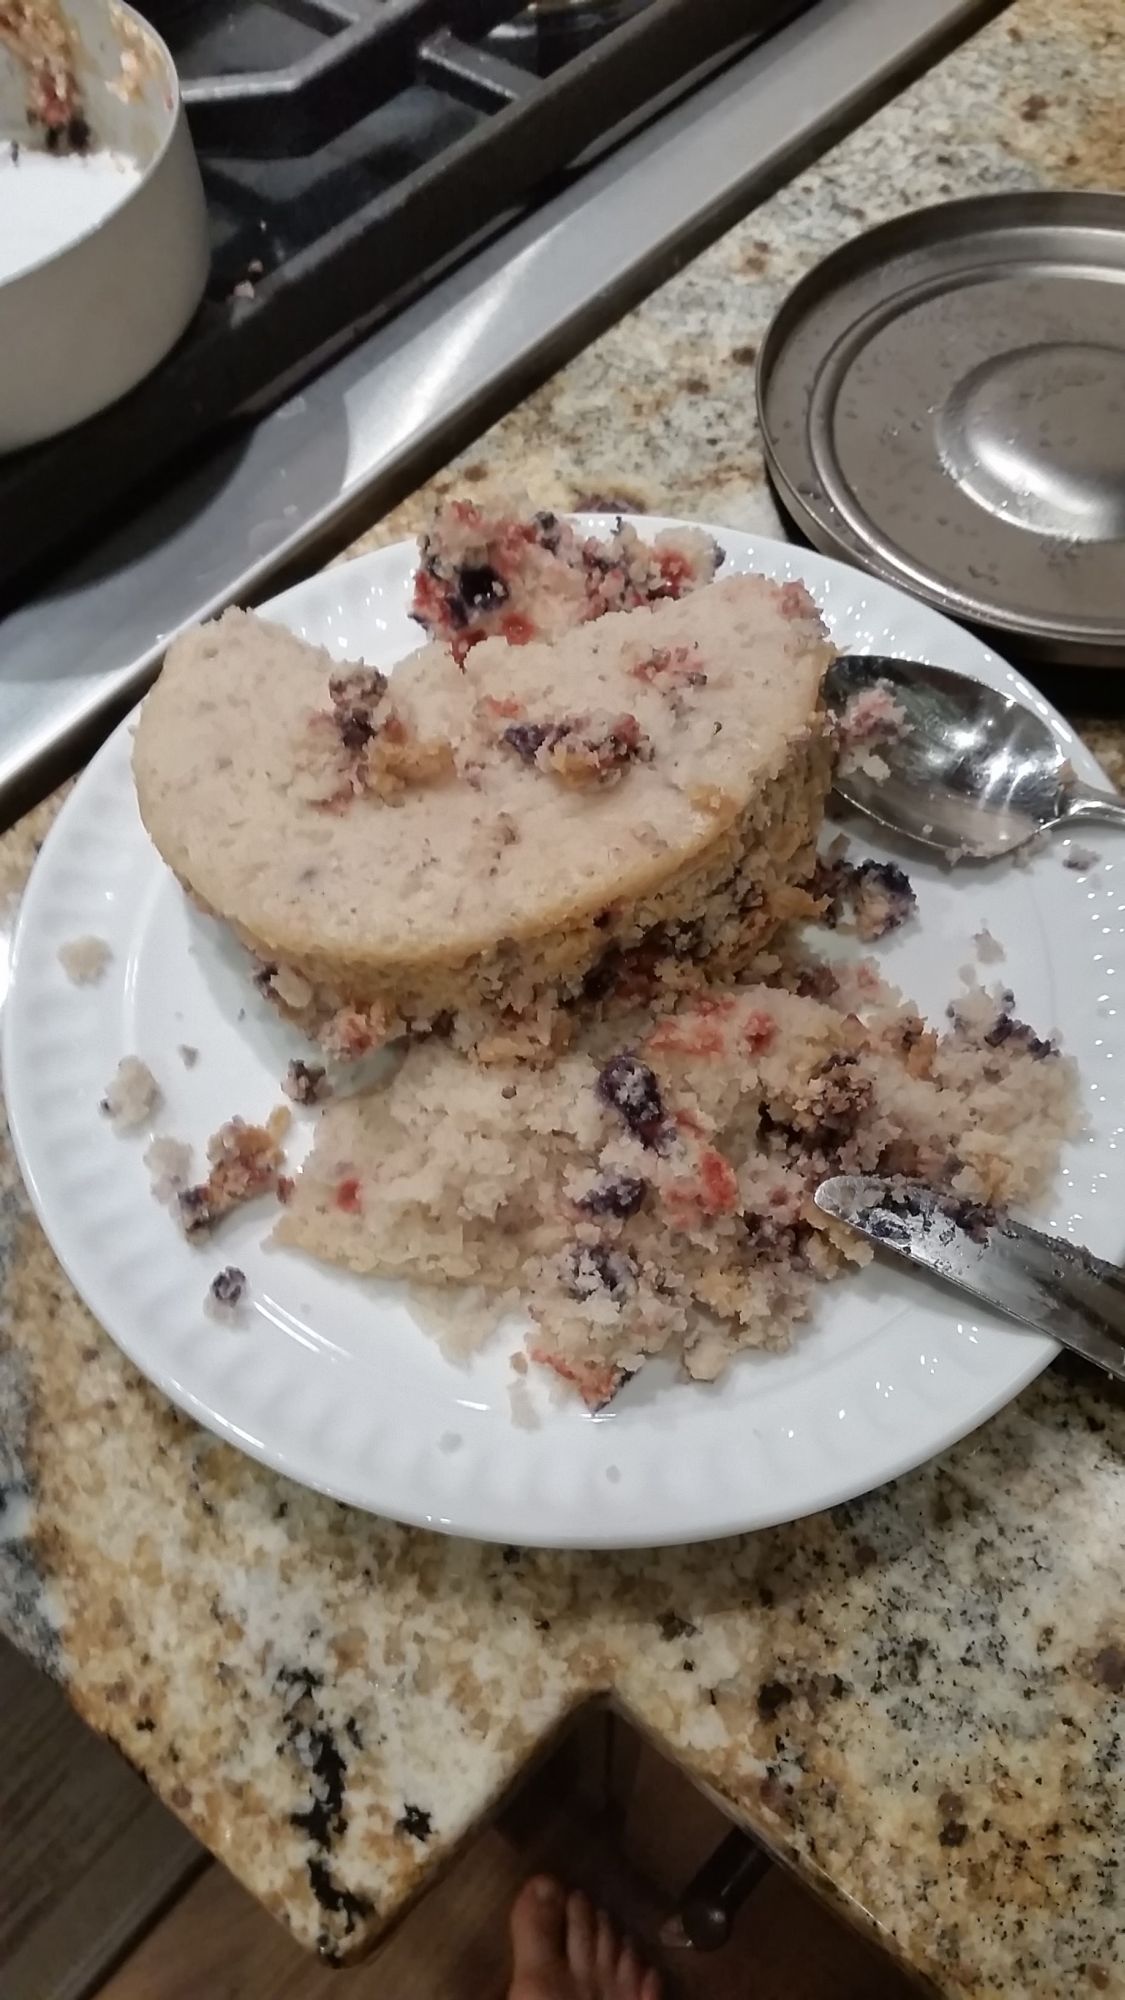
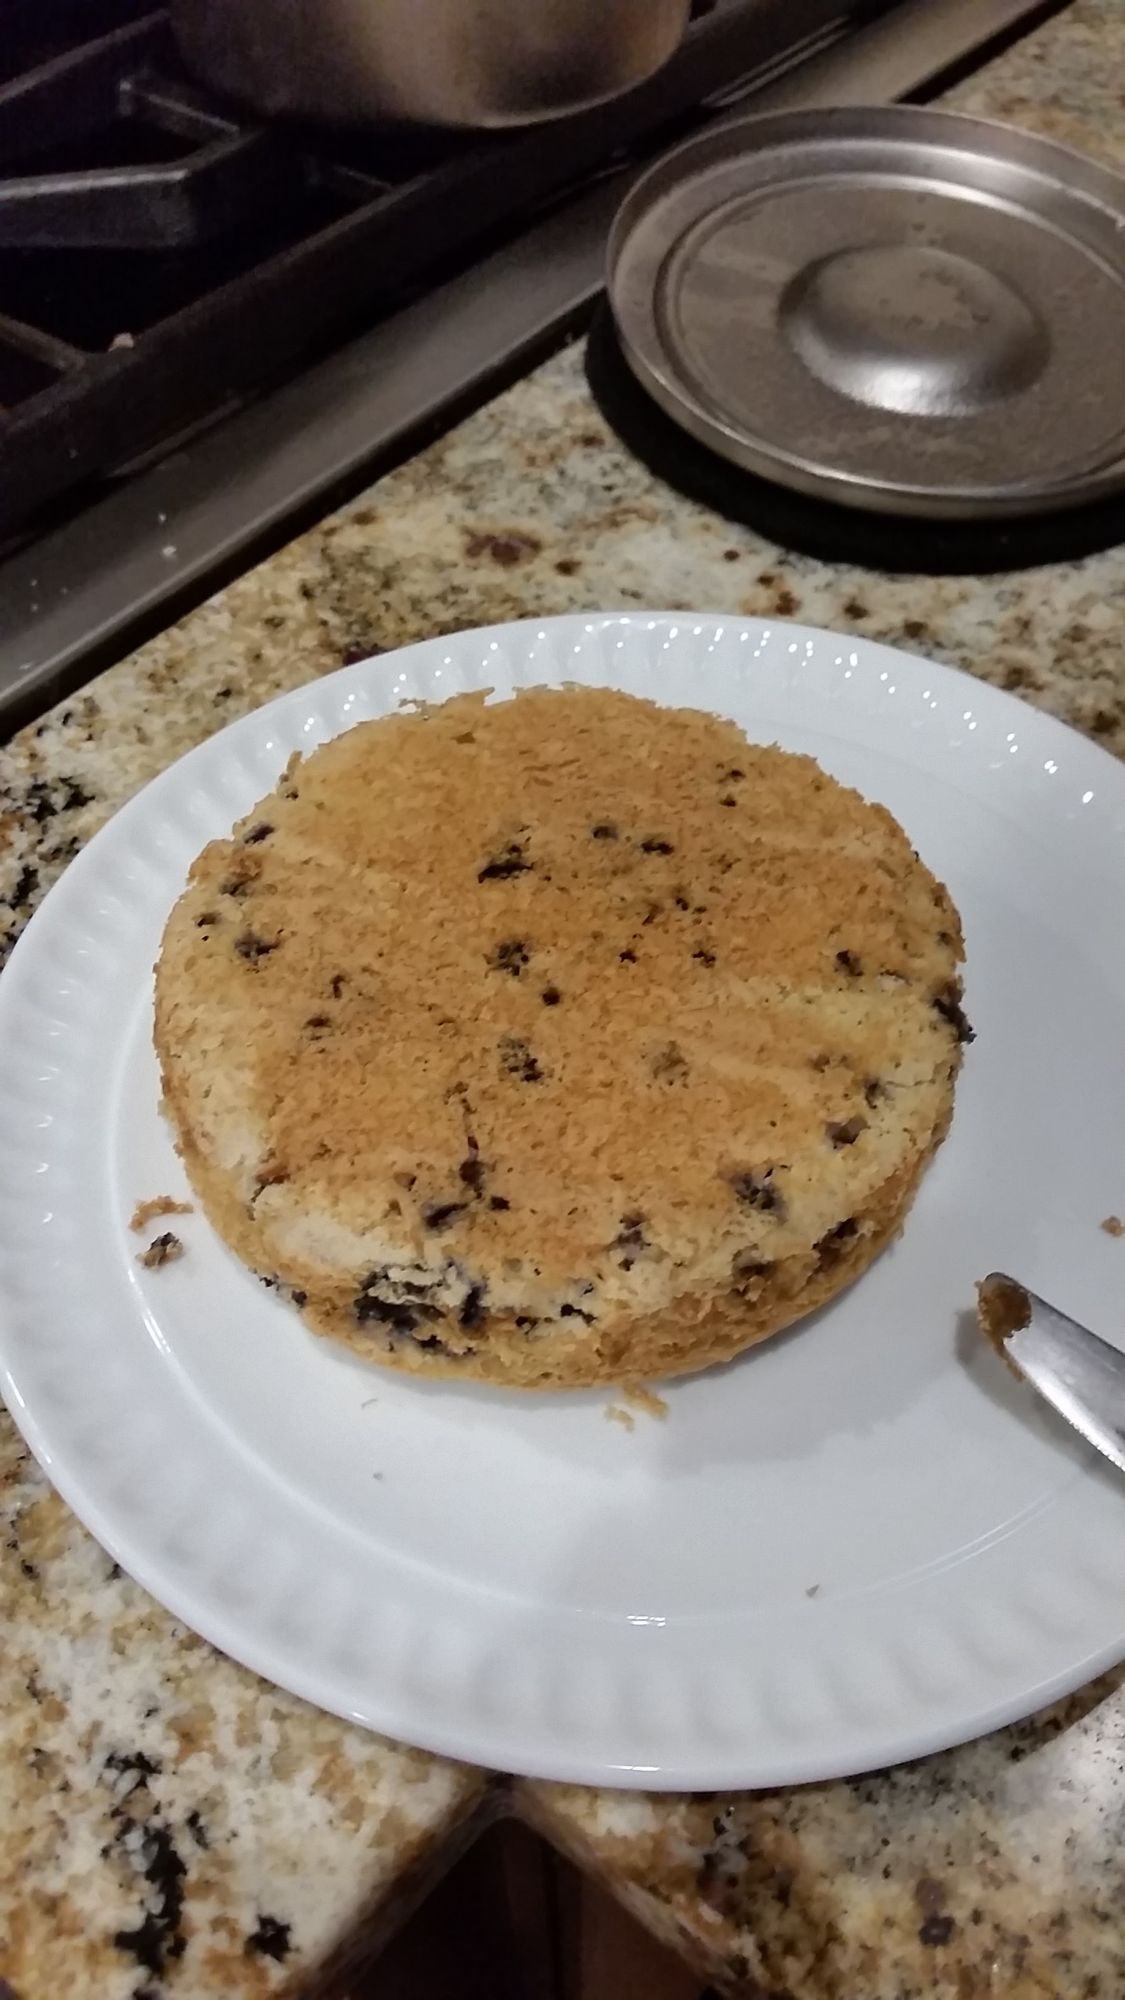
And….I had added oil and parchment paper…but this particular mix (or due to how I cooked it), came out crumbly ->

It also wasn’t much brown on the sides and on the bottom. Which….is the 3rd major problem. In this setup, I still put the inner pot on top of a stainless steel mesh frame to elevate it 3/4″ inside the outer pot.
Jon informed me that this was definitely a mistake in dry baking, and I could have caused major damage to my 1.3L evernew due to overheating. Fortunately…I was using the 4 tealight method so it was really low power heat.
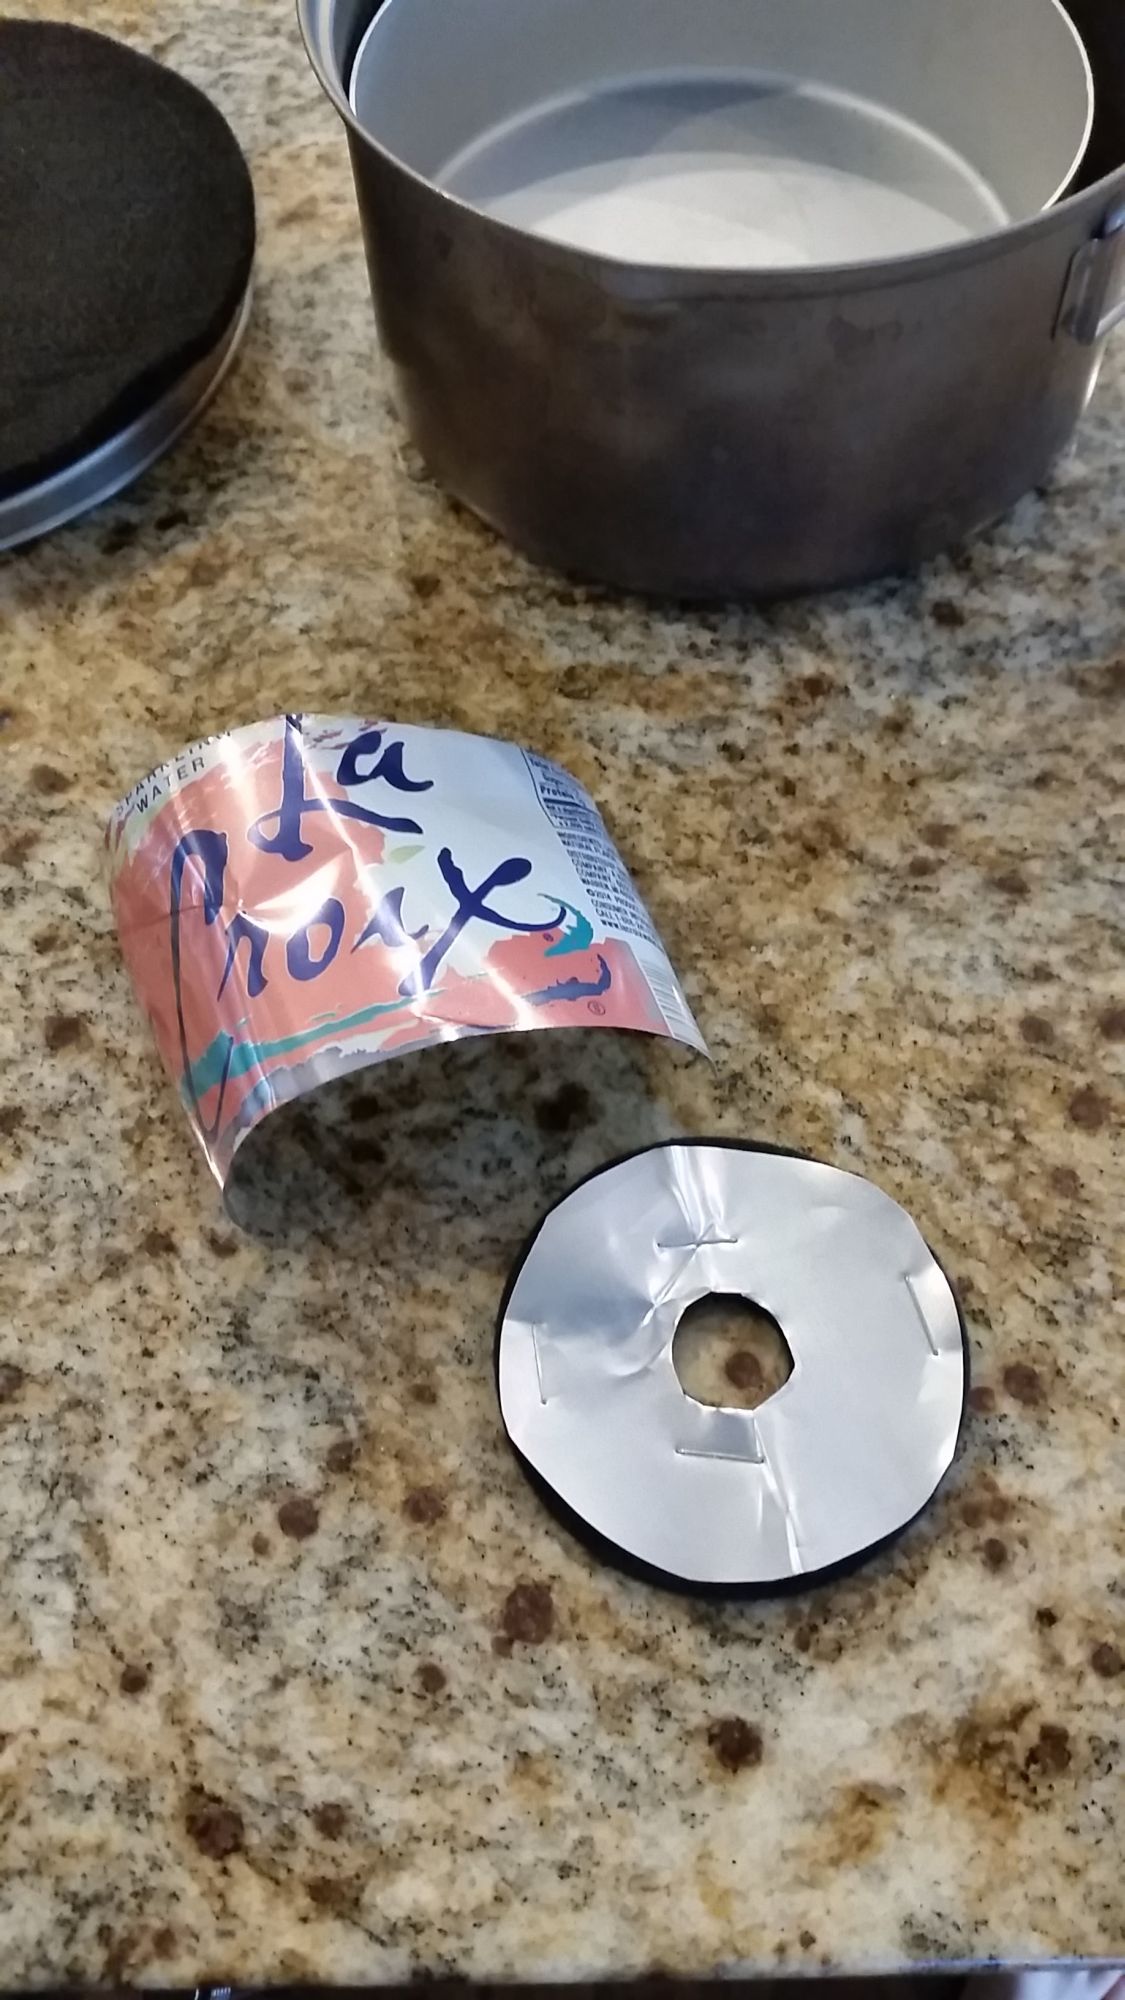
So….next attempt, I’m moving on to using my starlyte. I had cut a aluminum soda can to make a ring that I stapled to my carbon felt simmer ring ->

So, another attempt tonight!
May 15, 2016 at 4:19 pm #3402587My recommendations
- Repeat the above experiment
- Get rid of the spacer as it is not needed
- Add just enough water so that the mix holds together, the dough should be pretty stiff
- It should bake in about 50 minutes and the sides will be brown
Success here will validate that 100 W is a good temperature to dry bake. This will also give you a good baseline reference to further baking experiments. After a baseline success, then switch to an alcohol stove. My 2 cents.
May 15, 2016 at 4:22 pm #3402588Looks edible :-) Nice 1st try.
Make a note of what Jon said about distance of several inches.
@jonfong When dry baking, the pot can get up to the 400 F to 600 F and more. Because the pot gets hotter, the thermal feedback is more of an issue. The easiest way to control this is increasing the distance between the stove and the pot. A gap of several inches in typical.
May 15, 2016 at 4:22 pm #3402589And….you suggest using the whole muffin mix? I was thinking of repeating but with only half this time…
May 15, 2016 at 4:23 pm #3402590And…about the several inches…right, if using alcohol, I’ll be placing it at the top of the cone on stakes (like you suggested to me in a PM).
I was using the pot low just for the tealight method.
May 15, 2016 at 4:53 pm #3402592The aluminum ring I put on top of my carbon felt disk is much narrower (maybe like a 0.25-3.75 inch wide) than yours. I would think a smaller metal (which will get very hot) on top of the carbon felt would be transferring less heat back to the stove?. Only testing will tell…… I see lots of muffins in your future hahahaha
May 15, 2016 at 10:10 pm #3402641OK, second test….whew…much better.
So, less water, half as much mix, fat daddio pot resting directly in the 1.3L pot, same 4 tealights.

Muffin cooked in about 27 minutes…though I let it cook for 32 minutes to get a bit browner of a crust. Not bad….even the instructions said to bake in the oven for 16-21 minutes or until brown…and that is with a preheated oven. This oven started cold.

Bottom was lightly brown, which was great.

And, it was just as fluffy as oven baked muffins.

So, dry baking success at level 1 (easiest muffin level). Burned 5g of candle fuel. Now to try a starlyte! Thank you for your help everyone.
May 16, 2016 at 7:45 am #3402695You will find that the total baking time will be dependent on the the amount of food that you are baking ( a full muffin mix will take ~40 to 50 minutes to bake). Keep in mind that if you remove the pot/pan from the heat that your goods will continue to bake as the pan will still be quite hot. In fact, it will continue to cook for 10 to 15 more minutes if you leave the lid on. Happy Baking!
May 16, 2016 at 10:43 am #3402726Oh, and does anybody know the best way to line the sides with parchment as well? I know I can easily cut a circle for the bottom, but why not just cut a bigger circle and stuff it in the pan and so parchment is coming out the sides too? Yes, it won’t be flat against the sides, but I’m not needing a perfectly round muffin…just looking for no mess cleanup at a campsite.
Or perhaps there is a template or shape I can cut that will let me have parchment up the sides where it is more of a perfect cylinder?
May 16, 2016 at 11:18 am #3402732I do not recommend lining the sides of a baking pan with parchment paper. The reason has to do with basic heat transfer. Your goods are being baked by heat transferring from the pot to the bottom of the pan where the heat flows up the side walls. Adding parchment paper tends to allow the muffin/bread to pull away from the side wall thereby reducing the heat transfer. The bottom will get browner and the sides less cooked. For breads and muffins, I use parchment paper on the bottom and oil the sides. In the back country, it is simple enough to run a knife around the perimeter and the baked goods pop out. Clean up is relatively easy.
Where parchment paper on the sides may make sense is when you cook things like lasagna and other dishes with cheese or sugars. I myself just use a liberal amount of oil on the sides. My 2 cents.
May 16, 2016 at 11:34 am #3402734I like this thread and wish there were more like it.
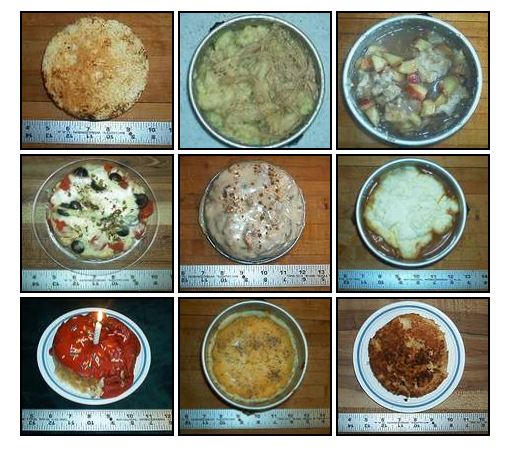
May 16, 2016 at 1:44 pm #3402763There is some good info at the following site on how to bake:
http://trailquest.net/baking.html

• First Row – Biscuit , Chicken & Dumplings , Apple Cobbler
• Second Row – Pizza , Raisin Cinnamon Coffee Cake , Chili & Cornbread
• Third Row – Birthday Cake , Cheese Quiche , Oatmeal Muffin
Another good source for some baking information:
May 17, 2016 at 11:09 pm #3403148OK…3rd test, this time with a starlyte XL, with a carbon felt simmer ring on top. The 1.3L evernew is on the highest level of the caldera cone supported by stakes ->

I used half a muffin mix. Now….this was a fail. The muffin never cooked, though the pot got hot (too hot to touch), but I think the pot was too far from the starlyte.
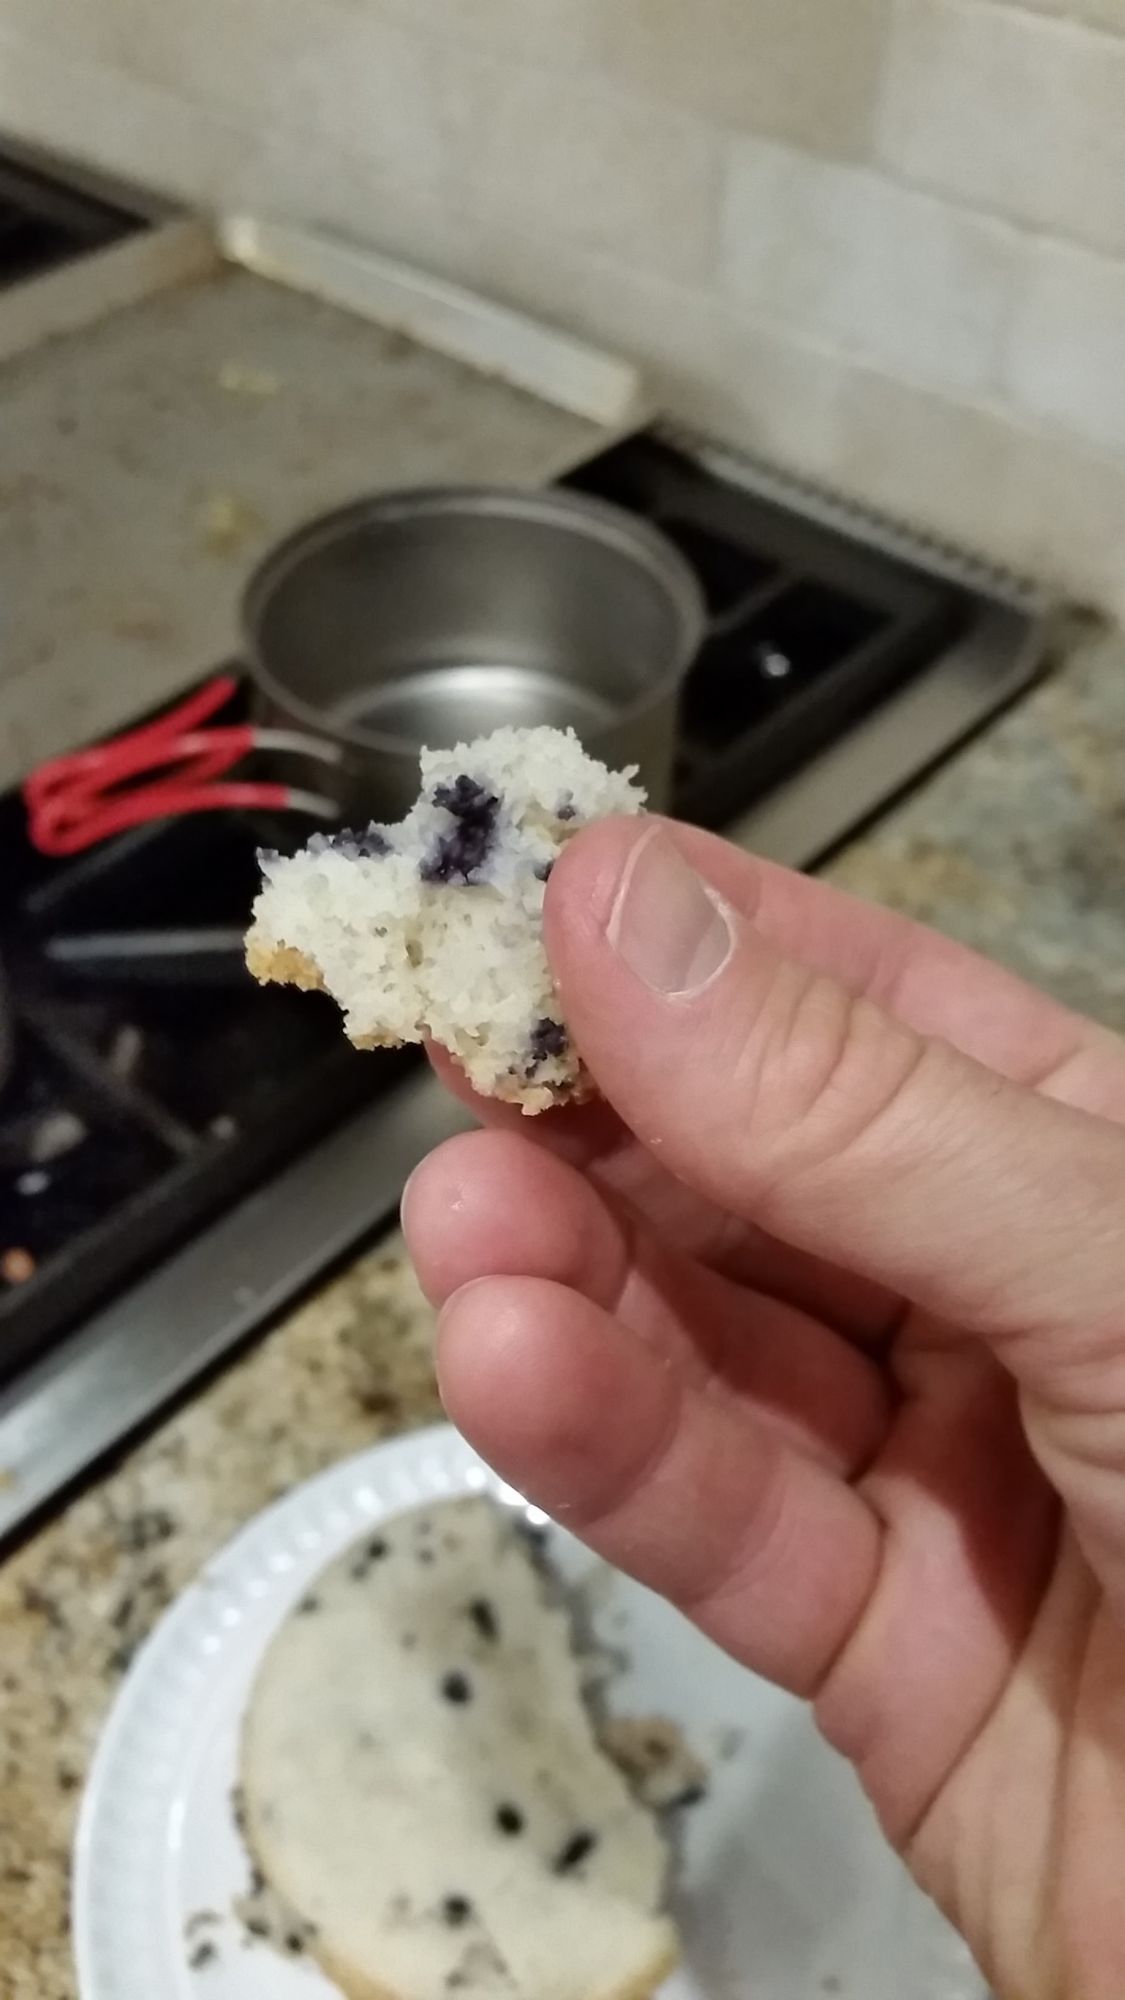
I let it burn for 2 hours….consumed 14g of alcohol fuel, and, it was only…maybe 65% cooked ->

I would assume 14g of fuel would be about right for 2 hours of simmering, but there wasn’t enough heat transfer to the pot (so, inefficient). I may retest with having the pot be closer to the pot..probably on the next set of stake supports down on the caldera.
If that doesn’t work…then I’ll go to the starlyte XL Slow version…but zelph wants me to wait for a mesh disk to test it out before I do that…right Dan?
Anyway….got more testing queued up! ->
 May 18, 2016 at 12:01 am #3403154
In my experience the easiest way to ruining anything baked while backpacking is too much water. I stay on the side of less water added, it’s in an enclosed space so there isn’t a lot of evaporation going on.
May 18, 2016 at 6:34 am #3403169Do you have a thermometer you could place inside of the pot to see what kind of temperature it is reaching? That would allow you to more quickly determine if you need to raise or lower the pot without waiting for the cooking results.
May 18, 2016 at 7:46 am #3403194Gentlemen,
The fastest way to dial in the amount of heat needed for dry baking is to test your stove output and I would target 100 W as a good starting point. The easiest way to do test this is to boil water and record the amount of time needed to reach a boil. Starting with 70 F water, a 100 W stove will boil 2 cups in 25 minutes. So getting a boil between 25 and say 32 minutes would be a go. Additionally, you can stop the test if the rate of temperature increase is off track, it will save you a lot of time energy and most importantly, dough.
Best of luck.

How to use this chart: Delta Temperature is the temperature rise of 2 cups of water. Let’s say that you started with 70 F water at sea level. The boiling point is 212 F so the delta temperature is 142 F. For normal boiling, it would be nice to boil in say 7 minutes. That means that your stove would have to put out 366 watts to meet that time. For dry baking, I recommend about 100 watts. Using the same 2 cups of 70 F water go to the delta temperature of 140 F. Scroll down until you see 100 W and then move to the left to see how long it would take. In this case, it would take about 26 minutes to boil 2 cups. I hope this helps.
 May 18, 2016 at 10:19 am #3403233
Lots of great info on this thread. Thank you everyone.
Dgogings, although your 3rd trial did not work for dry baking, its pretty impressive you got 2 hrs of burn-time with a mere 0.5oz of alcohol. Simmering requieres a much lower temperature than drybaking so that stove setup / pot height may be great for simmering. A while ago I bought this inexpensive kicthen termometer. It’s great as you can program alarms at a set temperature or time, etc. Its limit is 400 degrees, so not sure if it can handle dry baking (Jon mentioned higher temps are reached when dry baking IIRC)
I have an upcoming trip in the Peruvian Andes (Ausangate) and it will be my girlfriend’s birthday when we will be out backpacking, I thought it would be great if i can surprise her with a birthday “muffin”. Anybody know how high altitude affects dry baking. (we are talking 14k-16k elevation).
May 18, 2016 at 10:33 am #3403238Mario,
I have baked at 10K-13k using Esbit without a problem: I have used alcohol as well but not as often. Baking with alcohol will be sensitive to the wind because most of the time the pot needs to be elevated by several inches above the stove. Additionally, to dry bake, you throttle the heck out of the stove and at high elevations the oxygen level is reduced. IMO, alcohol will work but will be more sensitive to external perturbations.
May 18, 2016 at 12:27 pm #3403260I’m so excited, going to try baking Jon’s double crust pizza tonight with tea lights. I started the dough last night. Hopefully it goes well.
May 18, 2016 at 5:09 pm #3403316Jon, I got your method to “dial in” the appropriate temperature for baking. Pretty straight forward. I don’t understand the chart you shared with us. What do the numbers inside the chart mean?
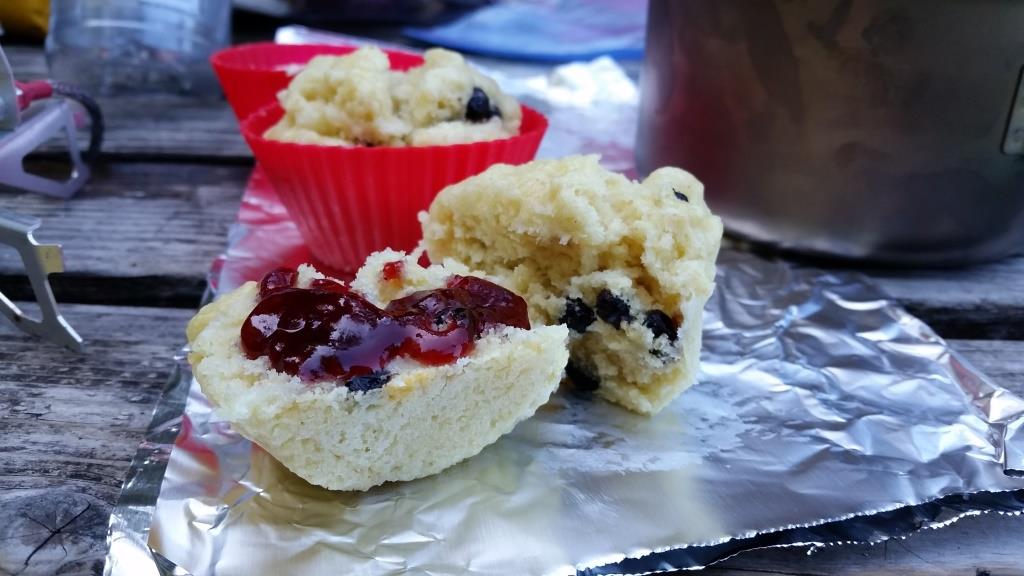
May 18, 2016 at 5:13 pm #3403317Backcountry baking has been a total game-changer for me. I’ve only experimented with steam baking, but everything I’ve baked has turned out delicious and it is SO EASY. On my last trip I had blueberry scones with jelly for breakfast, and was the envy of everyone who was camped nearby. It became kind of a spectacle actually :)
What I’ve noticed is that if I steam bake a tiny bit warmer and faster, I actually get a pretty great crust on the bottom of the baked goods (not so much on the sides like dry baking). The pic doesn’t really show it, but the bottoms of those scones did have a nice crust.

I’m excited to try dry baking, but I also appreciate the shorter baking time and very minimal weight gain of steam baking. The only thing I added to my kit for steam baking is the silicone muffin cups. Seems like there is a little more gear and a little more fiddle factor with dry baking. BUT the better crust would be worth it in most cases IMO.
There are two kinds of people in this world: Those who eat to live, and those who live to eat. I’m one of the latter :)
May 18, 2016 at 5:43 pm #3403320Mario, bad. I have been using this chart for so long that I forget that some people are seeing this for the first time. Basically is you test using 2 cups of water, you can determine the output wattage by measuring the temperature rise of the water and the time. I added elaborations to the original post with the time / delta temperature chart. Let me know if this makes sense. Best regards – Jon
May 18, 2016 at 6:02 pm #3403326Perfect…thanks for that chart. Its really useful b/c it also means I don’t have to try and get a start of 70°. My tap water is 75° so I can calculate based off of that. AND….I don’t have to wait the full boil time.
For example…I wanted to test the sidewinder XL simmer mode/Pot on top of caldera Wattage….I burned for 30 minutes. 2 cups went from 75° to 110°, which told me that setup only is 21 watts. Which…is why the muffin didn’t cook.
I’ll do more testing over the next few days (I’m not one to shy away from testing..I did 40 test boils here ->
https://backpackinglight.com/forums/topic/101307/
-
AuthorPosts
- You must be logged in to reply to this topic.
Forum Posting
A Membership is required to post in the forums. Login or become a member to post in the member forums!
HAPPENING RIGHT NOW (February 11-21, 2025) - Shop Hyperlite Mountain Gear's Biggest Sale of the Year:
Our Community Posts are Moderated
Backpacking Light community posts are moderated and here to foster helpful and positive discussions about lightweight backpacking. Please be mindful of our values and boundaries and review our Community Guidelines prior to posting.
Get the Newsletter
Gear Research & Discovery Tools
- Browse our curated Gear Shop
- See the latest Gear Deals and Sales
- Our Recommendations
- Search for Gear on Sale with the Gear Finder
- Used Gear Swap
- Member Gear Reviews and BPL Gear Review Articles
- Browse by Gear Type or Brand.


