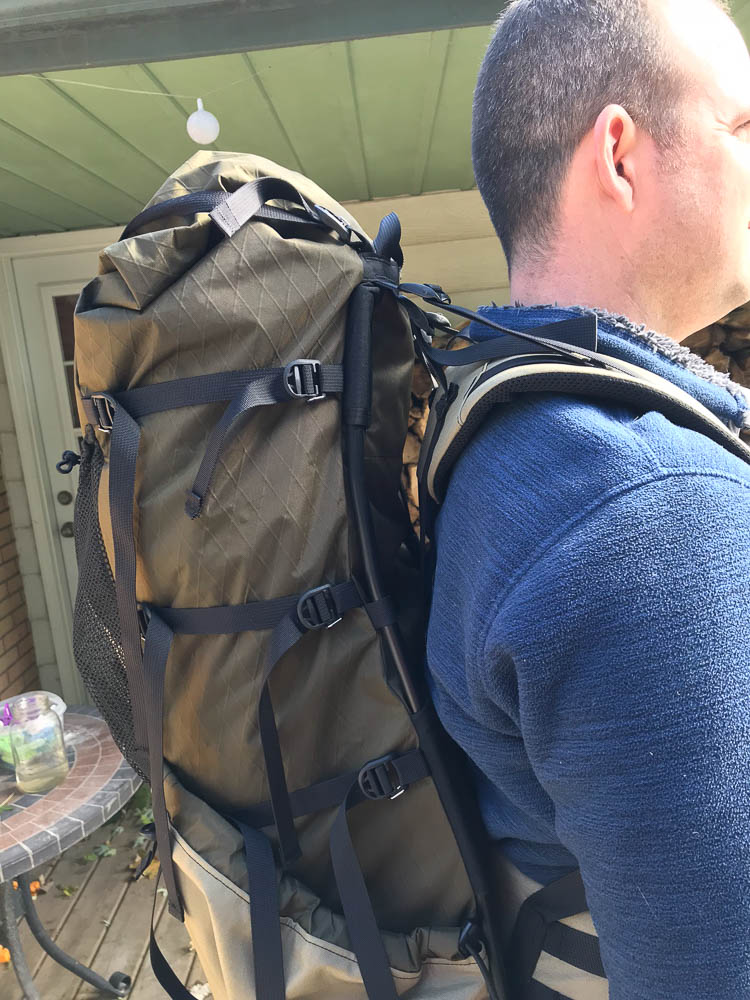
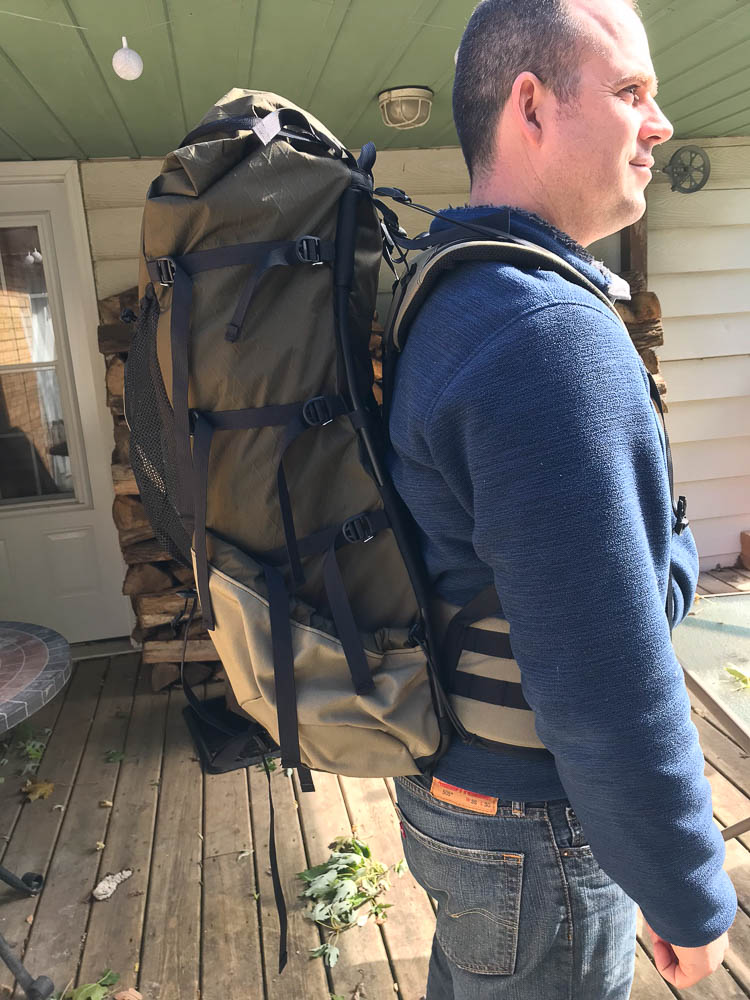
I just got a Seek Outside Divide 4500 and am looking forward to using it next weekend for the first time. I’m trying to get it dialed in. My main difficulty is getting the top of the pack to stay close to my back without overdoing it a bit on the load lifters. It seems to hang back a bit, which means I have to compensate by leaning forward a bit more than I’d like. I’ve got about a 18″ torso, so I ordered it with a set of 2in frame extensions. They came installed but seemed overkill for the weekend trip I have planned so I pulled them out. This puts the top of the frame around the bottom of my ears so I still get adequate lift. Any tips would be appreciated, I’ve shortened the torso adjustment a bit (I think you need to do this if you change the frame length), and tightened up the harness straps the pull upwards on the harness. I’ll try and post a side profile picture tomorrow to give a better visual.
Here are some the resources I’ve used to glean info on the pack (both before and after purchase).
Dave Chenault’s Site Bedrockandparadox has a ton of SO info
Seek Outside Frame Height (has some other decent fitment info)
Seek Outside’s Backpack fit video (youtube)
Section Hiker Divide Review (other SO info on the site as well)
It would be interesting to see how some others have set up their suspensions since there are so many adjustments.
Available adjustments:
Belt Position – 2 grommet positions (plus a 3rd wrapped position). I think this changes the effective frame height. You might have to add/remove frame extensions if you mess with this to keep the same load lift/frame height. This also affects where the back pad rests, I wonder if dropping my frame down a grommet might allow the pack to sit a little tighter since the pad will nestle into the small of my back more (this pad seems to be the fulcrum that the load lifters and hip belt make it teeter on). You can also choose whether to capture the belt with the bottom strap of the pack bag, or let the frame hang from the belt without capturing the belt. The more dangly positions will allow for more belt wrap around your waist, but allow the frame to float around a little more unconstrained. I haven’t messed with this one.
Frame Height – I pulled out my two inch extensions, will probably just use them for family trips where I’m the pack-horse, or longer gear intensive trips. Love that this is adjustable.
Upper Frame Stay – Keeps the pack-bag from barreling into your back and increases back ventilation by creating an air gap. May not be necessary under lighter loads where the bag isn’t stuffed.
Load lifter angle – Tri-glides on the top of the shoulder straps allow the lower position of the load lifter to be adjusted. I didn’t realize this adjustment existed until I read sectionhiker’s review. Seems like it might be a nice thing to tweak on longer trips under heavy loads. Is 45 degree an ideal angle, or is it personal preference?
Torso length – Curious if people adjust this to get the U in the harness right against the C7 area of your neck, or shorten the torso more so the straps go more up and over your shoulders (putting the inside of the U further down your neck/upper back). If I set the U close to my C7 then the load lifters seem to pull the straps off my shoulders excessively when trying to pull the top of the pack in towards my upper back.
Upper harness tension – Goes from the harness to the top of the pack near the upper load lifter attachment. I tried to tighten this as much as I could to keep the pack tidy against me.