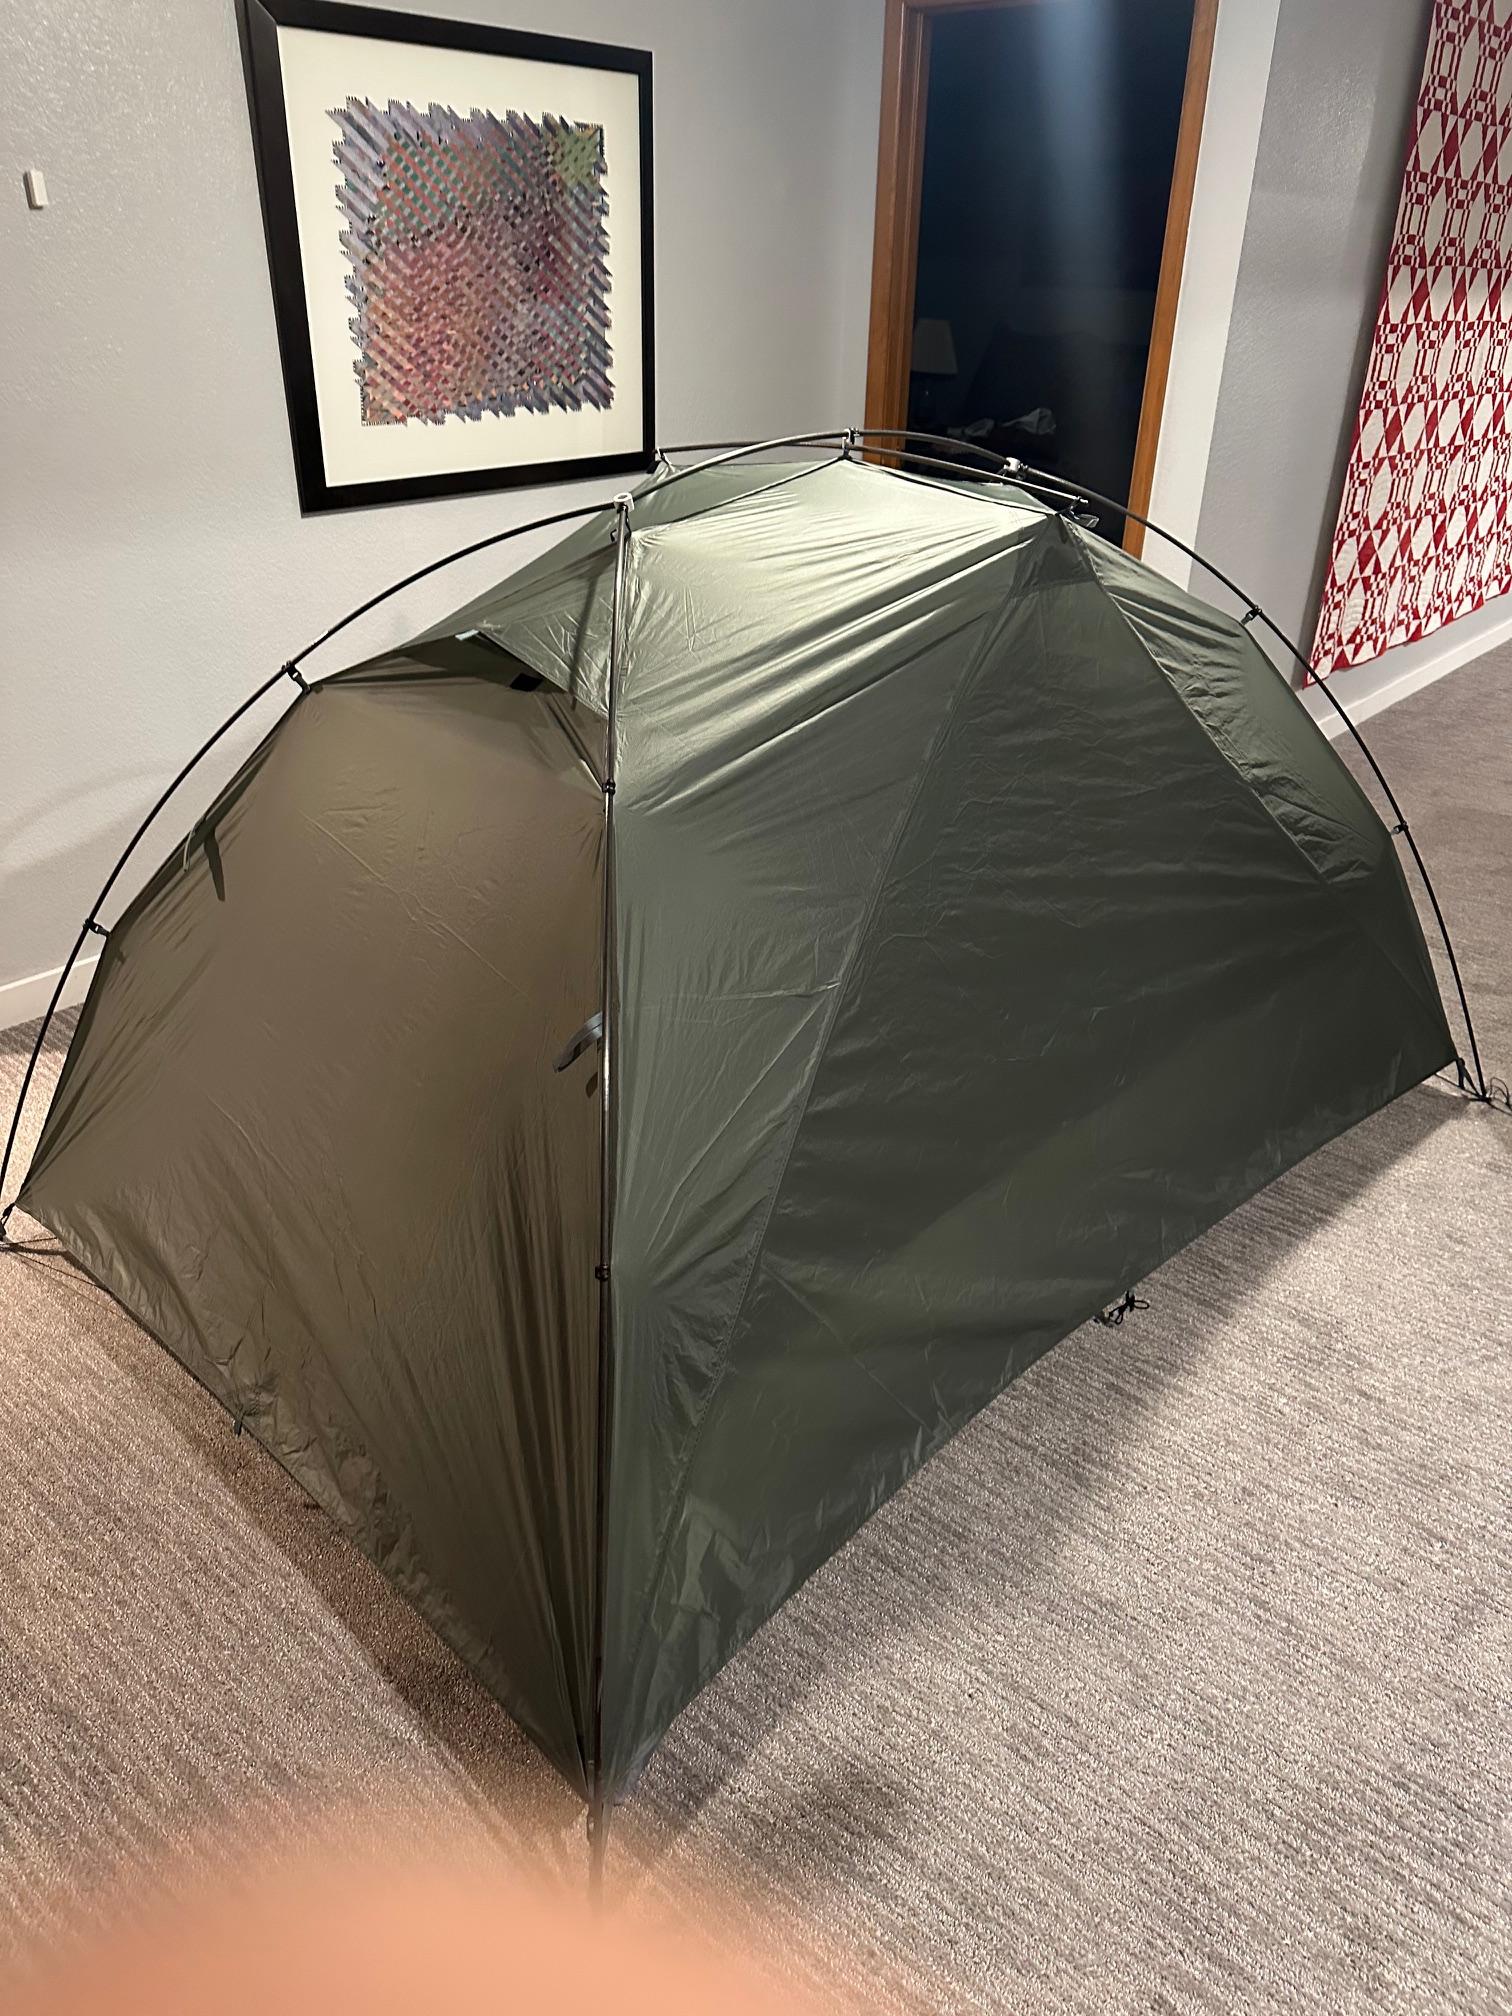
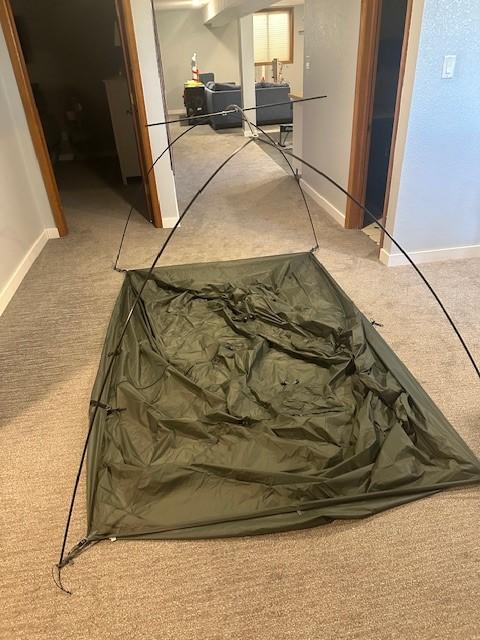
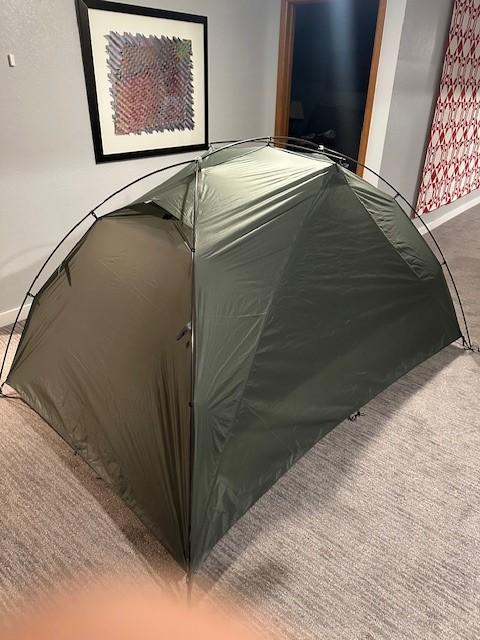
I received the X-Dome last week and erected it in my basement. I decided to try this without viewing Dan’s video. I got stuck on the fly crossbar and then watched the video. The video pointed out the crossbar should be installed before clipping the fly to the carbon fiber poles. I then watched the rest of the video, particularly the part about pitching in the wind.

After a while, my wife came down to the basement and asked why I spent so much time lying in an empty tent in the basement. I explained to her that I was taking in all of the tent’s features that I had not previously seen in other tents, particularly the volume of space present in a single-person tent. I have never owned a single-person tent. The single-person tents I had used felt claustrophobic, and avoiding contact with frost or condensation-covered surfaces was difficult. I felt these issues would be less likely in the X-Dome.
On Saturday night, the weather forecast called for moderate winds (15-25 mph) in Rocky Mountain National Park. So, I packed up and headed to Wind River Bluffs, which features camping with decent exposure to west winds, the expected wind direction. The trail was generally covered with frozen snow, so it was a microspike day, and the winds were pretty much as forecast.
I reached Bluffs, selected a camping spot that took full advantage of the west winds, and erected the tent. The inner was already clipped to the fly. I spread the fly, with the head end facing the west wind. I staked each corner of the fly as I spread it to form a rectangle. I wanted to stake the inner and outer at each corner as I laid it out, but the inner was a bit tangled, and untangling it with the gusting wind was not an attractive option, so I simply staked the four corners of the fly. This was a mistake, and I realized I would have to stow the tent next time so that all the corner stake points remained together and easily accessible.
Next, I installed the pole set.
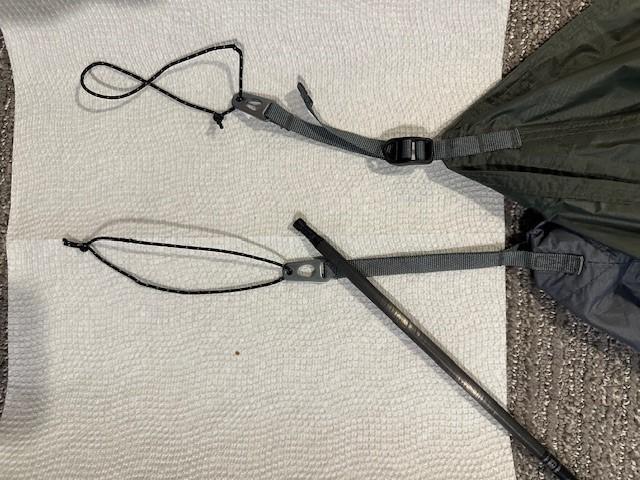
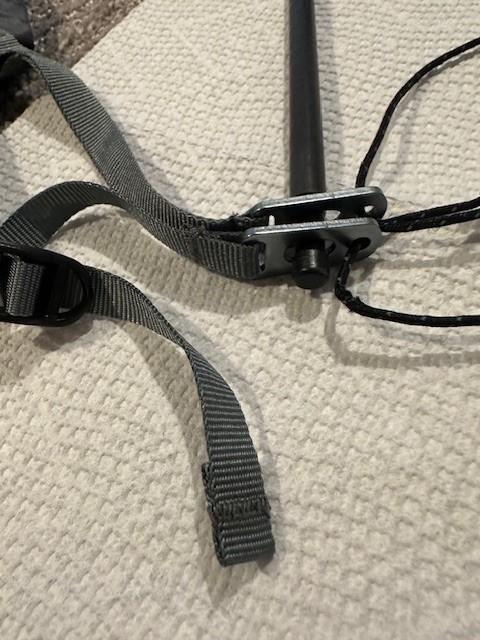
The carbon fiber poles are inserted through small aluminum (I think) plates. The clearance between the hole in each plate and the pole is fairly tight. The pole is easily inserted through the hole when it is perpendicular to the plate. Holding both plates together, with the holes lined up and the pole perpendicular to the plate and the plates staked to the ground to restrain the fly against the gusting wind, was a challenge. I figured out the best way to do this was to release the stake at each clip as I attempted the assembly. After a pole was inserted, I then would tap the stake back in.
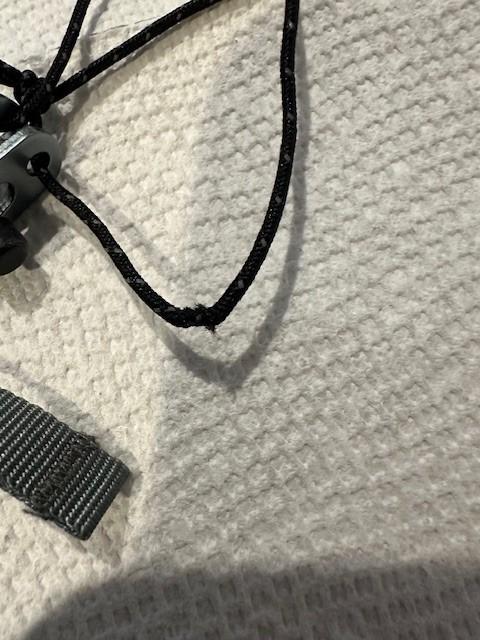
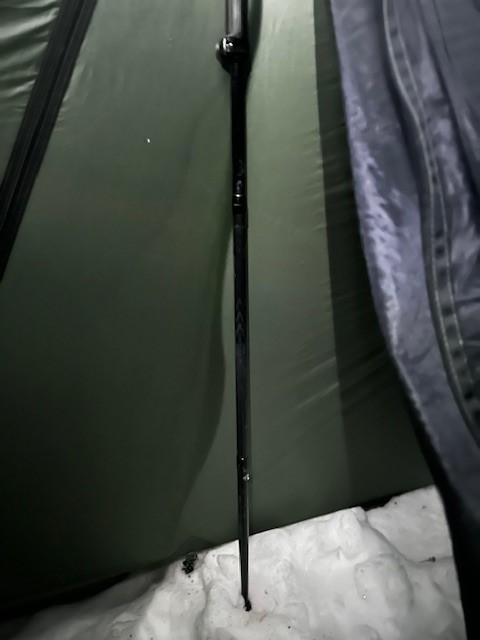
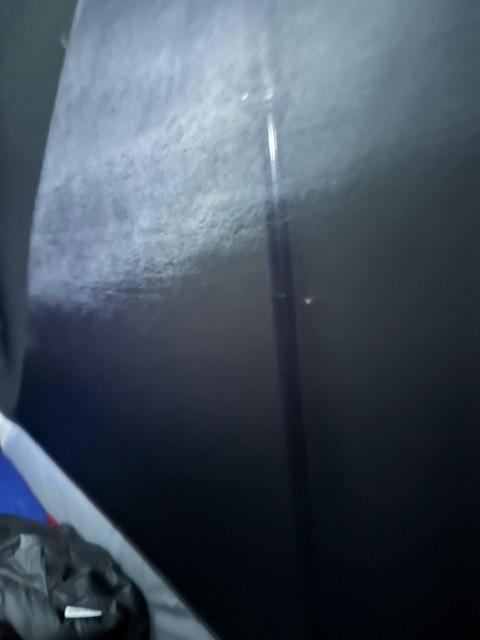
These photographs illustrate the plates and poles. When I initially set up the tent, my attention was drawn to the small diameter cord attached to the plates, and I wondered whether the plates might cut through the cord when under tension. The third photograph shows a nick in one cord I found when I returned home. The other cords showed no damage.
A final point on the pole set: When poles are removed, they need to be perpendicular to the clips to permit easy extraction. This is always an issue because poles are angled in the clip before removal.
The plug at the end of the pole that is inserted through the plate is not glued into the pole. This is probably so the cording can be replaced if it ever fails. I found that two of these plugs slid out of the pole when I tried to pull the poles out of two clips that were not adequately lined up.
I expect these issues to be resolved as I get more practice pitching and stowing the tent.
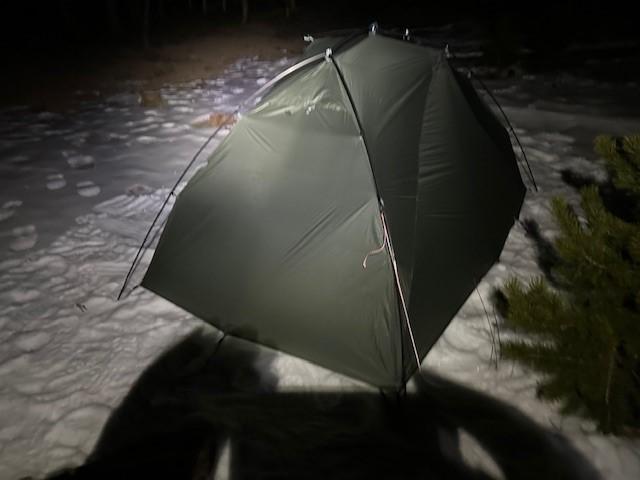
Once I inserted the poles into the fly and all four inner attachments, I staked the five guy points at the tent perimeter and the door and erected the tent. Then, I experienced a welcome surprise: The erected tent was quiet in the steady breeze and had minimal flapping in the gusts, which might have been 20 mph. The tent demonstrated good structural rigidity and probably good aerodynamics.
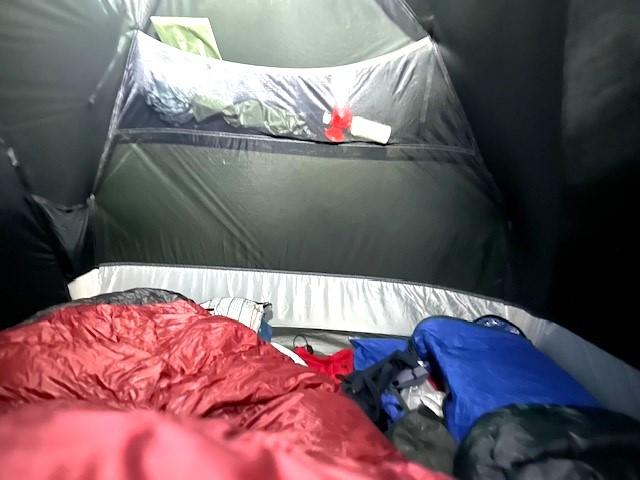
I moved my gear into the tent, inflated my pad, and set my pack in the space next to my pad. There are two pockets at the head end of the tent. They are well-supported and did not cause the supporting mosquito netting to sag. I set my temperature/humidity monitoring instruments at three locations. One was attached to one of the two loops at the top of the net inner. One was clipped to the top of the tent pole structure, and the other was clipped to an “attic” attachment point. (I am calling the space between the fly and the top of the net inner the attic. You could lay small damp articles in there to dry.)
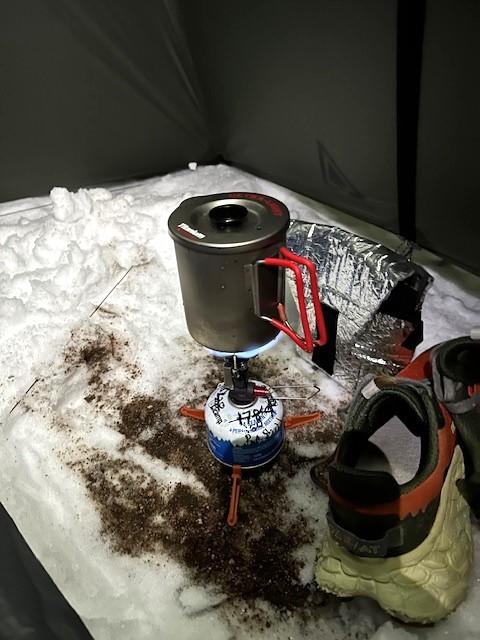
I decided to cook in the vestibule since the winds were still elevated and the bears were in bed.
The inner door has a three-way zipper; one way, of course, is vertical. The other two ways are horizontal on either side of the vertical zipper. This allows expansive use of the vestibule and easy access to the clips that secure the inner to the fly. More on this in a bit. My shoes and insulated pouch, provided some wind shielding for the stove.
The wind was supposed to diminish, starting at 6:00 PM, so I didn’t install extra guy lines when I pitched the tent. However, the wind, especially gusts, appeared to grow, and by 7:30 PM, I decided to secure the tent.
I went out and took a look at the tent. I found the wind was now coming from the southwest and hitting the tent on a diagonal. I installed a guy line at the southwest guy loop. I wrapped the extra-long guy loop around the adjacent pole and attached one of the four guy lines I brought along. This produced a substantial reduction in horizontal tent deflection.
I decided to install my trekking poles in the sleeves to see what impact they would have. The pole that is installed by the door is very easy to install. Since no door was on the other side of the tent, the other pole seemed more challenging to install. It actually wasn’t. I laid the pole on the snow, slid it beneath the fly, and stood it upright. Next, I entered the tent and dropped two clips that secured the inner to the fly. This provided easy access to the other pole sleeve through the attic. When you use the poles, you want to extend them so that the pole grip is tight against the top of the sleeve. The pole tip is securely embedded in the ground (or, in this case, the snow). Angle the pole outward as far as possible so it is contacting the door/side wall fabric. This will provide maximum rigidity. Ensure you have staked the guy line installed at each bottom, adjacent to the pole, so the extended pole does not lift the tent away from the ground.
After I installed the poles, I went outside and pushed the tent horizontally at the roof crossbar. The entire tent structure was remarkably rigid laterally and vertically. Using the poles for extra support is a great feature that adds no additional weight (if you use trekking poles) but substantially enhances the strength of the structure.
I went back in and watched a video, free from the disturbing sound of a tent flapping in strong winds.
I had a good night’s sleep. The outside humidity was low, and the outside temperature reached about 28F. I may post the data later. The sky was clear, and no tree canopy was over the tent. When I woke up, I checked for frost inside the fly. A few ice crystals were reflected in the headlamp, but by and large, the fly was frost-free. I had the leeward vent open, and the windward vent closed. I had piled snow along the fly perimeter to seal it against the wind. Some wind got under the door, which I did not seal with snow. The tent seemed to ventilate well, but these were not very challenging conditions as far as condensation/frost go.
This is a thoughtfully designed tent, with good tradeoffs for comfort, ease of use, weight, and strength. I expect that a little more experience will ease the setup process. Perhaps Dan can weigh in with tips on efficiently securing the poles to the aluminum attachment plates. I recognize that the tent is not designed as a mountaineering tent. I don’t anticipate spending my nights on exposed ridges above the tree line, so I think the X-dome will serve my needs as a winter tent. I expect to update this post after more overnights.