Topic
Best Stitches/Techniques for Sewing on Tarp Tieouts?
Forum Posting
A Membership is required to post in the forums. Login or become a member to post in the member forums!
Home › Forums › Gear Forums › Make Your Own Gear › Best Stitches/Techniques for Sewing on Tarp Tieouts?
- This topic has 9 replies, 8 voices, and was last updated 7 years, 2 months ago by
 Monte Masterson.
-
AuthorPosts
-
Nov 15, 2017 at 10:03 pm #3502303
I’m getting ready to make another tarp, but this time from Rockywoods 0.7. On my last project I used a straight stitch with a medium zigzag over it. So far it’s held up well. I’d like to hear what some of the seasoned DIY’ers have to say…please.
I’ll be applying 0.7 reinforcements with Permatex silicone and then folding the perimeter hem twice and sewing. Thanks
Nov 15, 2017 at 10:28 pm #3502305I did an xbox stitch on my first tarp but tried a zigzag ala MLD for my second and couldn’t get it to fail so I have used the two zigzag line method on all consecutive tarps with no failures.
Nov 18, 2017 at 3:06 pm #3502760Do you guys have pictures of these stitches? Inquiring minds want to see!
Nov 18, 2017 at 3:13 pm #3502763Nov 21, 2017 at 6:26 am #3503239Except that you wouldn’t place a tie-out anywhere on a single layer of fabric if you have an edge to work with. It’s best to insert the webbing or tape into the edge hem at the outset and feathered at 45 degrees, this spreads any forces along a greater distance of single fabric and you are actually sewing tape to tape in effect
Pull-outs in the middle of a seamless panel should be reinforced or avoided
That said modern fabrics are incredible strong and you can get lucky
Nov 21, 2017 at 9:24 am #3503261https://mountainlaureldesigns.com/product/supertarp-flat-tarp/
Detail photos available. He uses a double bar tack, but it’s on multiple layers of rolled hems at corners and seams. However, if the guy line pulls significantly to either side of the direction shown in the photo, the webbing will pull more on one end of the stitch which could lead to a ‘zipper’ failure, tearing the seam from one end to the other.
Your laminated reinforcements go on the underside of the tarp, with the webbing on top. This way the tarp fabric is protected from the load applied by the threads on both sides.
http://borahgear.com/tarps.html
For the side tie outs, here we see a reinforcement patch on (what I consider to be) the wrong side of the tarp. However, the arrangement of the loop itself is good as it doubles the area for load transfer.
Here’s what I’ve been using for the corners:

It’s a strip of grosgrain sewn over the rolled hem at each side of the corner w/ a zig-zag. The seam stops a little ways from the corner. Then there’s a bar tack across the folded ribbon to form the loop. The bar tack is (or at least, should be) positioned right at the corner of the tarp on the center line of each rolled hem. That geometry means the load on each zig-zag is always down the center of each rolled hem; no side loading, no zipper effect. If you skip that bar tack that closes the guy loop, then you side load the seams. The beauty of this is the direction of the load on those seams is independent of the direction of the guy line. The only thing that changes is the relative size of the loads on each side of the corner. And of course, you can make the ribbon and the zig-zags as long as you want to reduce the specific load. Since the zig-zag is narrower than the rolled hem, the working surface of the tarp is protected on both sides from the thread load. Also, since all the load is directed down the hem, I didn’t feel the need to add a reinforcement patch (neither did MLD); I did add them at the side tie outs and ridge line.
Dec 3, 2017 at 12:34 pm #3505262Thanks for the input guys.
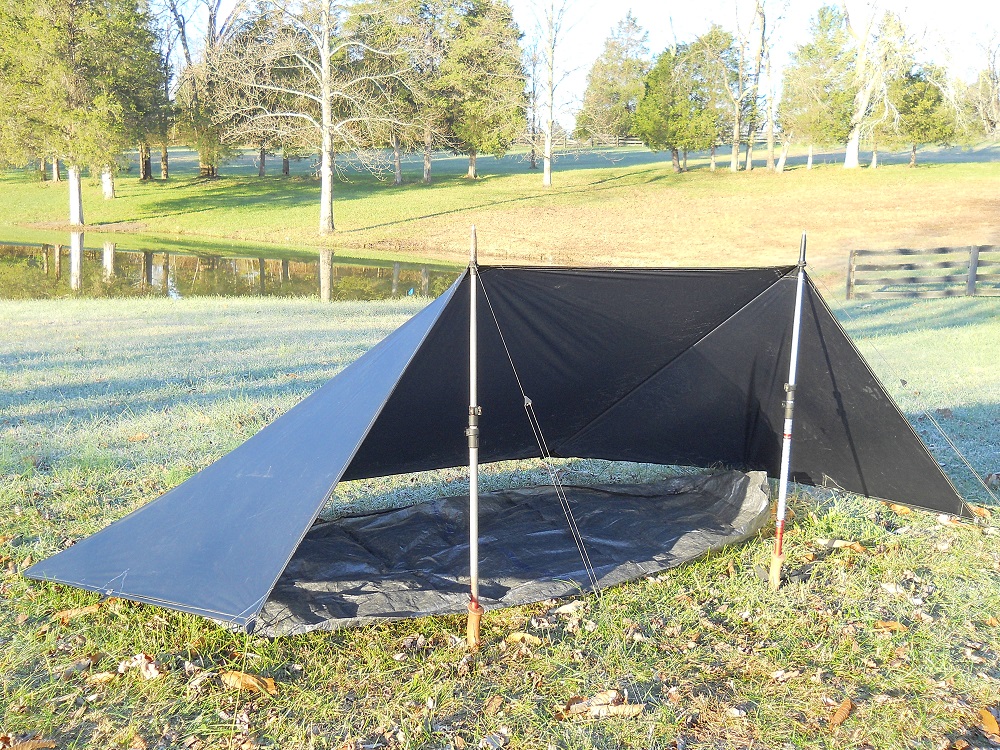
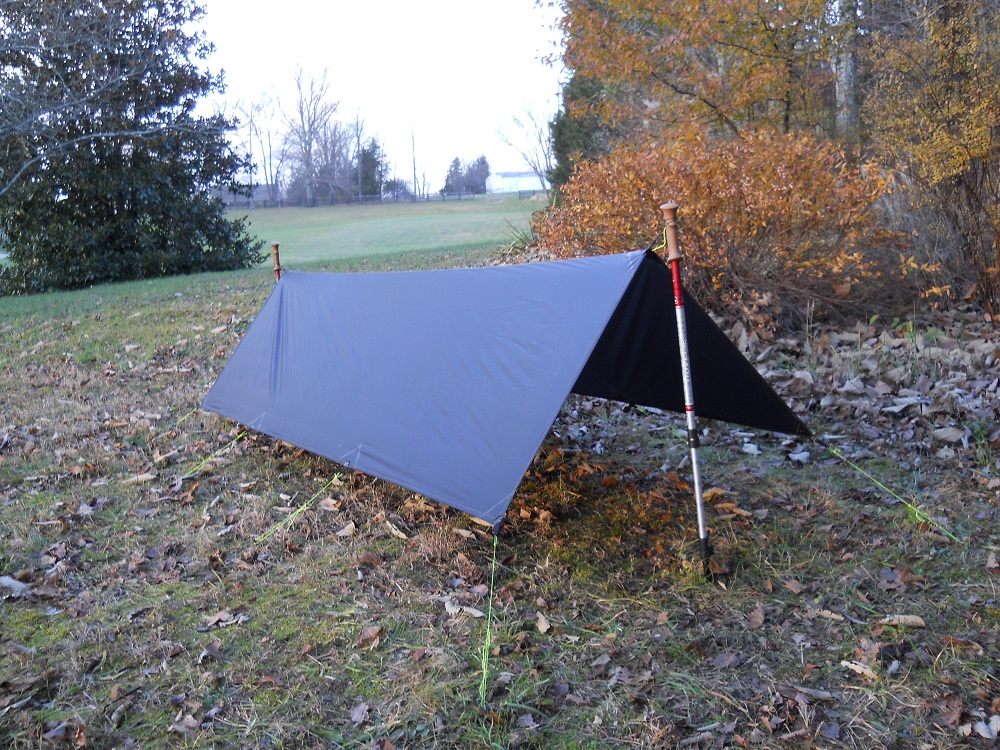
I absolutely love the 0.7 Rockywoods. It has such a feel of quality about it. I left a few different pitches out overnight for about a week. I made the set ups as taught as possible, so as to test the material. Everything held up well.
I sewed the tieouts on with 2 rows of straight stitch with bartack and zigzag over top. I also bonded 0.7 reinforcements on with Permatex Flowable Silicone, then folded and sewd the outer perimeter twice.
The 7 denier stretches a bit, but I guess that’s a good thing with material this thin. Finished dimensions of this tarp is 9′ X 4′ 8″. Weight is 4.7 oz. The material is a little thin for a 9 feet long A frame pitch. With the stretch and lower thread count, I found it impossible to get a drum tight pitch in the A frame. The 0.7 does well in the Holden pitch though. I’m going to make a .34 cuben attachment for the front of the Holden pitch.
The material is actually black, but the sunlight and camera make it look more grey, which it’s not. I’m going to make a mid out of the 0.7 Rockywoods next. I’ve called the material a “poor man’s cuben fiber”, yet at $14 a yard it ain’t all that cheap. Still less than half the price of cuben though.
Dec 3, 2017 at 3:14 pm #3505280looks good, nice job
Dec 3, 2017 at 5:38 pm #3505311I find this material really intriguing. Obviously not as strong as equivalant weight cuben, but it might last longer and it’s more packable. Seems like an ideal choice for trips where I expect my shelter to remain in my pack most of the time – which is most of my trips.
On my last Grand Canyon trip I thought about this a lot – I was carrying a silpoly mid and it stayed in the pack the entire trip. A tarp out of this material would be a lighter and much more compact choice.
How small is that 9×5 tarp when packed? And did you add any cat cuts? That might help getting a taught pitch in the A-frame configuration.
Dec 4, 2017 at 10:33 pm #3505573I didn’t use any cat cuts on the tarp, but I’m sure that would help with the A frame pitch. Quite honestly I don’t know what I’m doing when it comes to cat cuts.. I once had an Oware cat tarp and it pitched drum tight at 9 feet long, however, it was made with 30d and It wasn’t very versatile. I built this tarp for SUL missions, just in case day hikes and quick set up rest stops when it’s raining. I really feel as if the ideal length for the tarp would be 8 feet long for the A frame pitch (and a rain kilt to cover one end).
The tarp packs up really small. Volume wouldn’t be an issue. I’ll use it in a 20L pack for overnights, but I must add that I carry a water belt and a shoulder sling bottle holder, which frees up space in the pack.
The Holden pitch is what I have in mind for this tarp though. I’m going to make a .34 cuben attachment that zips on between the 2 poles and Velcro on the rest of the entry. That way I’ll retain the versatility of a flat tarp and have a SIDE ENTRY (which is very important to me,) and all for about 6.2 oz total.
-
AuthorPosts


- You must be logged in to reply to this topic.
Forum Posting
A Membership is required to post in the forums. Login or become a member to post in the member forums!
HAPPENING RIGHT NOW (February 11-21, 2025) - Shop Hyperlite Mountain Gear's Biggest Sale of the Year:

Our Community Posts are Moderated
Backpacking Light community posts are moderated and here to foster helpful and positive discussions about lightweight backpacking. Please be mindful of our values and boundaries and review our Community Guidelines prior to posting.
Get the Newsletter
Gear Research & Discovery Tools
- Browse our curated Gear Shop
- See the latest Gear Deals and Sales
- Our Recommendations
- Search for Gear on Sale with the Gear Finder
- Used Gear Swap
- Member Gear Reviews and BPL Gear Review Articles
- Browse by Gear Type or Brand.
