See next post.
Topic
Apex Quilt with sewn footbox
Become a member to post in the forums.
- This topic has 14 replies, 2 voices, and was last updated 5 years, 8 months ago by
 .
.
Viewing 15 posts - 1 through 15 (of 15 total)
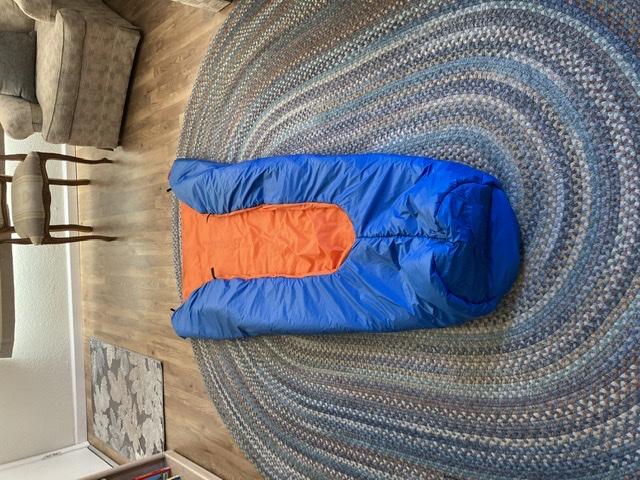
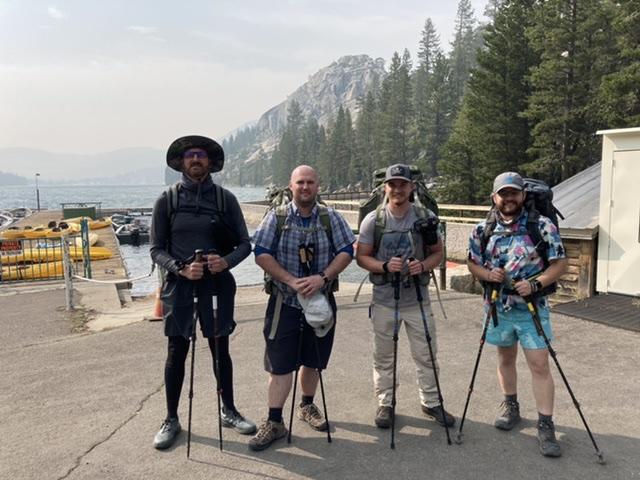
I am making a few quilts for my guys who I’m hiking in Desolation Wilderness. It is going to be warm, so we probably won’t even have our feet in the foot boxes, but I wanted to get a technique down for the style, since I’ve already done ones with the drawstring footbox. Apex 3.6 should make for a nice 40deg do-most weight.

I just need to add the doodads (pad straps, can snap, and drawcord)


<p style=”text-align: center;”></p>
<p style=”text-align: center;”></p>
Hi, sorry for the slow reply but Covid has kept me busy. They look good and should do the job any chance of taking us through the build process and would you possess a pattern by any chance?
Steve
Hi Steve, I have a pattern I started with but modified over the course of making 3 of them. Basically, I tapered from about 40” to 50” from the footbox end to about knee height. On one of the quilts I did the outer shell a little larger than the inner, but it turned out to not be a big difference.
For the portion of the quilt above the knee, it would be very easy to just taper simply until about mid torso, where you just use the full width of the fabric, in my case, the Hyper D is about 58”. I just liked the idea of trimming extra weight, so I scalloped it out in the butt area and tapered at the shoulders. It actually worked really well, and got all the quilts right around 17.5ish oz with 3.6 Apex. The cut leaves the back area pretty exposed to the sleeping pad, but has enough wrap around as long as one is not too girthy. I added pad straps for each of the quilts. The attachments should be at mid to lower torso, at least my preference, so you could sit up easily without the straps getting in your way.
For construction:
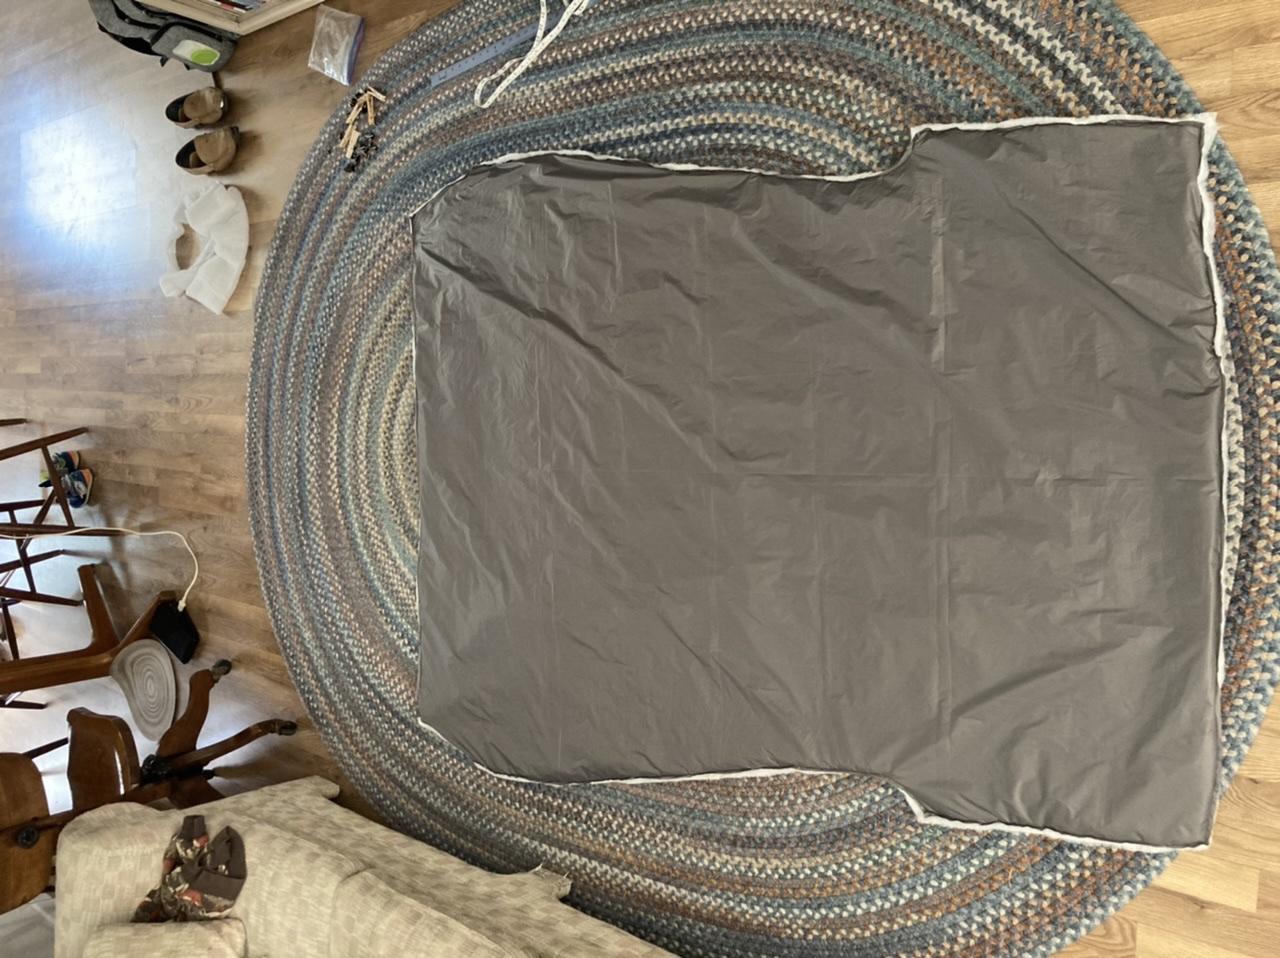
the inner shell and outer shell are constructed separately, unlike most flat apex quilts. There are a couple of folks on Reddit who documented their projects I followed. I took some pics, but not of the whole project. To make the shells, I started by sewing the left and right sides of the footbox together. This gave the tube shape, and then I had to sew the round cap into the end. It is just a little math, but a 40” foot box is about 13” diameter cap. You’d want to do the math to get it right for whatever yours ended up being. I sewed the Apex to the outer shell by sewing the layer of apex to both the shell (around entire perimeter) and also to the circular cap, and then sewing them together. For the inner shell, when sewing the left and right footbox together, I left a 6” space in that seam open, for the purpose of flipping the quilt inside out after putting the two halves together. That ended up being the place I thought would see the least abuse, since that is where I blind-stitched the area closed after everything was done. You could choose other places though if you wanted to.
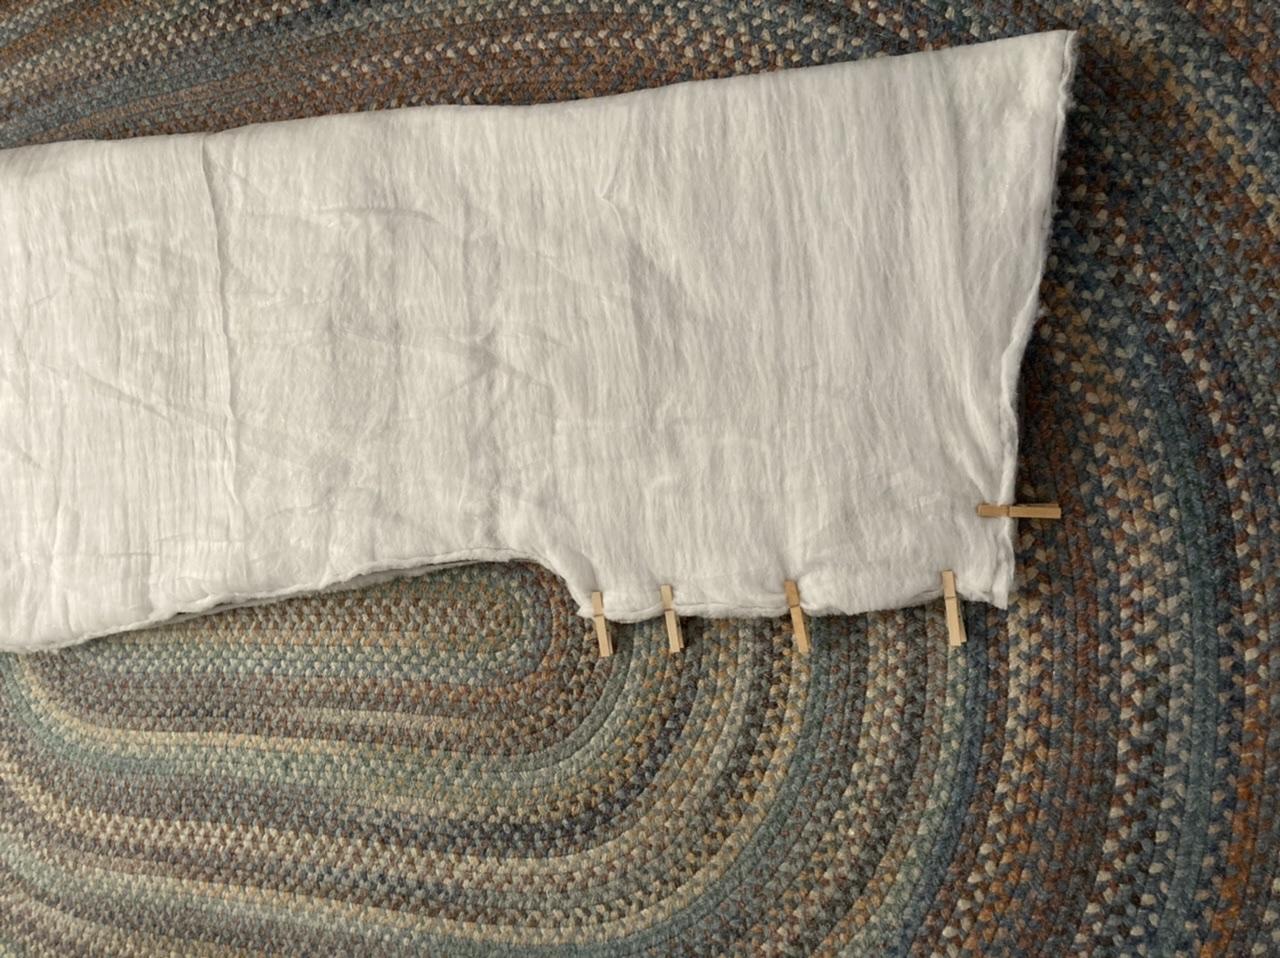
With outer and inner shell completed, they go together much like normal apex quilts do – add your doodads (drawstring tube, grosgrain loops, padstraps) in between the layers and keep them in place with clips, then just sew the perimeter shut. Then you just pull it inside out through the hole in your seam, wherever you made it, and sew that hole up. In my quilt, the inner footbox liner floats; i.e. it is not tacked to the Apex or the outer shell. You could tack it down with some hand stitches if you wanted to so it didn’t move, but I didn’t really think it was necessary. All my guys loved the quilts and kept them nice and warm. Temps were in the low 40s at night, so they were perfect.
I’ll attach some pics of the builds if I can find them.
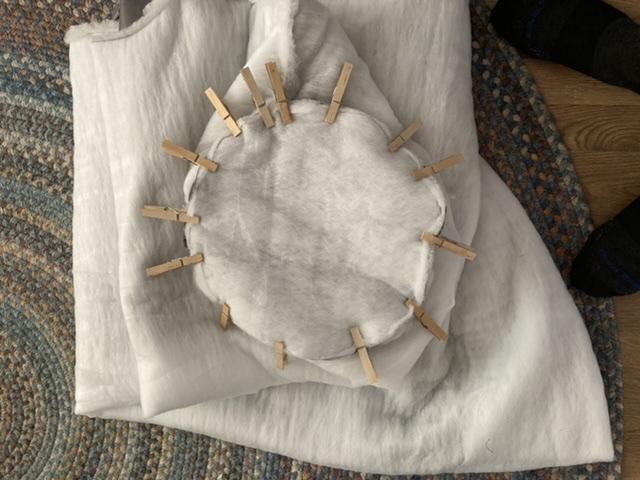
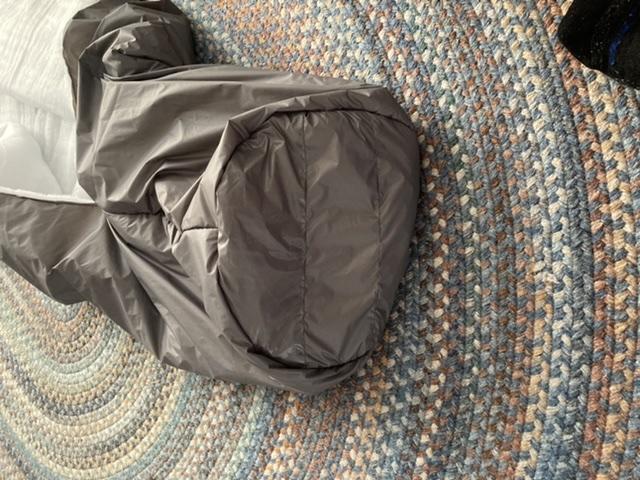
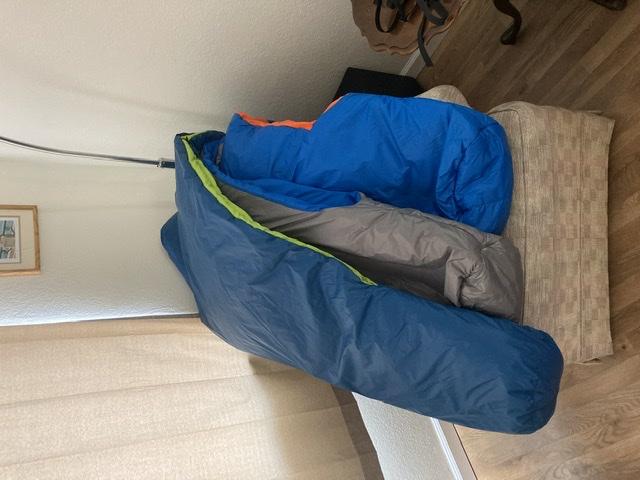

Sorry if the pics are a bit jumbled. I am the tallest guy of the 4 of us, and the quilt sizing fit me just about perfect. At 6’1”, I was taking up about the max allowable length – I was able to make each of these with 2yd each of the Apex, the inner and outer fabric. For comparison, my own flat quilt with drawstring footbox uses about 2.5yd of each for a questionable increase in usable size- it does fold flat though, so there is that if that is important to you. I was able to be very efficient with my construction by making the footbox out of a few narrower sections sewn together and then cut into the circular shape; you can see the seams on the foot boxes in a couple of the pics. I am happy to answer any questions if you decide to make one and have some problems. I am still a beginner sewer by industry standards, but my guys were happy to pay for the materials and let me make them some gear, and I got some valuable experience. It is a good way to figure out the MYOG techniques :)
Thanks for all that info Michael. It’s time for me to get my ass moving and make my own.
I definitely want to make my own and another for my wife! Too many projects!
Viewing 15 posts - 1 through 15 (of 15 total)
Become a member to post in the forums.