Topic
Another MYOG Trailstar
Forum Posting
A Membership is required to post in the forums. Login or become a member to post in the member forums!
Home › Forums › Gear Forums › Make Your Own Gear › Another MYOG Trailstar
- This topic has 3 replies, 3 voices, and was last updated 7 years, 1 month ago by
 James Dick.
-
AuthorPosts
-
Mar 12, 2017 at 7:29 pm #3456212
With inspiration from:
5 sided silnylon pyramid tarp (MLD Trailstar clone, but slightly smaller), lots of process pics… (x-post /r/ultralight) from myog
http://ivovanmontfort.blogspot.be/2013/01/verwerken-van-silnylon-stof.html
https://backpackinglight.com/myog-laminating-silicone-impregnated-fabrics/

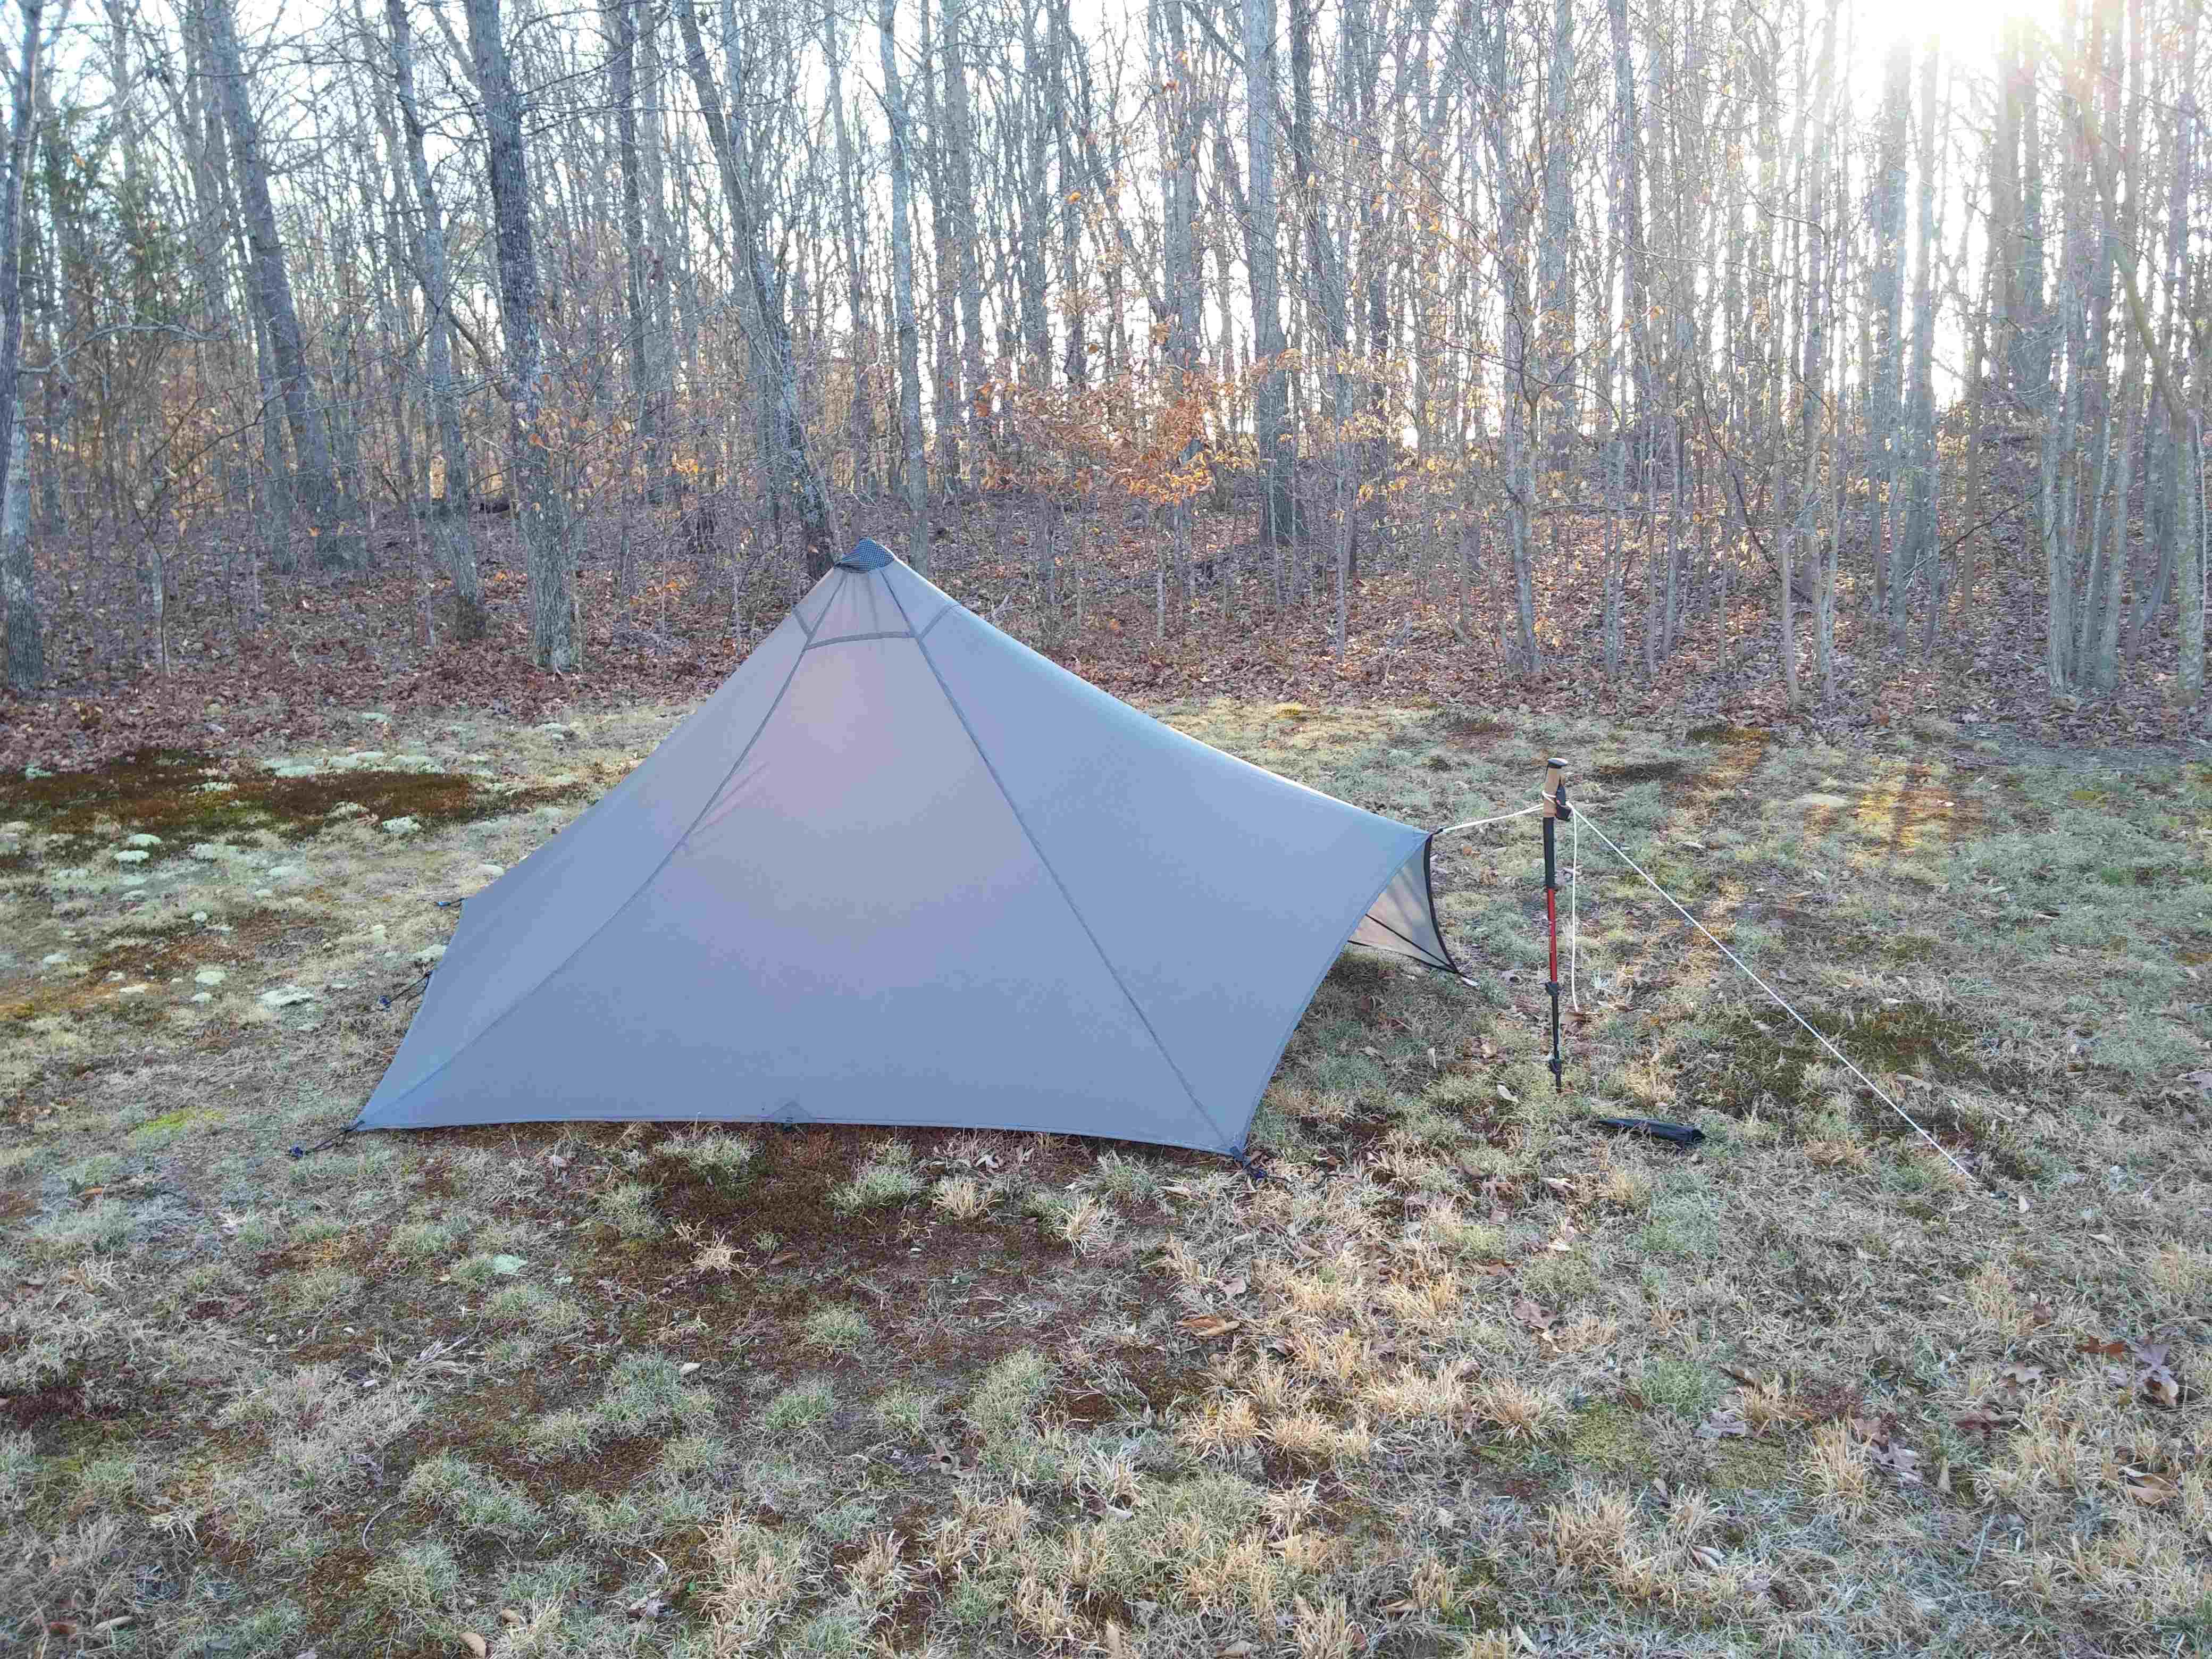
Next one will have the gear loops inside positioned a little closer to the ceiling instead of at the halfway point in the seam.
The panels are 6.5′ on each side. Which makes it a little cozy for someone 6′ tall. I see the reason for the MLD 7′ panels.
Need to figure out a better way to reinforce the top. Initially thought I would laminate reinforcements, but couldn’t get a patch to look right. Finally cut two pieces of Dyneema and sewed one on top and bottom. Looks like hell close up, but seems to work.
Total weight ~ 480 grams w/ tieouts. 10 cheap alloy stakes from ebay add another 140.
I’m now REALLY good at flat felled seams. Used a seam allowance of 1″ on one side and 1/2″ on the other – next time I’ll use 1″ seam allowances on both, and then trim the seam allowance that’s hidden.
Mar 12, 2017 at 8:34 pm #3456234Nice job!
I like how the top reinforcements don’t line up : ) Little defects like that always make me laugh. Still works fine.
I assemble tent without reinforcement at top and set it up. Take a circle of reinforcing fabric and put it over top. Put a hand stitch at each flat felled seam – 6 total. Pull on the fabric to make it tense. There will be a fold between each to use up the extra fabric because it’s a circle going over a pyramid. Then I take down tent and sew around the perimieter, twice. More detail and a picture:
https://backpackinglight.com/myog_silnylon_floorless_2-person_tent/
I just use 1/2 inch for each side of flat felled seam. I don’t bother cutting one side to half that. Silnylon is thin enough it doesn’t matter. And it makes the seam a tiny bit stronger.
If you were using thick fabric it would be more important to cut one side of flat felled seam to one half.
Mar 13, 2017 at 12:12 am #3456272Very nice – I want to try making one sometime too, ever since I sat out a rainstorm under a Trailstar with a group of people!
Mar 13, 2017 at 8:57 pm #3456483I like how the top reinforcements don’t line up : ) Little defects like that always make me laugh. Still works fine.
I assemble tent without reinforcement at top and set it up. Take a circle of reinforcing fabric and put it over top. Put a hand stitch at each flat felled seam – 6 total. Pull on the fabric to make it tense. There will be a fold between each to use up the extra fabric because it’s a circle going over a pyramid. Then I take down tent and sew around the perimieter, twice. More detail and a picture:
I used just about every method for holding the fabric while sewing I could think of. First seam (1st on the right) was pinned. Worked ok, but pins. I hate pins. And it seemed harder to pull the seam flat and tight for the final stitch. The wonky one visible was a basting tape experiment. By the fourth one, I was using binder clips every six inches, and things lined up pretty well
The MYOG sil nylon pyramid tutorial was indeed where the reinforcing cap idea came from. It’s cut and overlapped instead of folded, but seems to hold fairly well.
-
AuthorPosts
- You must be logged in to reply to this topic.
Forum Posting
A Membership is required to post in the forums. Login or become a member to post in the member forums!
Our Community Posts are Moderated
Backpacking Light community posts are moderated and here to foster helpful and positive discussions about lightweight backpacking. Please be mindful of our values and boundaries and review our Community Guidelines prior to posting.
Get the Newsletter
Gear Research & Discovery Tools
- Browse our curated Gear Shop
- See the latest Gear Deals and Sales
- Our Recommendations
- Search for Gear on Sale with the Gear Finder
- Used Gear Swap
- Member Gear Reviews and BPL Gear Review Articles
- Browse by Gear Type or Brand.
