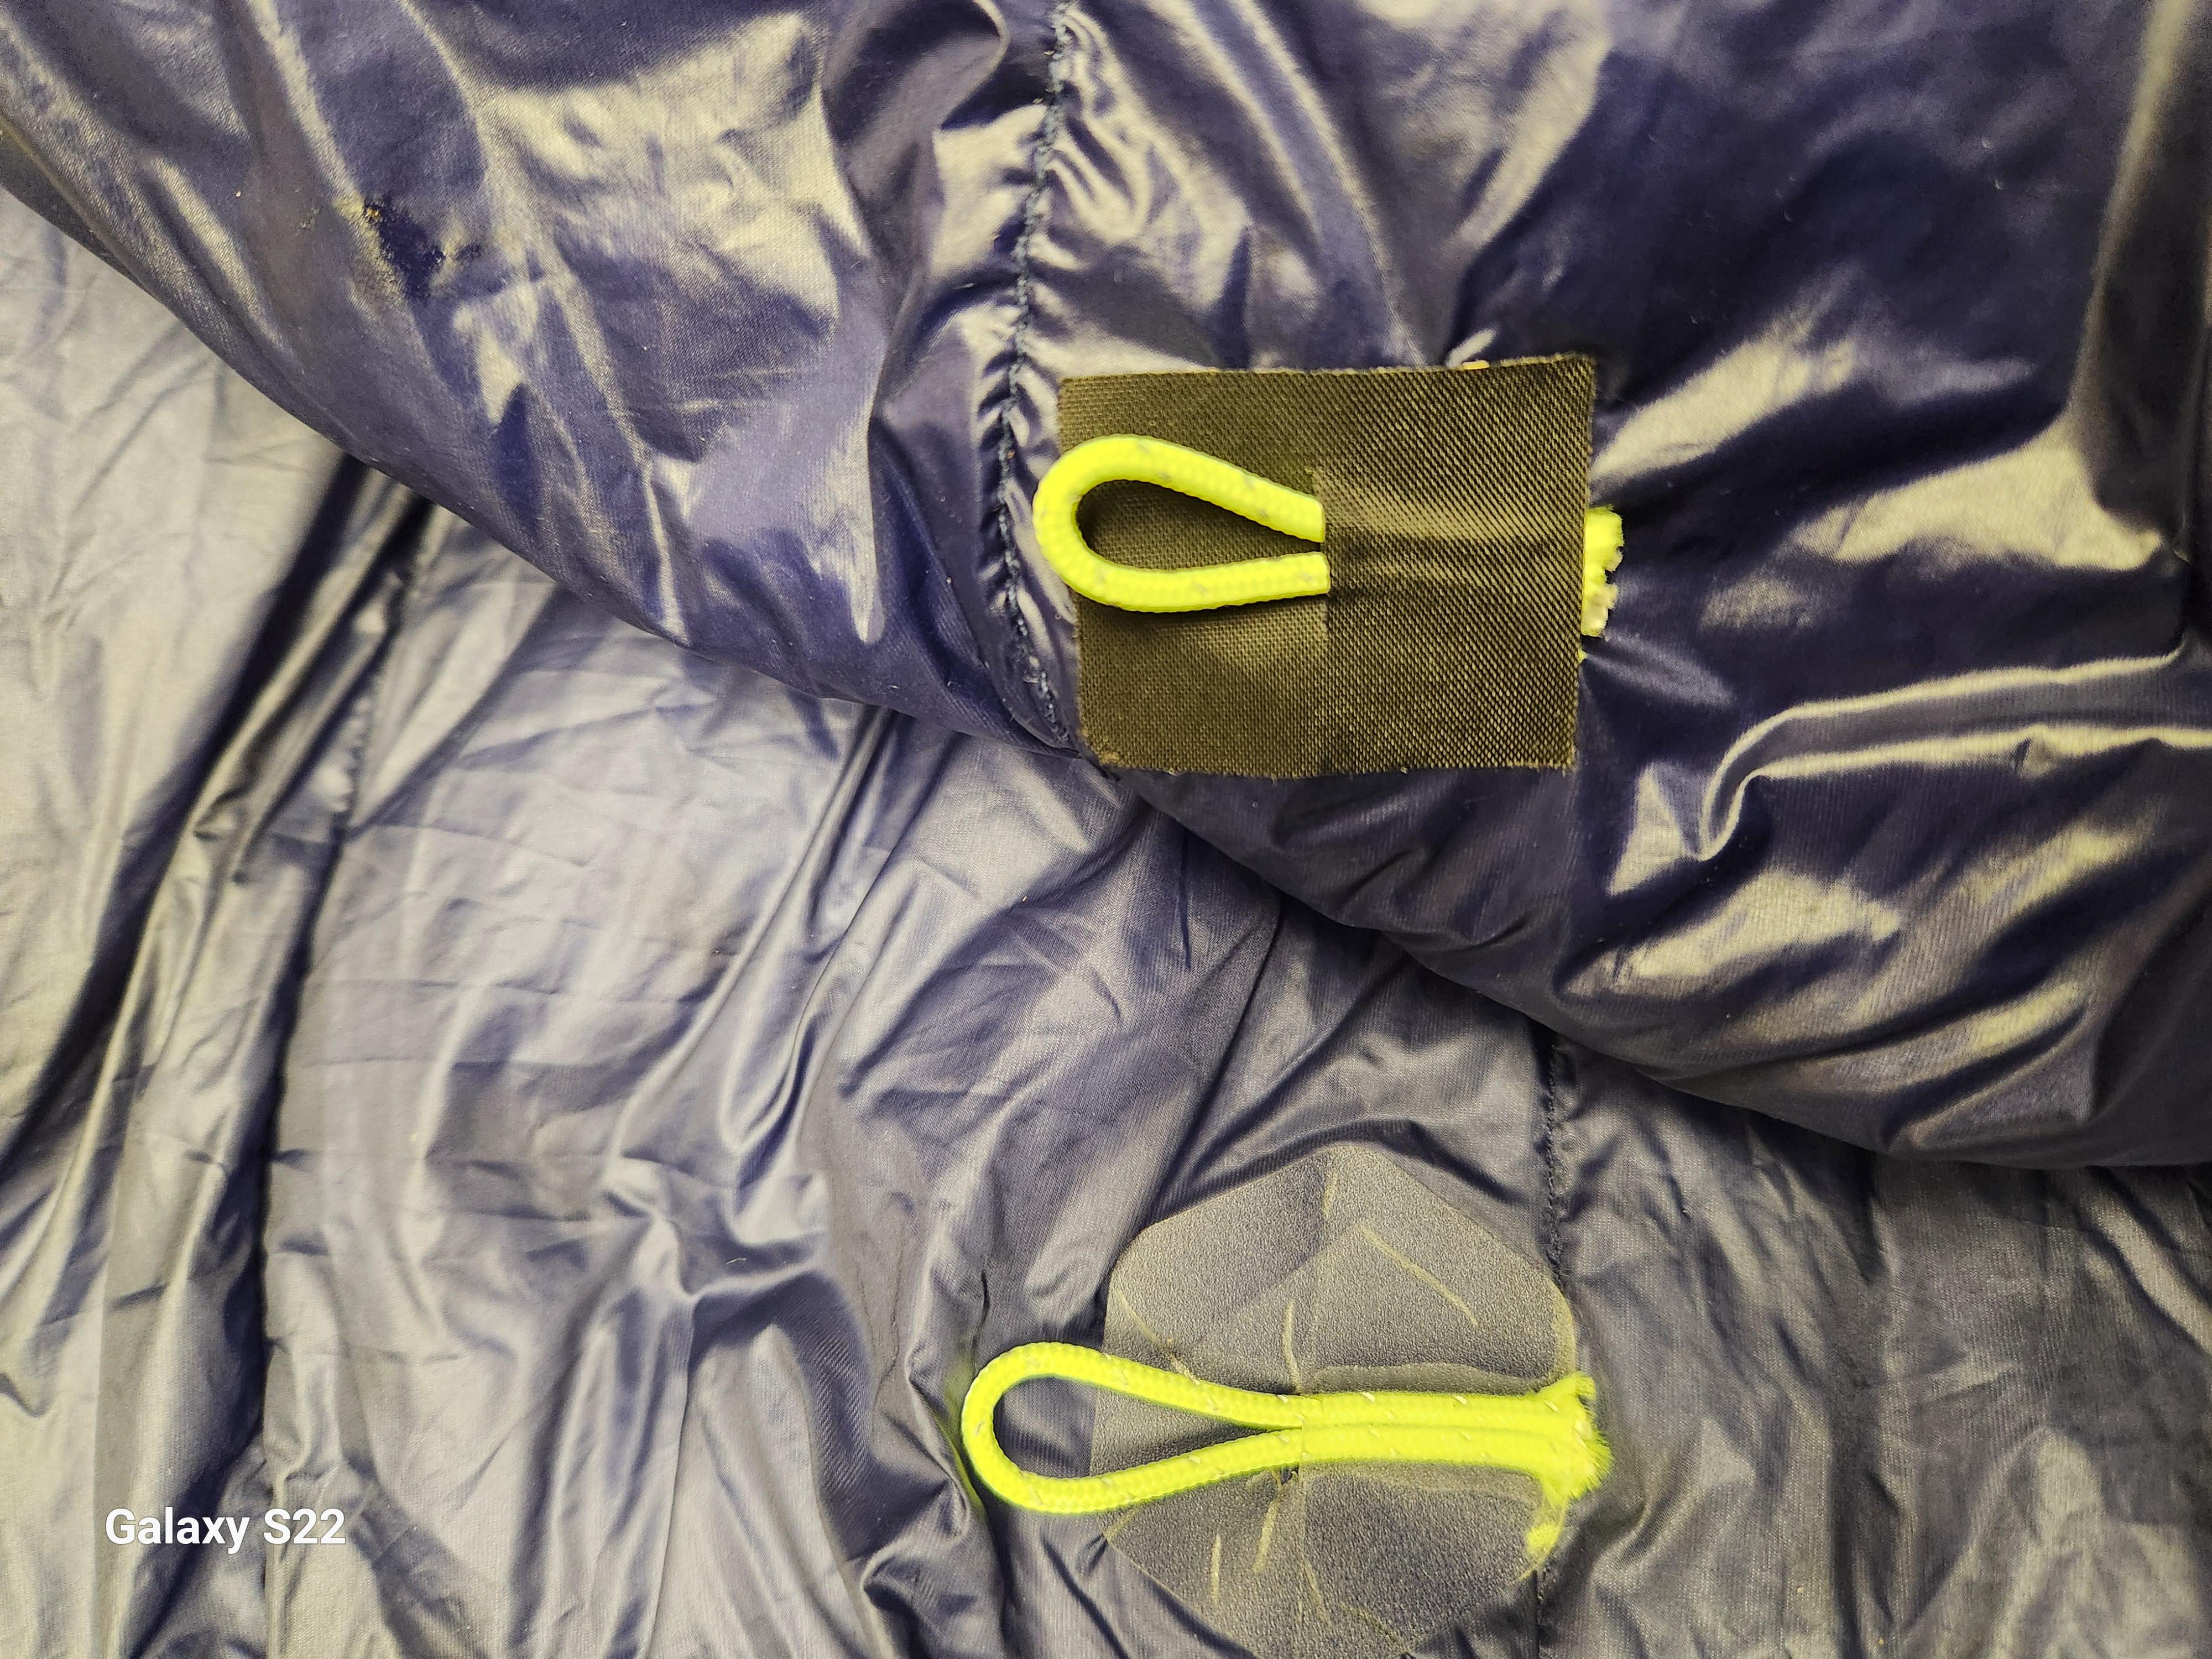
I bought a closeout Zenbivy sheet with down hood to try out. I would like to use it with a couple of quilts I already own. One is a Katabatic 30. Other is a MYOG climasheild quilt. I was going to buy the ZenBivy synthetic quilt as a topper, but they are pretty heavy. Anyway the loops should be up from the sides, and my MYOG Climashield quilt is one piece of material. I could slit the material and sew in loops to attach to the sheet, but not sure if I want to do that. Also, I really dont want to dissect my Katabatic quilt to add loops.
So, my question is, are there any tapes or tape pads that would hold a cord loop?
Thanks


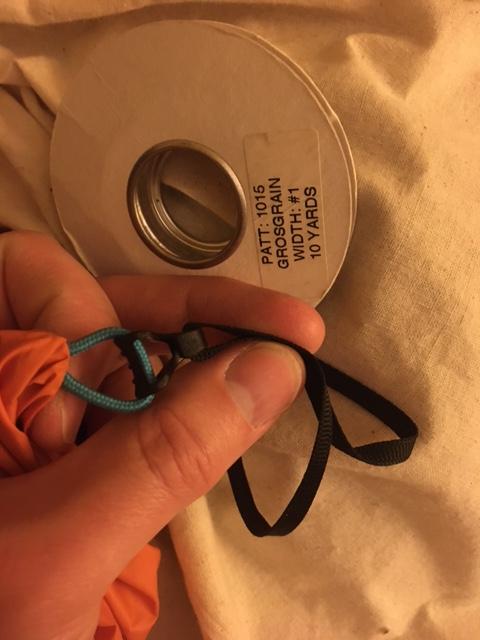
 and not cut pieces (squares) from a roll of t
