


Hi,
I am new to this forum so I will introduce myself first. I am 23 years old living in the Netherlands. I am lightweight fanatic. I am a medium performance climber (I climb 6b), a medium performance alpine climber and a high performance regatta sailor. I study mechanical engineering and I have a urge to create things. This in combination of being a perfectionist guarantees for a extreme time consuming new hobby.
A couple of months ago I set my first steps in making my own gear. Since than I have made a lot of stuff that I would love to share with you guys. Hopefully I can encourage other people to also go and make their own gear.
It started when I bought my own climbing rope. When you buy a climbing rope you have to have a ropebag to, but since I thought 50 bucks for such a simple piece was a bit steep I thought, why not try to make my own. I bought some lightweight sil/pu coated cordura from Extremtextil and stole my moms sewing machine. This was the result:
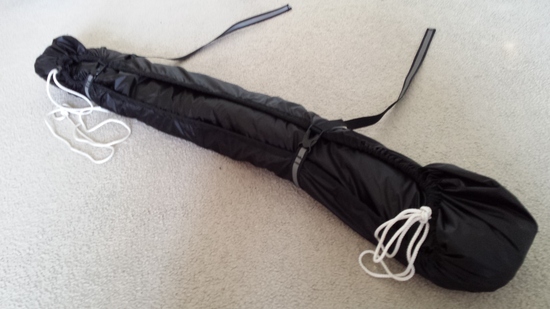
I always transport my rope over a backpack. Therefore the long bag design. It can be folded double and clipped.
Me never having sewn a single stitch in my life thought, wow, this is really simple! Next up was a tarp:
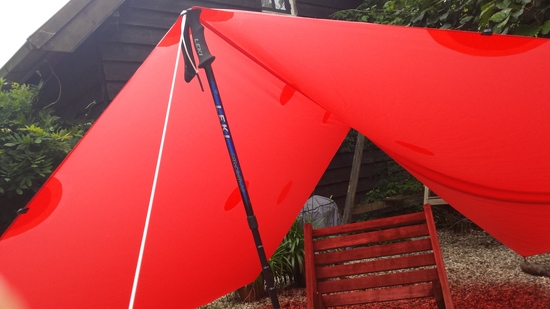
Red silnylon is from Extremtextil. The patches were glued with thinned silicone glue bought at a homedepot store. This actually produces a really strong bond. I have a hard time tearing it loose. This was peeling, so imagine…
Now that I had some more confidence I decided to make a down quilt. For this project I did a lot of research on the internet and I did some designing using Autocad. I decided to keep it cheap and simple as of design, but I wanted to a differential cut to see how this would workout. I bought the fabric from Ripstopbytheroll and the down at Extremtextil. The design is a blanked type quilt which tapers down at the bottom and can be closed from one meter from the bottom with buttons and a sinch cord at the bottom:
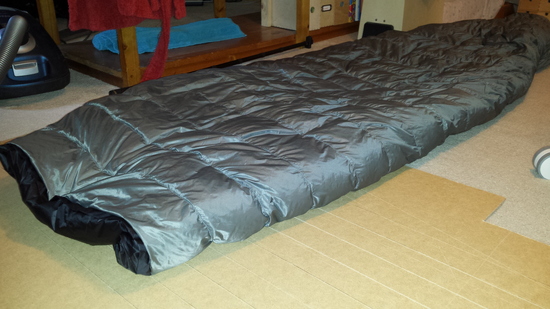
Weight was 500g eventually with 185g of down. The outside shel is cut 180mm longer than the inside. Baffle height is 3.5cm. I used it at a camp at 3000m in the Alps and was comfortable. I think temps were around 0 degrees C.
Now, I learned a lot from this project. For instance don't put a baffle every 10 centimeters. Man this was a lot of work. Also I made this quilt much to long. So the next one would be shorter.
My ultimate challege now was to make a footbox in the next sleeping bag. Since I had no idea this was gonna work I decided to make a half bag with some fabric I still had left from the quilt. I also wanted to try to make an internal drawcord. Again a lot of designing with autocad. This was the result:
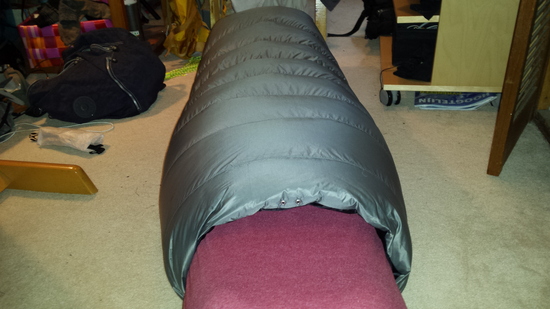
And the footbox:
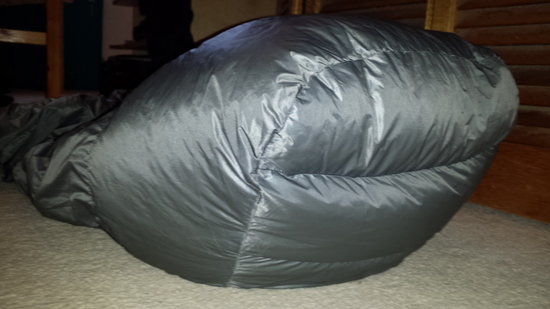
I found out that I made the design to norrow at the top, so it turned out to be a kind of very short quilt. Never the less, the footbox was a succes. A few design tweaks and it would be perfect.
I never used this halfbag. I the meantime I already have taken out half of the down to use for an other project and I think the rest is gonna come out soon.
Somewhere in between I also made a down hood from some leftovers: 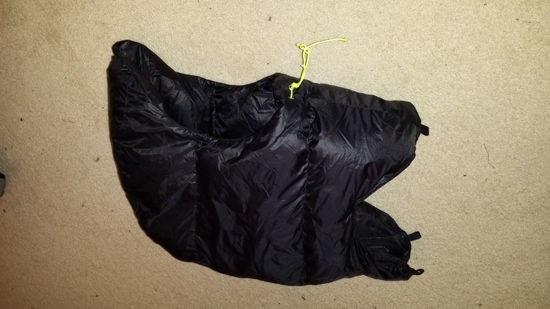
Now the ultimate was to combine all the things I learned to make the perfect quilt. I ordered some Argon 67 from Dutch and this was the result:
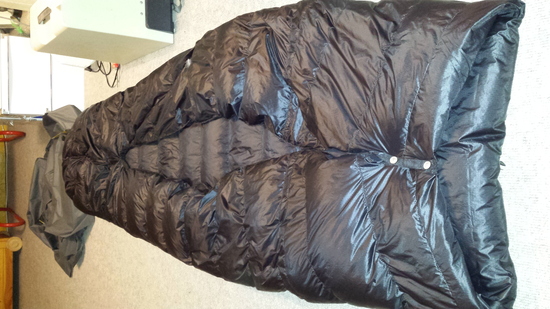
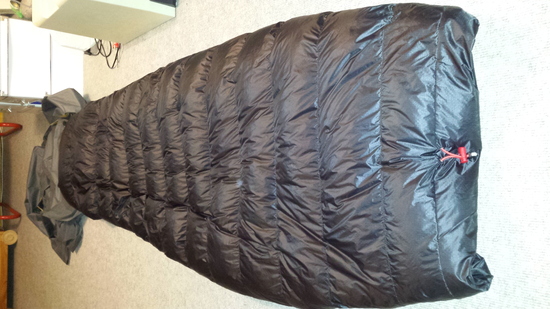
Design: 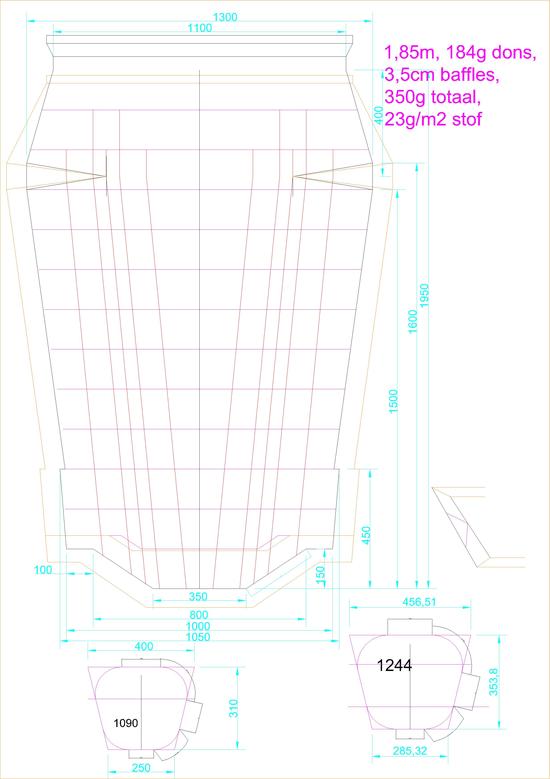
The quilt weighs 350grams. It contains 185g 860 fill EU down. Baffles are 4.5cm. Differential cut. Perfect footbox. Drawstring at the top. Conclusion, perfect quilt :-).
After seeing all my designs you might think that a lot looks like designs that already exist and are being sold. This is true. The design of the down hood is the same as de Zpacks Goose Hood, and the sleeping bag I tried to copy from Katabatic gear. I never have seen these products, other than on the internet. You might think that I lack creativity, but I am all about making gear, not about reinventing it. If some brand makes a great piece of gear, who am I to say I can make it better. That's my view on it anyway.
I hope you enjoyed my MYOG adventure as much is I did. To see all the pictures you can take a look here: https://plus.google.com/photos/109686145188932484942/albums/6104166333332436129?banner=pwa
If anyone has questions about the things I made or if anyone wants patterns, let me know.
All the best,
Niek


