Hello, I did a thread earlier about felted wool mittens and felt compelled to do a step by step tutorial as requested. Now that I have time, here is the play by play to help gear yourself and loved ones with custom fitted natural insulation with a 21st century twist for those who appreciate power tools.
Starting off you will need skeins of wool that are washed and sorted, or get near free fresh off the animal wool to wash yourself, most residential sheep or alpaca owners give it away by the smelly bag full. I believe this here is alpaca but not sure. I found that alpaca has straighter fibers and binds easier than sheep's wool.
Other materials needed to complete the project are:
squirt bottle
soapy water
a large shallow basin (baking pan)
cardboard or wax cardboard for your form
also need wax paper, you can use old plastic bags but they don't have the grip that wax provides
and a non rotating sander without the sand paper.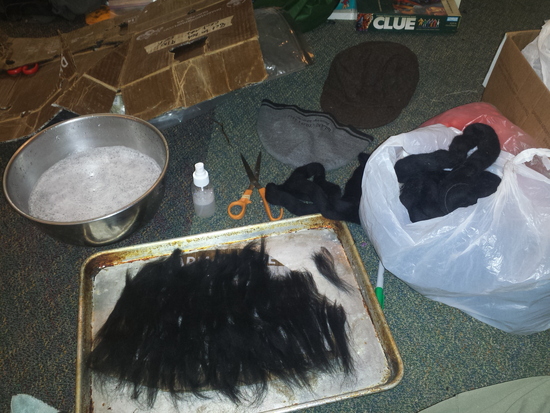
FELT:
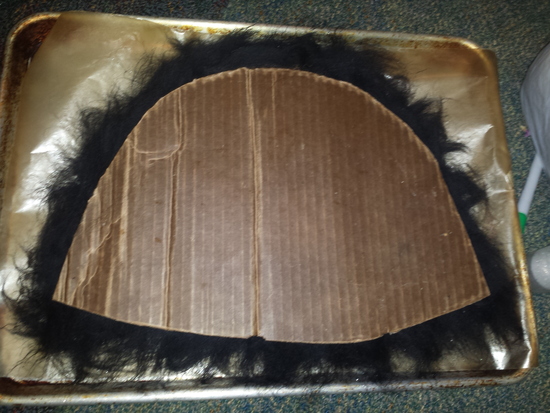
Start by making your template, this prevent the two sides from felting together. My rule of thumb is an inch and a quarter larger than your head, it will shrink down to a nice fit.
Now for beginning to apply the skein I hold it flat between my thumb and pointer finger in one hand, and pull off a tiny pinch between my thumb and pointer finger in the other hand (this will help to remove remaining pieces of vegetable matter "dung"). The final product stays more even when you put multiple layers going opposite ways, laying the lines straight up and overlapping like shingle, then sideways like a slithering snake, then as shingles once again. Mind you this hat will be turned inside out so if you have colors you want on the outside, start with them first.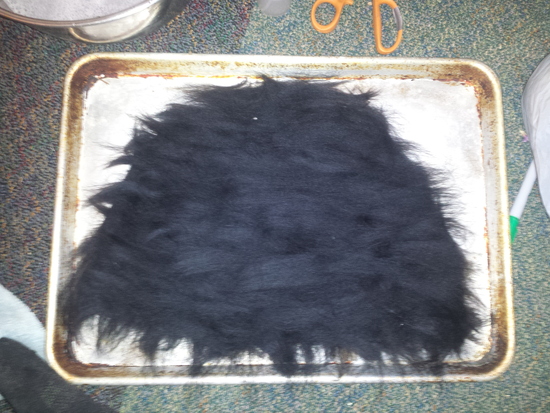
Then after one side of the cardboard is layered three times I mist the entire thing and lay a sheet of wax paper to compress it down and hold while I flip over to do the other side.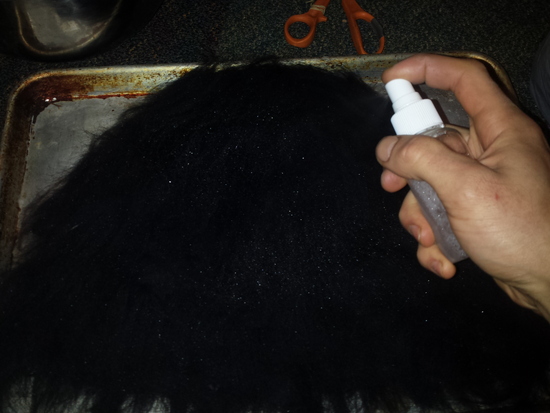
You will want to overlap the edges by a half inch at least. Some of the middle loft will spill over the sides as you felt, but giving the same thickness over the edge will ensure a quality seem. This whole process takes about 30 minutes and once it is all done and over layed with wax paper it is time to drench it in soapy water.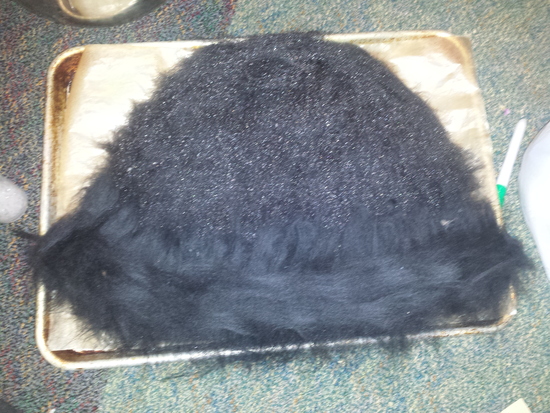
I generally submerge the entire thing in soapy water until I can compress it flat and remove the majority of the air, then poor off all the exposed water before I bring in the sander.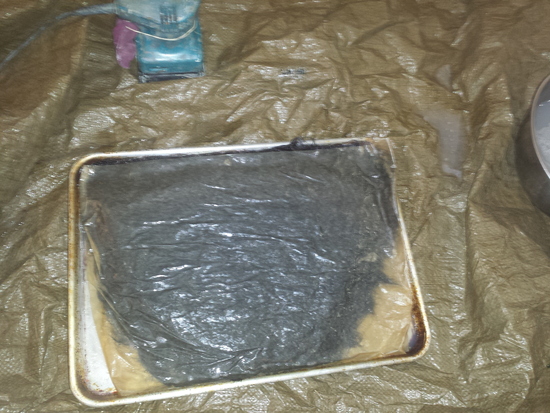
Sanding time! I start by pressing down only on the edges. Pressing where there isn't cardboard then pivoting towards the inner portion. No side to side, this will catch the wax paper and schemer the perfect layering. This process speeds up what would take hours of massaging with the fingers. Proceed then to flip the entire piece and repeat, entering deeper and deeper into the interior until it has been done 3 to 4 times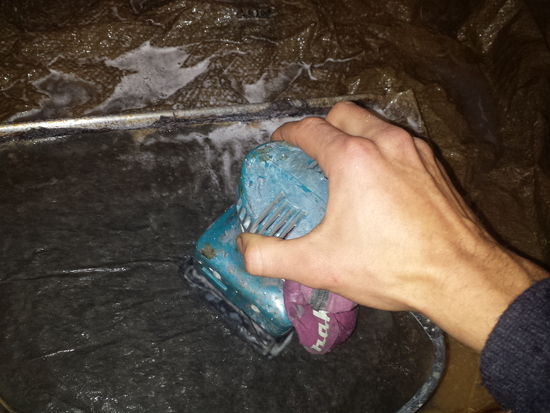
Now to hang outside and let drain. If you are using plastic you will need to fill the pan with water to remove the plastic, otherwise it will suction off parts of the top layer.
Trim the hat up enough to still sew and you can pat yourself on the back because the intensive parts are done!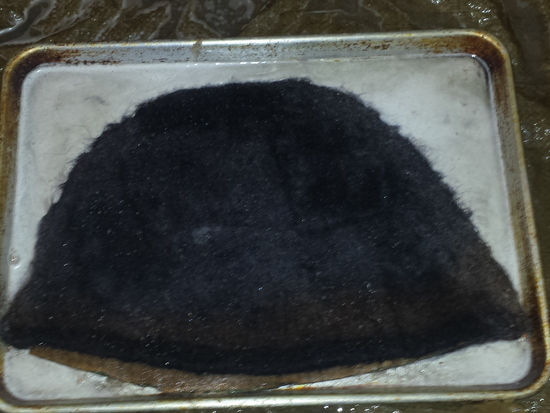
But wait before the reward you must roll up the piece with what is normally a bamboo sushi mat, but I just use a mesh bag. Roll the piece back and forth for 30 minutes, or just do it for 10 minutes like me then time to shrink it.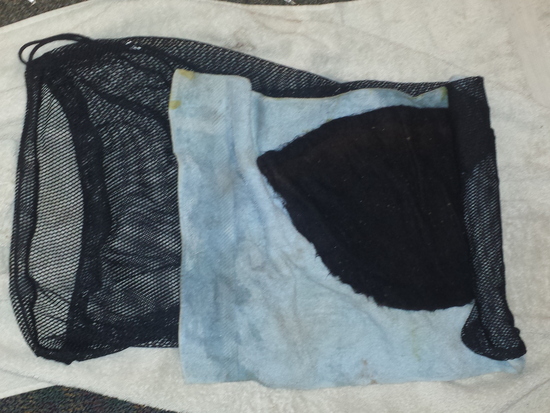
Sew it together so the seems don't come apart, be accurate because this is where flaws will shine in the final product. Also I use a piece of tape on the front of my machine's thread injecting foot, kind of like a cattle gaurd to prevent frayed wool from snagging.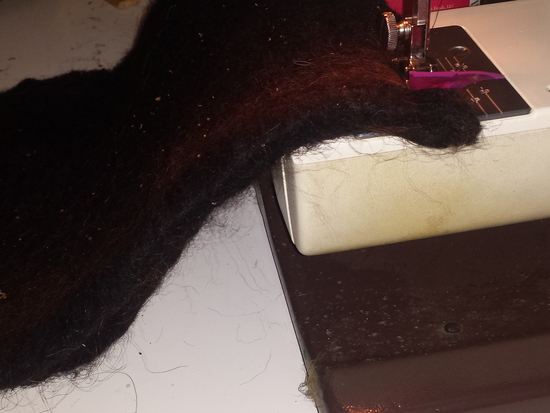
SHRINKING PROCESS:
Make things simple turn the hat inside out and wrap the piece tight in a water smooth, permeable material like my mesh bag. Tighten it up with rubber bands and throw into the washing machine for two sessions of 20-30 minutes first on cold-warm, then check it out to see how it sized down. Then separate the interior with your hand, throw it back in for another 20-30 on warm-warm. MAKE SURE it's secure, I had a slipper blow up in my washing machine.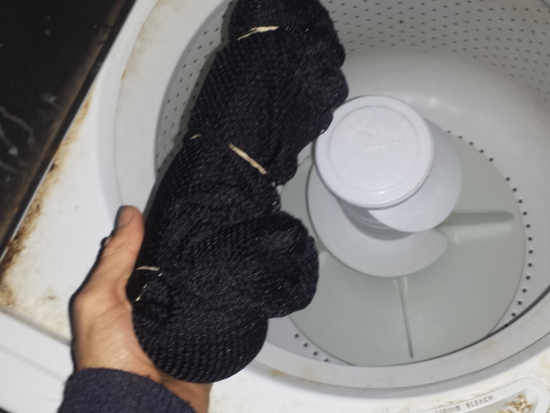
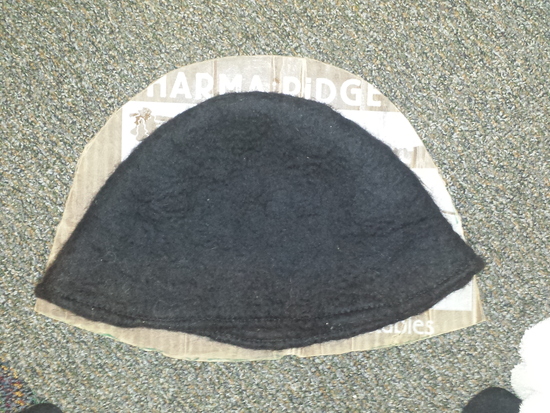
DONE! trim and fidget with it until it's perfect. You now have created what is a stone throw away from a paper mache hat. Weighing in at 1.9 ounces and sending my head ahead in warmth from the rest of my body.
Here is what the hat shrunk down to compared to the original wax paper model.