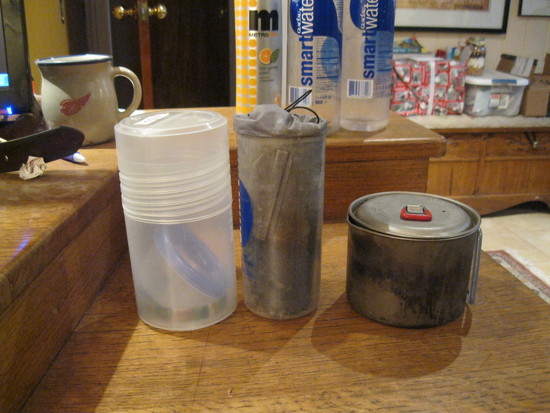
This is an idea I came up with a while ago, cut the top off a water bottle and sew some sil nylon on to make a stuff sack out of it. Pretty simple really. I went with smartwater because I like the narrower profile of their bottles.
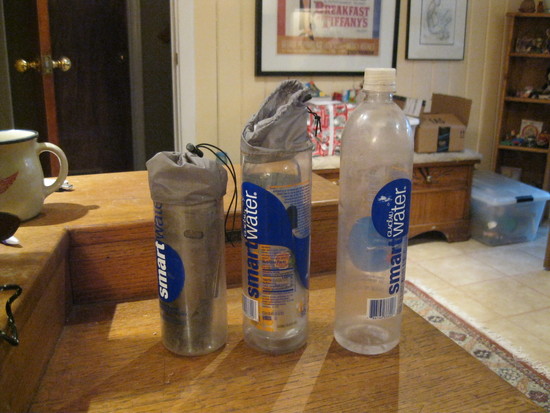
The obvious question is why. The not so obvious answer is that I don't like to drink from a bladder. Let me explain: when traveling I like to reach behind me, slide a bottle out of the side pocket, take a drink and put it back without stopping to take my pack off. And yes, I have tried a bladder, it is not for me. The only problem is that if I had other gear in a stuff sack in the pocket the stuff sack would slump down and make it hard to replace the water bottle. This solves that problem.
In use I usually carry one, the shorter, and find it to be a perfect compliment to my kitchen. When I carry my .9l Sidewinder, Zelph burner, the hard sack can hold every thing that does not fit in the pot: 12oz fuel, spork, lunch knife and skewers. (Ok, so I lost those, but you can see how they would fit.) The taller bottle can hold 16oz fuel.
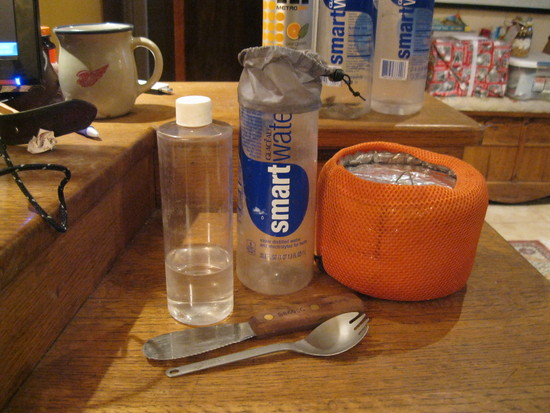
And when I need to carry a canister my .85 Titan Kettle holds the fuel and the hard sack every thing else: stove, cone, spork, knife (skewers).
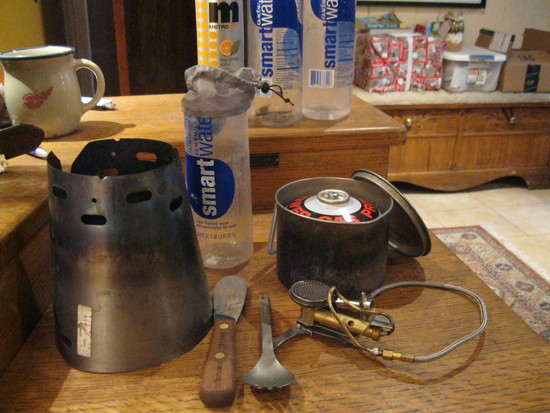
The hard sack is both less bulky and lighter than the original Caldera Caddy and fits in my pack pockets much better.
The stove is a Primus Spider that I butchered down, not really ultra light, too much brass, but it packs small, sits low so I can have my pot fully in the cone, and has a small burner that fits the pot.