Topic

All aluminum flat bottom Foster’s cans

  • This topic is empty.
Viewing 19 posts - 1 through 19 (of 19 total)
David Gardner BPL Member
PostedJul 9, 2014 at 7:28 pm

While fiddling with a large aluminum cat food can and a Foster’s can, I realized that they are the same diameter. From there came the idea to cut off the bottom of a Foster’s can and press-fit it into a cut down cat food can to make an all aluminum flat bottom Foster’s can. The many advantages of flat bottom Foster’s cans are well known, and enhanced with an aluminum bottom to conduct and absorb as much heat as possible.

My first attempt used the tried-and-true utility blade method of cutting off the Foster’s can bottom at the bottom of the straight sides, just above where the can starts to curve inward. The can cut neatly but was not very rigid, and it was impossible to get it started into the cat food can for a press fit.

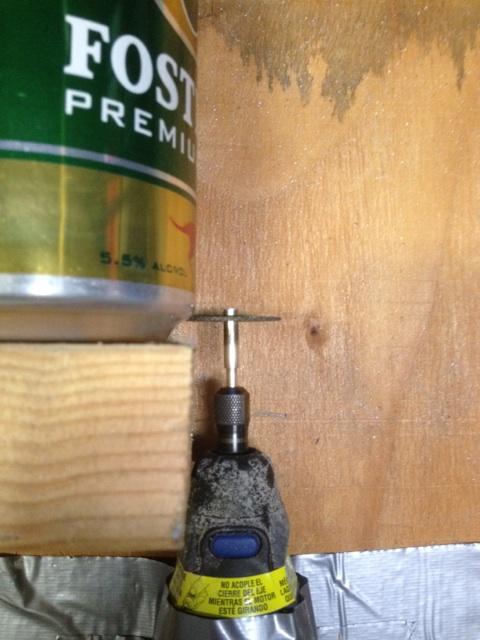
Since that method didn’t work, I decided to cut the Foster’s can a bit lower, just below where the inward curve starts. This gives the bottom of the Foster’s can more rigidity, and the slight taper also makes it easy to start pressing the Foster’s can into the cat food can. However, cutting the bottom of the Foster’s can off at just the right height in the curve and through the thickest part of the can required a Dremel with cut-off wheel and construction of a make-shift fixture:
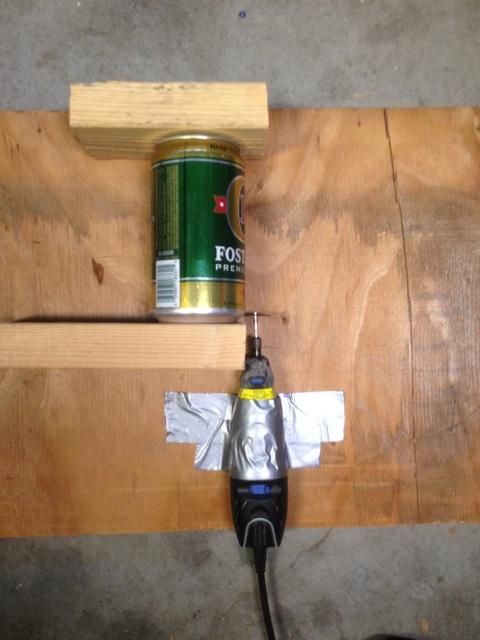
jig
The Fixture

close up
Close up of can in fixture next to Dremel cut-off wheel.

With this rig the location of the cut could be precisely controlled by changing where the Dremel was mounted, then pressing down hard on the Dremel with the right hand to immobilize it while turning the can between the blocks with the left hand. It worked well and I was able to cut several Foster’s cans just below the inward curve/taper. Not a production rig, but good enough to do a few.
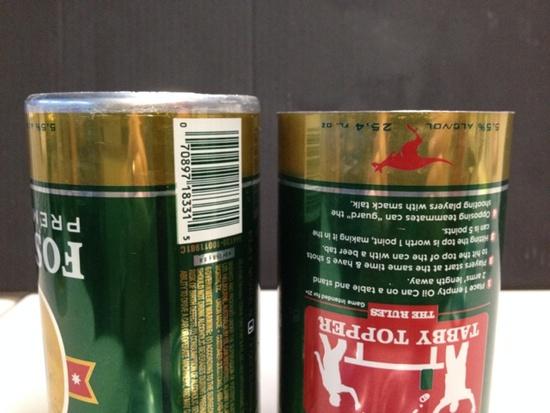
side
Comparison of Dremel-cut vs. utility blade-cut Foster’s cans

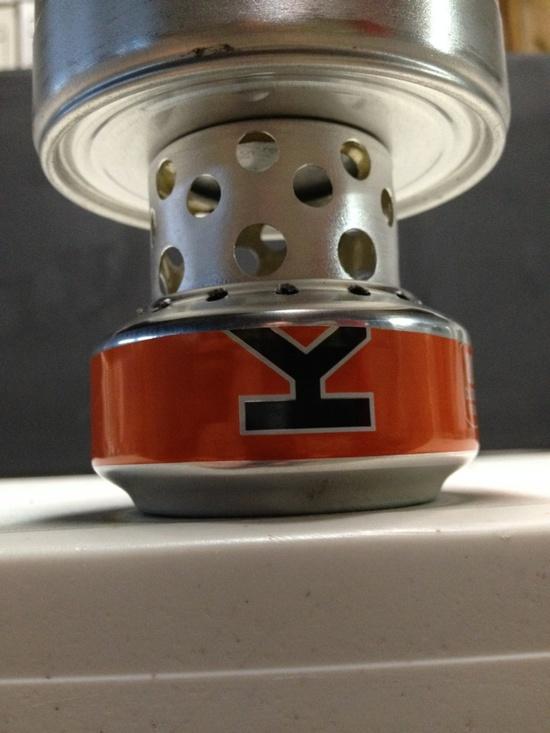
The Dremel-cut Foster’s can tapped easily into the cut down cat food can and sealed tightly. The combined Foster's and cat food can is also very strong and rigid. I then wire-brushed the hybrid Foster’s can to make it dog ugly.
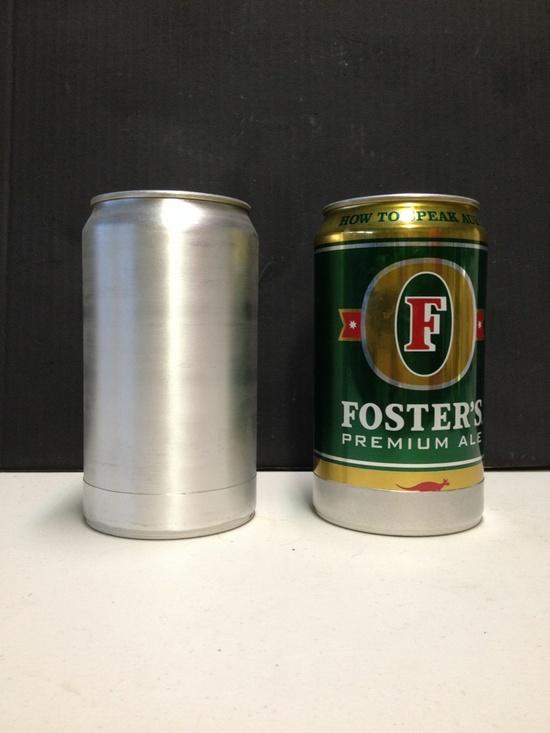
brushed
Brushed and unbrushed all aluminum flat bottom Foster's cans.
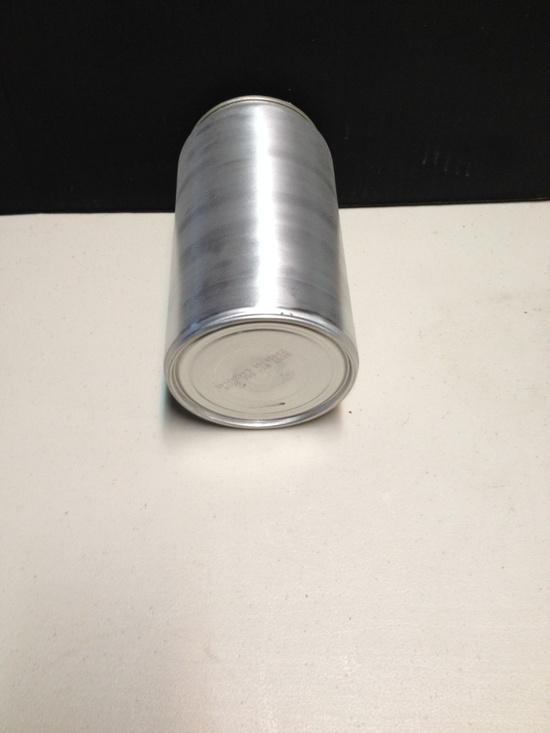
flat
Flat aluminum bottom

stove
Flat-bottom can sitting on stove

Weight of standard Foster’s can = 25.7 grams
Weight of all aluminum flat-bottomed Foster’s can = 23.5 grams

Haven't done any burn tests (yet) to compare performance of a standard Foster's can vs. an all aluminum flat bottom can vs. other variations.

Jonathan Chin BPL Member
PostedJul 9, 2014 at 8:02 pm

Looks great, David!

I'd be interested in the burn efficiency data vs the rounded bottom can.

How do you seal the two cans together? With some adhesive or just pressure fit? If just pressure, are you concerned about the can eventually leaking as it eventually acquires some wear & tear, dents & dings? If adhesive, are you concerned about it leaching into the water being boiled at all?

David Gardner BPL Member
PostedJul 9, 2014 at 10:18 pm

Jonathan,

I'll do some comparison burns if I get a chance before 8/18, when I head back to grad school.

At present, the cans are sealed together with a press fit. I did a few boils on the kitchen stove, no leaks. I'm taking one with me on a trip to the Sierras next week, to see how it holds up. Long term, it might be vulnerable to wear & tear, etc., but I won't know until I've been using it for awhile. If it starts to leak at some point, I'll probably just make another one.

On the other hand, I have acquired some "food grade" silicone sealant which I will probably try eventually. My understanding of "food grade" means that it does not contaminate the food. But my preference is to not use sealant if it can be avoided.

Dan Yeruski BPL Member
PostedJul 10, 2014 at 10:47 am

Sorry I ever said that :-(

It looks super good new. It's looks change over a period of time due to greasy/oily hands, lime build up from hard water and then comes the natural oxidation of the raw aluminum.

In the 3rd photo it shows the radius of the can bottom on the left. That area is going to fill with water if not fully packed with silicone. No matter how tight you press fit the top into the receiver bottom, water will find it's way into the joint. At some point in time something is going to start growing in there. Fill it with silicone to be safe.

Yes, there are advantages to a flat bottom Fosters pot:

http://www.backpackinglight.com/cgi-bin/backpackinglight/forums/thread_display.html?forum_thread_id=93058

PostedApr 20, 2015 at 8:20 pm

I made one of these this weekend, and it turned out well. Thanks for the tip! Mine made a fairly loose fit so I epoxied it in place (silicone had cured in the tube). I probably could have cut the fosters can off in the straight section.

David Gardner BPL Member
PostedApr 21, 2015 at 12:06 am

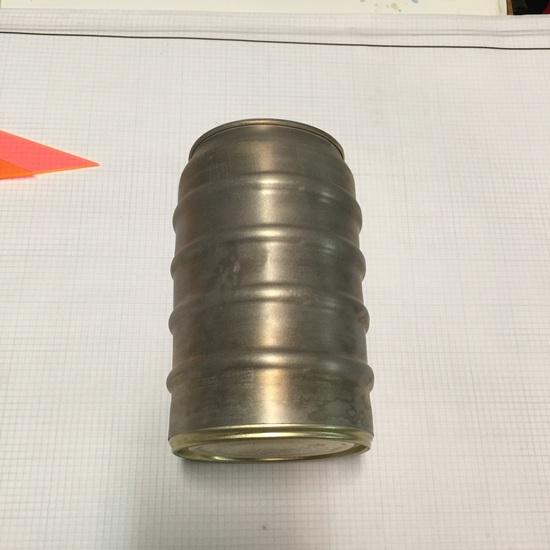
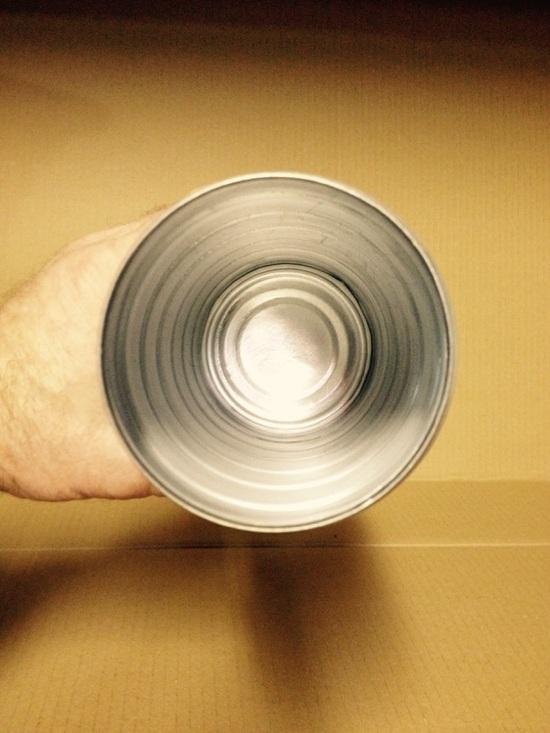
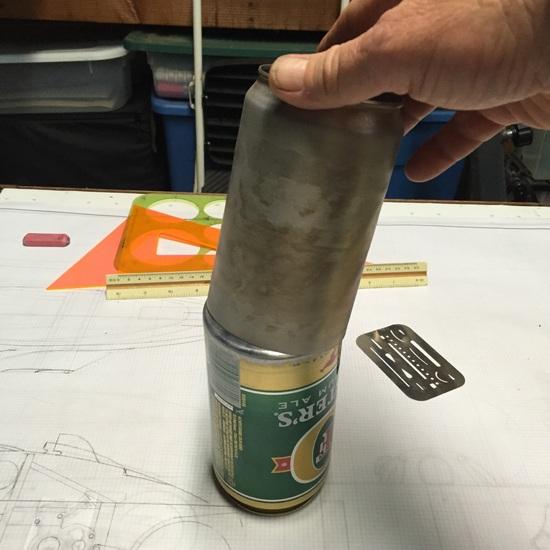
I make the cans differently now. I cut the can at the bottom of the straight section and stretch it a bit over an intact can, then slip the flat bottom up inside. Nice tight fit and only takes a tiny bit of food grade silicone sealant in the seam.
1
2

I also wire brush and sand all of the BPA plastic liner from the cans.3

PostedApr 21, 2015 at 8:51 am

Wow, those really do become dog ugly after a while ;)

Those are some bold ridges in the can. Nicely done.

I haven't seen an eraser shield in use for a couple of decades now.

PostedApr 21, 2015 at 9:16 am

Where and how do you apply the silicone? I envision that you do it after inserting the flat bottom, applying a bead along the interface inside the can and working it along the gap so no water can work its way down. But that seams (pun intended) like a pain.

David Gardner BPL Member
PostedApr 21, 2015 at 11:13 am

@Stephen:

I prefer to think of the cans as having a "rugged, industrial" look. But yeah, fugly except in a form-follows-function sort of way. They come out of the annealing process looking that way. I think it's variations in the aluminum oxide that forms on the surface.

Bold ridges = strong. Wish I could figure out how to do it without having to anneal the cans first.

Eraser shield: I'm old school. I've taken a few AutoCAD classes, but I'm working on a car project with variable radii arcs and compound curves and haven't progressed to the point where I can do those on a computer.


@Frank
: Once I get the flat bottom started into the stretched can I put a very small bead of sealant at the juncture around the outside of the seam, then finish pressing the parts together and wipe off the excess sealant. Not difficult and pretty tidy.

PostedApr 22, 2015 at 12:44 pm

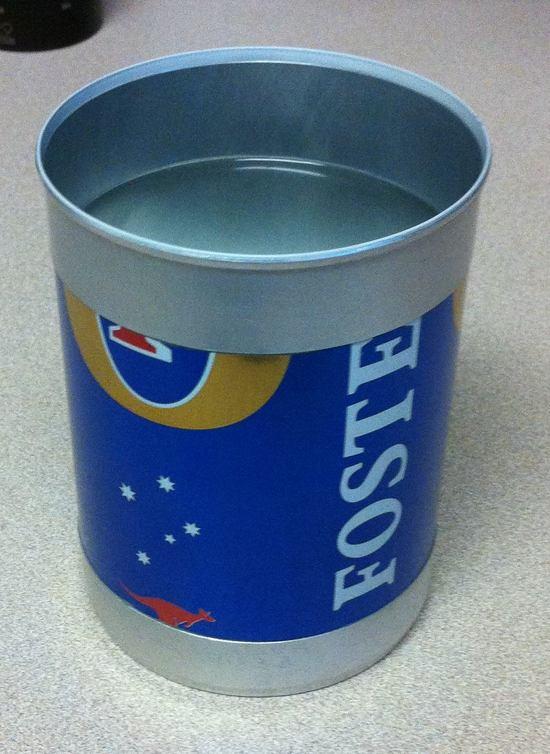
So I had the top half of the cat food can still sitting there, and the Foster's can seemed unnecessarily tall, and a snap-on lid would be nice, sooo….

Foster's can with cat food top

The photo shows it with two cups of water in it.

I had hoped for more rigidity with the cat food can top bonded on the beer can, but it isn't very stiff. It is plenty stiff for boiling water in and lifting it and pouring, but not as stiff as you would want for storage. Surprisingly, though, when I snapped on a plastic lid from an almond can, it becomes quite rigid at the top end. I guess you could just pop the top on the cat food can instead of using the safety opener, leaving the inner rim, and that would add some stiffness, but I don't think it is needed. Or you could just put the cutoff top of the beer can back on at whatever height you wanted after expanding it as you showed, though you wouldn't be able to use the plastic lid.

This is certainly not as nice as what you guys are making, but it is an alternative that most anyone could make. .80oz (.07oz less than with the original fosters top). The plastic lid from a BDA can is another .14oz.

David Gardner BPL Member
PostedApr 22, 2015 at 1:28 pm

Sweet! Great idea! I'll have to try that and add some ribs too, see how much that helps the rigidity at the top. Where do you get the snap on plastic lid?

PostedApr 22, 2015 at 4:07 pm

Ha, at this point, the thing is more of an extended cat food can than a modified fosters can.

I used the lid from a 6oz Blue Diamond Almond can, but of course any lid that is designed for pet food cans will fit, and are available in the pet food aisle.

PostedMay 17, 2015 at 6:32 pm

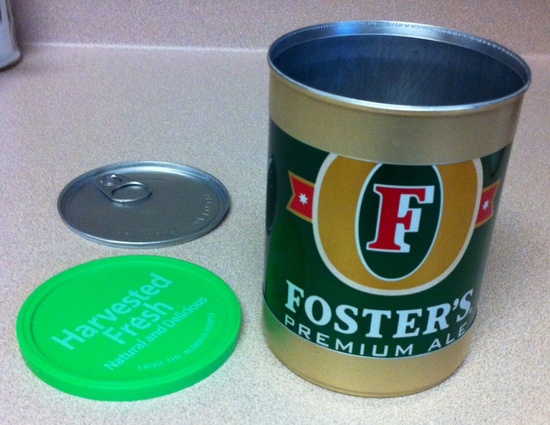
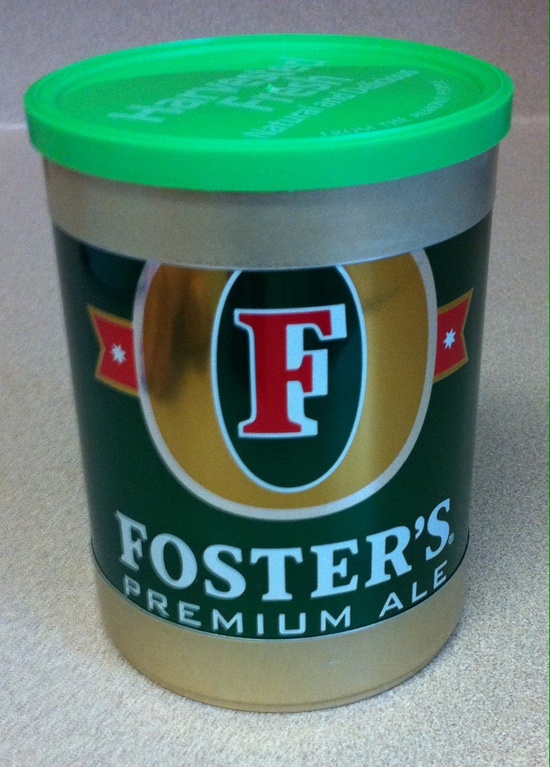
I've been meaning to get back to this thread. Here is my latest version. Not much different but I think the green cans with the horizontal design look better, along with a gold colored cat food can to sort-of match.

David, I suppose it is just differences in the local canneries, but for me the fosters cans slip easily inside the cat food cans, so I go with that. It would take a lot of stretching to get the cat food can on the inside.

You can't boil with the plastic lid, but you can use the cut-off lid from the cat food can for that. It stores neatly inside the plastic lid, or you might be able to use a rubber band to hold it on instead.

Pot with lids

Pot: .73oz
Boiling lid: .16oz
Plastic lid: .14oz
Total: 1.03oz. Maybe I could cut off the pull tab and get it down to an ounce flat ;)
The pot volume is 600mL to the rim, could probably go a little shorter depending on how much water you use.

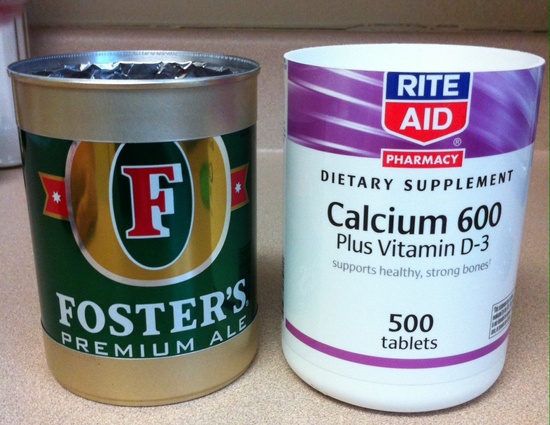
The top of the can seems stiff enough to me for use and for transport with the lid on, but the middle section is still a little susceptible to crinkling damage (I'm guessing here, as I've never used anything like this in the field). I carry a separate plastic cup, so it would be nice to find one that could go inside or outside of the pot to protect it. I found a pill bottle that I thought might fit the pot, but it is just a teeny bit too small inside. It would have certainly protected the pot, but weighed 1.7oz, so killed the benefit of the light pot anyway.

Pill bottle

It would be nice to have some way to strengthen/protect the pot in an easy way that anyone could do. Anyone know of something that fits?

todd BPL Member
PostedMay 17, 2015 at 6:43 pm

One thing I do is carefully cut out inside the rim of the plastic lid and it will snap on OVER the Foster's lid so you can easily carry both

PostedMay 17, 2015 at 6:49 pm

Hmmm, I didn't have to modify the plastic lid at all. Here it is with the metal lid inside. It fits quite securely. Again, maybe a local difference.

Lids on

David Gardner BPL Member
PostedMay 18, 2015 at 6:20 pm

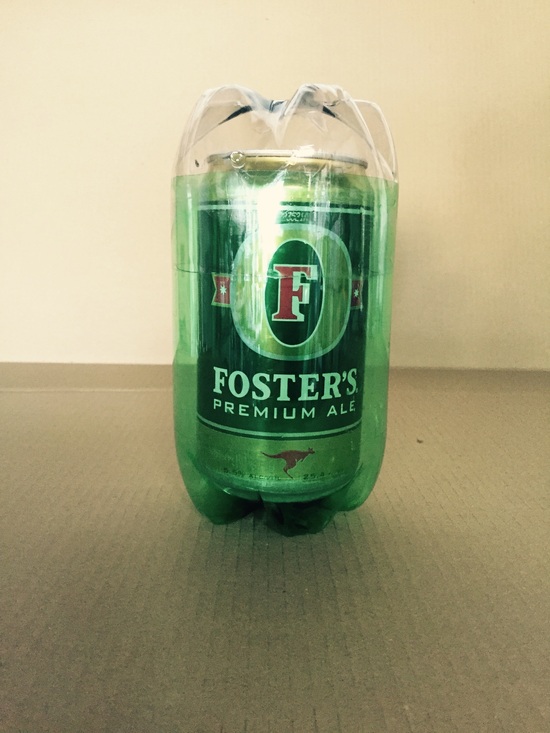
Here is a can container made from two 1-liter soda bottles. 1.3 oz for a full size can, so maybe 1.1 oz for a cut-down can.
pet

todd BPL Member
PostedMay 18, 2015 at 6:41 pm

mine will do that too but the metal lid is tough to get out. Cutting out the center of the plastic lid, I can press the metal lid out.

PostedMay 18, 2015 at 8:06 pm

Ok, I see what you mean now. You make the plastic lid into a ring it sounds like. This would reduce the ability of the lid to stiffen the top of the can by itself, but would still be fine with thermal lid inside. Thanks for the tip.

Viewing 19 posts - 1 through 19 (of 19 total)
Loading...