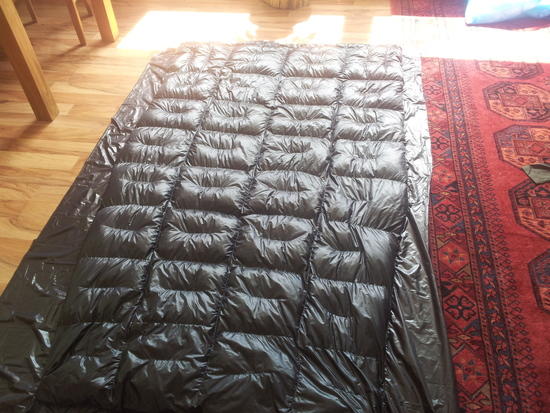
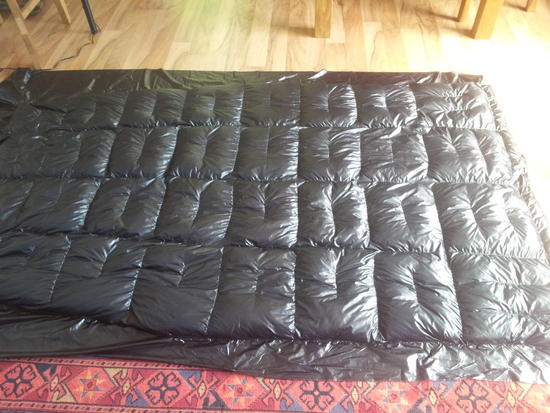
I finally finished my quilt (almost). Thanks for all the information and input provided by all of you on this forum.
It took me quite some time to gather all the great pieces of information, so I will try to summarize some of them – maybe it is of use for others.
It seems like most people have turned away from karo-style baffles; I like some of its properties though and thus stuck to it, maybe making some things differently than what I found on posts on this forum (see below).
Specifications:
Shell weight: 199g 7 oz
Down weight: 278g 9.8 oz
Total weight: 477g 16.8 oz
(gosh, start using the metric system already^^)
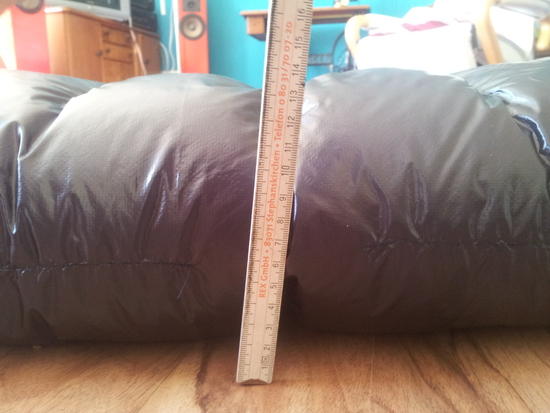
Baffle height: 4-5cm 1.5-2 inches
Loft: 6-7cm 2.3-2.8 inches
Width (shoulders): 125cm 50 inches
Width (hip): 125cm 50 inches
Width (feet): 100cm 39 inches
Length: 200cm 78 inches
Interior shell: 0.67 oz/sqy, 10 den nylon
Exterior shell: 0.8 oz/sqy, 7 den nylon
Baffles: 0.5 oz/sqy netting
Down fill power: 860 cuin
Material cost: almost 200$
Material source: mostly extremtextil.de
Time to finish:
?? hard to say. Someone here said she needed 40 hours. I guess that seems to be right, maybe a bit more. This is only the actual sewing, not counting the time thinking about it and ‘designing’ it. I cannot recommend doing something like this in order to save money; only do this if you enjoy doing this kind of stuff – the journey is the reward.
Sizing:
This is, of course, very subjective. YMMV. I am 5’11’’, 70kg.
Length: I am a belly sleeper, so while sleeping my feet are stretched out. Also, I sometimes like to pull the quilt over my head. Thus I wanted a really long quilt. I know that most of you get along with much shorter quilts.
Width: 125cm width is plenty wide for me.
features:
Karo baffles
additional interior baffles
drawstring around neck on the inside
loops around perimeter (every 25cm)
draft flaps (15cm)
neck collar
down port
foot box
Karo baffles:
The general height of the baffles is 4 cm.
In areas where I wanted to have a bit more warmth (i.e. the inner chambers at torso height and at the feet) are 5 cm.
I liked the idea of freely moving the down within the quilt as in Tim’s (EE) karo baffle design. Not only horizontally or vertically but both.
But then in the classical karo baffles, the length and width of the chambers does not really fit their height, especially in thinner quilts. Because of the large width, the chambers can bulge easily, greatly increasing the volume of the chamber.
This makes it quite hard to fill the chambers equally with an even down level of only a few inches. My thought was that everywhere where a chamber would not be horizontal (i.e. not lie on flat ground, which will always occur on the sides, when someone is lying underneath the quilt), the down would move to the lower side of the chamber, leaving a cold spot on the upper half. Also, because this bulge would leave part of that chamber empty, down from a second chamber can unintentionally migrate easily, leaving that second chamber with not enough down.
Maybe this is why EE changed the baffle system on his Relevation quilts.
This is why I added
Additional interior baffles:
For me these interior baffles completely solved the problem above. With no significant volume increase due to bulging, the down cannot shift by themselves, because there are no empty spaces within the quilt.
So far I have not experienced down shifting from one chamber to the other unintended. But the baffle openings are large enough for me to clump the down of one chamber together and then push them into another. It is a bit tedious, but doable.
Even with those extra interior baffles, I used about 20-30% less baffle fabric than I would have with ordinary horizontal (or vertical) baffles.
Huge drawback is that it is a lot of work sewing these baffles. If I had to guess, I would say that they doubled the time I needed to sew all baffles. The number of seams increases only by about 50%, but it is much harder to sew these interior baffles in the right place, thus more fiddling time and patience is required.
Neck Drawstring:
The drawstring is hidden on the inside of the quilt. Thus no down will be compressed when pulling it tight. Also it is sewn flat against the inner fabric, so it does not bather when I am not using it. It is not on the top edge of the quilt but rather 2 inches towards the footbox. When I pull the drawstring tight around my neck, it usually settles in the middle of my neck. If the drawstring was at the end of the quilt, it would leave the top half of my neck exposed. With the indented drawstring, those 2 inches form a nice scarf/collar.
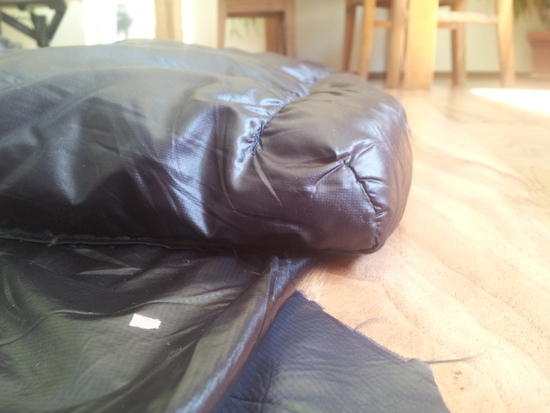
Neck collar
Not a real draft collar, but rather an extra baffle at the top of the quilt. The draft collar around the neck does not really make the quilt more functional. However I did not want to have too many seams at my chin. The draft tube does that. Also, when being used a lot, this is an area where the fabric wears out a lot. With this construction it is really easy to replace that part of fabric.
Loops around perimeter:
Every 25 cm around the quilt I attached loops to have a lot of opportunities to install buckles, tie (elastic) ropes, etc. to keep the quilt in place at night. I also attached some on top of the quilt. I do not really plan on using them because I am a rather calm sleeper, but I still wanted to have them just in case. The webbing I used is quite thin, nothing that would work with buckles you see on backpacks, but therefore it is very light. All the webbing together registered on my scale with 1g (0.03 oz).
All the loops where I expect more than minimal force to be applied I reinforced with a tiny piece of PU-coated nylon do distribute the stress onto more fabric.
Draft flaps:
The draft flaps are about 15 cm wide. I could not decide whether to have the loops to attach the quilt to the sleeping pad on the inside or on the outside of the draft flaps. Both have its advantages. I opted to have them on the outside. By now I believe I would have liked the loops on the inside/underneath better.
Down port:
Since I can move the down from any place to any other within the quilt and since I could not really decide how warm I wanted my quilt to be, I sew this protruding seam. This way I can easily rip this seam open, add/remove down and close the seam again multiple times, each time a few mm closer to the inner of the quilt (necessary due to the fine fabric, which does not hold down a ripped seam).
Footbox:
The footbox is not finished, yet. (So far both the inner and outer shell are still protruding by about 30 cm at the foot end. If I’d cut them off, I’d probably lose another 0.30m * 1.35m * (27+22)g/m^2=20g on the quilt)
I want to be able to fully open the quilt. But in case temperature drops lower than expected I want to close it up. Putting a drawsting at the end does not seem to be perfect to me. I want a real footbox. I have some ideas, but they need to be implemented… maybe after I get cold feet for the first time. I will update this thread and let you know how it worked out when I am done.
The sewing itself:
I am far from being an expert sewer. My seams are not beautiful and neat. But they are functional, which is enough for me.
I tried a lot of sewing machines to sew this light fabric. I ended up using a super old singer that my girlfriend got from her grandmother and considered decoration. She was quite amused when she found out that the machine was still working. The reason: this machine has no engine. It is powered by hand. Thus it is possible to start sewing really slowly. With all the other machines, if you are not being really careful they start off too fast and rip holes in the fabric; even with the lowest thread tension. Once the seam is about an inch long, everything is ok, but the beginning is crucial.
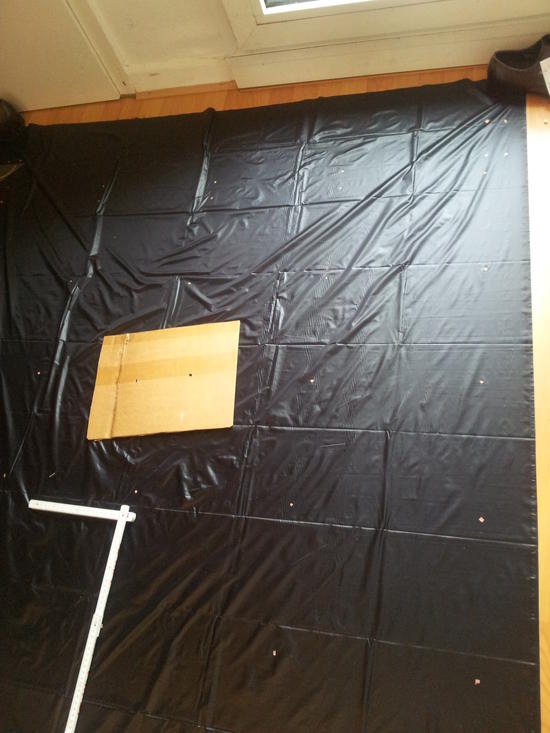
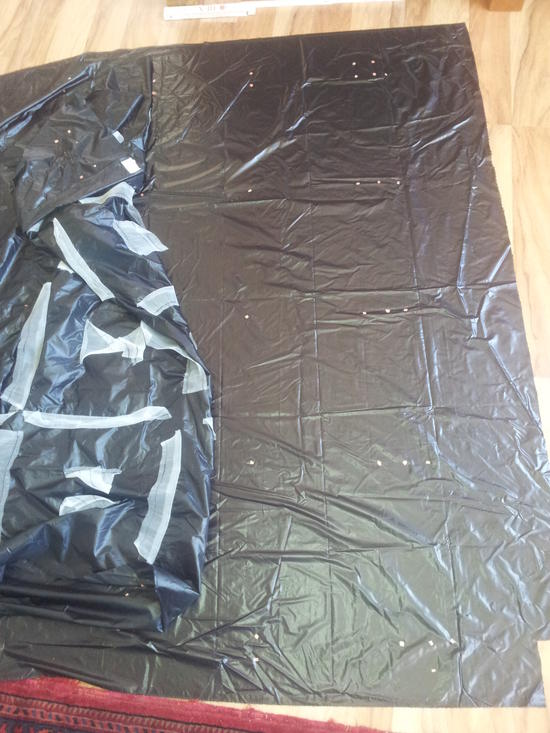
What helps in this regard is putting a piece of newspaper under/on top of the fabric and sewing both together (See picture). The newspaper is strong enough that the thread does not rip the fabric. If you align the newspaper correctly (with the grain, if that makes sense), then it is really easy to remove the newspaper afterwards. (This awesome tip is from someone on this forum. Thanks a lot!)
In order to not get lost, I used small pieces of tape as marker on the fabric. Much nicer than using a pen in my opinion. Tape can easily be removed, even repositioned very easily.
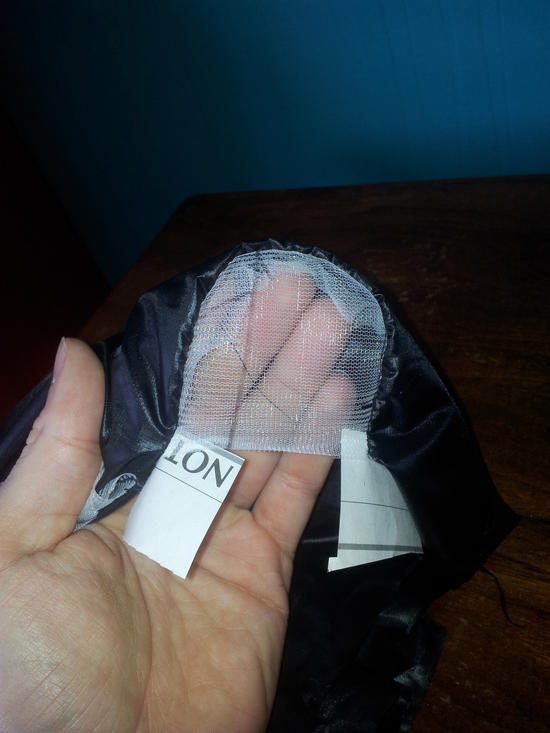
As baffle material I used the lightest mesh I could find. It is a bit stretchy, which I like. In this way, stress peaks on the fragile shell fabric will be quite a bit lower.
In order to further avoid high stress levels on the shell fabric, the baffles are wider on the very ends. In this way, no stress will be applied to the shell fabric at the end of the baffles. Otherwise a lot of stress could be applied to maybe just one thread which would then easily rip the fabric. Unfortunately I forgot to take a picture of this, thus the drawing. In the drawing the red lines represent the seam attaching the baffle to the shell fabric. As the distance between the two red lines is greater on the ends of the baffle, the baffles are wider at the ends.
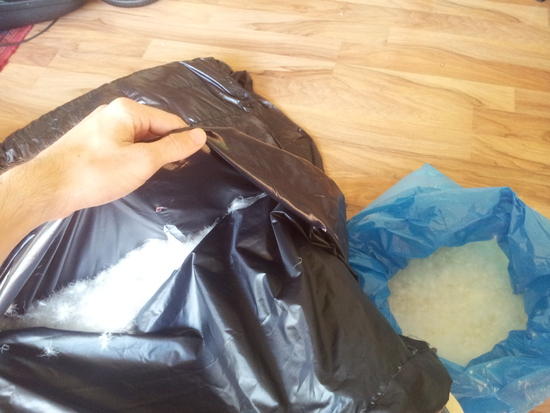
Stuffing with down:
On a previous down project I used the ‘vacuum-cleaner-method’. But for this quilt I gave up on this because it took forever. I simply just stuffed it by hand. IMO down does not behave as badly as some say. If there is moving air, you are lost – the down will follow the tiniest of air current. But if you close all doors and windows, turn off AC, lock out cats, etc. it is manageable. And the few down cluster that escaped me, I later collected with the vacuum-cleaner-method when I was done.
Field testing:
For what it’s worth: since it is summer, the coldest nights I have used it with had lows around 5°C. I was very warm and had to vent a lot until I moved some down to the sides.


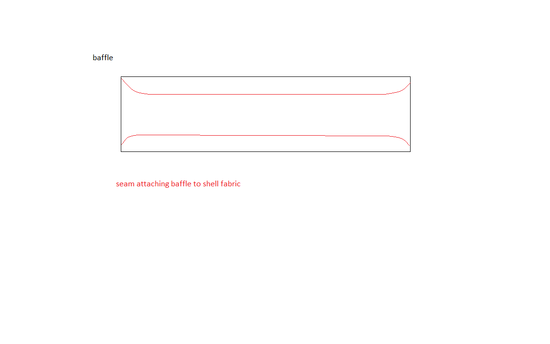
edit: forgot to upload the drawing of the baffles and their seams

