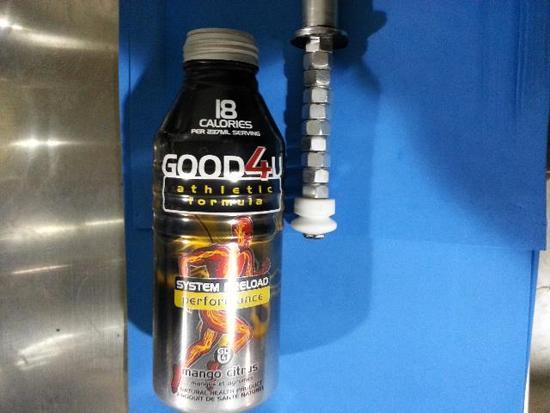
Pictures to help illustrate "ridging" process better (http://www.backpackinglight.com/cgi-bin/backpackinglight/forums/thread_display.html?forum_thread_id=64374), in large and small throat aluminum cans/cottles:
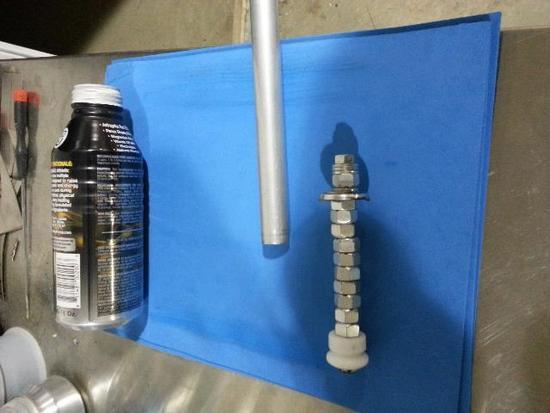
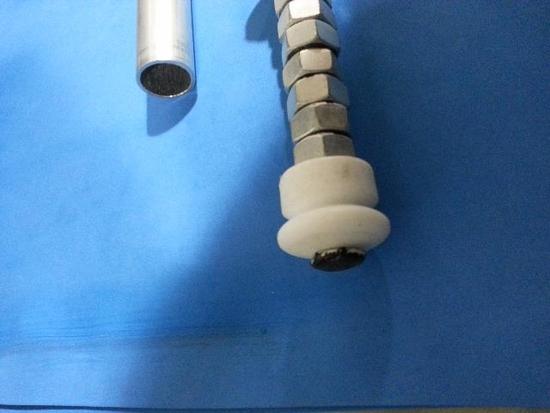
Tool ; a 6 inch plus , 1/4 inch diameter bolt with teflon roller (shaped as bolt
is clamped into drill and shaved with sand paper/file/knife) screwed to "working"
end;
Depth of ridge , relative to AL can throat is determined by the stack of nuts,
between duct-tape protected washer and teflon roller.
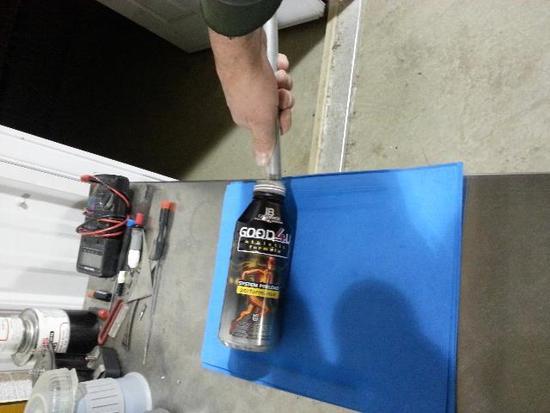
The steel or aluminum pipe is slipped on to free end of ridging tool for reach and leverage; the handle spins freely on the end of ridging tool.

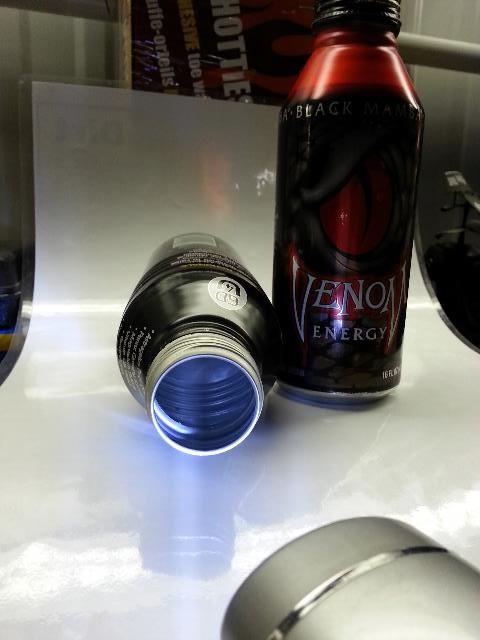
Inside of can is cleaned and coated with silicone or other lubricant (lightly!)
after area of ridging is heated (around circumference) to just below (smoking) temp,
(about 180 f, no hot spots please!) and then allowed to cool;
The metal is not annealed with this process but I believe just "relaxed";
I do not remove any of the lining with this procedure , and after ridging, a test boil
will remove all lubricant..teflon roller also prevents scratching of liner…
Insert ridging tool to depth of washer , guide bottom of can with left hand (my hand cant be seen because its holding camera), ensure washer lightly tracks bottle throat edge and that ridging tool stays a consistent depth all the way around as you press/lever the ridging tool with right hand and roll can away from you for partial circumference revolution;
Bring can back , try to start where you left off, and continue until you have made it
once around , press and turn until initial "track" is made and then follow the "baby"
ridge while applying more pressure and achieving greater depth with successive spins
until you have achieved required depth;
Reposition washer/nut stack until you have teflon roller at new depth , and start process again at new ridge, and repeat as necessary.
BTW
The blue material is high density foam stacked to a depth of about 3/8 of an inch,
I got the foam at a craft shop..
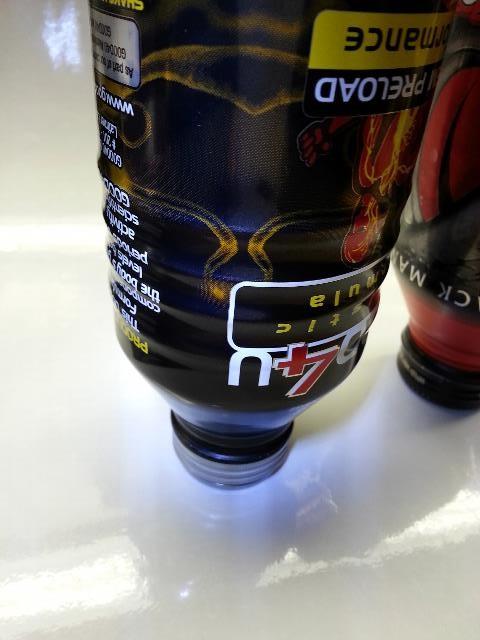
After much frustration and a few ruined cans you will have:

(Ridges are not as apparent on this unpolished can, this was just a proof of concept
project, next one would be all shiny before ridging)
Also, the ridges can be placed lower toward the bottom of can, just need longer
ridging tool (longer bolt , more nuts) again, this is proof of concept…
These cans are the closest to the japanese coffee cans mentioned by A. Kilpatrick..
hope this helps..