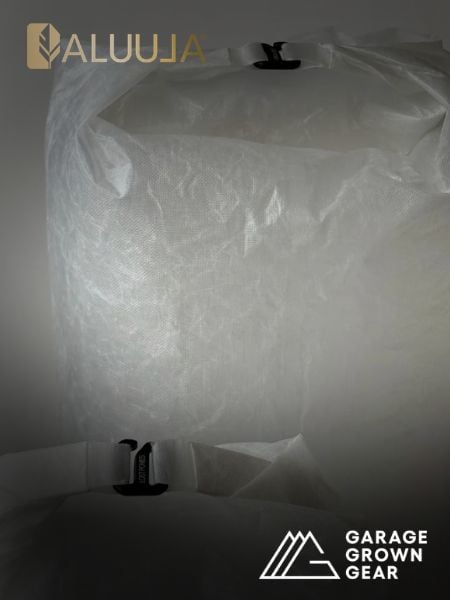
Since you just saved me $12 on my down (from gear deals post) I figured I'd share my experience today.
Just make the baffles. I started laying out material at 2pm after gathering stuff, and was done with 14 of 18 of the baffle sewing at 11pm, with lunch and dinner breaks. That includes:
Marking the material. Find the waxy chalk fabric marking things from a fabric place, use a straight edge and mark straight lines for your baffles, on the insides. I did 10 sections at 8 inches each (9 baffles). This chalk was great, forget tape/sharpie etc. If you can't find these, try a white grease pencil or something similar, it really works great, one swipe gives you a highly visible line that won't wipe off but isn't visible outside.
Cutting the baffles, straight edge and knife, this was simple. Its worth cutting these very well, I had a few that were ragged/wrinkled and they slow sewing down.
Tape a baffle on with segments of scotch tape. I used 3" long baffles, for a finished height of 2", this gave me 1/4" on the first sew, then some more slack on the second sew (you're manipulating both pieces of fabric, the extra helps). Then just trimmed the long side for a neat finish. The scotch tape works amazingly, I was able to peel it off and re-use it 3 times or so. I used 2" strips of tape every 6 inches or so, only needing to catch 1/8" of the netting. Not once did the tape peel/pull off, but removed easily when I wanted to. Tape the baffle past the line, and sew on your line, not thru the tape. I don't think I'd have finished it if I was trying to pin it, too tedious.
Sewing the baffles. Tape one, then sew one, repeat 18 times. Sewing is the easy part, its 10 minutes once you figure out how to roll up the fabric to keep it out of the way. I did a test with a single layer of noseum sewed to a piece of scrap nylon. I could not pull it apart, the thread broke first. Don't bother overlapping the netting like some articles suggest. I sewed 14 seams in 5 hours, with dinner, at a leisurely pace, taking time to make it look good. I've never sewed anything of note before this.
Tomorrow I will finish the last 4 baffles, sew around 3 edges, add a drawstring and loops. Last step will be to fill and finish sewing the 4th edge.
It'll take you an extra day to do the baffles. This quilt is worth the effort, you're already putting in a fair amount of effort, and with care it will last you years. Making a second one later will cost you another $50 and another 2 days.
I got the Pertex Quantum/M90T package without down from Thru-hiker, plenty of fabric, and really really nice. Two pieces 60×94 weighed 9.3oz, my final shell/baffle weight is 8.5oz, probably closer to 8 after trimming. I made it 59×84 with a taper starting at 40" down the side to a point 8" in. I made a drawing and a practice piece first.
I'm playing the stuffing amount by ear, the baffle of 2"- math I used was 12oz = 2.4" loft, so I reduced the baffle to 2 for a little overstuff. My target was 30 degrees, 16 oz total, but I'm closer to 19oz give or take an ounce depending on how much I end up stuffing.
For me, I'd rather have the quilt be enough on a shoulder season trip, than need to make/own another quilt that is only 10-20 degrees warmer, because I skimped on an ounce or two fill. And I can bring my synthetic as an overquilt to extend this to 99% of my trips.