**PERFORMANCE UPDATE** Used it along the Olympic Coast the other night. Nighttime temp right along the coast line was 38* and the quilt was very warm. I was fine not having any snaps/Velcro/zip along the footbox, just the drawstring and a buckle/elastic closure
30" up from the foot edge. I actually poked my feet out on purpose a few times to vent extra warmth, but did not have problems with my feet poking out unintentionally.
The pad attachment worked wonderfully. It is really easy to get in and out of. Just put elastic around the pad, and clip the quilt on just one side and the lower clip of the opposite side. Then after crawling in to sleep, buckle remaining top, snap neck closures and tighten drawcord as needed. Once inside, it's really easy to slide the quilt edges tighter or looser. I woke up around 2am cuz of the waves crashing in at high tide and tossed and turned several times until I fell back asleep and the quilt stayed on just fine, no drafts.
I am confident I can take this quilt down into the 20s especially with the proper layers.
Tent: BA Fly Creek UL2, shared with girlfriend… But she barely produces enough heat for herself.
***end update***
"warning": This is gonna be wordy and picture heavy, including in progress pictures.
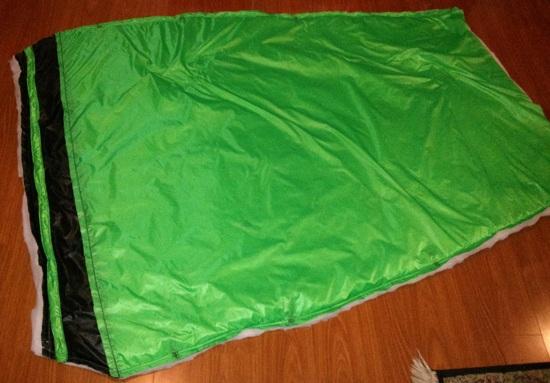
Alright, finished my first ever MYOG 5.0 Apex quilt. I did the measuring/cutting and my Mom sewed everything up (She hijacked the sewing part :o) Not gonna complain). I'm 5'6", 155# and toss and turn. 44" neck, 52" at the widest-continues at 52" for 2 feet, then taper to 40" . 72" total length (went off of sin50 quilt guide).
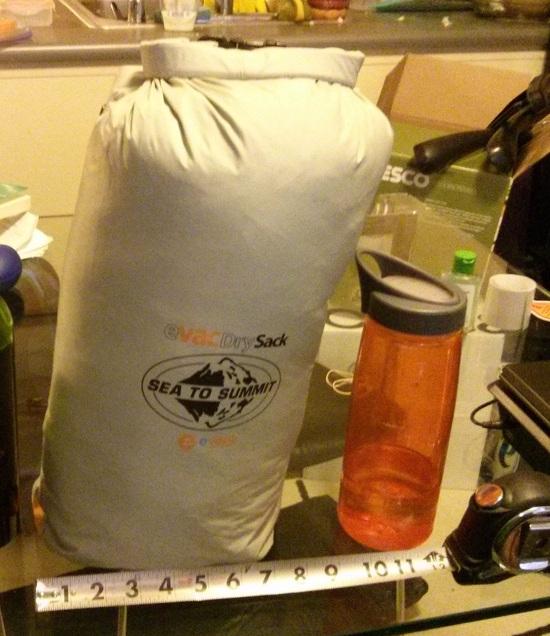
666 grams, 684 grams with straps; 24.13 oz with straps
The advice from everyone on my other thread and all the great articles and tutorials from other people who made their own quilts were extremely helpful.
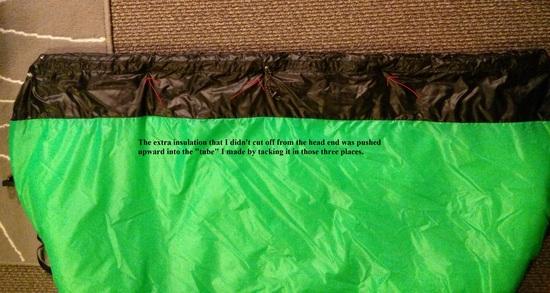
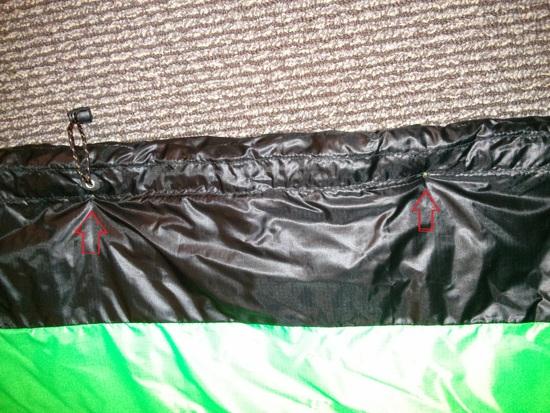
Couple of things I did different on my quilt is that my drawstring channel and drawstring was added to the calendered side of the head end of the top shell before sewing onto insulation. It was also installed 1" from the finished end and I used a small eyelet in the center, reinforced with a circle of Tenacious Tape. This creates a padded draft collar when I cinch the neck around me, and is much more comfortable than using the seam allowance to roll the drawcord channel at the very end.
For my quilt, did insulation on bottom, then bodyside/lining with calendered side facing down, then shell with calendered side up on the top.
This is the calendered side of the top shell with the drawcord attached (green strip on the black taper section).
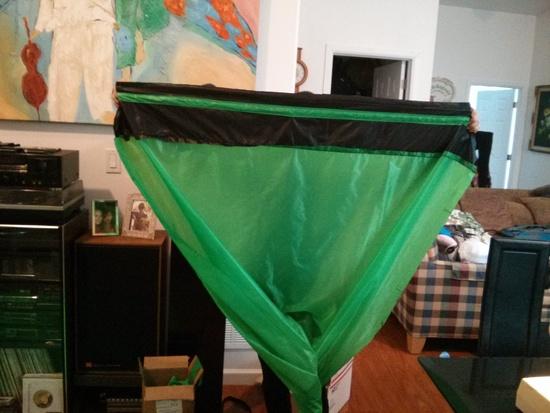
Single Pull drawcord through eyelet, and inch of padding around the neck. (Tacked through all layers in 3 places, foot side of the drawcord; keeps drawcord/shell fabric from just rolling forward.)
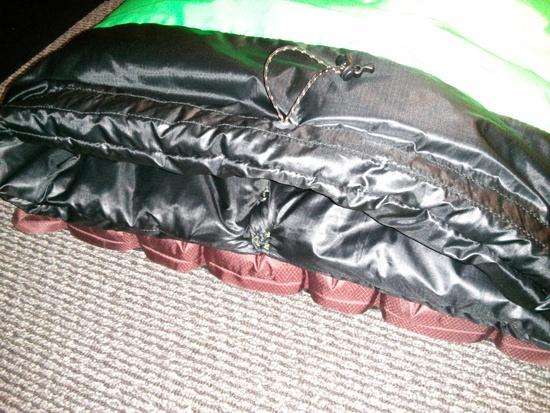
Also finished the head end first, as a result of the drawcord/draft collar design and left the foot for turning rightside out and just did a rolled hem/drawcord channel down there with cord locks on either end.
2 button snaps at the neck. Pad attachment at 12" and 25" and removable buckle/bungee 30" from the bottom for the legs. Sewed on the grosgrain/buckles to the shell first before final construction. I'm able to keep the leg compartment closed with just the bungee and leg strap without the need for snaps/velcro or whatnot, so I'll leave it at that.
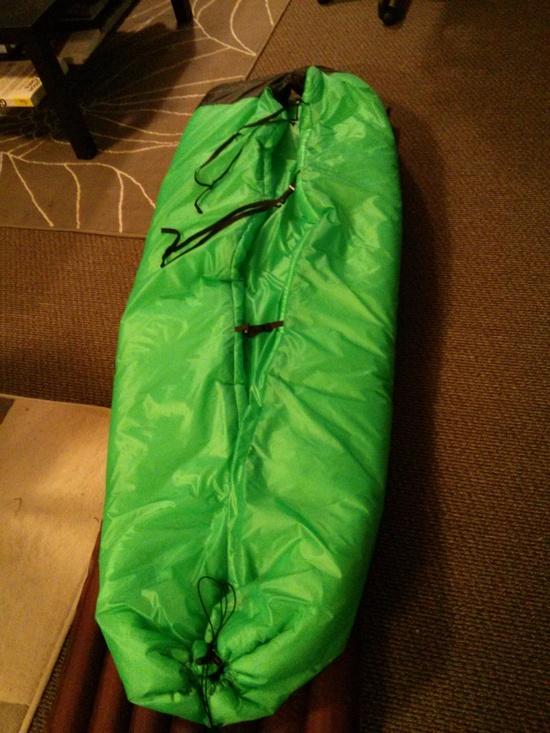
Used Amy's Love Bird Quilt pad attachment design, but used smaller 1/2" buckles and elastic (available at Seattle Fabrics… if anybody needs some of the center release buckles but don't want to pay shipping if ordering just tiny bucks, let me know and I can go buy some and mail them to you in an envelope or something.)
One EXTREMELY helpful thing my mom did was she just did a super quick running stitch (thanks Christopher!) through all the layers in the seam allowance with thick cotton thread before sewing instead of clipping or pinning. This kept everything nice and in place and all she had to do was sew everything up and just pull the hand stitch right out. No need to pull pin/clip every few inches of sewing. See picture below: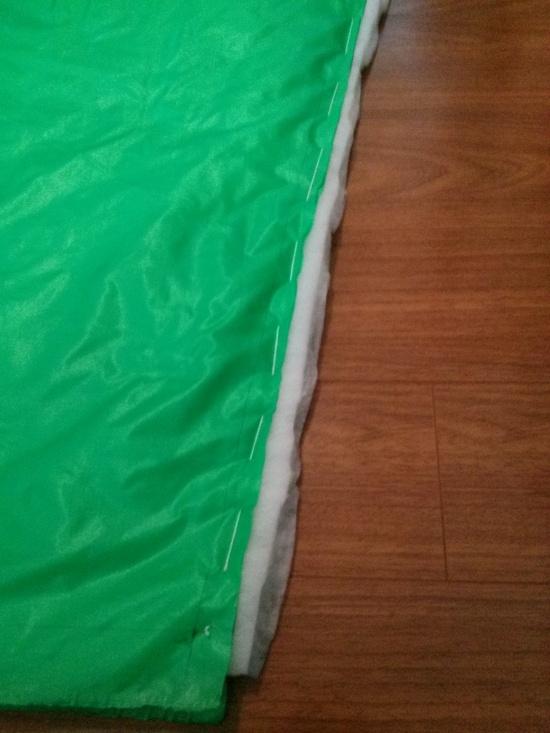
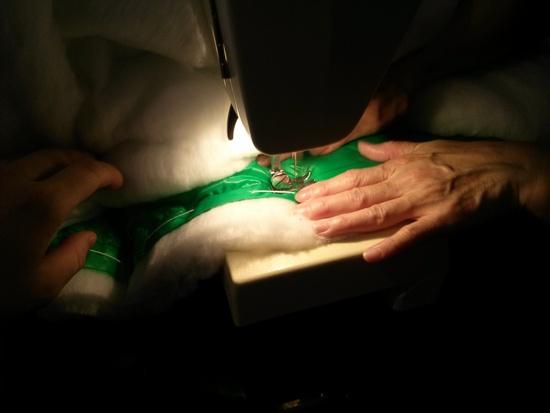
Here's my mom hard at work sewing. Didn't even need newspaper. Kept insulation on bottom and had no problems with it getting caught on anything. GO MOM!
Other than that, can't remember doing anything else much different from what others have done. Here are the finished pictures at last! Thanks for making it this far, and if you skipped down to here, then Hello!
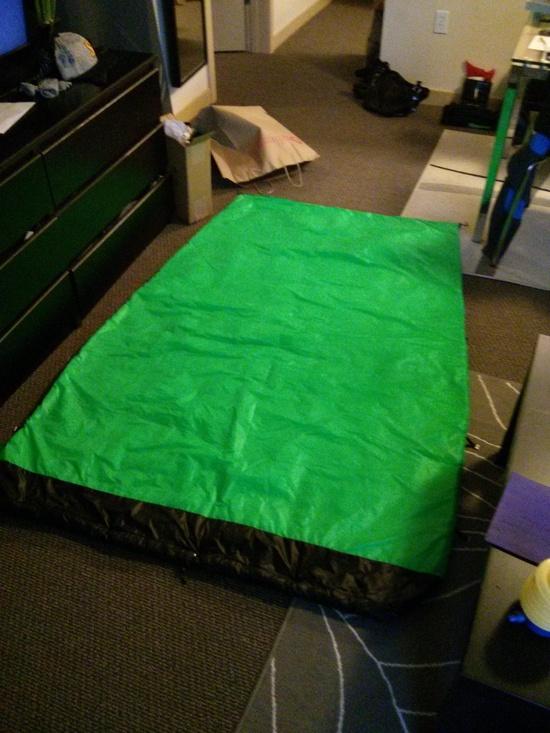
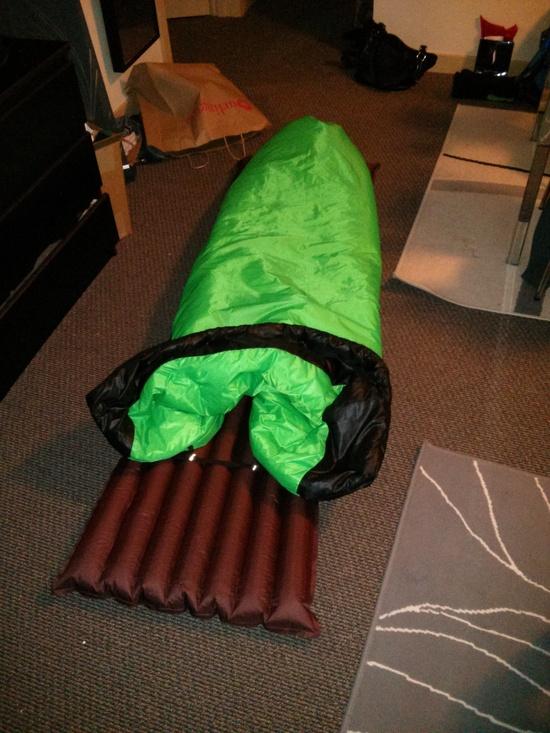
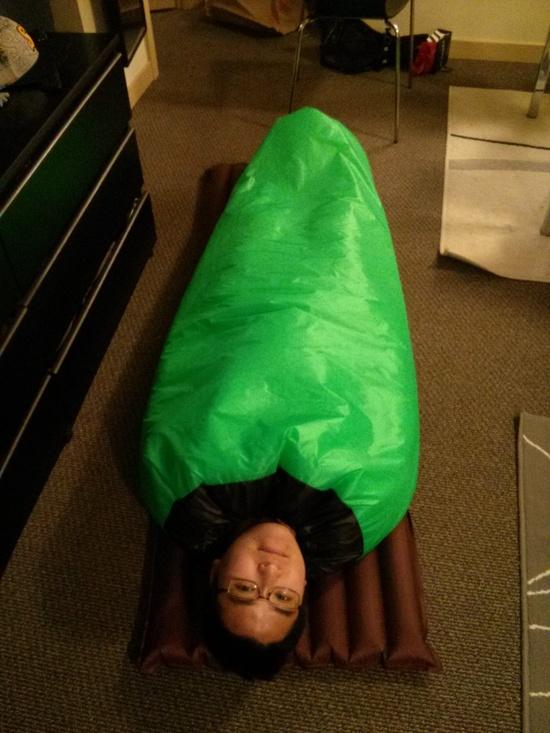
I had a lot of fun and look forward to using it next week during spring break, and my GF just bought a Women's Marmot Helium 15 from Backcountry to replace her women's MH Ultralamina 15 (34 women rating, but Mountain Hardwear uses men's rating on women specific bags to trick people) so she's stoked. Pretty sure I can take this into the low 20's since I sleep warm. Not sure where we're going to go, but we'll figure it out (no snowshoes and a Ford Fiesta limits where we can go in Washington round this time… looking for 1-2 nights, 20+ miles. Let me know if you have any suggestions!)
Thanks for looking!