Topic

7075 Al alloy pole/carbon fiber arrow/foam external frame w/ UHMWPE fabric + bag

Viewing 13 posts - 1 through 13 (of 13 total)
PostedFeb 11, 2016 at 9:52 pm

Starting a new thread, because the old thread subject line is no longer valid since i’m not using bamboo now.

So recap/summary–External frame is being made out of Easton Al tent poles–the .49 size as the outside material.  Inside these will be carbon fiber arrow shafts with Evazote foam wrapped and glued or epoxied around them.  Idea is to create a composite material that will be ultra strong and durable in all areas, at fairly low weight–(yes, significantly lower weight yet significantly stronger and more durable than the Kelty Al frames).

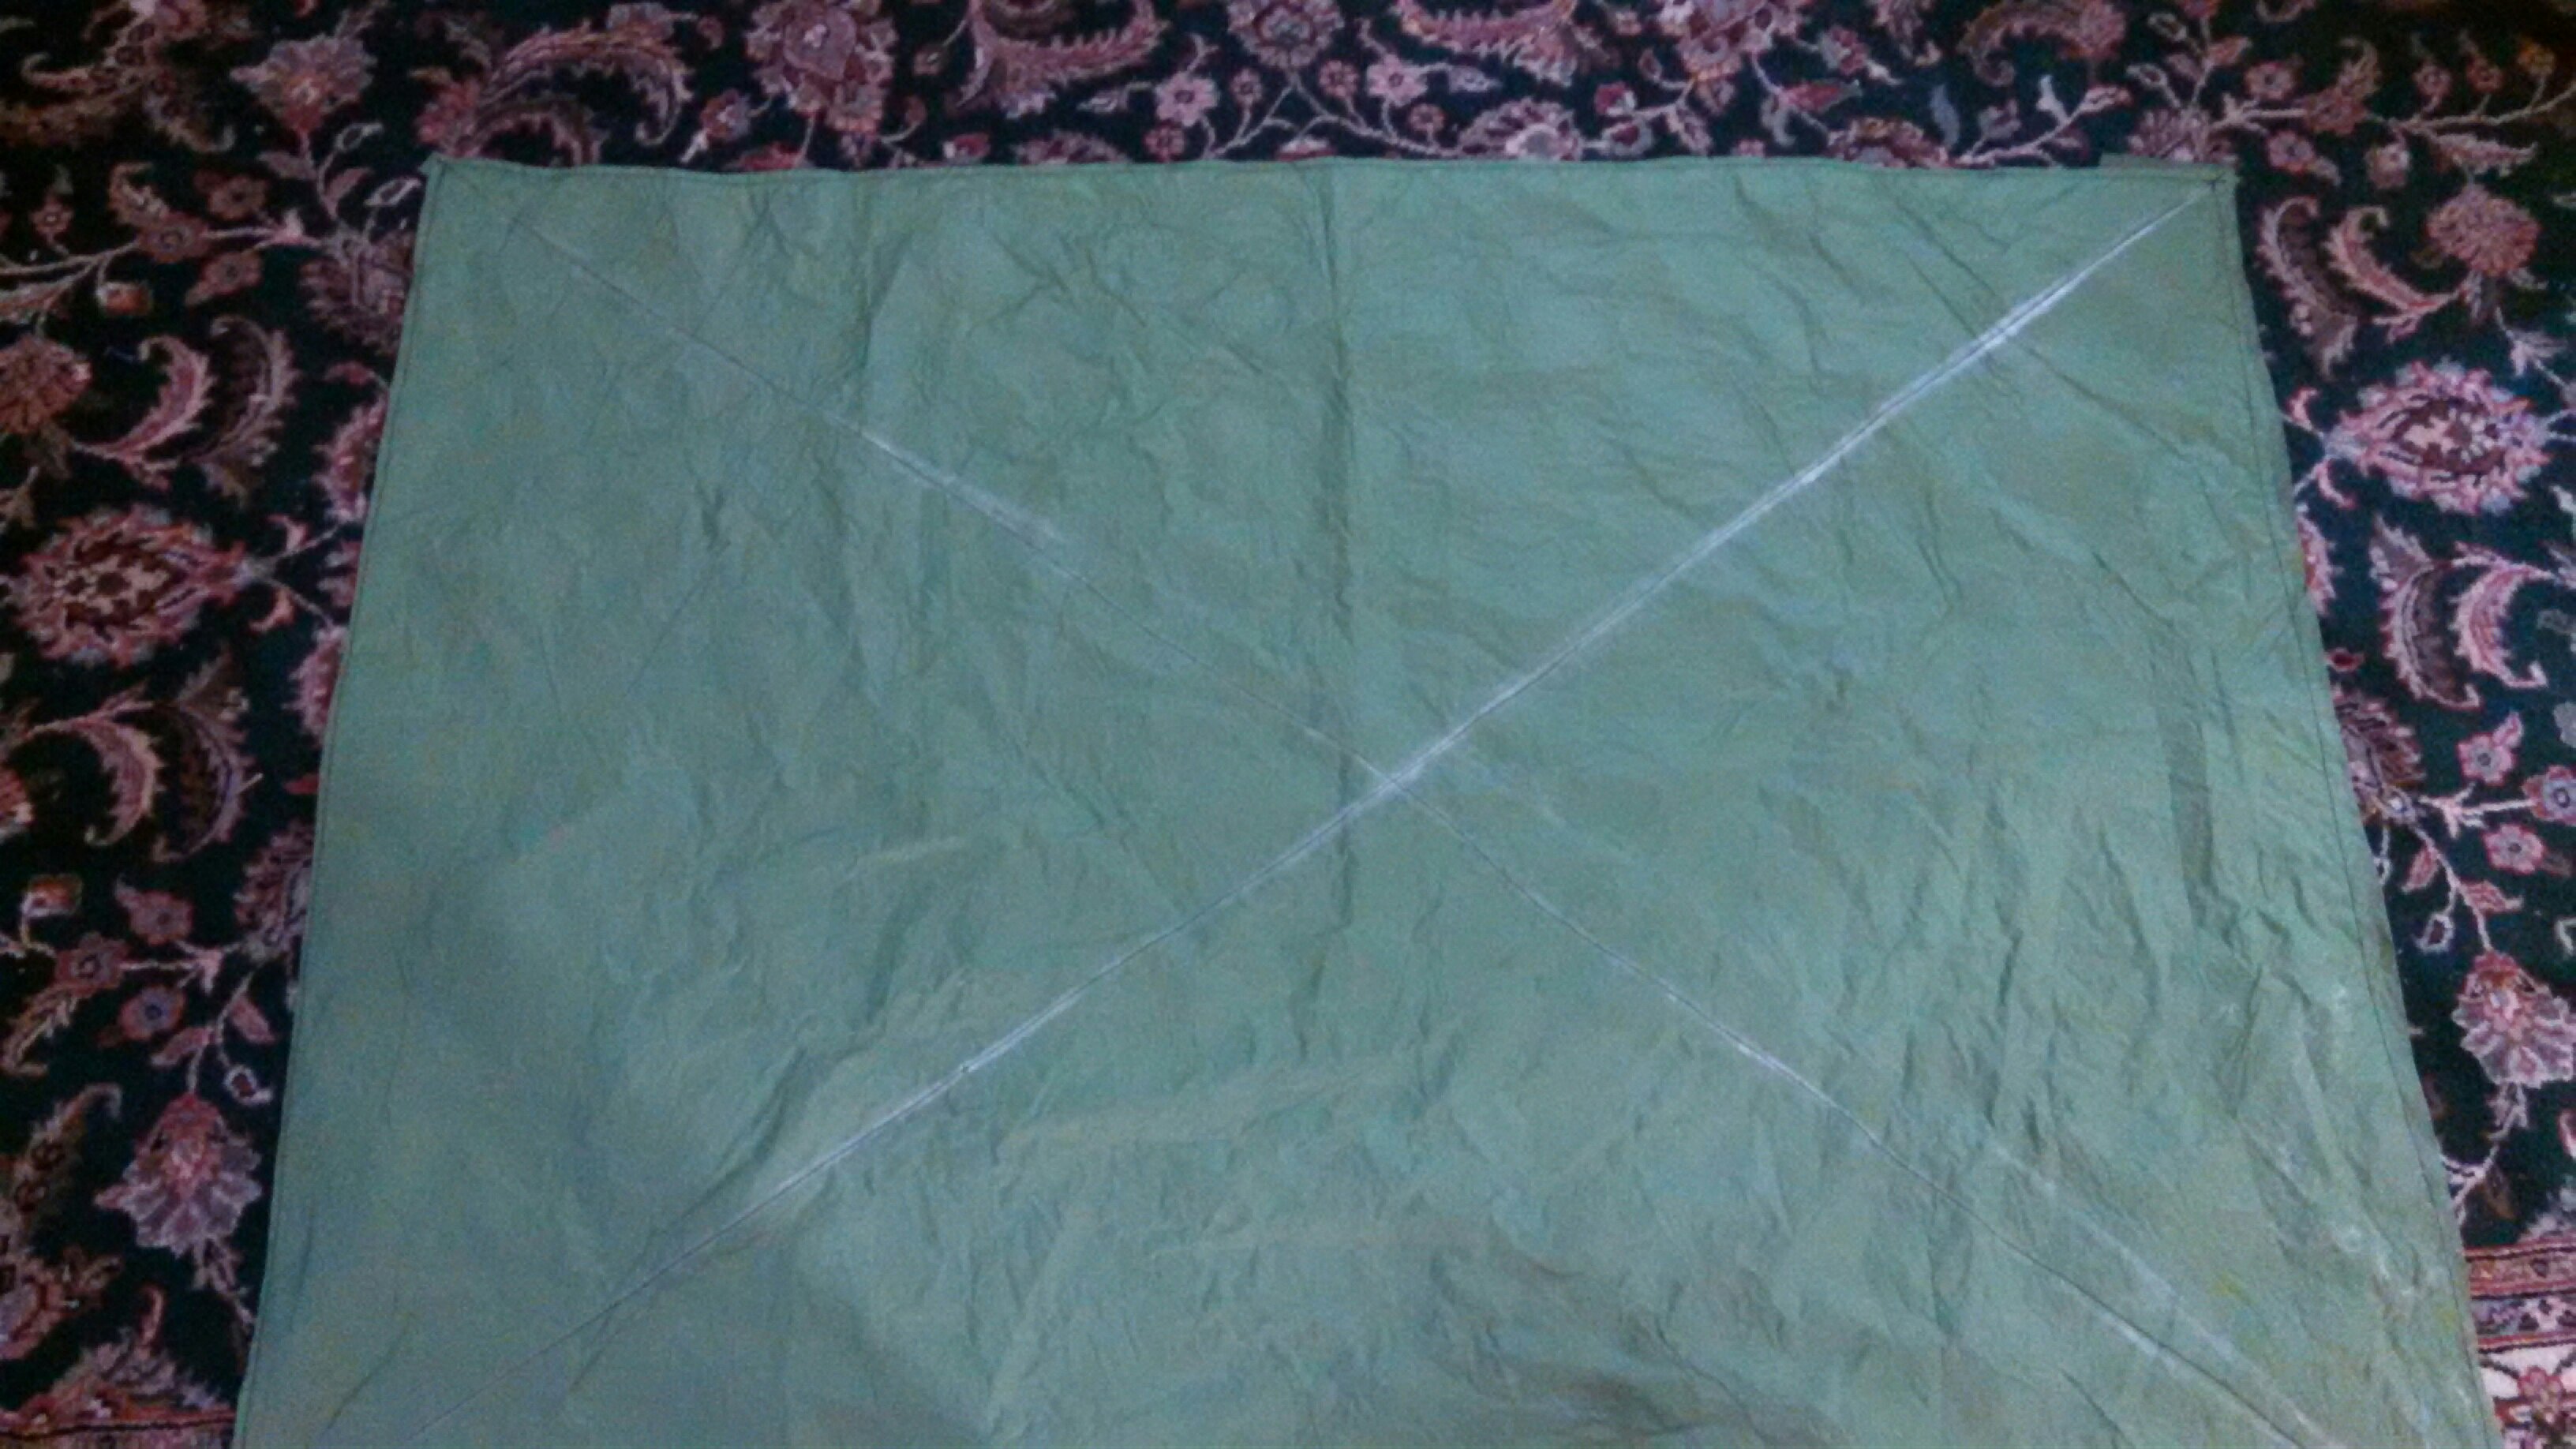
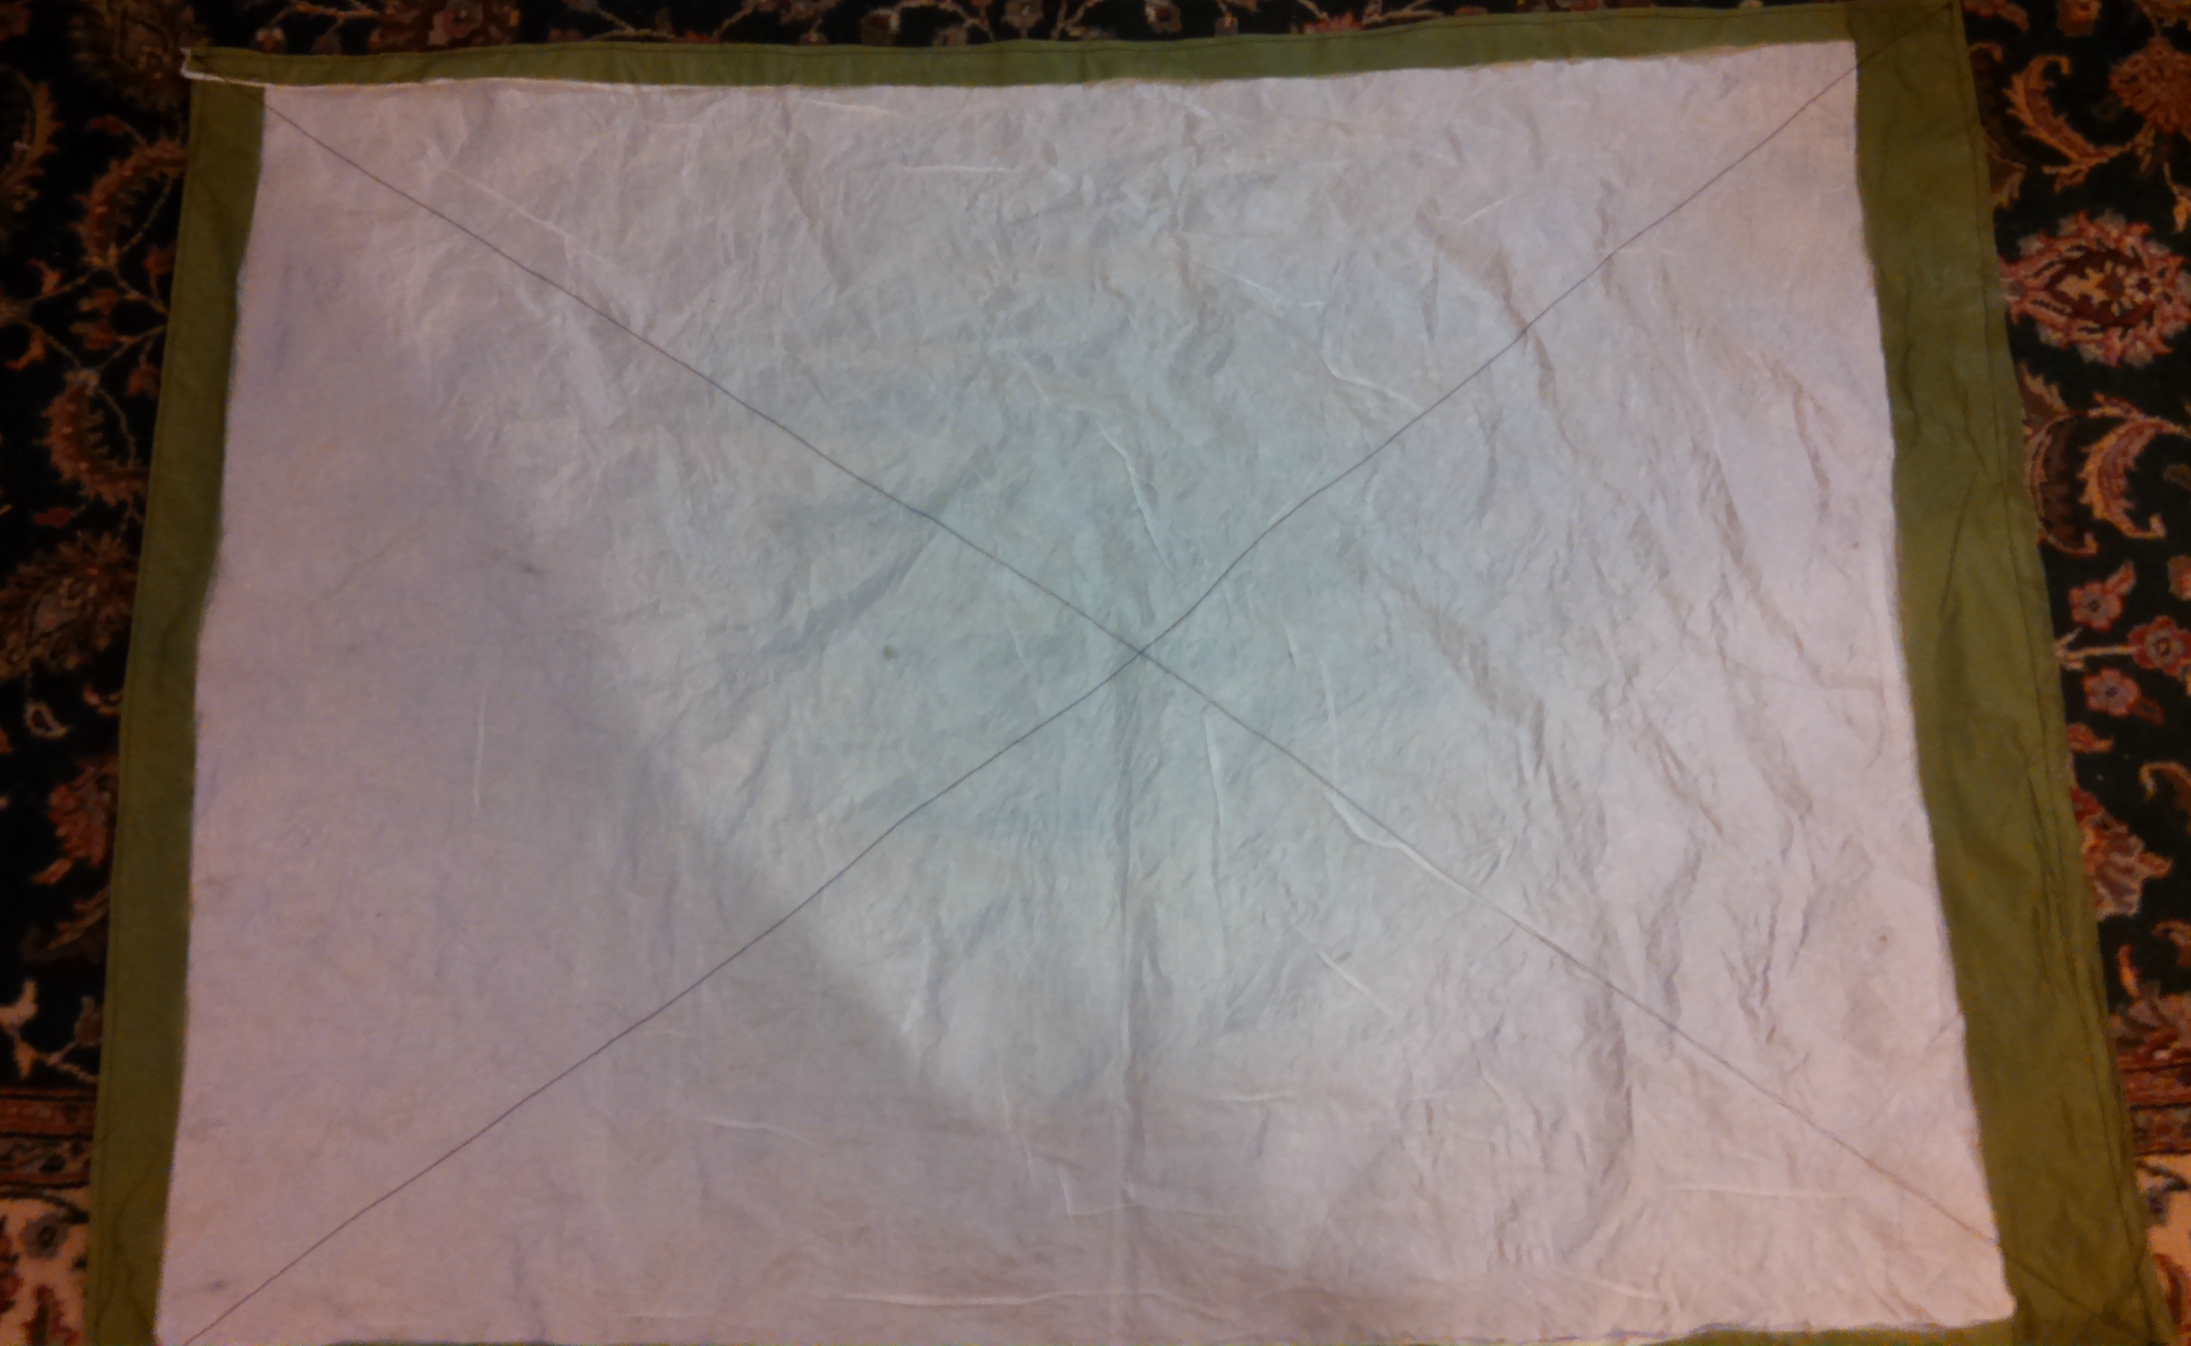
The bag part will be a combo 2.4 oz/yd2 UHMWPE fabric sewn to an outside fabric of either Sil/PUnylon or Sil/PUpoly (haven’t decided which yet).  This is to provide both UV protection and dimensional stability to the PE fabric.  Since the PE fabric is somewhat loosely knitted (or woven?) and the fibers very slick, it will need extra dimensional stability.  I found some spray adhesive that works with low surface energy polymers (polypropylene etc), and i may spray the PE fabric with that and have the PU side of the nylon or polyester fabric towards the PE fabric to increase the above.

So i’m looking at about 4 oz/yd2 for the weight of the fabric composite.  I’ve thought about doing an inner layer of 1 oz cuben, but i don’t really need the extra tensile strength of cuben since the UHMWPE fabric will be stronger than that anyways, and cuben is not so great for abrasion whereas the inner UHMWPE fabric stands up MUCH, MUCH better to abrasion than cuben would.

The difficult part of this project has been prepping the Al poles for epoxy bonding because they are hard anodized. I’ve been using a combo of sanding by hand in a hot’ish distilled water/sodium carbonate solution–there are 12 bonding points on the Al tubes that need prepping for this. I’m almost done and plan to bond the frame together tomorrow.

I’ve gently bent/curved two of the poles–the horizontal ones–1 near the lower neck/shoulder blade area and 1 near lower back.

The bag itself will be pretty simple, an overiszed stuff sack design basically, with a roll top closure.  The bag will be connected to the frame with sewn loops of fabric.  Again, a composite material.  Silnylon sleeves with 1 oz cuben in the middle and sewn to the composite bag material of UHMWPE fabric + sil/PU poly or nylon.  The inner cuben will provide the tensile strength and the outer silnylon the abrasion resistance protection for the cuben. These loops/strips will be approx. 2 inch wide.

The shoulder straps and hip belt will be a combo of RBTR’s 2.2 oz HEX 70 ripstop nylon outer (as a sleeve), with 1 oz cuben inner + Evazote foam as the padding.

Dyneema or spectra cord is going to be wrapped around the Frame horizontally and vertically to provide greater tension and dimensional stability to the frame (since it will be lacking middle crossbars etc), and to keep the pack and frame off the back some.

Estimating total pack weight to range in between 1.5 lb to 2 lb, with a capacity to semi comfortably carry 50-100 lbs, if need be (hunting etc).

I’m using my SMD Fusion pack as a pattern for height/width placements and dimensions of shoulder straps and hip belt (since it’s pretty well dialed in for my torso size), though i’m making the shoulder straps wider than usual.
<h1></h1>
 

PostedFeb 12, 2016 at 12:51 am

Wowza, that’s all quite impressive. Would love to see some photos of the process.

PostedFeb 12, 2016 at 6:52 pm

Hi Nathan, here’s a pic.  The black coloring on the poles, i think, is not paint, but the extra thick Al oxide layer created by the hard anodization process–you should be able to see where it’s been removed, at least on the outside.  The white fabric that the poles are on is the UHMWPE fabric.

PostedFeb 12, 2016 at 7:07 pm

Well Roger, you were partly right.  For some reason, i decided to try to bend the poles more.  I think this time, i didn’t pull as slow, but pulled faster (almost jerked it) and broke one.  (thankfully these poles are only a few dollars a pop).

Btw Roger, what size poles do you typically use? (these are .49″)  And if i can break it somewhat easily with my hands and no tools, wouldn’t that argue for the carbon fiber/foam core?   We’re only talking about an extra couple ounces or so.

PostedFeb 12, 2016 at 10:34 pm

An old trick for bending Al tubes is to fill with sand before bending.  It may only provide limited support for these hardened Al tubes but will help spread out the bending forces to prevent localization.

If you consider the moment you put on the tubes when you bend from the ends, the force might seem small but in actual use the lever arm is small so you are unlikely to ever see such a high moment.  In other words, the tubes are plenty strong.

Roger Caffin BPL Member
PostedFeb 13, 2016 at 3:27 am

Hi Justin

Those pack frames use 0.344″ Easton tubing for the verticals and 0.313″ for the curved horizontals. The frame is then sprung by putting a panel of LenoLoc mesh across it and tensioning just a little.

To be honest, there’s rather a lot of technology gone into those frames. I developed a special bender to curve the tubing, and a press die for the joiners. No sand fill was used.  Yeah, probably took well over a year for all the work.

But the packs have been used on a number of 2-month and 3-month long Alipne walks in Europe, plus ski-touring in Australia (with crashes!), plus some rather rough exploration work around the cliffs and canyons of Wollemi NP in Aus. I have never had any fear that the frame would distort or be damaged – PROVIDED that the shoulder straps are correctly attached. If they aren’t, you are quickly history.

Cheers


PostedFeb 13, 2016 at 7:25 am

Hi Clifford, i did pack them with sand before bending.  If you look at the first pic, the curved pole has vinyl end caps on it–that was used to keep the sand in them while i was bending them.

I think the problem was with the technique–previously, i very slowly and carefully bent them.  The next day, i was less careful and almost jerked pulled it.

I can see your point about the greater forces than typical being applied when i bend them by hand.  If it was more weight than just a couple ounces, for a lot more strength, i would probably skip the carbon fiber/foam core part.  But it’s so light and easy to do, i figure why not.

PostedFeb 13, 2016 at 7:36 am

Your frames look very well designed and executed Roger, so i’m not that surprised by the amount of work/thought that went into them.  Unfortunately i have neither the funds, the time, and probably not the engendering capacity or know how at this point in my life, to do similar.

Considering how small the tubes are, and that you’ve put them through that kind of wear/tear, it’s impressive that they have held up so well.


PostedFeb 21, 2016 at 5:41 pm

Yesterday, i prepped the fabrics and put a coat of adhesive on one side of each.  Today, i put another coat of adhesive on, put the fabrics together, put a bunch of books on top and let it set and cure for a few hours +.  Then i took an iron on low and ironed it on the Silpoly side.  Let it sit for a bit more, then threw it in the dryer on medium low heat setting to speed up the curing.

Then i sewed it around the perimeter and then an X.  I don’t think the adhesive bonded very well though.

PostedFeb 21, 2016 at 5:47 pm

I’ve flip flopped on my choice of frame material. Now i’m going with the Easton Carbon Fiber FX poles.  I’m going to use some other different fabrics and make another pack with the Al poles i have.

PostedFeb 29, 2016 at 9:39 pm

Yesterday i put the frame together.  As mentioned, i’m now using the Easton Carbon FX poles.  I had bought the 90 degree Al elbows that normally go with them, but when thinking about it and trying different things, i noticed that the carbon poles fit pretty well inside the .49 Al elbows that i had ordered previously.  I figured going with extra strength of these elbows was a wiser idea.  I also like the carbon poles going inside the Al, rather than the Al going inside the carbon.  The Al has a little give/ductility which may help protect the carbon fiber during possible impacts. I’m also hoping that the foam core provides a bit of absorption and wall protection to the carbon fiber for impacts.

Most of the frame was epoxied together.  But, i took some 3+” spray foam and sprayed foam inside, so i wasn’t able to epoxy two of the connection points.  To make up for that, i took FiberFix and wrapped these connection areas the most with it.  I used some of the rest on some other joints, but the stuff doesn’t last long once unsealed.

Because i originally prepped the .49 elbows to be epoxied with the .49 Al poles, i had exposed areas where i had sanded off the hard anodization.  To give those areas of the Al a little extra protection, i wrapped them in some self adhesive silicone tape.

After the foam fully cured, the frame is surprisingly stiff for a simple, square structure.  I’m still wrapping it with dyneema or spectra cord, but i guess due to the foam/carbon fiber combo, i need it less for the structure/stability. It has a little flex/give but really is fairly stiff considering the simple structure with no cross supports etc.

So far, the frame weighs 7.5 oz.  The horizontal/vertical stringing with with dyneema cord will add maybe about an ounce.   The main pack material weighs 8.6 oz.  Tomorrow i plan to attach the frame to the pack material and start making and attaching the shoulder straps, hip belt, etc.  Might not finish since it’s a friend’s B-day tomorrow and i’ll be out and about later on.  Since the upper and lower poles are not being bent, i plan to sew some Evazote foam/fabric over key parts of the frame.  I’m guessimtating it to weigh around 1.5 to 1.75 lbs total after shoulder straps, etc are added.

Pic of the frame (it’s very slightly skewed and not fully level on one part):

PostedAug 31, 2016 at 9:07 pm

I mostly finished the pack, except for sewing up the bag, some buckles, etc.

But, i’ve flip flopped again.  When sewing the shoulder straps on with a “Speedy Stitch” hand sewer, came to the conclusion that it wasn’t the best fabric combo to support such large thread.  Made me kind of concerned about the fabric’s durability in general.

Think i’m going to replace it with 420D Robic nylon from Ripstop by the Roll.  Seems to be a near bomber material at mid’ish weight.

Viewing 13 posts - 1 through 13 (of 13 total)
Loading...