Hi!
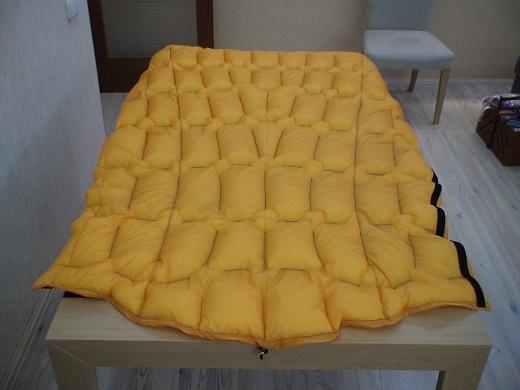
My first MYOG project is clearly inspired by Katabatic Gear quilts. It’s basically a Palisade Regular replica except it has longitudinal baffles and 2 oz overstuffing.
Some specs: total weight 540g / 19.0 oz of which 325g / 11.5 oz is 900 f.p. Thru-hiker’s down, ~155g / 5.5 oz Momentum 90T shell and liner, 15g / 0.5 oz Nanoseeum netting baffles, 45g / 1.6 oz everything else including the moisture down caught during stuffing.
Dimensions: liner length (fabric is differentially cut so shell dimensions differ) 1820mm / 71.7”, shoulder width 1270mm / 50.0”, foot girth 965mm / 38.0”. Baffle spacing is 130mm / 5.1” on the shell and 110-130mm / 4.3-5.1” on the liner. Baffle height decreases from 35mm / 1.4” for the three top baffles to 19mm / 0.7” on the backside.
Here pictures. Sorry for crappy quality. Photos were taken by phone.

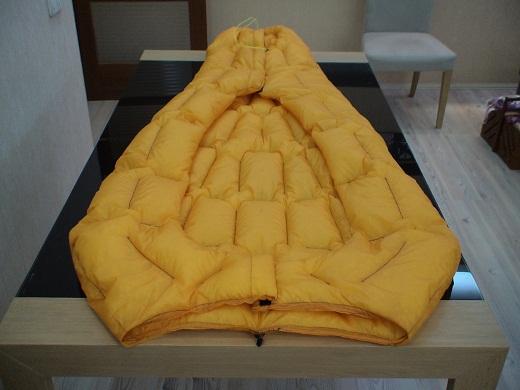
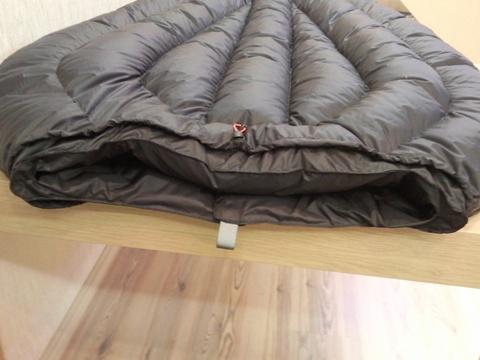
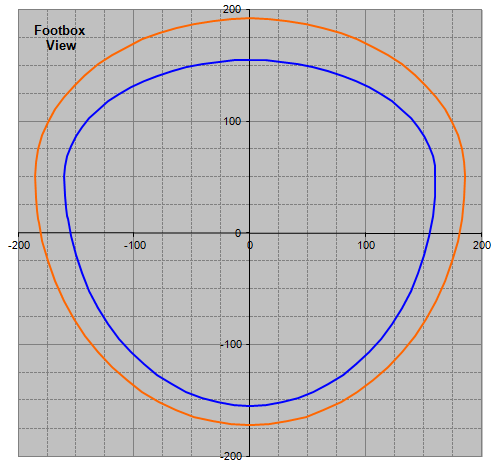
Supposedly anatomical footbox

Neck area
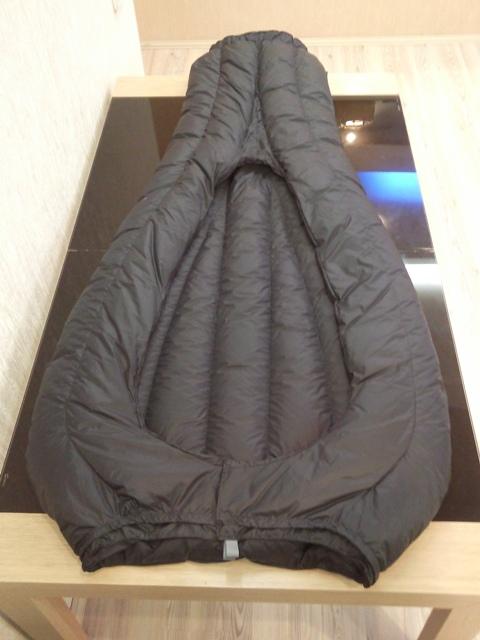
Back side
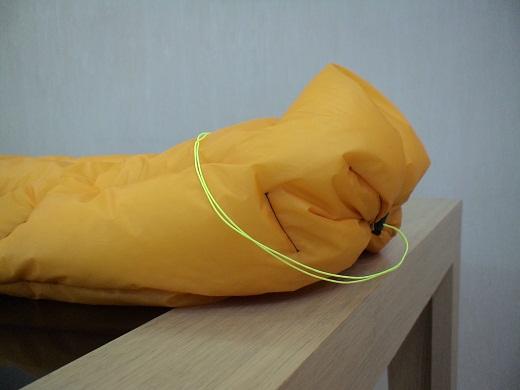
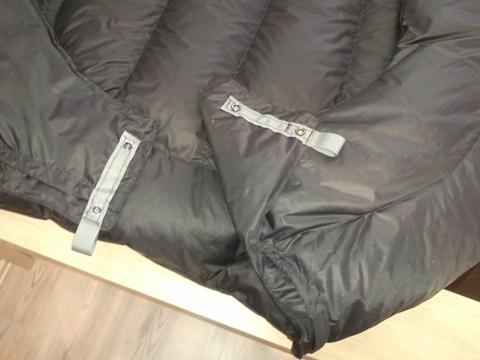
Neck closure details
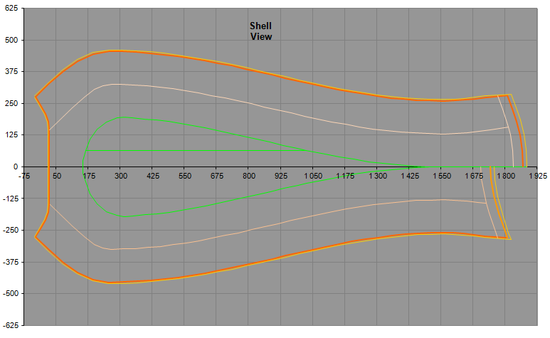
Graphics. Liner.

Shell
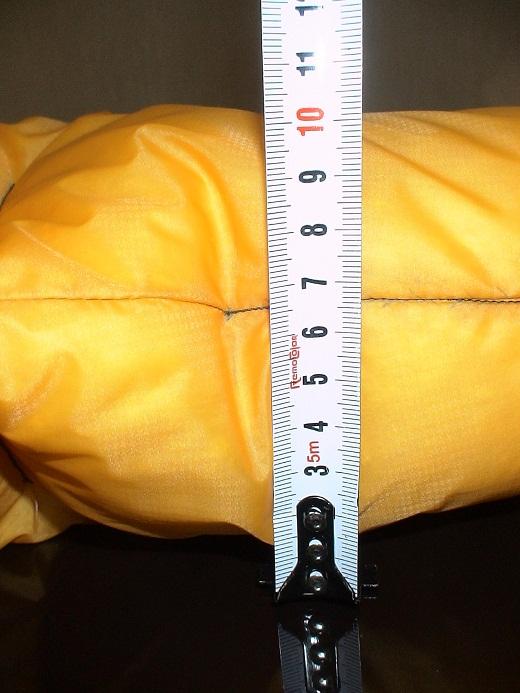
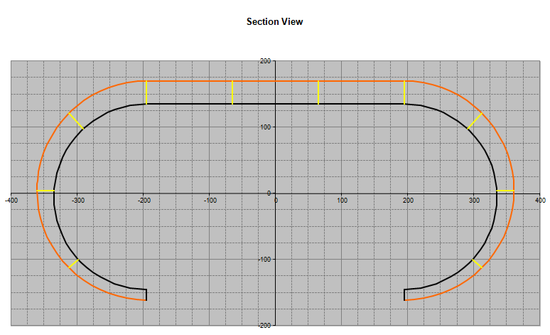
Section at the widest point
Footbox cover
I tried to design quilt pattern to optimally use whole width of fabric including the part cut to make a ‘backhole’. This material was used to make footbox covers. Hence the backhole shape.

I started this project almost one year ago but given its complexity and total lack of sewing skills on my side run out of energy and time before hiking season started. So I postponed it and restarted only recently. I admit it wasn’t the brightest idea to begin MYOG from such a relatively complex project. If not helpful Roger Caffin’s article I probably would never complete it.
I initially planned to use orange Momentum 50 fabric for shell but changed my mind after first reports on BPL of lacking downproofness of M50. This decision costed me 26g / 0.9 oz of excessive weight. The weight could be decreased further down to ~490g / 17.3 oz if both the shell and the liner were made of Momentum 50.