Good evening everyone,
I just finished an interesting project, I had a few years old Marmot Trestles 15 F sleeping bag (synthetic insulation) that was the last remaining piece of gear from my traditional backpacking days. It has been sitting on my gear shelf unused for about 6 months, when it was replaced by a warmer, lighter, and more compact Western Mountaineering bag. I had been considering converting it to a quilt for a few weeks, and today I finally had a few beers and did it. I wanted to try quilt camping this summer but ran out of time and money to make one before we get this summer going. This will be an excellent and FREE way for me to try it before I buy the material to make a nice lighter one in the next year or so.
I am going to give a step by step with pictures of how I tackled the project for a few reasons:
1. It was a nice ceremonial goodbye to my old ways.
2. It turned out to be really easy and would make an excellent first project for a beginner MYOGer.
3. Or someone else who might be worried about ruining a perfectly good (traditional) sleeping bag that they store in their closet never to use again because it is too heavy for trail use.
First, I ripped the seams out on both zippers the full length zipper and the 18" vent zipper (really I felt like it was no big deal to have 2 zippers on a sleeping bag!!!) Then I did the same for the two draw stings, and the draft tubes.
Next was to determine the height I wanted. I cut off the whole hood and 1 baffle from the top off. I made both of these cuts just above a baffle stick to keep the insulation attached just incase I needed it. 
Next I sewed the foot box up to 3 baffles and what was left of the 18" vent zipper together inside fabric to inside fabric, outside fabric to outside fabric on both seams.
I next laid down inside the bag and decided how much I wanted to trim off of each side. I took a pizza slice out that started about 6" wide at my head and ended up as almost nothing by the time it got to my knees. Then I sewed the inside fabric to the outside fabric on each of those edges by turning the raw fabric edge in and stitching from the knee to the head. I also backed up and came forward again at each baffle crossing to make sure I relocked the stitching for the existing baffles. This is when I also reused the two push locks from the sleeping bag and added some lighter elastic that I had left over from another project to make my sleeping mat synchs.
Next (which I will openly admit turned out to be dumb luck), apparently the baffles from the top of the bag and the bottom of the bag don't line up by about 3 inches. I am not sure if that happens on all sleepy bags or not, I think it was due to the cut of the hood on this bag. I took that 3" extra material from the top fabric and rolled it over to the inside fabric, doubling up the insulation and making a draft collar for the head of the quilt. Kinda cool how that worked out, and I would recommend making that happen if you repeat this project. It gives the top a very clean finished look, and adds the benefit of a draft block for around my head. I am not sure if this is actually necessary on a quilt, I will find out this summer.
The last step was to sew all the way through the quilt across the top to seal in the draft block.
Here is the final product.
The best part:
Start weight: 4 lbs 5 oz
Hopefully weight: sub 2 lbs
Actual Finish weight: 2 lbs 5 oz
New compressed size: about 1/3 to 1/2 of the original which means I won't need a compression sack or stuff sack for it anymore so saved 4 oz more.
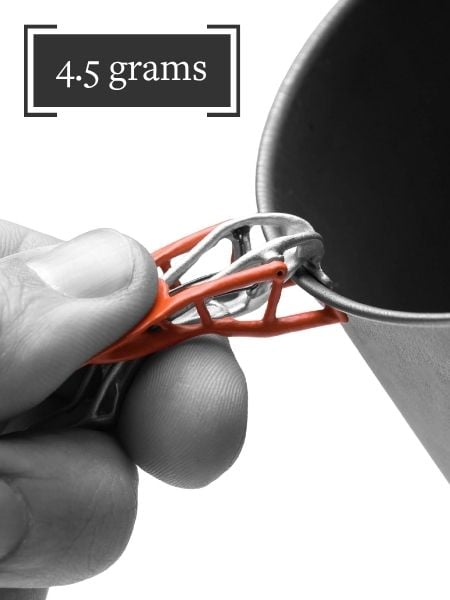
I salvaged the cord and push clips from the head and neck draft collars, and the full length zipper and 18" zipper for future projects.
Here is the photo of the material that just didn't make it to the new slimmer quilt!