Hey guys, so I finally got around to changing the straps on my Mariposa Plus. While the straps work for a number of people, I always found them a bit too wide for my smaller frame. The stock straps are about 3 inches wide, more or less straight, and sewn very close together at the top, causing them to both pinch my neck and fall off the sides of my rip cage. Really wanting to keep the pack, I decided to sew up new straps.
Modifications: Add an S-curve to the straps, they are ~2.5" at the widest part now
Materials:
210D Oxford Nylon – Urethane Coated (source: backwoodsdaydreamer)
1.5oz Ripstop Foliage Gray (source: backwoodsdaydreamer)
3/4" nylon webbing (source: backwoodsdaydreamer)
3/8 mini cell Foam (source: QuestOutfitters)
Black Lycra (Stuff I already had)
Plastic Hardware (taken off original Mariposa Straps)
Black Gutermann Sew-All Thread
Instructions
The straps are made from 3 layers of fabric. There is a full length of 210D oxford nylon on the top, and a layer of lycra underneath. The foliage gray 1.5oz ripstop is layered over the front, partially covering the layer of 210D oxford nylon, serving as both decoration and another layer of material for bartacking through. Using some cardboard stock, I traced the curved strap from my golite jam as a foundation, and tweaked the pattern to accommodate for the extra width of 2.5" straps. Taking my cardboard pattern, I traced an outline of my new curved strap onto the 210D using a tailor's chalk triangle. I do not cut the strap out yet. I than sew all the detailing/webbing/loops as you see them on the front of the strap. I then turned this outline over, and retraced a mirror image of the strap (this part takes precision, making sure your front and back tracings are aligned). It helps to hold up your material to a window with sunlight/light shining through, so that you can see your original tracing on the other side. I than placed this ontop of a sheet of lycra. Sewed everything up along the tracing outline. Than I cut the sewn strap outline out, leaving around a 1/8" raw edge. Flip it rightside out like a finished stuffsack and than stuff the 3/8" foam in. Sealed off the top opening with a section of 3/4" webbing (good for sewing reinforcement when reattaching the shoulderstrap back onto the pack) and reattached it to the pack.
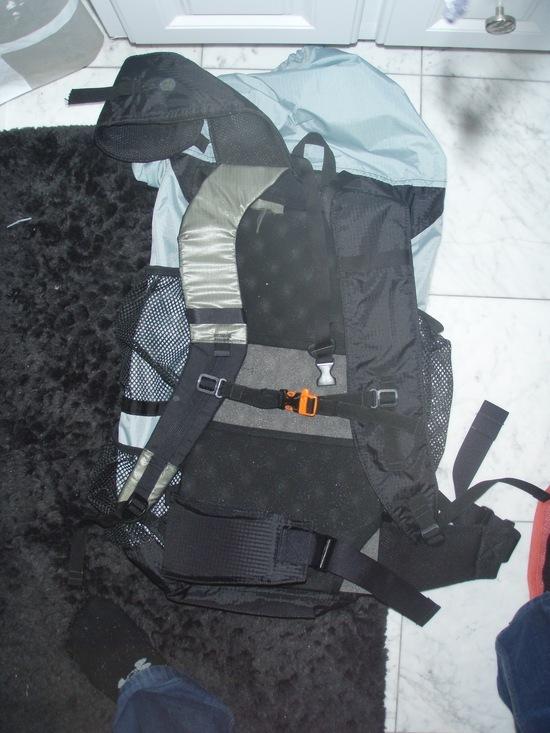
Side by Side comparison of the old and new straps
New Straps Installed

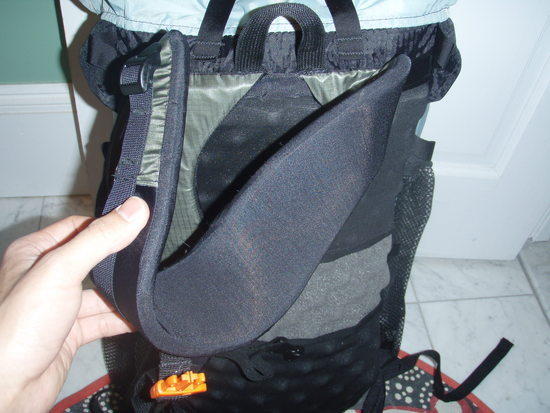
Close Up

The lycra material hugs the foam very well. Originally, I was going to use padded mesh, and run grosgrain binding around the raw edges, but I discovered that the lycra had a good amount of stretch and would allow me to make some aggressive curves in the harness without requiring me to struggle to put the foam padding back into the straps afterwards. The foam went in very very easily, yet the lycra is tight enough to prevent the foam from shifting/rolling. I would recommend using this material for those that want to make aggresively curved shoulder harnesses.
Here you can see the stretchiness/flexibility of the lycra
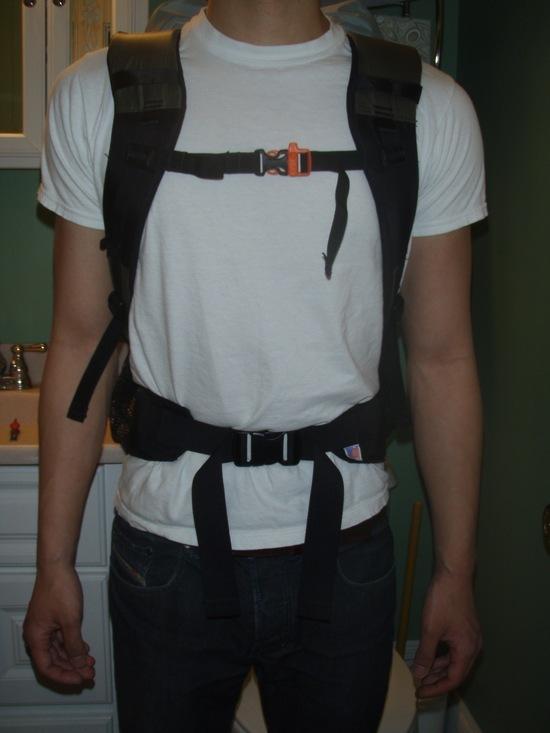
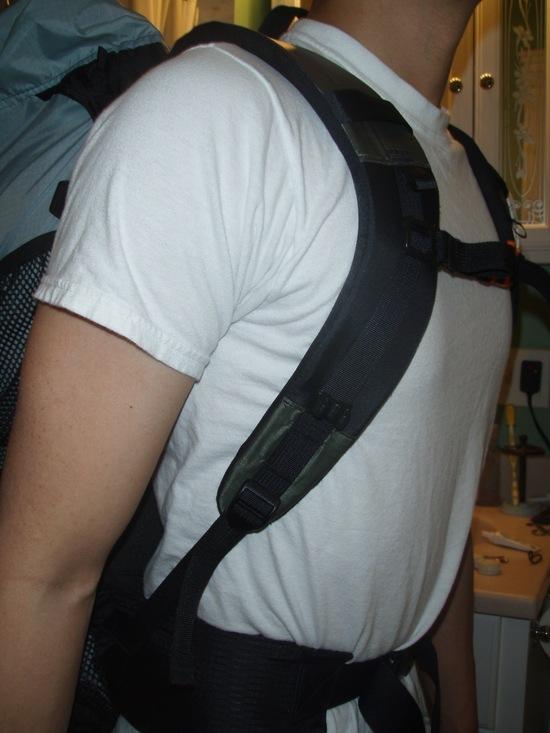
Wearing the pack
The hardest part of the entire project was attaching the straps back onto the pack. I am still pretty new to MYOG (this being my first major departure from stuff sacks), so I didn't want to take apart the pack entirely. Thus, it was a struggle to get enough clearance on my machine to sew the straps on while the pack was intact.
Some general tips that you might find helpful:
I bought a clear sewing foot for my machine (around $10). This was extremely helpful when it came to sewing curves…the extra visibility gave me plenty of time to adjust the fabric as it fed through. Also, I could easily tell if I was going off the correct angle, and correct it before things got out of hand.
When cutting foam, use an xacto knife and a LOT of pressure. A cutting matt is very helpful. Try to hold the cut for as long as you can, as I found partial cuts, and cuts without enough pressure, resulted in choppy edges on the foam which were nearly impossible to fix after. Also, its very easy to accidently cut the foam at an angle (this results in a different frontside width and reverse side width) so be careful and try to hold the knife blade straight up and down, and not at an angle when you're making the cut.
When working with lycra, make sure it is somewhat stretched and smooth before sewing through it…it constantly wants to wrinkle. Pulling it tight will result in a better grip to the foam as well.
Hope you like em! I'm not that fond of the foliage gray, as I hoped it would have matched the mariposa sage color more. I was disappointed when the material arrived; but I still wanted to add some detailing/aesthetics to the straps. Now I just need to run a couple more bartacks using heavier thread and I should be good to go. Thanks to everyone who helped me source materials and for those that posted their pack builds in the past. (Especially Chris Zimmer for putting up some inspiring shoulder strap building instructions in the past).
Bonus: The medium belt was too large for me (this pack was bought off gearswap) and instead of buying a size small, I found that modifying it was extremely easy. Simply seam-rip out the velcro attachment and cut the belt in half (vertically), right down the middle. Then stitch them back together like a flat felled seam, making the seam allowance the amount that you wish to shorten the waist belt length by. Restitch the velcro back on, and you're done. It helps to remove the 3-D mesh in the areas that are overlapped, so that the overall area isn't too thick and hard to sew though. Voila!
My next project: Nuking a Golite Ion muahahahahaha

