MYOG HH Tester
Here's a few pictures of a DIY Hydrostatic Head tester. I've had it up to 2500mm H20 without leaking. Easier to use if you have a second person helping. I don't think you can compare the results one to one with published HH ratings because of diameter, rate of rise, etc. But it could be useful for relative testing of your own materials.
Components:
3/4" plywood
4" ABS Cap (ID is 4-1/2")
1/2" MNPT x 1/2" barb fitting. Drill 3/4" hole in ABS cap. Heat metal fitting to cut threads.
Teflon tape
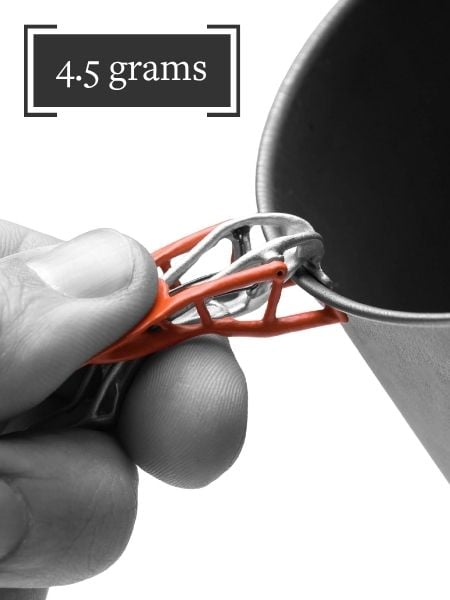
Hose clamp
1/2" ID x 10' tubing
1/4" CCF
5" Carraige bolts, fender washers and wing nuts
Tape measure
Timer

Vessel set on base

Bottom gasket in place

Fabric and top gasket in place

Assembled

Air almost gone

Water in tube level with fabric

First beads of water

Another sample after 3 beads of water

Another sample pushed beyond first three beads

Different batch of silnylon

Couldn't seal this design tight enough to keep it from leaking at very low head.

Possible improvements:
It would be easier to test the corner of a large piece of fabric or tarp if three carraige bolts were used instead of four. I think it would still hold a seal.
Tape a ruler or measuring tape to a wall for measuring head and rate of rise more accurately.
Tap the vessel with a 1/4" MNPT x 1/8" barb fitting and attach a gauge from a blood pressure cuff (max 300mm Hg = 4078mm H2O)
-Lance