Hi JIm,
I like questions…I sure asked many when I was building this.
First realize that your pulk will do fine on trails and in open areas where the snow is not too deep. The top attachment systems tend to snow-plow instead or riding on top of the snow. This group of hikers had been modding and refining for years. Even within the group there are several different designs.
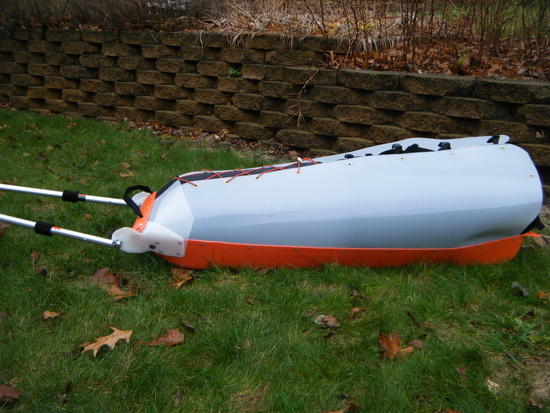
Here are some answers:
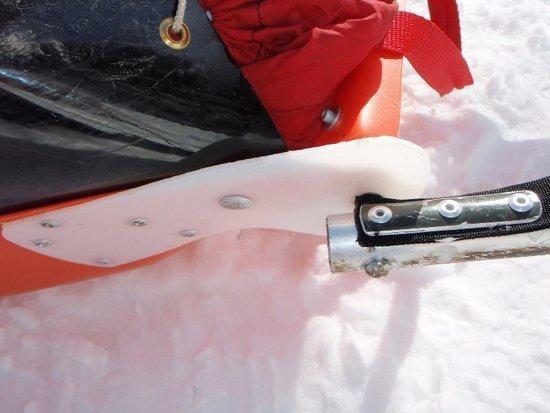
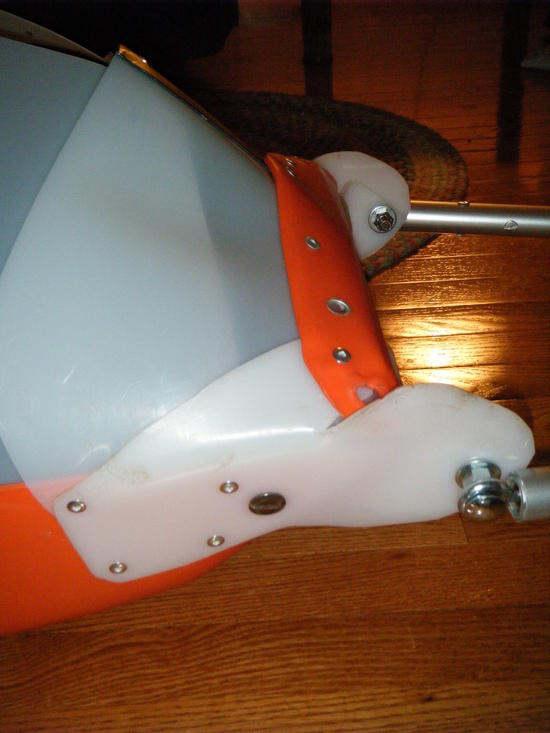
1. side attachments: Most are attached with 3/16 alum rivets 6" apart with a backing washer on the inside. One member used alum binding posts as he wanted them easily removable. (hint, to minimize the floppy factor, I used double sided tape (part # 75955A671)and rolled it tight with a wallpaper roller. I backed the inside seam with UMHW tape(part#76445A763) before riveting) Most members sides are 12 inches, mine are tapered from 12 to 20. I put the 20" sides on and eyeballed the taper, then cut. This did waste a lot of material.
2.Backing As above – UMHW tape and Alum washers. one member used a 1" strip of UMHW.
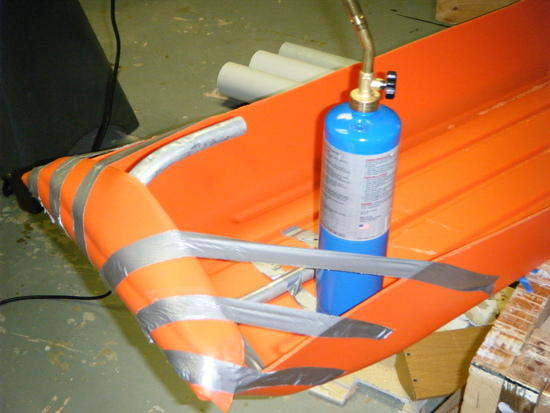
3. White plastic is cut in a mitten pattern and the thumb was heat bended to meet the snow shied. it is a piece of UMHW 12"x12" (part # 8752K111). The reasoning of the shape of the plastic attachment is to design it so that the attachment point is 1" below the top of the sled and 1" forward. It also must be rounded in a fashion the brush coming down or under the traces will have an easy path to the back of the sled. This attachment works best with solid traces. When you pull the sled forward, the front naturally lifts up and over. There were some awesome obstructions that our sleds cleared without getting stuck or rolling over.
4. I thought about using the stock ski-pulk traces and attachments on the side of the sled. The reason I went with solid alum route is twofold. Solid traces are great on down hills they give you the most control and when I looked at purchasing the trace/hip belt combination – wow $$$$ – it cost more than my whole setup. The problem with the ski-pulk attachment system is it is too big and snags easily. Some members have lost those hitch pins on the trail.
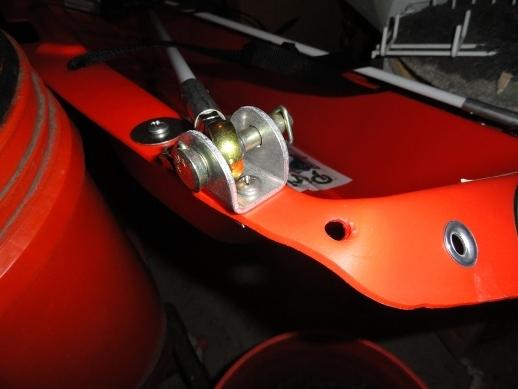
One of the members had a "genius" idea for "noodle" traces. I will try to explain, I didn't take pics Mmy bad. He secured a rod 1" down and 1" back from the front of the sled. It runs through the inside of the sled. It is secured with UMHW and a block bolted to the inside front of the sled. So, basically you have an alum pipe sticking out of the sled the width of the ball-joint plus a little for slop and turning ratio. He then inserts a large clevis pin through the ball-joint -inside the pipe – and secures it inside the sled with the hitch pin. This way – all of the hardware is inside the sled and the brush has an easy path to the rear of the sled.
It was cool to see all of the different mods. I guess you have to be a tinkerer to appreciate this obsession. (Part numbers are from McMaster-Carr online hardware)
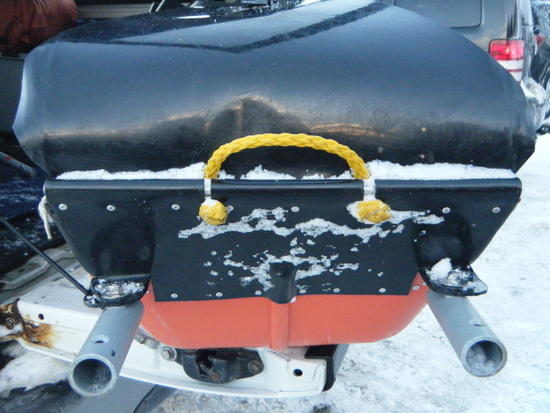
I'll throw in some pics for fun.
Dave