My first post on BPL is gonna be a long one. sorry for the poor grammar/spelling. Finally finished my quilt kit last night. This is my first sleeping bag and one of the last things i needed before i could actually go backpacking insted of day hiking. its also my first MYOG project with limited knowledge of sewing proving anyone can do this. i chose to make a quilt due to their versatilaty but still wanted to be able to make a long footbox. Heres some pics of the process and the quilt
I used masking tape with measurements to lay out the pattern on both SHINY sides of the fabric and was very helpful with the baffle spacing

i cut the baffles by folding up the mesh and pinning it to a piece of cardboard cut at 3.75" allowing for .5" baffle seams

i sewed the baffles to the top ripstop momentum first becaues i figured this step would have better seams. i would do it this way again due to the difficulty of sewing the baffles the second time. I used .5" wide double sided tape to hold the baffles down insted of pins then removed it after the seam was sewn.
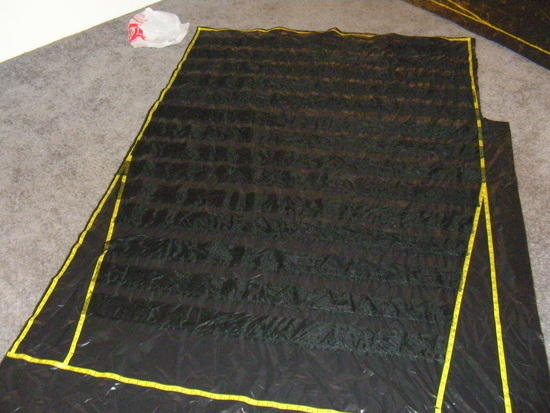
then i rolled the baffled fabric baffles out from the bottom up and placed the roll on top of the inner taffeta and taped and sewed the baffles one by one.

all sewing of baffles is done on the shiny side.

sorry no more photos of the construction process
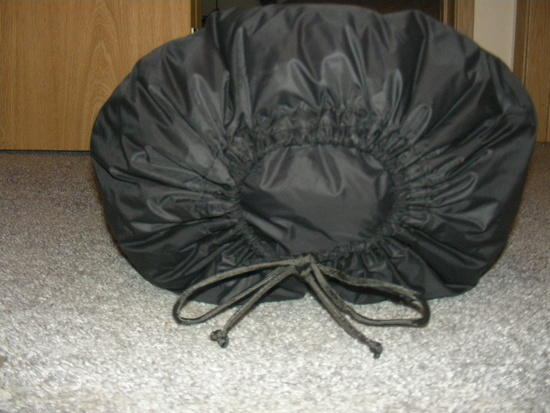
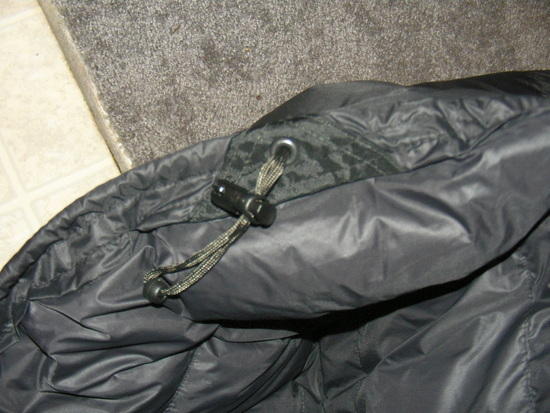
my drawstrings were different so they had to be constructed at different times. a center pull drawstring has its ends sewn in with the side seams so first you have to sew it in so it slides freely then roughly sew each end. then roll one edge seam to prepare to fill with down.
i doubted the vacuum fill method but it actually worked perfectly and took 5 min to set up. i would recomend under filling the bag first then adding down as needed.
then i sewed the other seam. now you can sew the foot drawstring slot if you plan on doing the bow knot closure foot end like mine if you plan on adding a draft stopper sew it on wheb you sew the drawstring slot. finish the ends of the draw string with large knots. I removed the inner white fibers of paracord and used the outer housing for my drawstrings.
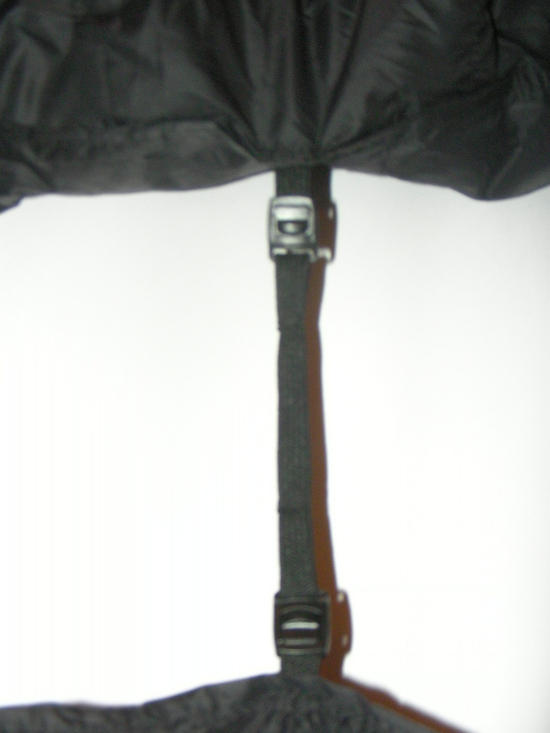
finally i finished up the bag with velcro and snaps. i may still add one removable strap.
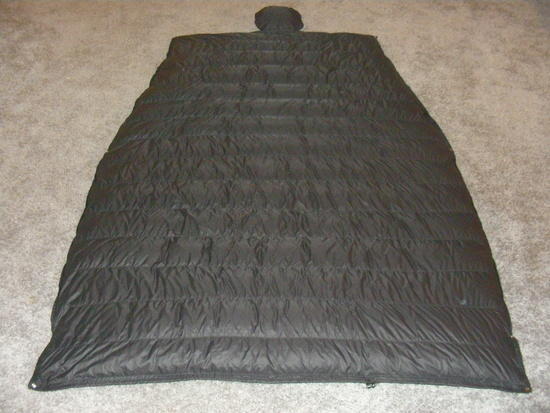
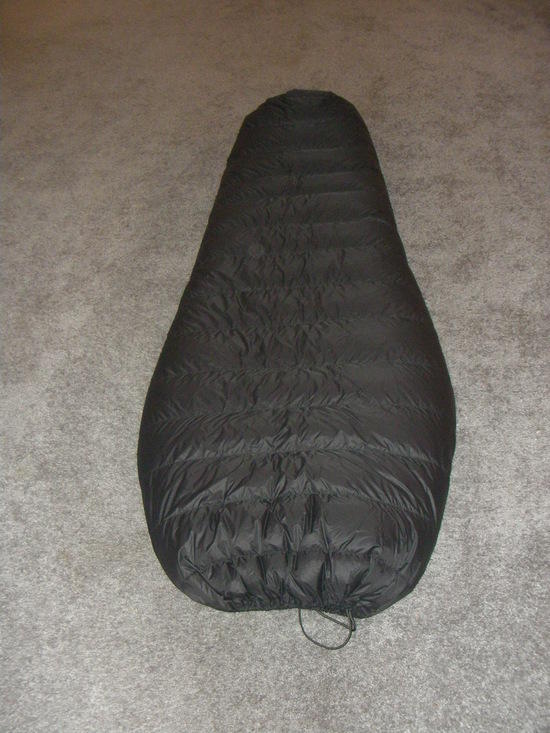
heres the quilt.
i heard about people getting drafts under their neck/ shoulders so i added about 8" of closure from the top down.

im 5'8" and only 140# so the 12.2oz of down in the kit went a long way. about 3.25 in of loft in the tapered foot box and 3.125 everywhere else. hopeflly it will get me down to 20 with winter long underwear thick socks balaclava montbell down inner parka and wind jacket. here it is at the waist in bag mode.

final dimensions are
72" long by 50" wide at the neck with a 36" long taper down to 37" wide at the foot with 2.75" baffle height spaced at 5". it weighs 21.6oz or 612 grams. i chose black on black because of Ryan's nunatak arc alpinist photo i found on here. i also think blacks absorbtion of the suns rays to dry condensation in the morning are better than the miniscule body heat reflective properties if any of a lighter shell color. plus it will look cleaner when oakley starts backpacking next year and tries to lay on me at night. i will gladly answer any questions about construction with text and more pictures and can provide the sites i used for refrence that were very hepful.